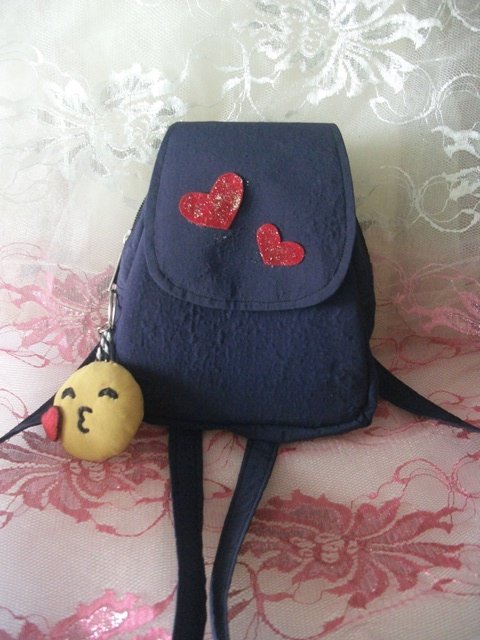
Hola amigos de Hive DIY!!, espero que se esten pasandola muy bien. El día de hoy quiero compartir con ustedes como elabore una mini mochila que podemos decorar a nuestro estilo y llevar con nosotros a todos lados. Para hacerla use tela de ropa que ya no utilizaba, pero tampoco quería botarla, asique aproveche la ocasión para reciclar.
Hello friends of Hive DIY !!, I hope you are having a great time. Today I want to share with you how I made a mini backpack that we can decorate in our style and take with us everywhere. To make it, I used clothing fabric that I no longer used, but I didn't want to throw it away either, so take the opportunity to recycle.
✩⋆Materiales:⋆✩
✩⋆Materials:⋆✩
Main fabric and lining fabric Hairy with stick Argollas Close Magic closing Cardboard and pencil (to make the patterns) Thread, needle and scissors
✩⋆Paso a Paso⋆✩
✩⋆Step by Step⋆✩
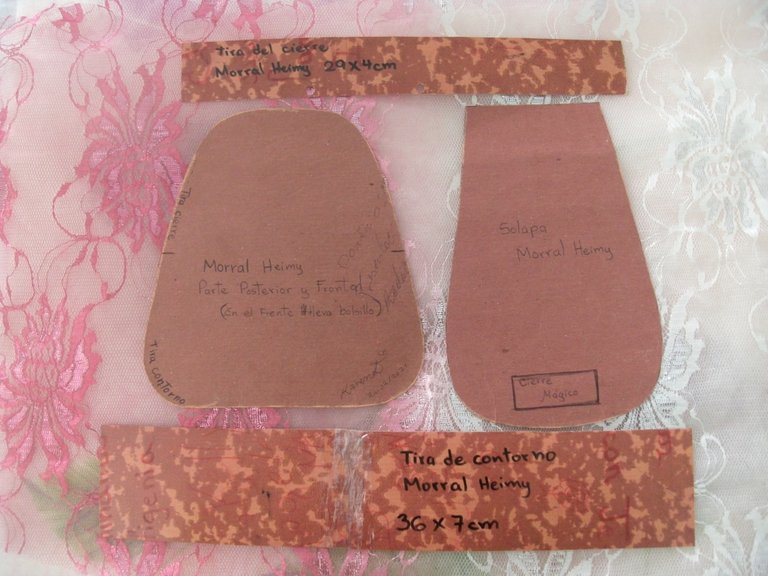
Paso 1. Para empezar debemos de realizar los siguientes patrones, pueden ser tan grandes o tan pequeños como decidamos. Cada patrón tiene un nombre y algunos se cortan dos veces:
Step 1. To begin we must make the following patterns, they can be as large or as small as we decide. Each pattern has a name and some are cut twice:
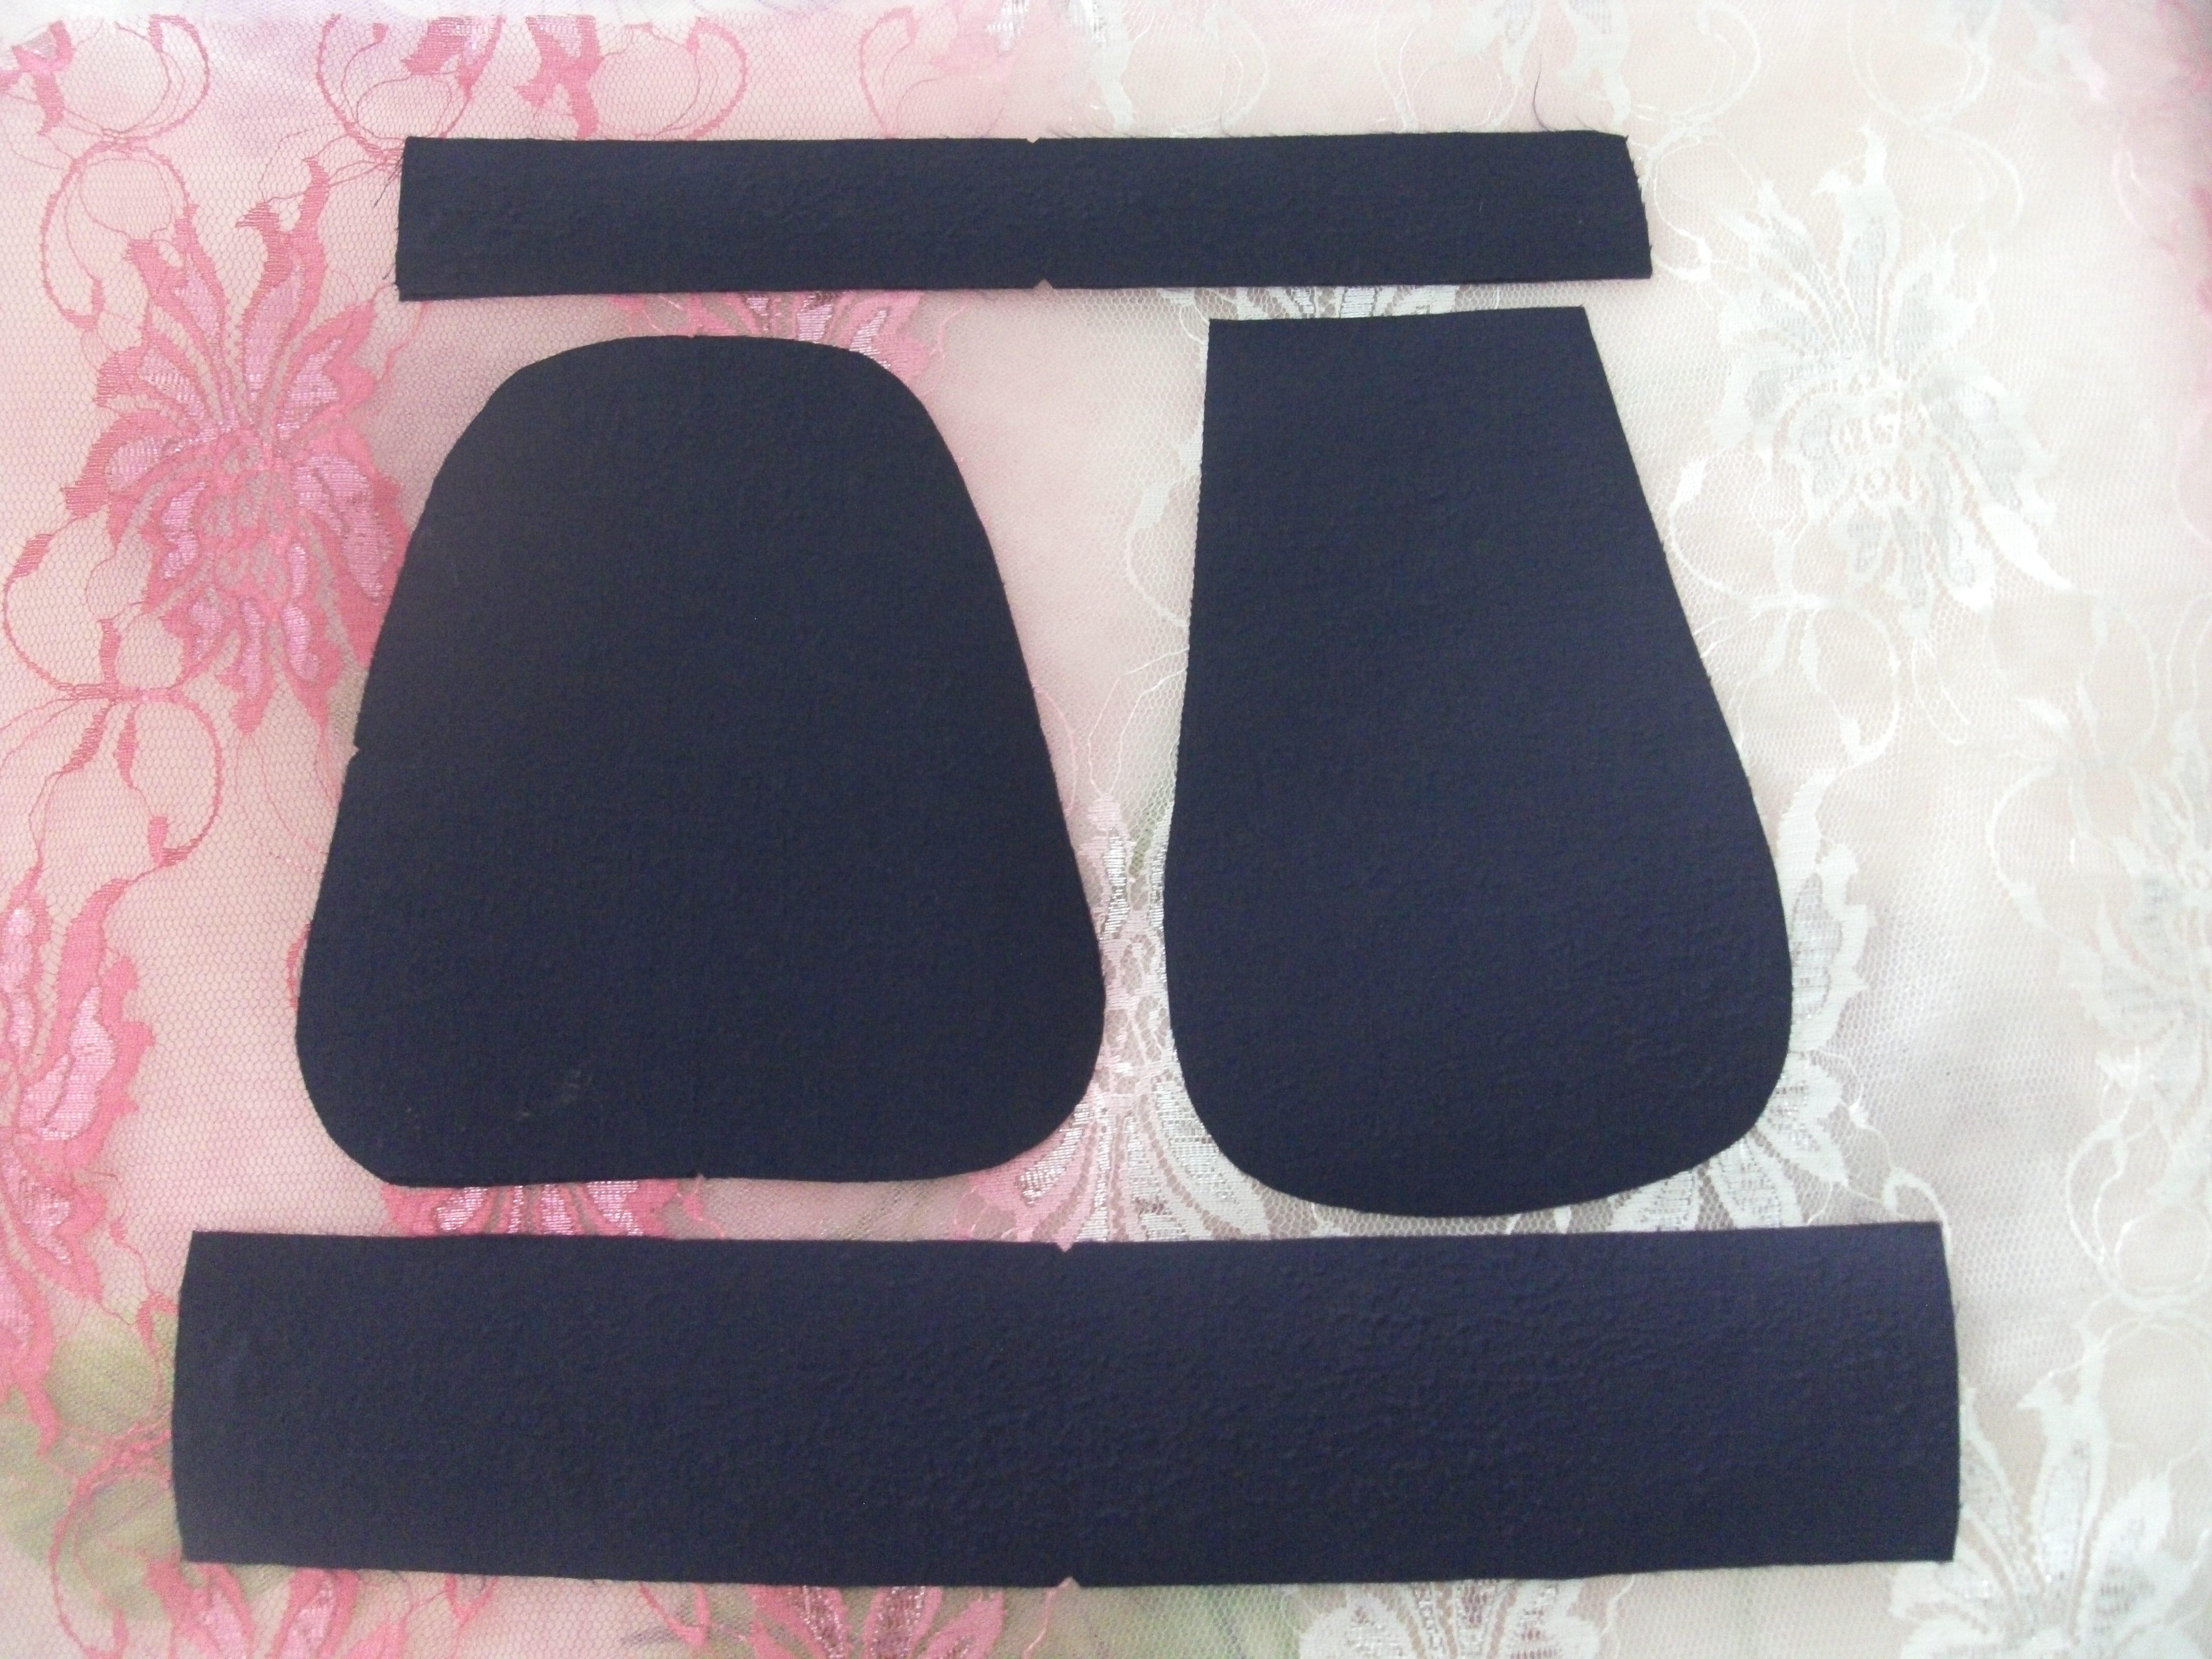
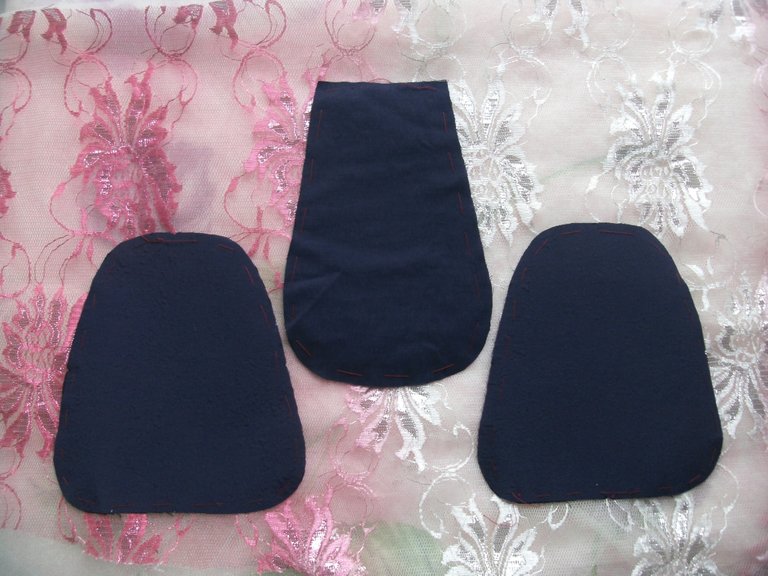
Paso 2. Ahora vamos a marcar y recortar: La tela principal es la que se va a apreciar en el exterior y la de forro es la que va a estar en el interior de la mochila. Después de recortar vamos a bastear las piezas de la segunda imagen con su tela de forro para sea mucho más sencillo armar el bolso
Step 2. Now we are going to mark and cut: The main fabric is the one that will be seen on the outside and the lining is the one that will be inside the backpack. After cutting we are going to suffice the pieces of the second image with their lining fabric to make it much easier to assemble the bag
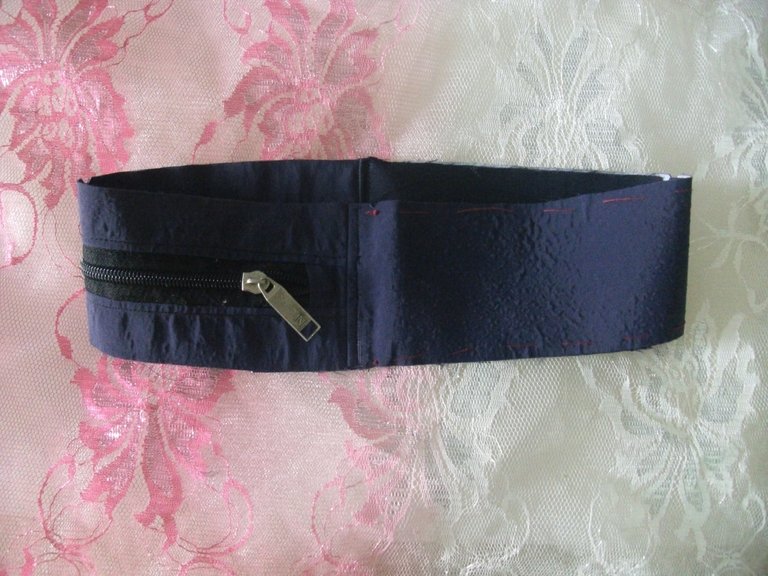
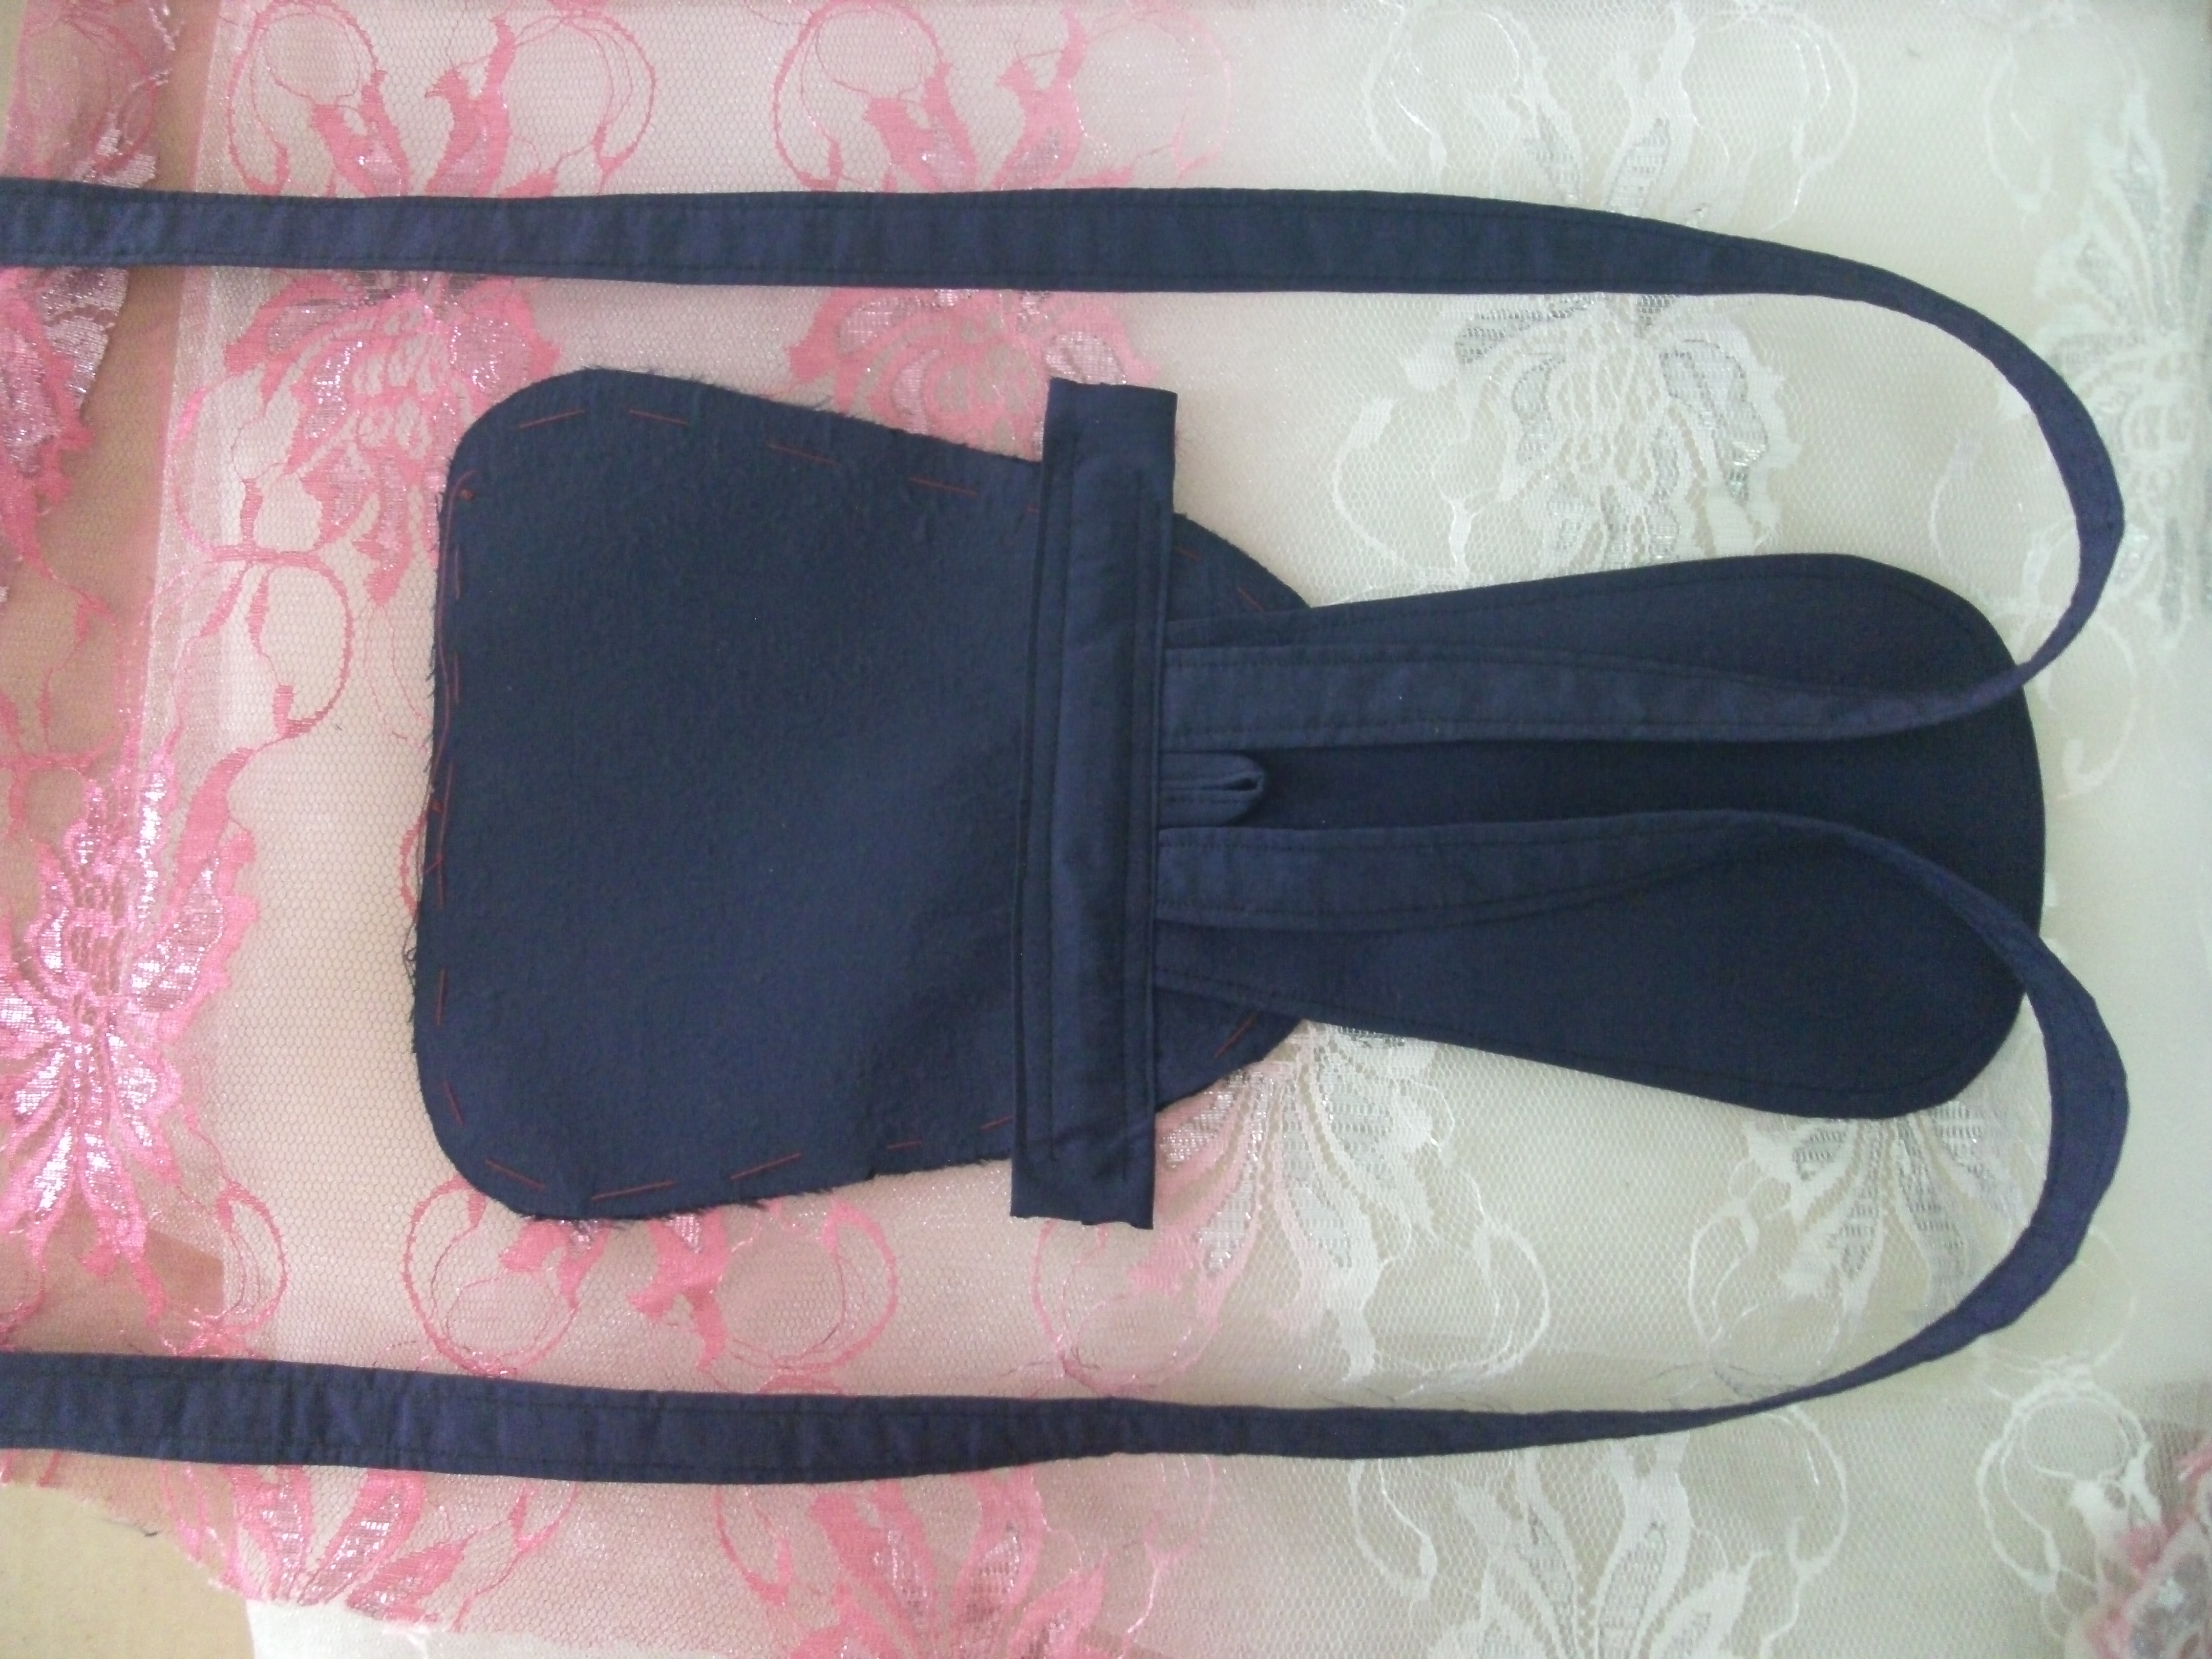
Paso 3. Posteriormente vamos a coser el cierre con sus respectivas tiras. Luego vamos a coser esta pieza con la tira de contorno como se muestra a continuación
Step 3. Later we are going to sew the closure with its respective strips. Then we are going to sew this piece with the contour strip as shown below

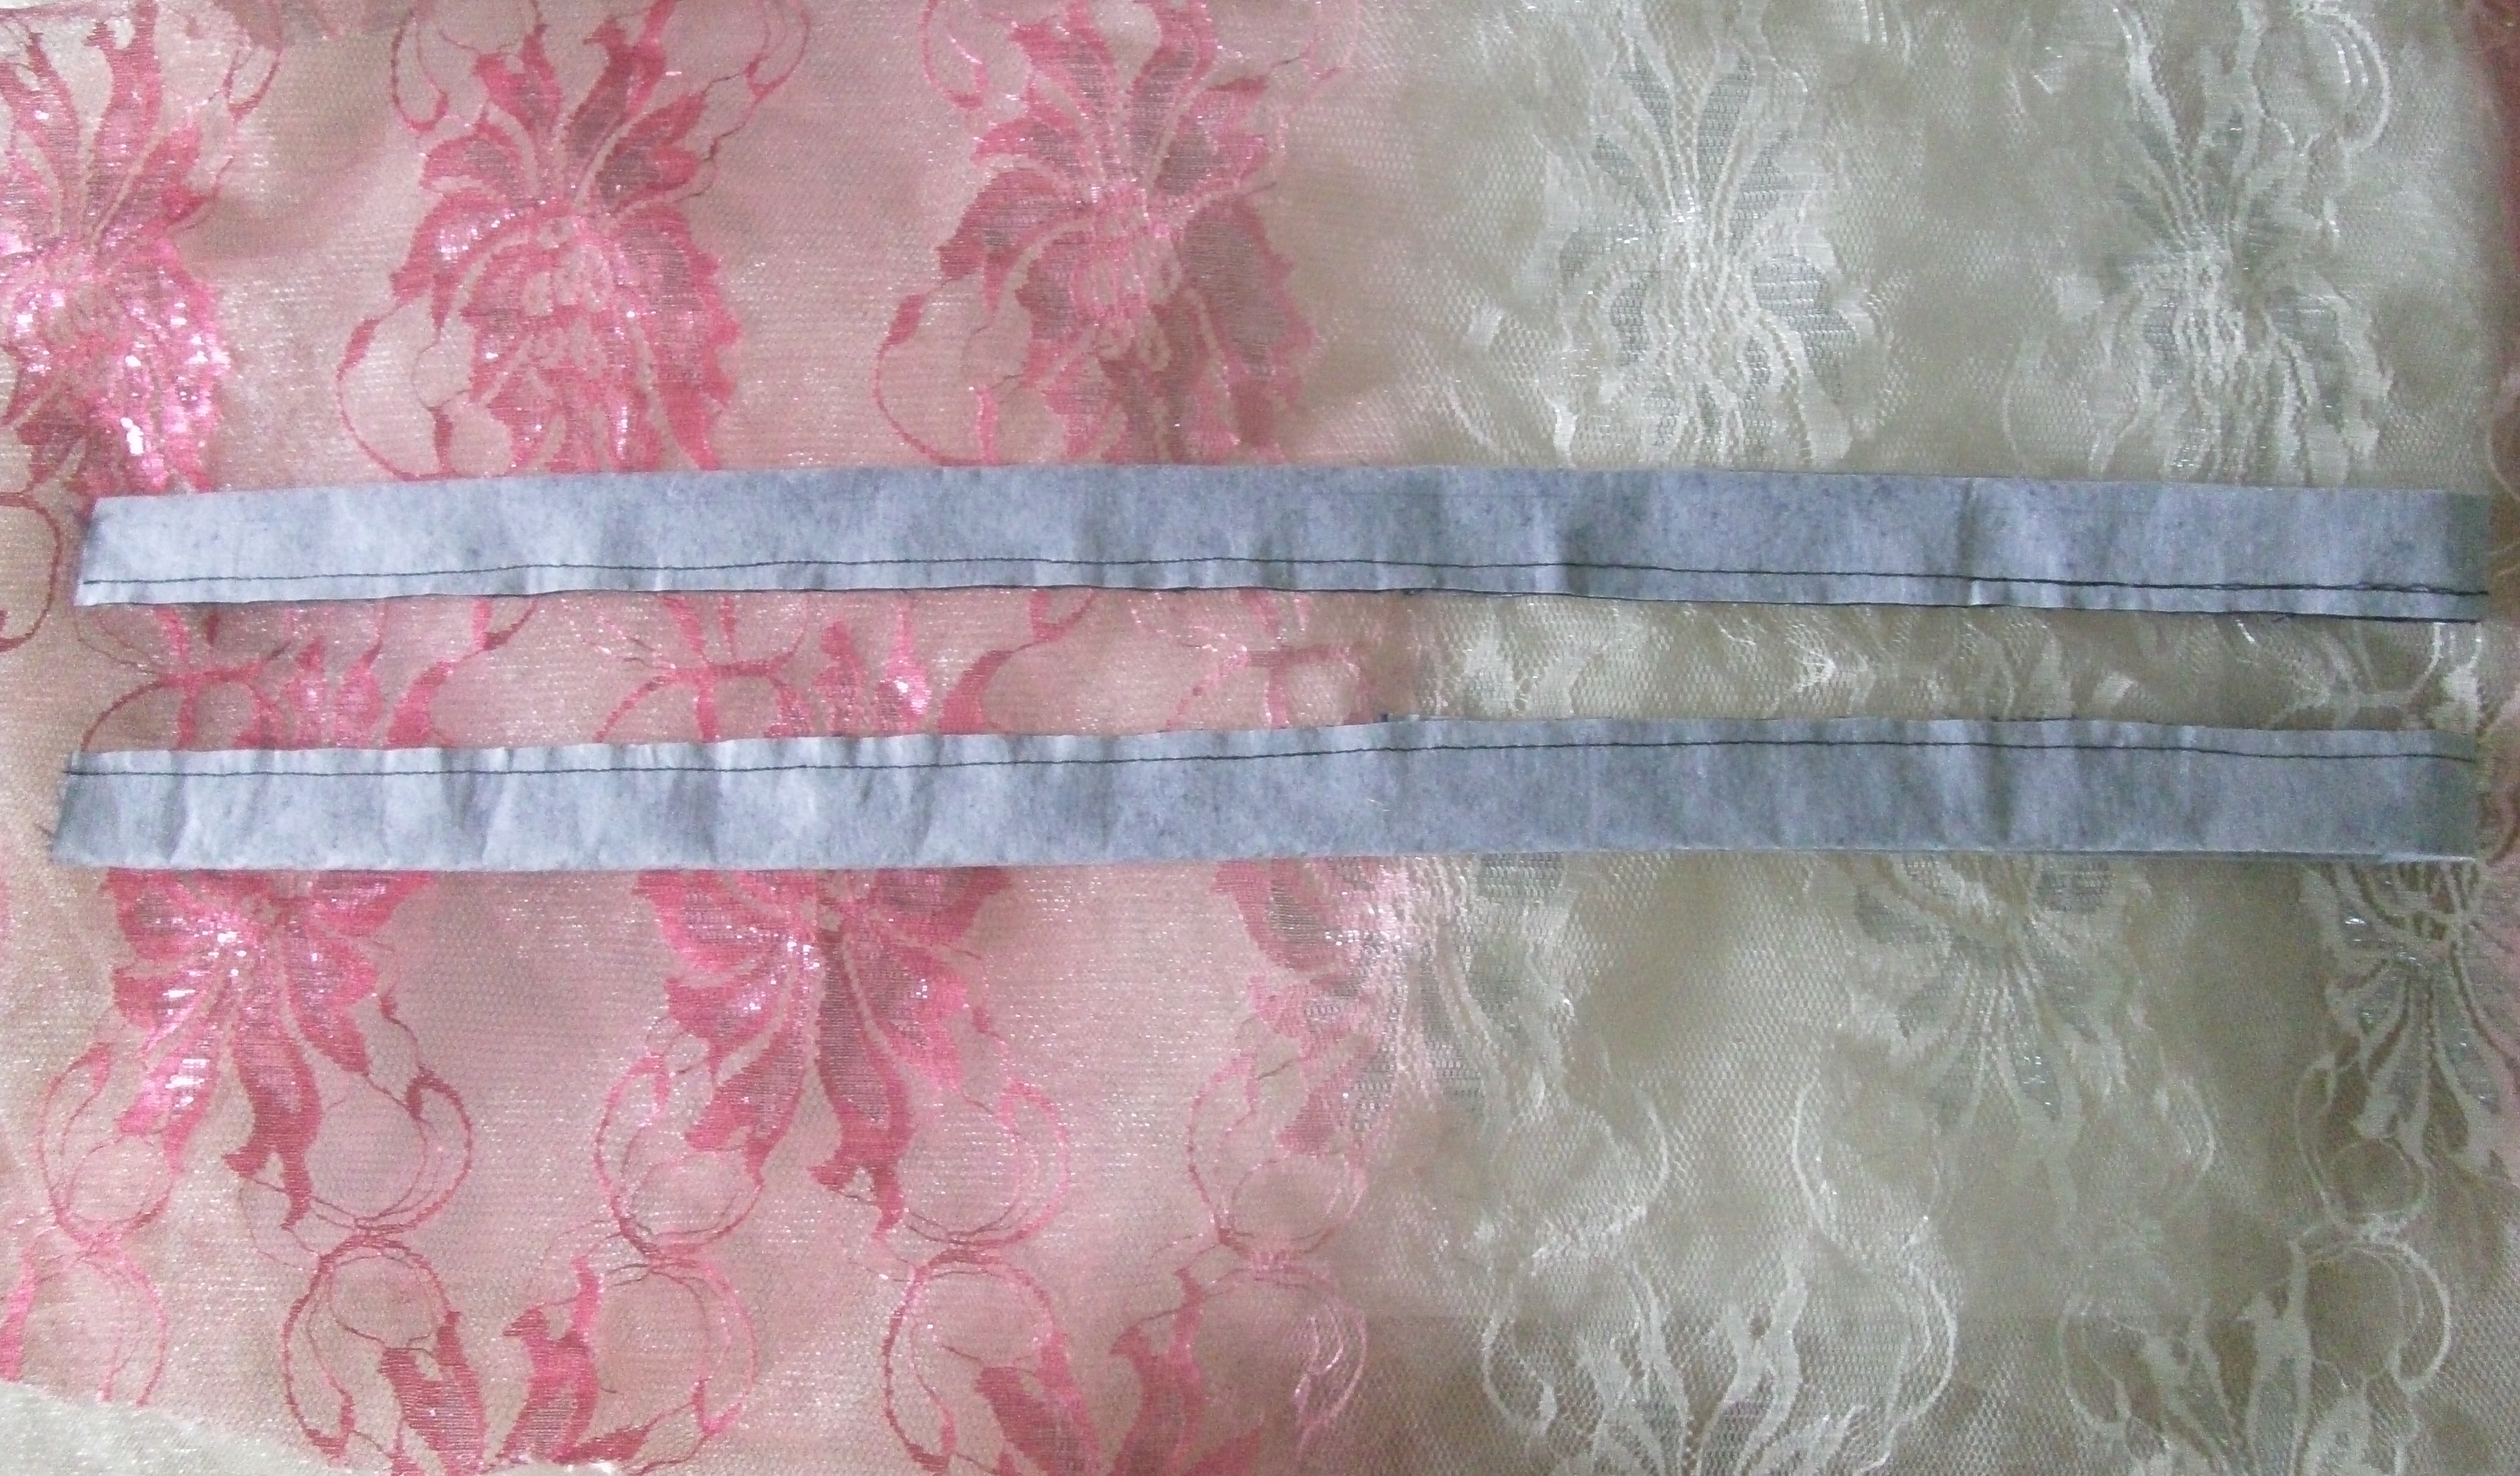
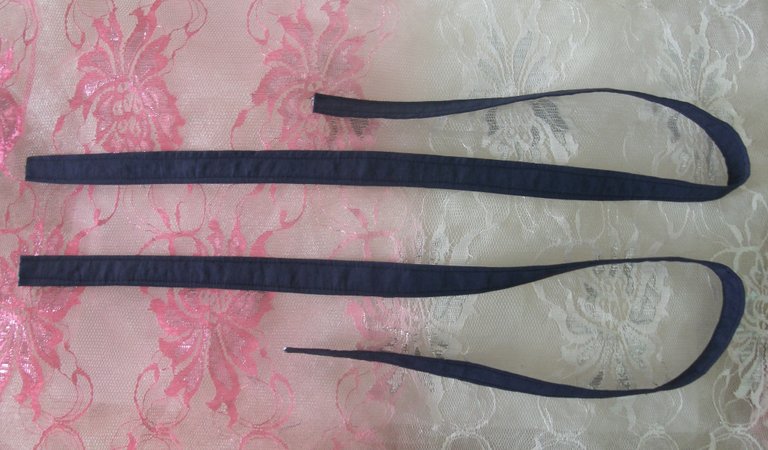
Paso 4. Ahora vamos a coser las asas de nuestro bolso la medida va de acorde a tu preferencia, yo la corte de 70cmx 8cm y primero doble por la mitad, cosí y voltee la asa y luego pase sobrecostura por ambos contornos
Step 4. Now we are going to sew the handles of our bag, the measurement goes according to your preference, I cut it 70cmx 8cm and first fold it in half , sew and flip the handle and then overstitch both contours
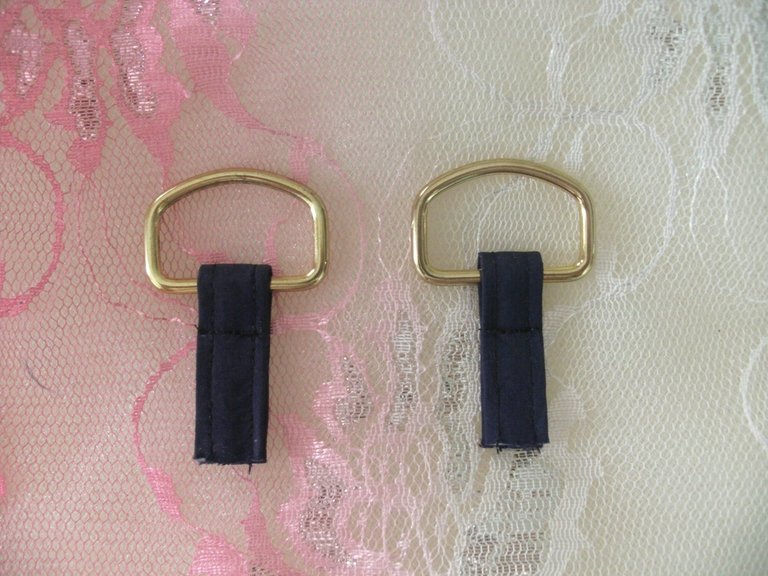
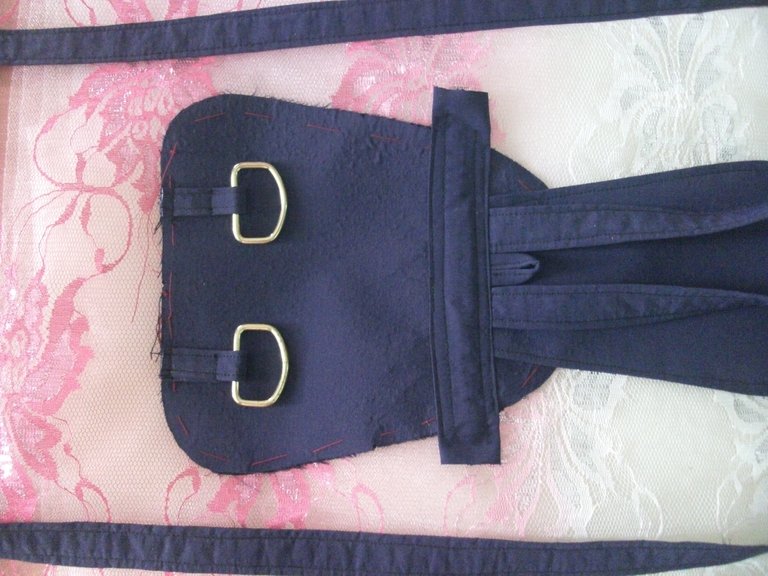
Luego cortamos 2 cuadros de 4x4 cm y cosemos al igual que las asas. Estas son la tiras en donde se colocan las argollas de la siguiente manera:
Then we cut 2 squares of 4x4 cm and we sew the same as the handles. These are the strips where the rings are placed as follows:

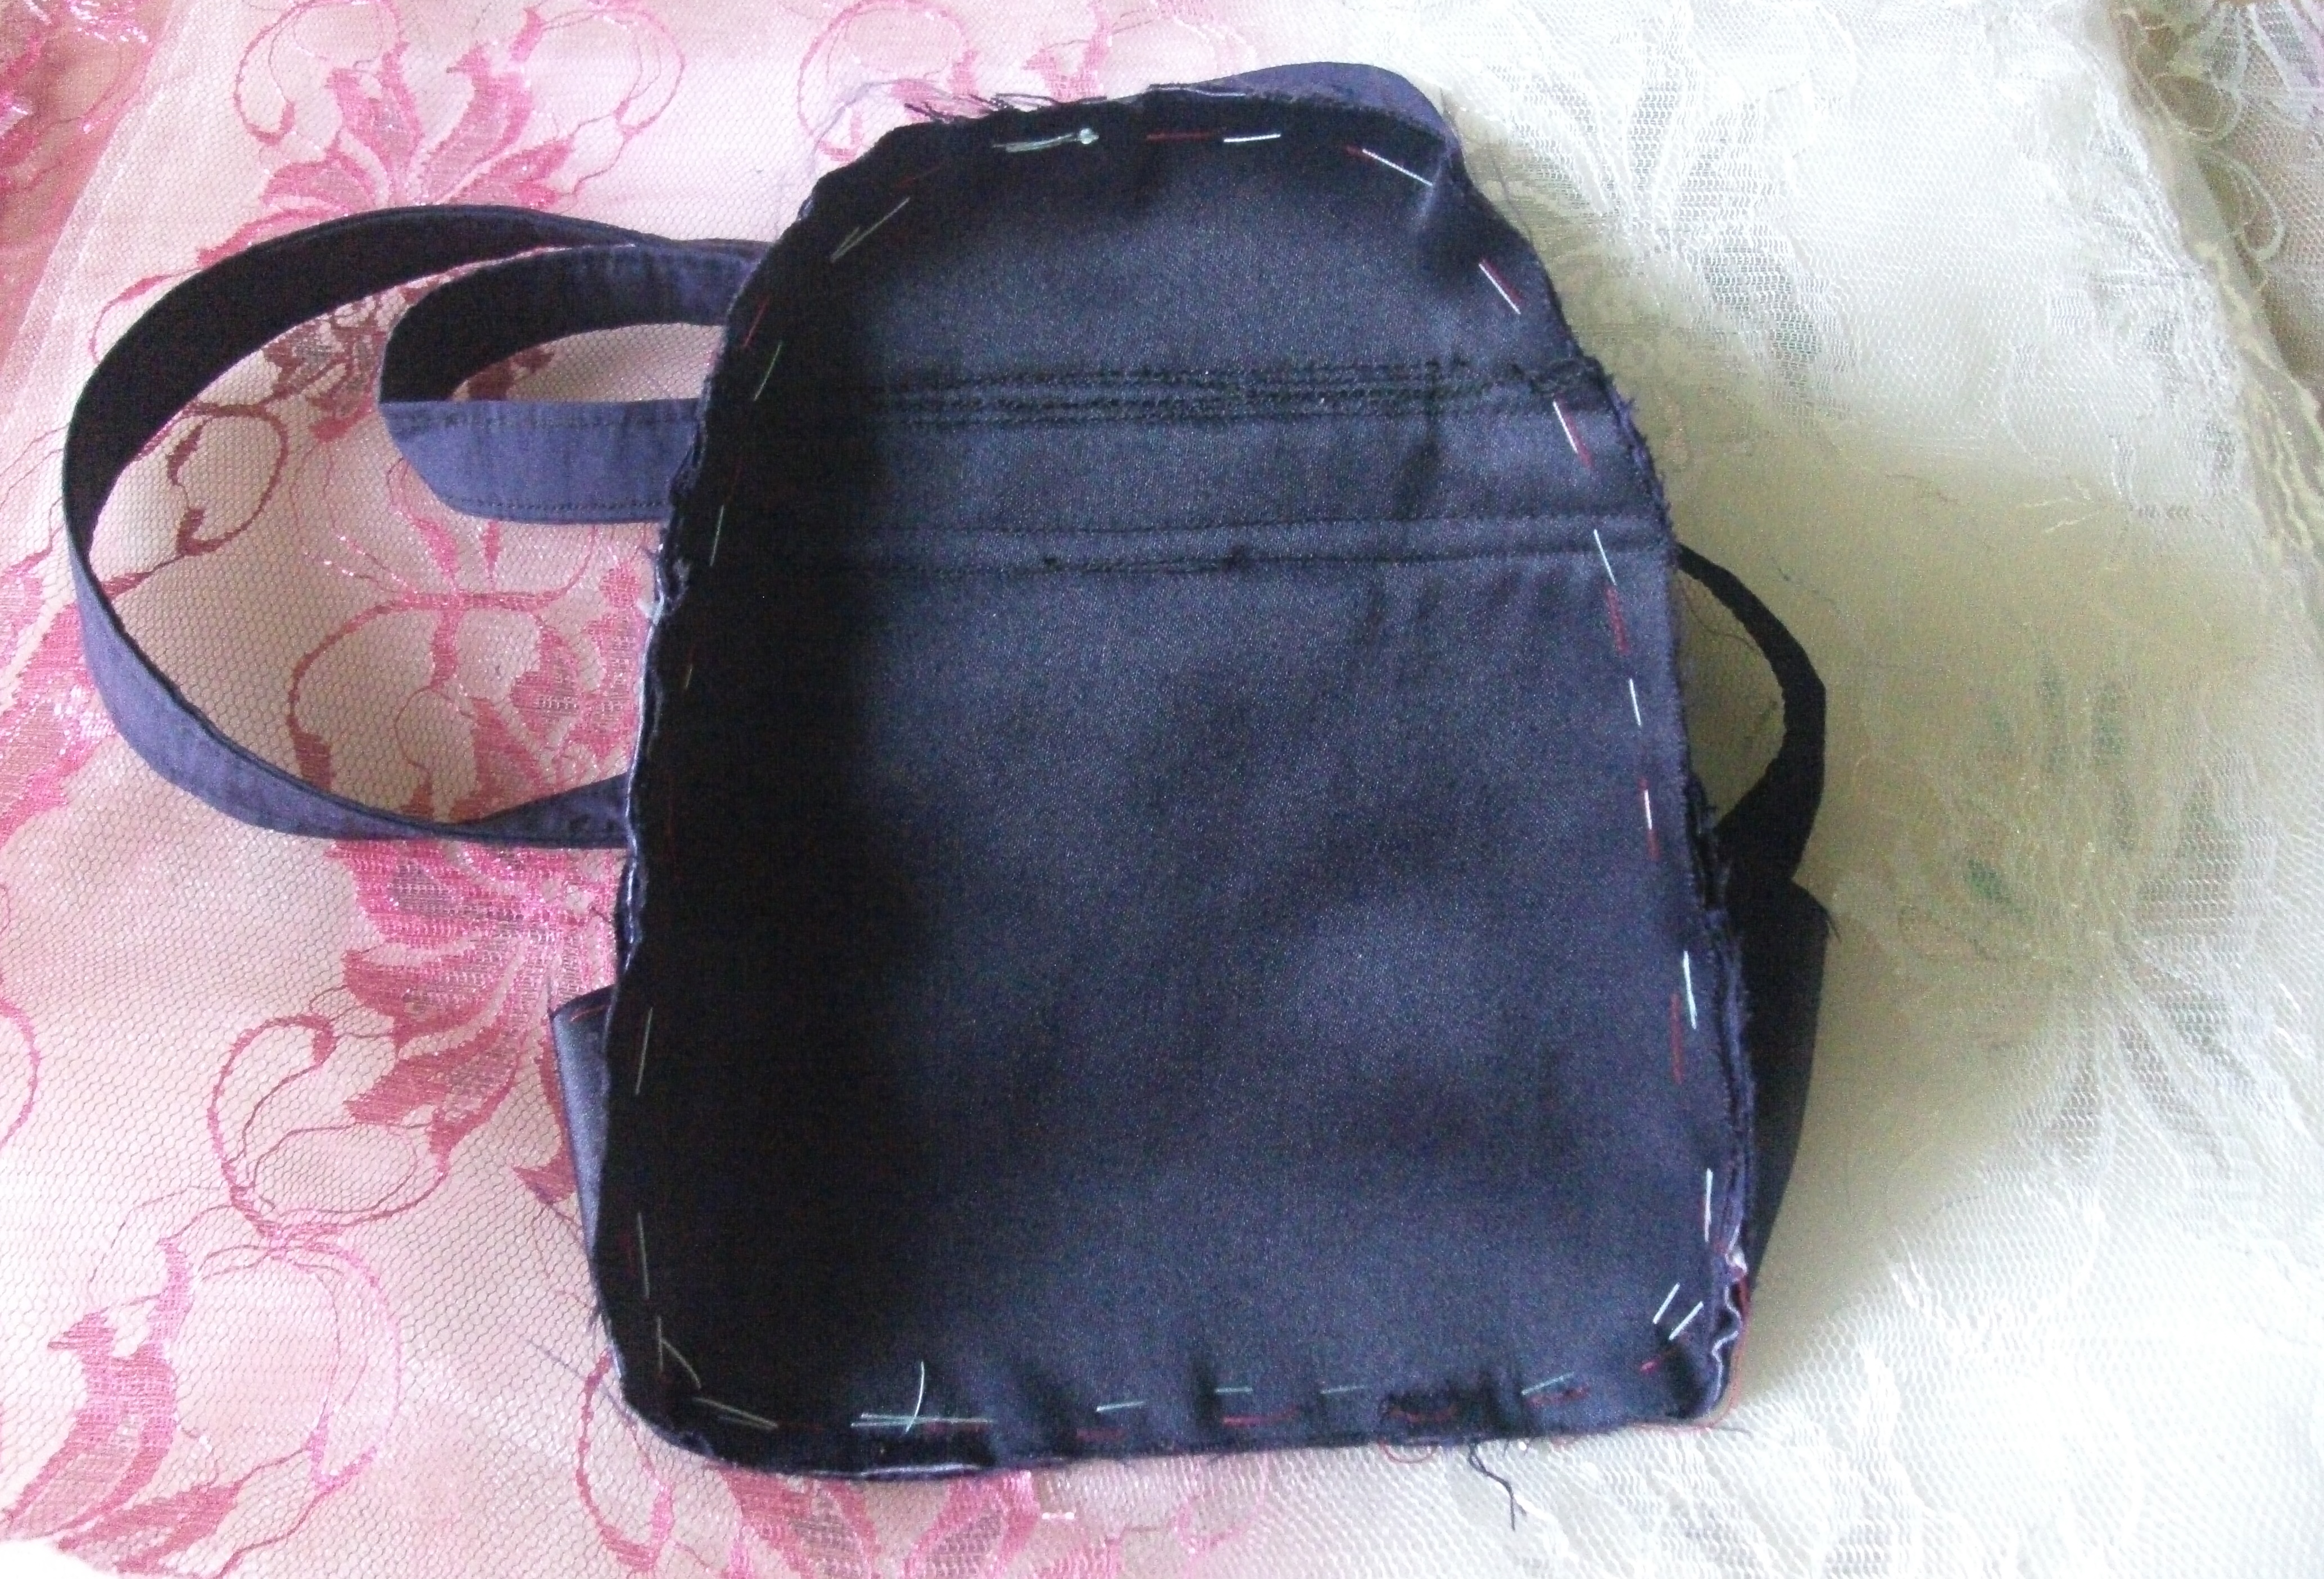
Paso 5. Seguidamente vamos a tomar la parte posterior del morral y encima le cosemos las demás piezas en este orden:
Step 5. Next we are going to take the back part of the backpack and on top we sew the other pieces in this order:
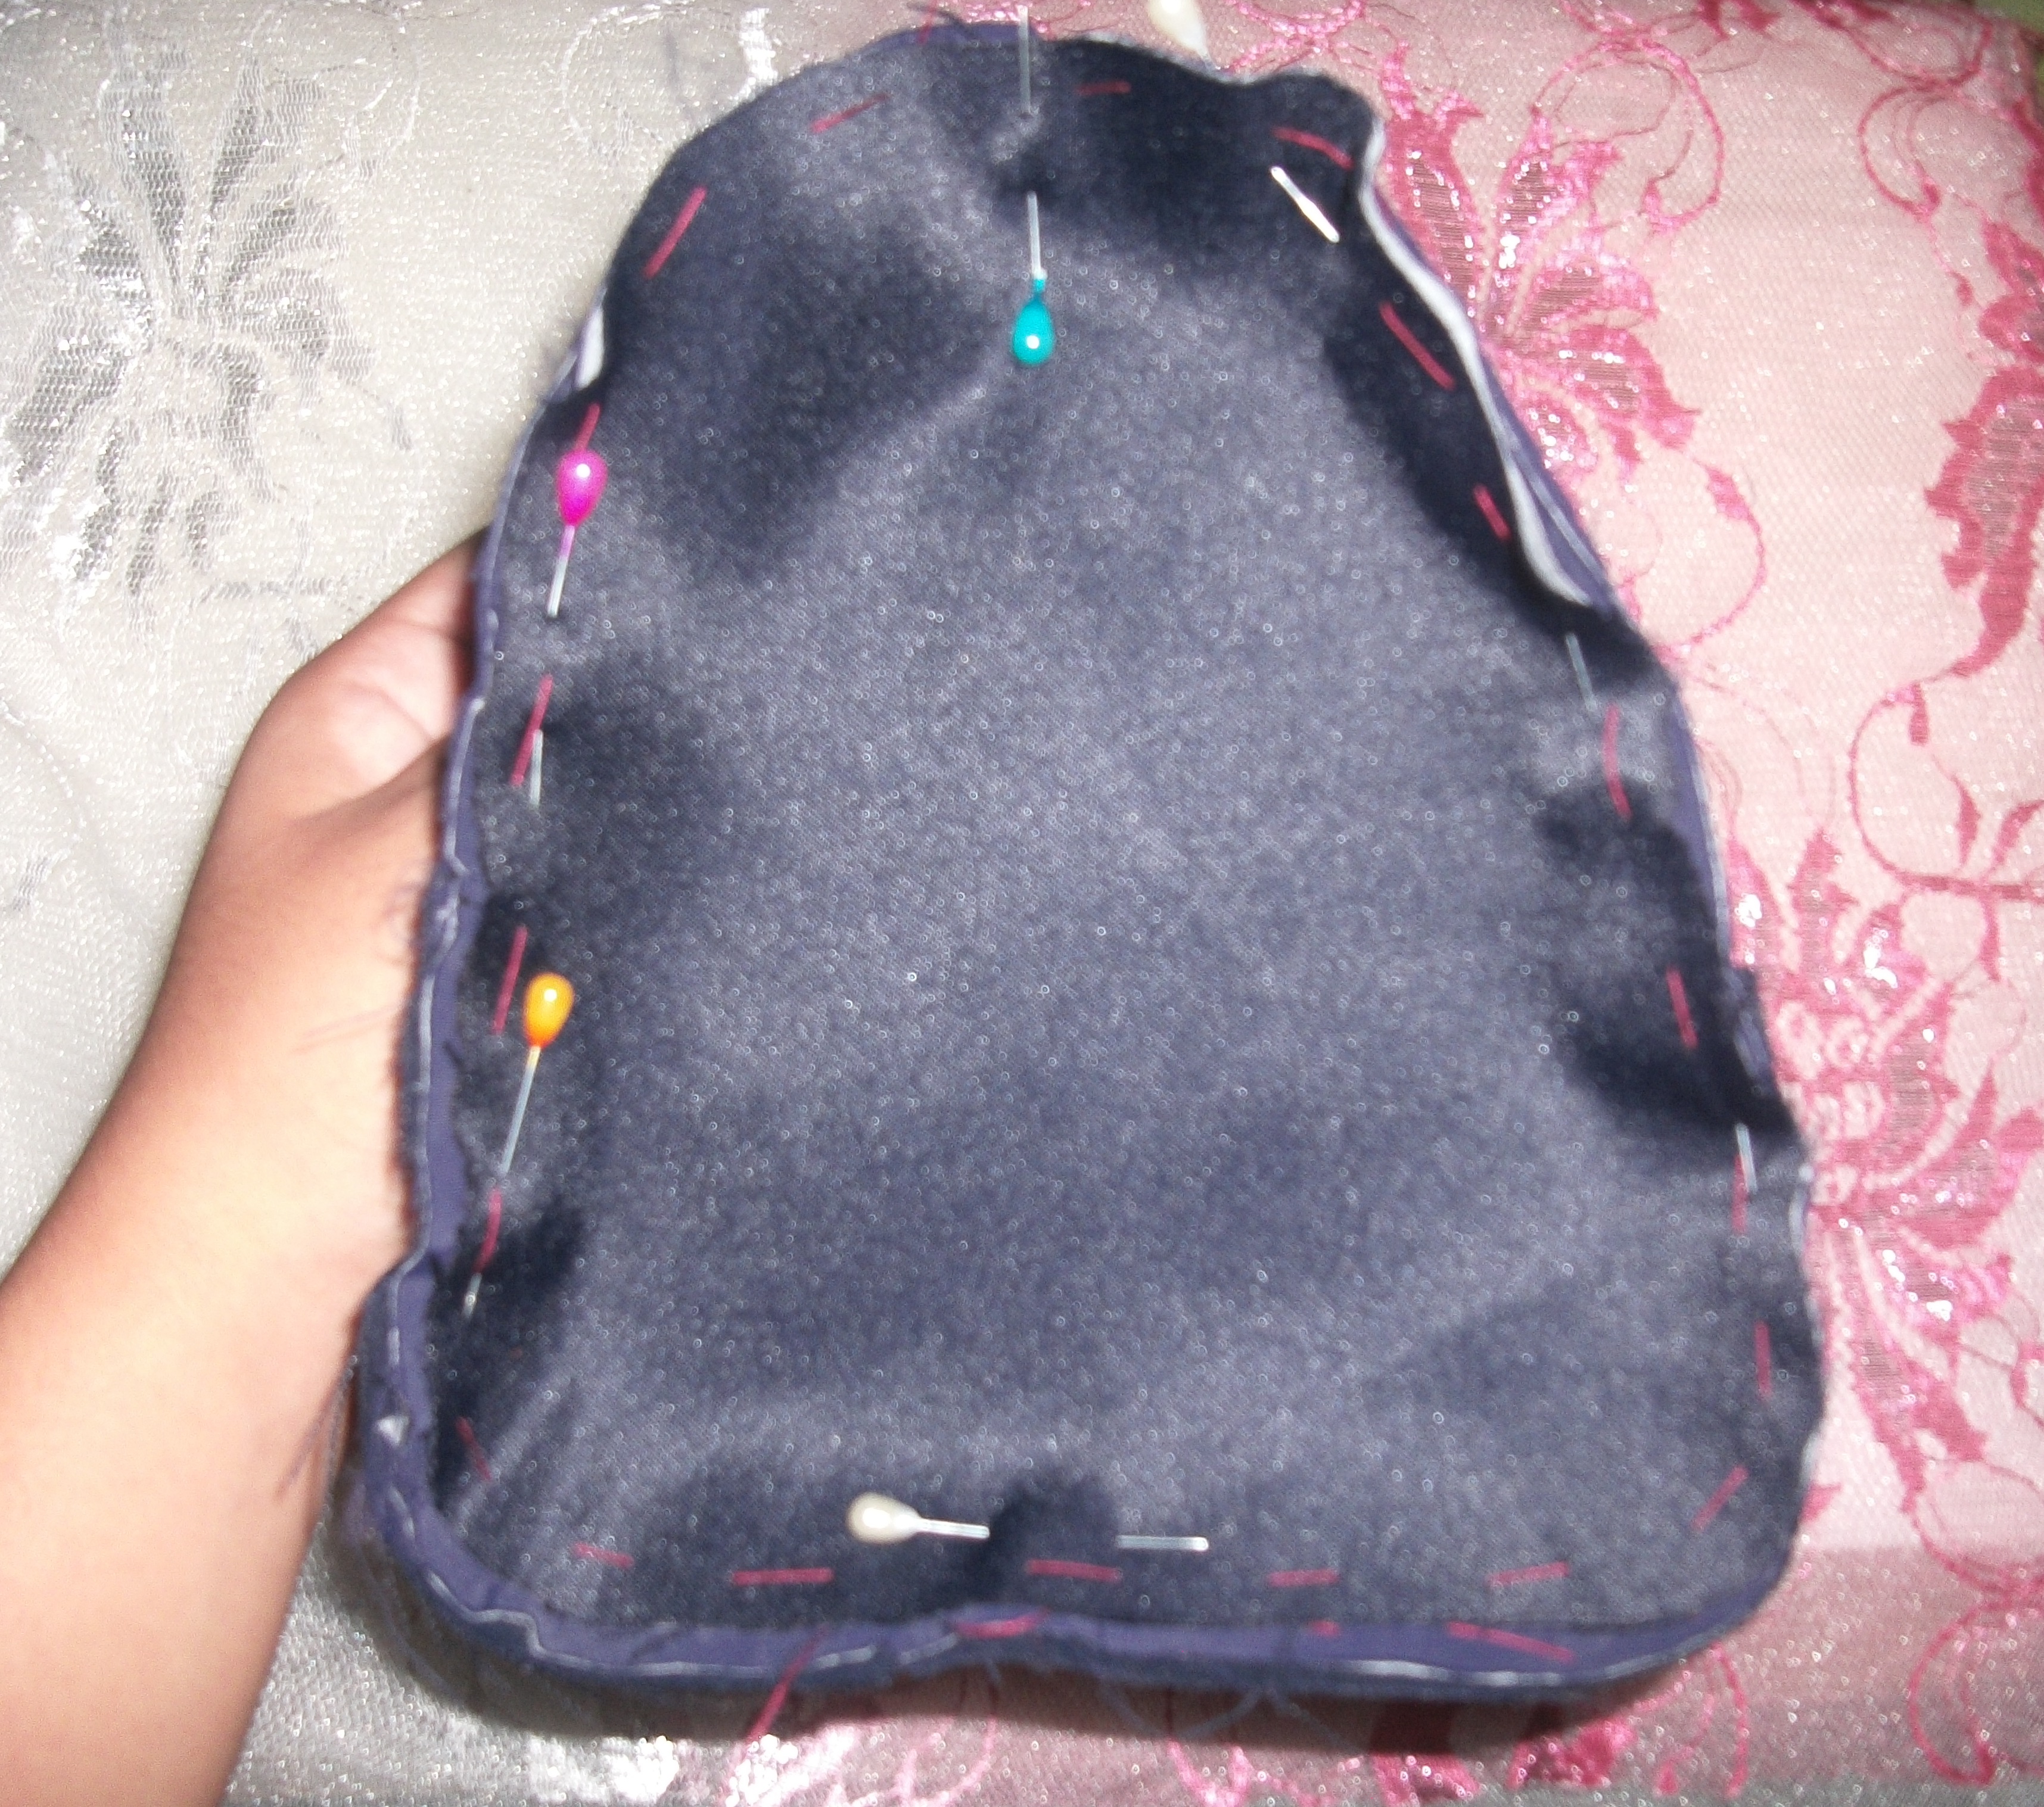
Paso 6. Posteriormente vamos a coser por el contorno (dejando 1cm de distancia) la parte posterior con la pieza del cierre que hicimos en el paso 3
Step 6. Later we are going to sew along the contour (leaving 1cm distance) the back with the piece of the closure that we made in step 3
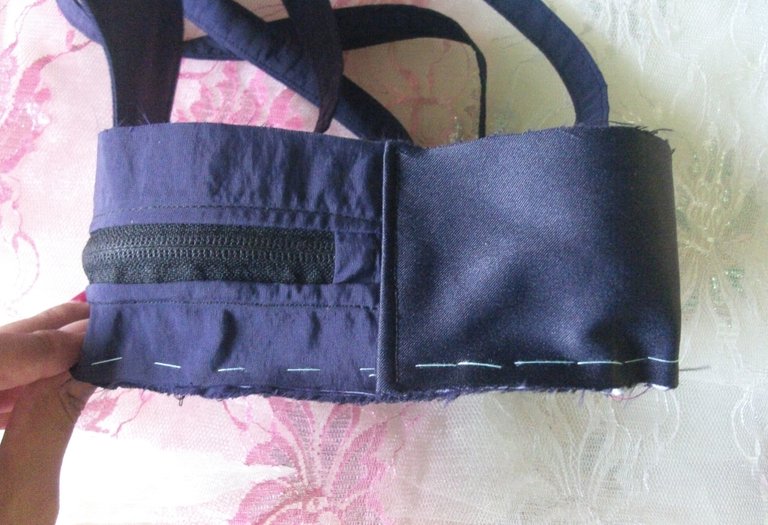
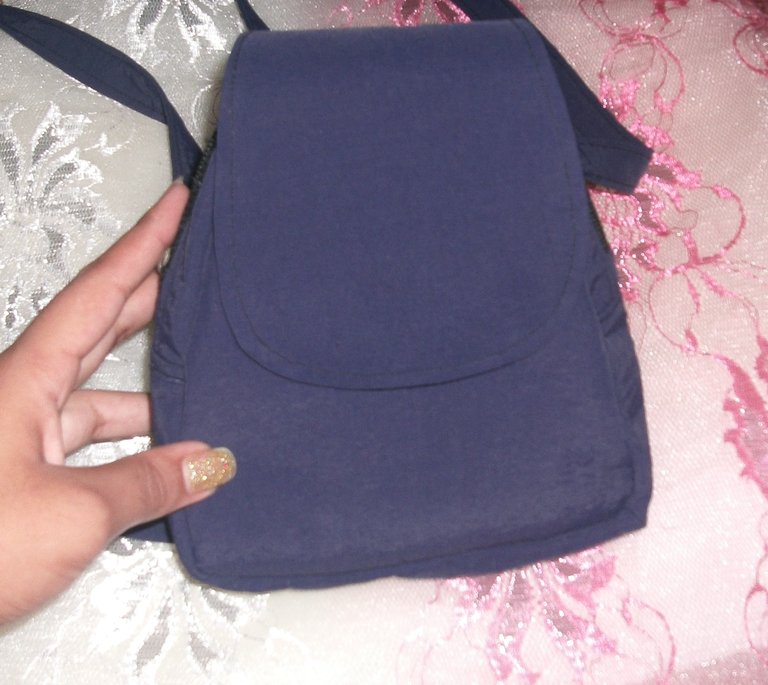
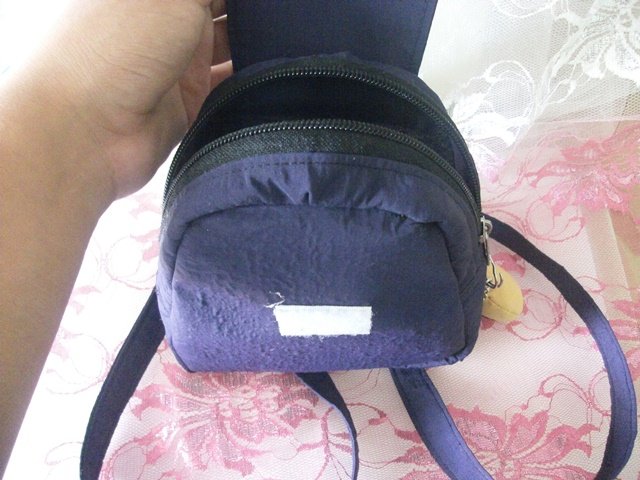
Luego cosemos igualmente la parte frontal del morral con la pieza del cierre y le pasamos costura en zigzag a ambos bordes para que quede más limpio el resultado. Al terminar abrimos el cierre para voltear. Quedaría así de esta forma. Solo nos falta decorar nuestro morral.
Then we also sew the front part of the backpack with the zipper piece and we pass zigzag stitching to both edges so that the result is cleaner. When finished we open the closure to flip. It would look like this. We just need to decorate our backpack.
✩⋆Resultado final:⋆✩
Final score:
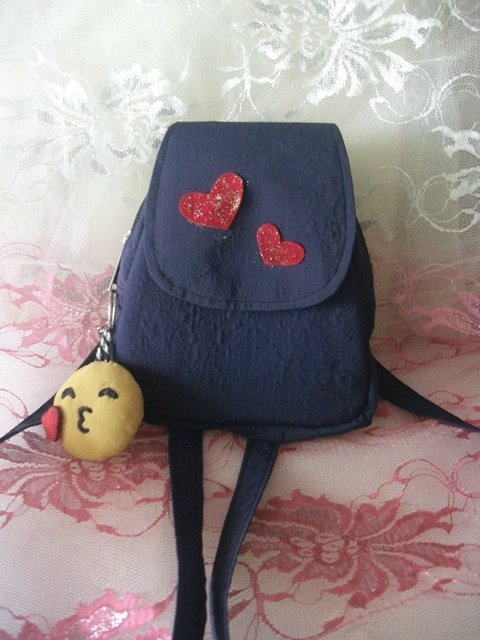
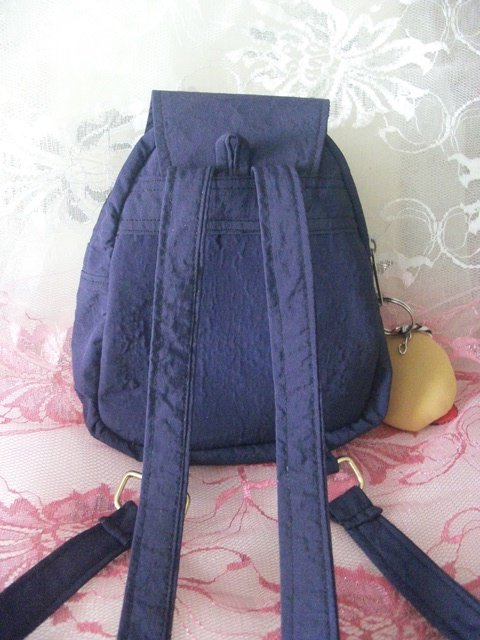
¡Y listo!, asi terminamos nuestra mini mochila. Yo he optado por hacerla de en un tamaño mini porque me parece que se ve más tierna y porque es la primera vez que realizo una mochila :p, pero ustedes pueden hacerla del tamaño que deseen. ¡Espero que les haya gustado! Y que se animen a realizarla si también adoran coser tanto como yo
☜♥☞Muchas gracias por ver mi publicación; que tengan un muy feliz día :) y hasta la próxima☜♥☞
(๑•ᴗ•๑)♡
And voila, that's how we finish our mini backpack. I have chosen to make it in a mini size because I think it looks more tender and because it is the first time I have made a backpack: p, but you can make it any size you want. I hope you liked it! And that you dare to do it if you also love to sew as much as I do
Thank you very much for viewing my post; have a very happy day :) and see you next time
Las imágenes fueron tomadas por un telefono celular: Nokia 3.1