Hola feliz noche amigos creadores de contenidos espero que se encuentren saludables , hoy les quiero compartir la decoración de un porta notas con temática de Monster hembra , es un tutorial sumamente sencillo pero muy divertido les encantarán los resultados
Hello happy evening friends content creators I hope you are healthy , today I want to share with you the decoration of a female Monster themed note holder , it is an extremely simple tutorial but very fun you will love the results.
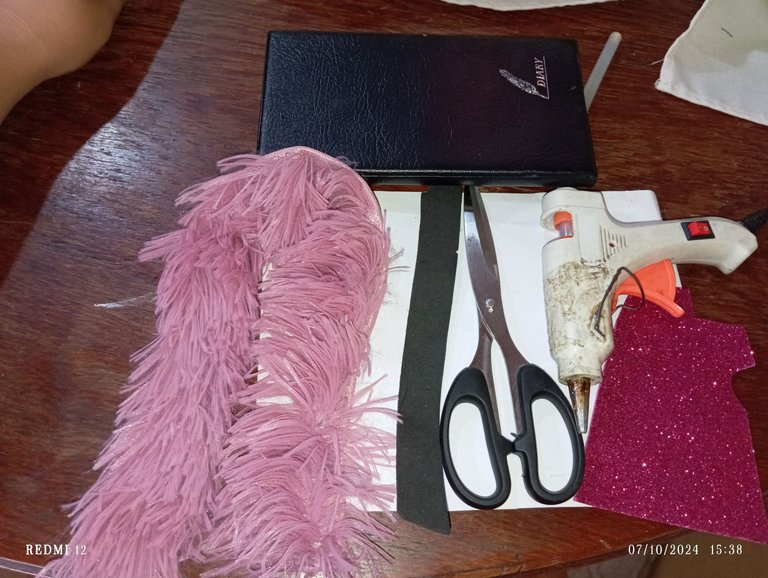
Materiales qué utilice para decorar mi porta notas:
-Tela de Peluche
-Tijera
-Foamis
-Silicon
Materials I used to decorate my note holder:
-Plush fabric
-Scissors
-Foamis
-Silicon
A continuación los pasos para decorar nuestro porta notas:
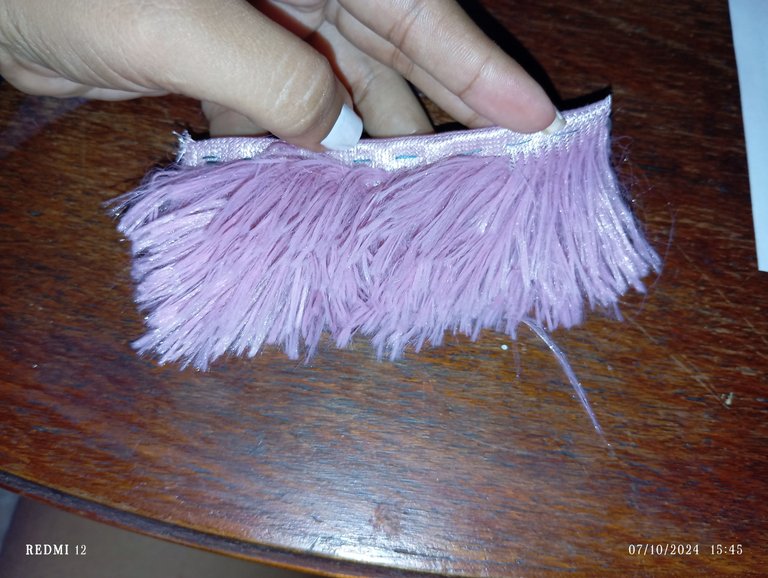
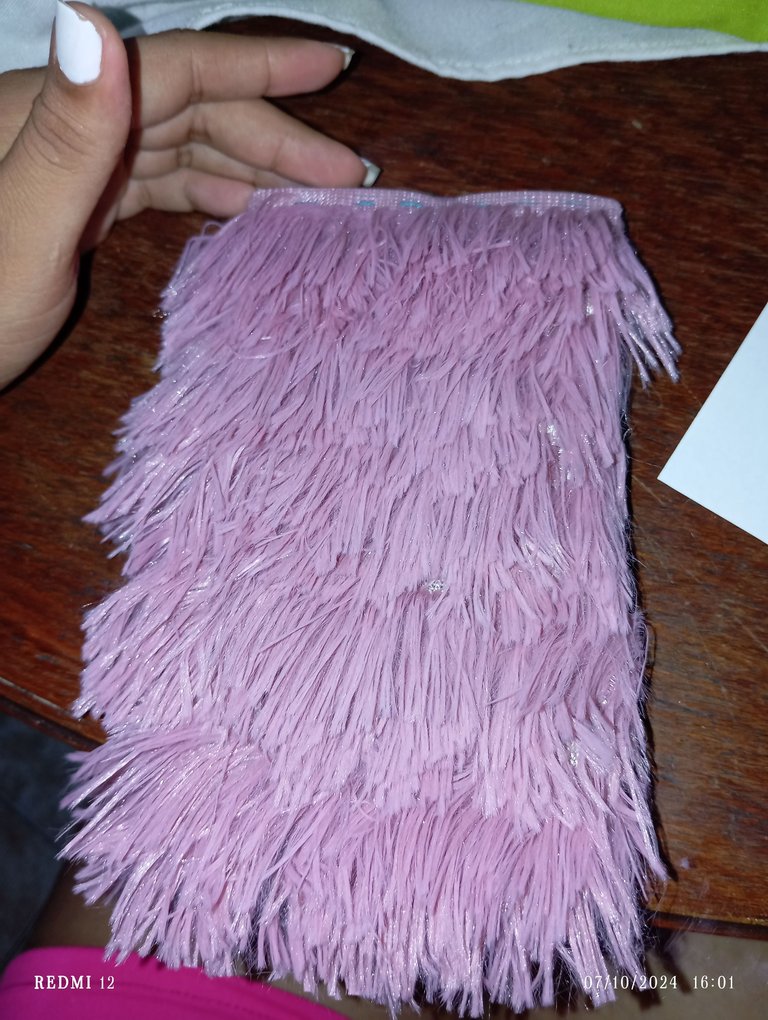
Primer paso ; gracias a una vecina costurera quien me regaló unas tiras de esta suavecita tela , inicié recortando la tela de acuerdo al tamaño de mi porta notas, como lo pueden apreciar
Here are the steps to decorate our note holder:
First step; thanks to a neighbor seamstress who gave me some strips of this soft fabric, I started by cutting the fabric according to the size of my note holder, as you can see.
Segundo paso : a continuación en nuestro segundo paso vamos a iniciar decorando nuestro porta notas, iniciamos pegando nuestras tiras de tela de peluche de forma horizontal , inicie de arriba abajo , también puede ser viceversa de abajo para arriba
Second step : next in our second step we are going to start decorating our note holder, we start by gluing our plush fabric strips horizontally, start from top to bottom, it can also be vice versa from bottom to top.
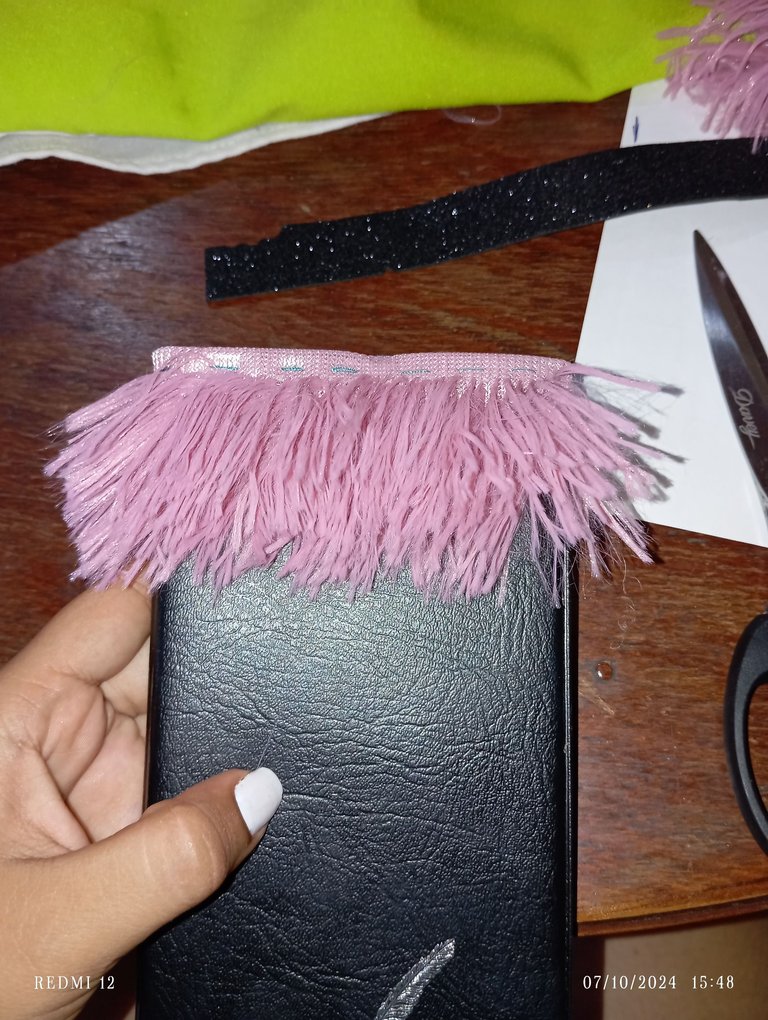
Tercer paso : de esta manera debe quedar nuestro porta notas cubierto, por la parte frontal , los bordes contrarios y por último la parte de atrás
Third step: in this way our note holder should be covered on the front side, the opposite edges and finally the back side.
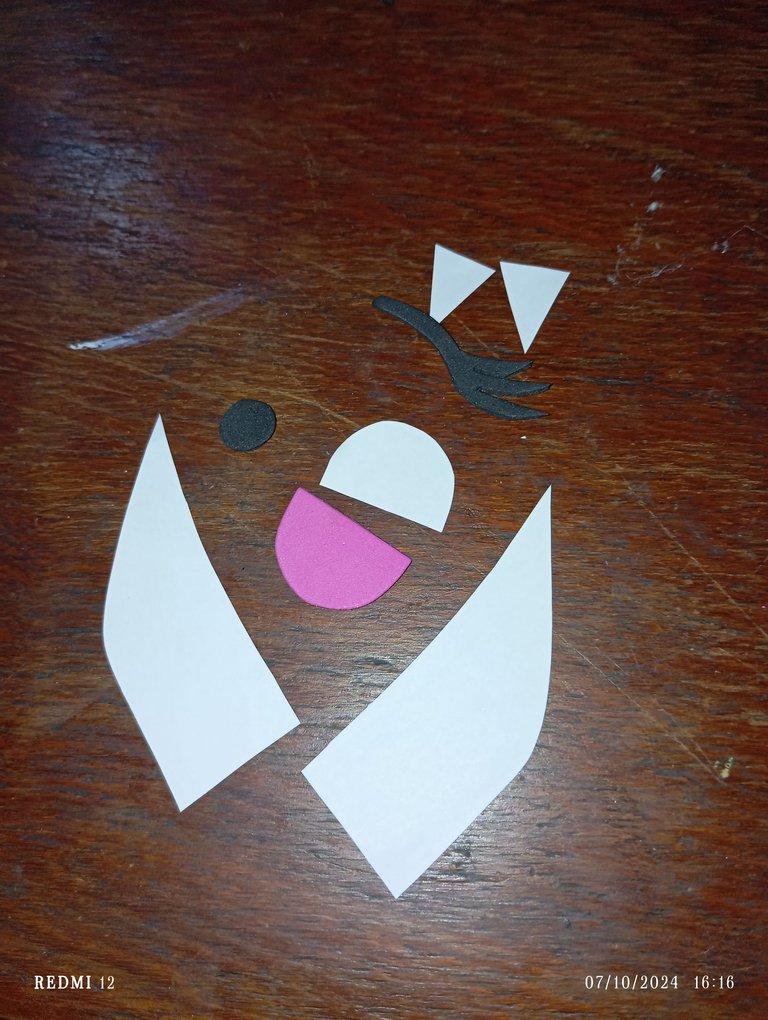
Cuarto paso : seguidamente procederemos recortando las siguientes piezas para formar el rostro de nuestra Monster: cachos , ojo ,pestañas y colmillos afilados
Fourth step: then we will proceed to cut out the following pieces to form the face of our Monster: cheeks, eye, eyelashes and sharp fangs.
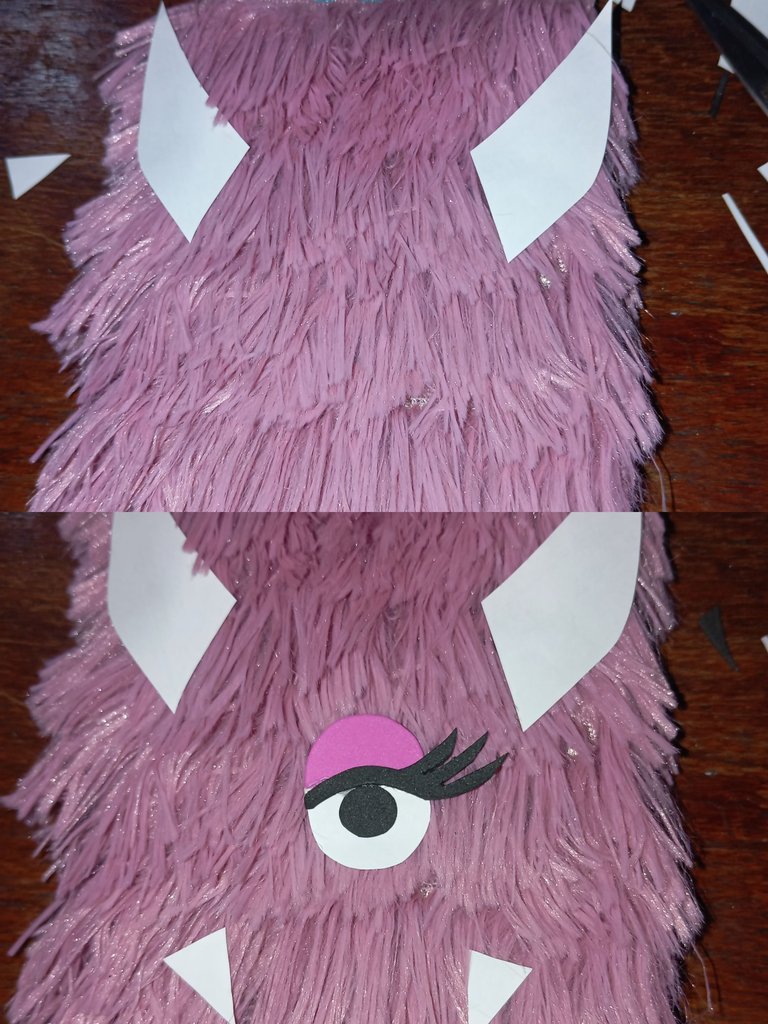
Quinto paso : en nuestro quinto paso vamos a proceder pegando y formando el ojo de la Monster , iniciamos pegando y formando el ojo mitad blanco y mitad rosa que semeja maquillaje (sombra) en los ojos , luego en el centro continuaré pegando el círculo negro el ojo y por último sus pestañas estiradas
Fifth step: in our fifth step we will proceed gluing and forming the eye of the Monster, we start by gluing and forming the eye half white and half pink that looks like makeup (shadow) in the eyes, then in the center we will continue gluing the black circle and finally the eyelashes stretched.

Sexto paso : finalmente vamos a proceder pegando y formando la cara de la Monster, inicie pegando sus cachos en la parte de arriba semi separados , luego procedemos pegando en el centro su ojo , para finalizar en la parte de abajo vamos a pegar los colmillos afilados
Sixth step: finally we will proceed by gluing and forming the face of the Monster, start by gluing her horns in the top part semi separated, then we proceed by gluing in the center her eye, to finish in the bottom part we will glue the sharp fangs.
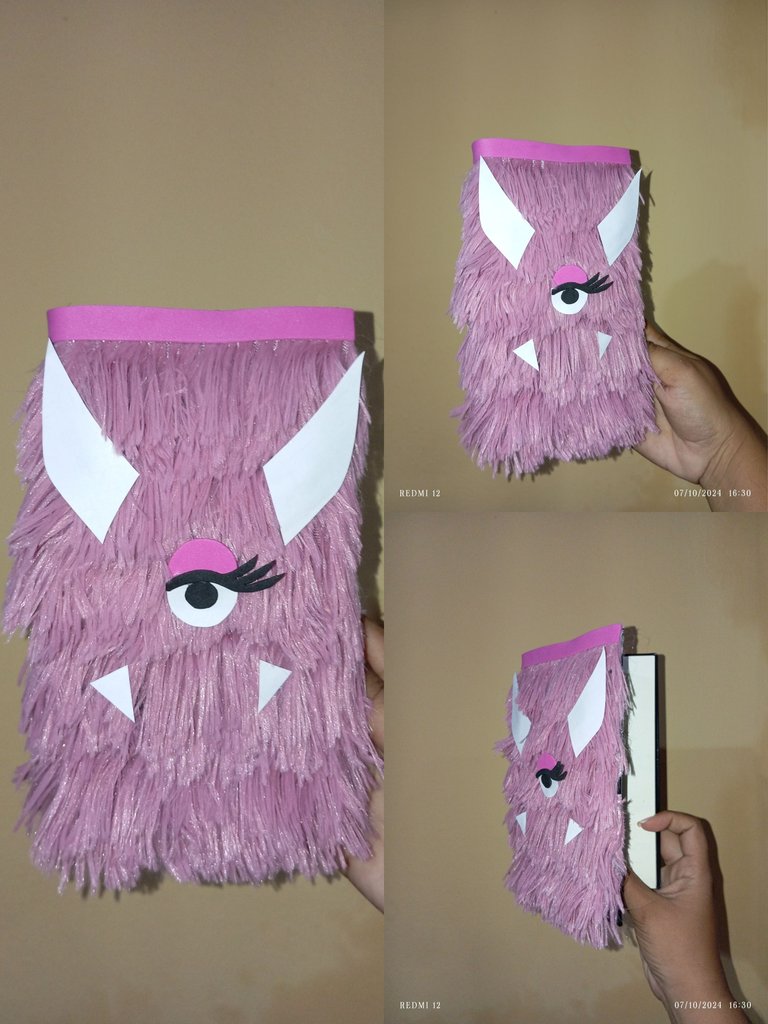
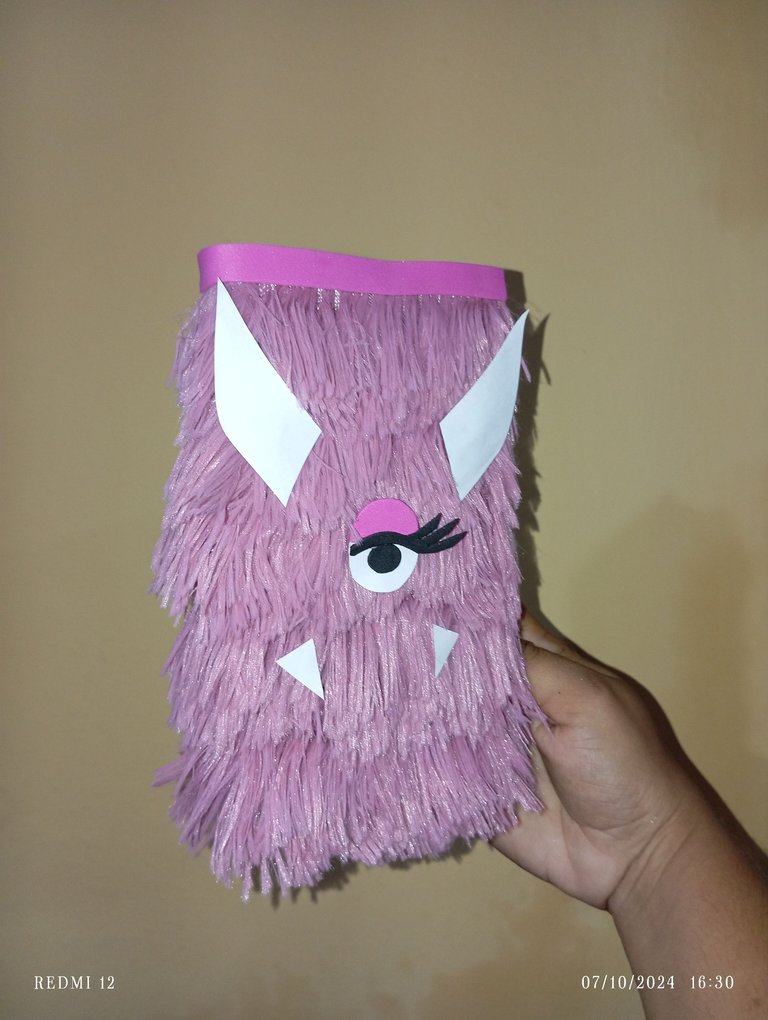
Resultado final : así fue como realicé la decoración de mi porta notas con temática de Monster , espero le guste y les sea de utilidad este tutorial, hasta luego , feliz noche
Final result: this is how I made the decoration of my Monster themed note holder, I hope you like it and find this tutorial useful, see you later, happy night.
Monster themed note holder decoration