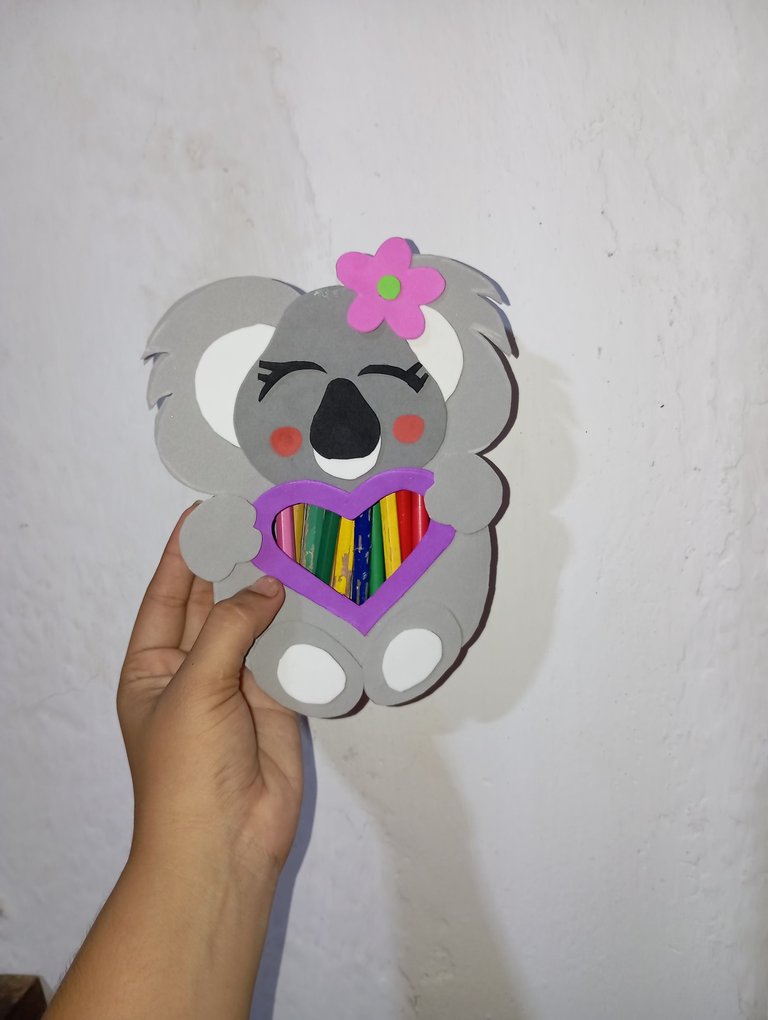
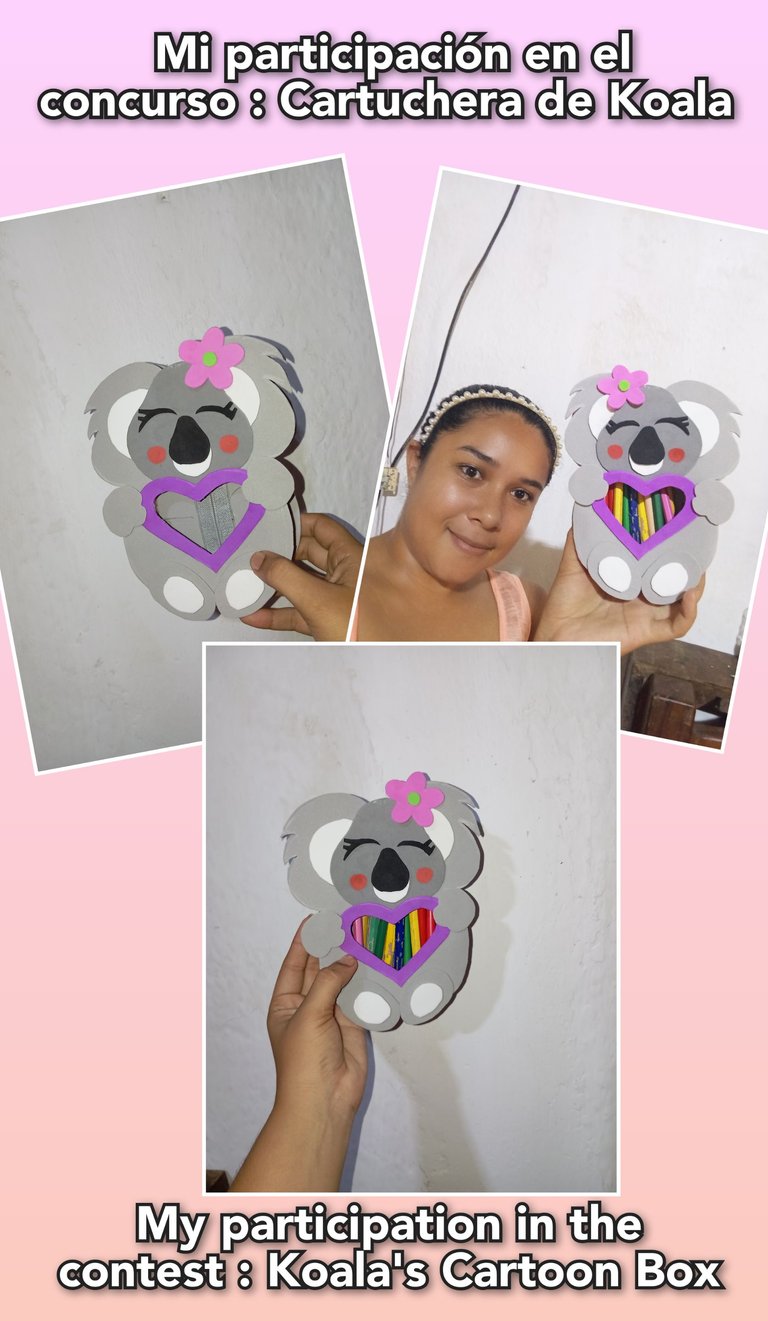
Buenas noches tengan todos mis hermosos amigos , es para mí un placer compartir con ustedes y formar parte de este nuevo concurso de nuestra querida comunidad #Hivediy , está comunidad es como mi hogar , desde aquí comencé mis nuevos caminos como creadora y emprendedora , me gustó mucho el tema del concurso porque estamos en un nuevo comienzo a clases sin duda cómo siempre son excelentes sus ideas , mi cartuchera está inspirada en una linda koala , estos animales son hermosos he interesantes , antes de continuar le hago la invitación a mis amigas @rameuris y @josdelmin @desileal que formen parte de este nuevo concurso y nos muestren su talento
Good evening to all my beautiful friends, it is a pleasure for me to share with you and be part of this new contest of our beloved community #Hivediy, this community is like my home, from here I started my new paths as a creator and entrepreneur , I really liked the theme of the contest because we are in a new start to classes no doubt how always your ideas are excellent, my pencil case is inspired by a cute koala, these animals are beautiful and interesting, before continuing I invite my friends @rameuris and @josdelmin @desileal to be part of this new contest and show us their talent
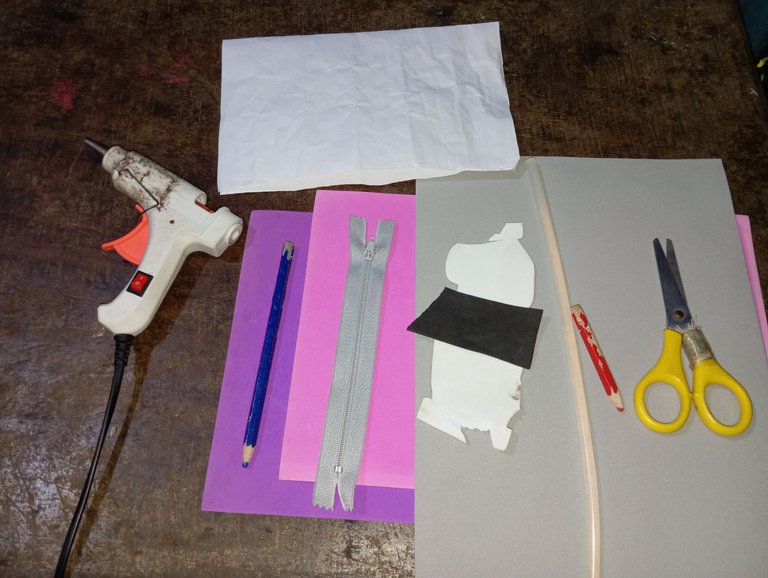
Materiales que utilice:
-Foamis
-Cierre plástico
-Silicon
-Papel
-Lapiz
-Tijera
Materials used:
-Foamis
-Plastic zipper
-Silicon
-Paper
-Lapiz
-Scissors
A continuación los pasos a seguir :
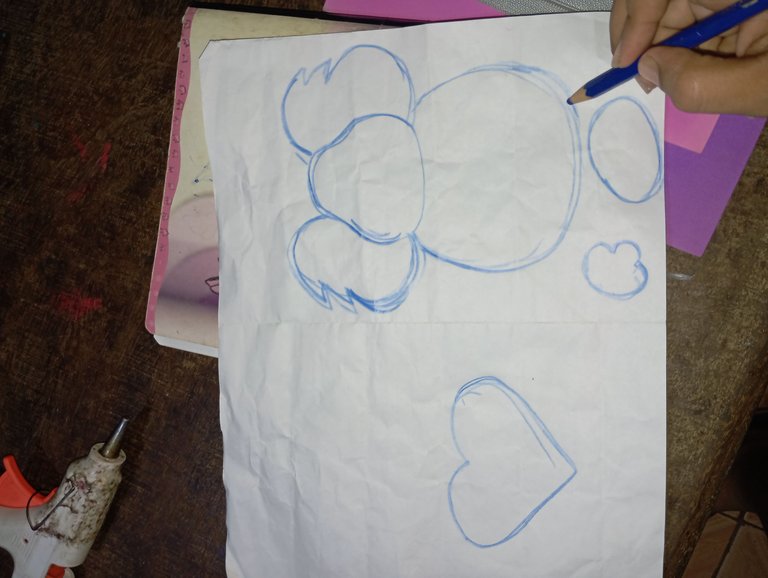
Paso número 1 : iniciaremos realizando un patrón , con el vamos a trabajar cómodamente , en el dibujé la silueta de un koala , sus patas aparte , un corazón y una flor para la decoración
Here are the steps to follow:
Step number 1: we will start by making a pattern, with which we will work comfortably, I drew the silhouette of a koala, its legs apart, a heart and a flower for decoration
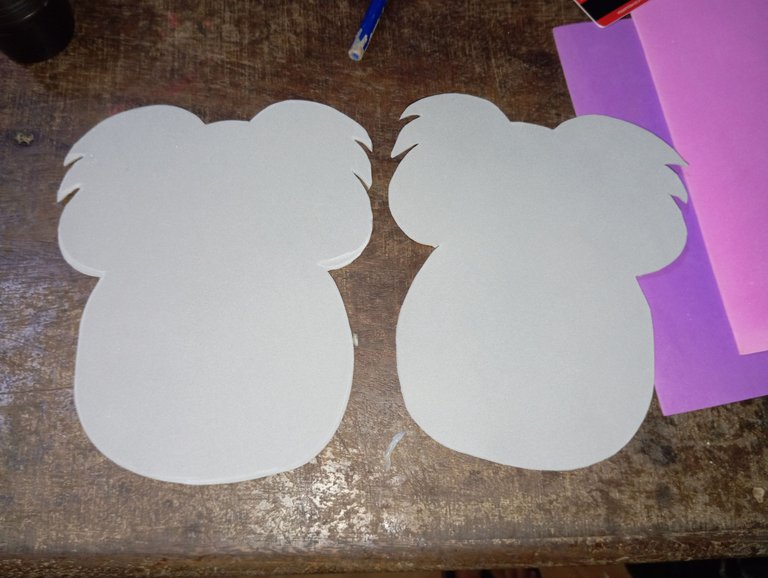
Paso número 2 : una vez que tengamos listo nuestro patrón , tomaremos nuestra tijera y recortaremos dos siluetas del cuerpo de nuestro koala , para esto utilice el foamis color gris
Step number 2: once we have our pattern ready, we will take our scissors and cut out two silhouettes of the body of our koala, for this we will use the gray foamis.
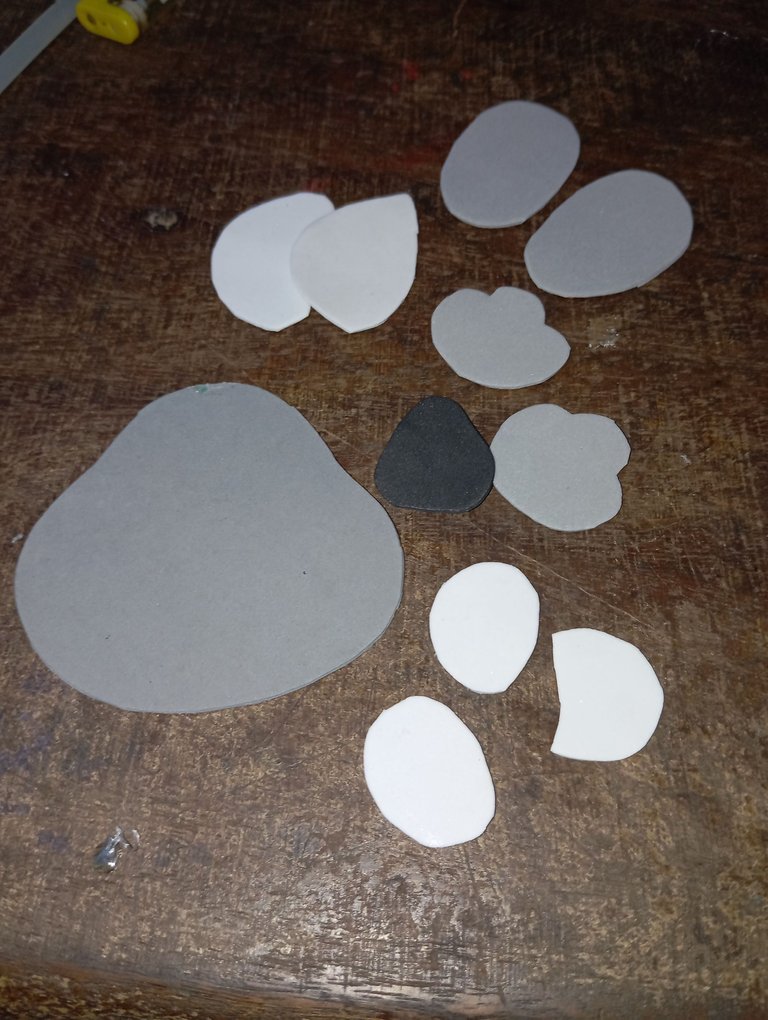
Paso número 3: seguidamente continúe recortando unas piezas adicionales para la decoración y formación de el koala ,primero recorte el fondo de las orejas de nuestro koala , su cabeza adicional , patas delanteras y traseras ,nariz y rostro
Step number 3: then continue cutting out some additional pieces for the decoration and formation of the koala, first cut out the bottom of the ears of our koala, his additional head, front and hind legs, nose and face
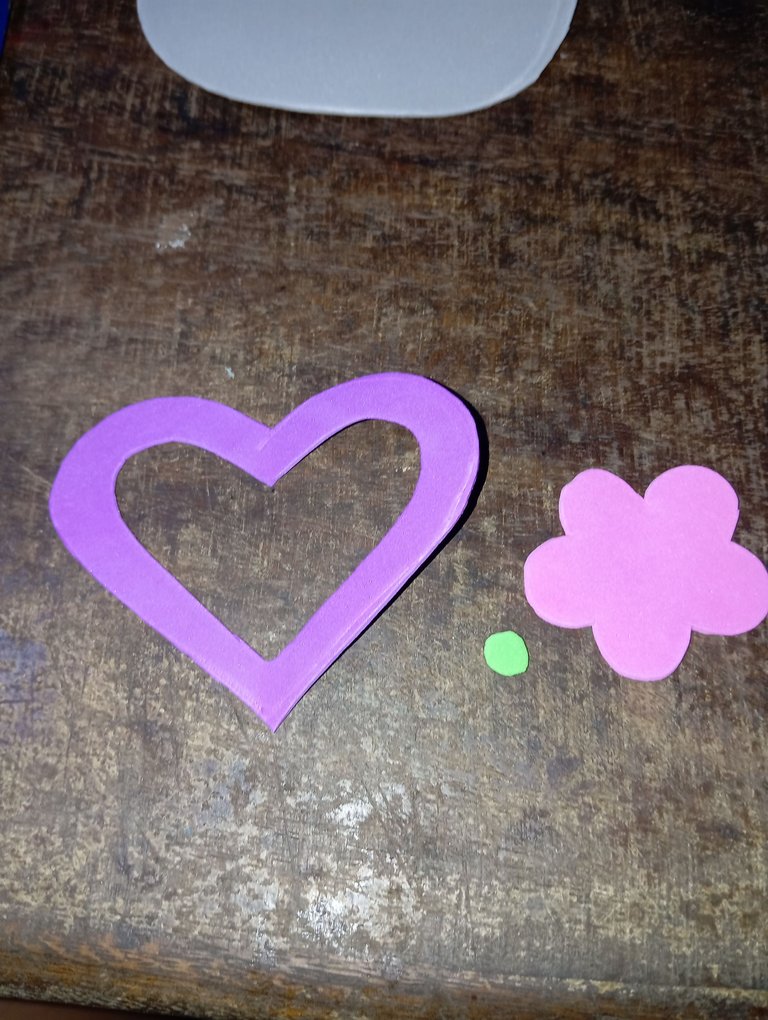
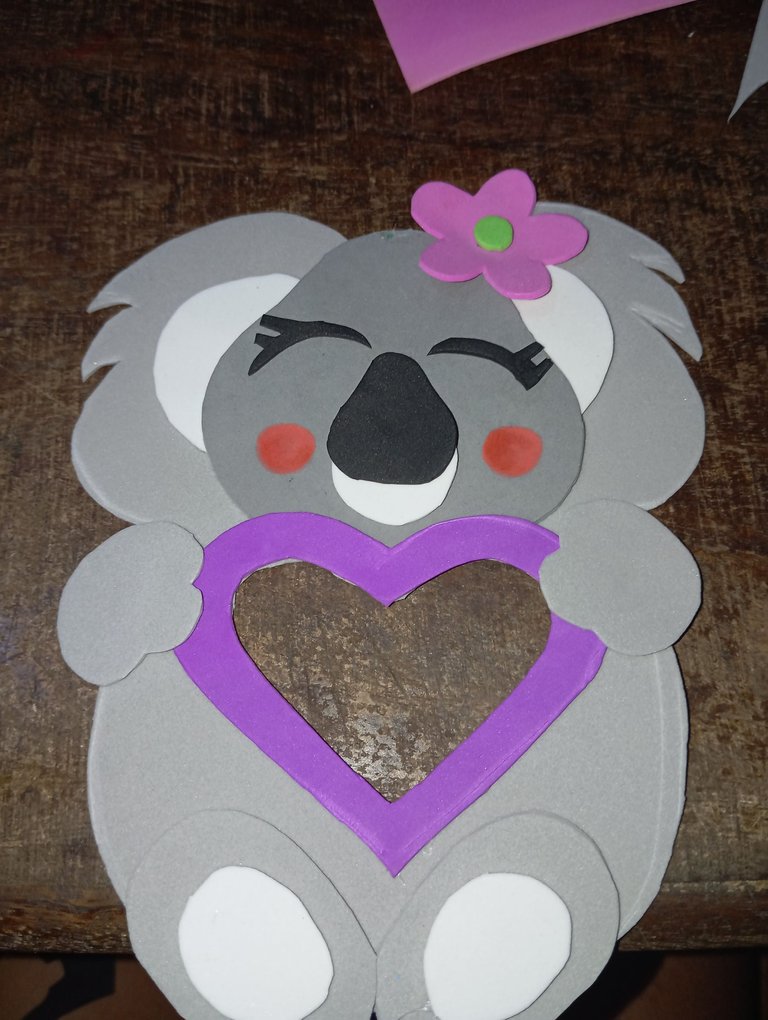
Paso número 4 : para la decoración de nuestro koala ,por ser hembra recorte una flor ,más un corazón que ubicaremos en la parte central
Step number 4: for the decoration of our koala, because it is a female, cut out a flower, plus a heart that we will place in the central part.
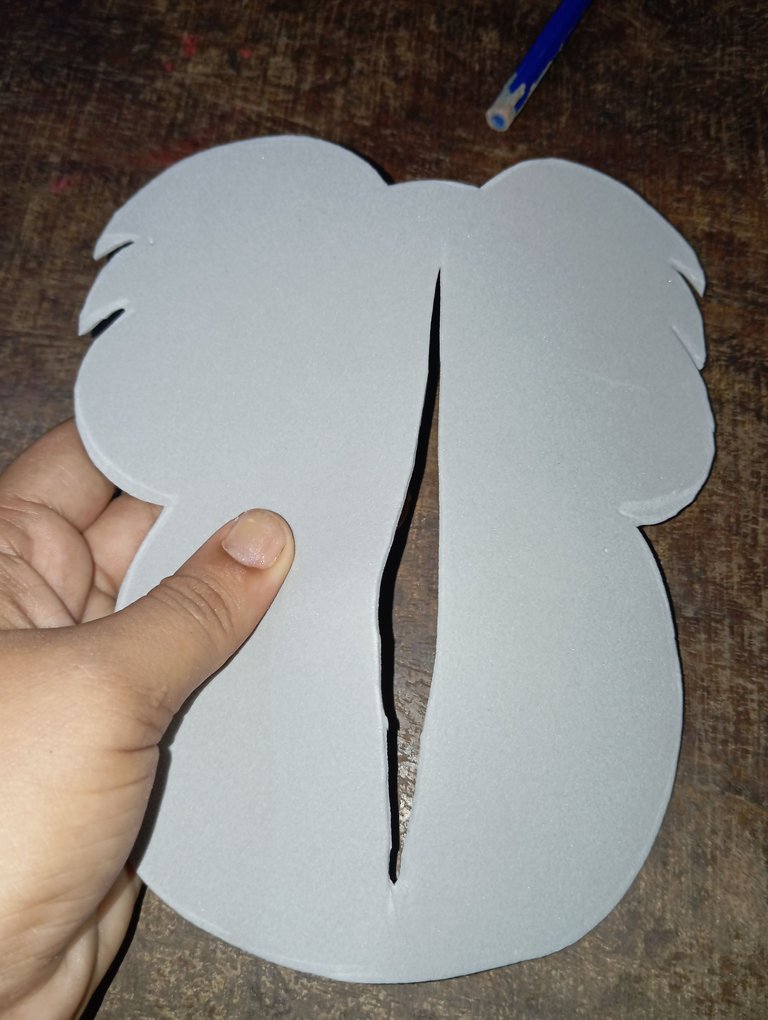
Paso número 5 : luego en la parte de atrás de nuestro koala vamos a realizar un corte de forma vertical , allí irá ubicado el cierre para introducir los lápices de colores
Step number 5: then on the back of our koala we will make a vertical cut, there will be located the closure to introduce the crayons.
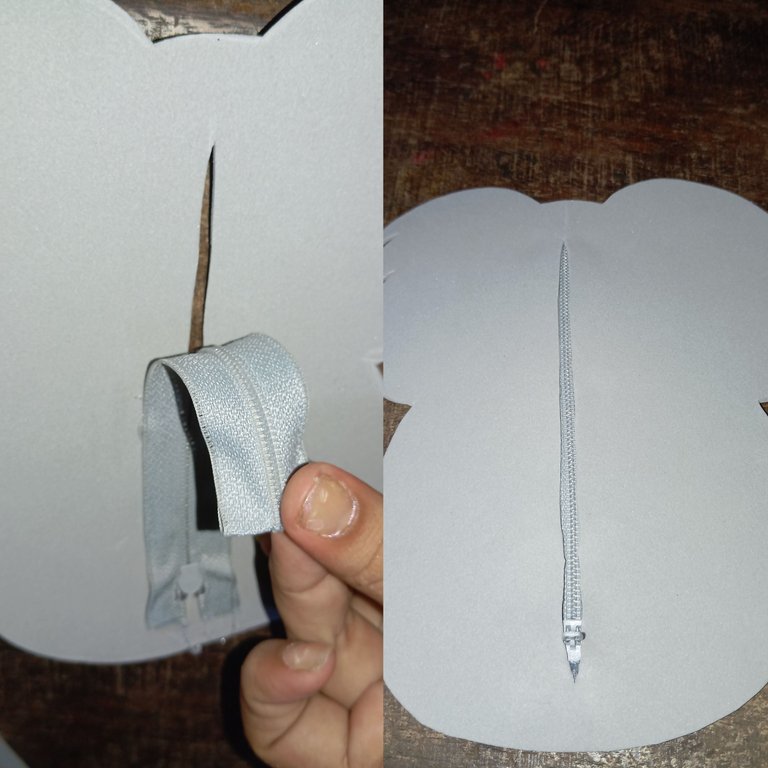
Paso número 6: tomaremos nuestro cierre plástico ,el más económico, lo pegaremos en la parte de atrás del corte que realizamos en el paso anterior , debemos asegurarnos que el cierre quede bien puesto
Step number 6: we will take our plastic zipper, the cheapest one, we will glue it on the back of the cut we made in the previous step, we must make sure that the zipper is well placed
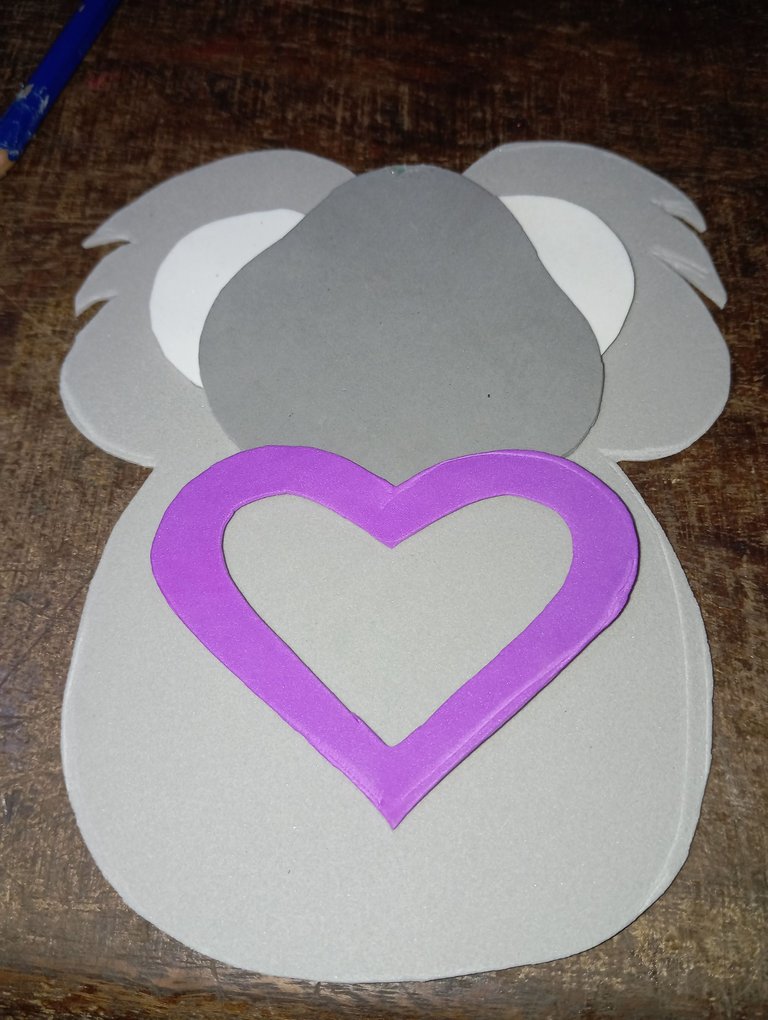
Paso número 7: en este siguiente paso vamos a continuar pegando la cabeza, el fondo de las orejas y la nariz en todo el centro , luego en la parte del cuerpo del koala vamos a pegar el corazón
Step number 7: in this next step we will continue gluing the head, the bottom of the ears and the nose in the center, then in the body part of the koala we will glue the heart.
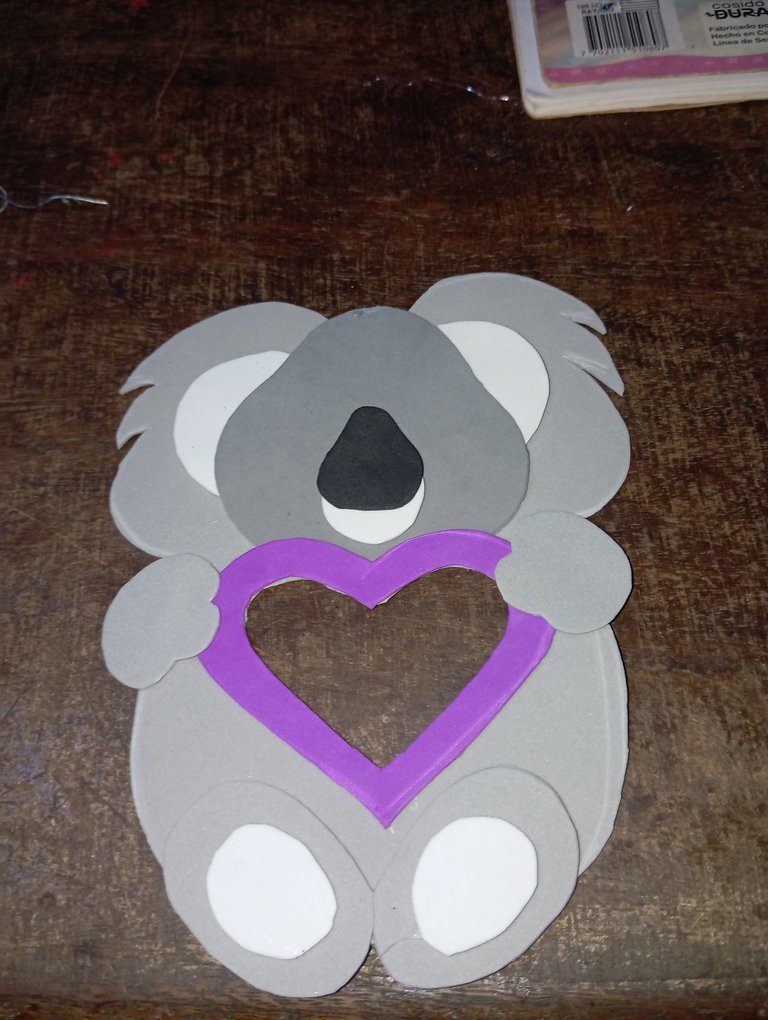
Paso número 8: para que se noten los colores en el centro , tomé la tijera y recorte el centro , luego a los lados pegue las patas delanteras y traseras a nuestro koala , para que parezca que está sentado sosteniendo el corazón
Step number 8: to show the colors in the center, take the scissors and cut out the center, then on the sides glue the front and back legs to our koala, so it looks like he is sitting holding the heart.
Paso número 9: por último pegué sus pestañas y dibujé sus mejillas sonrojadas , en una esquina de su cabeza pegué su flor
Step number 9: lastly I glued his eyelashes and drew his blushing cheeks , on one corner of his head I glued his flower
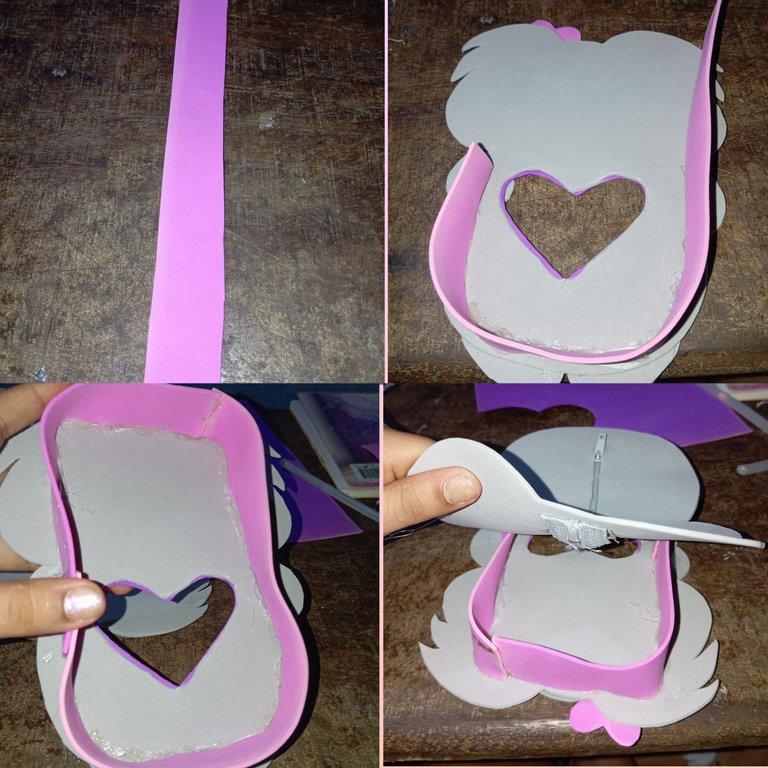
Paso número 10: una vez lista la parte principal de nuestro koala y la trasera con su cierre ,vamos a proceder realizando la parte final para poder introducir los colores , tomaremos una tira lo más larga de 4 centímetro de grosor , la pegaremos en todo el centro de nuestro koala siguiendo todo el alrededor de la parte central , luego pegaremos la otra parte de nuestro koala y pegamos arriba ,finalizando nuestra cartuchera de koala
Step number 10: once ready the main part of our koala and the back with its zipper, we will proceed making the final part to be able to introduce the colors, we will take a strip as long as 4 centimeters thick, we will glue it around the center of our koala following all around the central part, then we will glue the other part of our koala and glue on top, finishing our koala pencil case.
Este es el resultado final de mi hermosa cartuchera de koala , como siempre me siento orgullosa del resultado , esta es una decoración que nuestras pequeñas amarán , las fotos las tomé con mi redmi 12 y traduje los textos con el traductor deepl, que pasen bella noche amigos
This is the final result of my beautiful koala pencil case , as always I am proud of the result , this is a decoration that our little ones will love , the photos were taken with my redmi 12 and I translated the texts with deepl translator , have a nice evening friends
