Hola, queridos amigos de esta hermosa comunidad #Hivediy.
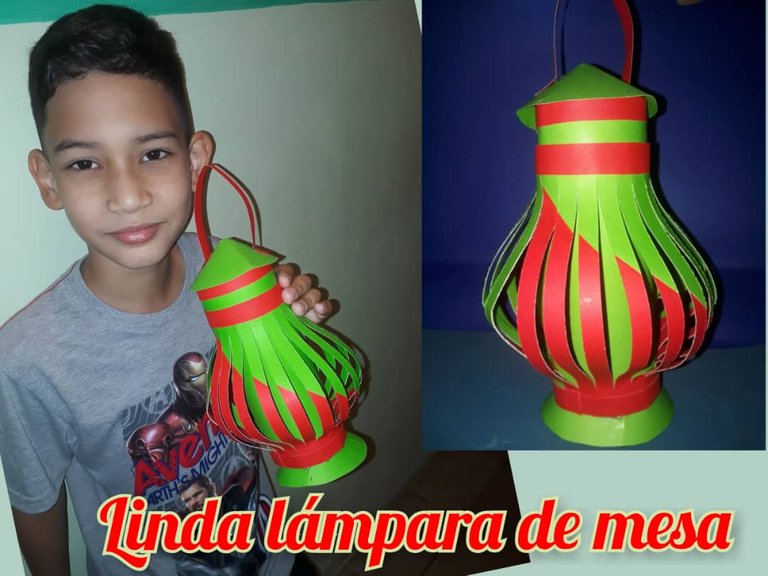
Quiero compartir con ustedes un hermoso bricolaje: Lámpara
de mesa, muy útil y sobretodo fácil y divertida de hacer.
Invito a mis amigos que se motiven y realicen sus lámparas, con los colores que deseen.
Hello, dear friends of this beautiful community #Hivediy.
I want to share with you a beautiful DIY: Table lamp, very useful and above all easy and fun to make.
table lamp, very useful and above all easy and fun to do.
I invite my friends to motivate themselves and make their lamps, with the colors they want.
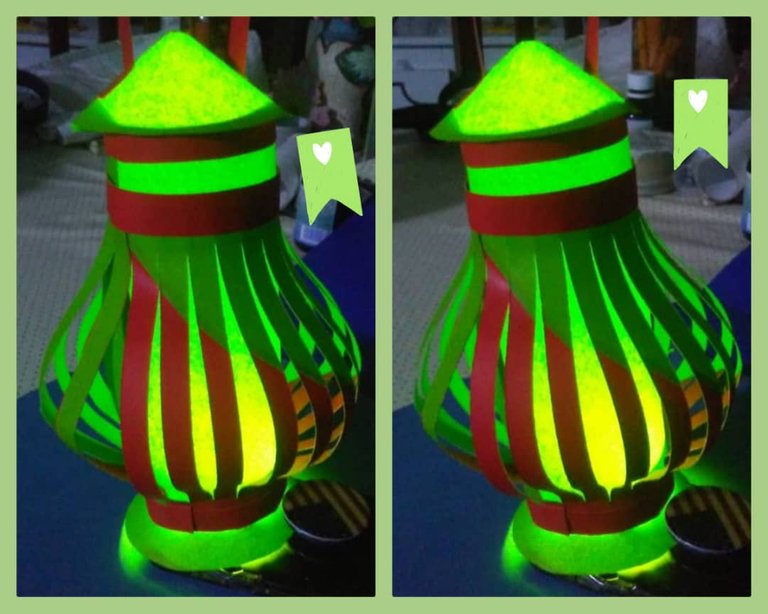
Miren lo bella que se ve y como alumbra.
Look how beautiful it looks and how it lights up.
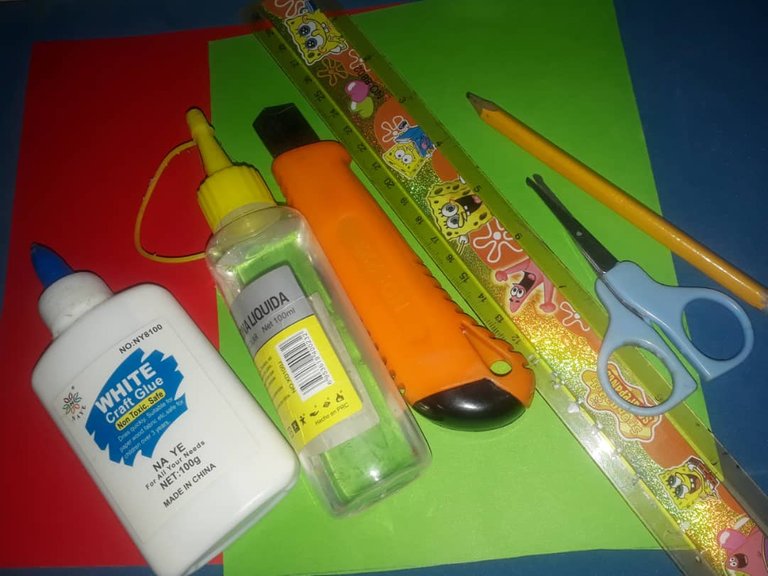
Materiales:
Cartulina de colores: verde y rojo.
Pega escolar.
Regla.
Tijera.
Exacto.
Silicona líquida.
Lápiz.
Materials:
Color cardboard: green and red.
School glue.
Ruler.
Scissors.
Exactly.
Liquid silicone.
Pencil.
Paso a paso:
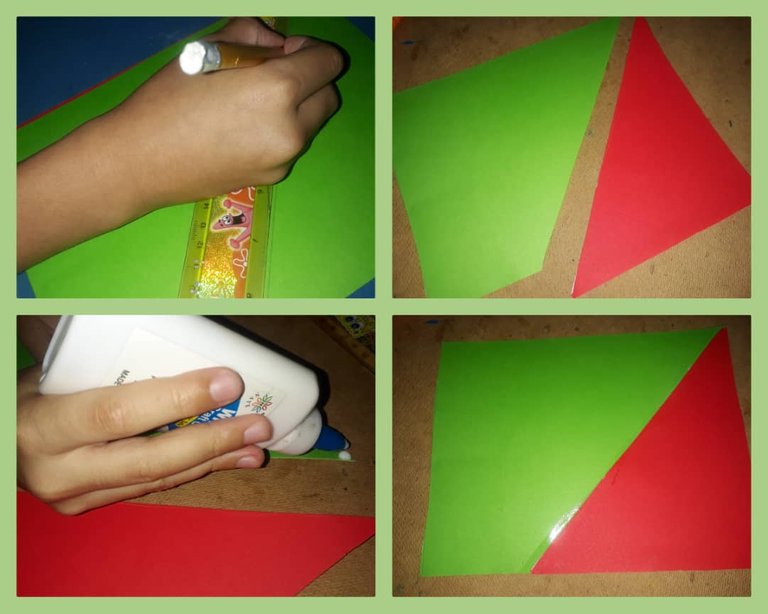
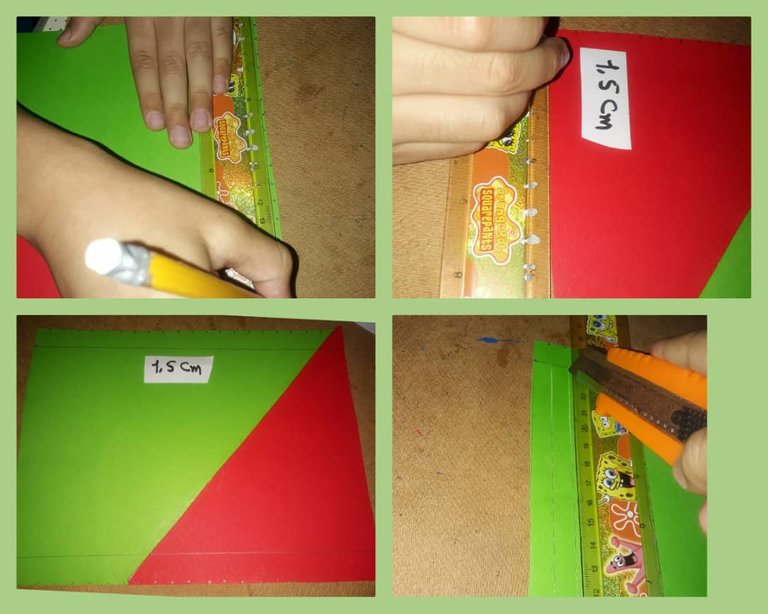
Recorta dos pedazos de cartulina de 17 x 22 centímetros.
Con una regla marca y recorta un pedazo en la parte de arriba de los dos pedazos de cartulina.
Ahora los pedazos de cartulina que recortaste de diferente colores, pega el pedazo rojo en la cartulina verde.
Step by step:
Cut out two 17 x 22 centimeter pieces of cardstock.
With a ruler mark and cut out a piece on the top of the two pieces of cardboard.
Now the pieces of cardboard you cut out in different colors, glue the red piece on the green cardboard.
Con una regla, marca 1 centímetro del lado más corto
y del lado mas largo 1,5 centímetros
Con un exacto y una regla cortas las lineas marcadas de un centímetro.
With a ruler, mark 1 centimeter on the shorter side and 1.5 centimeters on the longer side
and on the longer side 1.5 centimeters.
With an exacto and a ruler cut the marked lines of one centimeter.
Después que hayas cortados , todas las lineas de 1 centímetro, pegas las puntas y formas un cilindro o como un vaso
Cortas otro pedazo de cartulina verde de 17 x 22 centímetros.
After you have cut all the 1 cm lines, glue the ends together and form a cylinder or cup-like shape.
Cut another piece of green cardboard 17 x 22 centimeters.
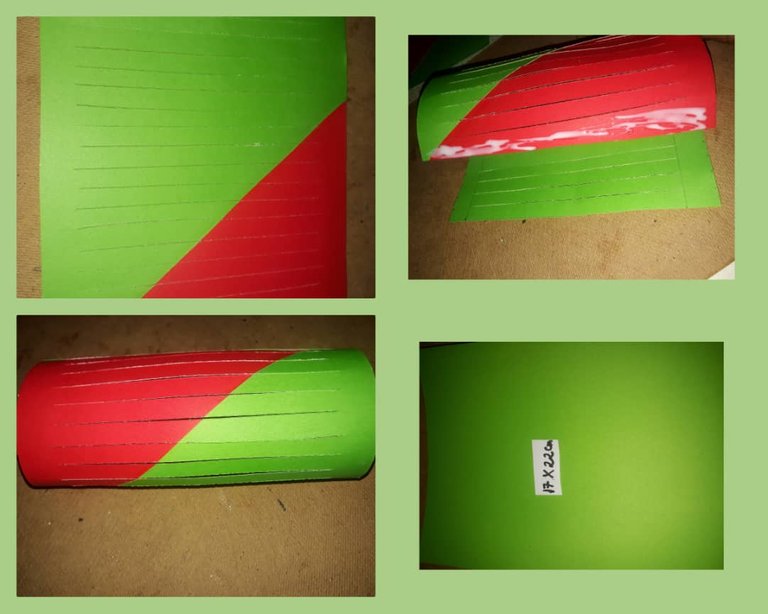
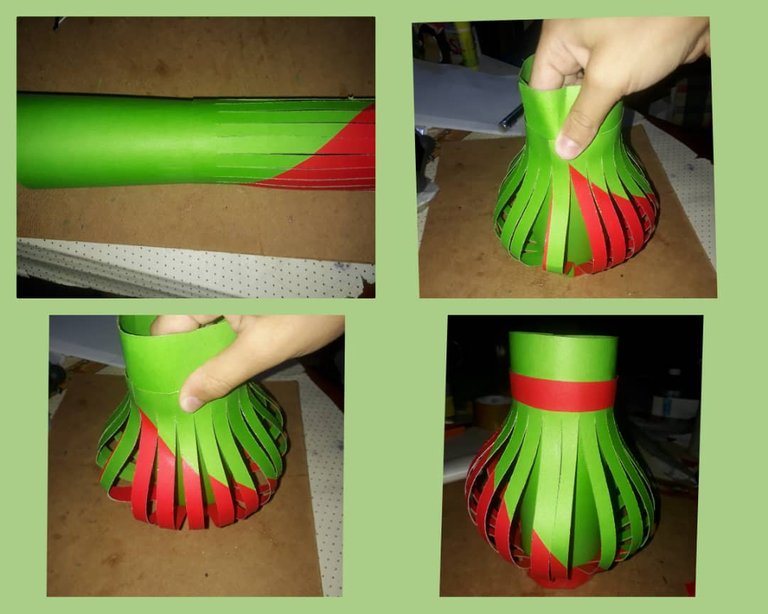
Ahora dóblelo y coloque el cilindro dentro del otro cilindro o vaso.
Pega la parte inferior con Silicona líquida.
No le pongas pega a la parte superior todavía, echas hacia abajo lo que tiene en forma de cilindro , para formar la figura de la lámpara y ahora si agregas pega
Now fold it and put the cylinder inside the other cylinder or glass.
Glue the bottom part with liquid Silicone.
Do not add glue to the upper part yet, pour down what you have in the form of a cylinder, to form the figure of the lamp and now if you add glue.
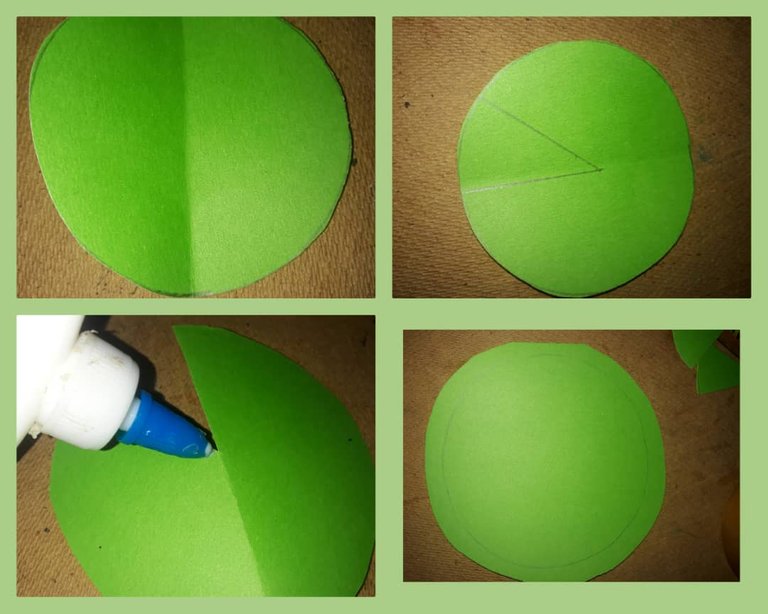
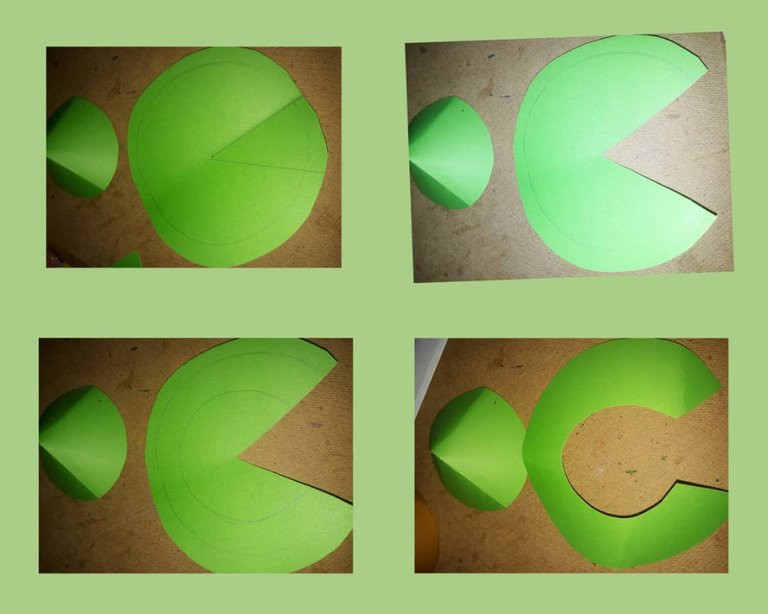
Haz un redondo, lo que será la tapa de la lámpara y le cortas un pedazo , como muestra la imagen
Ahora realizas un redondo más grande para formar la base (abajo) recortas un parte como muestra la imagen
You make a round, which will be the lid of the lamp and cut a piece of it, as shown in the picture.
Now make a larger round to form the base (below) and cut out a piece as shown in the image.
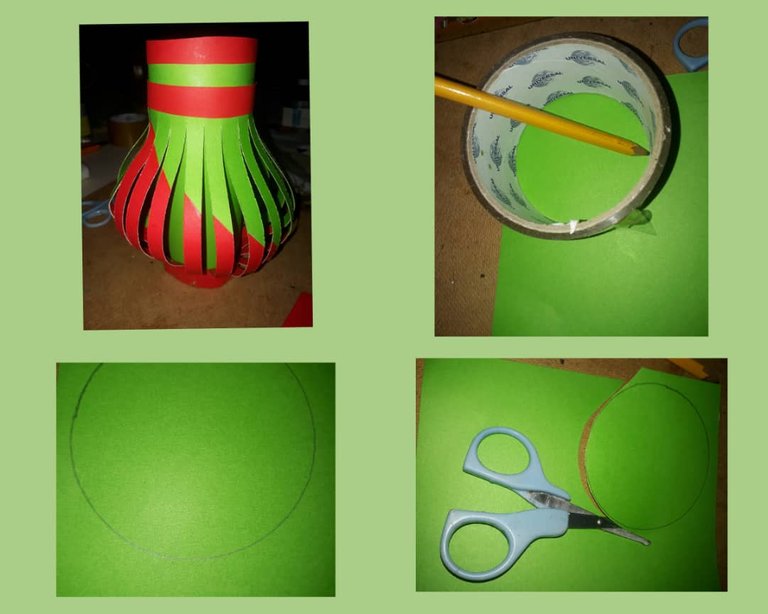
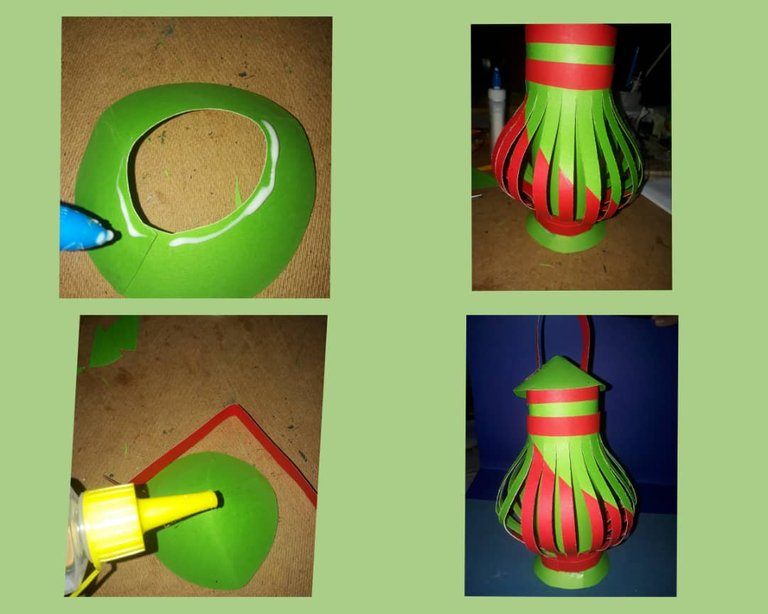
Pega y coloca la tapa en la parte superior y la base en la parte posterior
En la tapa , colocas un asa para sujetarla.
Glue and place the lid on the top and the base on the back.
To the lid, place a handle to hold it.
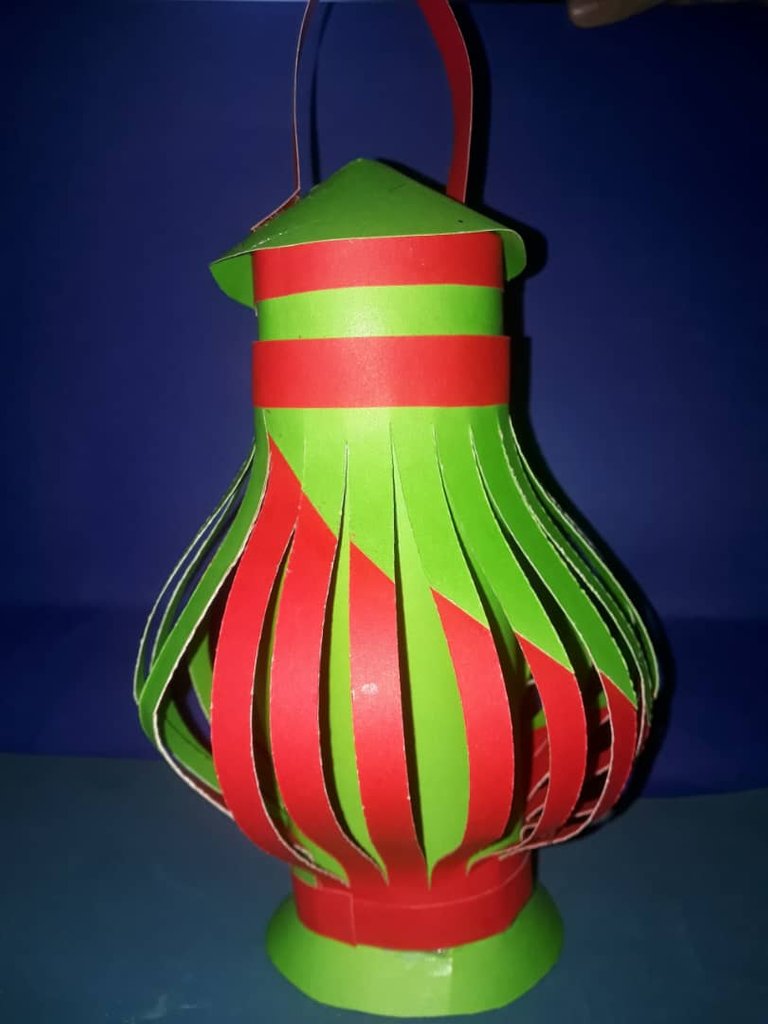
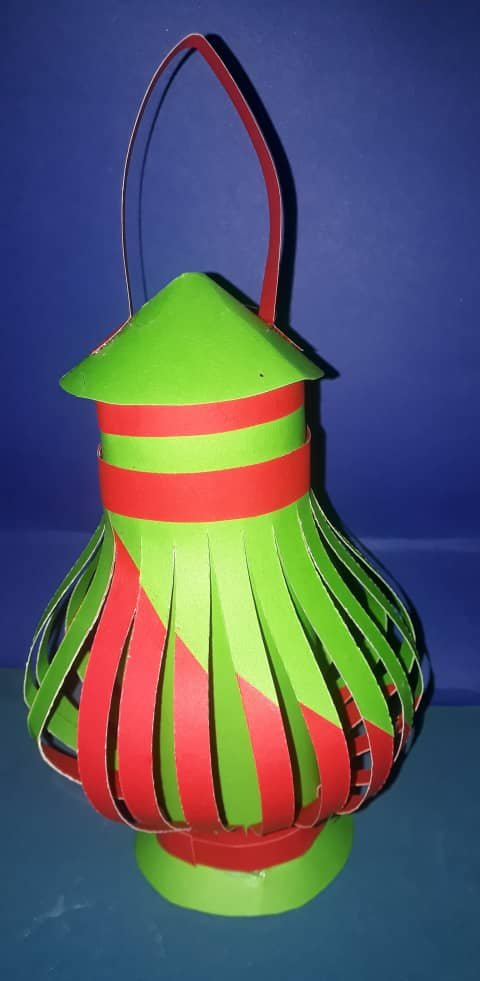
RESULTADO FINAL. UNA HERMOSA LÁMPARA DE MESA.
END RESULT. A BEAUTIFUL TABLE LAMP.
Las fotos son de mi propiedad, tomadas con teléfono Samsung , editadas con incollage y traducido con DEEPL.
The photos are my own, taken with Samsung phone, edited with incollage and translated with DEEPL.


