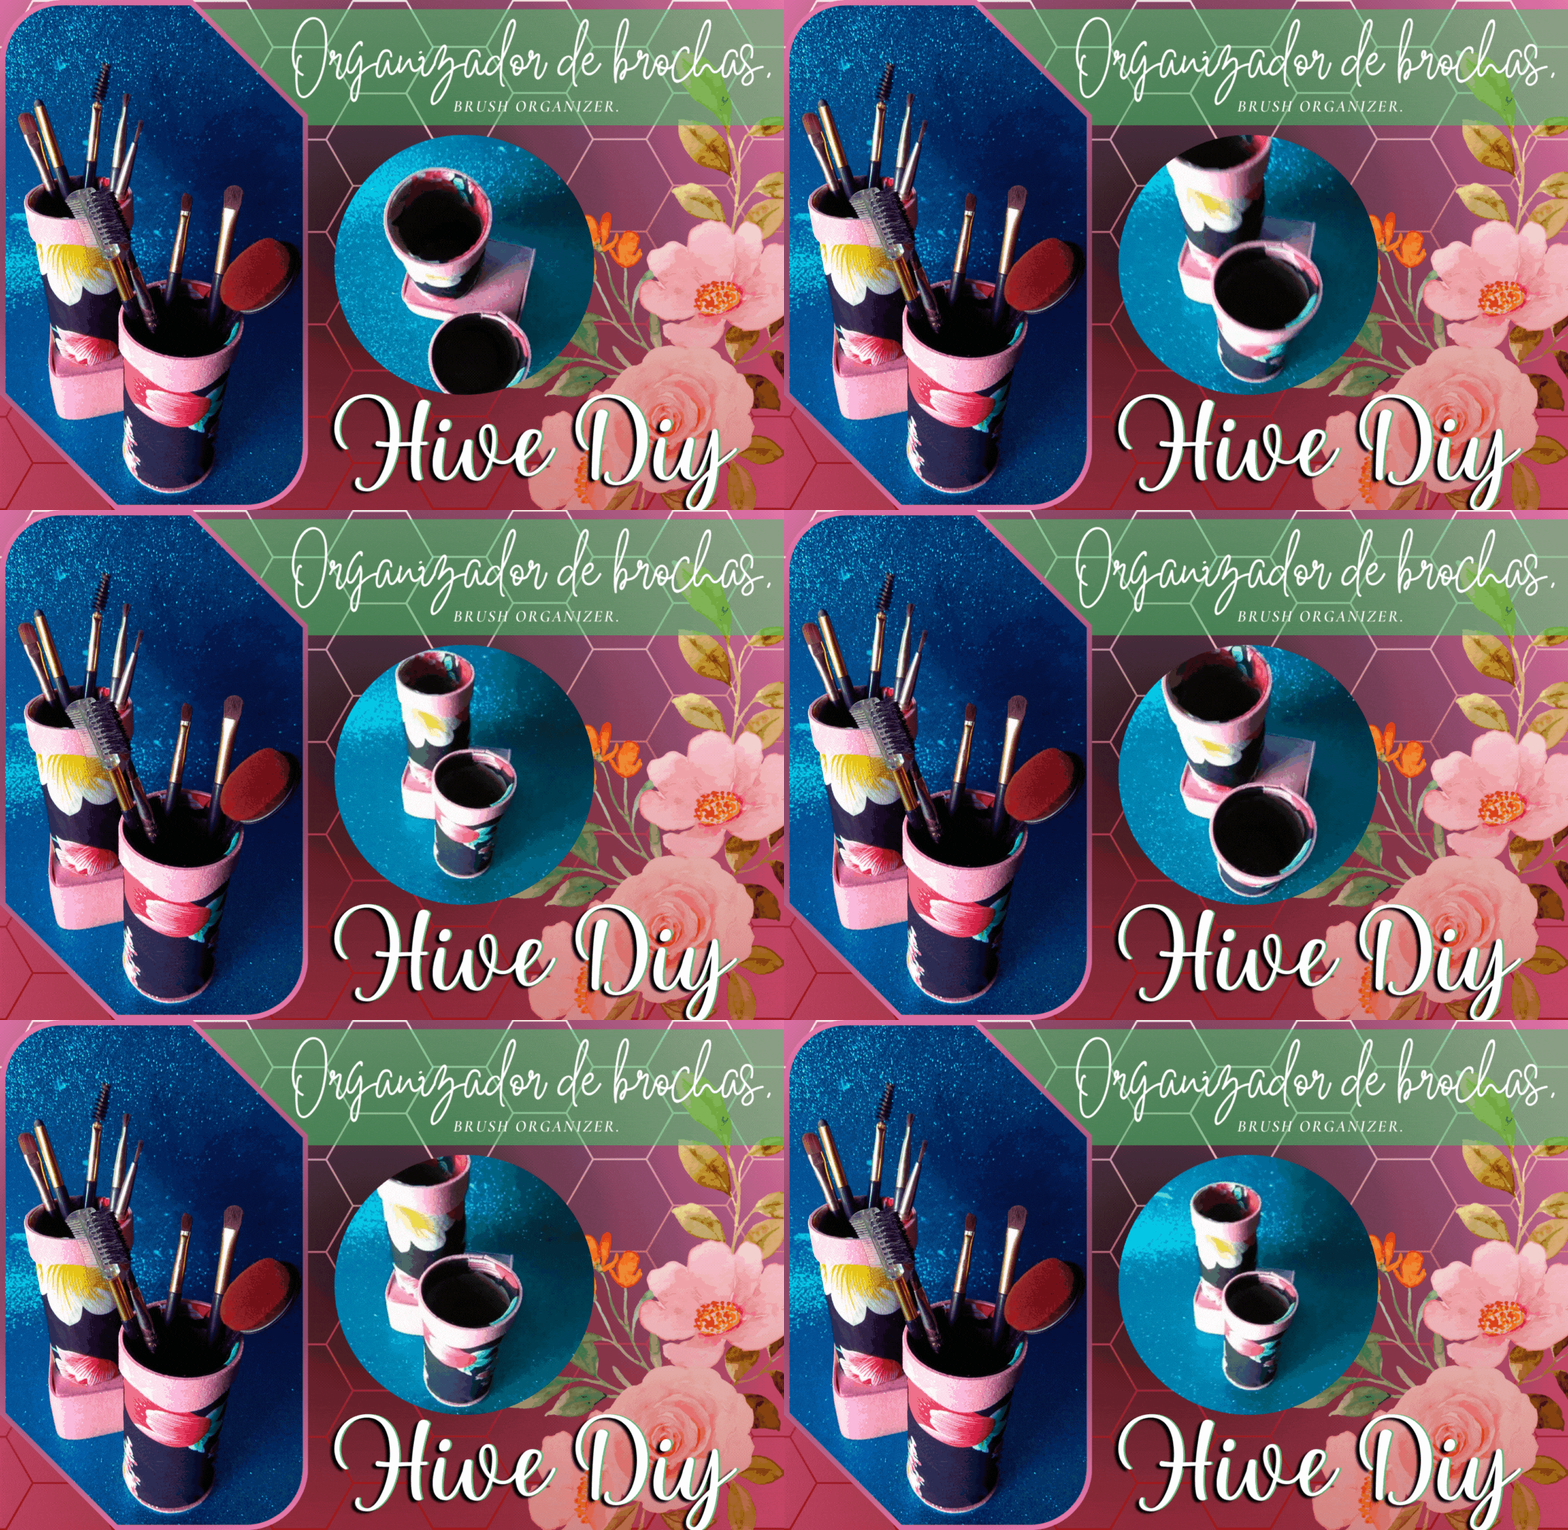
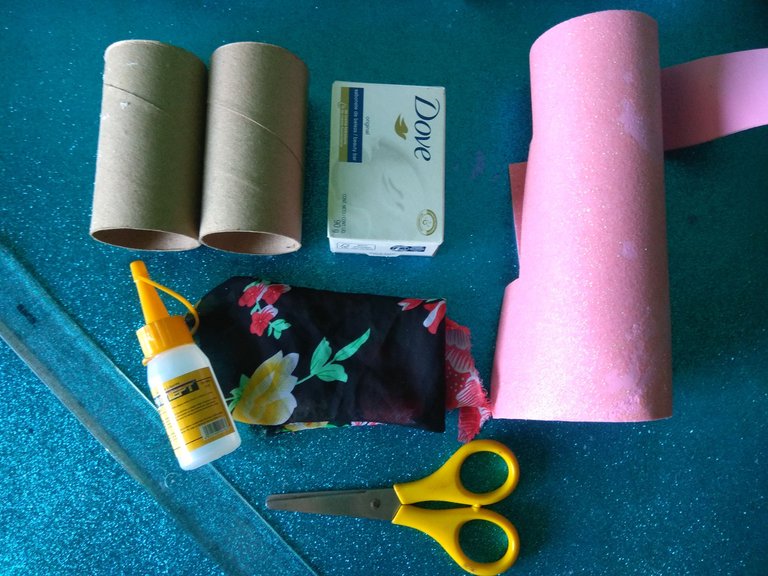
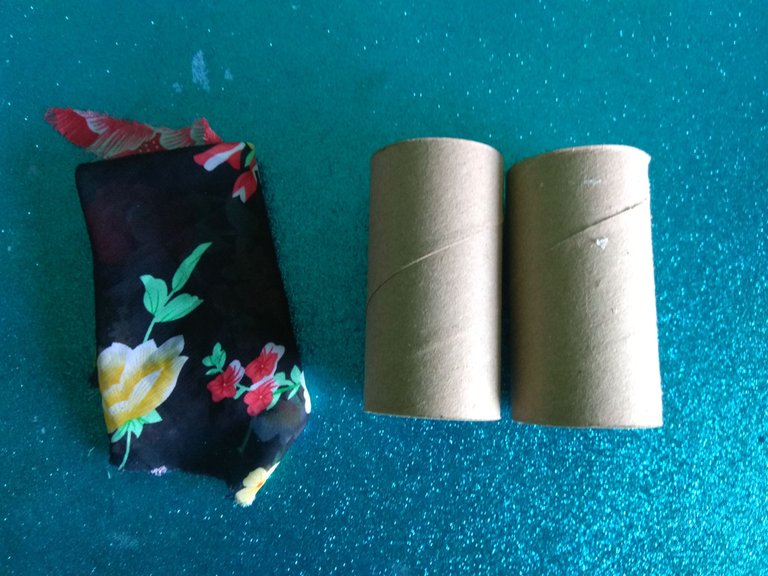
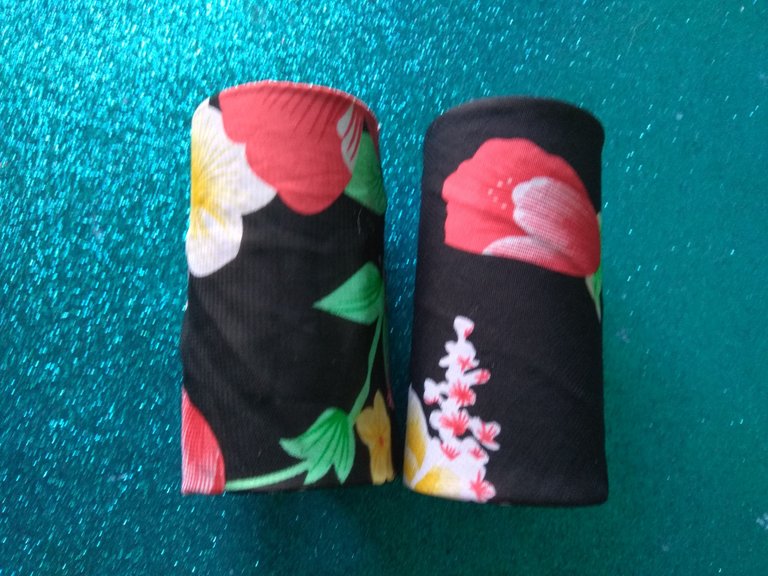
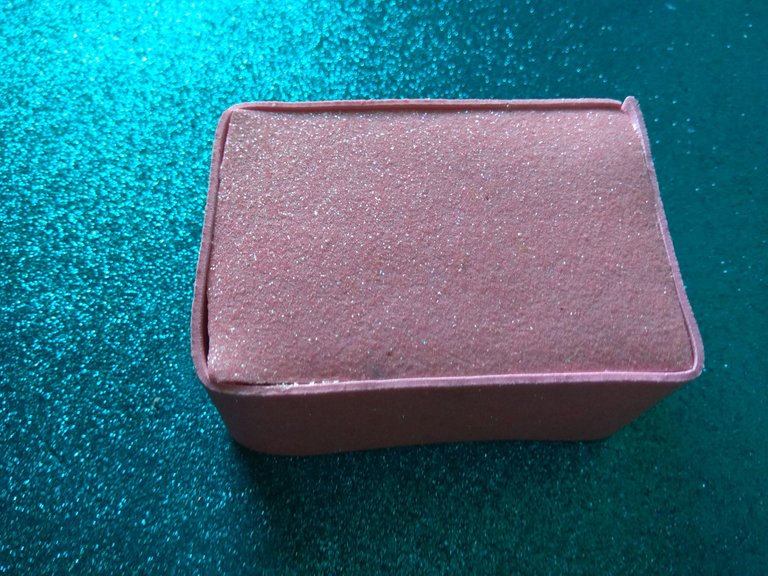
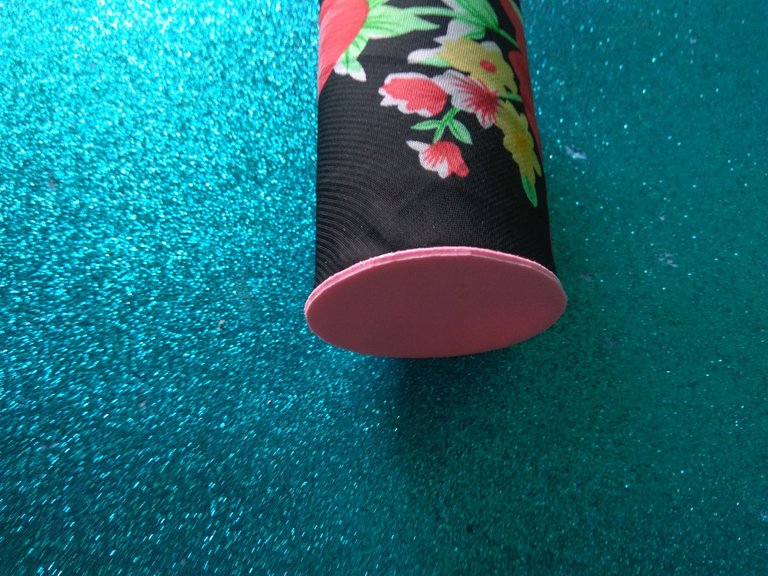
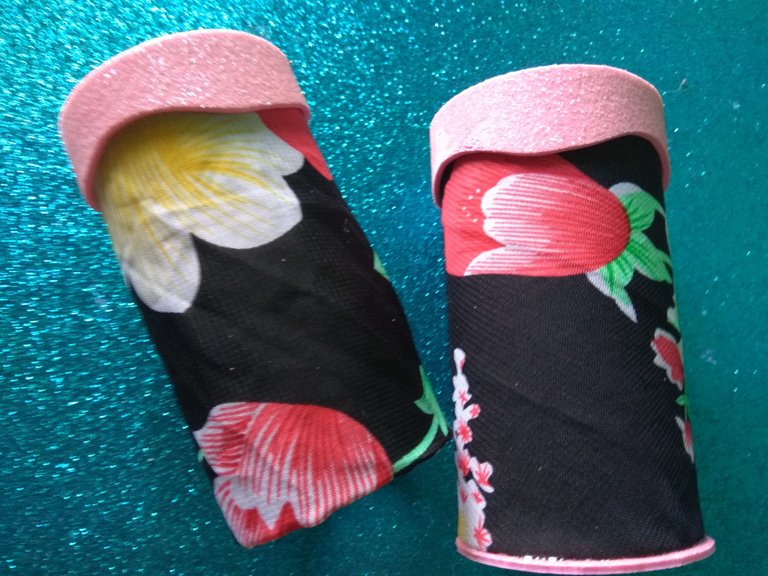
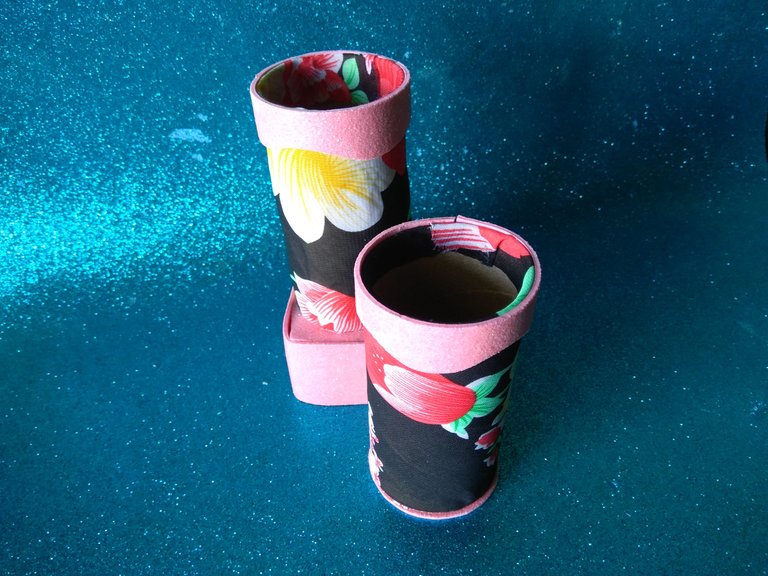
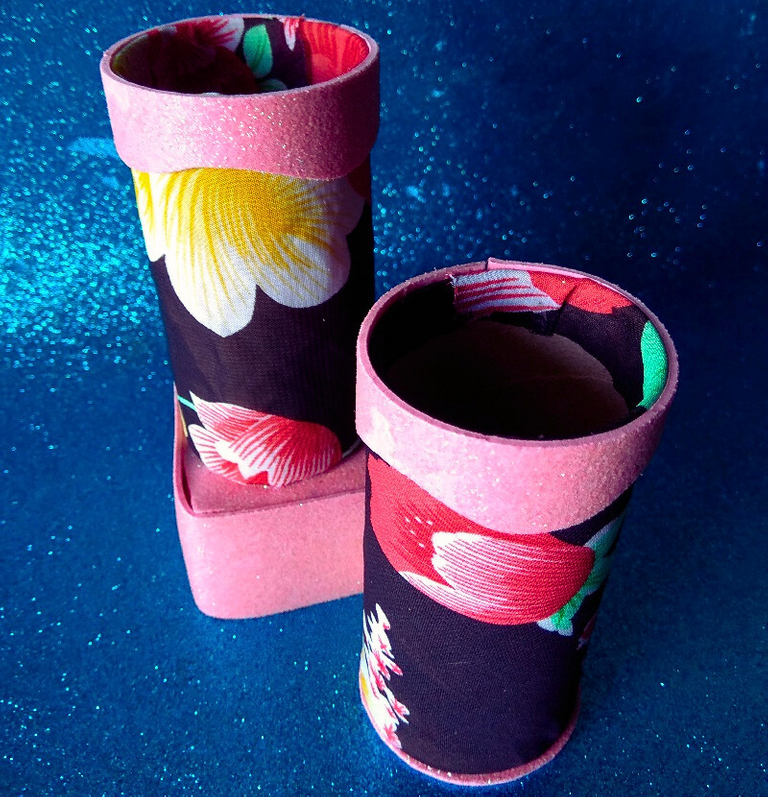
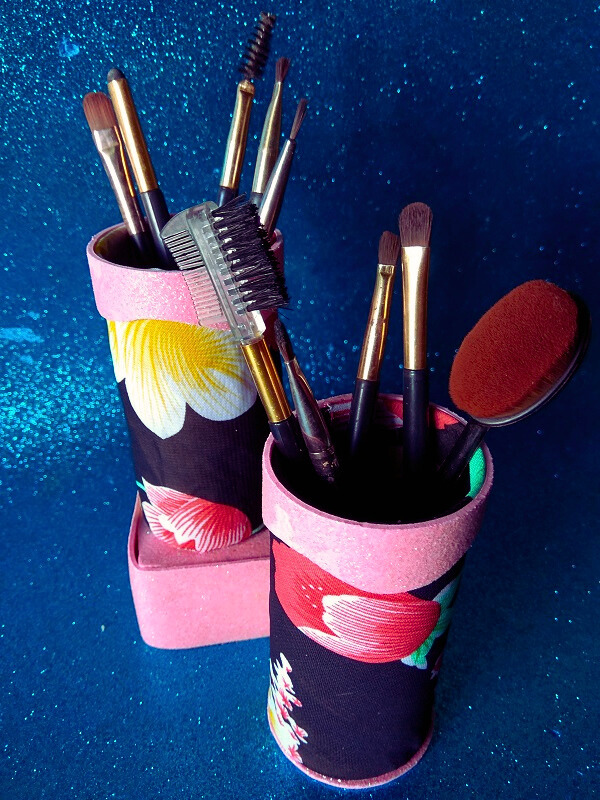
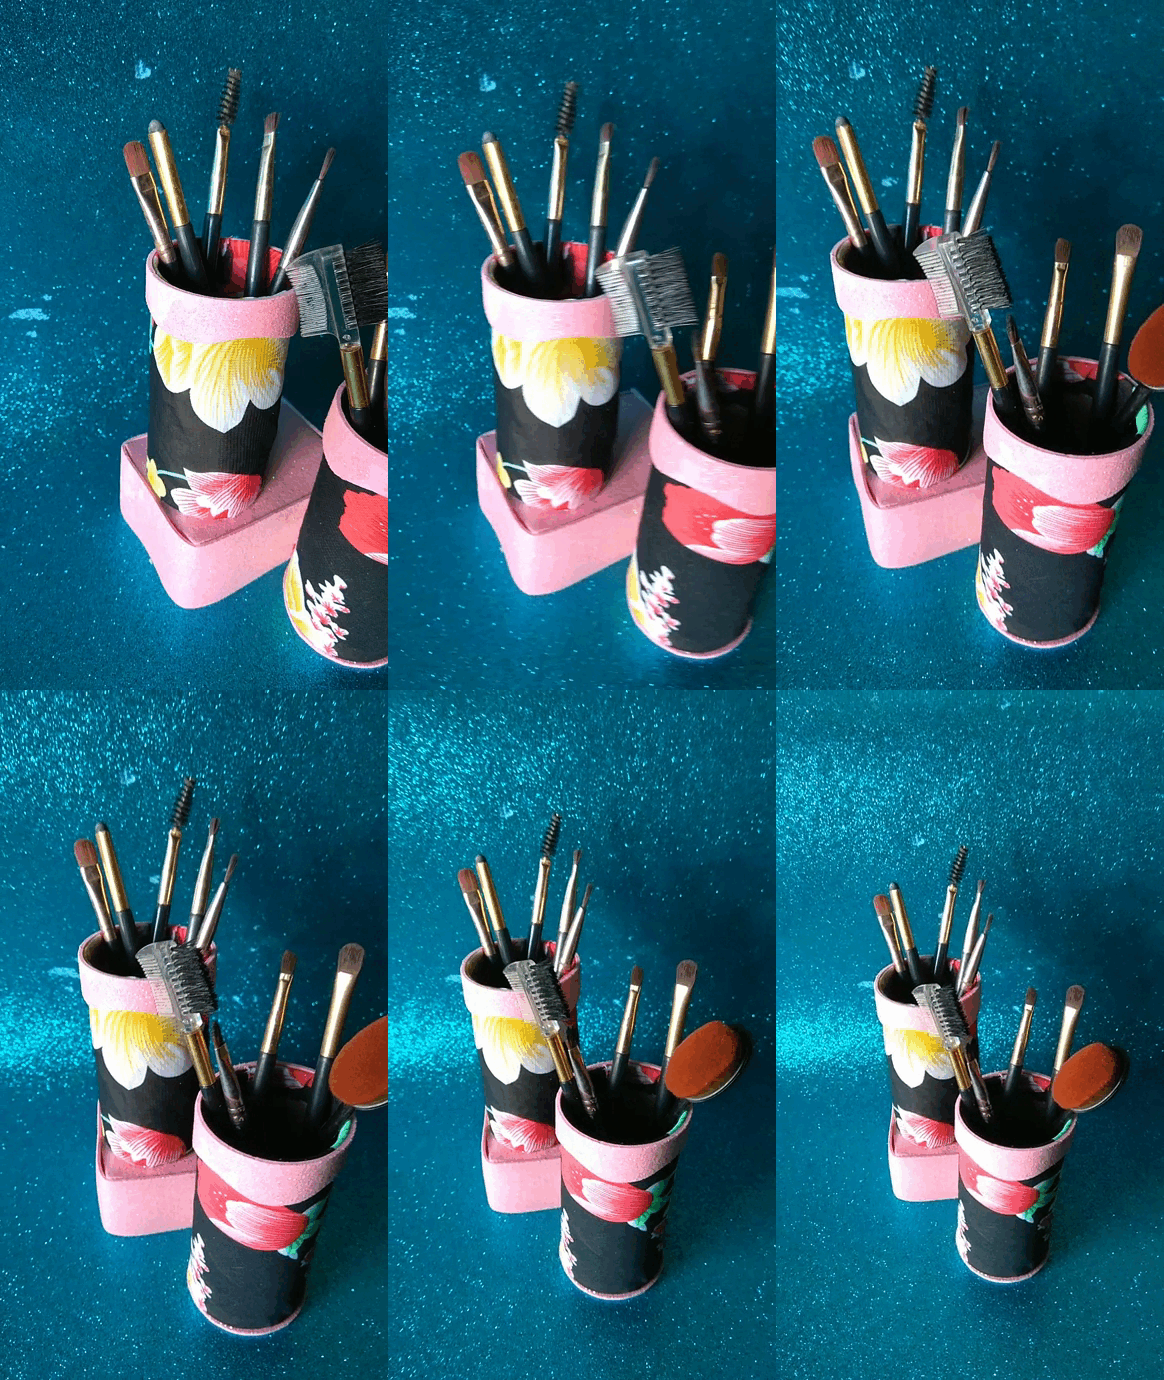
The fabric I chose had a striking print so I didn't want to add many decorations, I just glued a strip of foami with waves on both rolls, then I glued the roll that has no sealed base to the box lined with foami, the other roll I glued to the front of the box, as you can see in the image that creates different levels in the organizer.
¿Qué les parece este organizador? el estampado de la tela me dejó encantada, lo bueno de decorar con este tipo de material es que no necesitas hacer mucho, la tela hace la mayor parte del trabajo, sólo debes asegurarte de pegar bien, que quedé totalmente extendida en la pieza, hice este organizador con la idea de meter brochas, aunque puede ser usado con otros fines como, organizar lápices, colores u otro material, díganme en los comentarios que les parece este tutorial, gracias por llegar hasta aquí.
What do you think of this organizer? the print of the fabric left me delighted, the good thing about decorating with this type of material is that you don't need to do much, the fabric does most of the work, you just have to make sure you glue well, that it is fully extended on the piece, I made this organizer with the idea of putting brushes, although it can be used for other purposes such as organizing pencils, colors or other material, tell me in the comments what you think of this tutorial, thanks for coming here.


Imágenes tomadas desde mi Xiaomi Redmi Note 4. || Images taken from my Xiaomi Redmi Note 4.
Separadores hechos en Canva. || Dividers made in Canva.
Ediciones hechas en Canva. || Editions made in Canva.
Vídeos convertidos en gif || Videos converted to gif IMG2GO
Translator Deepl.
