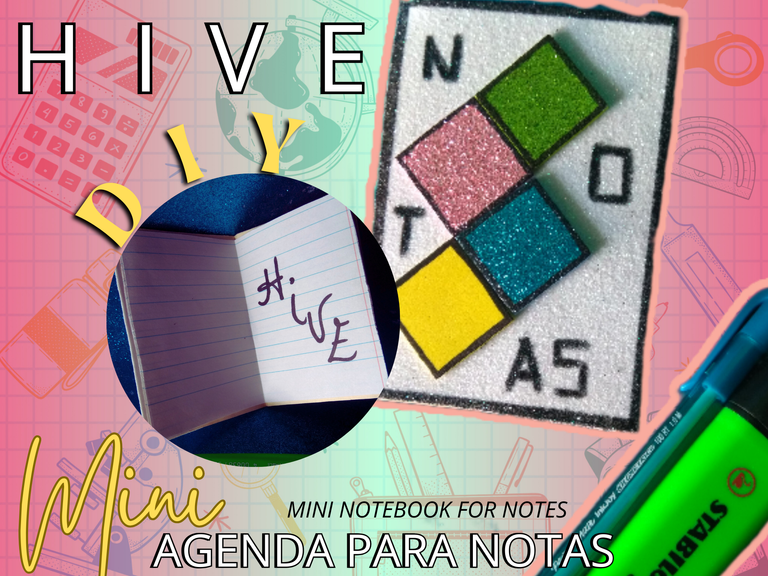
Un inicio de semana cargado de creatividad, esta mini agenda para notas la hice para mí, aunque existen herramientas digitales para documental nuestras ideas, estoy tachada a la antigua, soy de las personas que disfrutan anotar sus ideas en un pequeño cuaderno, es completamente funcional, no sólo podrás plasmar tus ideas, es ideal para registrar números telefónicos, pequeñas recetas, nombres de algunas páginas que luego quieras revisar, estará en ti buscar su uso.
A start of the week full of creativity, I made this mini notebook for myself, although there are digital tools to document our ideas, I am old-fashioned, I am one of those people who enjoy writing down their ideas in a small notebook, it is fully functional, not only can you capture your ideas, it is ideal for recording phone numbers, small recipes, names of some pages that you want to review later, it will be up to you to find its use.
No compré ningún material para hacer esta útil manualidad, usé retazos de foami sobrantes de otros proyectos, y algunas hojas de una libreta vieja, le quedaban pocas hojas por ello no agregué más, la decoración es completamente opción, gusto de las formas geométricas, es una manera simple de dar vida a una manualidad, y más si agregas formas en diversos colores, disfruten del paso a paso.
I did not buy any material to make this useful craft, I used scraps of foami left over from other projects, and some leaves from an old notebook, it had few leaves left so I did not add more, the decoration is completely optional, I like geometric shapes, it is a simple way to give life to a craft, and more if you add shapes in different colors, enjoy the step by step.


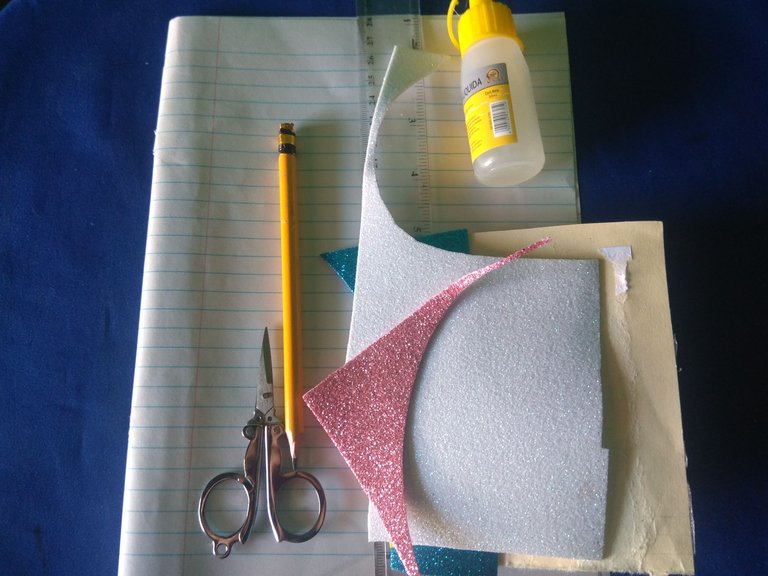
Materiales: || Materials:
▪️ Cartulina amarilla, hojas de papel (3), foami (rosado, verde, azul, amarillo y blanco), marcador negro, tijeras, silicón líquido, regla geométrica.
▪️ Yellow cardboard, sheets of paper (3), foami (pink, green, blue, yellow and white), black marker, scissors, liquid silicone, geometric ruler.

Paso a paso: || Step by step:
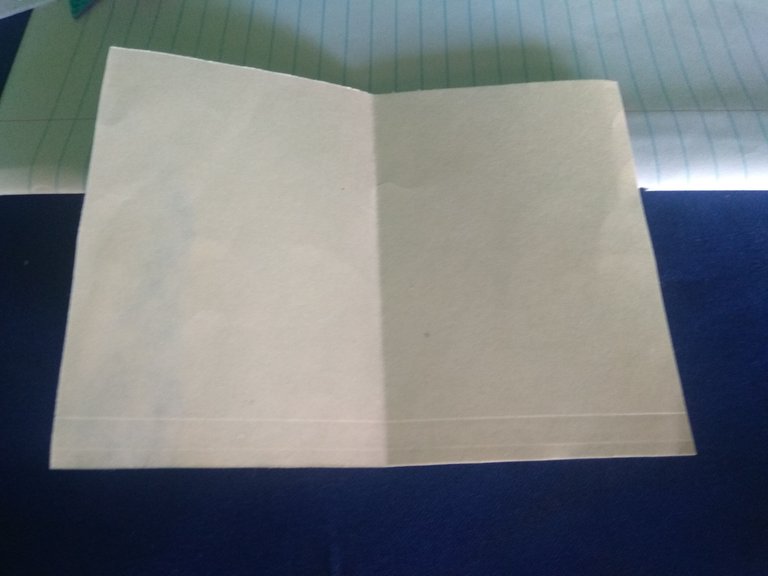
Recortaremos la cartulina amarilla con las siguientes medidas (14 cm x 10 cm), haremos lo mismo con las hojas de papel, apilamos las piezas y doblamos a la mitad.
We will cut out the yellow cardboard with the following measurements (14 cm x 10 cm), do the same with the sheets of paper, stack the pieces and fold in half.
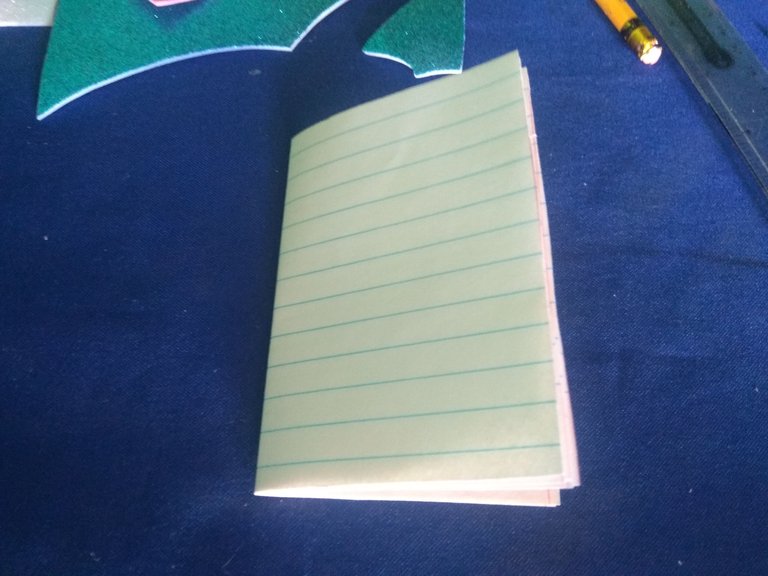
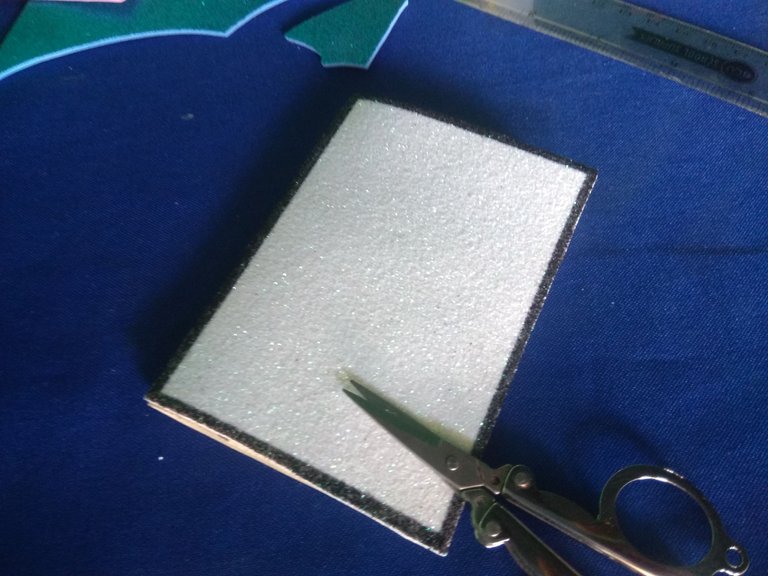
Uniremos todas las piezas con silicón líquido, al secar el pegamento comenzaremos con la decoración, primero pegaremos en la caratula un rectángulo de foami blanco de 7,5 cm x 10,5 cm, delinee con marcador el rectángulo para resaltar la forma.
We will join all the pieces with liquid silicone, when the glue dries we will start with the decoration, first we will glue a 7.5 cm x 10.5 cm rectangle of white foami on the cover, outline the rectangle with a marker to highlight the shape.

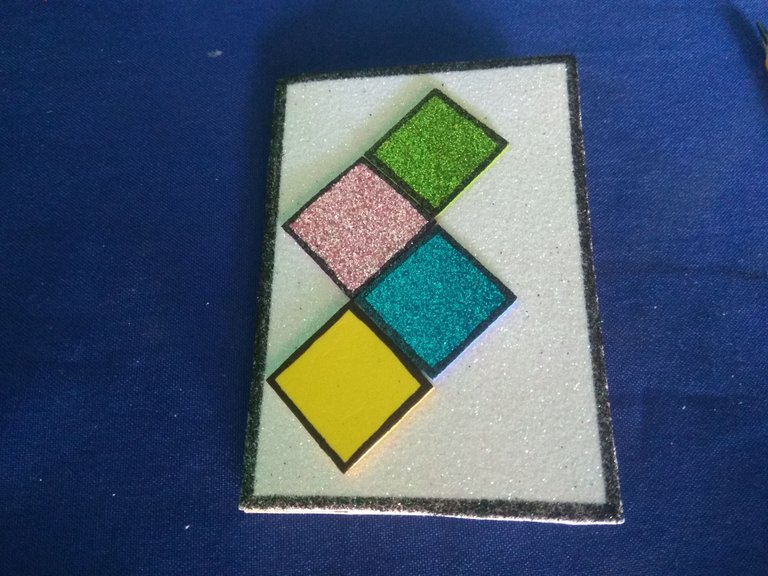
Finalicé las decoraciones con cuadrados de colores remarcados en negro, además añadí la palabra NOTAS.
I finished the decorations with colored squares highlighted in black, and added the word NOTES.


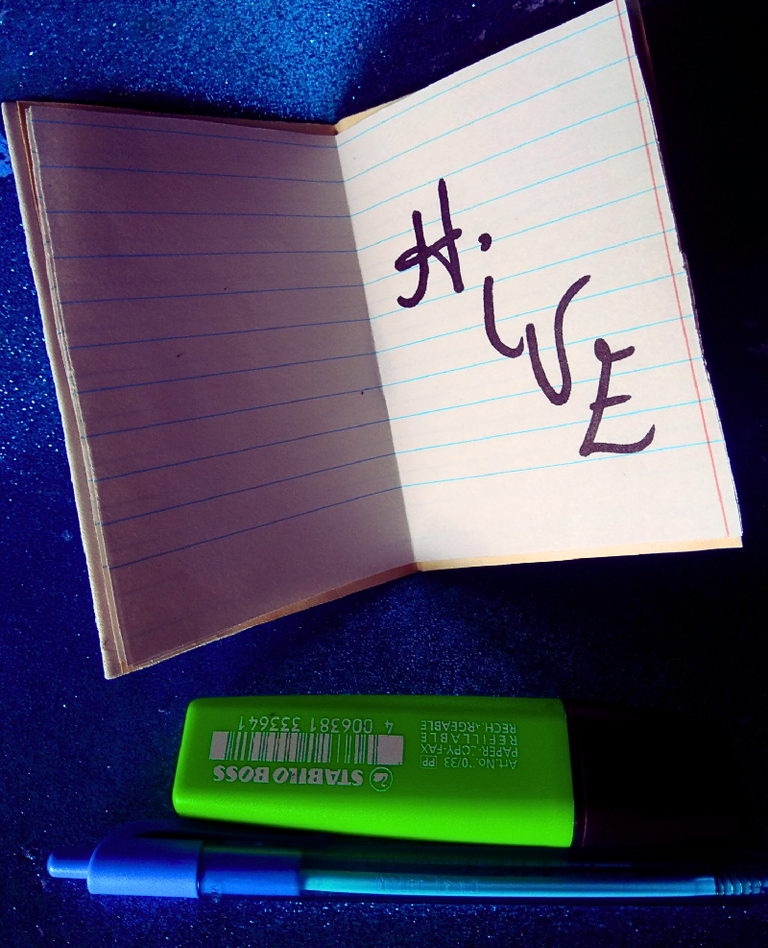


Tener una mini agenda de notas a la mano nunca está de más, como mencioné al principio, me es imprescindible una agenda para anotar las ideas que surgen de la nada, una agenda fácil de seguir, con materiales asequibles, comenta si como yo eres de plasmar tus ideas en físico, gracias por llegar hasta aquí.
Having a mini notebook at hand is never a bad thing, as I mentioned at the beginning, I find it essential to have an agenda to write down ideas that come out of nowhere, an easy to follow agenda, with affordable materials, comment if like me you are a person who likes to capture your ideas in physical form, thank you for coming here.



Imágenes tomadas desde mi Xiaomi Redmi Note 4. || Images taken from my Xiaomi Redmi Note 4.
Separadores hechos en Canva. || Dividers made in Canva.
Ediciones hechas en Canva. || Editions made in Canva.
Vídeos convertidos en gif || Videos converted to gif IMG2GO
Translator Deepl.
