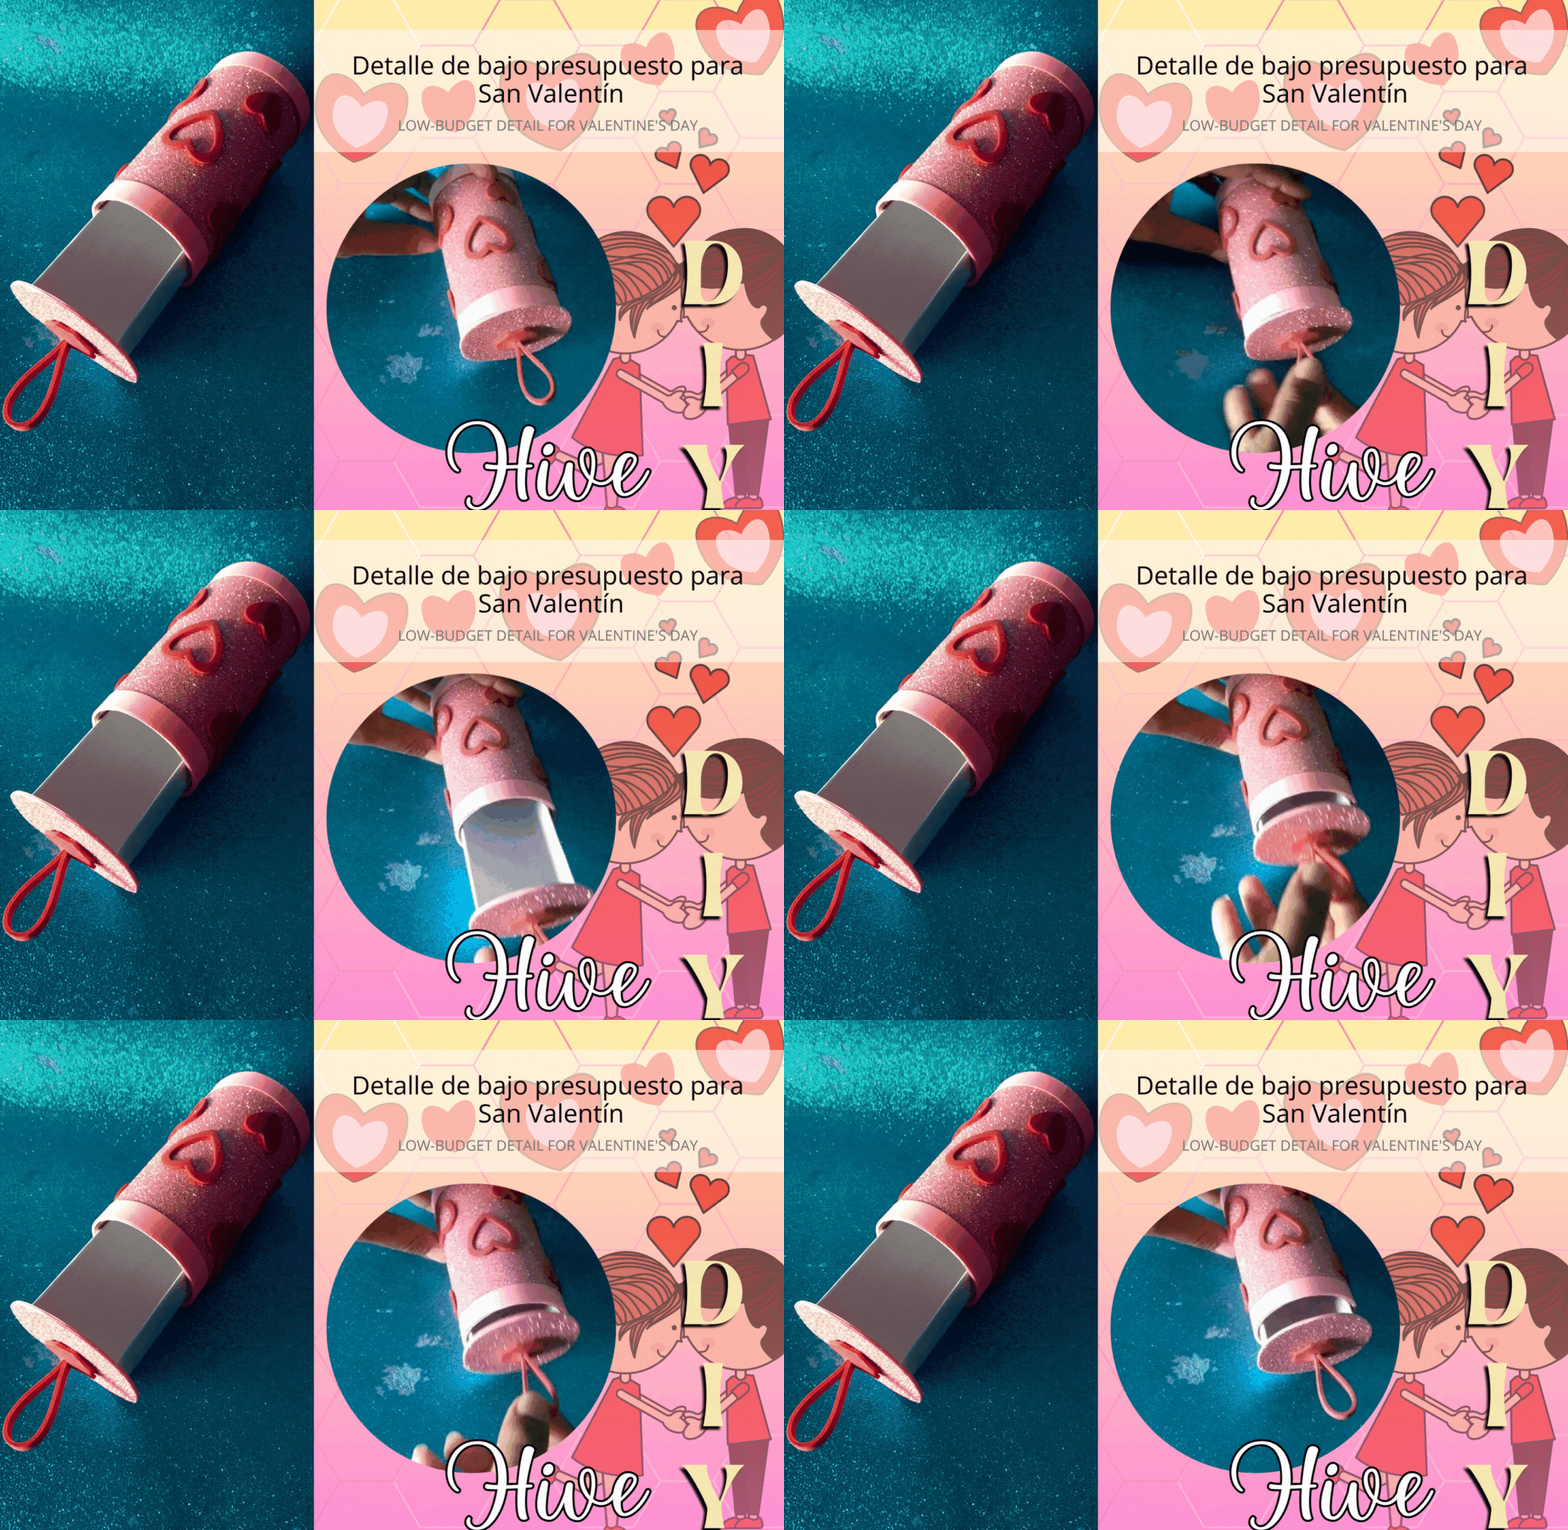
Con San Valentín a la vuelta de la esquina las manualidades llenas de corazones y escarcha se hacen presente, hoy jueves 25 de enero te muestro un tutorial de pocos pasos para que aprendas crear un estuche con materiales reciclados, y destinado a sorprender a esa personita ideal, pocos son los materiales que necesitas para llevar a cabo este diy, la idea es usar este estuche como un completo a tu regalo definitivo, o como un detalle lindo para un amigo, lo puedes llenar con caramelos, notas con mensajes amoroso o algún accesorio, al ser pequeño lo que introduzcas debe serlo igual.
With Valentine's Day just around the corner the crafts full of hearts and frost are present, today Thursday January 25 I show you a tutorial of few steps to learn how to create a case with recycled materials, and intended to surprise that ideal person, few are the materials you need to carry out this diy, the idea is to use this case as a complete your ultimate gift, or as a nice detail for a friend, you can fill it with candy, notes with loving messages or any accessory, being small what you introduce should be the same.
El día de los enamorados es una fecha muy comercial, te aseguro que irás por la calle y verás cientos de regalos rojos y rosados, llenos de corazones y flores, en lo personal los regalos hechos por nuestras manos tienen un mayor valor, no hay muestra de afecto más grande que el tiempo que una persona dedica en ti, espero les sea útil este paso a paso.
Valentine's day is a very commercial date, I assure you that you will go down the street and see hundreds of red and pink gifts, full of hearts and flowers, personally the gifts made by our hands have a greater value, there is no greater sign of affection than the time that a person spends on you, I hope this step by step will be useful.


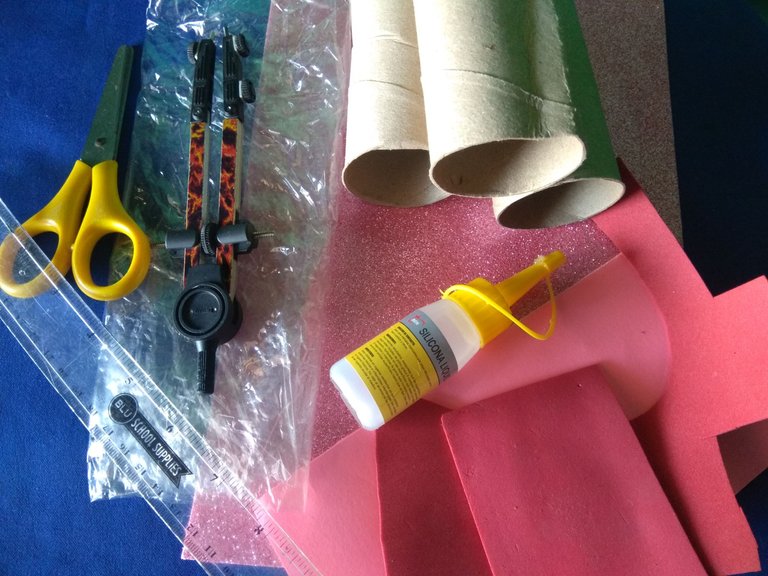
Materiales: || Materials:
▪️ 2 rollos de papel higiénico, foami (rosado y rojo), cartulina fucsia, hoja de papel, silicón líquido, tijeras, compás.
▪️ 2 rolls of toilet paper, foami (pink and red), fuchsia cardboard, paper sheet, liquid silicone, scissors, compass.


Paso a paso: || Step by step:
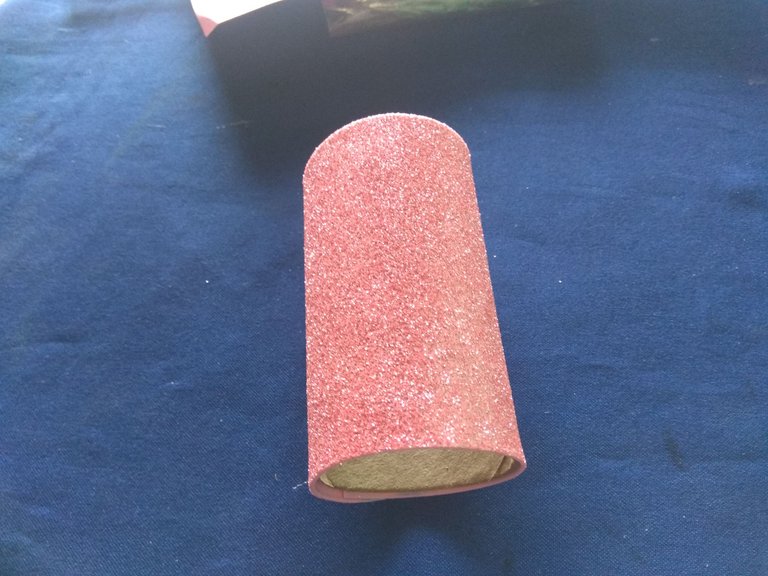
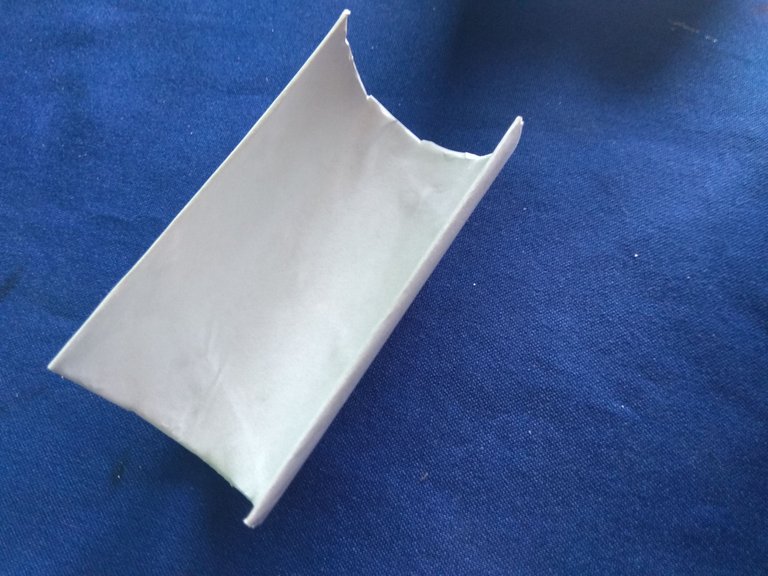
Uno de los rollos debe envolverse en foami rosado, mientras que el otro se dividirá en dos, sólo usaremos una de las mitades la cual será envuelta con hoja de papel.
One of the rolls must be wrapped in pink foami, while the other will be divided in two, we will only use one of the halves which will be wrapped with a paper sheet.
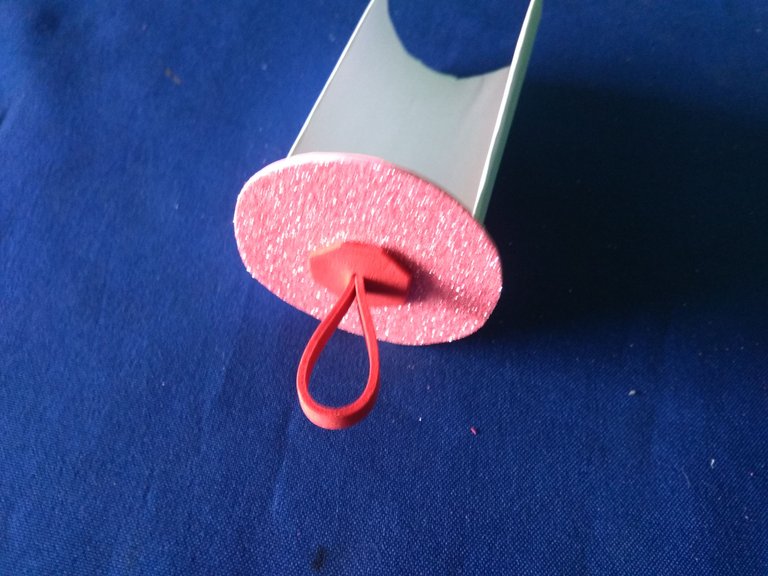
Recorten 2 círculos con la circunferencia del rollo de papel entero, uno de los círculos lo pegaremos en el extremo derecho de una pieza, y el otro en el extremo izquierdo.
Cut out 2 circles with the circumference of the whole paper roll, one of the circles we will glue on the right end of one piece, and the other on the left end.
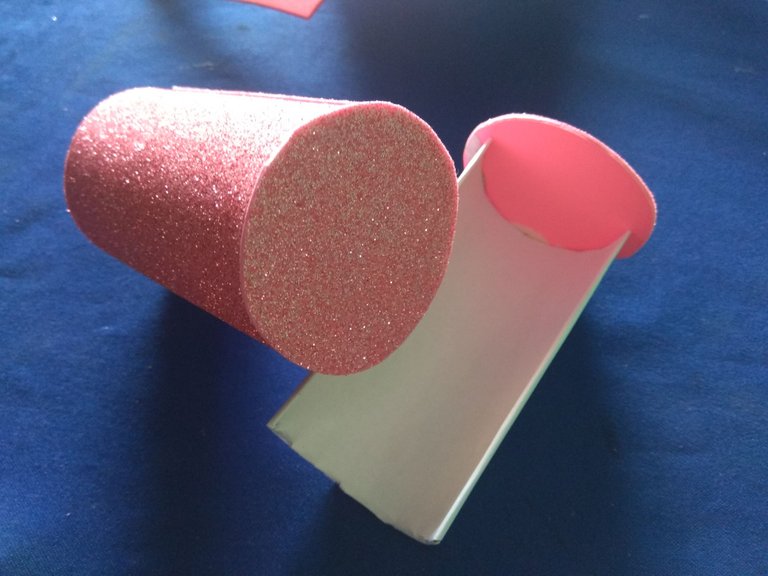

Parte la decoración es colocar 2 tiras de 1 cm de grosor en cada extremo del rollo completo, para luego encajar ambas piezas.
Part of the decoration is to place 2 strips of 1 cm thick at each end of the complete roll, and then fit both pieces together.

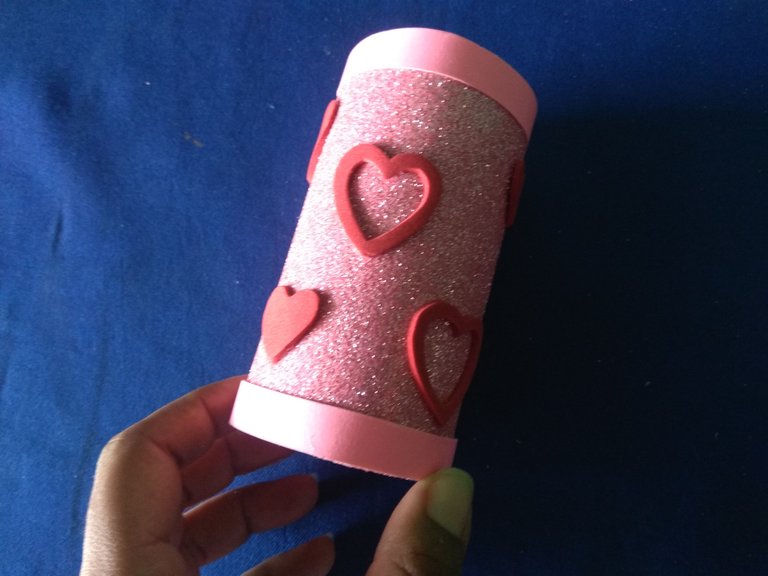
Crear una solapa para abrir y cerrar el estuche forma parte de los últimos detalles, así como agregar corazones en color rojo.
Creating a flap to open and close the case is part of the finishing touches, as well as adding red hearts.
 Detalle de bajo presupuesto para San Valentín || Low-budget detail for Valentine's Day

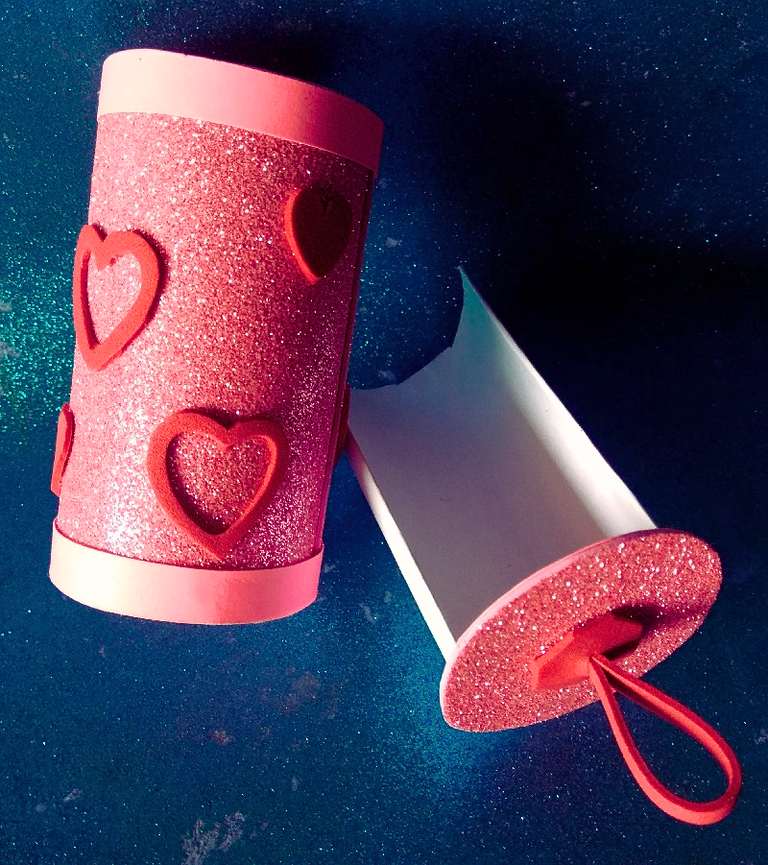


Un estuche con corazones para robar corazones, como una chica que ama los detalles este es uno de mis favoritos, podrás reciclar un poco al usar rollos de papel higiénico, y si eres un amante del diy seguro tienes todos estos materiales en casa listos para ser usados, háblame en los comentarios sobre los preparativos que tienes para San Valentín, gracias por llegar hasta aquí.
A case with hearts to steal hearts, as a girl who loves details this is one of my favorites, you will be able to recycle a little by using toilet paper rolls, and if you are a diy lover you surely have all these materials at home ready to be used, tell me in the comments about the preparations you have for Valentine's Day, thanks for making it this far.


Imágenes tomadas desde mi Xiaomi Redmi Note 4. || Images taken from my Xiaomi Redmi Note 4.
Separadores hechos en Canva. || Dividers made in Canva.
Ediciones hechas en Canva. || Editions made in Canva.
Vídeos convertidos en gif || Videos converted to gif IMG2GO
Translator Deepl.
