
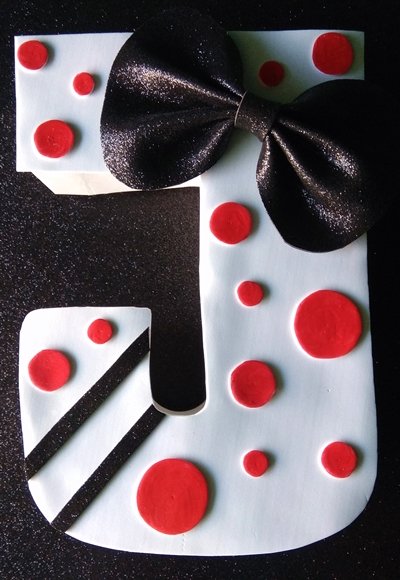
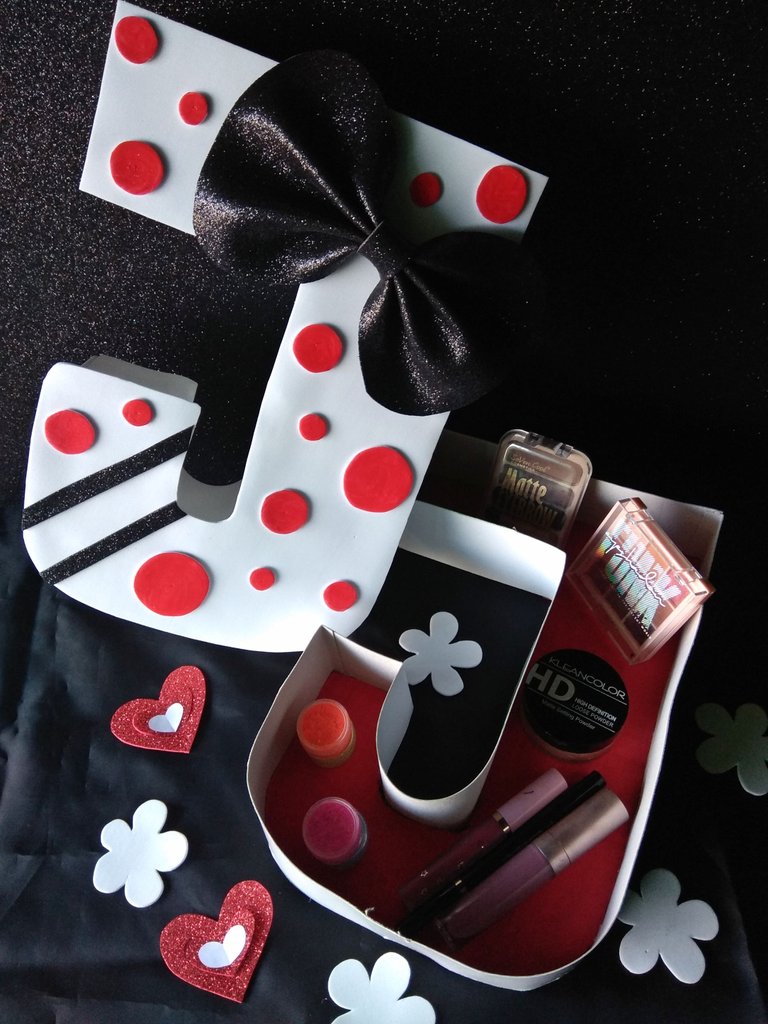
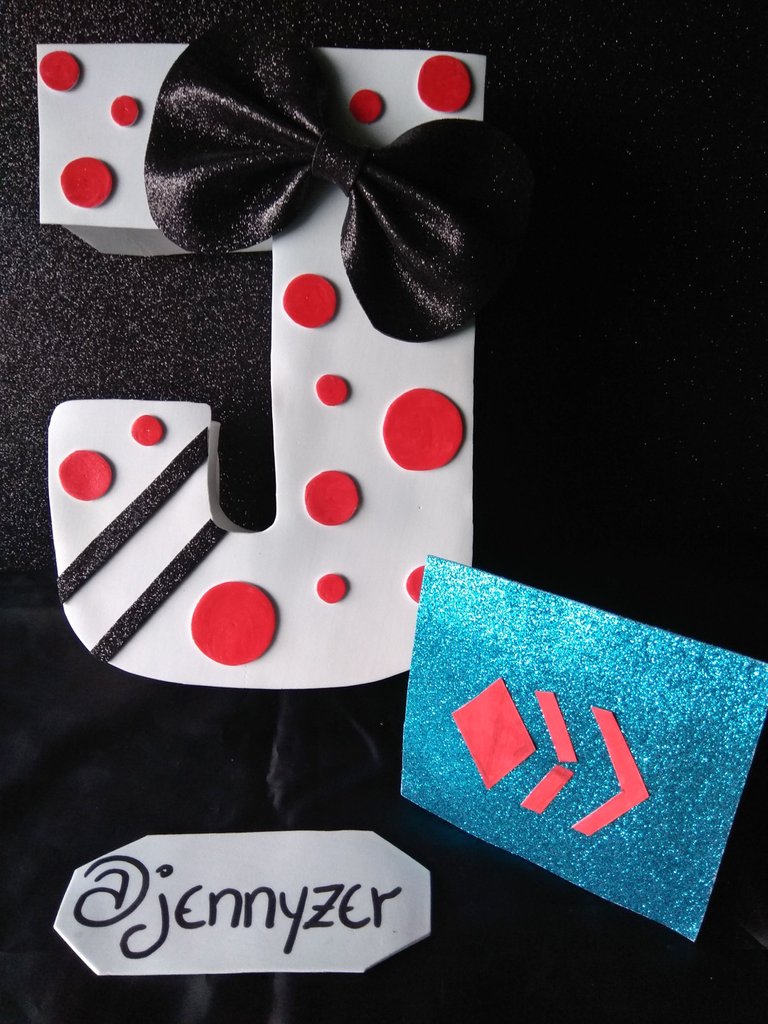
La letras que escogí es la J es la inicial de mi nombre Jenny, no quise crear solo una letra decorada, me gusta hacer artesanías que sean útiles por ello elaboré una caja con forma de J, es muy espaciosa y queda hermosa en la mesa de noche, además que como regalo sería una buena opción en su interior se puede meter chocolates, y el mejor presente.
The letter I chose is the J is the initial of my name Jenny, I did not want to create just a decorated letter, I like to make crafts that are useful so I made a box in the shape of J, it is very spacious and looks beautiful on the nightstand, plus as a gift would be a good choice inside you can put chocolates, and the best present.


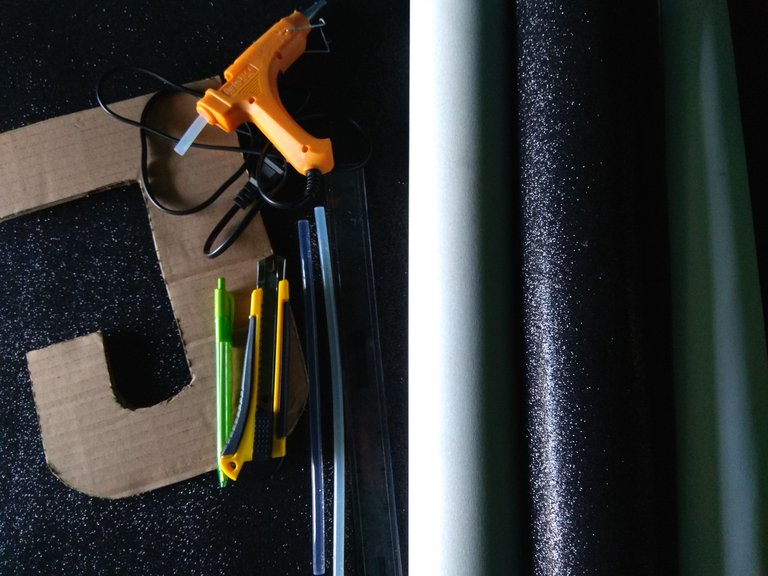
▪️ Cartón.
▪️ Foami blanco y negro.
▪️ Cartulina blanca.
▪️ Barra de silicón y pistola.
▪️ Pintura roja.
▪️ Lápiz.
▪️ Tijeras.
▪️ Cardboard.
▪️ Black and white Foami.
▪️ White cardboard.
▪️ Silicone stick and gun.
▪️ Red paint.
▪️ Pencil.
▪️ Scissors.


Primer paso: || First step:
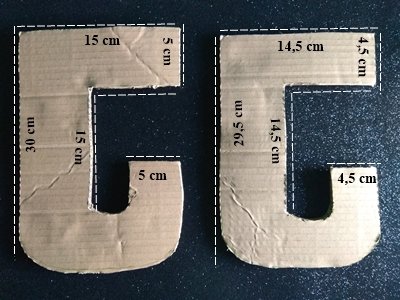
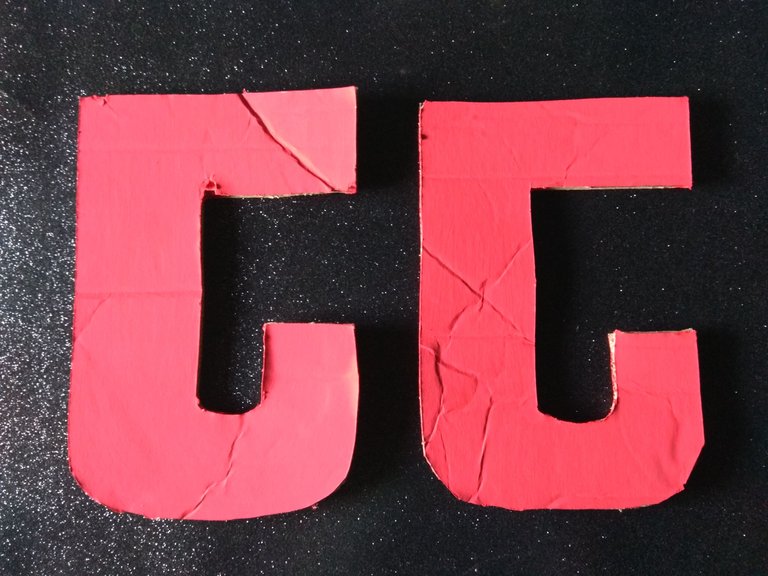
▪️ Recorté dos J en cartón con las medidas indicadas en las imágenes.
I cut two J's out of cardboard with the measurements indicated in the images.
Segundo paso: || Second step:
▪️ Luego pinté las piezas en color rojo.
Then I painted the pieces in red.
Tercer paso: || Third step:
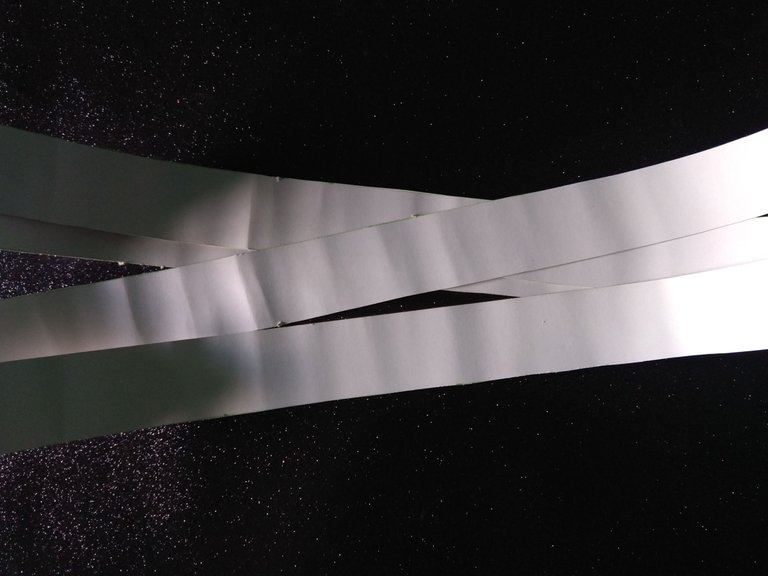
▪️ Luego recorté tira de cartulina blanca con unas medidas de 6 cm de ancho, el largo es indefinido, debe rodear las letras.
Then I cut out a strip of white cardboard measuring 6 cm wide, the length is indefinite, it should surround the letters.

Cuarto paso: || Fourth step:
▪️ Pegué las tiras alrededor de las letras, lo hice usando silicón caliente es la forma más rápida de hacerlo, se debe ir rodeando la letras poco a poco, para que la forma quede perfecta.
I glued the strips around the letters, I did it using hot silicone is the fastest way to do it, you must go around the letters little by little, so that the shape is perfect.
Quinto paso: || Fifth step:
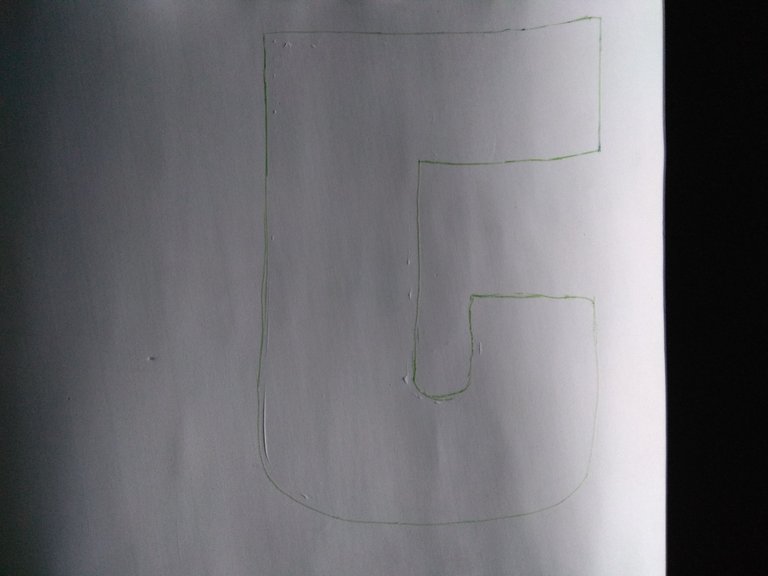
▪️ Tomé la tapa de la caja y la coloqué sobre el foami blanco, luego tracé la letras y recorté el foami, el siguiente paso fue pegarlo a la tapa.
I took the lid of the box and placed it on the white foami, then traced the letters and cut out the foami, the next step was to glue it to the lid.
Sexto paso: || Sixth step:
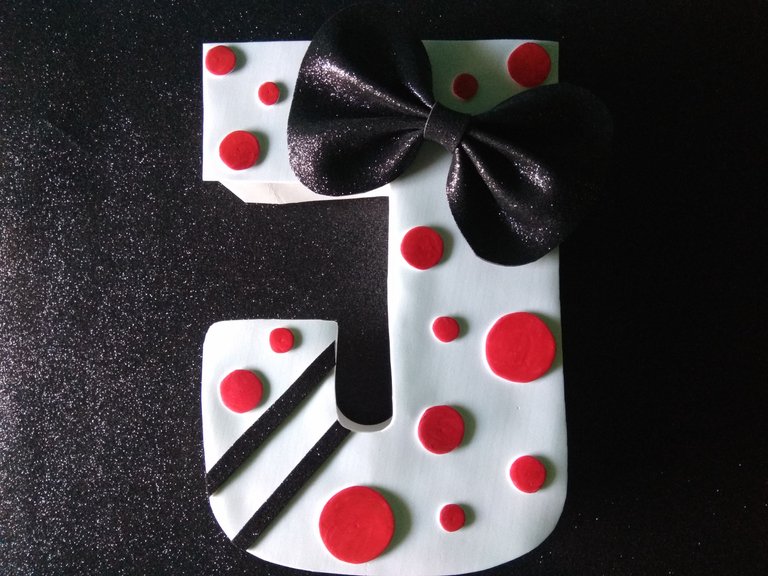
▪️ La decoración fue simple, mi idea con esta caja era lograr un resultado delicado pero muy hermoso, la combinación de rojo, blanco y negro me encanta, decidí hacer un gran lazo en foami negro brillante y colocarlo a un costado, para complementas la decoración agregué tiras de foami negro y puntos rojos de tamaños desiguales.
The decoration was simple, my idea with this box was to achieve a delicate but very beautiful result, the combination of red, white and black I love, I decided to make a big bow in shiny black foami and place it on one side, to complement the decoration I added strips of black foami and red dots of unequal sizes.




Enlace al concurso: || Contest link:

Imágenes tomadas desde mi Xiaomi Redmi Note 4. || Images taken from my Xiaomi Redmi Note 4.
Separadores hechos en PhotoScape. || Dividers made in PhotoScape.
Ediciones hechas en Photoscape. || Editions made in Photoscape.
Translator Deepl.
