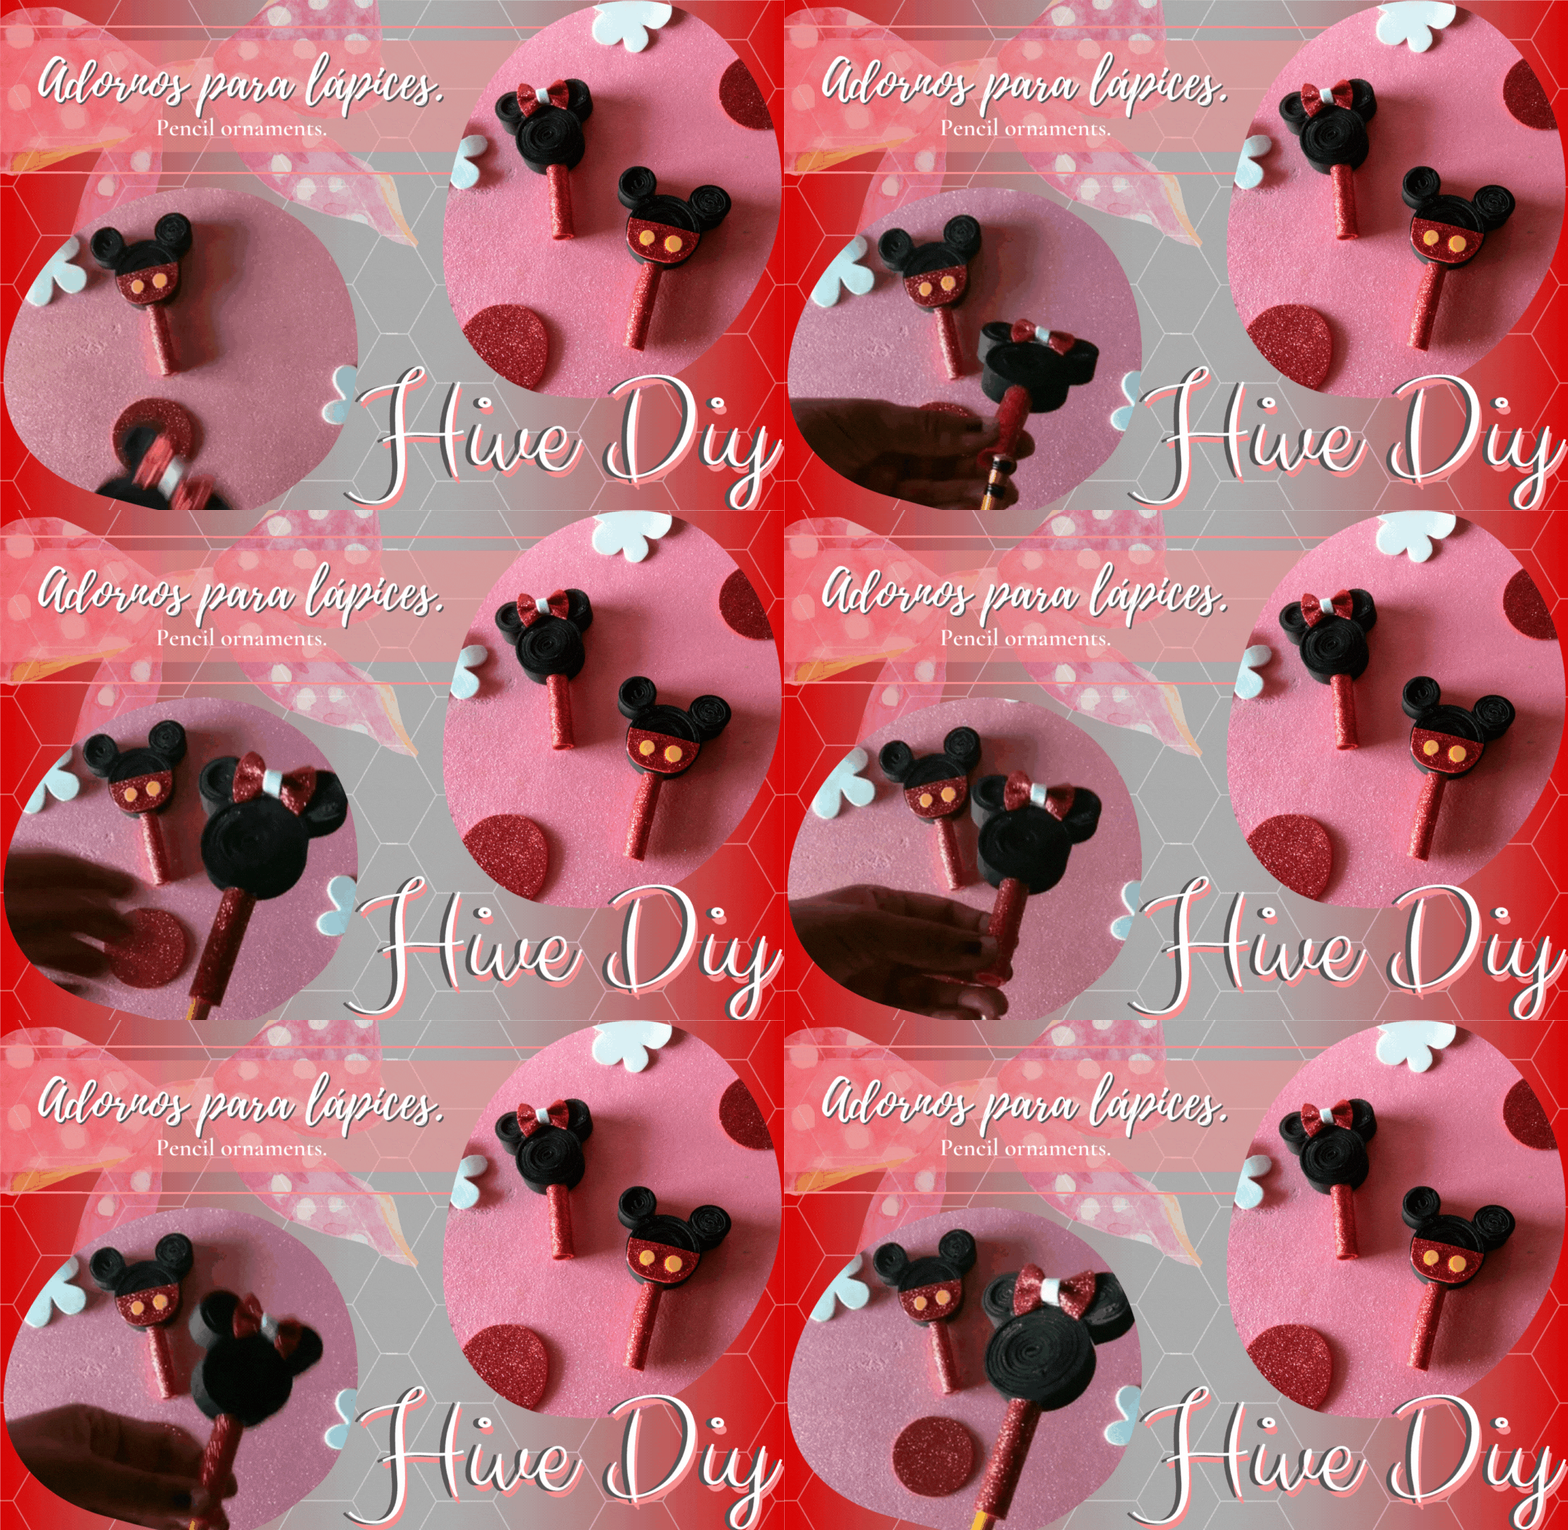
Ya está finalizando la semana, pero no nuestros posts para hive, estos días he estado bastante activa compartiendo contenido, es difícil organizarse para cumplir con todos nuestros deberes, tengo como meta compartir tan seguido como lo antes, por ello hoy quiero mostrarles como realizar estos tiernos adornos para lápices con temática de Minnie y Mickey, son una completa lindura, transformar los útiles escolares de los niños les da un motivo para querer usarlos.
The week is coming to an end, but not our hive posts, these days I have been quite active sharing content, it is difficult to get organized to fulfill all our duties, I have as a goal to share as often as before, so today I want to show you how to make these cute Minnie and Mickey themed pencil ornaments, they are a complete cutie, transforming children's school supplies gives them a reason to want to use them.
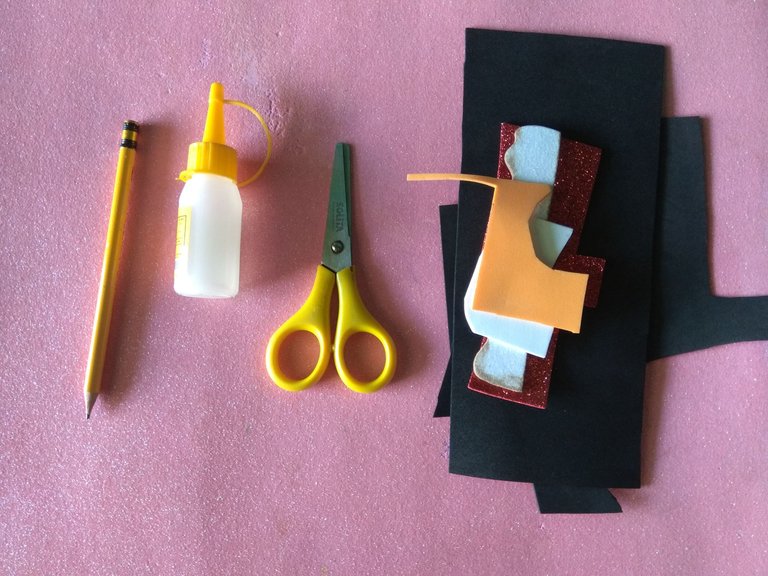
Foami, tijeras y silicón es lo que necesitas para hacer estos adornos, esta demás decir que pueden agregar otros elementos decorativos como piedras, tela, cualquiera otra cosa que se les ocurra, el cielo es el límite no lo olvides, disfruta del tutorial.
Foami, scissors and silicone is what you need to make these ornaments, it's worth mentioning that you can add other decorative elements such as stones, fabric, anything else you can think of, the sky is the limit, don't forget it, enjoy the tutorial.


Materiales: || Materials:
▪️ Foami (negro, blanco, rojo y amarillo), tijeras, lápiz, regla geométrica, silicón líquido.
▪️ Foami (black, white, red and yellow), scissors, pencil, geometric ruler, liquid silicone.


Paso a paso: || Step by step:
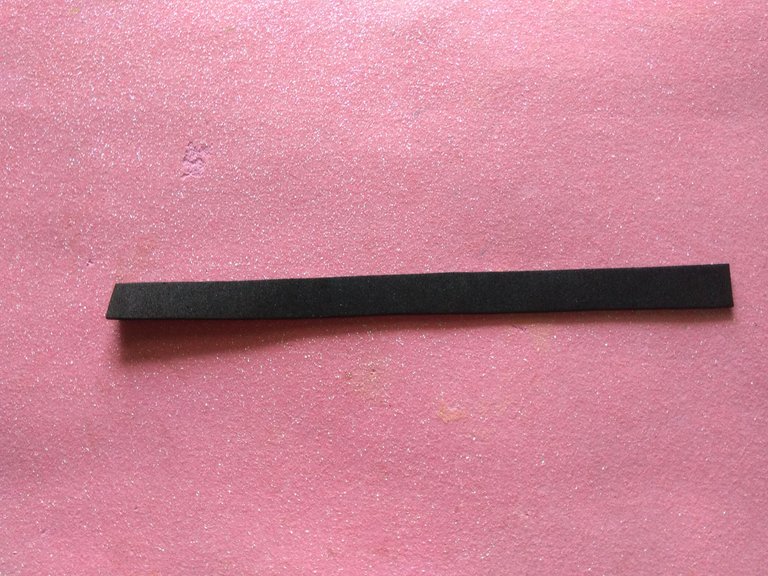
Recortar 6 tiras de 3 cm de ancho y 10 cm de largo, serán 3 tiras para la cabeza de un adorno y 3 para la otra.
Cut 6 strips 3 cm wide and 10 cm long, 3 strips for the head of one ornament and 3 for the other.
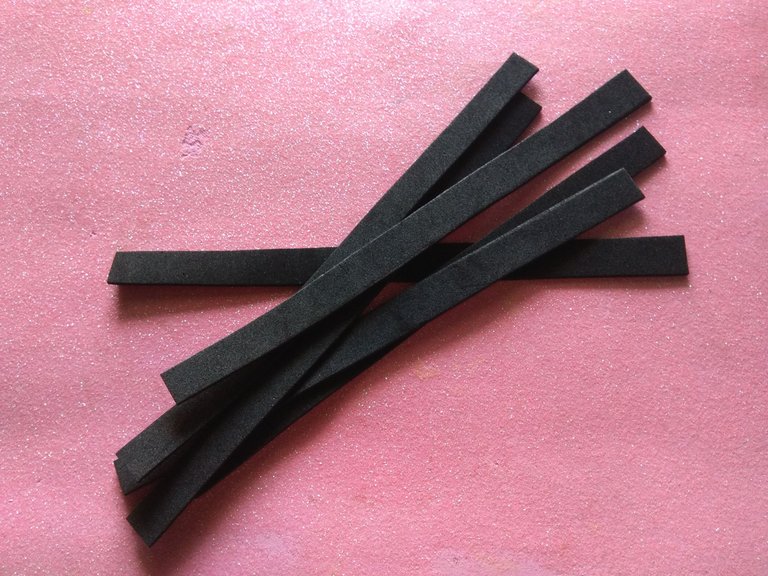
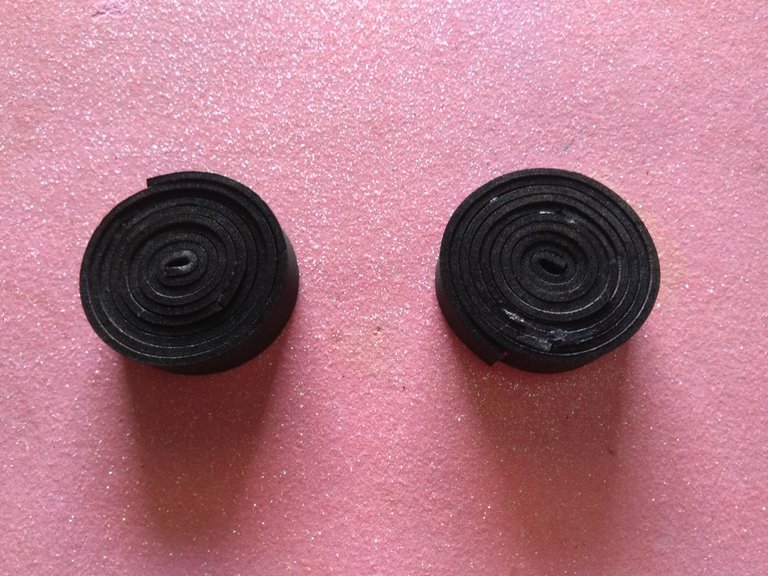
Para armar cada cabeza necesitamos 3 tiras, las empezamos a enrollar aplicando silicón líquido, al terminar de enrollar una colaremos la otra sucesivamente para que quede todo unificado, el proceso lo repetimos en ambas piezas.
To assemble each head we need 3 strips, we start to roll them up applying liquid silicone, when we finish rolling one of them, we will then roll the other one successively so that everything is unified, we repeat the process on both pieces.

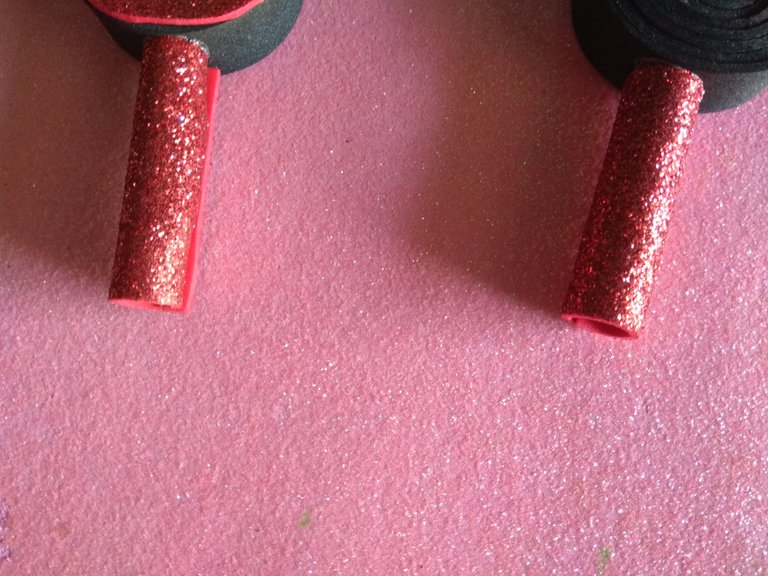
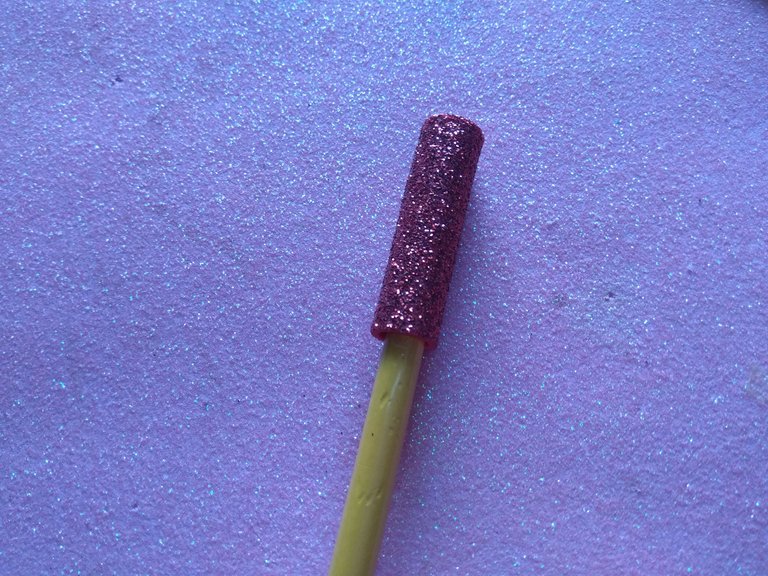
Repetí el proceso anterior para hacer las orejas, pero esta vez sólo se necesitan 2 tiras con las medidas antes dadas, también deben enrollarse para formar la pieza, al estar secas peguen cada oreja para que parezca la pareja que estamos recreando, luego recorté un cuadrado de 4 cm y lo enrollé en el lápiz para tener las medias exactas, apliquen silicón y esperen a secar.
I repeated the previous process to make the ears, but this time you only need 2 strips with the measures given above, they must also be rolled to form the piece, when dry glue each ear to look like the couple we are recreating, then I cut a 4 cm square and rolled it on the pencil to have the exact stockings, apply silicone and wait to dry.
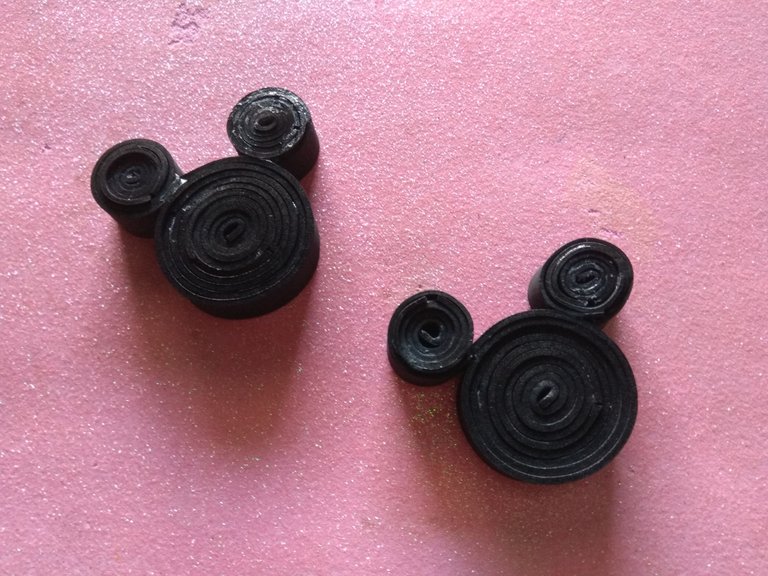
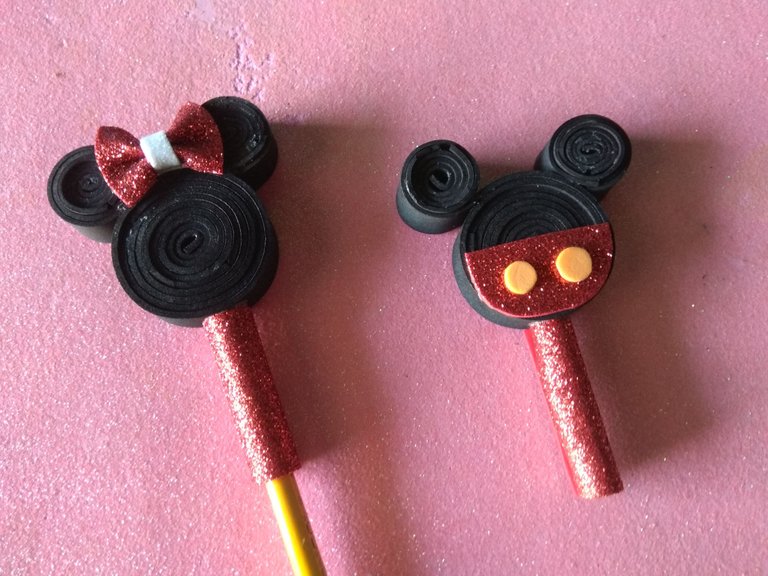
Peguen los cilindros a las cabezas y pondrán quitar y poner los adornos a sus lápices, finalmente restan los toques decorativos, como un pequeño lazo, y un semi círculo que simulará los pantalones de Mickey.
Glue the cylinders to the heads and put on and take off the ornaments to their pencils, finally the decorative touches remain, such as a small bow, and a semi-circle that will simulate Mickey's pants.
 Adorno para lápices de Minnie y Mickey Mouse. || Minnie and Mickey Mouse pencil ornament.

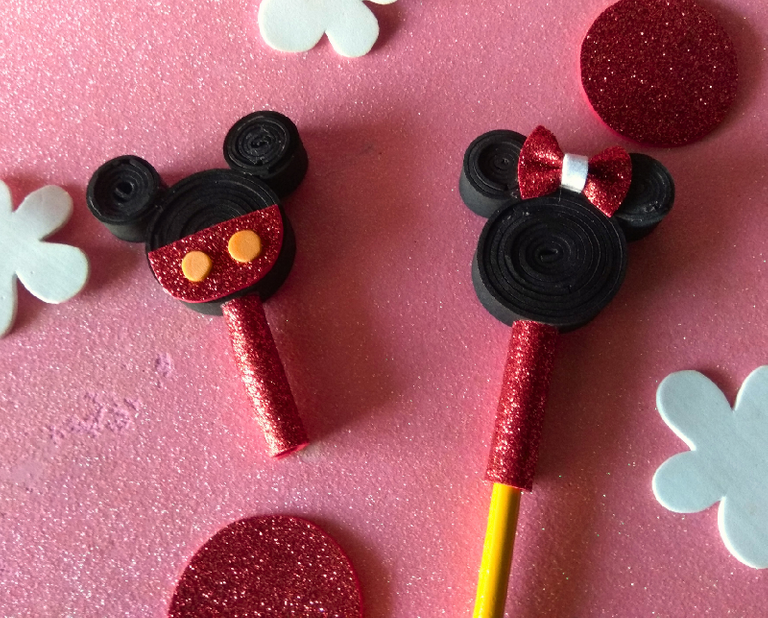
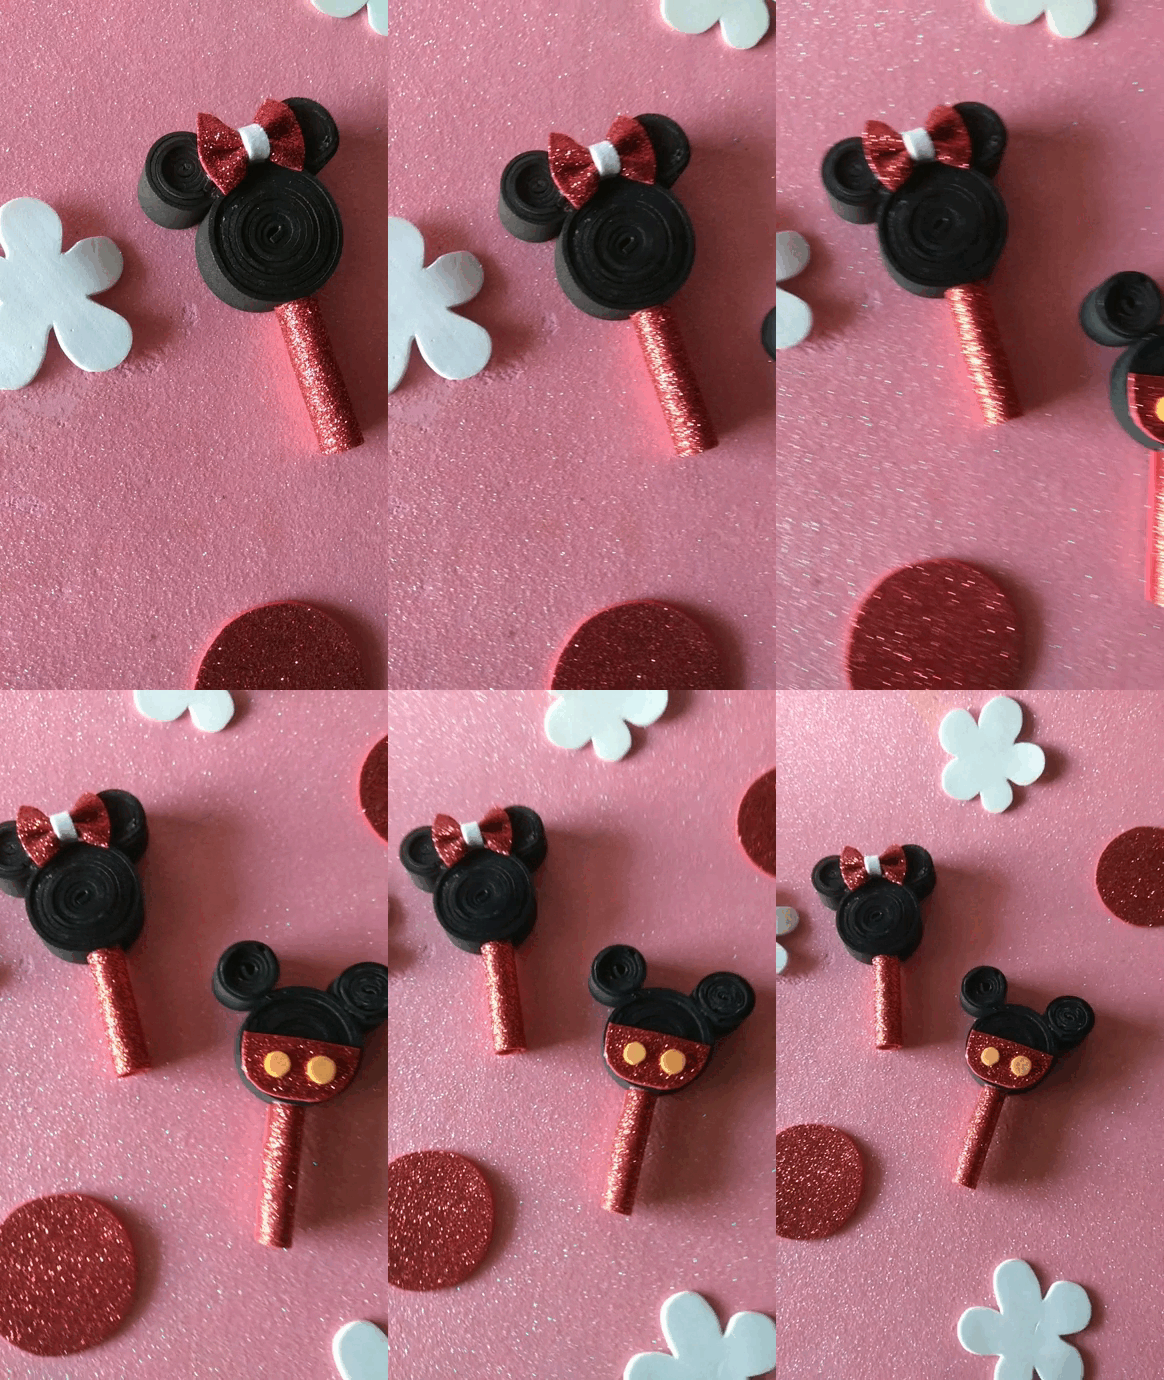
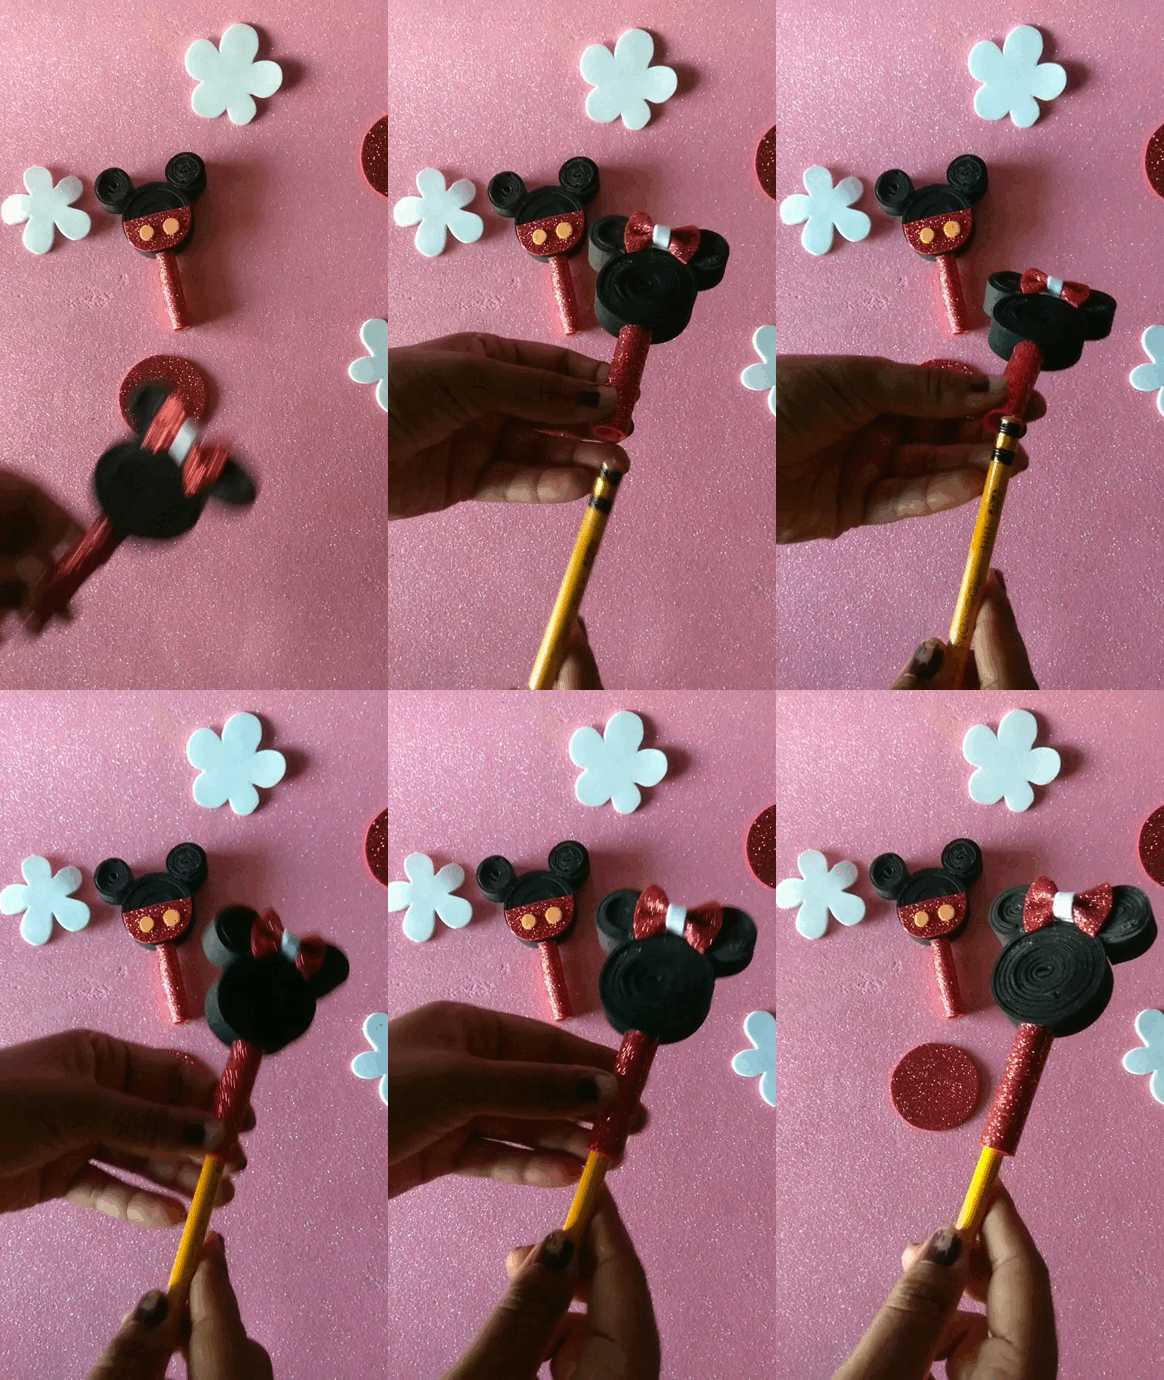

Espero que este tutorial sea de alguna utilidad, las manualidades son algo que me apasionan y más aun sabiendo que mis creaciones inspiran a alguien, estos lindos adornos son super fáciles de hacer hechos para niños y niñas, que ellos elijan cual les gusta más, mi consejo es usar un foami escarchado siento que eso le da un toque extra que hace destacar las piezas, dime en los comentarios que te ha parecido este paso a paso, gracias por llegar hasta aquí.
I hope this tutorial is of some use, crafts are something that I am passionate about and even more knowing that my creations inspire someone, these cute ornaments are super easy to make made for boys and girls, let them choose which one they like the most, my advice is to use a frosted foami I feel that gives an extra touch that makes the pieces stand out, tell me in the comments what you thought of this step by step, thanks for coming this far.


Imágenes tomadas desde mi Xiaomi Redmi Note 4. || Images taken from my Xiaomi Redmi Note 4.
Separadores hechos en Canva. || Dividers made in Canva.
Ediciones hechas en Canva. || Editions made in Canva.
Vídeos convertidos en gif || Videos converted to gif IMG2GO
Translator Deepl.
