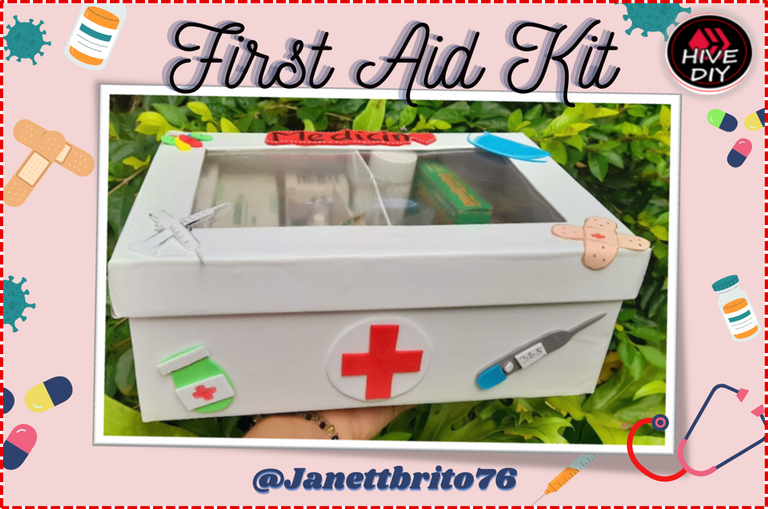

Happy Friday to all my friends in this wonderful #Hivediy community. I hope you had a great day. I wish you lots of positive energies and lots of health to all of you.
This time I want to show you the step by step of how I turned an old shoe box into a practical first aid kit, as we all know that emergencies can happen at any time and that is why being prepared for one is important for you and your family, since having a stocked first aid kit in our homes is essential of a good emergency preparedness. That's why today I will teach you how to make your own first aid kit, it's easy to do and you can customize it to fit your family's particular needs.
My friends, the most important thing about having our own first aid kit is that you will always have basic medicines on hand to take care of our health and that of our family members, without forgetting that you should always check the expiration date of the medicines. So my creative friends, don't miss the step by step to make this practical first aid kit. Let's start!

Feliz viernes para todos mis amigos de esta maravillosa comunidad de #Hivediy. Espero que hayan pasado un estupendo día. Les deseo muchas energías positivas y mucha salud para todos ustedes.
En esta oportunidad les quiero mostrar el paso a paso de como convertí una vieja caja de zapato en un practico botiquín de primeros auxilios, como todos sabemos que las emergencias pueden ocurrir en cualquier momento y es por eso que estar preparado para una es importante para ti y tu familia, ya que tener un botiquín de primeros auxilios abastecido en nuestras casas es esencial de una buena preparación para emergencias. Es por eso que hoy les enseñare a elaborar tu propios botiquín de primeros auxilios, es fácil hacer y ademas lo puedes personalizar para adaptarse a las necesidades particulares de tu familia.
Mis amigos lo mas importante de tener nuestros propio botiquín de primeros auxilios es que siempre tendrás a la mano medicamentos básicos para el cuidado de nuestra salud y la de nuestros familiares, sin olvidar que siempre se debe revisar la caducidad de los medicamentos. Entonces mis amigas creativas no se pierdan el paso a paso para realizar este practico Botiquín de primeros auxilios ¡¡Comencemos!!


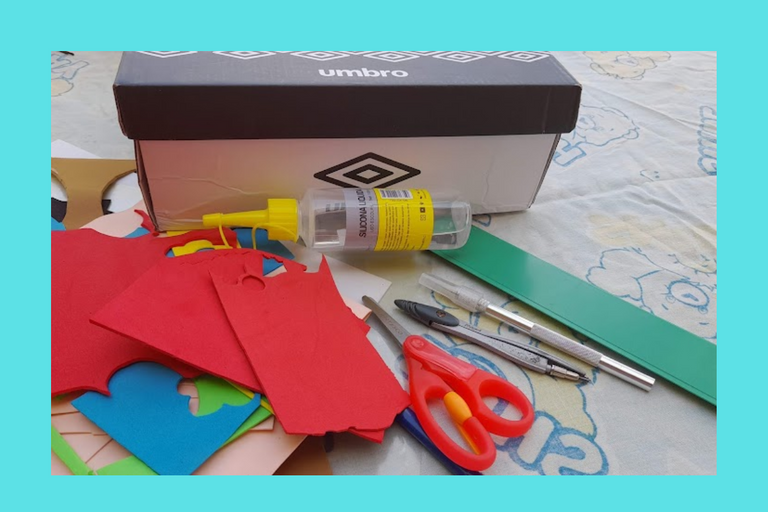
- EVA rubber (Red, white, flesh, yellow, green and blue)
- Shoe box
- White paint
- White contact paper
- Acetate sheet
- Silicon
- Scissors
- Ruler
- Cutters and compass

- Goma eva (Rojo, blanco, carne, amarillo, verde y azul)
- Caja de zapato
- Pintura blanca
- Papel contac blanco
- Lamina de acetato
- Silicon
- Tijera
- Regla
- Cuters y compás


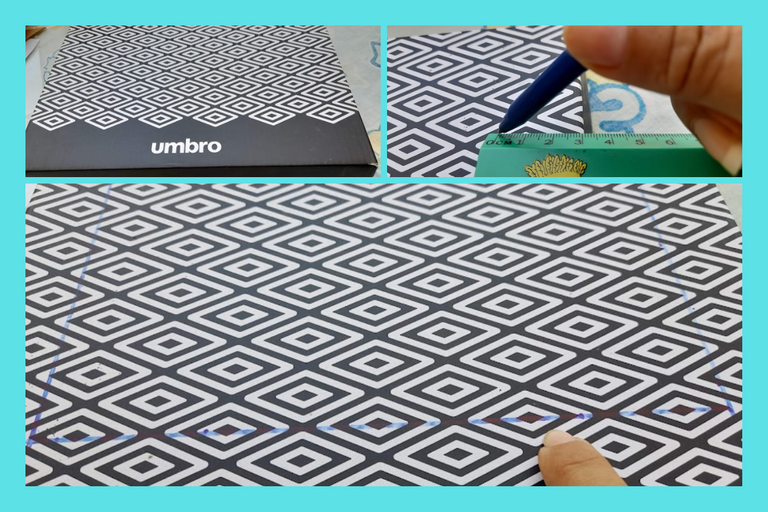
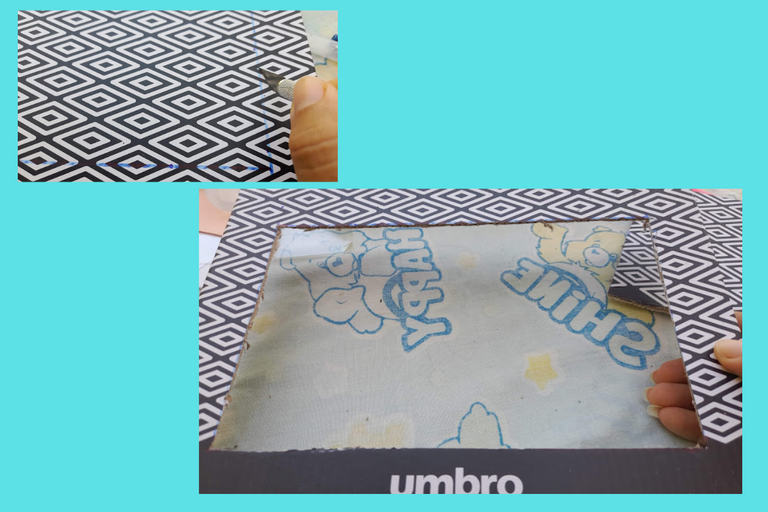
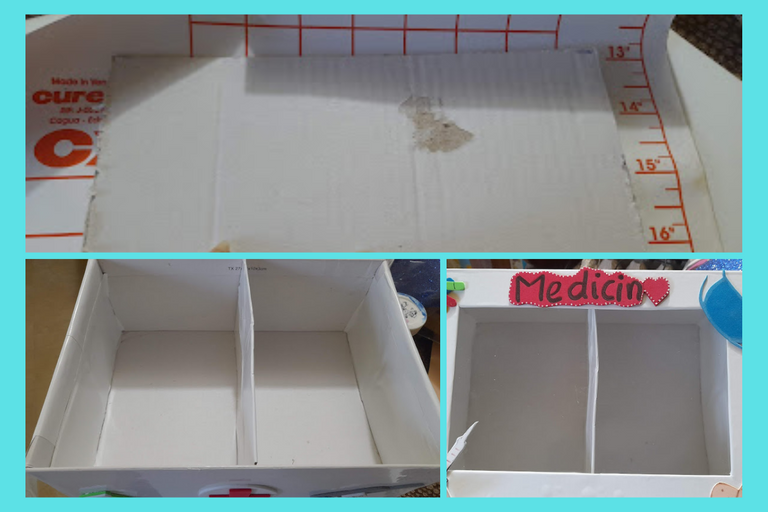
🏥: We take the lid of the shoe box and mark a rectangle, leaving 3 centimeters of separation on the four sides of the lid, then with the help of the cutter we cut the rectangle, as you can see in the images.

🏥: Tomamos la tapa de la caja de zapato y marcamos un rectángulo, dejamos 3 centímetros de separación por los cuatro lados de la tapa, luego con la ayuda del cuters recortamos dicho rectángulo, como pueden observar en las imágenes.


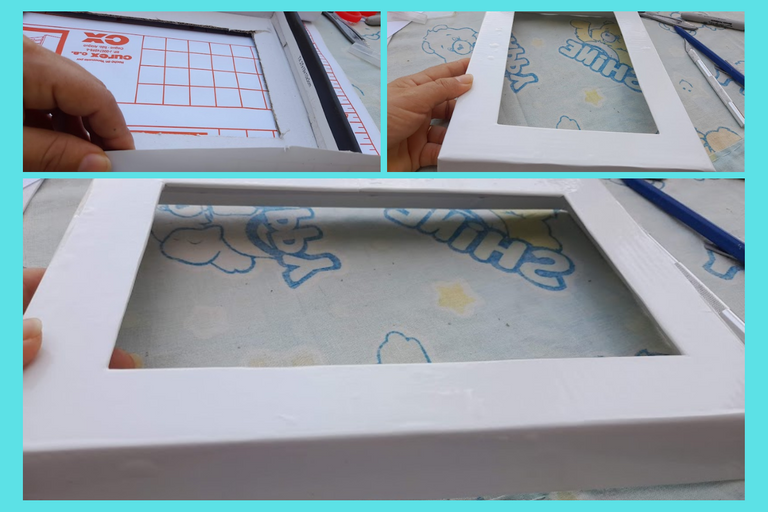
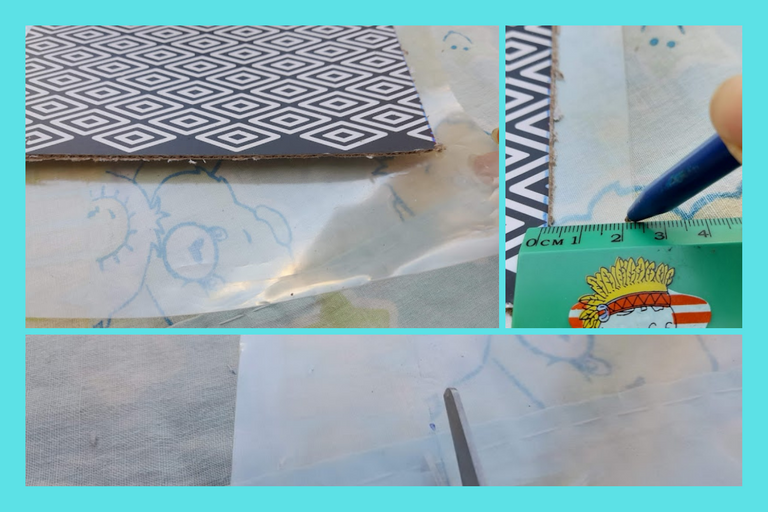
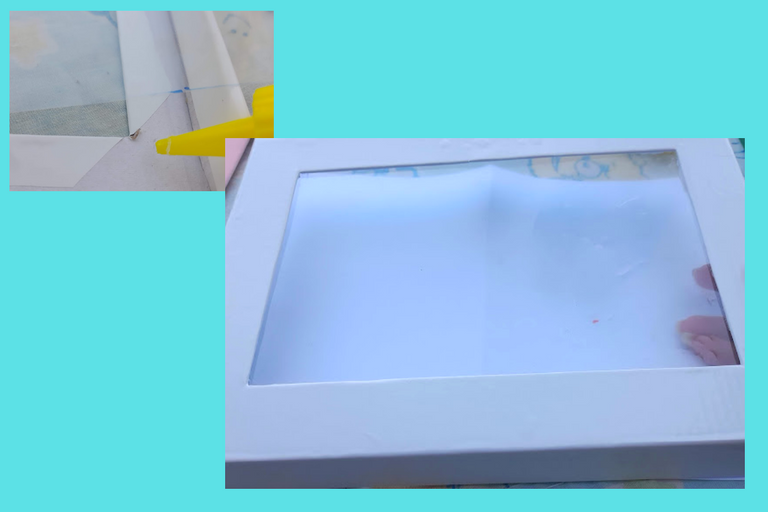
🏥: Now we proceed to line the lid with the contact paper, then we mark the rectangle we cut out of the box lid on the acetate sheet, leave 2 centimeters on each side, cut it out and then proceed to glue it on the back of the lid.

🏥: Ahora procedemos a forrar con el papel contac la tapa, seguidamente marcamos el rectángulo que recortamos de la tapa de la caja en la lamina de acetato, dejamos 2 centímetros de cada lado, recortamos y luego procedemos a pegarla por la parte de atrás de la tapa.


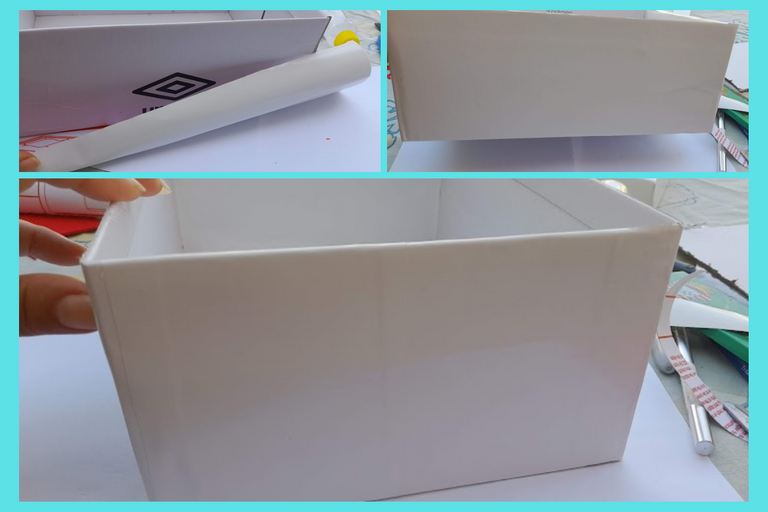
🏥: We proceed to line the base of the box with the contac paper on the outside and inside.

🏥: Procedemos a forrar la base de la caja con el papel contac por fuera y por dentro.


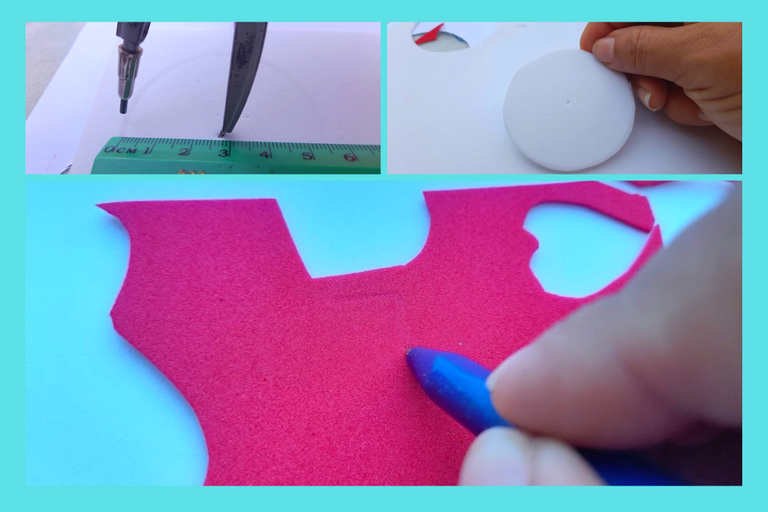
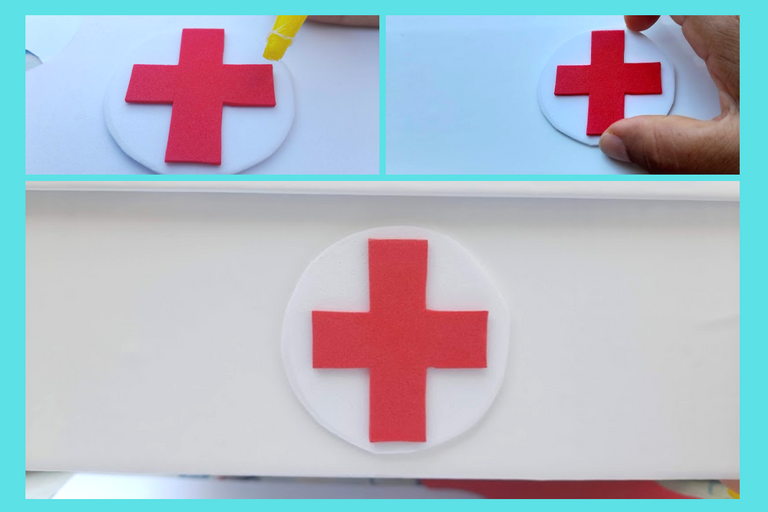
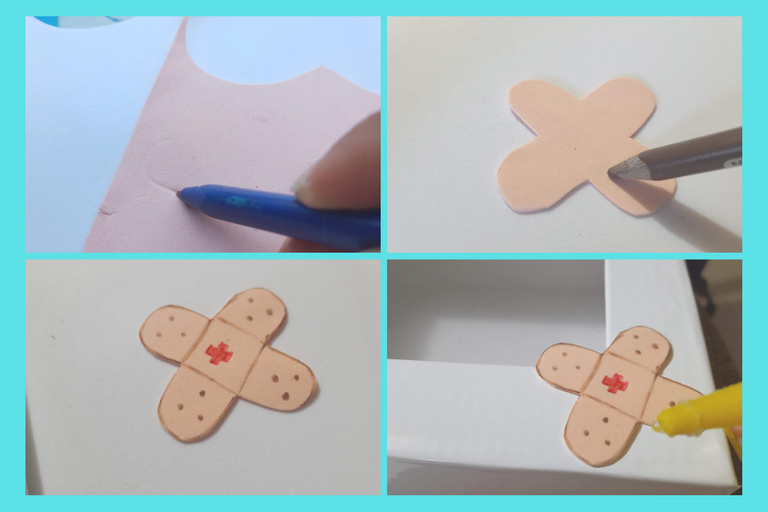
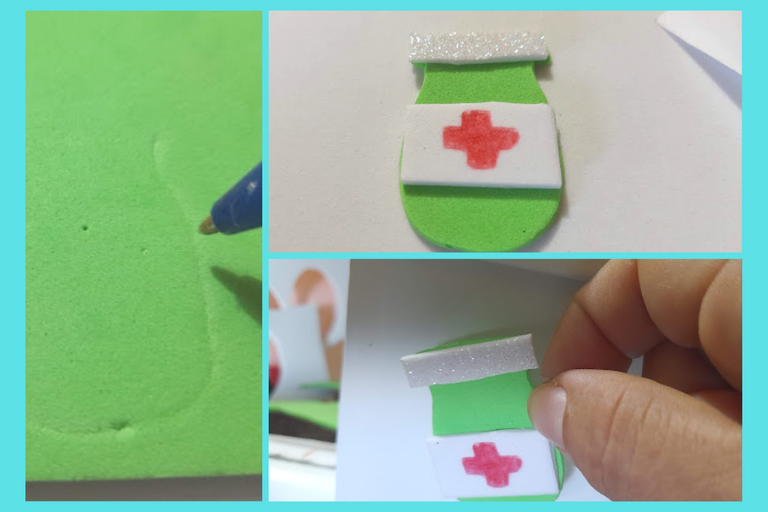
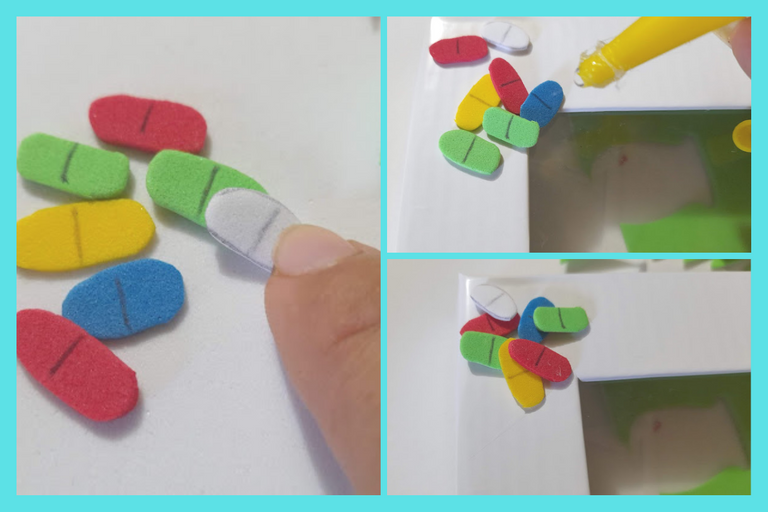
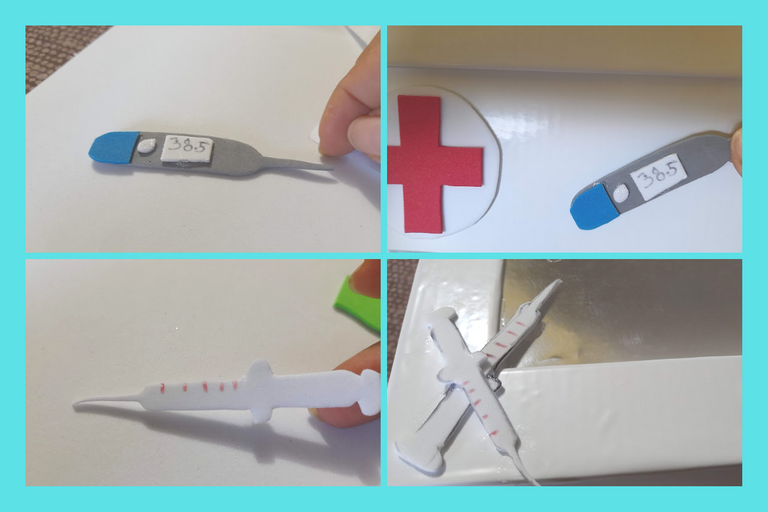
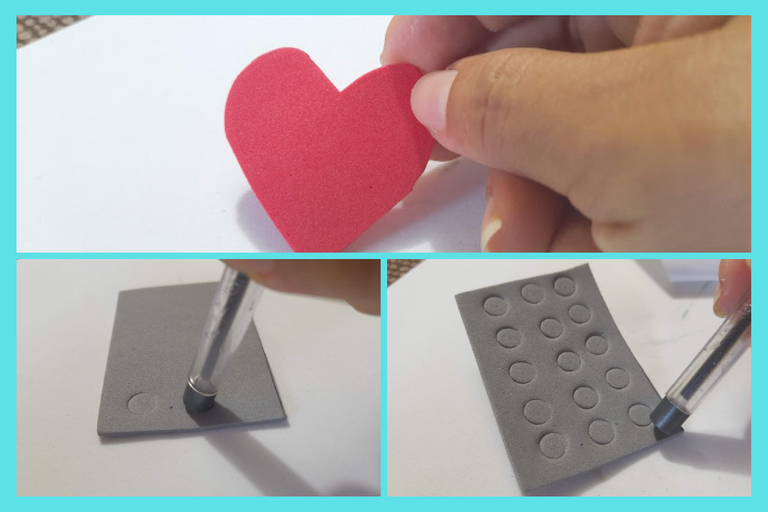
🏥: To decorate our first aid kit we proceed to make several details, starting by making a red cross on the red eva rubber, then we mark a white circle and glue the cross. On the flesh-colored eva rubber we draw some band-aids and with a brown creyon we highlight the edge and make some small dots. We make a syrup bottle in green eva rubber, then we make several capsules of various colors, in the white eva rubber we make some injectors and in the gray eva rubber we mark and cut out a thermometer and a blister of pills.

🏥: Para la decoración de nuestro botiquín procedemos a realizar varios detalle, iniciando realizando una cruz roja en la goma eva roja, luego marcamos un circulo blanco y pegamos la cruz. En la goma eva color carne dibujamos unas curitas y con un creyon marrón resaltamos el borde y le realizamos unos pequeños puntos. Realizamos un frasco de jarabe en lela goma eva verde, seguidamente hacemos varias capsulas de varios colores, en la goma eva blanco realizamos unas inyectadoras y en la goma eva gris marcamos y recortamos un termómetro y un blister de pastillas.


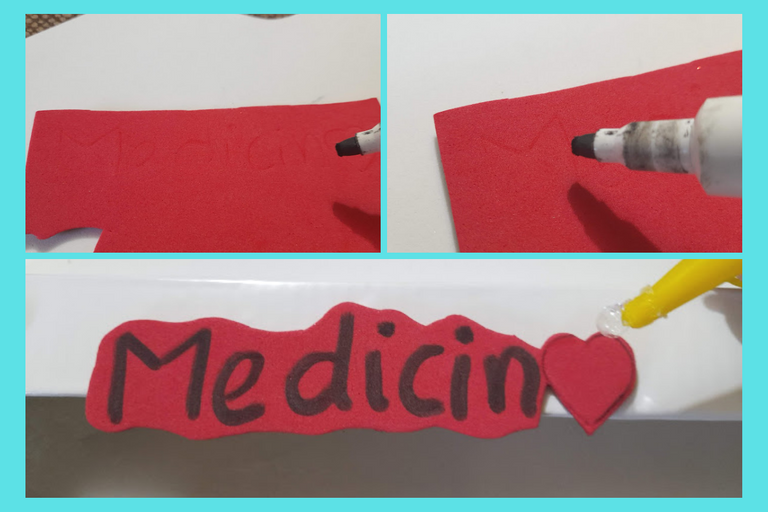
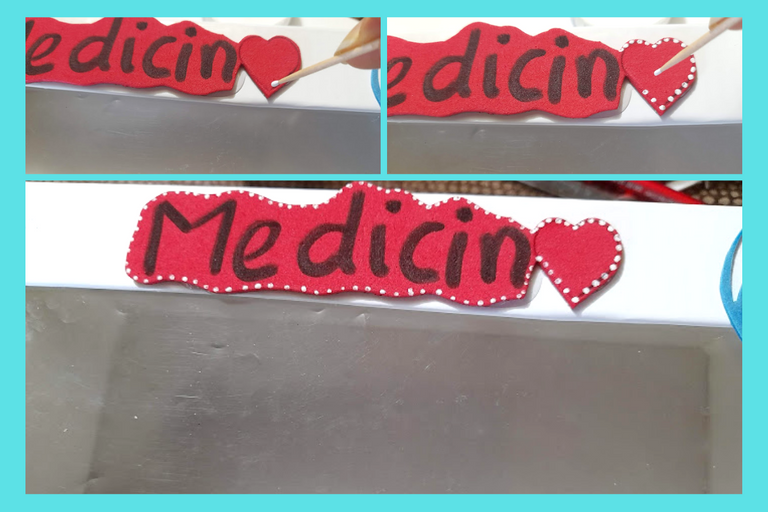
🏥: To finish our first aid kit, we write the word medicine on the red eva rubber, then we mark it with a black marker, cut it out and with a toothpick and white paint we highlight with a dot all around the edge of the word. Then we take the rectangle that we cut out in the first step and we proceed to line it with the contac paper which serves as a separator of our first aid kit.

🏥: Para finalizar nuestro botiquín de primeros auxilios, escribimos la palabra medicina en la goma eva rojo, luego remarcamos con un marcador negro, recortamos y con un palillo y pintura blanca resaltamos con un puntos todo el borde de la palabra. Seguidamente tomamos el rectángulo que recortamos en el primer paso y lo procedemos a forrar con el papel contac el cual nos sirve como separador de nuestro botiquín.


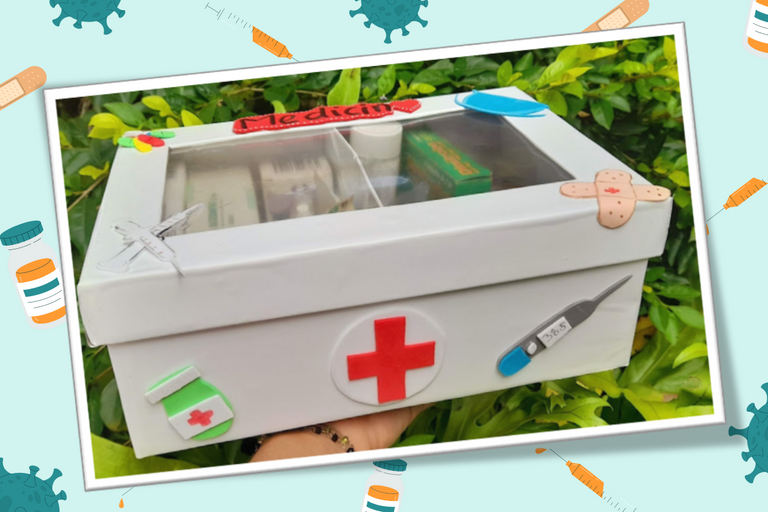
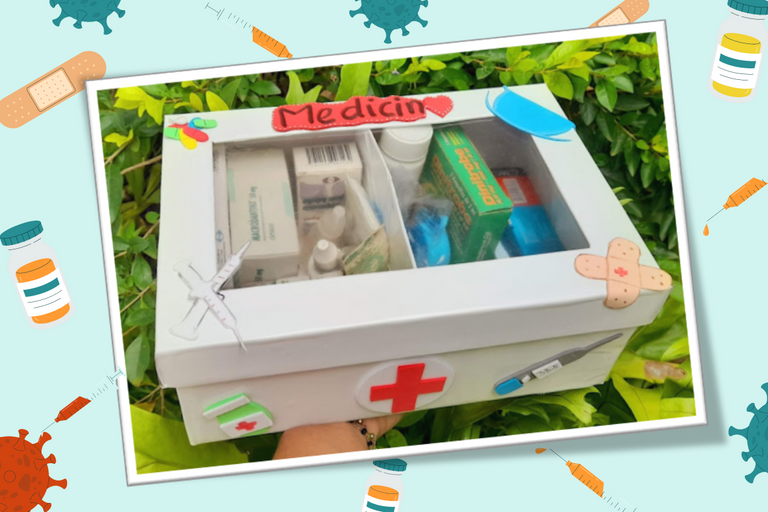
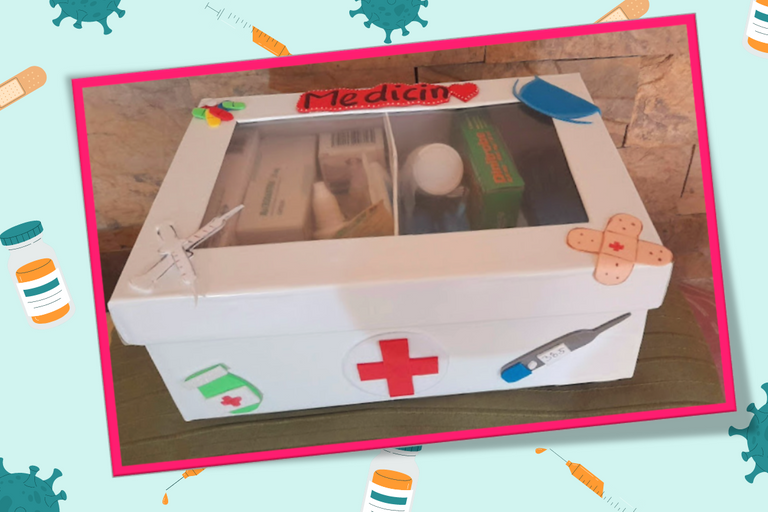
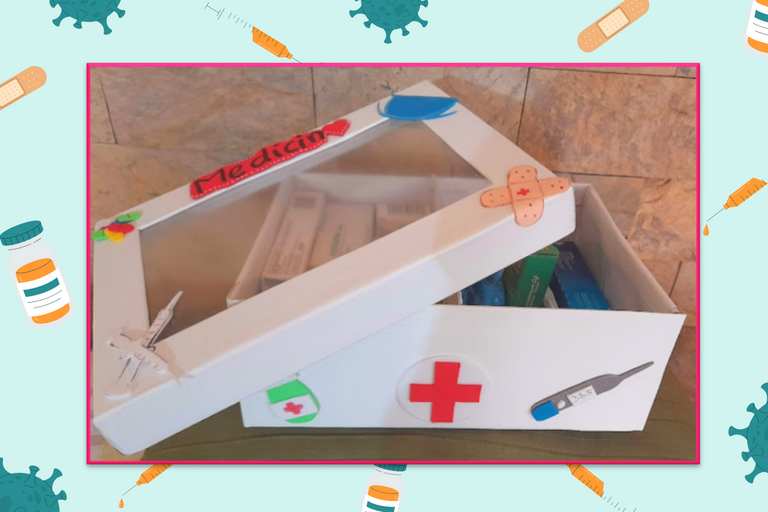
Here is the final result of my practical first aid kit made with recycled material, I hope you liked my project today!
See you next time, my dear creative friends!

Listo este es el resultado final de mi practico botiquín de primeros auxilios elaborado con material de reciclaje. ¡Espero les haya gustado mi proyecto de hoy!
¡ Hasta una próxima publicación, mis queridas Amigas creativos!
Portada y plantillas elaboradas en canva

The pictures were taken with a Samsung A12 smartphone, the text was translated into English with the deepl translator link
The banner was designed on canvas link

Las fotografías fueron tomadas con un teléfono inteligente Samsung A12, el texto fue traducido al ingles con el traductor deepl link
El banner fue diseñado en canvas link


