¡Hola queridos amigos de internet! Espero se encuentren muy bien! Como saben, estamos en la época más hermosa del año y nos encontramos en plena decoración de la casa, y yo me he inspirado en hacer adornos nuevos para las puertas de los cuartos y el baño por lo que hoy me gustaría enseñarles a hacer este hermoso Árbol Navideño usando solamente cartulina espejo y foami escarchado. ¡Espero les guste!
Hello dear internet friends! I hope they are fine! As you know, we are in the most beautiful time of the year and we are in full decoration of the house, and I have been inspired to make new decorations for the doors of the rooms and the bathroom, so today I would like to teach you how to make this beautiful Christmas tree using only mirror cardboard and frosted foam. I hope you like it!

Materiales: / Materials:
Español:
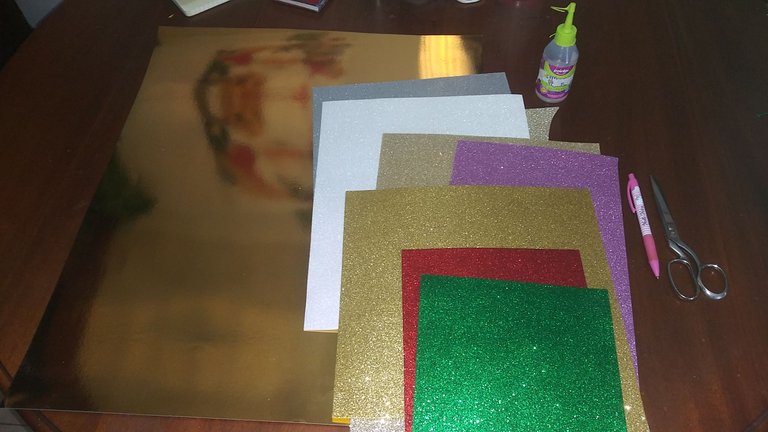
Cartulina espejo del color de tu preferencia. (yo usé color dorado esta vez, pero también lo fabriqué con colores verde y plateado)
Foami escarchado de los colores de tu preferencia (yo usé dorado, plateado, verde, rojo, morado y blanco.
Silicón líquido.
Un lápiz o portaminas.
Tijeras.
English:
Mirror cardboard in the color of your choice. (I used gold this time, but I also made it with green and purple and silver colors)
Frosted foami in the colors of your choice (I used gold, silver, green, red and white).
Liquid silicone.
A pencil or mechanical pencil.
Scissors.

Procedimiento: / Process:
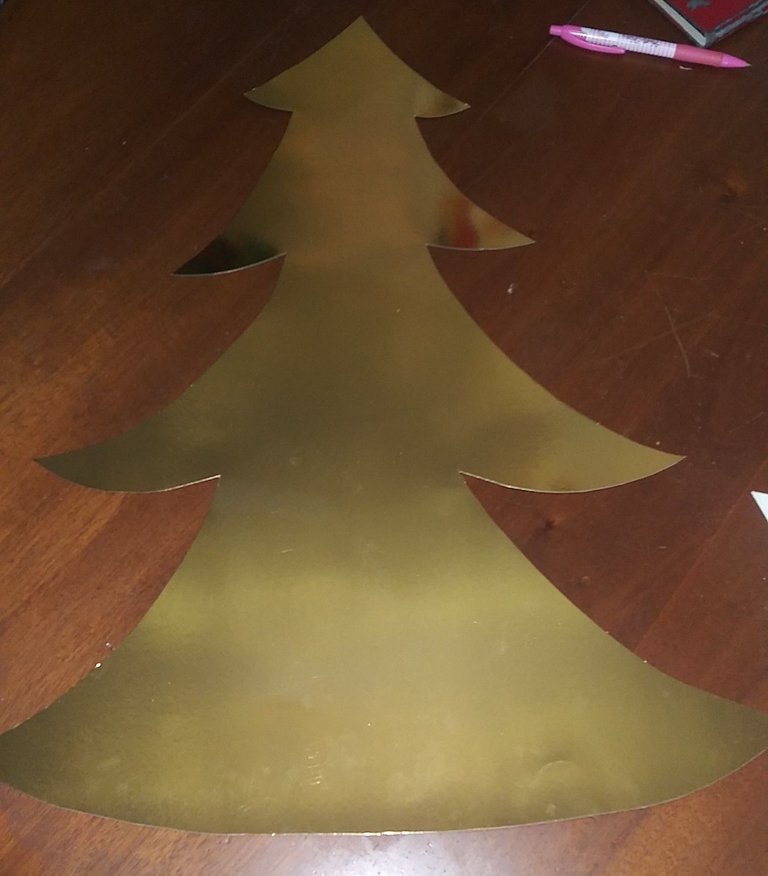
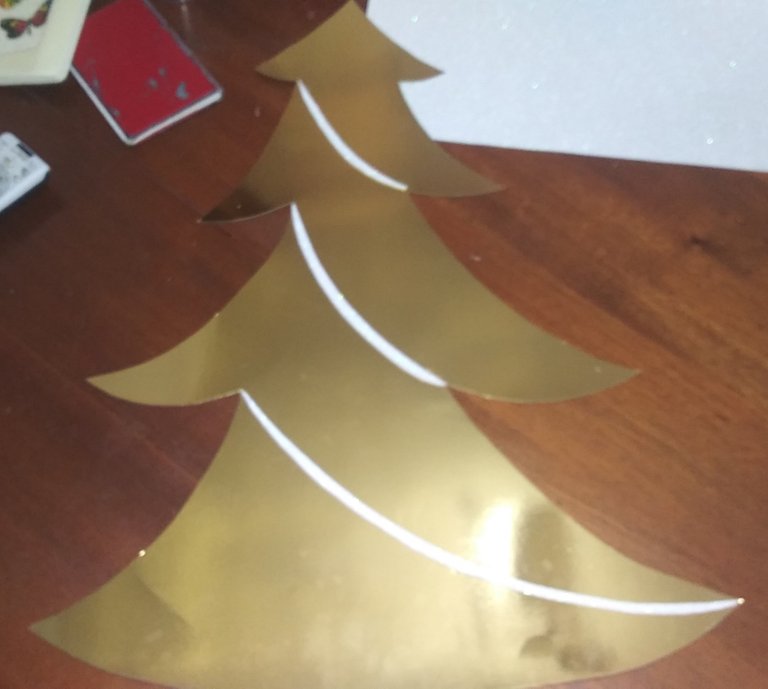
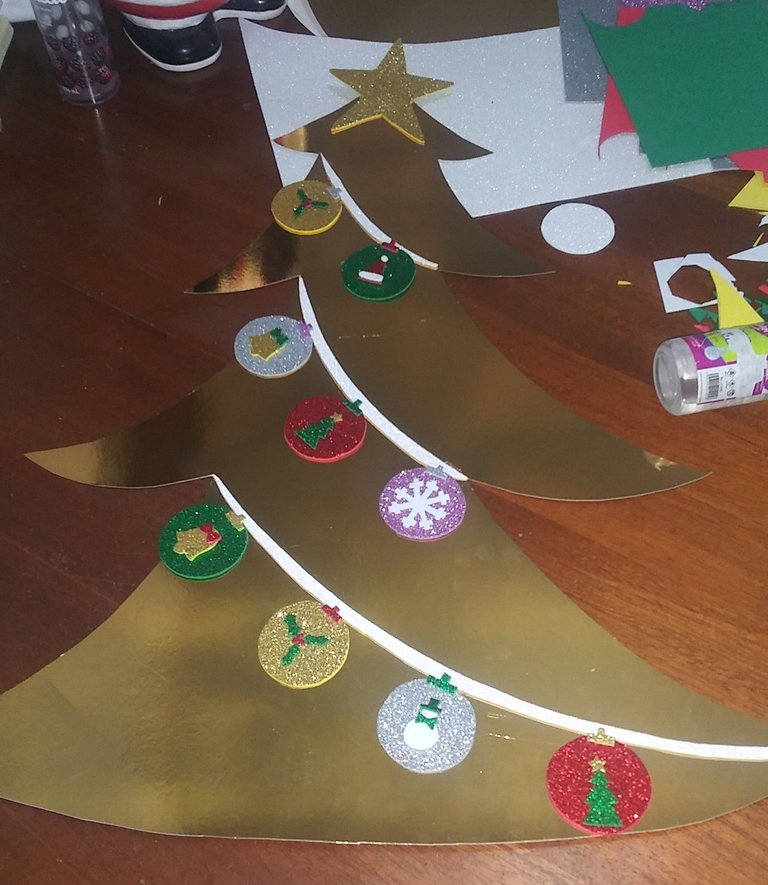
1. Comenzamos dibujando nuestro árbol en la cartulina y luego lo cortamos, hay que hacerlo cuidadosamente ya que es una cartulina dura y un poco díficil de cortar.
1. We start by drawing our tree on the cardboard and then we cut it, you have to do it carefully since it is a hard cardboard and a bit difficult to cut.
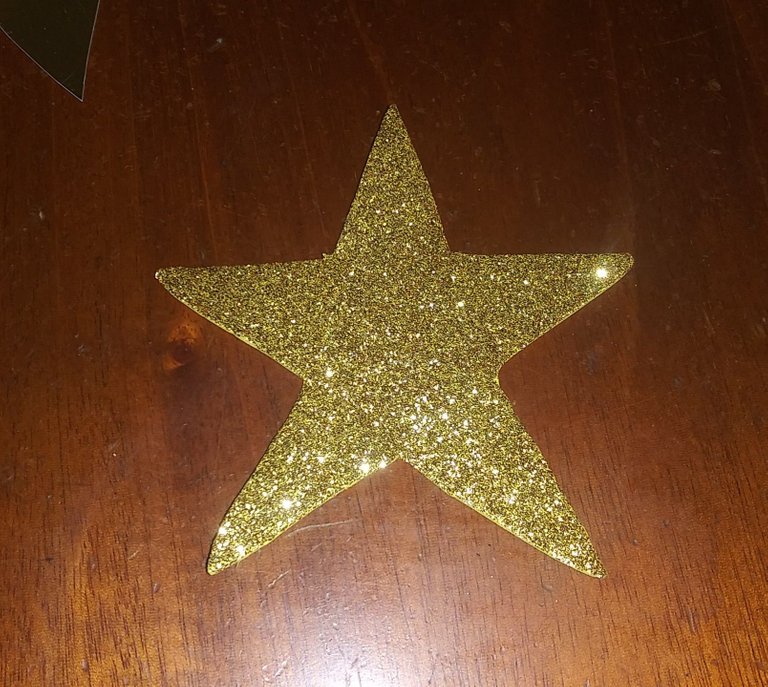
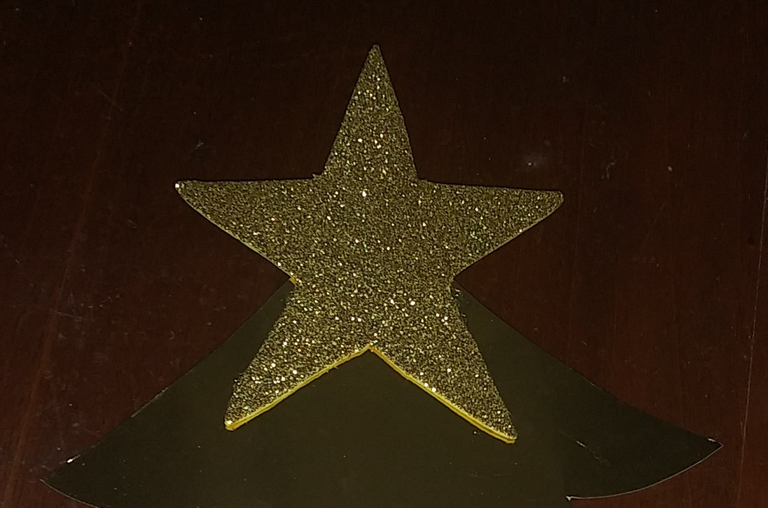
2. Luego tomamos el foami dorado escarchado y dibujamos la estrella para el copo del Árbol y la recortamos, yo preferí no hacerla tan perfecta pero, si lo prefieres puedes usar alguna plantilla de estrella. Una vez la tenemos la podemos pegar en la punta de nuestro Árbol, sin embargo yo preferí pagarla luego para poder moverlo mejor.
2. Then we take the frosted gold foami and draw the star for the Tree top and cut it out, I preferred not to make it so perfect but, if you prefer, you can use a star template. Once we have it, we can paste it on the top of our Tree, however I preferred to pay it later to be able to move it better.
Luego cortamos con foami escarchado 3 tiras en forma de medias lunas finas, y luego las pegamos en la parte de adentro de nuestro álbol para hacer las cintas de dónde irán pegadas las bambalinas, yo en este caso usé blanco pero ustedes pueden usar el color que prefieran, yo hice 3 hileras en total.
Then we cut 3 strips in the shape of fine crescents with frosted foam, and then we glued them to the inside of our tree to make the ribbons where the Christmas balls will be glued, in this case I used white but you can use the color you prefer, I did 3 rows in total.
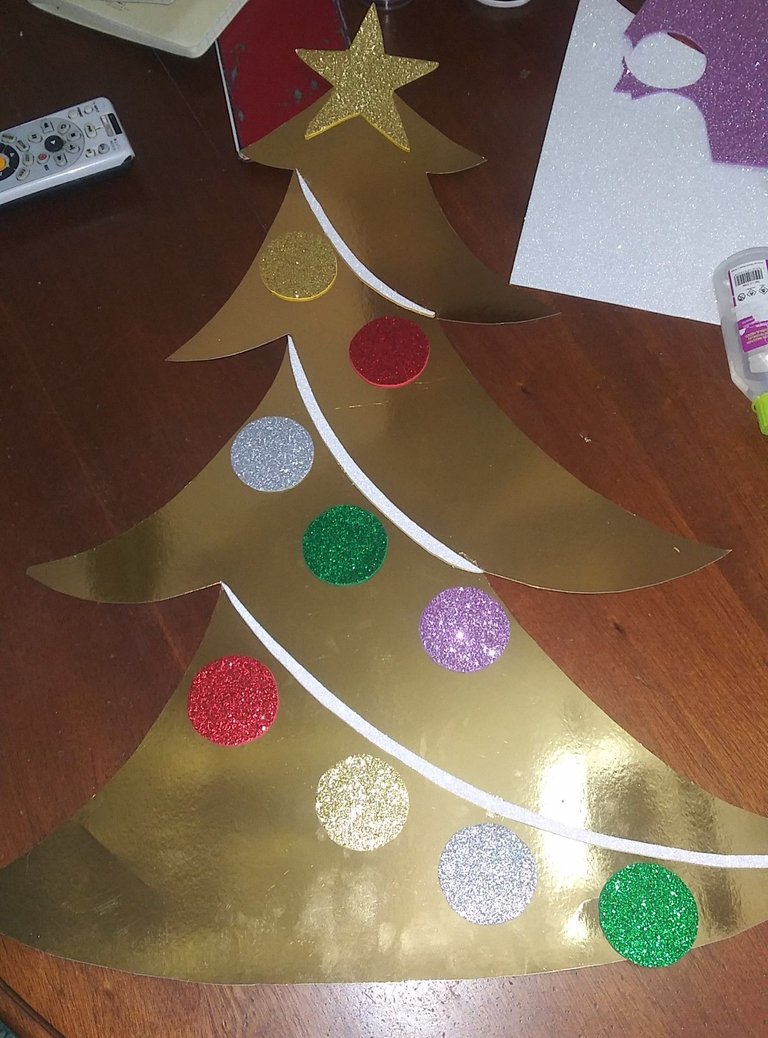
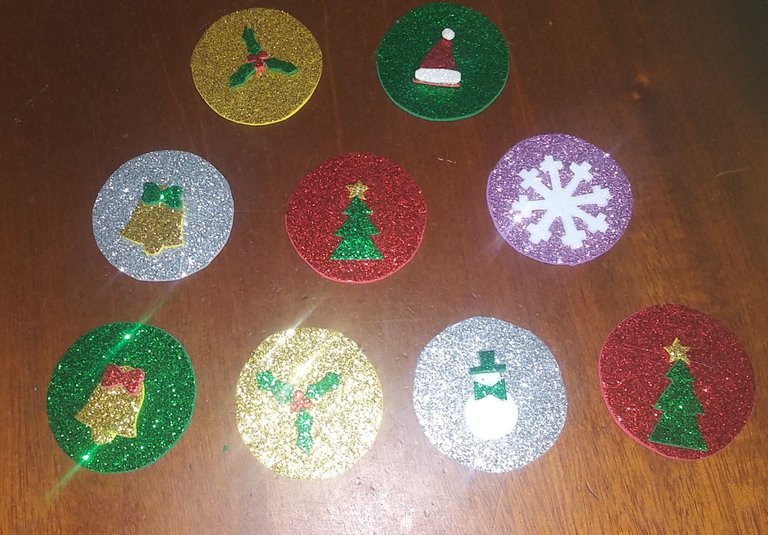
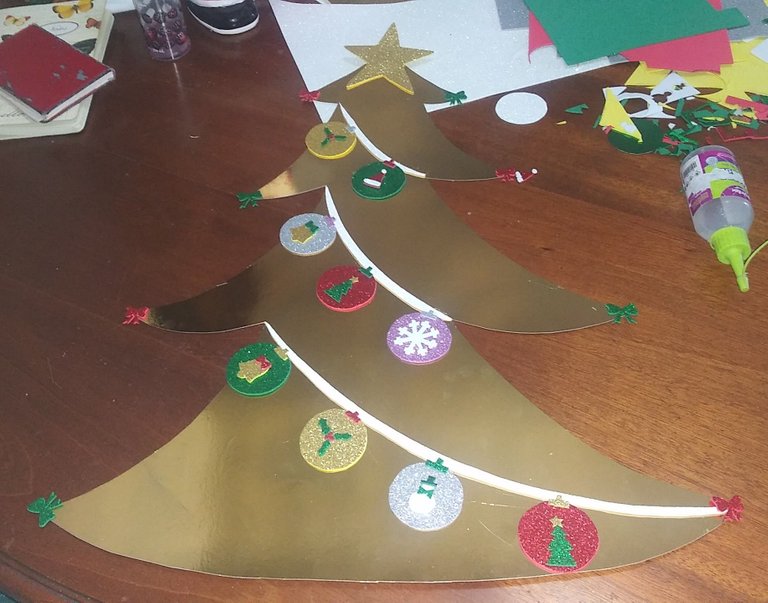
Hecho esto, comenzamos con la elaboración de las bambalinas de foami escarchado de colores. Yo a mi árbol le puse 9 más o menos grandes pero pueden ser la cantidad y tamaño de tu preferencia. así que empezamos dibujando los círculos por la parte de atrás del foami y luego cortamos, una vez cortadas las acomodé en el Árbol sin pegarlas todavía para asegurarme de que fuesen del tamaño correcto. También aproveché de pegar la estrella en la punta.
Once this is done, we begin with the elaboration of the colored frosted foami Christmas balls. I put 9 more or less large on my tree but they can be the quantity and size of your preference. so we started drawing the circles on the back of the foami and then cut, once cut I arranged them on the Tree without gluing them yet to make sure they were the correct size. I also took advantage of sticking the star on the top.
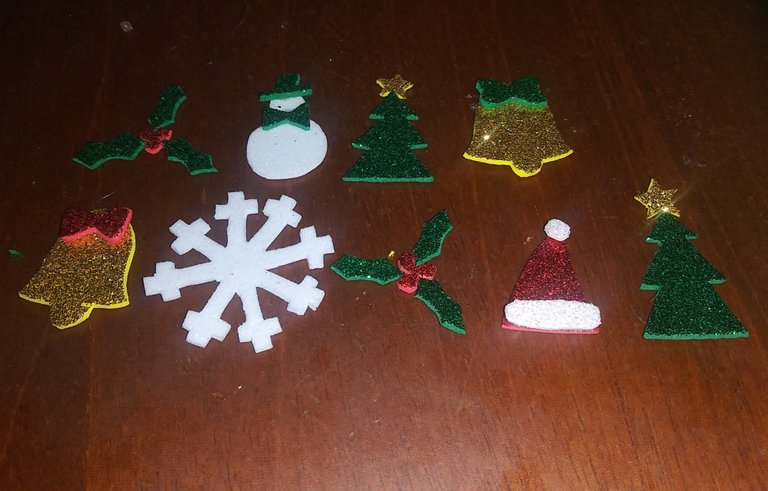
Luego comenzamos a hacer figuras de foami escarchado para decorar las bambalinas, puedes dibujarlas por la parte de atrás del foami para que sea mas fácil cortarlas y puedes hacer las figuras navideñas que más te gusten, yo por ejemplo hice campanas navideñas, muerdagos, árboles navideños, entre otras cosas así que puedes dejar volar tu imaginación. Una vez las tenemos listas, procedemos a pegarlas en cada bambalina. También recorté estos sombreritos para pegarlos encima de cada bambalina, ya que así se podrán pegar en las cintas del árbol sin necesidad de pegar cada una en el árbol.
Then we began to make frosted foam figures to decorate the Christmas balls, you can draw them on the back of the foam to make it easier to cut them and you can make the Christmas figures that you like the most, for example I made Christmas bells, mistletoe, Christmas trees , among other things so you can let your imagination run wild. Once we have them ready, we proceed to stick them on each Christmas balls. I also cut out these little hats to stick them on top of each Christmas ball, because that way they can be stuck on the tree's ribbons without needing to glue each one on the tree.
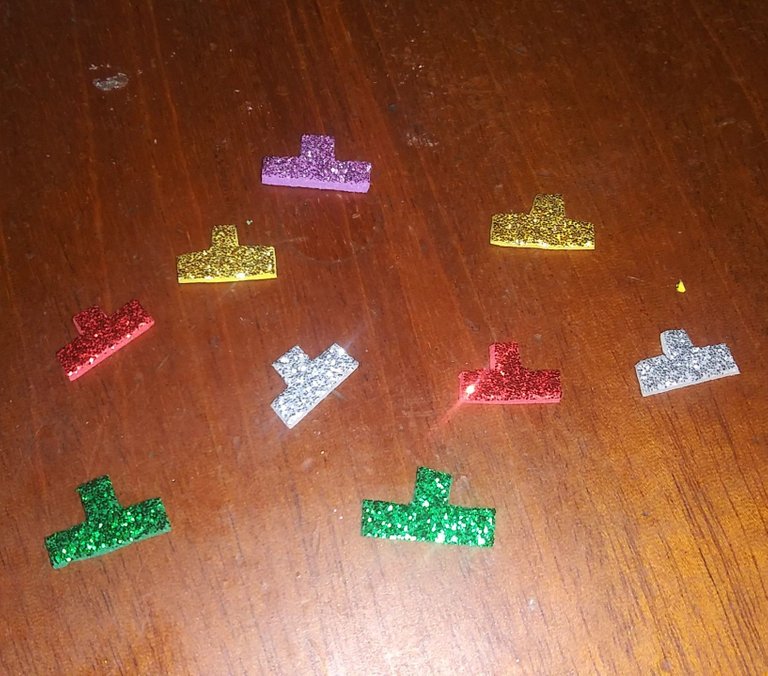
Una vez listas, procedemos a pegarlas al árbol, usando el silicón líquido, ponemos un poco en cada punta del sombrerito y luego la pegamos de la cinta, no es recomendable pegarlas del árbol porque pierden soltura, también es mejor pegar las cintas solamente por las esquinas. Una vez pegadas se verán así:
Once ready, we proceed to glue them to the tree, using liquid silicone, we put a little on each end of the hat and then we glue it on the tape, it is not recommended to glue them on the tree because they lose looseness, it is also better to glue the ribbons only on the corners. Once pasted they will look like this:
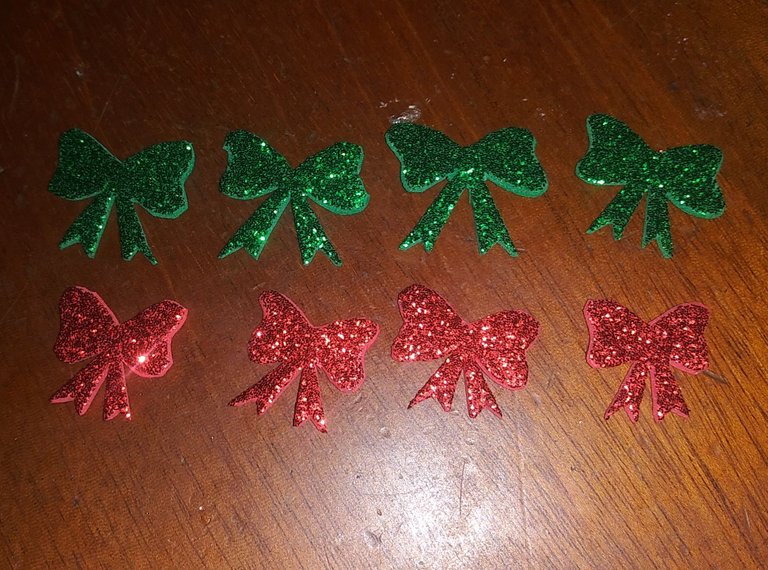
Para terminar, realicé pequeños lacitos en rojo y verde para decorar las puntas del árbol sin que se viera recargado, si lo deseas puedes hacerlos más grandes y de los colores que prefieras pero yo utilicé estos colores porque pienso que se ven mejor en fondo dorado. Una vez cortados los lacitos, los pegamos en las puntas y así terminamos nuestro árbol.
To finish, I made small bows in red and green to decorate the tips of the tree without making it look overdone, if you wish you can make them bigger and in the colors you prefer but I used these colors because I think they look better on a gold background. Once the little bows are cut, we glue them on the ends and thus we finish our tree.
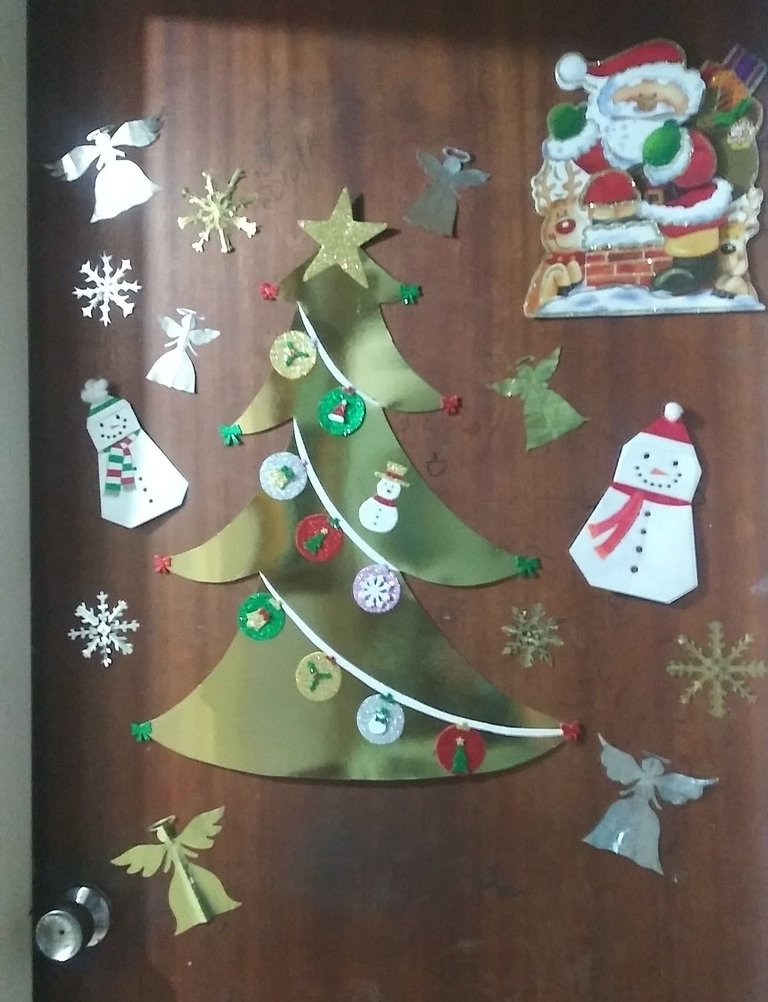
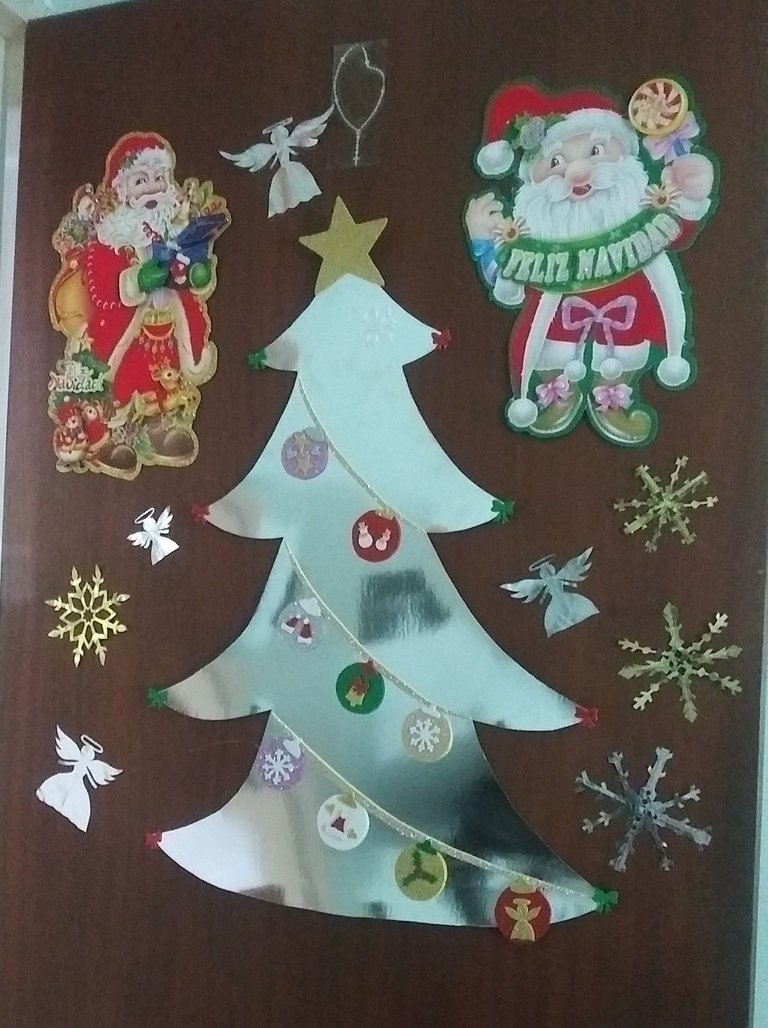
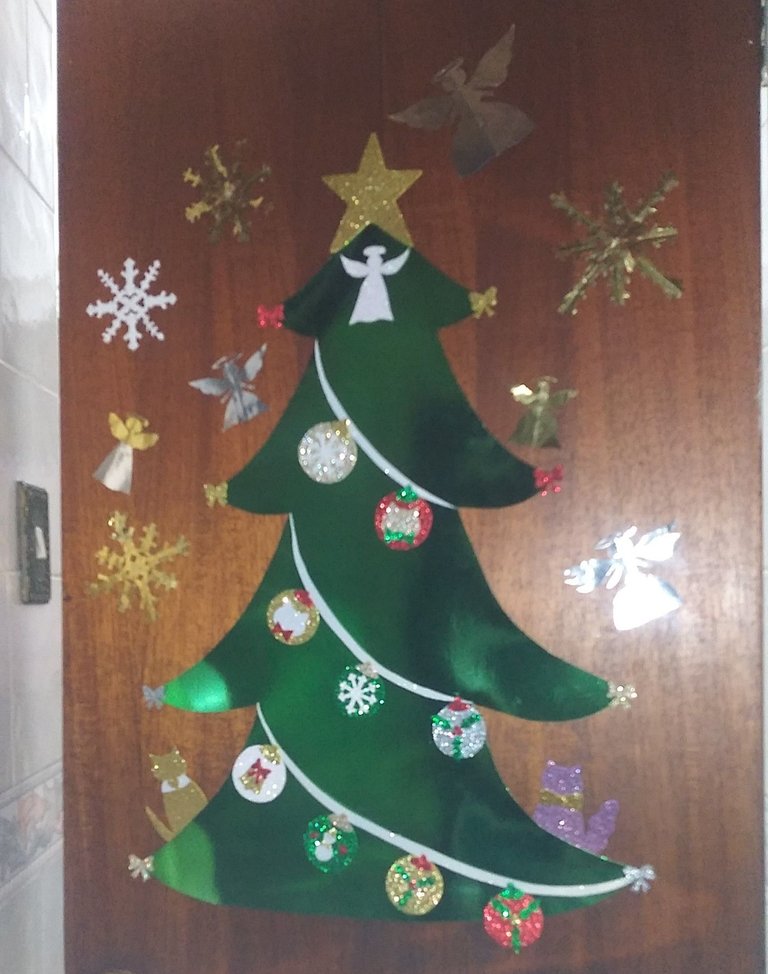
Una vez terminado, lo pegué en la puerta de mi cuarto con otros adornos como una figura de Santa Claus que compré hace varios años, y también unos ángeles y cristales de hielo dorados y plateados que hice hace varios años, y unos muñecos de nieve de origami que también realicé hace años. También puedes ponerle al árbol otras figuras de tu preferencia, yo por ejemplo hice un muñeco de nieve con foamis escarhados y lo pegué en el centro, pero tu puedes ponerle lo que más te guste. Yo además de este árbol, también hice 2 más en plateado y verde y este fué el decorado final:
Once finished, I glued it to my bedroom door with other decorations such as a Santa Claus figurine I bought several years ago, and also some gold and silver angels and ice crystals I made several years ago, and some snowmen from origami that I also made years ago. You can also put other figures of your choice on the tree, for example I made a snowman with frosty foam and I stuck it in the center, but you can put what you like best. In addition to this tree, I also made 2 more in silver and green and this was the final decoration:
Como pueden ver, es un adorno bastante sencillo y divertido de hacer el cual puedes colocar en donde tu quieras para decorar. En esta temporada deja volar tu creatividad fabricando hermosos detalles para tu decoración. Yo en lo personal también estoy fabricando pequeñas figuras parecidas a las de las bambalinas para decorar otros lugares. Puedes proteger la escarcha del foami aplicando cola blanca con un pincel y al secar se ve más brillante, y se evitará que la escarcha se caiga.
As you can see, it is a fairly simple and fun ornament to make which you can place wherever you want to decorate. In this season, let your creativity fly by making beautiful details for your decoration. Personally, I am also making small figures similar to those of the scenes to decorate other places. You can protect the frost on the foami by applying white glue with a brush and when it dries it looks brighter, and it will prevent the frost from falling off.
Bueno queridos amigos esto ha sido todo por hoy, espero que les haya gustado mi post. Muchas gracias a todos como siempre por su atención y apoyo a mi trabajo, les mando un fuerte abrazo a todos y ya nos reencontraremos en un nuevo post.
Well dear friends this has been all for today, I hope you liked my post. Thank you all very much as always for your attention and support of my work, I send you all a big hug and we will meet again in a new post.
Las imagenes de bienvenida y despedida fueron diseñadas por mí con canva editor, y las fotografías son de mi propiedad tomadas por mí con mi celular LG Aristo 2.
The welcome and farewell images were designed by me with canva editor, and the photographs are my property, taken by me with my LG Aristo 2 cell phone.