Saludos, recibiendo la invitación de @chacald.dcymt esta es mi participación en el concurso Party Kids de la comununidad Hive Diy, me gustaría invitar a @yetsimar.
Greetings, receiving the invitation from @ chacald.dcymt this is my participation in the Party Kids contest from the Hive Diy community, I would like to invite @yetsimar.
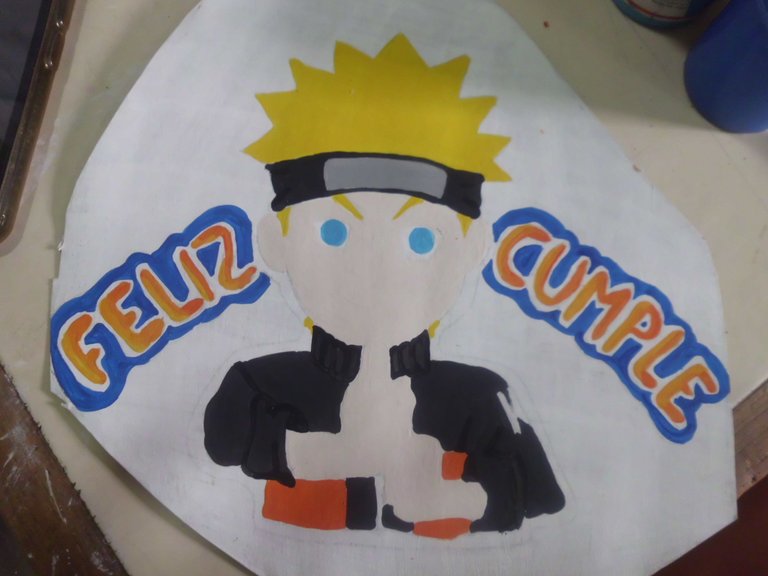
Children's birthdays are a special occasion in any family, for me it is very important because it is an opportunity to show my son in a material way how much I love him and the best way is by making themed birthdays according to his taste, this year it touched me a little difficult because he wishes his birthday from Naruto and this character is not common in decoration stores, so I have to make all the decorations by hand because in my opinion they are more beautiful, also it is not the same to print an image and paste it than to make the work with our own hands and a lot of love, so today I share with you how to make a topper for the cake.

Materiales / Materials
Lápiz grafito y papel
Tijera
Cartulina doble faz cualquier cartulina gruesa.
Pinturas: Negro, blanco, piel y los colores primarios
Silicón o pega
Bolígrafo negro
Lápices de colores
Palillo de altura
Graphite pencil and paper
Scissors
Double-sided cardstock any thick card stock.
Paints: Black, white, skin and primary colors
Silicone or glue
Black pen
Colored pencils
Height stick
1 Paso / Step
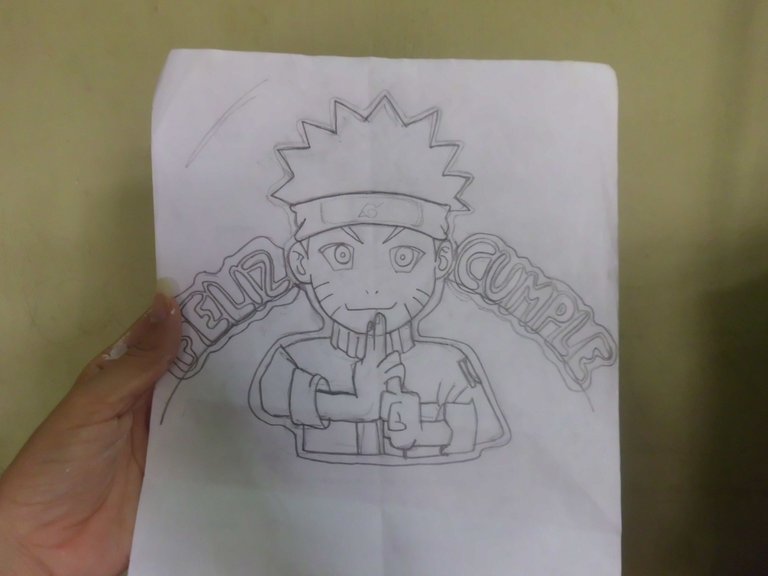
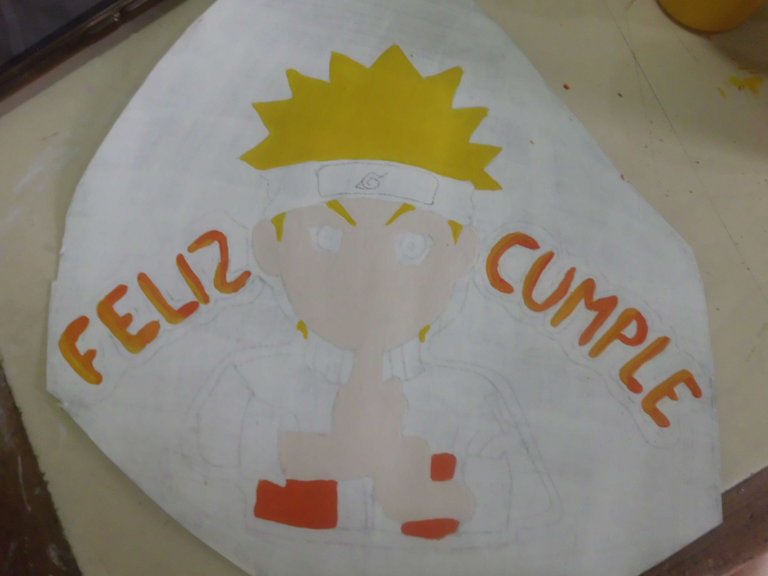
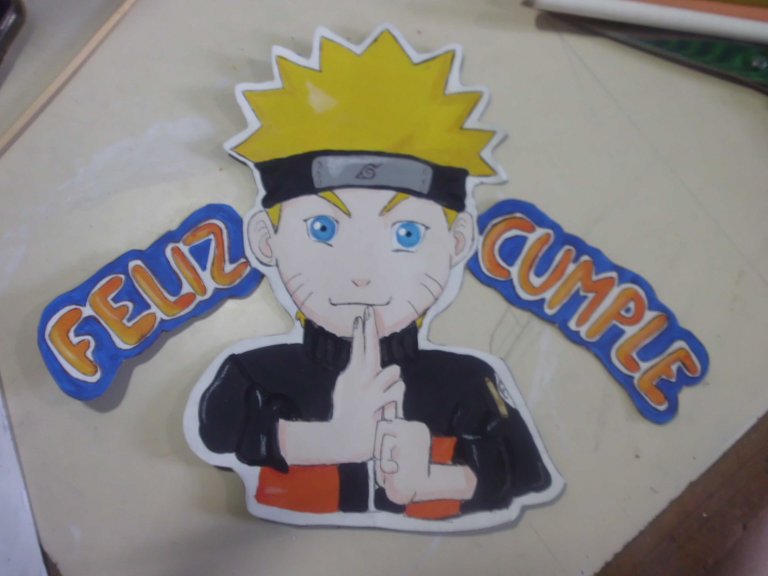
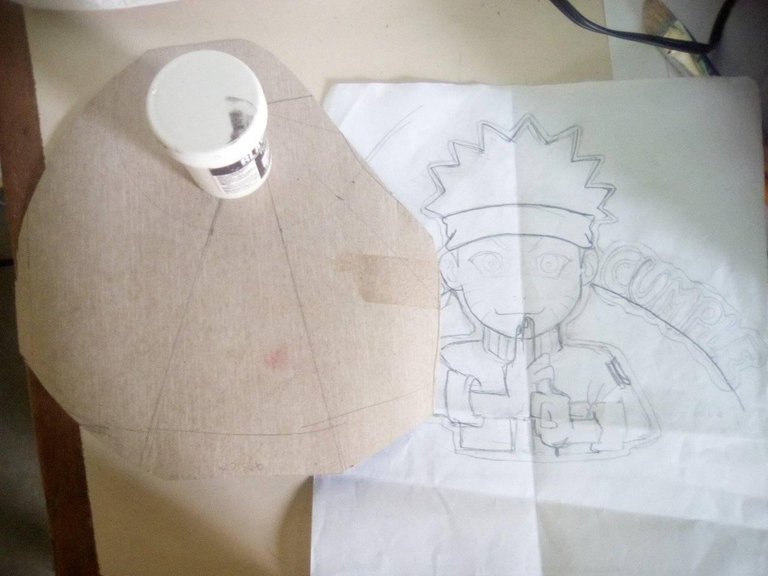
El trabajo comienza con el diseño o boceto con lápiz y papel, yo use como referencia una imagen tipo chibi de Naruto niño que se encontraba de cuerpo completo con sus manos preparadas para hacer el jutsu de clones de sombra, por lo que adapté a la apariencia y vestimenta del Naruto grande y también recorté la imagen, siendo el centro de una arco de letras con la palabras Feliz Cumple.
The work begins with the design or sketch with pencil and paper, I use as referencea chibi image of Naruto boy who was full body with his hands prepared to do the shadow clones jutsu, so I adapted to the appearance and clothing of the large Naruto and also cut out the image, being the center of an arc of letters with the words Happy Birthday.
2 Paso / Step
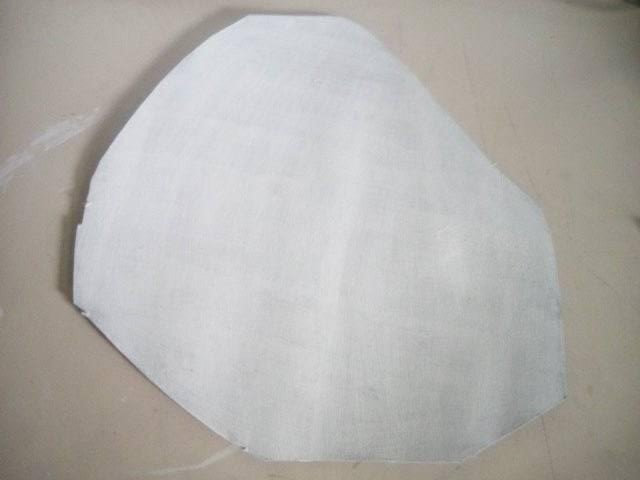
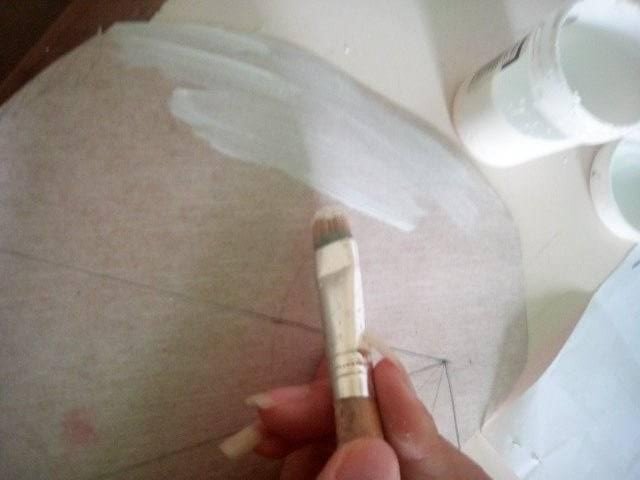
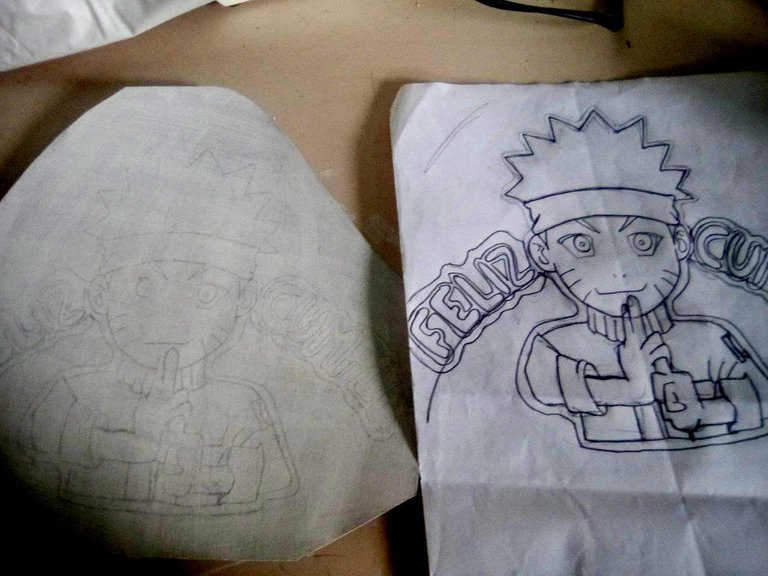
The next step is to cut the cardboard of a sufficient size for the drawing, then apply one or two layers of white paint on the cardboard, when it dries transfer the drawing to the cardboard, this can be done using carbon paper to trace or as I do that it consists of staining the back side of the sheet with the graphite pencil, then the sheet is placed on top of the cardboard and marks the lines with the pencil, thus obtaining the drawing on the cardboard.
3 Paso / Step
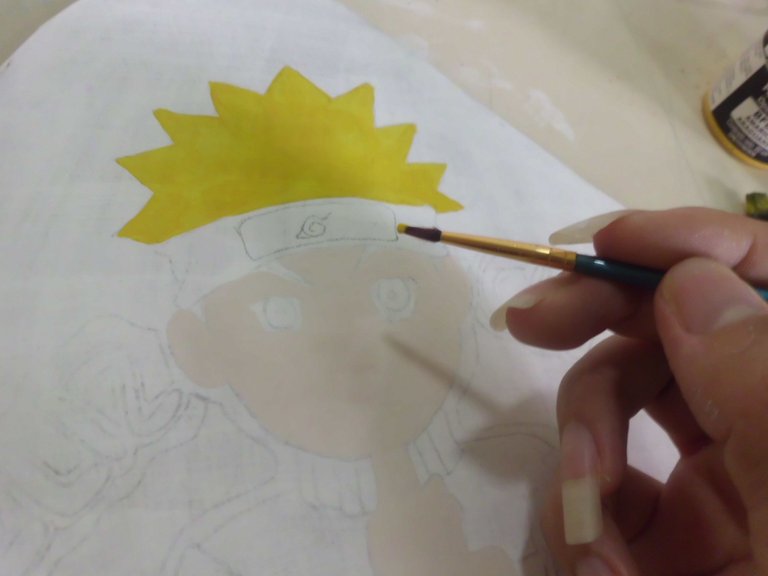
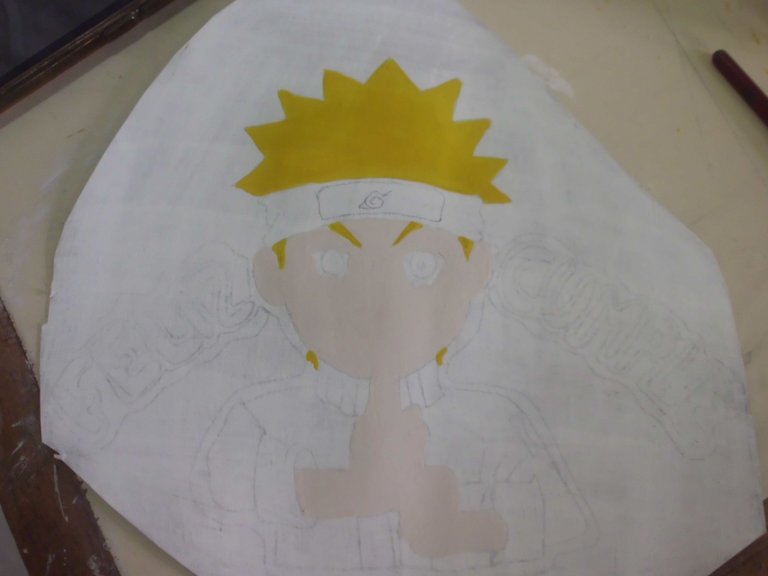
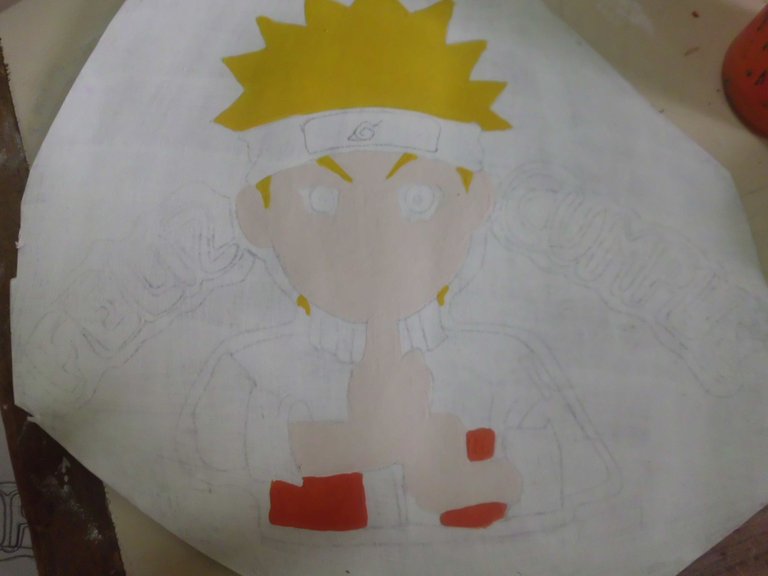
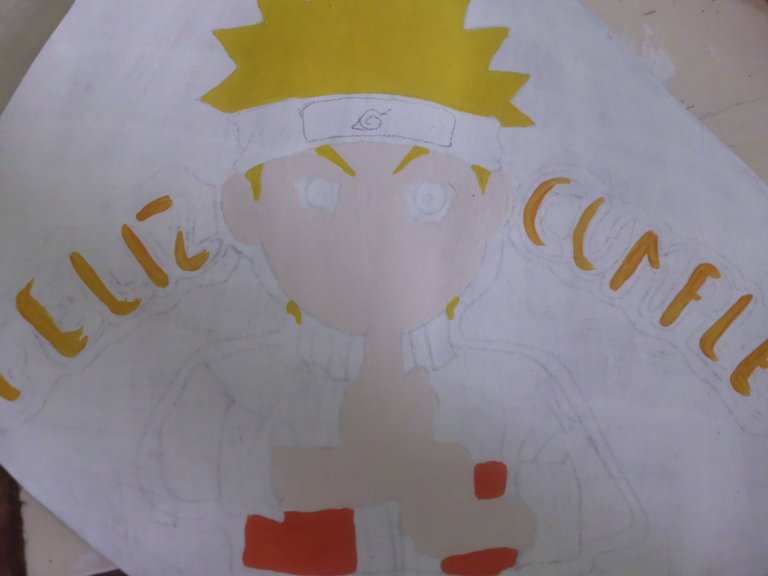
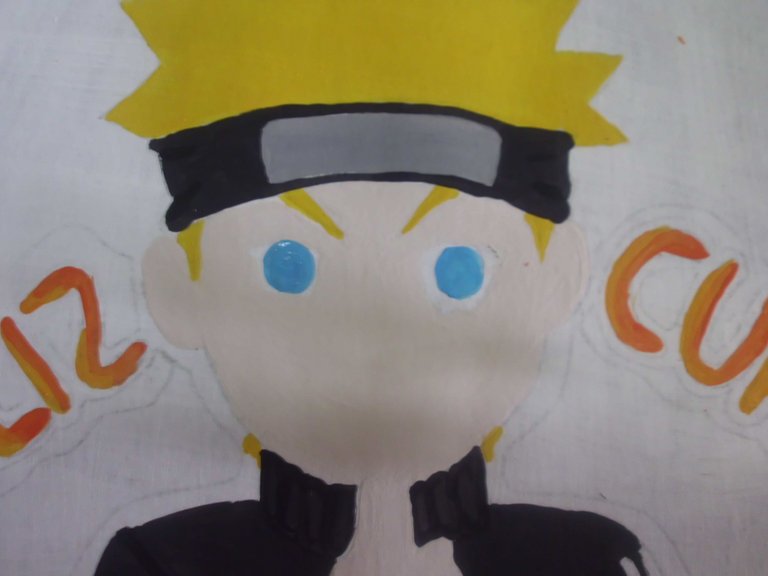
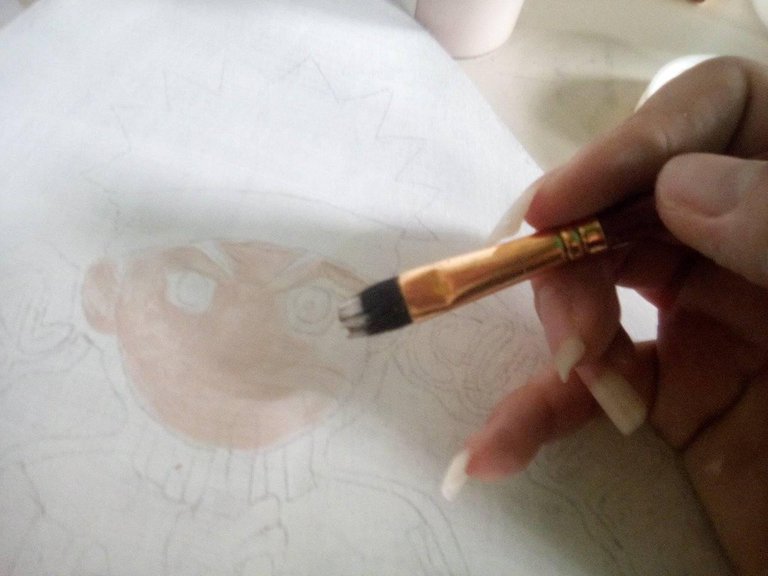
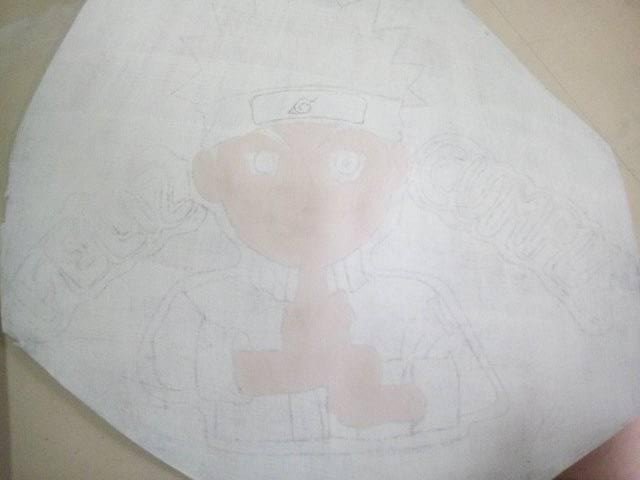
With beige paint, cover the face and hands of the character, then paint the hair yellow.
4 Paso / Step
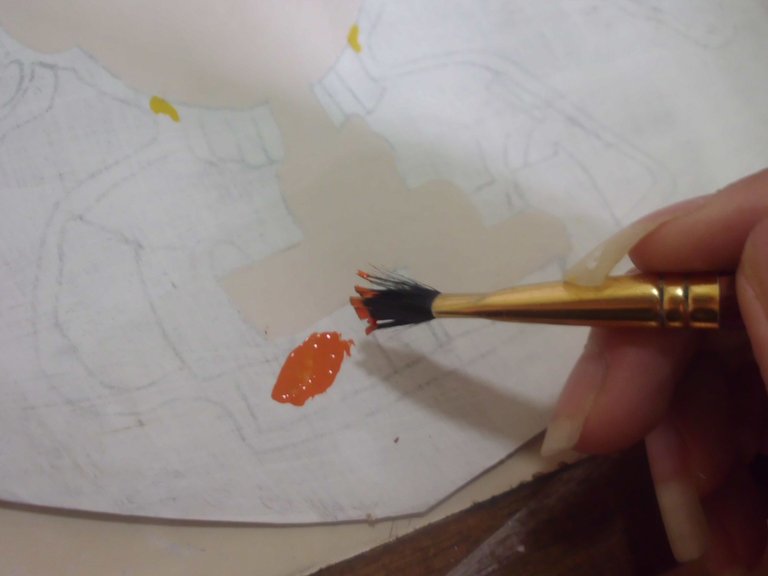
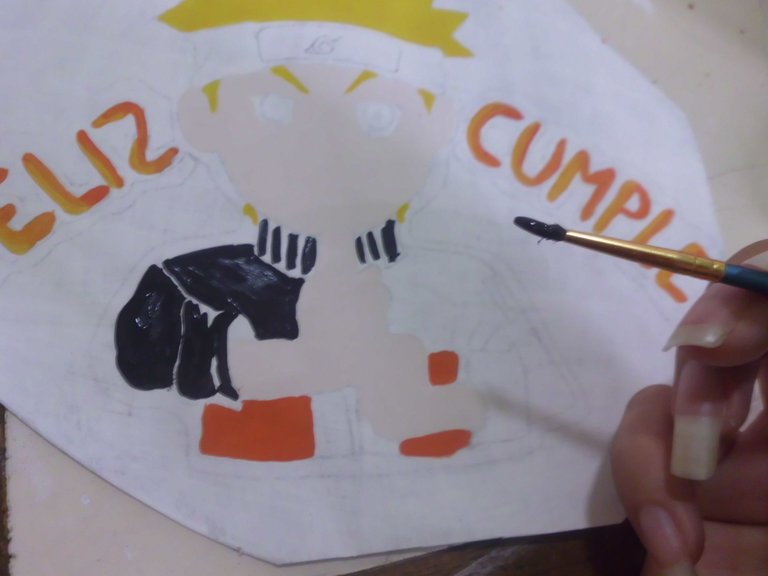
Mixing yellow paint with a little red you get the characteristic orange color of Naruto's clothes, taking care that it is a tone with less red.
5 Paso / Step
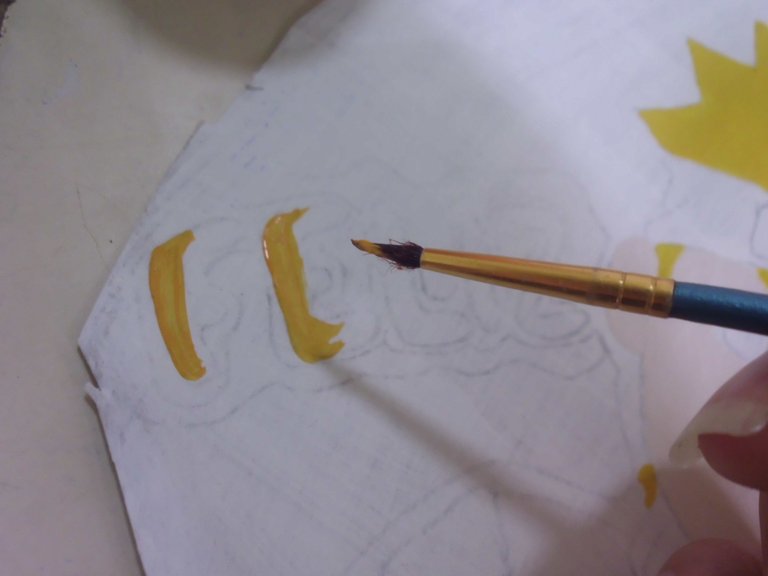
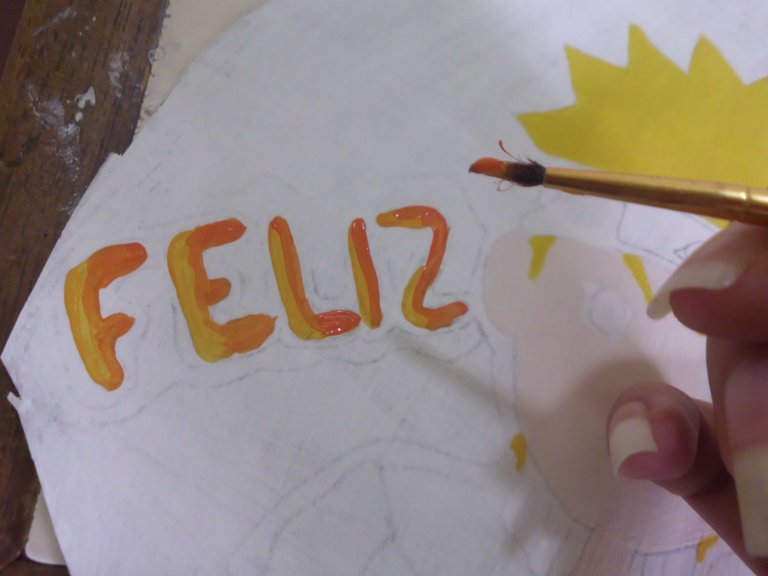
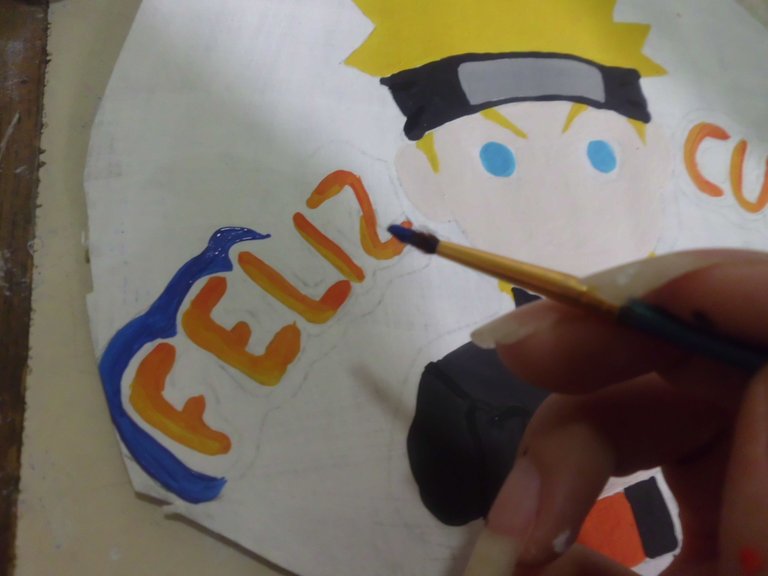
The letters are of a gradient color that goes from left to right with yellow and orange, that is why the yellow color is applied first and then the orange one trying to mix them a little in the center.
6 Paso / Step
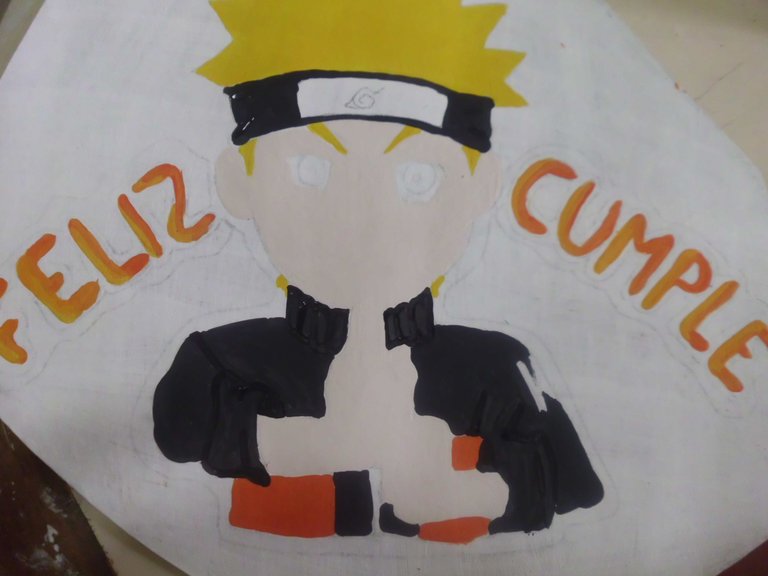
The black part of the clothing is painted with black paint with a little white and only the border or shaded areas should be painted pure black.
7 Paso / Step
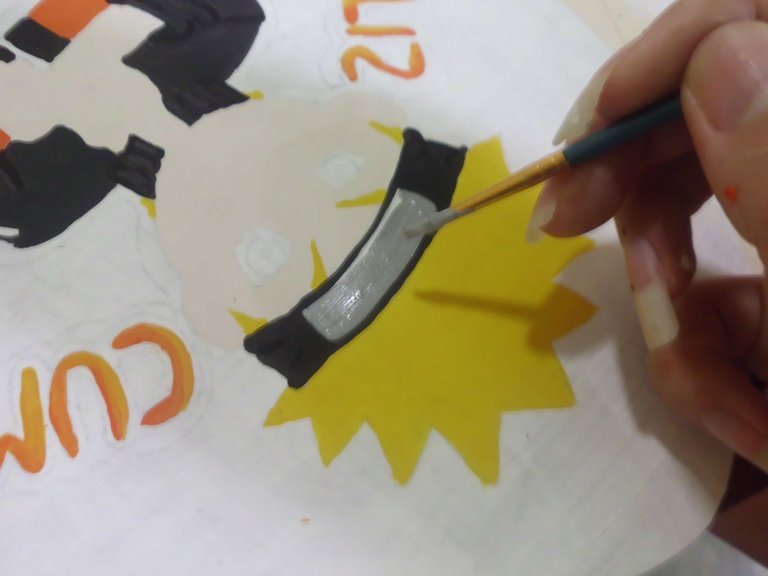
Mix white paint with a little black to get the gray for the forehead band, likewise with a little blue and white paint the eyes.
8 Paso / Step
With intense blue paint, paint around the letters leaving a blank border.
9 Paso / Step
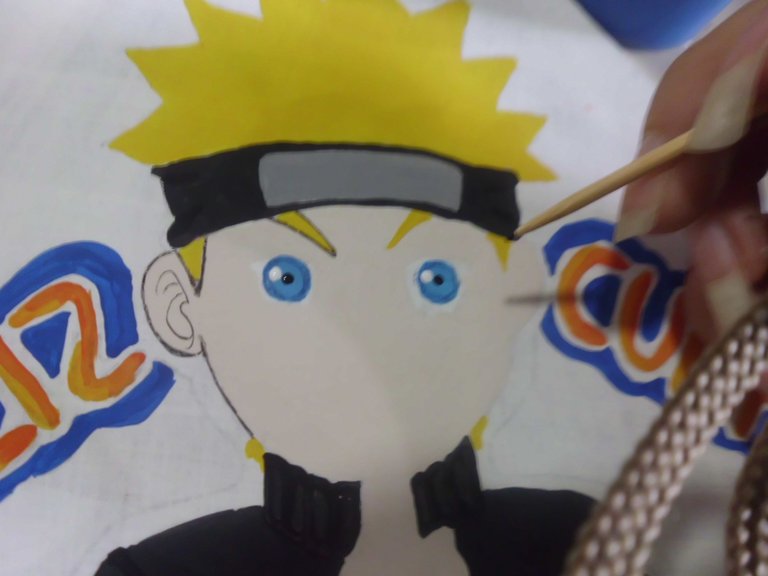
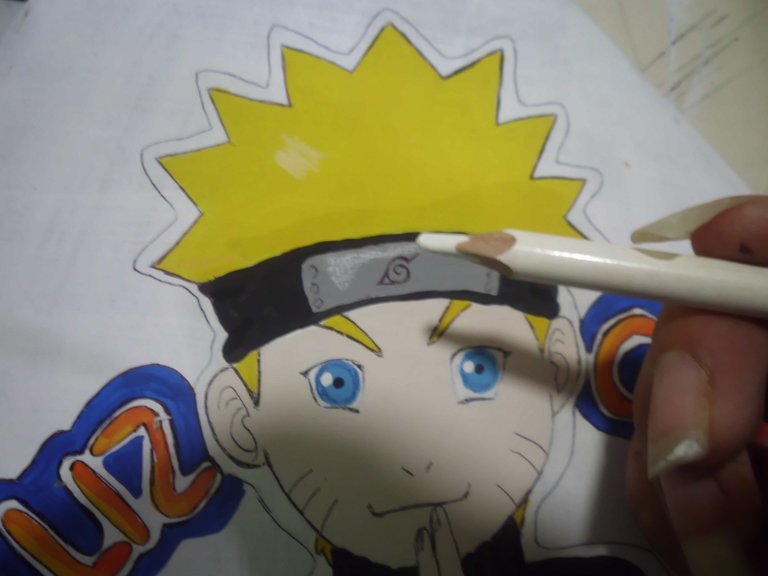
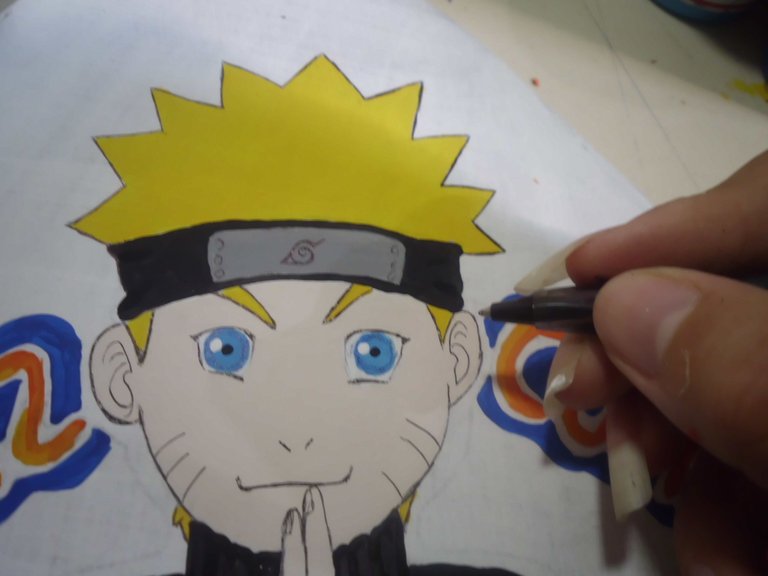
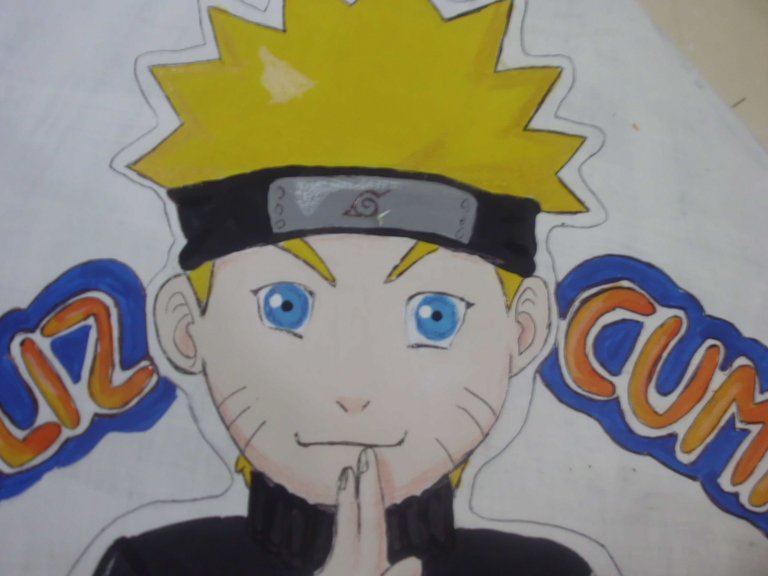
To add the details, paint the pupils and the highlights of the eyes using a toothpick instead of a brush, then with a black pen make all the outlines of the figure and details, with a peach colored pencil make some shadows on the face and hands , with blue pencil border the pupils, with mustard pencil make shadows in the hair and with white pencil the highlights.
10 Paso / Step
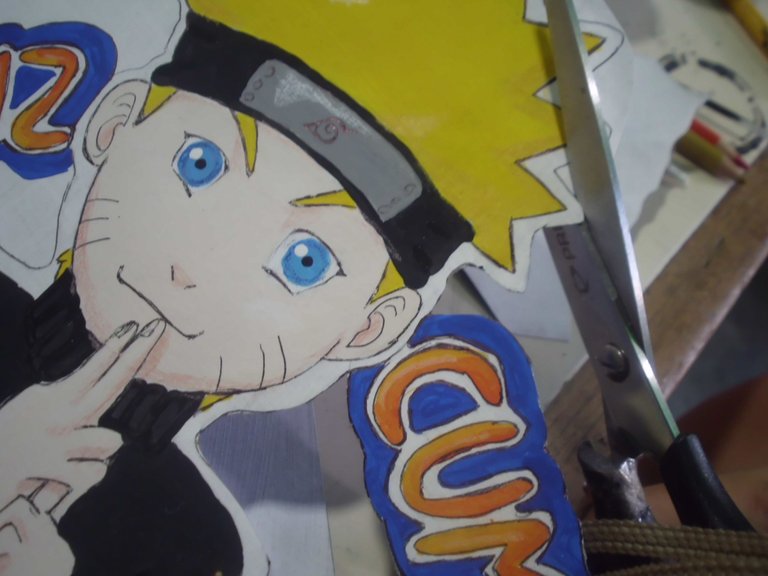
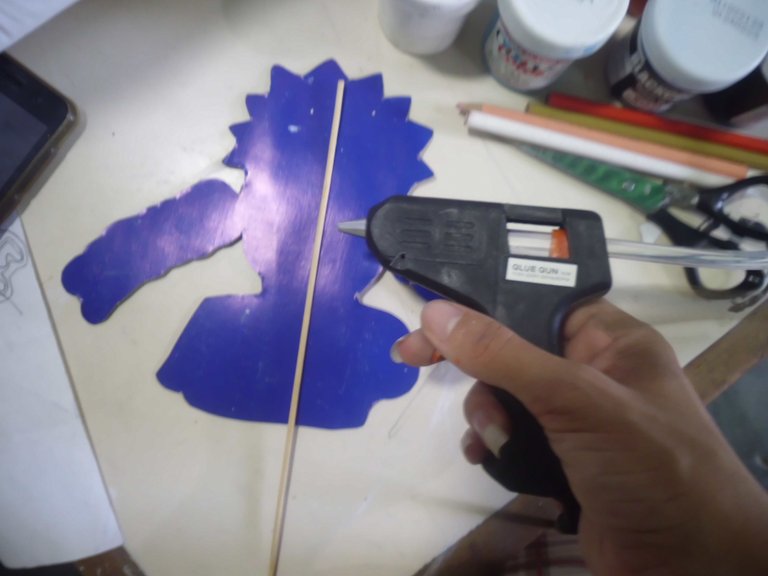
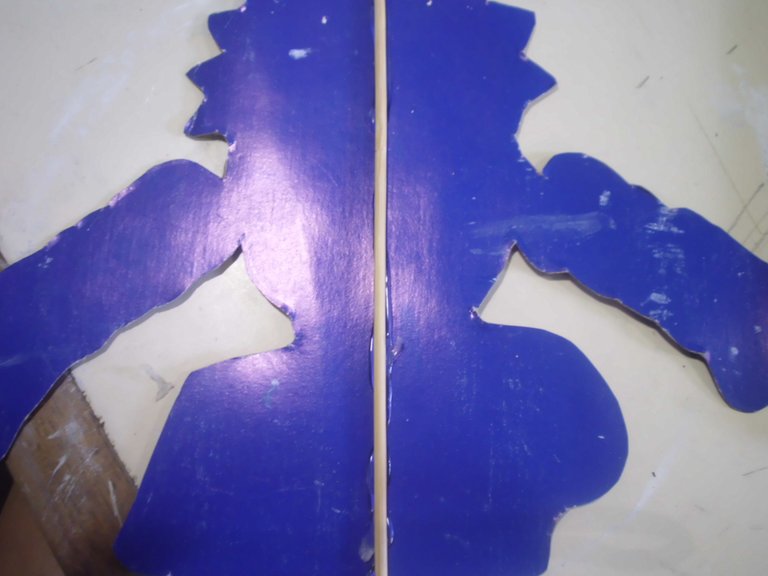
Cut the figure leaving a blank border, then with hot silicone stick a tall toothpick on the back side.
Resultado / Result
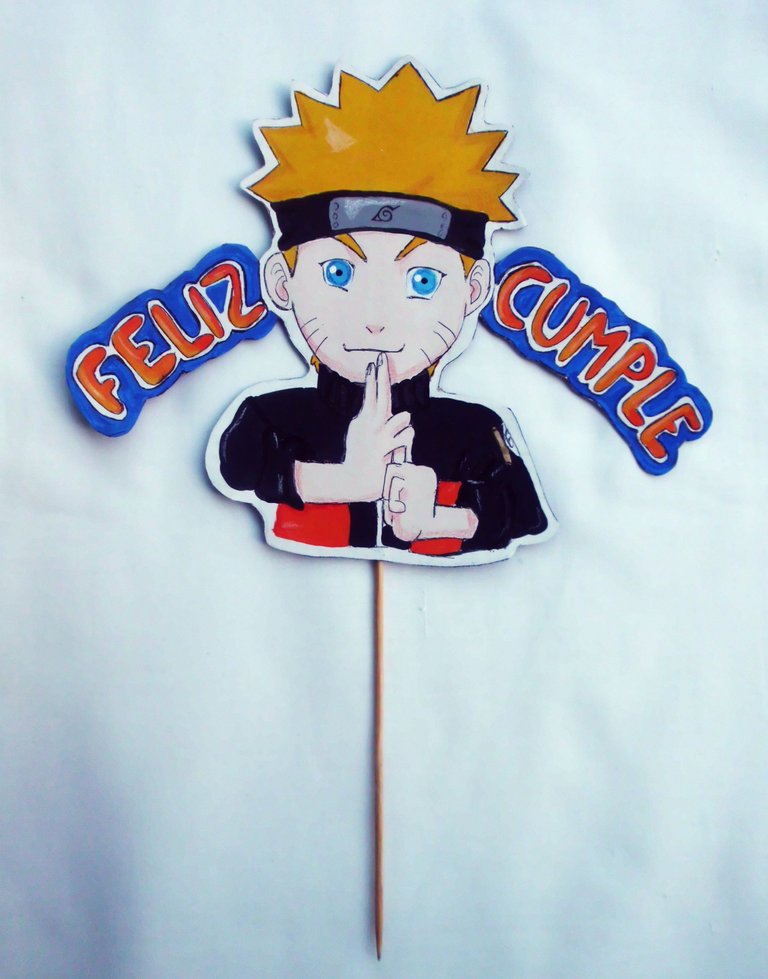
I loved the final result and the best thing is that my son too, I am anxious for the 27th of this month to arrive and to be able to see this work on the cake, I hope it has been useful and inspiring for the birthdays of the little ones of the houses.
Espero les haya gustado. Les invito a leer mis próximas publicaciones y siempre estaré dispuesta a responder sus preguntas y comentarios, también pueden seguirme y contactarme en cualquiera de mis redes sociales. ¡Muchas gracias!
I hope you liked it. I invite you to read my next publications and I will always be willing to answer your questions and comments, you can also follow me and contact me on any of my social networks. Thank you!
