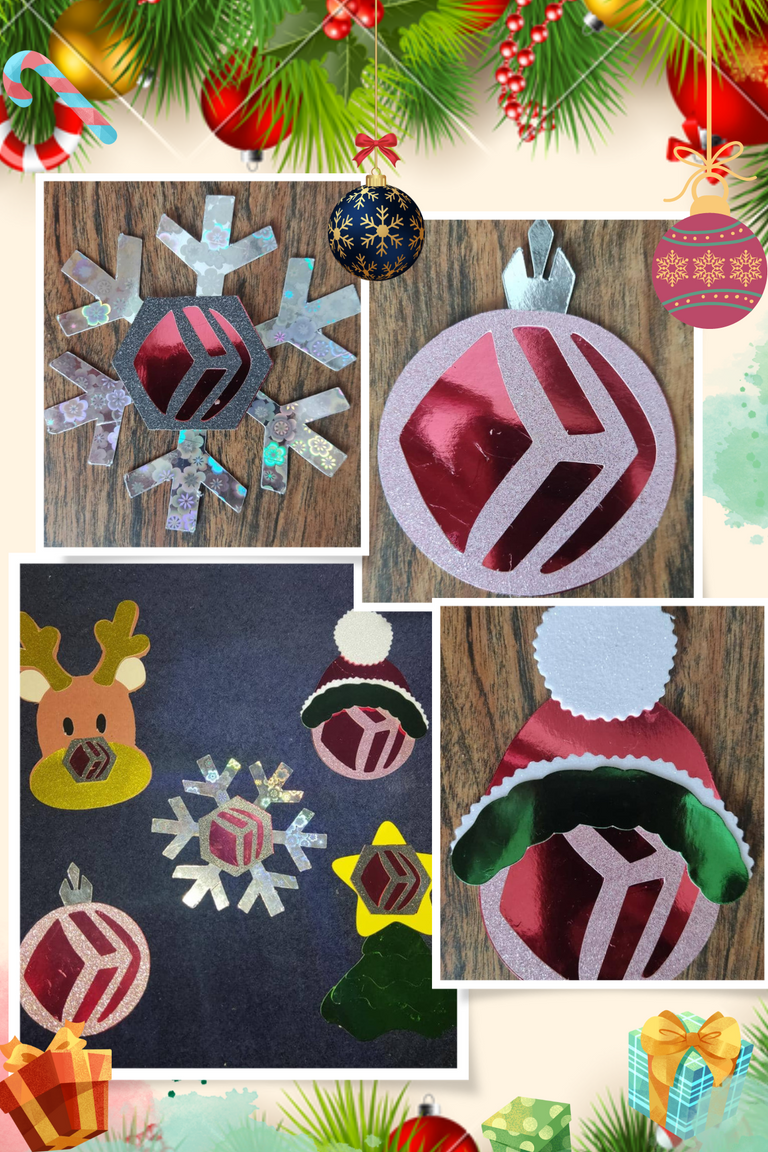
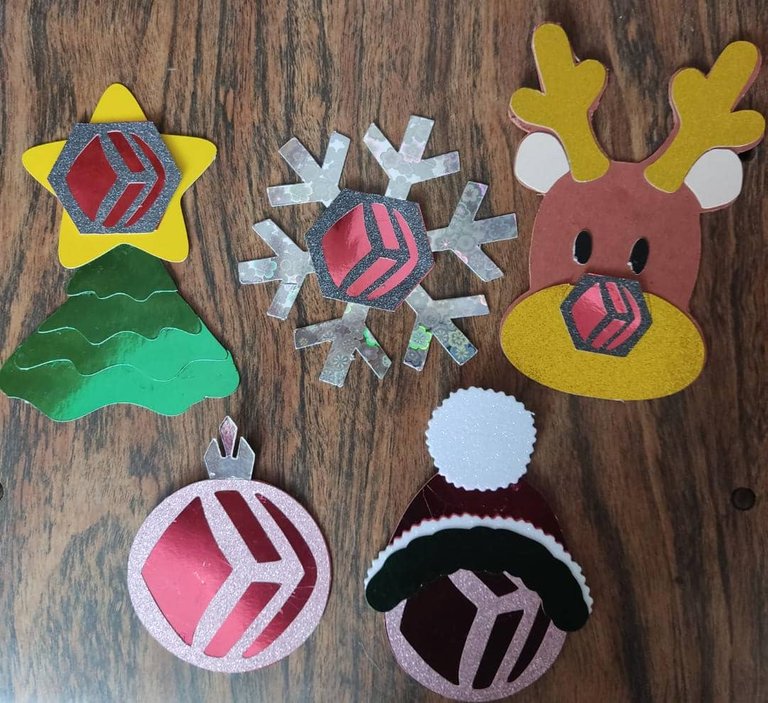
Primero que nada, detalle colores, cortes y los modelos que podía hacer, porque, aunque todas están maravillosas, unas son más complicadas que otras y últimamente mi tiempo es bastante resumido, y además conseguir las cartulinas de los colores más parecidos, creo que de aquí al día de navidad tratare de sacar más modelos, pero por ahora estos 5 que saque me encantaron creo que era el toque que le faltaba a mi arbolito, y aunque los colores no son exactamente igual creo que son fácil de identificar el logo de Hive por tanto pienso que @Grisvisa realizo un excelente trabajo en cuanto a colores y diseño.
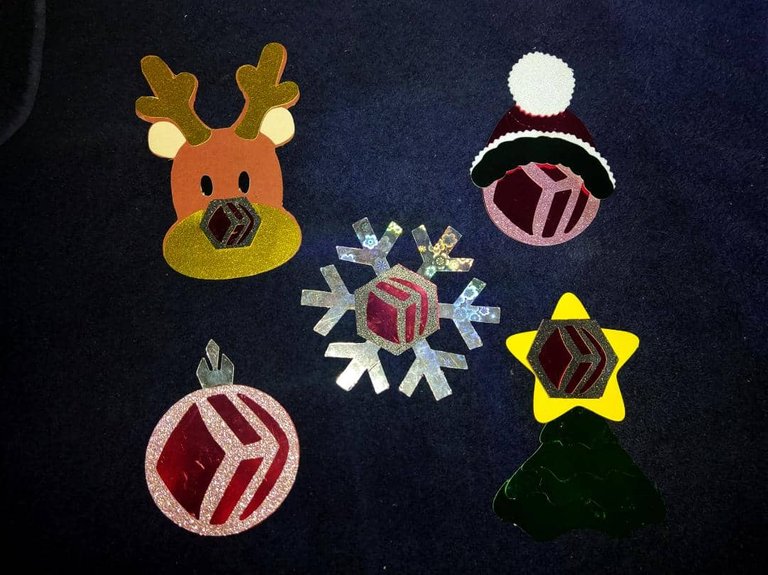
Para esto utilice:
- Cartulina rosada, roja, verde, negra, marrón, amarilla.
- Pega
- Tijeras o exacto
- Lápiz
Primero que nada, escogí cada una de las imágenes que quería realizar, copie estas y las lleve al programa de siluette cameo, para realizar la división de colores y cortes correspondientes, lo cual no fue tan fácil porque algunas tenían muchos detalles que llevaría mucho tiempo así que me fui por las más fáciles, pero no menos hermosas, así que arme cada una en pantalla con colores que fueran similares a los de las cartulinas para tener una idea de cómo sería el resultado final.
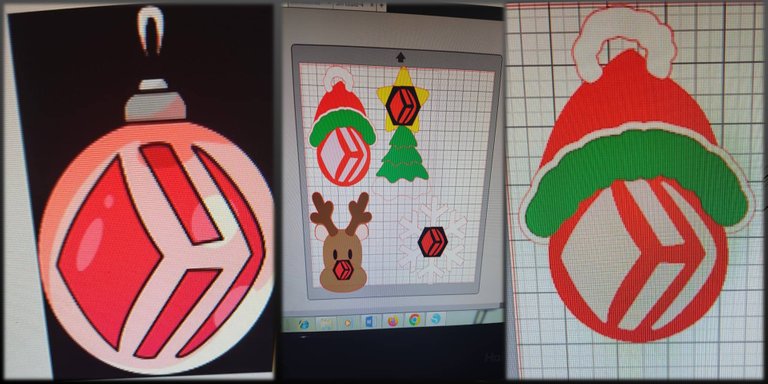
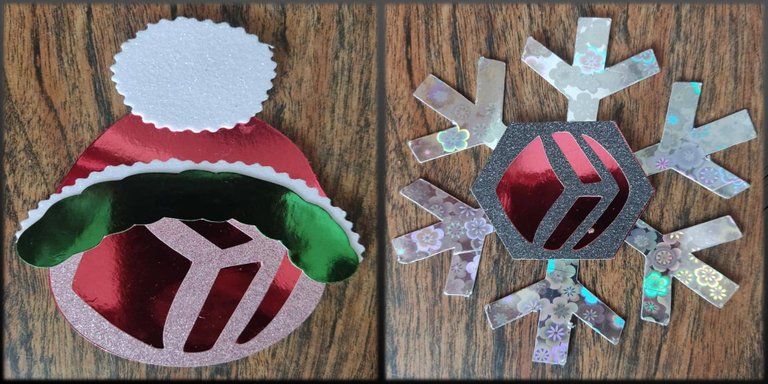
A continuación, agrupé por colores y empecé a cortar cada pieza, y dejar por ultimo hacer el armado y pegado de las mismas, además de que para que se vean como en las imágenes debe trabajarse por capa y con los relieves, así que debe irse haciendo por parte, lo que facilita mucho el plotter de corte por la exactitud y Rapidez del corte.
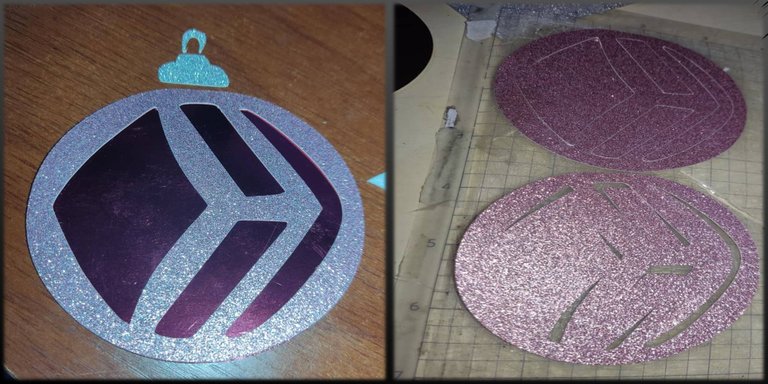
Y ahora, pegamos cada una de las partes, también podemos hacerlo marcando con un lápiz nuestras bambalinas y cortando con tijera u exacto.
Y así tendremos nuestra hermosa bambalina de Hive, para estas navidades formen parte de nuestra decoración. Espero que todos o la mayoría puedan poner en practica este proyecto en casa y así tener a Hive como parte de nuestro arbolito.
English

First of all, detail colors, cuts and models that I could do, because, although all are wonderful, some are more complicated than others and lately my time is quite short, and also get the cardboard of the most similar colors, I think that between now and Christmas day I will try to get more models, but for now these 5 that I took out I loved I think it was the touch that was missing to my tree, and although the colors are not exactly the same I think they are easy to identify the Hive logo so I think @Grisvisa did an excellent job in terms of colors and design.

For this use:
- Pink, red, green, green, black, brown, brown, yellow cardboard.
- Paste
- Scissors or exacto
- Pencil
First of all, I chose each of the images I wanted to make, copied them and took them to the cameo silhouette program, to make the division of colors and corresponding cuts, which was not so easy because some had many details that would take a long time so I went for the easiest, but no less beautiful, so I put each one on screen with colors that were similar to those of the cards to get an idea of how the final result would be.

Then, I grouped by colors and began to cut each piece, and leave finally to make the assembly and gluing of the same, besides that to look like in the images must be worked by layer and with the reliefs, so it must be done by part, which greatly facilitates the cutting plotter for the accuracy and speed of the cut.

And now, we glue each of the parts, we can also do it by marking with a pencil our backdrops and cutting with scissors or exacto.

And so we will have our beautiful Hive bamboo, for this Christmas to be part of our decoration. I hope that everyone or most of you can put this project into practice at home and have Hive as part of our tree.


