Como siempre, una vez más nos encontramos aquí, aprovechando que se acerca una fecha especial, como el Día de las Madres, ando improvisando, creando, inventando, que mejor motiva, para dejar volar nuestra imaginación, y hacer uso de lo que tengamos en casa, para crear un lindo diseño.
Hace poco vi el post de una amiga, la cual es una experta haciendo diseños en Origami, sobre todo en forma de animales, esto es algo que he notado le gusta mucho, es un hermoso y entretenido arte, sin duda.
Recuerdo cuando tenía esa fiebre de hacer Figuras con Origami, me gustaba mucho, uno se distrae, se relaja, aprende una nueva manera de jugar con el papel que te sobra en casa, que más se puede pedir.
Es por ello que este día, decidí compartirles con ustedes mi intento de Corazón de Papel, en Origami, es un proceso sencillo, hay que saber hacer bien los doblajes, para que quede bien hecho, y de la forma que deseamos diseñar, a continuación, les muestro como se hace.
Como se Hace 💕
Los materiales a utilizar son pocos, y cualquiera los tiene en casa:
🖍️ Papel o Cartulina
🖍️ Lápiz
🖍️ Tijera
🖍️ Regla
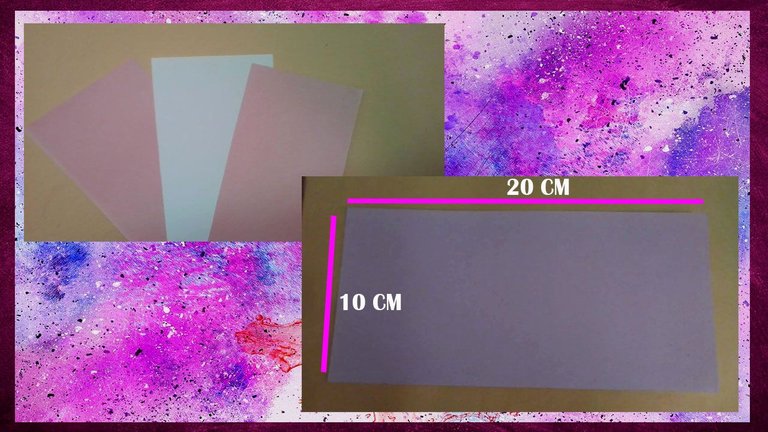
Yo tomé una cartulina, de 20 x 10 centímetros, ustedes pueden hacerlo a la medida que deseen, una vez tengamos nuestra cartulina, procedemos a los doblajes.
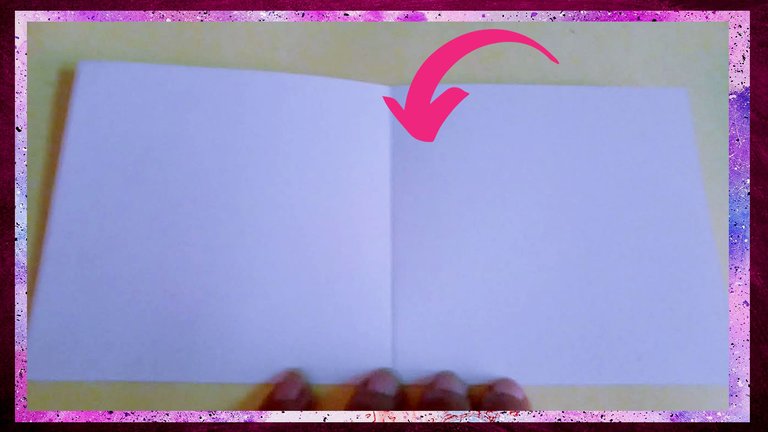
Lo primero que hacemos es doblar nuestra cartulina por la mitad, seguidamente, lo volvemos a doblar, quedando marcado en cuatro rectángulos.
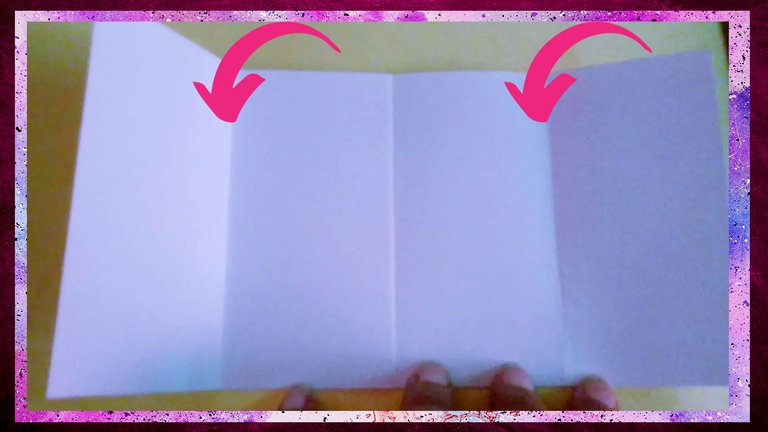
Seguidamente, tomamos la parte inferior y la doblamos hacia arriba, lo que haremos es llevar la punta de abajo hacia arriba, para armar un triángulo, este proceso, lo realizamos en ambos lados.
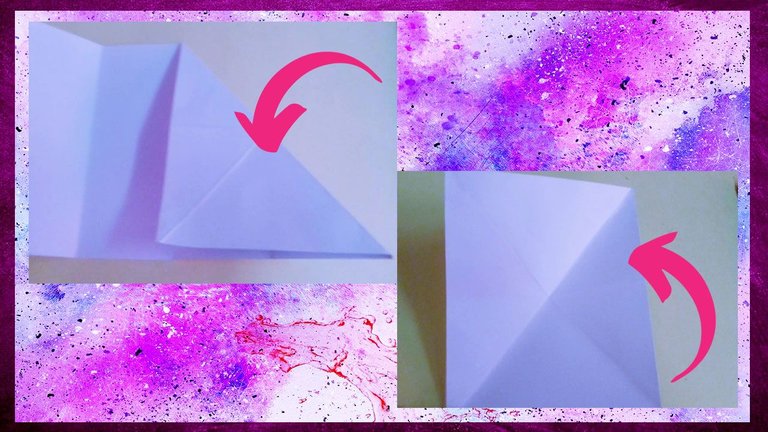
Tomamos esta parte y la vamos cerrando, haciendo presión, tomando como guía las líneas ya formadas, anteriormente, para nuestro triángulo, debemos asegurarnos que queden bien fijados, y coincidan.
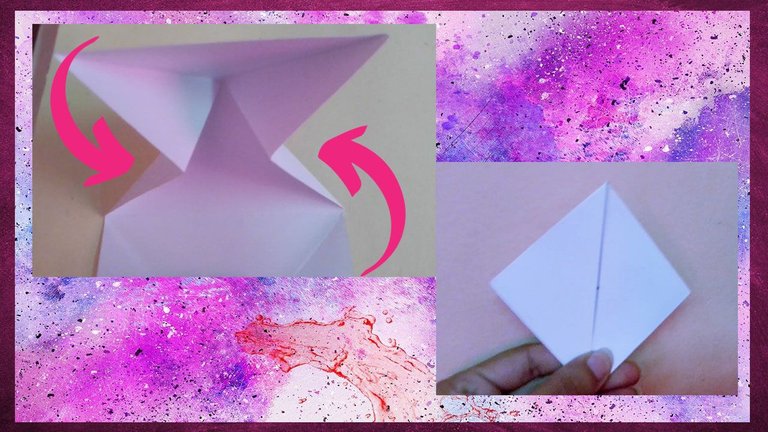
Una vez realizado esto, volvemos a doblar, para formar nuevamente otro triángulo, más pequeño, lo que hacemos es levantar de un lado y llevarlo hacia arriba, este proceso, por ambos lados.
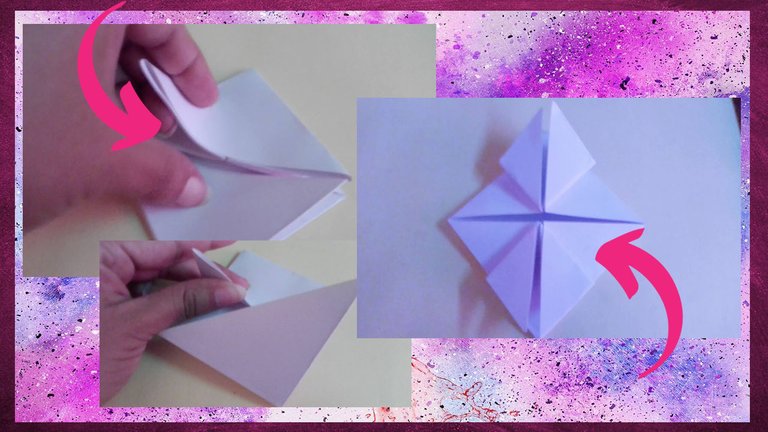
Aquí abrimos un poco, y lo vamos a bajar, de tal forma que quede como un cuadrado.
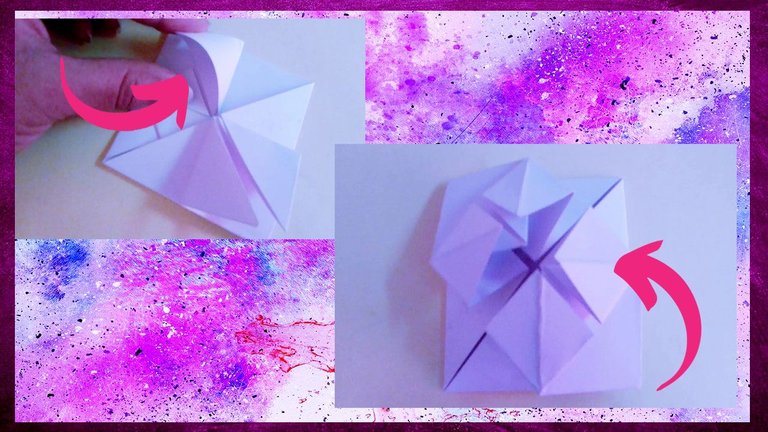
En esta parte, tomamos esta pestaña, y la vamos a doblar, de nuevo, vamos a levantarla un poco, es decir, tomamos nuestro cuadrado y armamos un triángulo, este proceso lo vamos a aplicar en ambos lados, debe quedarnos cuatro triángulos.
Como dije, lo abrimos un poco, buscando el ángulo para poder abrirlo, este proceso, se aplica en ambas partes.
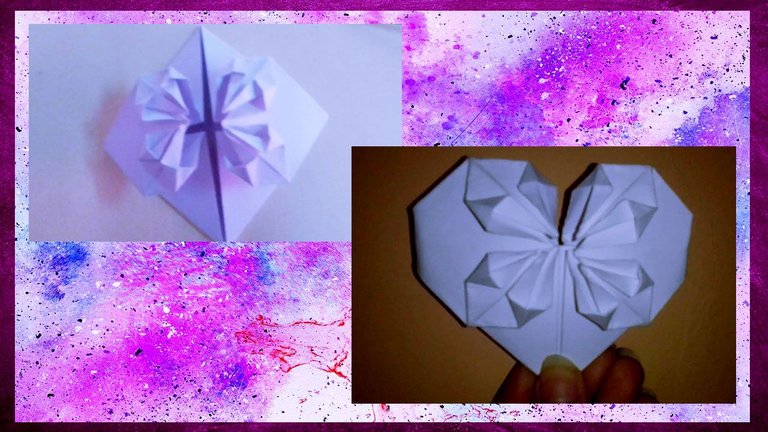
Bien amigos, y así quedaría nuestro Corazón de Origami, aquí hay que tomar en cuenta, como les mencione, los doblajes, pero como dicen por allí, la práctica hace al maestro, mientras más lo practiquemos, mejor nos sale.
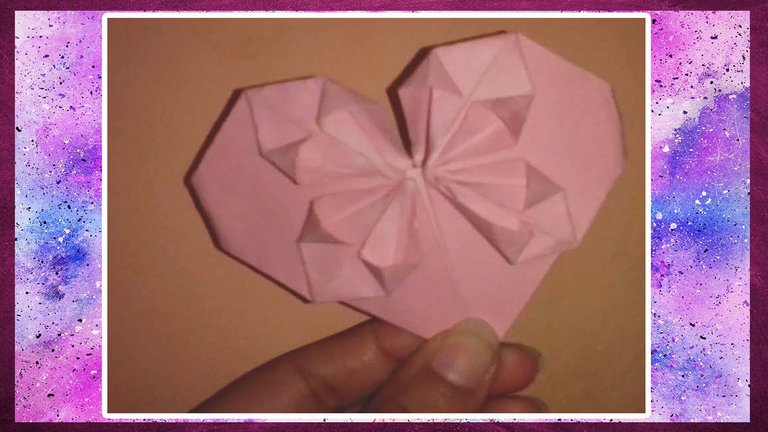
Espero sea de su agrado, y me digan que tal les pareció, sé que hay algunas fallas en las fotos, hice lo mejor que pude, espero para el próximo hacerlo mejor, gracias por leerme, hasta aquí, nos vemos en la próxima.
As always, once again we are here, taking advantage of the fact that a special date is approaching, like Mother's Day, I am improvising, creating, inventing, what better motivation, to let our imagination fly, and make use of what we have at home, to create a nice design.
I recently saw the post of a friend, who is an expert in making designs in Origami, especially in the form of animals, this is something that I have noticed she likes very much, it is a beautiful and entertaining art, no doubt.
I remember when I had that fever of making Figures with Origami, I liked it a lot, you get distracted, you relax, you learn a new way to play with the paper you have left over at home, what more could you ask for.
That is why this day, I decided to share with you my attempt at Paper Heart in Origami, it is a simple process, you have to know how to do the folding well, so that it is well done, and the way we want to design, then, I show you how it is done.
How it is done 💕
The materials to use are few, and anyone has them at home:
🖍️ Paper or Cardboard
🖍️ Pencil
🖍️ Scissors
🖍️ Ruler
I took a cardboard of 20 x 10 centimetres, you can do it in any size you want, once we have our cardboard, we proceed to the folding.

The first thing we do is fold our cardboard in half, then we fold it again, making four rectangles.


Next, we take the lower part and fold it upwards, what we will do is to bring the tip from the bottom upwards, to form a triangle, this process, we do it on both sides.

We take this part and we close it, pressing it, taking as a guide the lines already formed previously for our triangle, we must make sure that they are well fixed, and that they coincide.

Once this is done, we fold again, to form another triangle, smaller, what we do is to lift from one side and take it upwards, this process, on both sides.

Here we open it up a bit, and we're going to lower it, so that it's like a square.

In this part, we take this tab, and we are going to fold it, again, we are going to lift it a little bit, that is to say, we take our square and we make a triangle, we are going to apply this process on both sides, we should have four triangles.
As I said, we open it a little bit, looking for the angle to be able to open it, this process is applied on both sides.

Well friends, and this is how our Origami Heart would look like, here we have to take into account, as I mentioned, the folds, but as they say, practice makes perfect, the more we practice, the better we get.
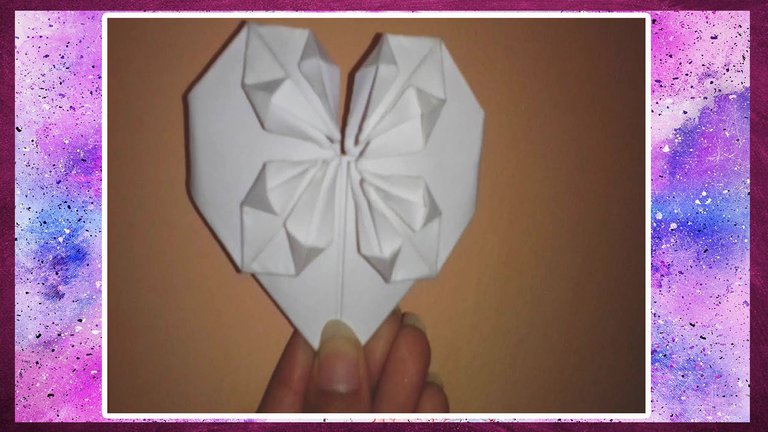
I hope you like it, and tell me what you think, I know there are some flaws in the photos, I did the best I could, I hope to do better for the next one, thanks for reading, see you in the next one.
Cover and Banner edited with Photoshop
Photos of my Property
