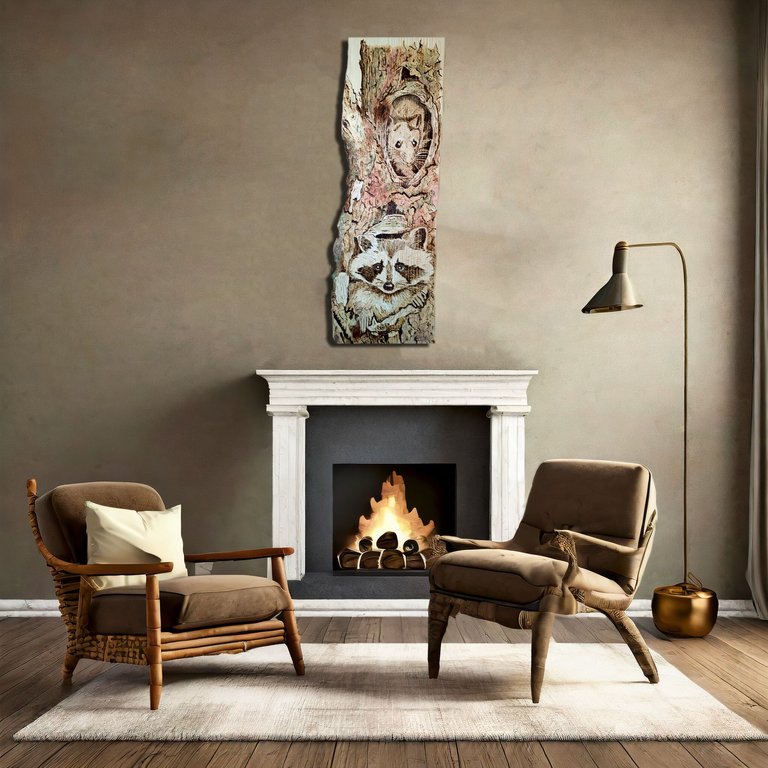
Image created with a photo of my Pyrography work and Adobe Firefly
What Is It Again?
As you have recently seen, I was spoiled with a beautiful professional Pyrography set in the last month of last year. And of course, I had to dive straight into that. Now I am a person who starts out very enthusiastic, but in the evenings when I normally sit behind my PC to just surf around, I also find it very interesting to delve a little further into the history of the things I do. like to do. So you can imagine that I have been reading and learning more and more about Pyrography in recent weeks.
A piece of history
Pyrography, is a very intriguing art form. You process wood using heat. This technique has been around for centuries, there is even 'proof' that the Neanderthals already did this. I have not been there, but it is clear that there is a long history of Pyrography. The word Pyrography is said to be a compound word from Greek, now I don't speak Greek myself, so I would have to 'look at' @trumpman to see if it is correct. Pyrography is said to be composed of the Greek word "Pyro" meaning "Fire", and the Greek word "Graphos" meaning "Graph". In any case, Pyrography is nothing more or less than the ability to burn detailed and expressive images onto wood.
Although the origins of Pyrography cannot be found in exact documents (duh, in the past they did not keep such excessive archives as they do today about everything), there are traces of the fact that people thousands of years ago already did Pyrography. Did that happen in the same form as now? Partly yes! Of course, back then they didn't have the modern tools we have now. In that respect the method differed quite a bit. But even throughout ancient civilizations, hot objects were used by craftsmen to burn decorative motifs into wood and other materials. This ranged from tribal insignia to detailed images on ancient weapons. Over time, the Pyrography technique has been used in virtually every culture in the world.
My Journey into the World of Pyrography
And while I was practicing during the day to learn how to use Pyrography myself, I was reading in the evening and became more and more intrigued. I was also admiring the many beautiful works of art that I saw via Instagram and Pinterest, and then almost became demotivated, because boy... I'm not that good (yet). Fortunately, my self-confidence was somewhat restored when I also saw Pyrography work on a Dutch website (Marktplaats) that looked much worse than my work. My first steps into the world of Pyrography were very modest. My partner brought me some practice material. Think of it as a safe playground, a way to master basic skills.
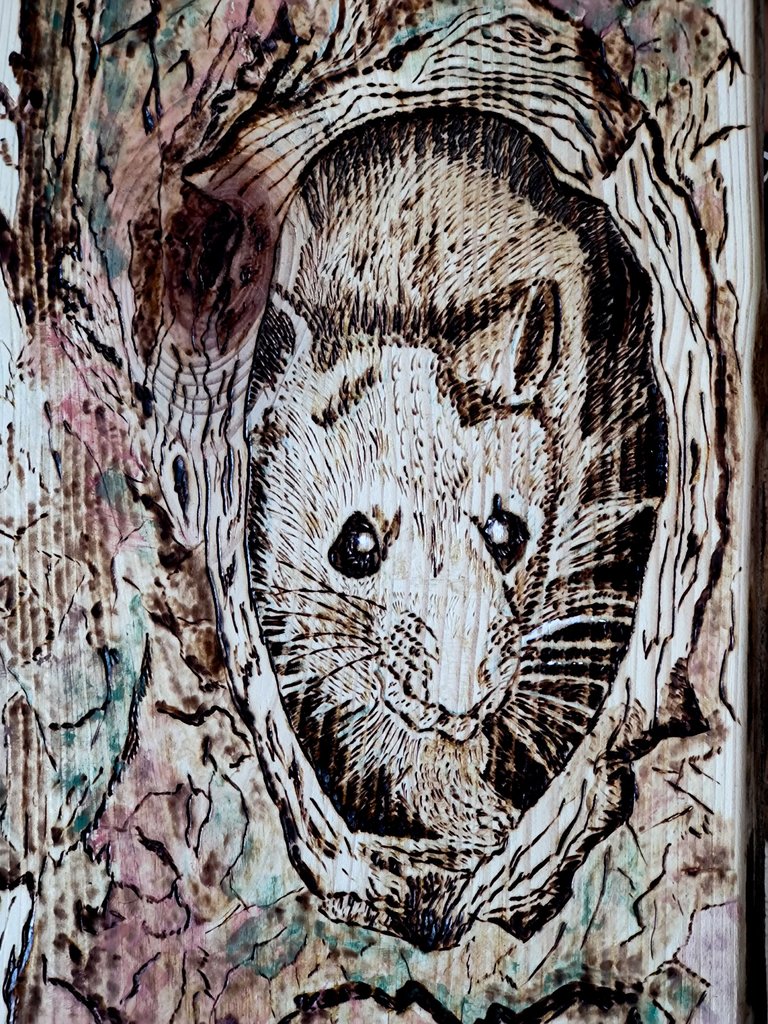
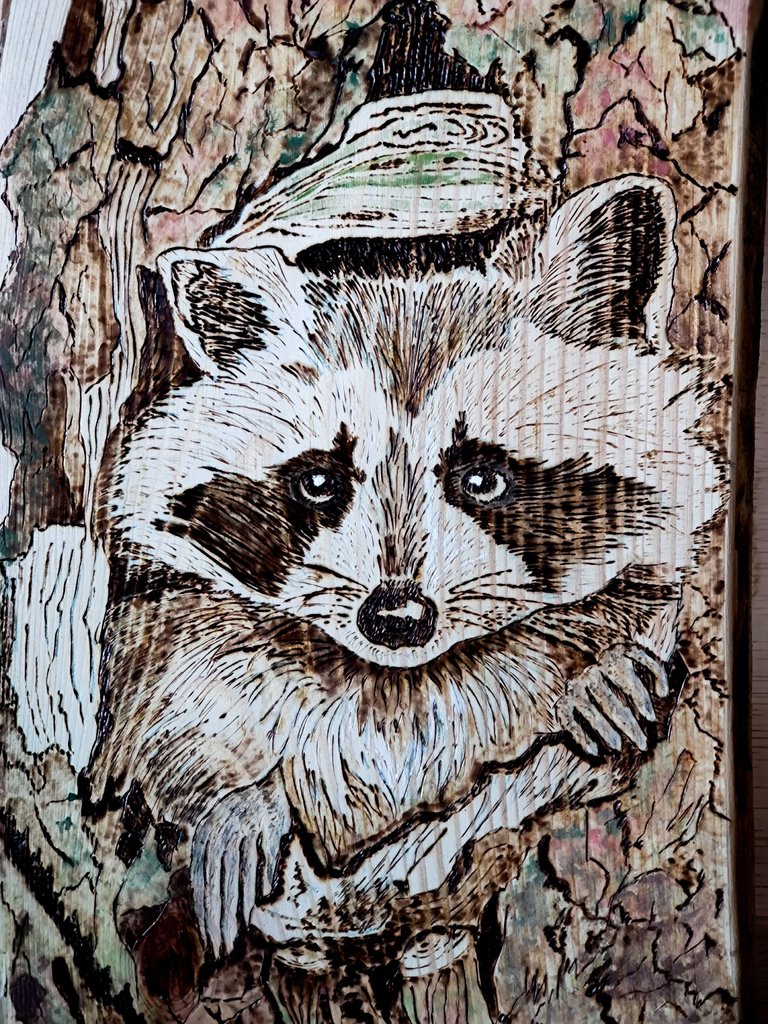
But yes, impatient as I am, seduced by the many beautiful pieces of work on Instagram, I quickly decided to take on the next challenge and make a beautiful piece of work on a real piece of wood. Since I had not yet read much about which wood is suitable for Pyrography, I was tempted by the first real wood that I came across. And that was a Douglas Scale (50cm high x 19cm wide). Afterward, I also read, and certainly experienced, that this wood is not at all ideal for Pyrography because of its texture and density, not to mention the amount of resin that Douglas wood often contains. This is also an important step forward in my learning process. You can say that you learn best by doing, and what I learned very well in this case is patience, but also that this wood is not the most ideal. My patience and perseverance have been put to the test. And since I don't know any real technology yet, it was quite a challenge. But it is a challenge that I have taken on with pleasure and a challenge that leaves me wanting more.

Whether I, as an absolute newbie, am the right person to hand out tips for beginners is debatable, but I can always give what I have experienced as a tip.
Tips and Techniques for Beginners
Safety first: When you start with Pyrography, ALWAYS be aware that you are working with heat, and therefore always think about your safety. In addition, you will burn, so make sure you have good ventilation and protection for yourself. Consider tweezers or pliers to replace the tips of your Pyrography Pen, and do this consistently, even when they are not hot. By learning this habit, you will not easily make the mistake of grabbing a hot point with your fingers. On average you burn at temperatures between 300 and 600 degrees. Your fingers aren't going to like this. The smoke that comes off the wood while burning can irritate your airways and lungs, so always ensure ventilation and respiratory protection. Take this safety seriously! It's your health, and you only have one!
Choose your wood carefully: For beginners, softer woods such as lime wood are ideal. These woods offer a fine grain and are easier to work than denser varieties such as Douglas. Also, note that you only use untreated wood. Processed wood is poisonous. In addition, pieces of driftwood that you encounter outside are often poisonous because fungi and bacteria have started to grow in them and are released during burning. Since you can never know this in advance, stay away from it. Please read carefully about which type of wood is and is not suitable for Pyrography.
Start simple: Before diving into complex designs, it is advisable to start with basic techniques. Experiment with line widths, shadows, and patterns to get comfortable with the process. (Now I am the most 'unbelievable' person to tell you this because this is exactly what I immediately started doing. And to be honest, I don't think I'm going to stop doing this either.
Practice patience and precision: Pyrography is an art that requires patience and precision. An example I heard from a Pyrography artist is, "With a ballpoint pen it takes 3 seconds to draw a straight line, with Pyrography that same line can take 3 minutes." Then take your time. In addition, especially when you are just starting, it is important to take the time to discover the technique, to familiarize yourself with the technique, and to refine it. Also, don't be afraid of making mistakes. Making mistakes is part of it, and you learn from them.
Good tools: There are many different types of Pyrography pens for sale. Both with solid tips and with wired nibs. This depends on what you mainly want to burn and is therefore completely personal. But reading and knowing what is there and what it does is certainly important to avoid making the wrong choices.

It's Not As Simple As It Seems
So now that I have burned my first piece of real wood, it was a completely different experience than burning the practice materials I had. However, I can say with certainty that Pyrography is much more than just a technique. And it is certainly not as simple as it seems. Pyrography, just like drawing, painting, and making music, for example, is a form of self-expression. It is a way to tell stories and capture emotions. My very limited experiences thus far have given me a deeper understanding of the dedication and passion required to become a master of this form of art. And I have also gained even more respect for all the Pyrography artists out there.
I take a step back and continue with the material that my partner brought along for practice. That's okay, sometimes taking a step back is part of it! And while I continue to practice, I look with a sense of pride at my first work on real wood, and I start looking for some beautiful lime tree slices for my next challenge.
Time to continue experimenting and enjoy creating something beautiful from a simple piece of wood. Did you know that you can combine this very nicely with watercolor, acrylic paint, or even just colored pencils? Yes, plenty of ideas for the near future...


