
¡Hola hivers!💜
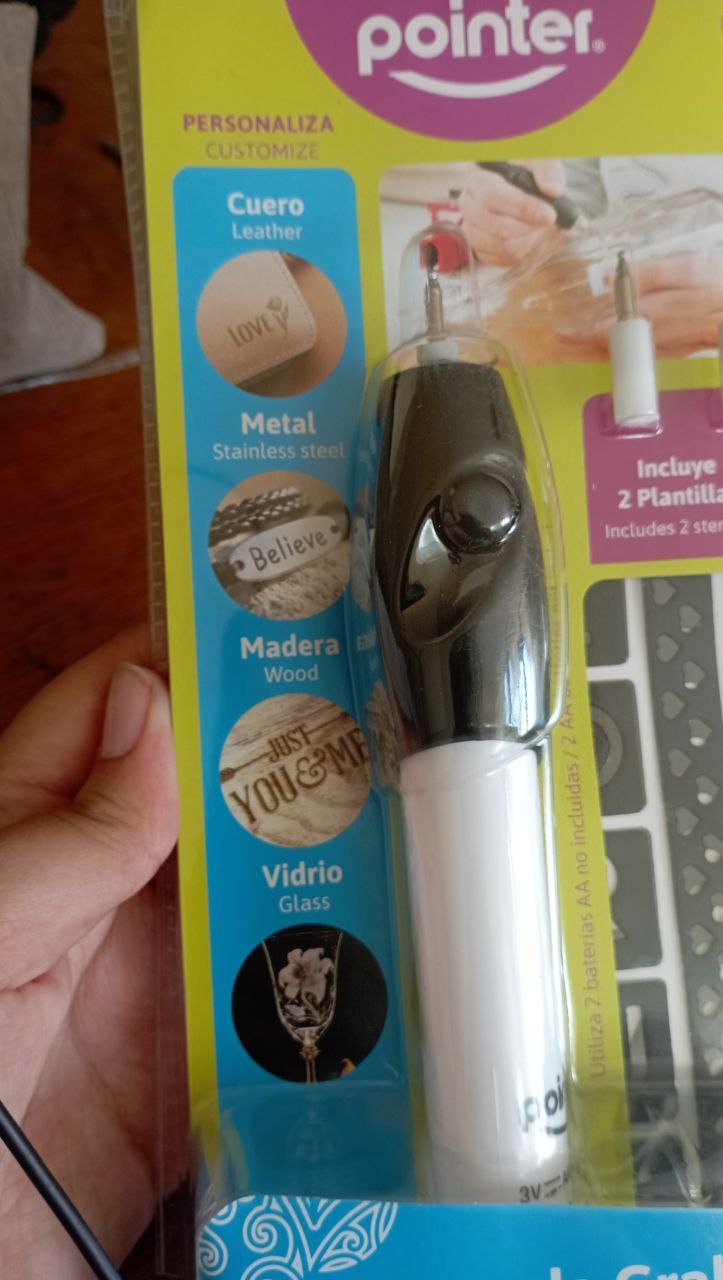
Espero que se encuentren bien y felices, queridos crafters. Tenía tiempo sin pasar por esta creativa comunidad, en esta oportunidad les cuento que compré un lápiz de grabado. Con él puedo grabar dibujos o letras (en mi caso me interesaba hacer lettering) sobre vidrio, metal, madera o cuero.
 |  |
|---|
Investigue mucho del tema antes de adquirir uno. Muchas veces un dremel (como el que usan para las uñas) y hay algunos que sí son específicos para grabado. Conseguí uno marca Pointer, eléctrico (funciona con 2 baterías doble AA) y portable. Perfecto para mí que quería hacer pruebas y prácticas antes de pensar en invertir en algo más grande. Además fue económico, unos $7 aproximadamente.
 |  |
|---|
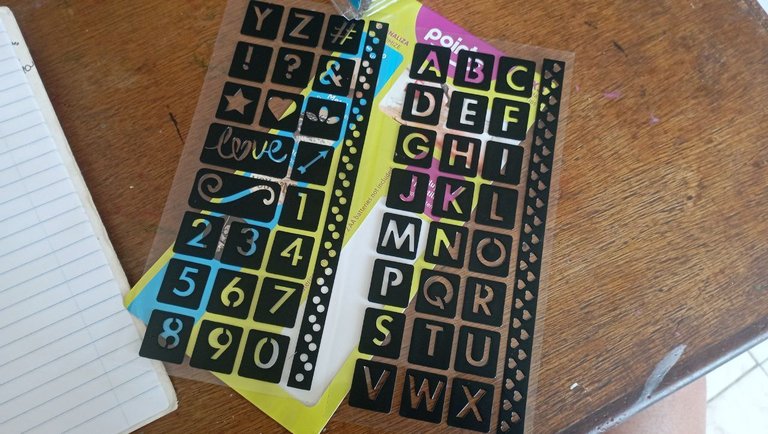
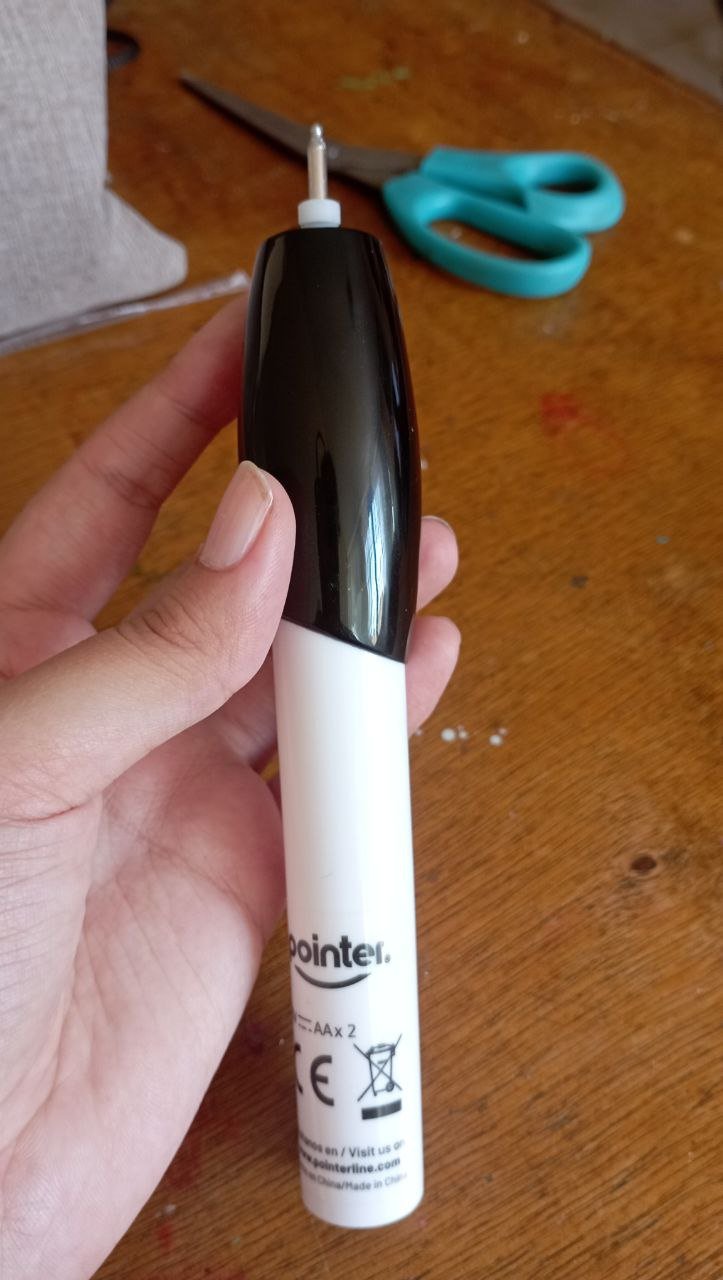
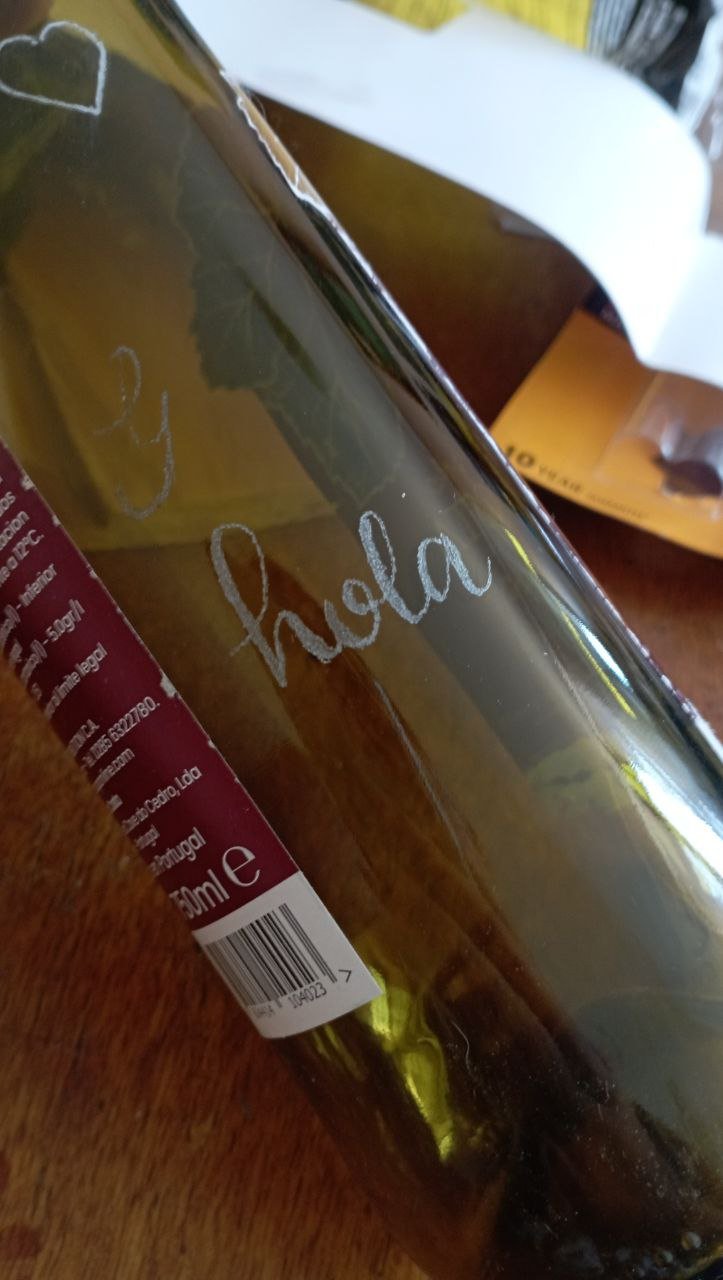
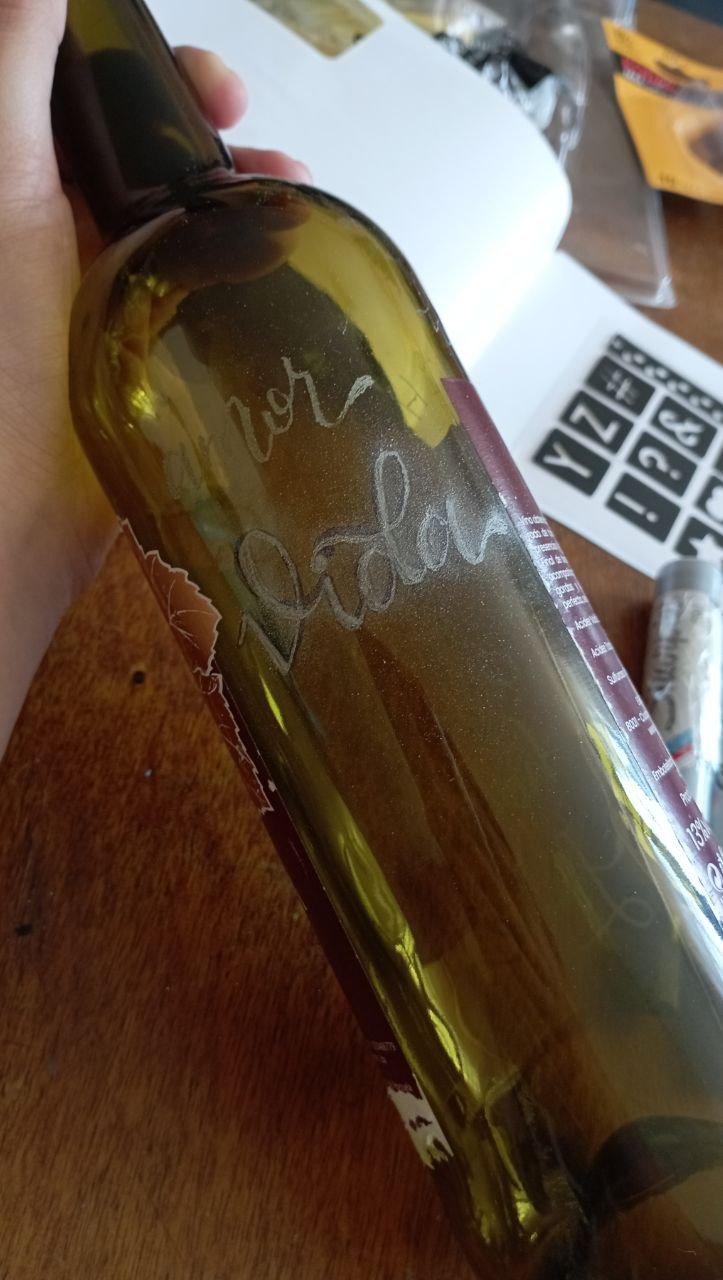
No solo venía el lápiz de grabado, además trae 2 puntas adicionales y unas plantillas de letras y dibujos. Estaba tan emocionada que hice las primeras pruebas en una botella de vino vacía. Aqui les muestro un poco:
 |  |
|---|
Honestamente se siente algo raro, hace poco ruido y la vibración en la mano es extraña, pero al rato te acostumbras. Es algo que requiere práctica ya que estábamos hablando que no se puede corregir como si estuviera dibujando. También tome previsiones, ya que al estar grabando el vidrio suelta un polvillo y puede enfermar, así que use tapabocas y lentes de seguridad.

Les cuento un poco del proceso de grabado en una taza de peltre:

MATERIALES
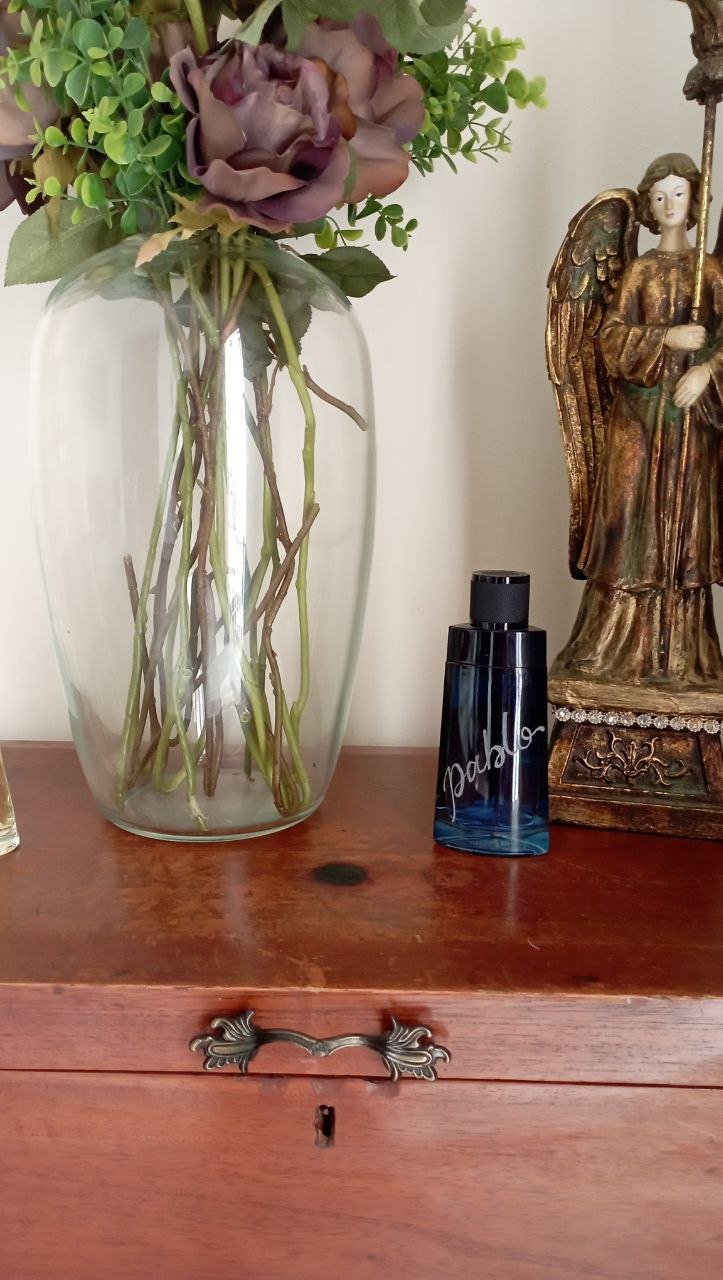
Taza de peltre (tambien probe sobre perfumes pero esa es otra historia)
Lápiz de grabado
Marcador permanente
Alcohol isopropilico (del que usas para desinfectar heridas, use uno en spray)
Una brocha
Un pañito
Pintura acrilica gris, plateada o dorada
PASO A PASO

PASO 1
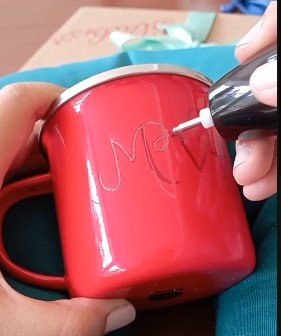
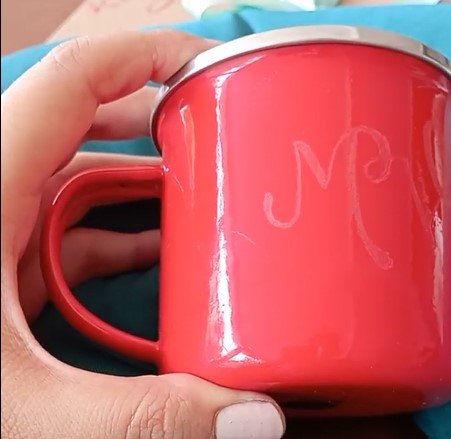
Primero, busque algo donde apoyar la taza. Me funcionó una almohada para el cuello. Una vez posicionada, dibuje con el marcador permanente lo que iba a grabar. En este caso, la taza era de mi prima, asi que grabe sus iniciales: “MV”, pero use un estilo cursivo (sorry, adicta al lettering)
PASO 2
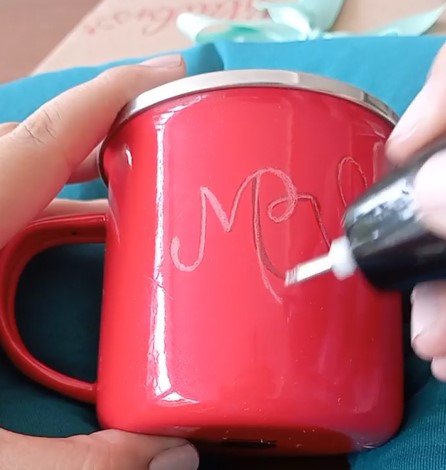
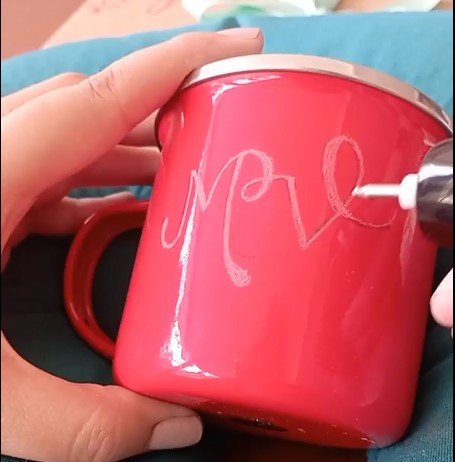
Con la base lista, es hora de usar el lápiz de grabado. Con algo de miedo empecé a hacer trazos pequeños, intenté ir lento y suave para corregir de a poco. Primero hice la forma básica de las letras y luego fui agregando los trazos que eran gruesos. Me ayudé con la brocha para quitar el polvillo y ver mejor lo que hacía.
 |  |
|---|
PASO 3
Una vez termine de grabar, sacudí con la brocha todo el grabado. Para terminar de limpiar las líneas de marcador permanente le rocie alcohol en spray y con ayuda del paño lo seque.
PASO 4
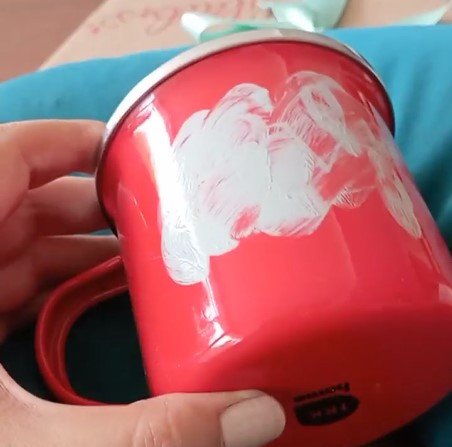
Ahora toca teñirlo. Investigue y algunos usan pintura acrílica dorada y plateada, por el momento no la he comprado, así que use gris. Usando mi dedo la esparci y luego limpie con un paño.

PASO 5
¡Taza grabada lista!
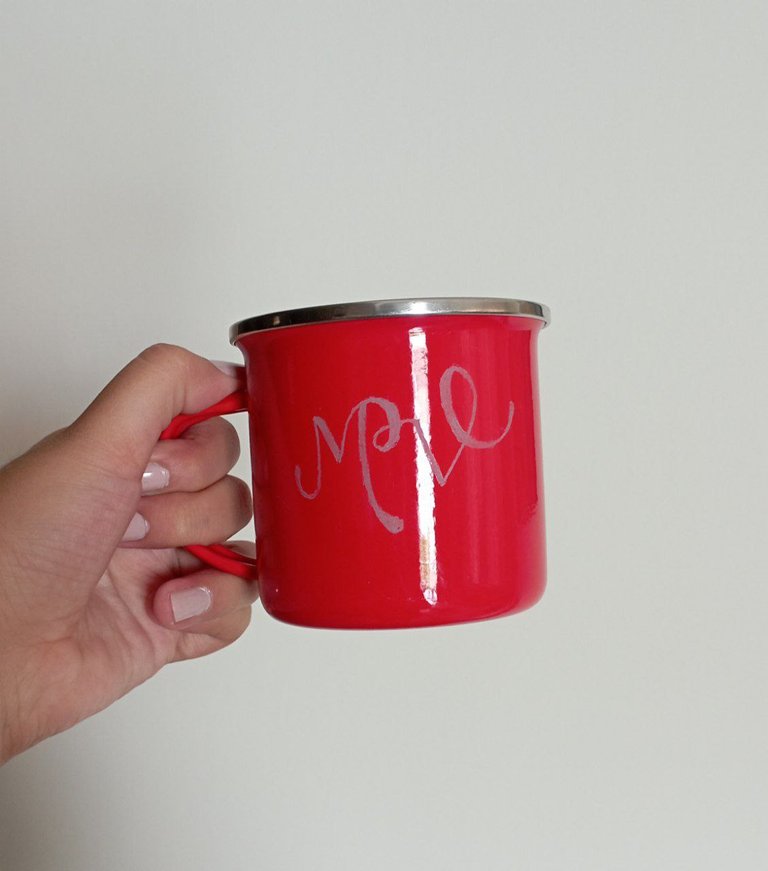
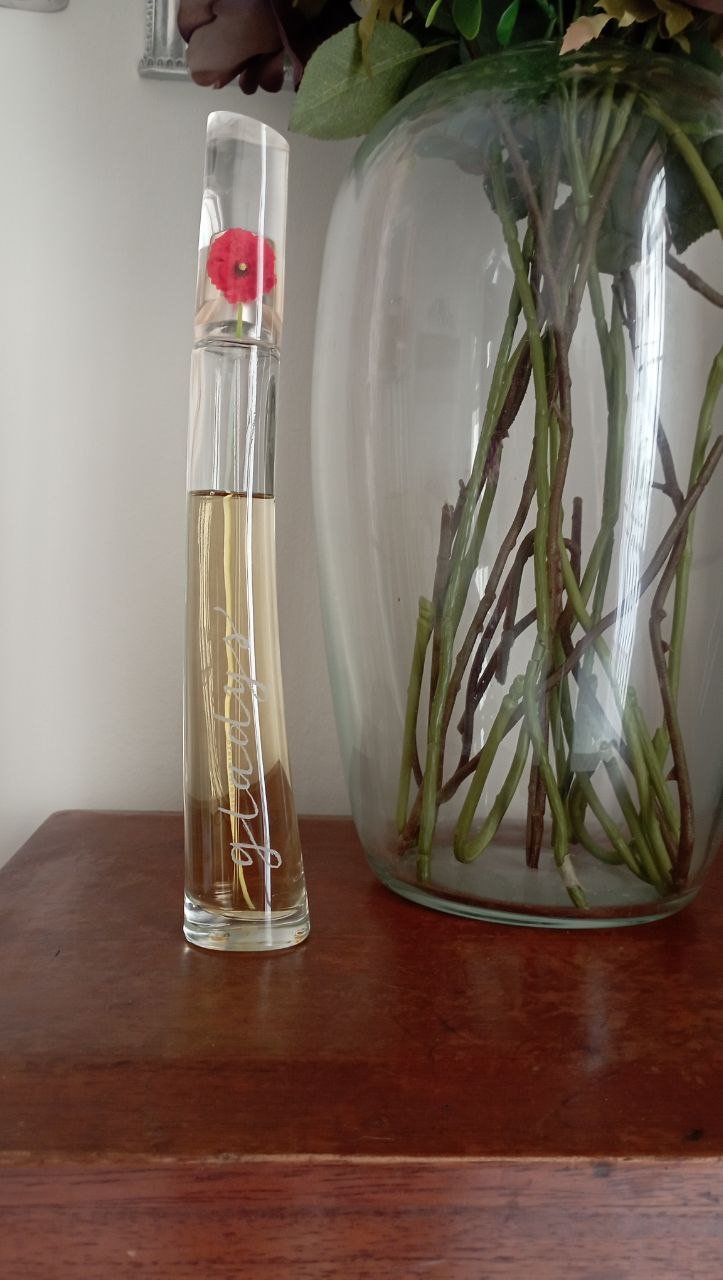
Debo decir que es algo que requiere práctica para controlar los trazos. Me gusta mucho este lápiz de grabado y lo seguiré usando. Fue divertida la experiencia y ya espero grabar otras cosas para mostrarle. Practiqué con algunos perfumes y me encantó como quedaron, sin duda le da un toque elegante a un regalo.
 |  |
|---|
Gracias por leerme
Con cariño, G.
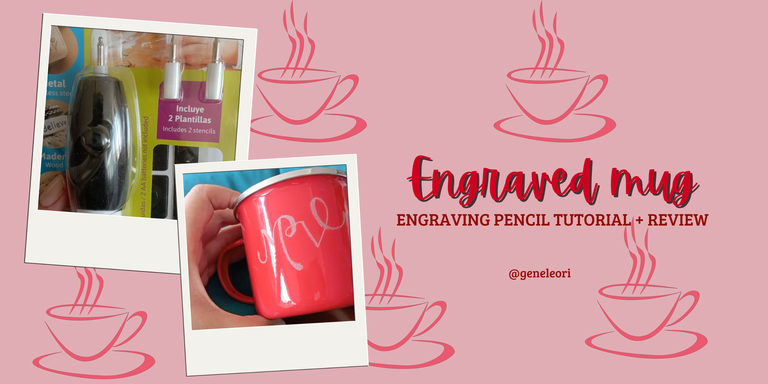
Hi hivers! 💜
I hope you are well and happy, dear crafters. I had some time without stopping by this creative community, this time I tell you that I bought an engraving pencil. With it I can engrave drawings or letters (in my case I was interested in lettering) on glass, metal, wood or leather.
| |
|---|
I did a lot of research on the subject before buying one. Many times a dremel (like the one they use for nails) and there are some that are specific for engraving. I got one brand Pointer, electric (works with 2 double AA batteries) and portable. Perfect for me who wanted to test and practice before thinking about investing in something bigger. It was also inexpensive, about $7.
| |
|---|
Not only did it come with the engraving pencil, it also comes with 2 additional tips and some lettering and drawing stencils. I was so excited that I did the first tests on an empty wine bottle. Here I show you a little bit:
| |
|---|
Honestly it feels a little weird, it makes little noise and the vibration in the hand is strange, but after a while you get used to it. It's something that takes practice since we were talking about that you can't correct it as if you were drawing. I also took precautions, because when I was engraving the glass releases a dust and it can make you sick, so I wore a mask and safety glasses.
I tell you a little of the process of engraving on a pewter cup:
MATERIALS
Pewter mug (I also tried on perfumes but that's another story)
Etching pencil
Permanent marker
Isopropyl alcohol (the kind you use to disinfect wounds, use a spray)
A paintbrush
A tissue
Gray, silver or gold acrylic paint
STEP BY STEP
STEP 1
First, find something to rest the cup on. A neck pillow worked for me. Once positioned, I drew with the permanent marker what I was going to engrave. In this case, the mug was my cousin's, so I engraved her initials: “MV”, but I used a cursive style (sorry, addicted to lettering).
STEP 2
With the base ready, it's time to use the engraving pencil. With some fear I started to make small strokes, I tried to go slow and smooth to correct little by little. First I made the basic shape of the letters and then I added the strokes that were thick. I helped myself with the brush to remove the dust and see better what I was doing.
| |
|---|
STEP 3
Once I finished engraving, I brushed off all the engraving. To finish cleaning the permanent marker lines, I sprayed alcohol spray and with the help of the cloth I dried it.
STEP 4
Now it's time to dye it. I did some research and some use gold and silver acrylic paint, but I haven't bought it yet, so I used gray. Using my finger I spread it and then wiped it off with a cloth.
STEP 5
Engraved mug ready!
Debo decir que es algo que requiere práctica para controlar los trazos. Me gusta mucho este lápiz de grabado y lo seguiré usando. Fue divertida la experiencia y ya espero grabar otras cosas para mostrarle. Practiqué con algunos perfumes y me encantó como quedaron, sin duda le da un toque elegante a un regalo.
| |
|---|
Thank you for reading me
With love, G..
FUENTE
Fotos: tomadas por mi desde mi redmi 10
Traducción: Deepl
SOURCE
Photos: taken by me from my redmi 10
Translation: Deepl
