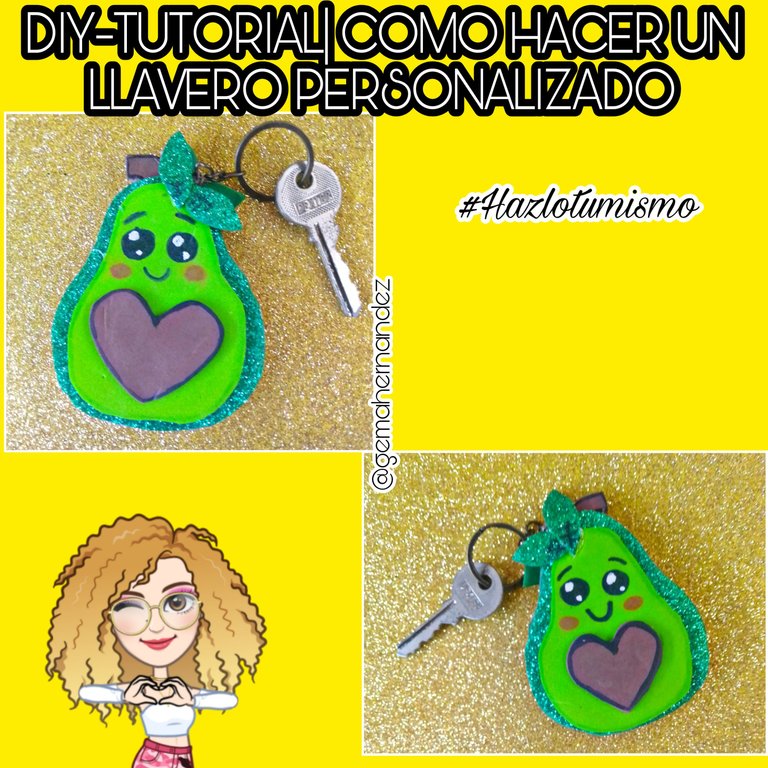
Hola, hola, saludos para todos los hivers, espero se encuentren bien, gozando de salud y vida. Hoy me encuentro por aquí para mostrarles la elaboración de un hermoso llavero personalizado, fácil y económico de realizar.
Hello, hello, greetings to all hivers, I hope you are well, enjoying health and life. Today I am here to show you how to make a beautiful personalized keychain, easy and inexpensive to make.

Steps to follow:

Paso 1:
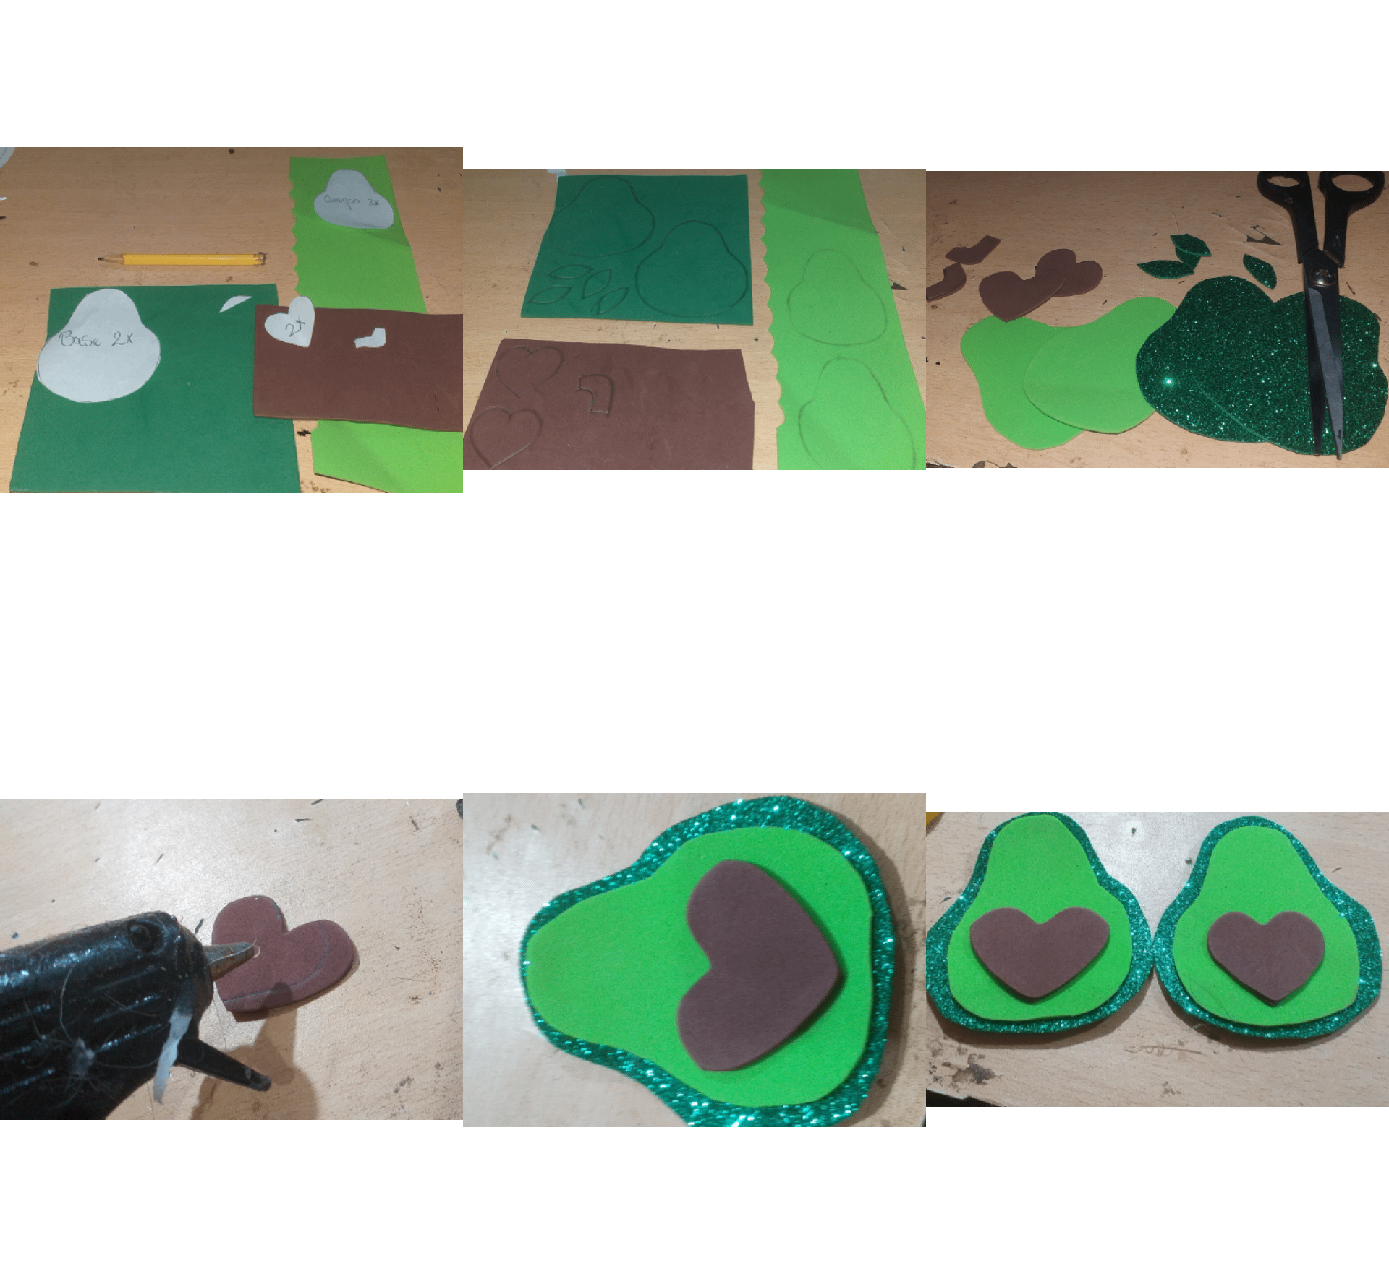
Empezamos colocando los moldes en los distintos colores de goma eva, marcamos, recortamos 2 piezas por cada molde, y pegamos, la pieza de color verde claro sobre la pieza de color verde oscura y el corazón lo pegamos en la parte inferior de la pieza de color verde claro.
(Este procedimiento lo hacemos con las piezas faltantes)
Step 1:
We start placing the molds in the different colors of eva rubber, we mark, cut out 2 pieces for each mold, and glue, the light green piece on the dark green piece and the heart we glue it on the bottom of the light green piece.
(We do the same procedure with the missing pieces).
Paso 2:
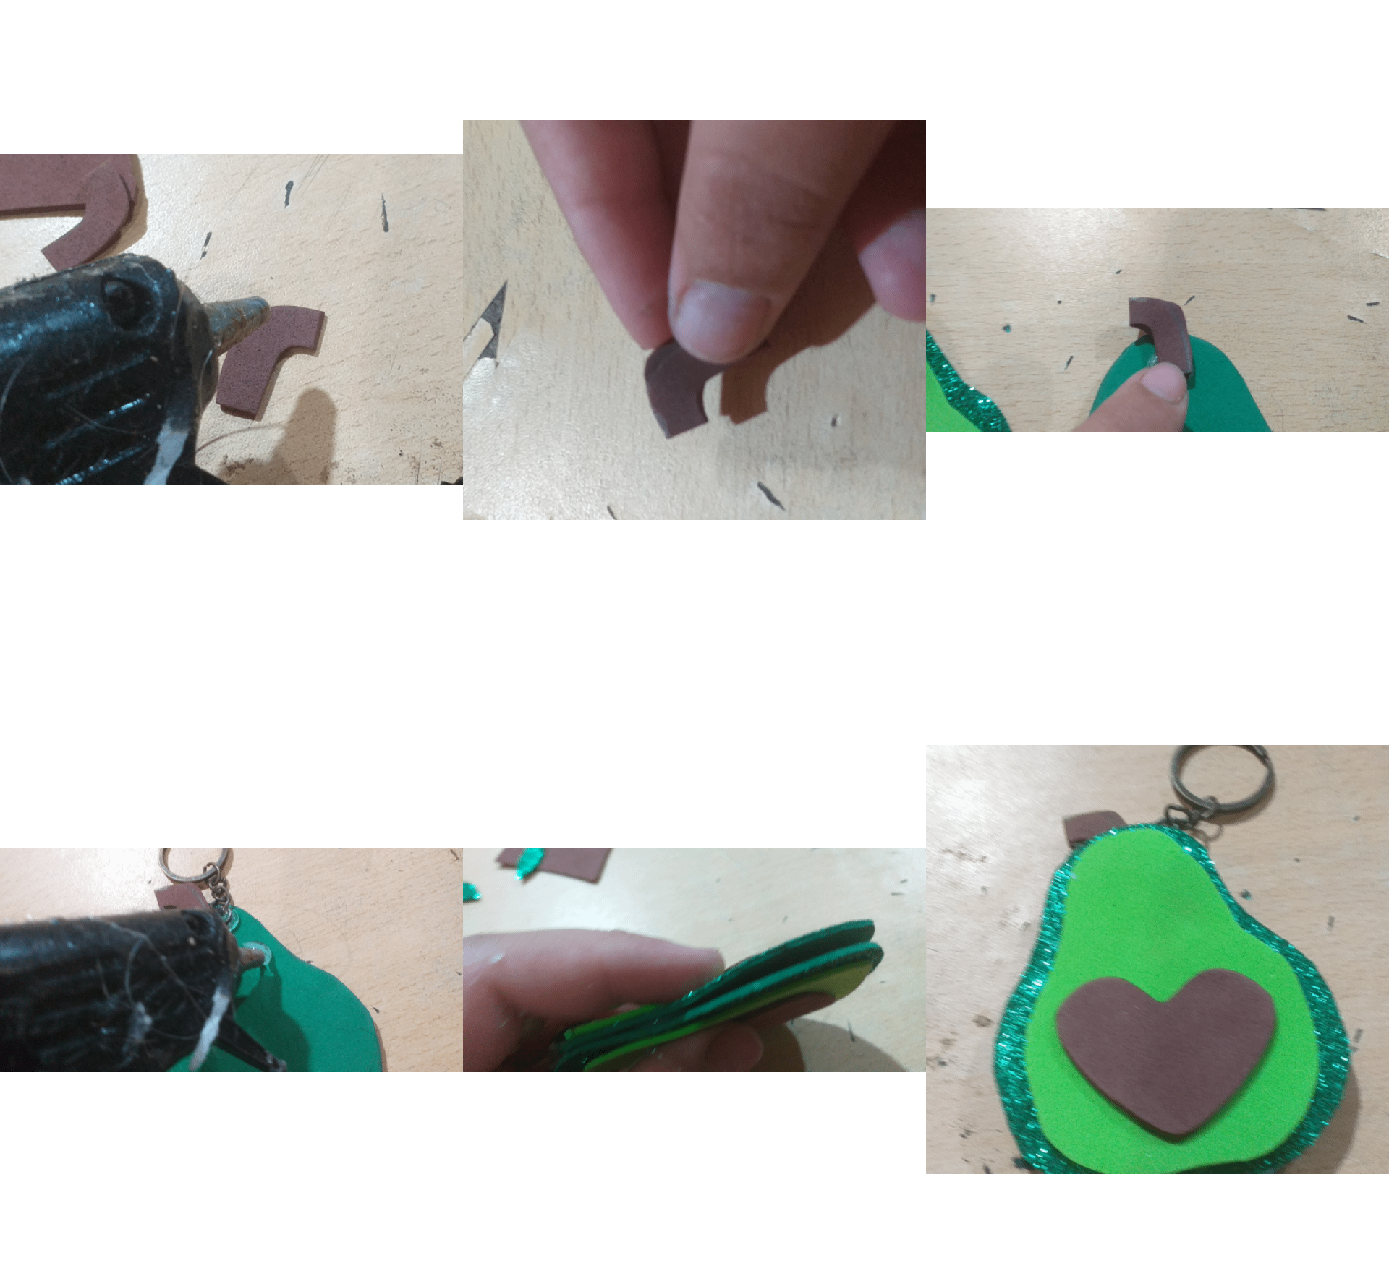
Después tomamos la rama del aguacate, pegamos las dos piezas y la pegamos en la parte de atrás del aguacate, al lado de la rama echamos bastante silicon y colocamos unas de las cadenas que tiene la argolla, cuando este seca pegamos las partes traseras de los aguacates muy bien.
Step 2:
Then we take the avocado branch, glue the two pieces and glue it on the back of the avocado, next to the branch we put a lot of silicone and place one of the chains that has the ring, when it is dry we glue the back of the avocado very well.
Paso 3:
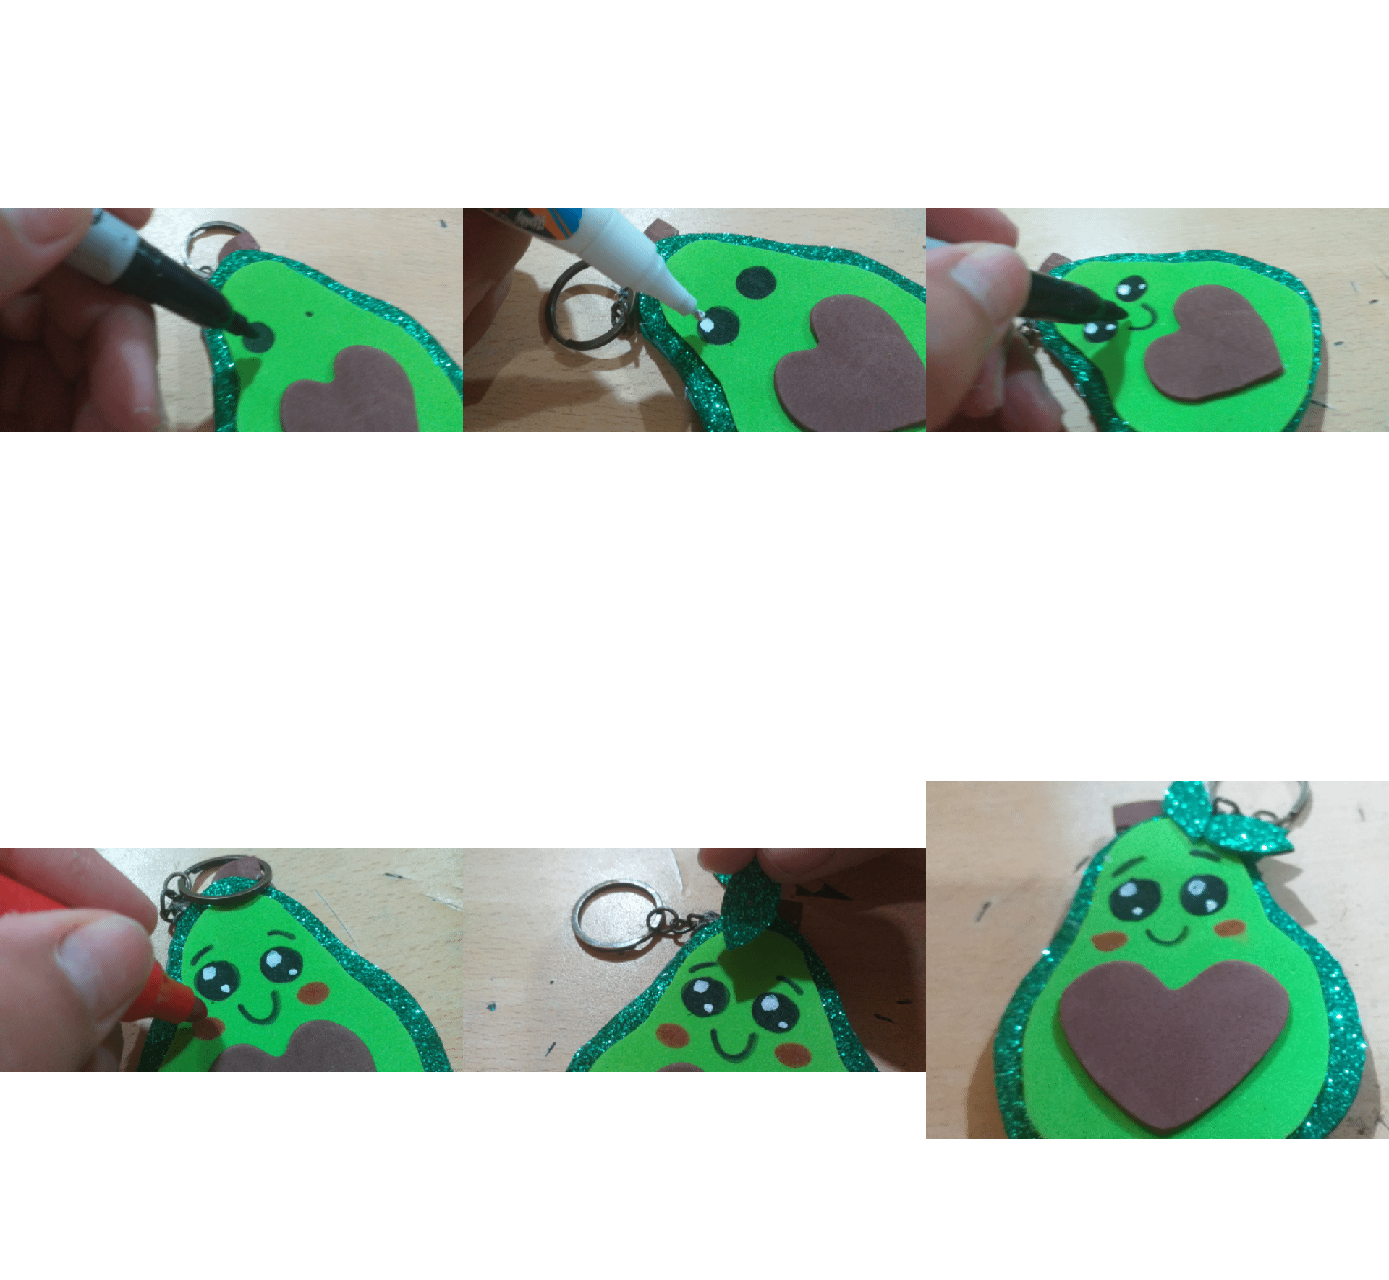
Ahora dibujamos los ojos, boca, cejas, el rubor y pegamos las hojas en la parte superior del aguacate.
(Esto lo hacemos en las dos partes)
Step 3:
Now we draw the eyes, mouth, eyebrows, blush and glue the leaves on the top of the avocado.
(We do this on both parts)
Paso final:
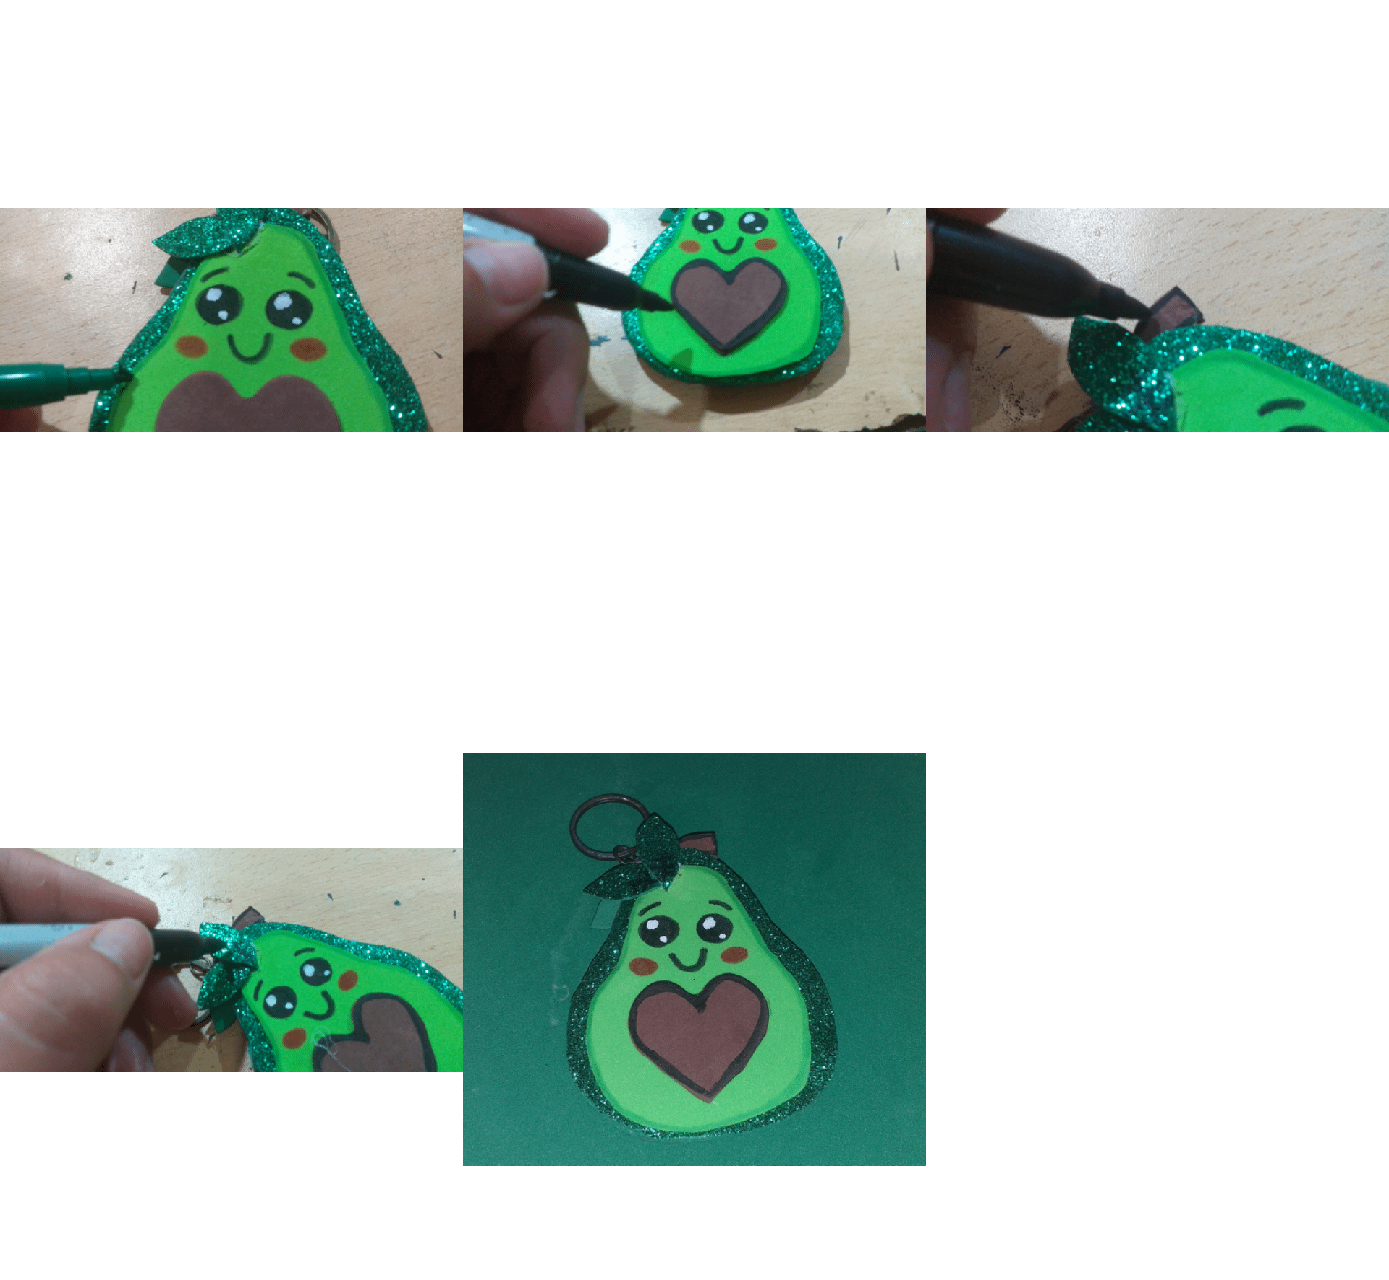
Por último con un resaltador de color verde hacemos los bordes al aguacate, con marcador de color negro hacemos el borde del corazón, la rama y hacemos unos adornos en las hojas.
(Hacer en las dos piezas)
Final step:
Finally with a green highlighter we make the edges of the avocado, with a black marker we make the edge of the heart, the branch and we make some ornaments on the leaves.
(To do in the two pieces)
¡Muy bien! Ya terminamos la elaboración del llavero, como les dije es muy fácil y económico de hacer espero les guste y también los puedan hacer.
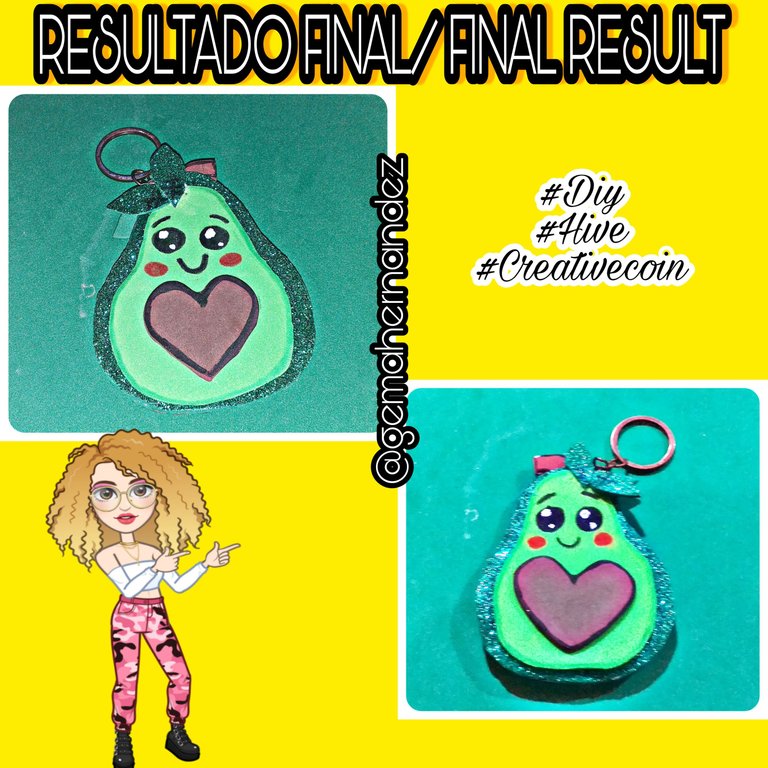
Aquí les muestro como quedo
Very good! As I told you it is very easy and inexpensive to make, I hope you like it and you can also make them.
Here I show you how it looks like
