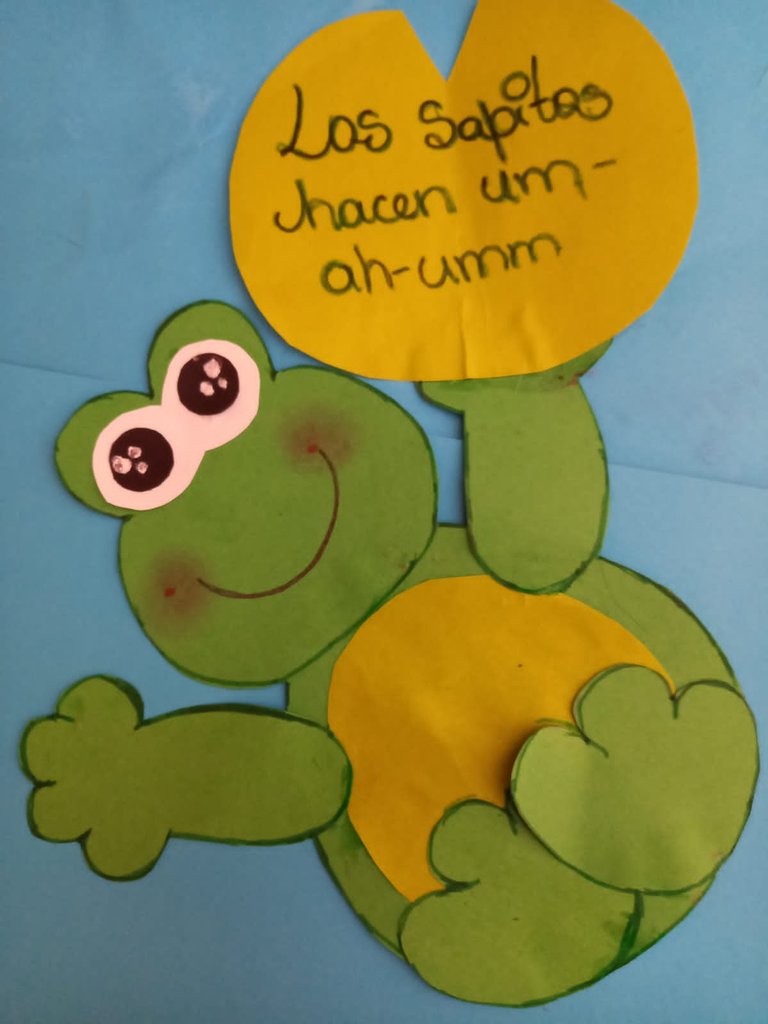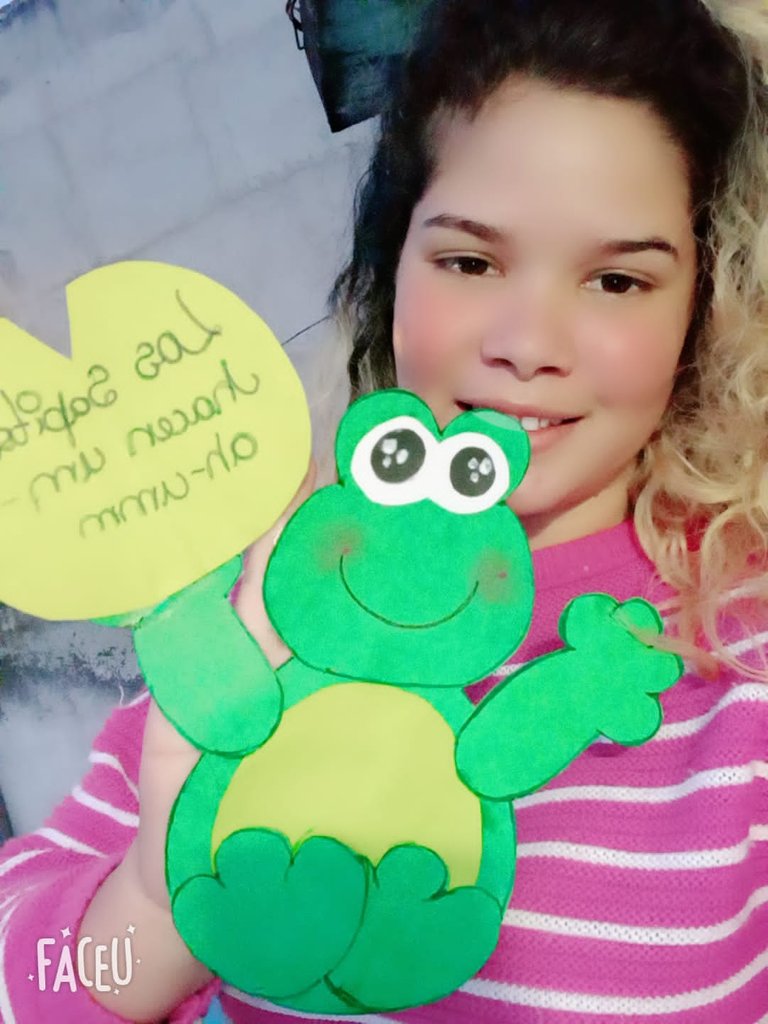
Hola que tal saludos y bendiciones para todos, es para mi un placer poder compartir la elaboración de un hermoso sapito um-ah-umm, fácil y sencillo de hacer.
Hello, greetings and blessings to all, it is my pleasure to share with you the making of a beautiful um-ah-umm toad, easy and simple to make.
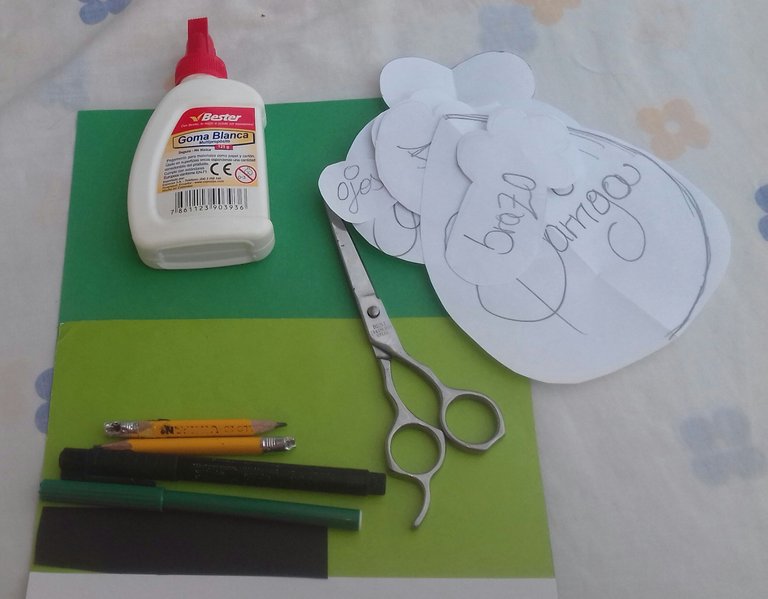
MATERIALES:
• Cartulina de color verde claro, verde oscuro, negro y blanco.
• Moldes de el cuerpo de un sapo.
• Lápiz.
• Tijeras.
• Rotuladores de color blanco, negro y verde.
• Pegamento.
MATERIALS:
• Light green, dark green, black and white cardboard.
• Molds of the body of a toad.
• Pencil.
• Scissors.
• White, black and green markers.
• Glue.
JOIN ME IN THE STEP BY STEP:
🐸🐸🐸🐸🐸🐸HIVE🐸🐸🐸🐸🐸🐸
Paso 1:
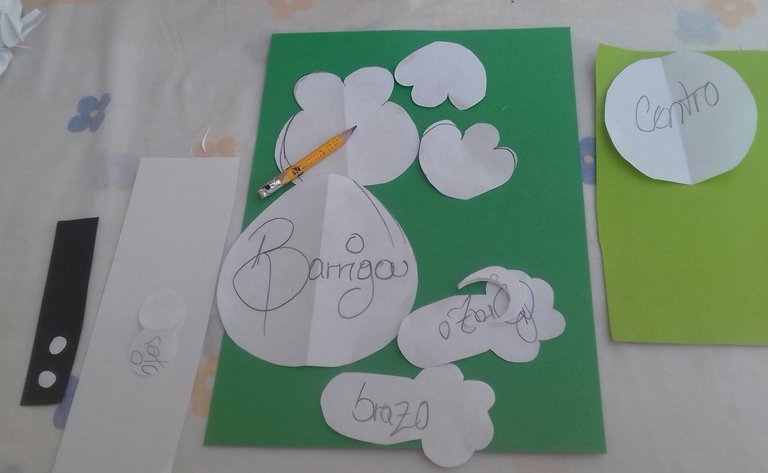
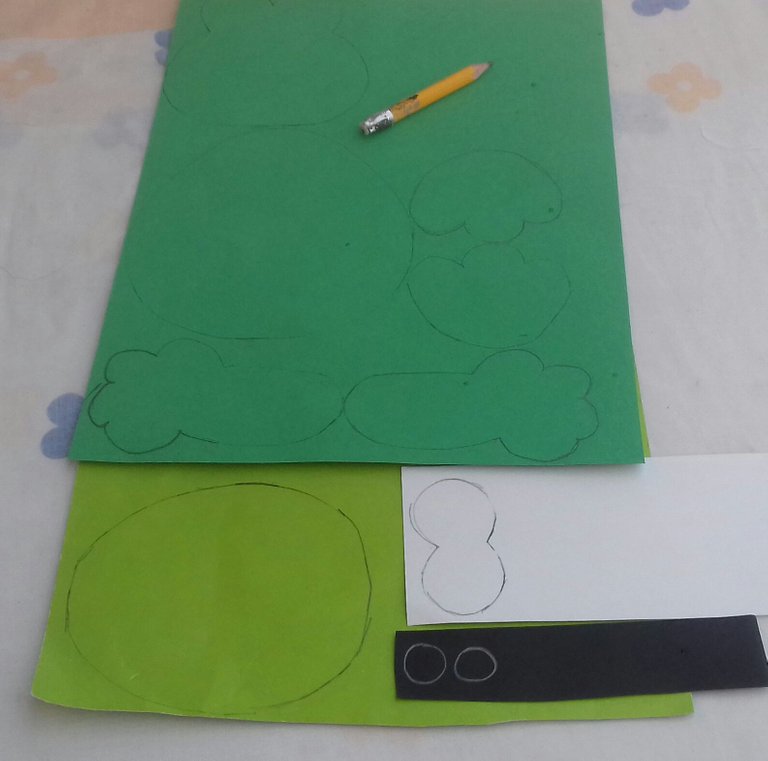
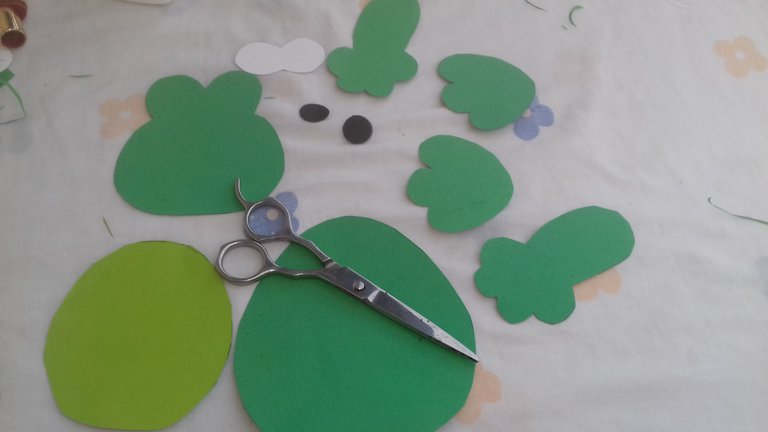
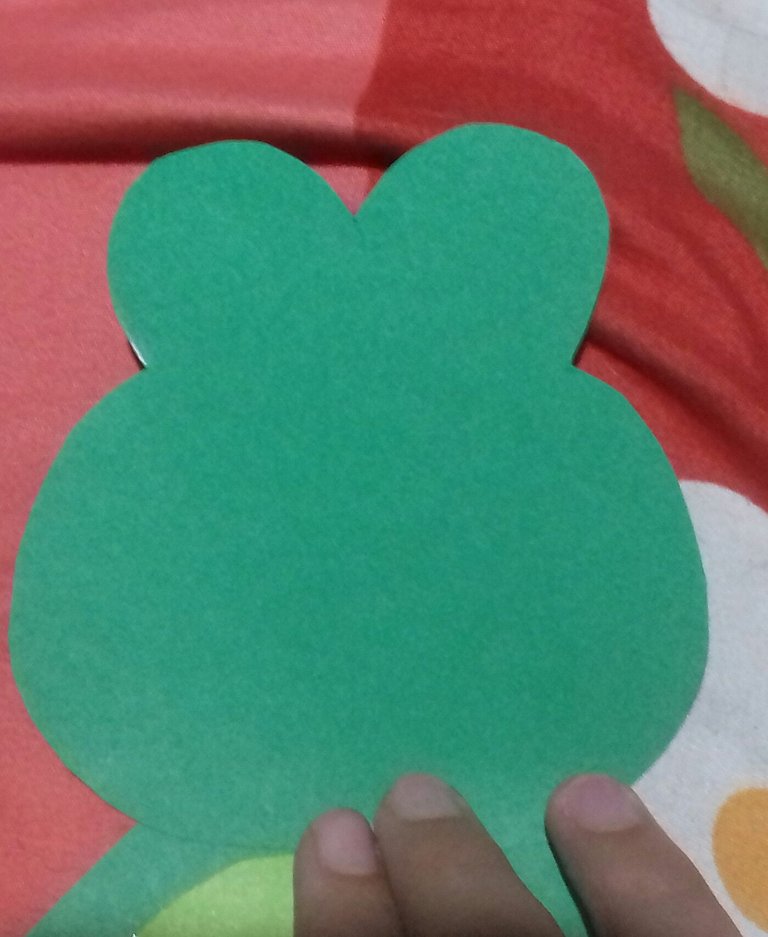
Para empezar, colocamos los moldes en los distintos colores de cartulina, marcamos y recortamos.
Step 1:
To begin, we place the molds on the different colors of cardboard, mark and cut them out.
Paso 2:
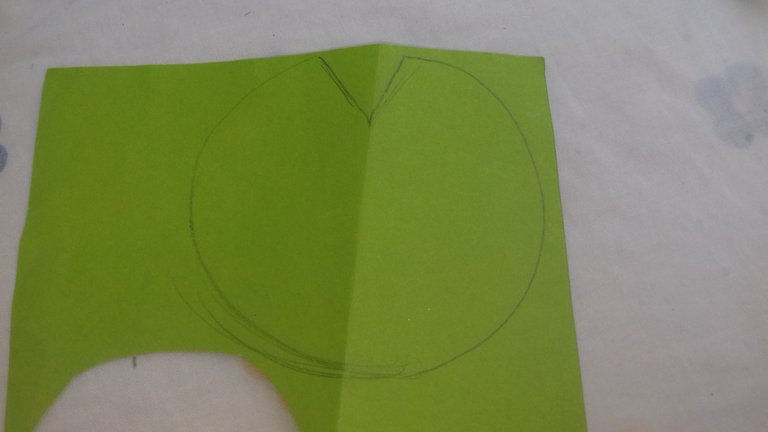
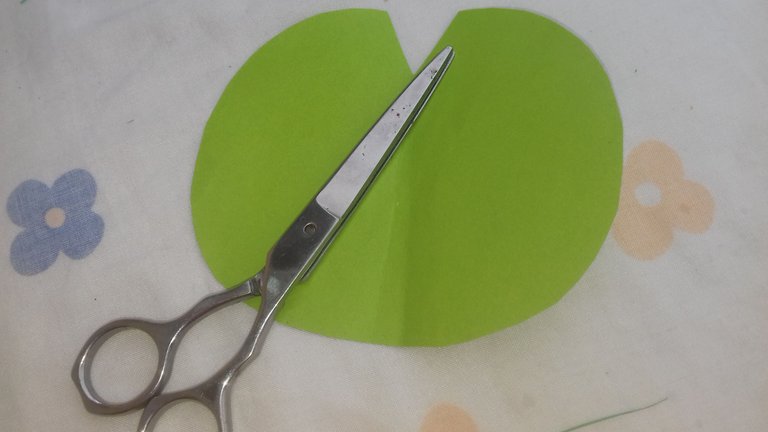
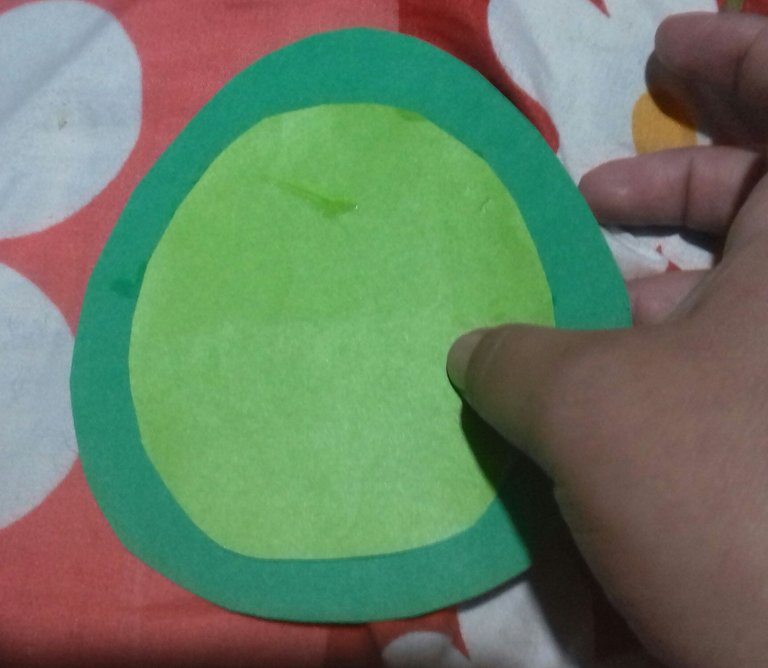
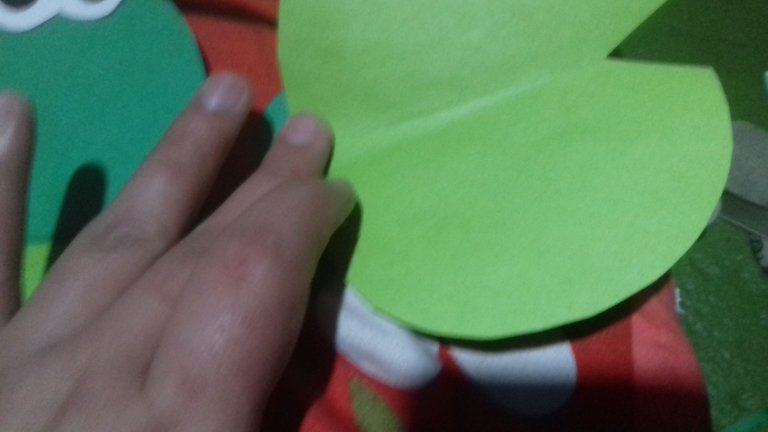
Después en la cartulina de color verde claro dibujamos la forma de una hoja acuática, y recortamos.
Step 2:
Then on the light green cardboard we draw the shape of an aquatic leaf, and cut it out.
Paso 3:
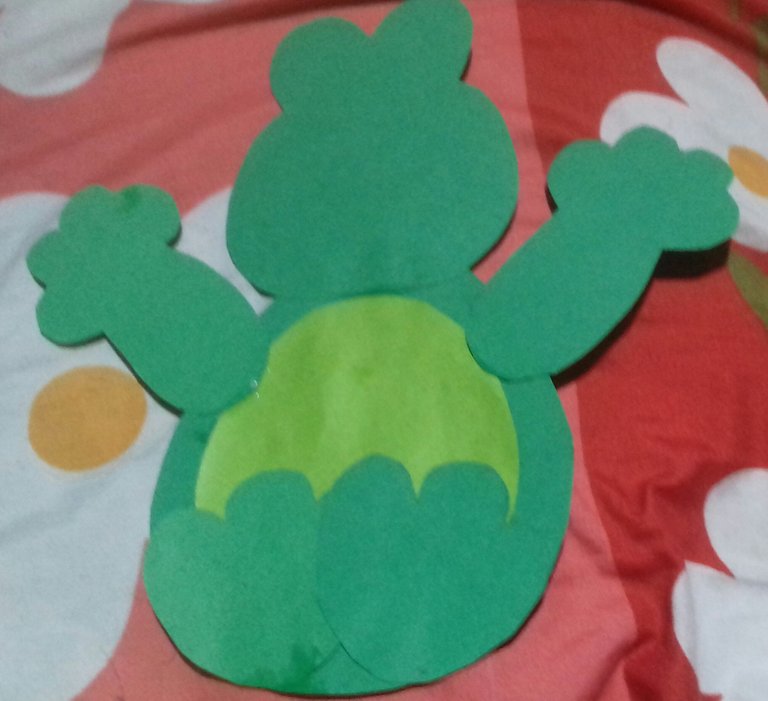
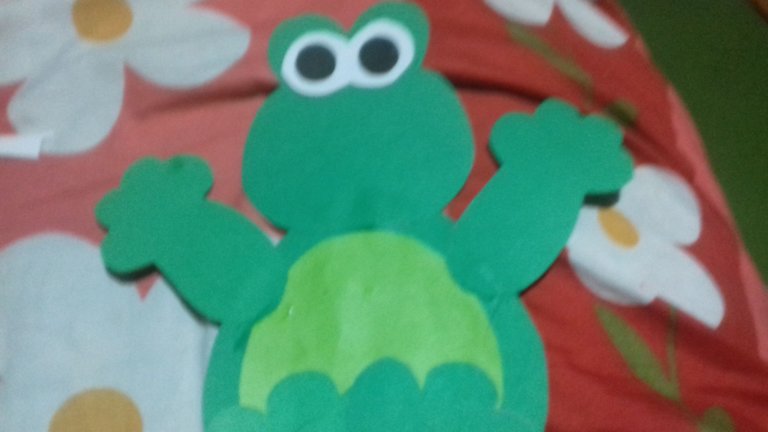
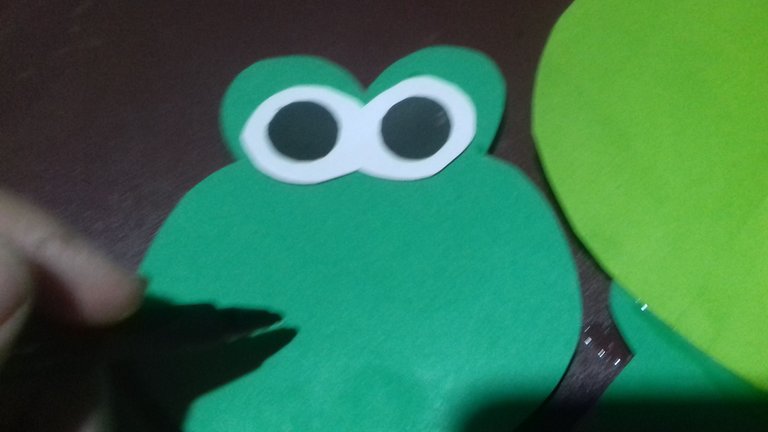
Luego se pega cada parte del cuerpo del sapito, empezando con la barriga, seguimos con las patitas inferiores y superiores, los ojos, y en una de las patas superiores pegamos la hoja acuática.
Step 3:
Then we glue each part of the frog's body, starting with the belly, followed by the lower and upper legs, the eyes, and on one of the upper legs we glue the aquatic leaf.
Paso 4:
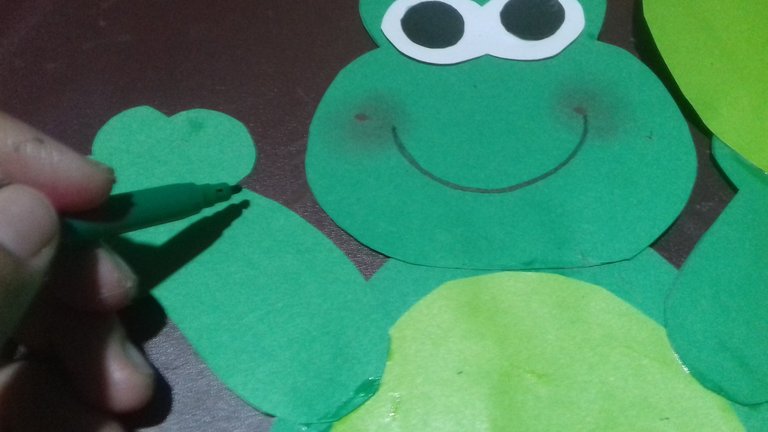
Culminamos la elaboración, delineando los bordes del del sapito.
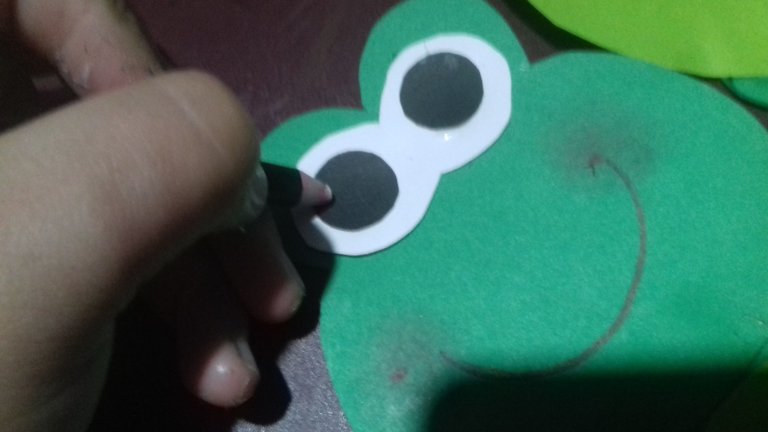
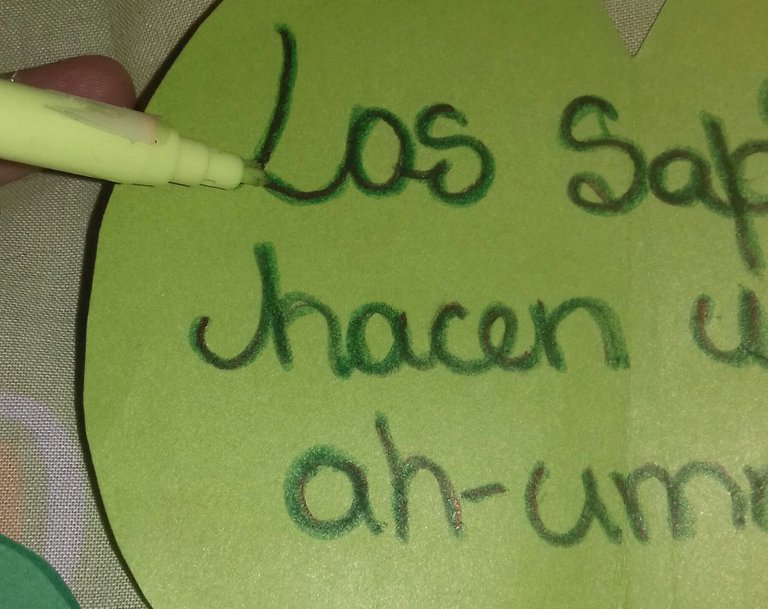
Con ayuda del rotulador color blanco hacemos unos puntos en los ojos, también dibujamos una sonrrosa en la cara del sapito y en la hoja acuática escribimos lo siguiente: Los sapitos hacen um-ah-umm.
Step 4:
We finish the elaboration, outlining the edges of the frog.
With the help of the white marker we make some dots on the eyes, we also draw a smiley face on the frog's face and on the aquatic leaf we write the following: The toads do um-ah-umm.
HERE IS THE FINAL RESULT
