Saludos a todos. Ayer les mostré cómo reciclar franelas y blusas viejas para hacer trapillo con ellas, hoy les enseñaré una idea genial para hacer algo útil y atractivo con ese trapillo. Lo único que van a necesitar son varios ovillos de trapillo y un aro de hula hoop. ¿Quieres ver qué saldrá de aquí? Sigue leyendo.
Greetings to all. Yesterday I showed you how to recycle old flannels and blouses to make fabric strips with them, today I'll show you a great idea to make something useful and attractive with those fabric strips. All you'll need are several balls of fabric strips and a hula hoop. Do you want to see what will come out of here? Keep reading.
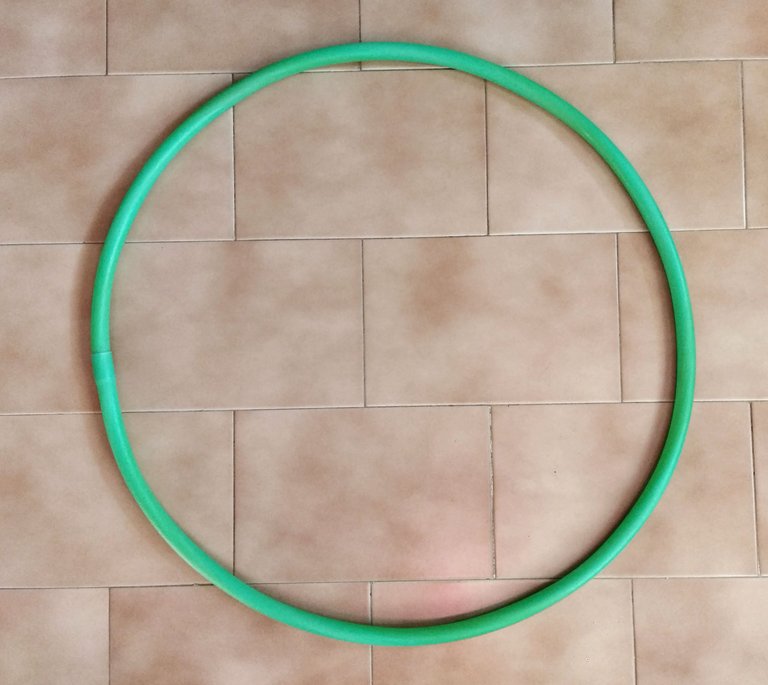
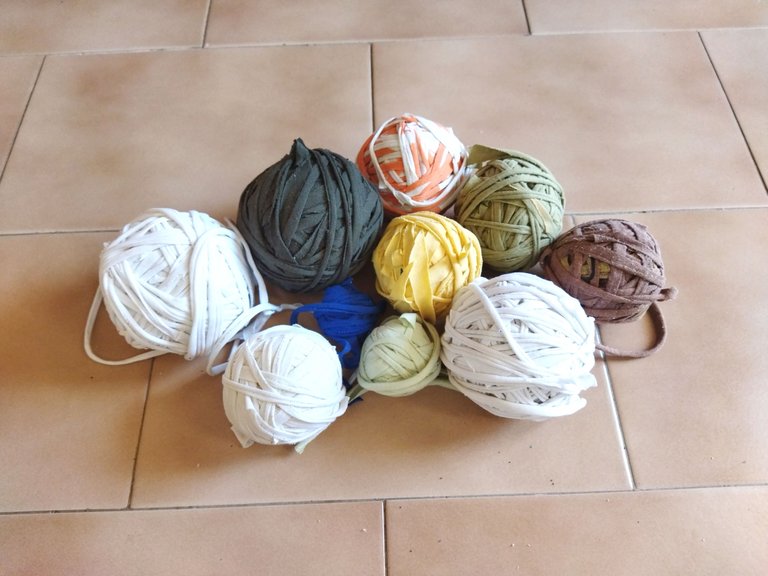
Lo primero que vamos a hacer es armar la base de nuestro tejido usando un aro de hula hoop. Yo usé trapillo blanco para hacer las tiras fijas de mi tejido, ustedes pueden usar el color que les guste.
The first thing we're going to do is to assemble the base of our weave using a hula hoop. I used white fabric strips to make the fixed strips of my weave, you can use the color you like.
Ahora vamos a elegir una parte del aro que será nuestro centro y marcarlo para saber dónde empezará y terminará cada vuelta, en este caso yo usé la parte de la junta de mi aro porque es más ancha, si quieren pueden marcarlo con algo, yo usé un gancho rojo.
Now we're going to choose a part of the hoop that will be our center and mark it to know where each row will begin and end, in this case I used the part of the joint of my hoop because it's wider, if you want you can mark it with something, I used a red hook.
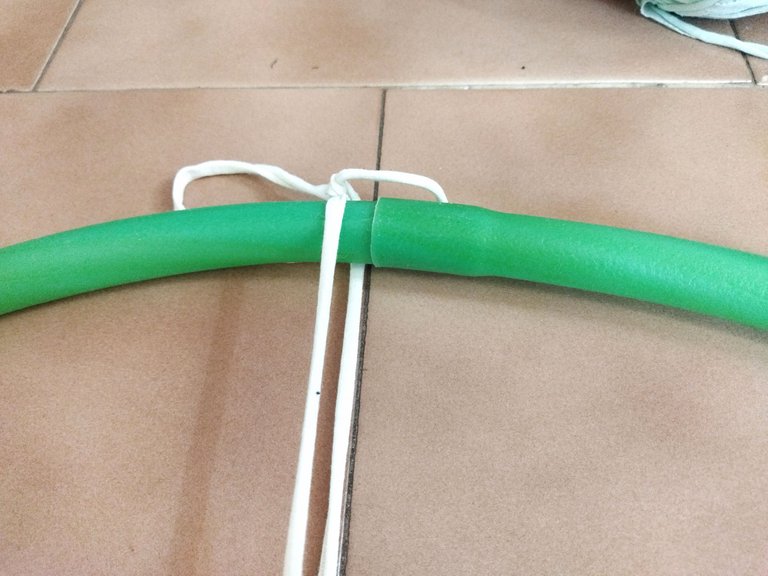
En ese lugar que elegimos como centro vamos a hacer un nudo para amarrar el trapillo y le vamos a dar una vuelta hacia el extremo opuesto para hacer nuestra primera tira vertical, hacemos lo mismo partiendo ahora del centro del aro y así obtenemos una tira horizontal. Nos va a quedar una cruz.
In that place that we chose as the center we're going to tie a knot to tie the fabric strip and we're going to turn it towards the opposite end to make our first vertical strip, we do the same now starting from the center of the ring and thus we obtain a horizontal strip. We will have a cross.
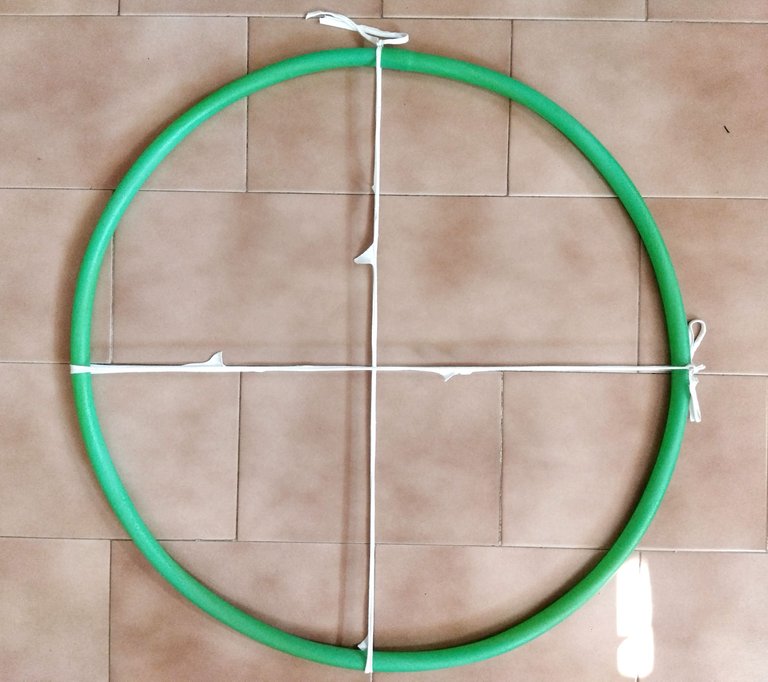
Ahora hacemos lo mismo ubicando las nuevas tiras en las cuatro mitades que obtuvimos.
Now we do the same, placing the new strips in the four halves that we obtained.
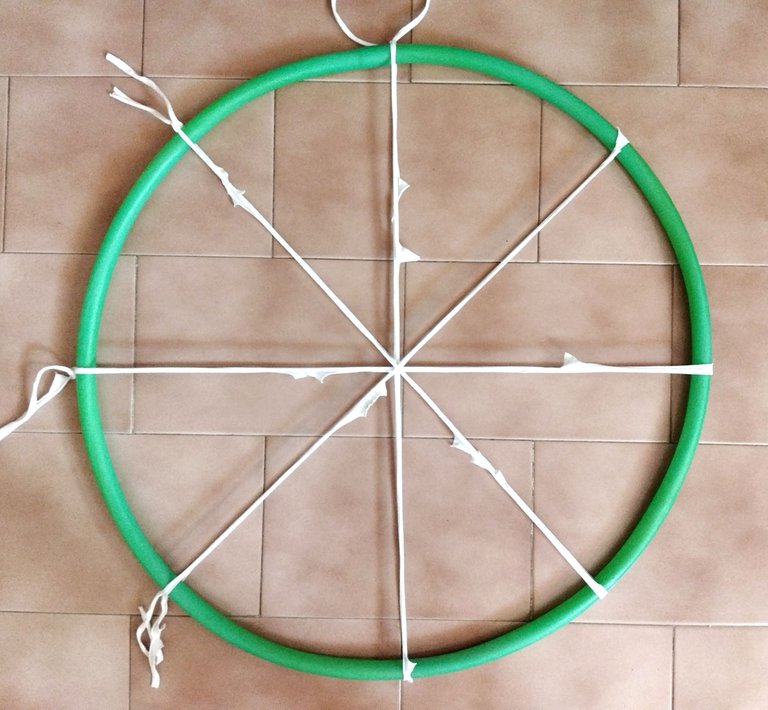
Volvemos a hacer lo mismo ubicando más tiras entre los espacios de cada triángulo.
We do the same thing again, placing more strips between the spaces of each triangle.
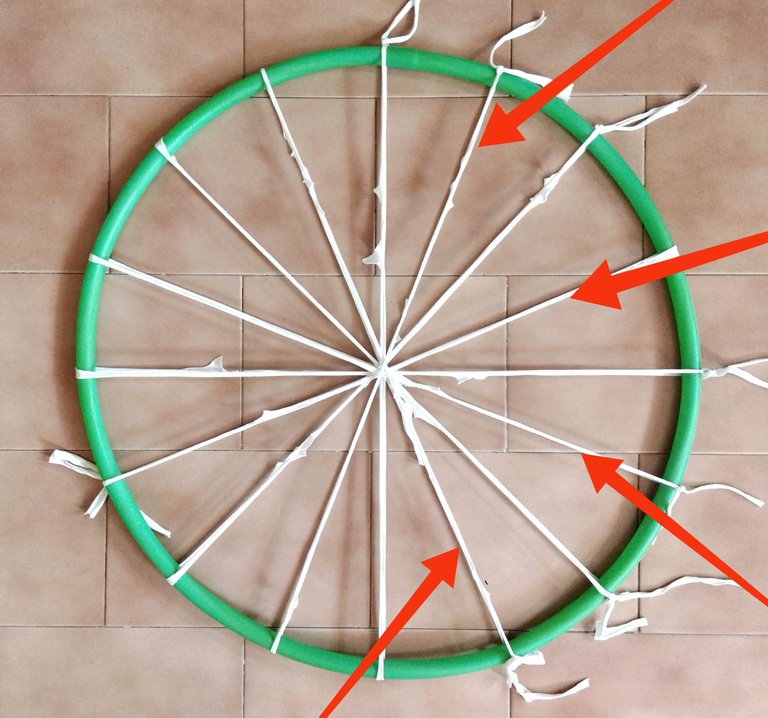
Por último y usando cuatro tiras más llenamos los espacios que faltan. Es importante que las tiras estén bien estiradas porque esto nos va a facilitar el tejido. No pongan más tiras fijas porque el tejido no se verá bien y quedará muy saturado.
Finally and using four more strips we fill in the missing spaces. It's important that the strips are well stretched because this will make it easier for us to knit. Don't put more fixed strips because the weave won't look good and will be very saturated.
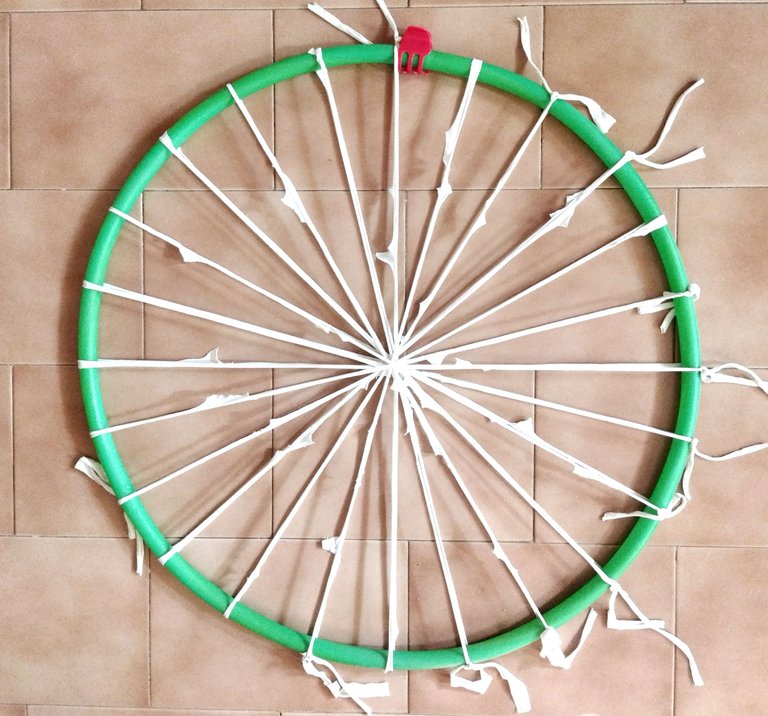
El proceso del tejido: el patrón de tejido para esta técnica es muy sencillo y consiste en pasar la tira del ovillo arriba y abajo, esta técnica requiere que las tiras sean impares por lo tanto, tomaremos la primera tira y la última y hacemos el nudo inicial amarrando las dos, luego giramos el nudo para que quede por la parte de abajo y no se vea.
The weaving process: the weaving pattern for this technique is very simple and consists of passing the strip of the fabric ball up and down, this technique requires that the strips be odd, therefore, we will take the first strip and the last one and make the initial knot tying both, then we turn the knot so that it's at the bottom and cannot be seen.
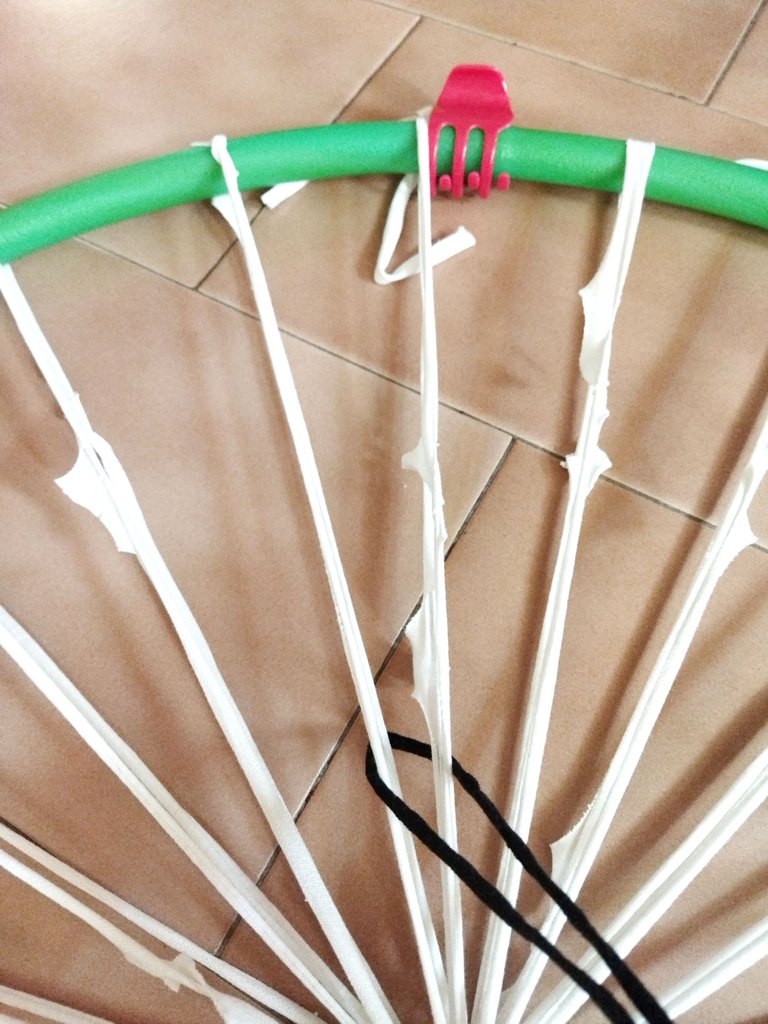
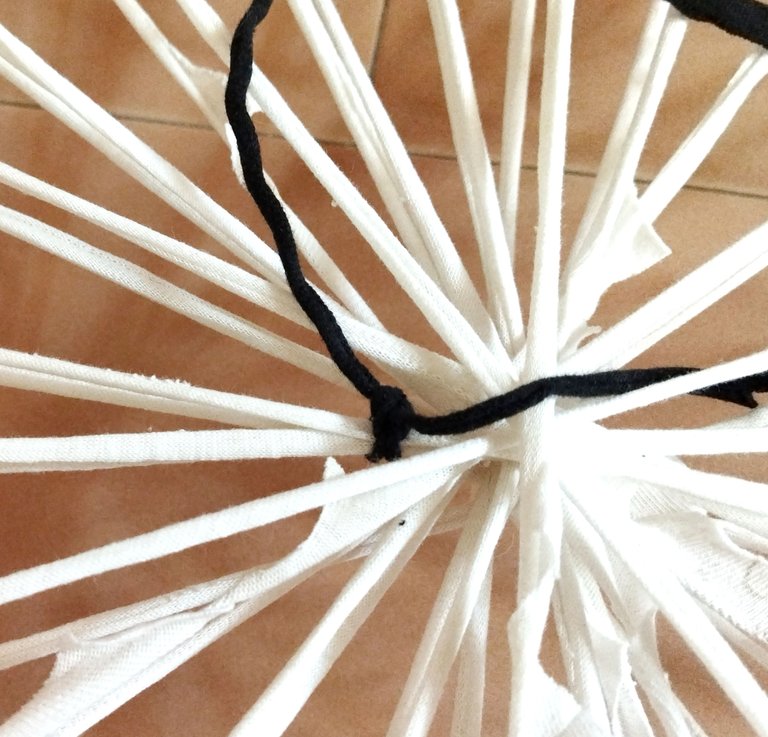
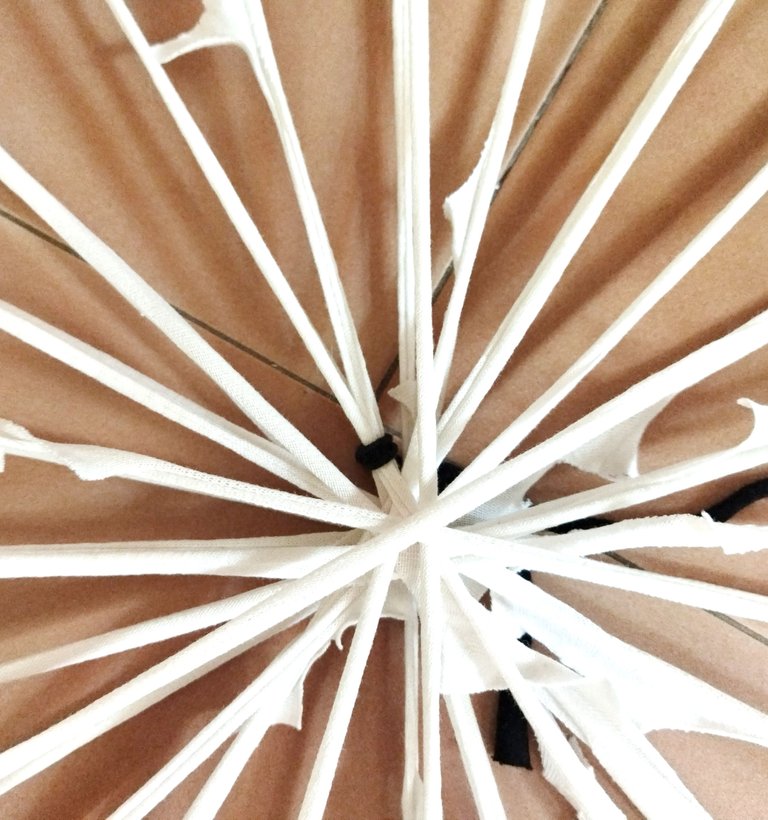
Ahora tomamos uno de nuestros ovillos y empezamos a tejer, de derecha a izquierda, pasándolo una tira por debajo y una por arriba de las tiras fijas hasta completar la primera vuelta.
Now we take one of our fabric strip balls and we begin to weave, from right to left, passing it one strip below and one above the fixed strips until completing the first row.
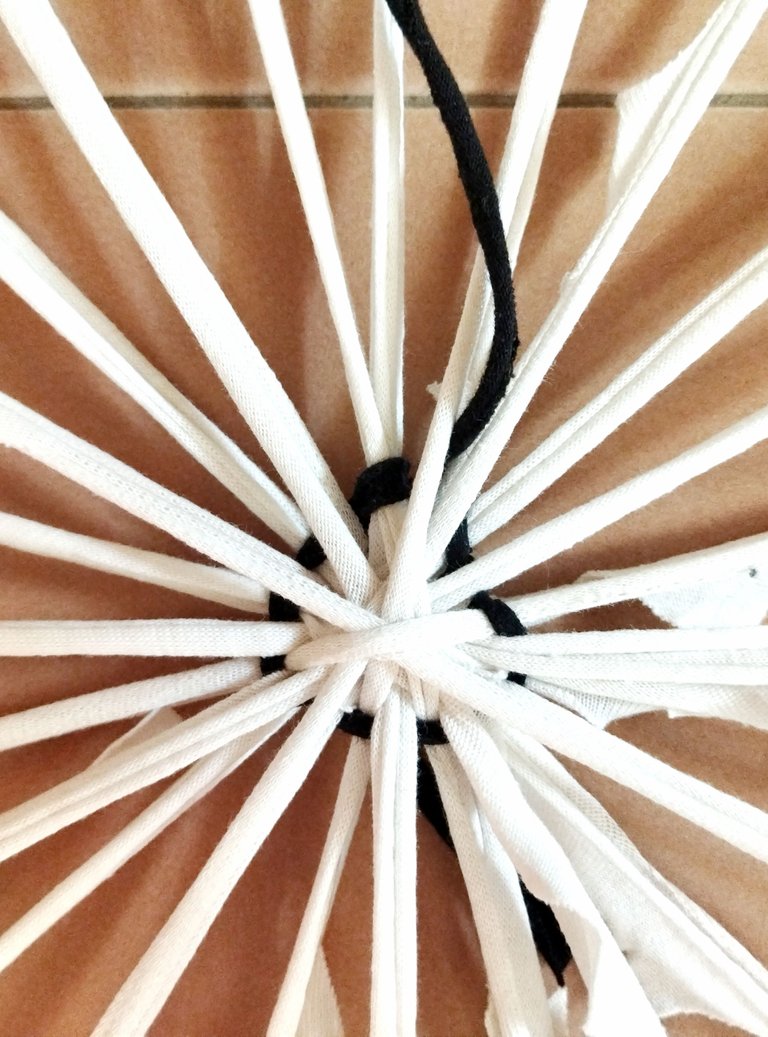
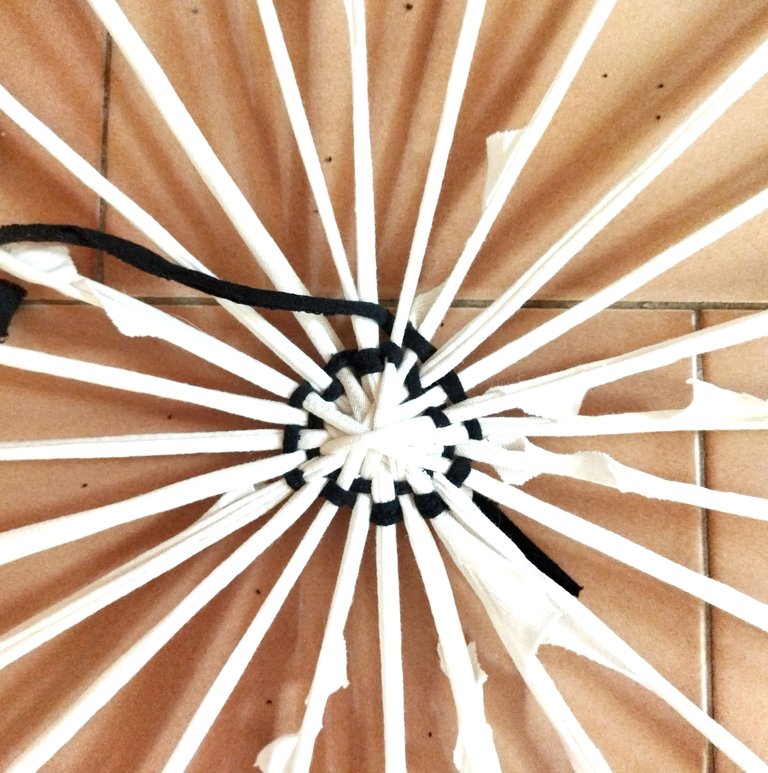
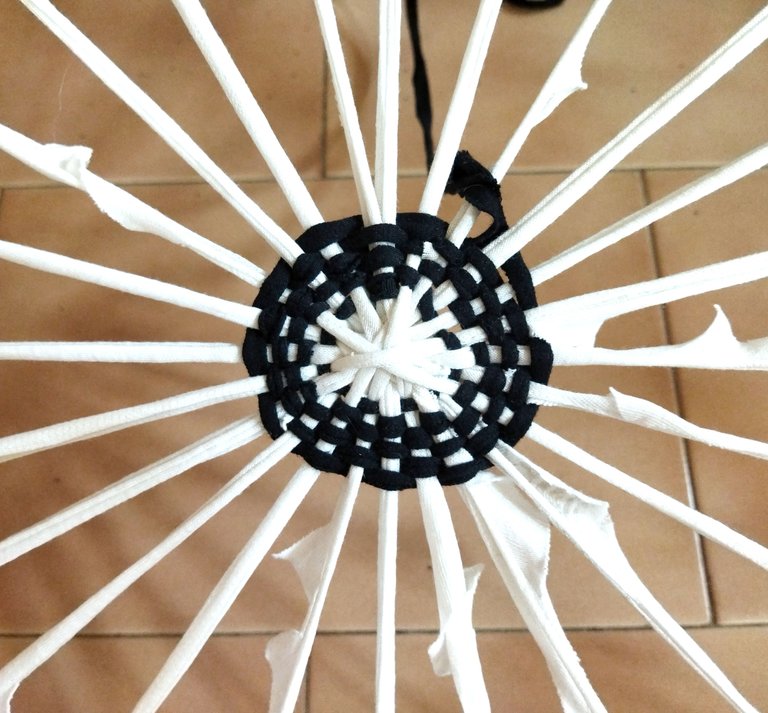
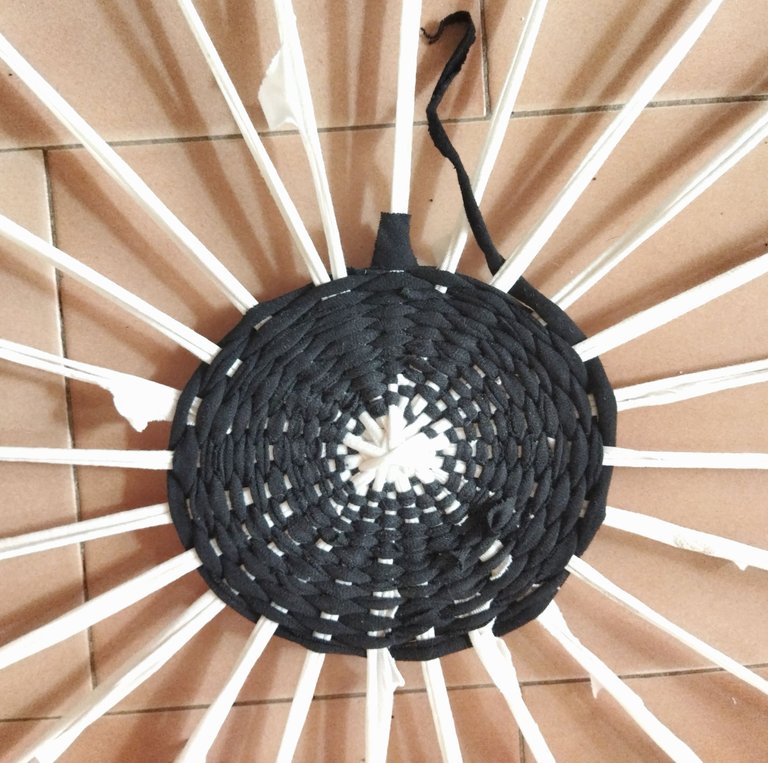
Cuando se les termine un ovillo agarran otro, los unen con un nudo y continúan tejiendo. Yo utilicé varios colores pero eso dependerá de los colores de las franelas que recortaron.
When you run out of a fabric strip ball, you grab another, tie them together with a knot and continue weaving. I used several colors but that will depend on the colors of the flannels that you cut.
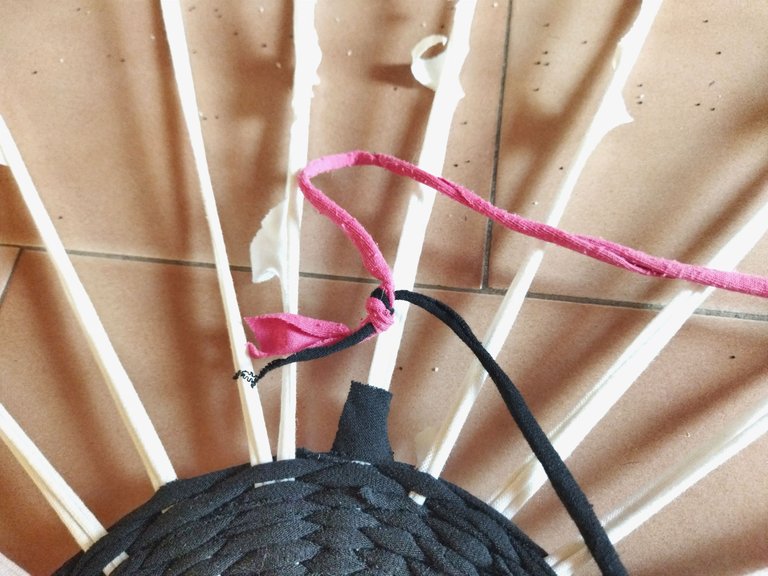
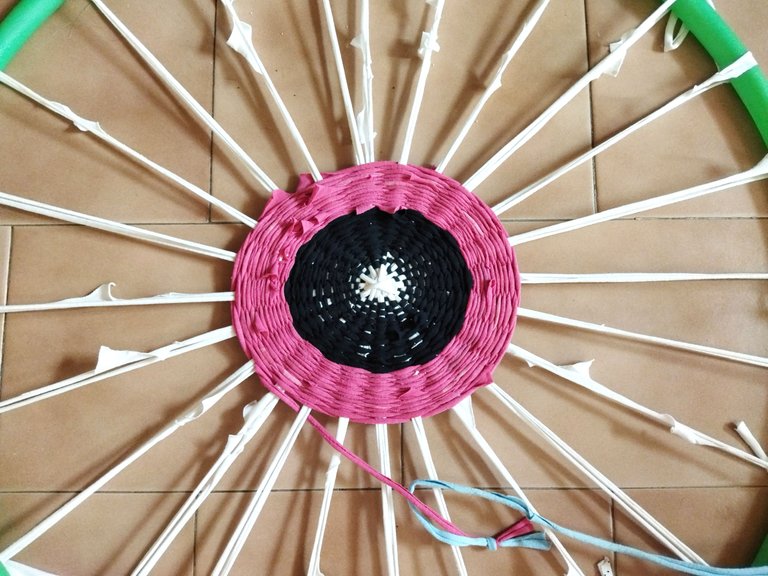
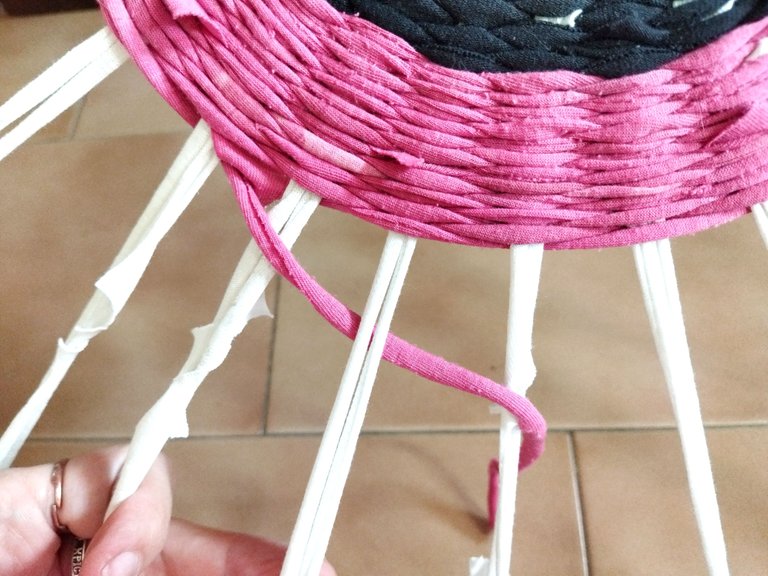
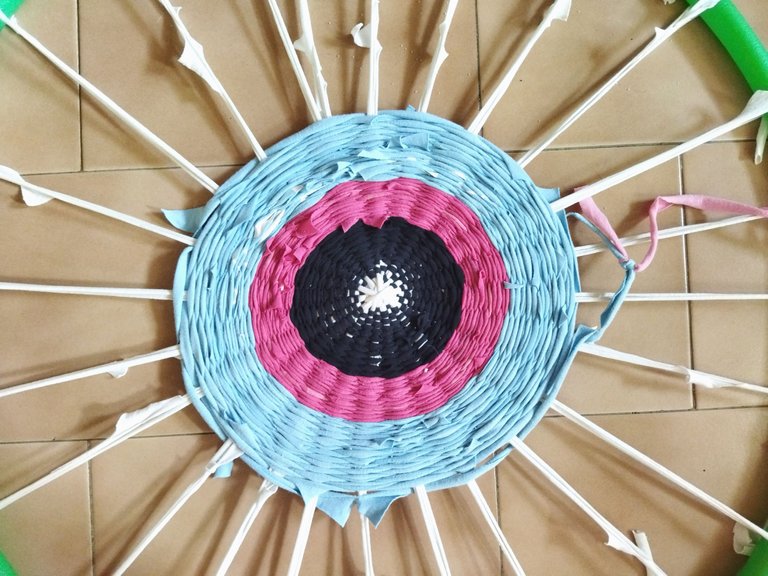
Les aconsejo que no utilicen ovillos muy grandes porque conforme el tejido va avanzando, los espacios se hacen más pequeños y les costará más trabajo pasarlos por arriba y por debajo de las tiras fijas. A mí me pasó jajaja 🥴.
I advise you not to use very large fabric strip balls because as the knitting progresses, the spaces become smaller and it will be more difficult for you to pass them over and under the fixed strips. It happened to me hahaha 🥴.
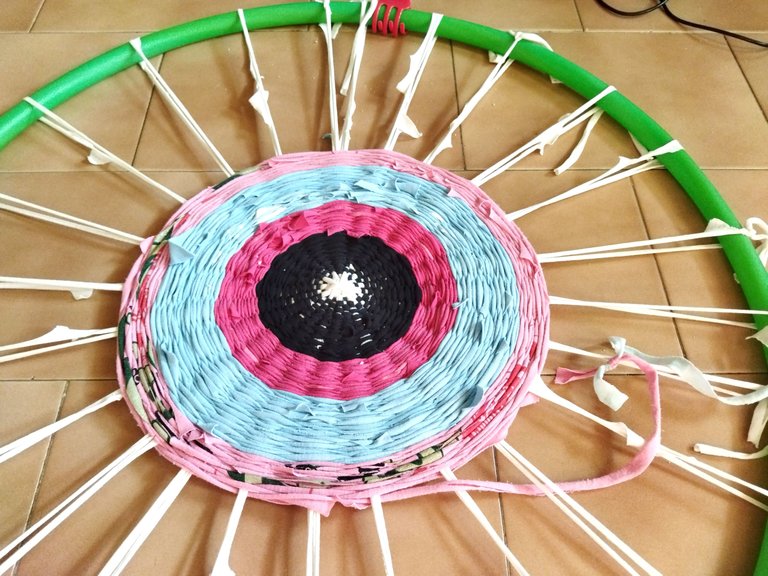
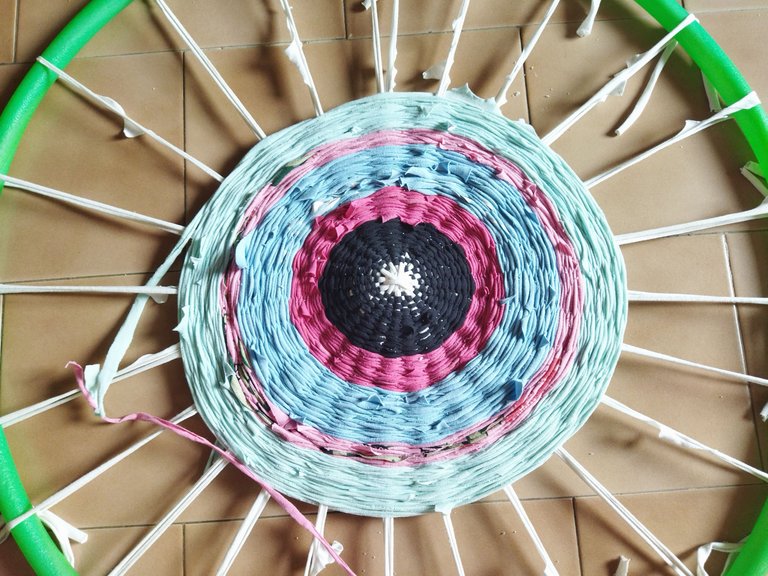
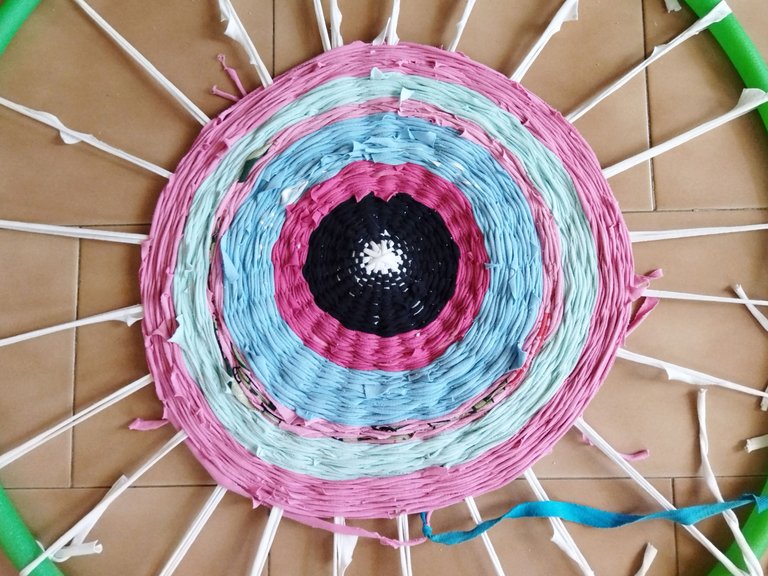
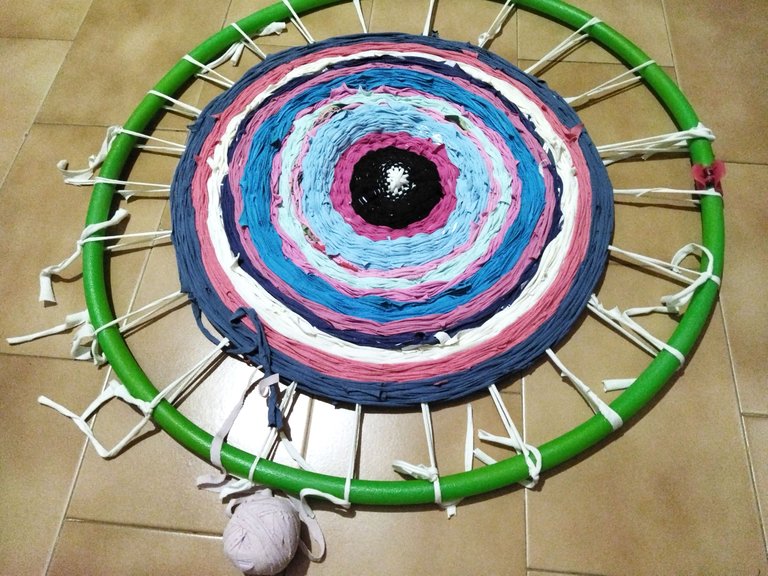
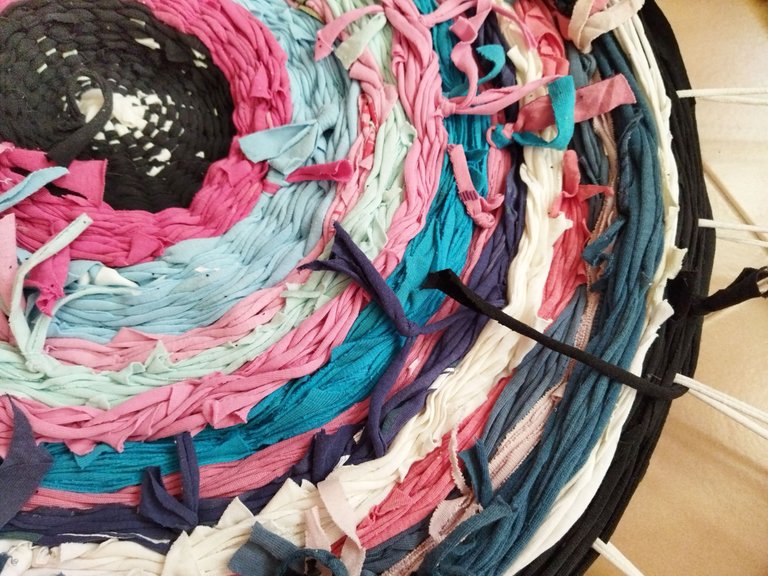
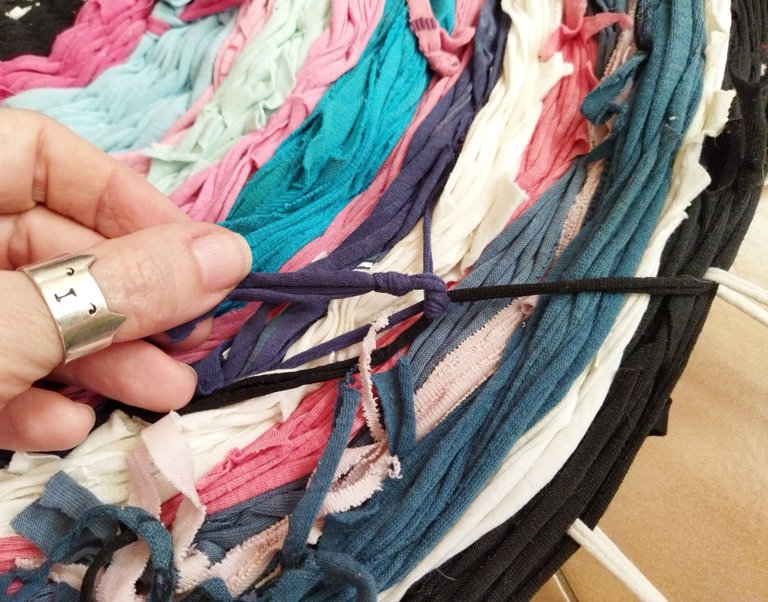
Cuando lleguen a unos cuatro o cinco dedos de ancho del borde del aro deben hacer cinco vueltas pero esta vez, en vez de tejer arriba y abajo van a pasar la tira del ovillo por el medio de las tiras fijas como se muestra en la foto.
When you reach about four or five finger widths from the edge of the hula hoop, you should make five rows, but this time, instead of weaving up and down, you will pass the fabric strip through the middle of the fixed strips as shown in the photo.
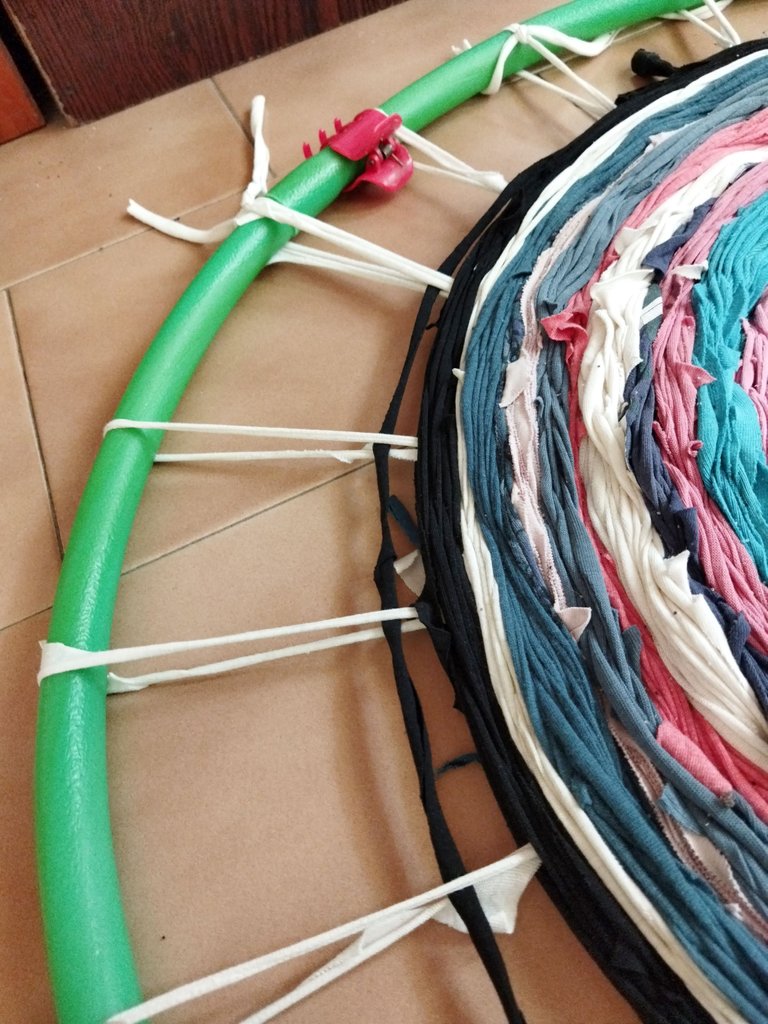
Al terminar la quinta vuelta van a amarrar la tira del último ovillo haciendo un nudo por debajo con otro sobrante que esté cerca de ella.
At the end of the fifth round, you're going to tie the strip of the last ball, tying a knot below with another leftover one that is close to it.
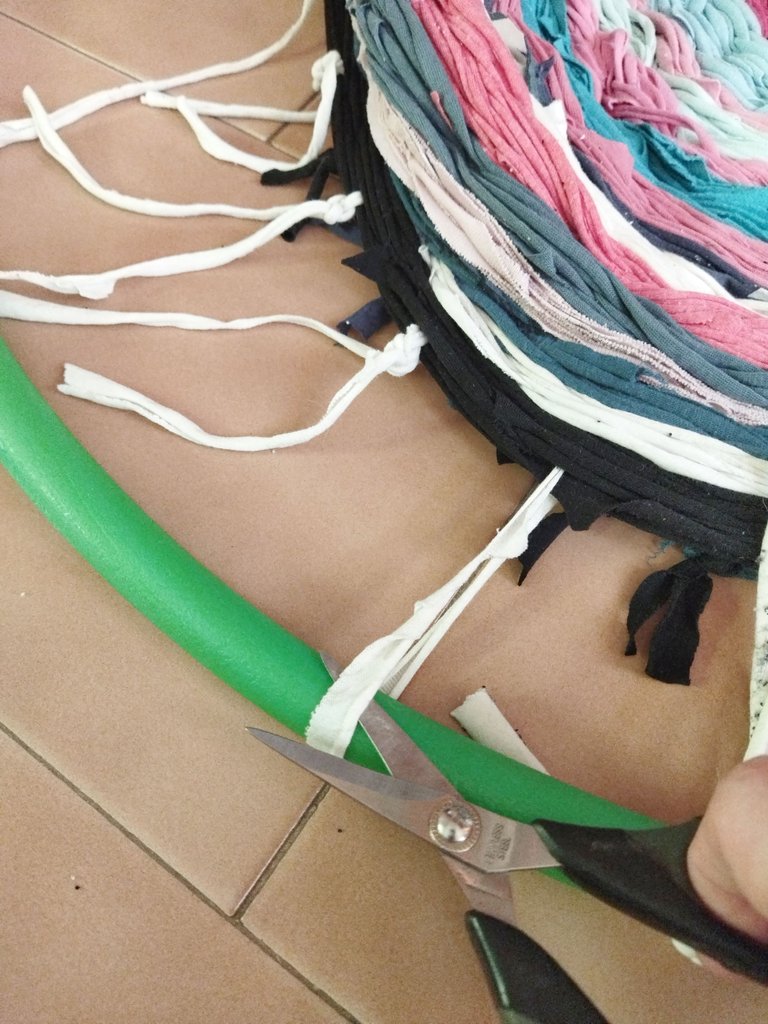
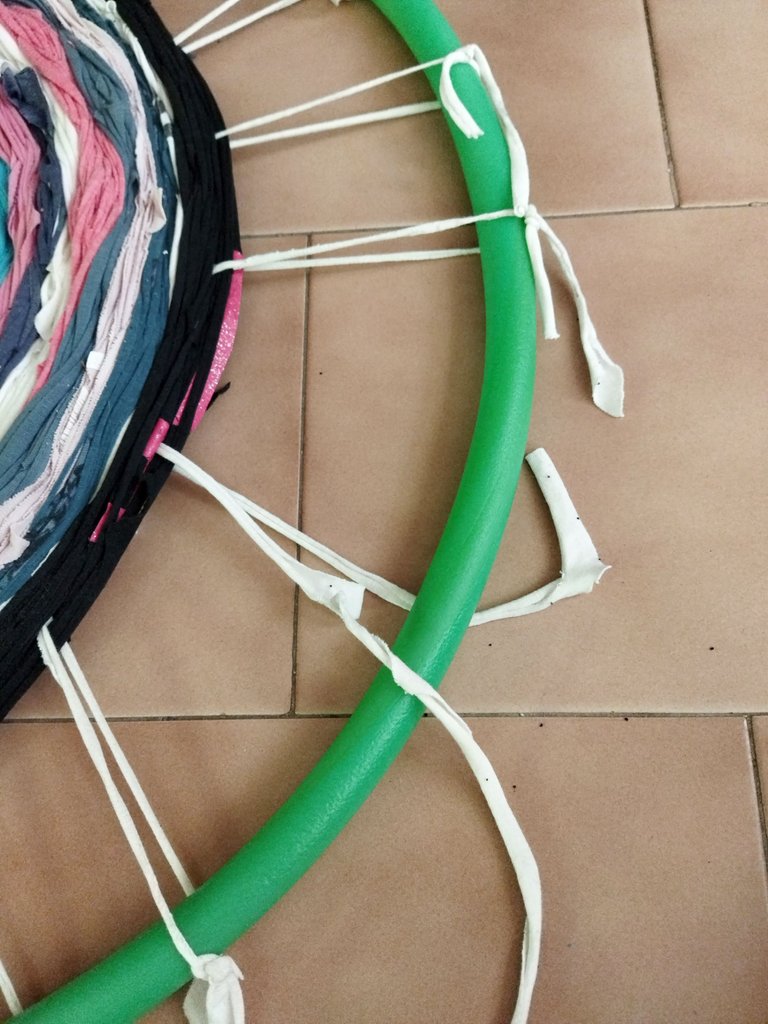
Ahora viene el momento de sellar el tejido, para eso, vamos a ir recortando las tiras fijas una por una haciendo un nudo con ellas para sostener el tejido y que quede firme y bien amarrado.
Now comes the time to seal the weave, for that, we're going to cut the fixed strips one by one, tying a knot with them to hold the weave and make it firm and well tied.
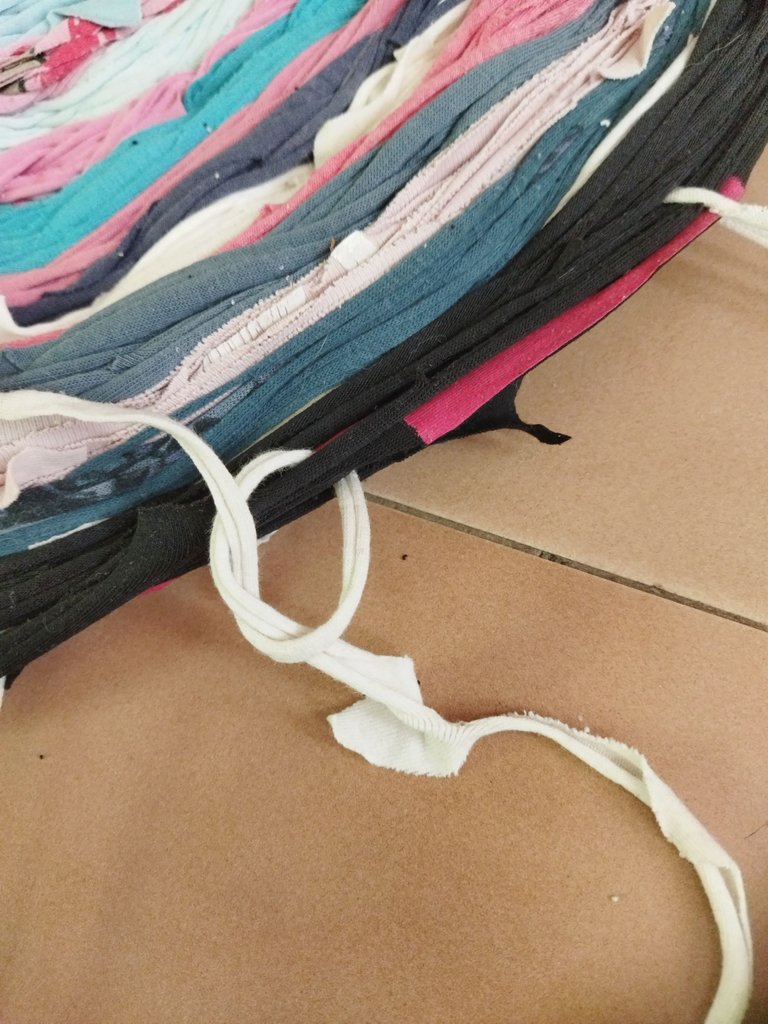
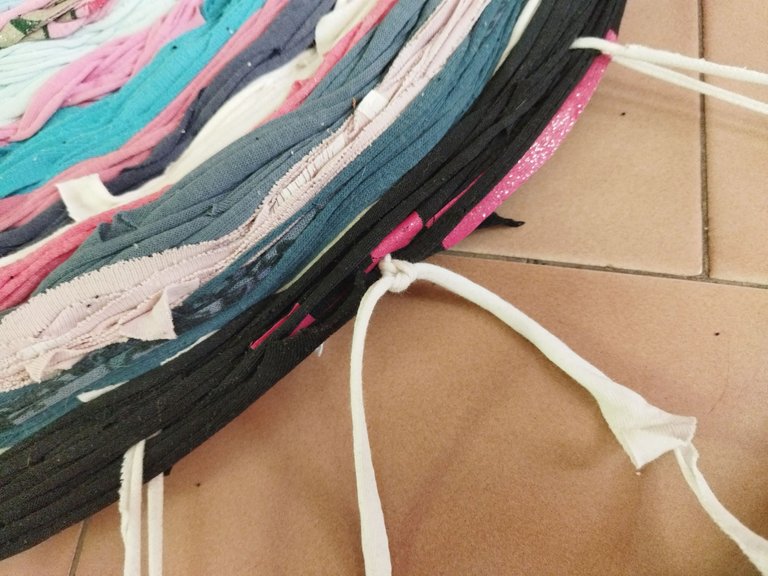
Yo hice el tejido un poco apretado para que quedara como una cesta y así usarlo como decoración sobre un biombo. También sirve para usarlo como almohada con el relleno apropiado. Si no tienen un hula hoop pueden usar aros más pequeños y hacer piezas de menor tamaño para otros usos que se les ocurran.
I made the weave a little tight so that it would look like a basket and use it as a decoration on a screen. It also serves to use it as a pillow with the appropriate filling. If you don't have a hula hoop you can use smaller hoops and make smaller pieces for other uses you can think of.
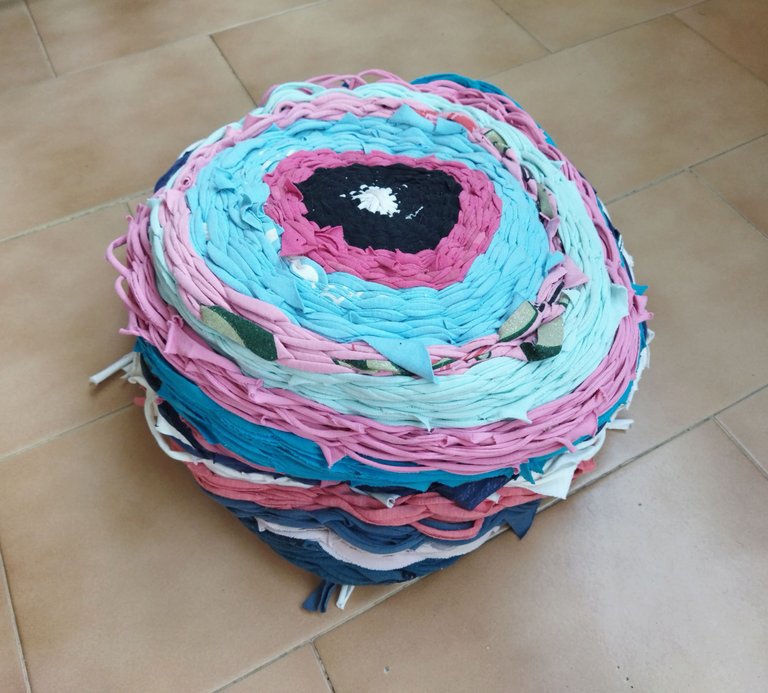
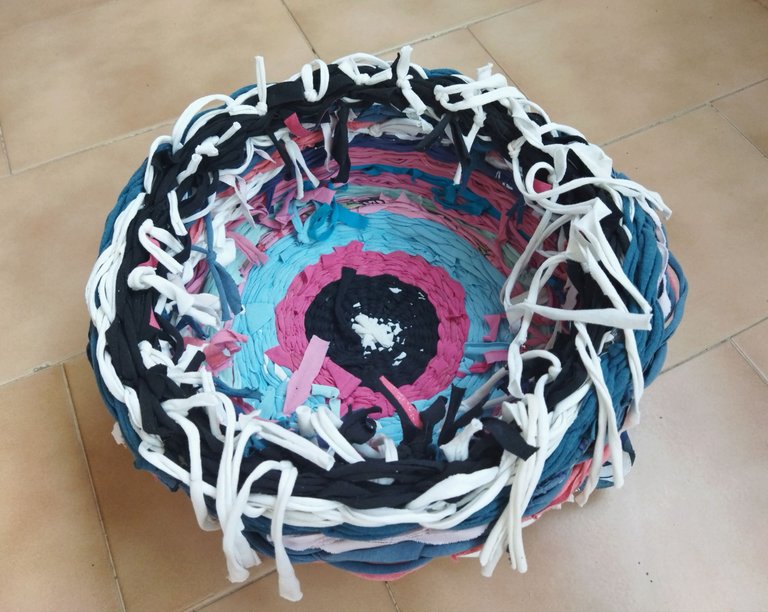
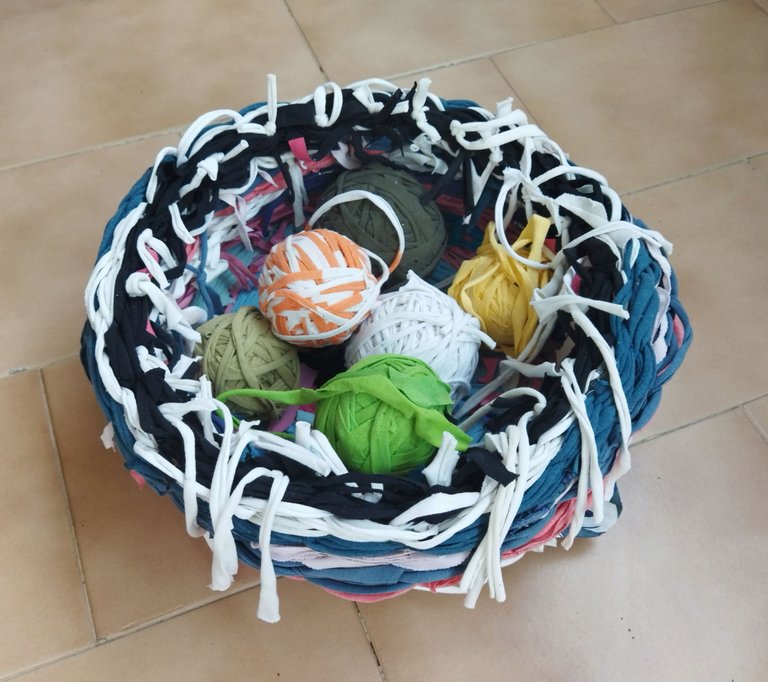
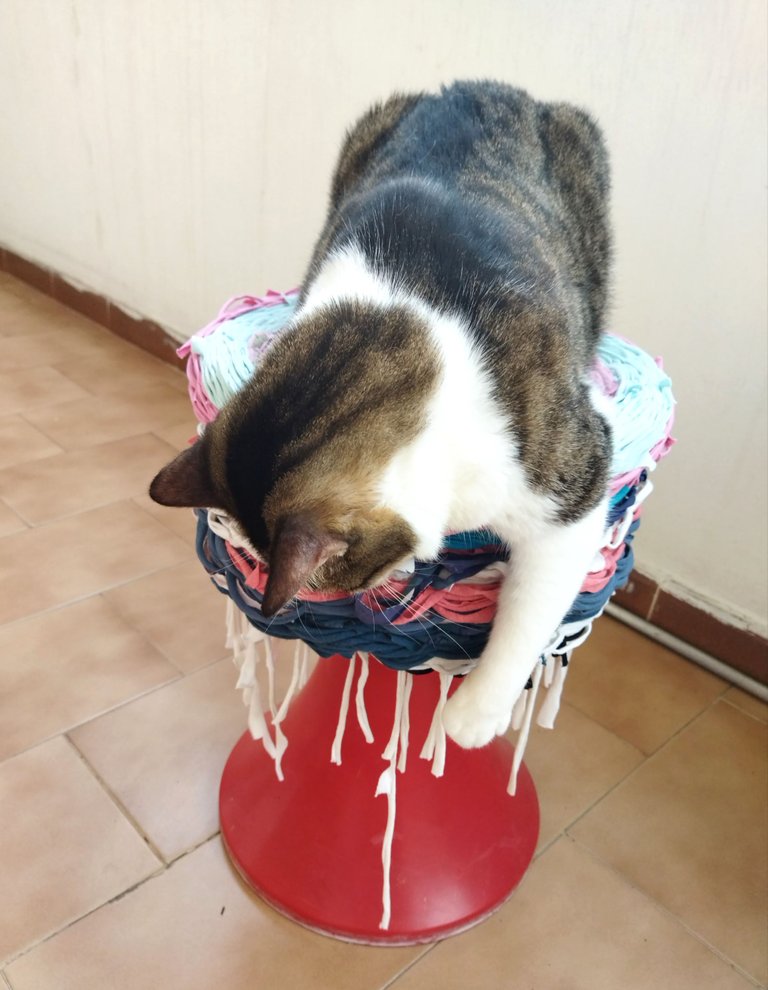
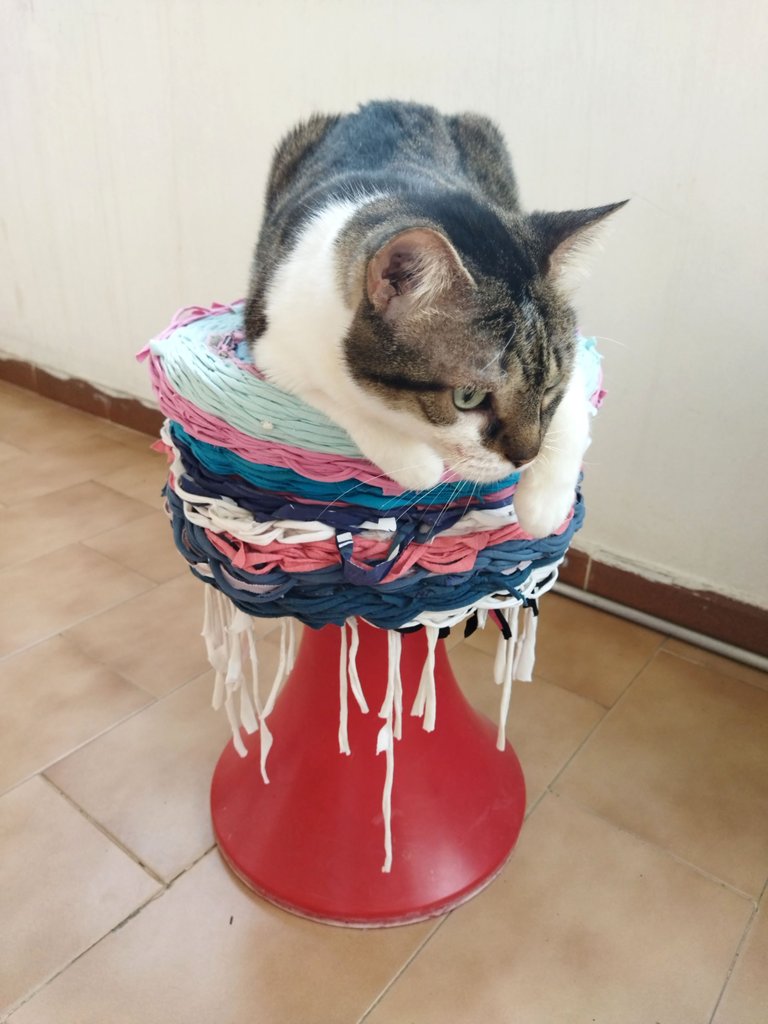
Así queda sobre mi biombo ¿Qué les parece? Olvidé recortar el sobrante de las tiras 🤦🏻♀️ es que a mi gata le gusta jugar con ellas jejeje.
This is how it looks on my screen. What do you think? I forgot to cut the excess from the strips 🤦🏻♀️ my cat likes to play with them hehehe.
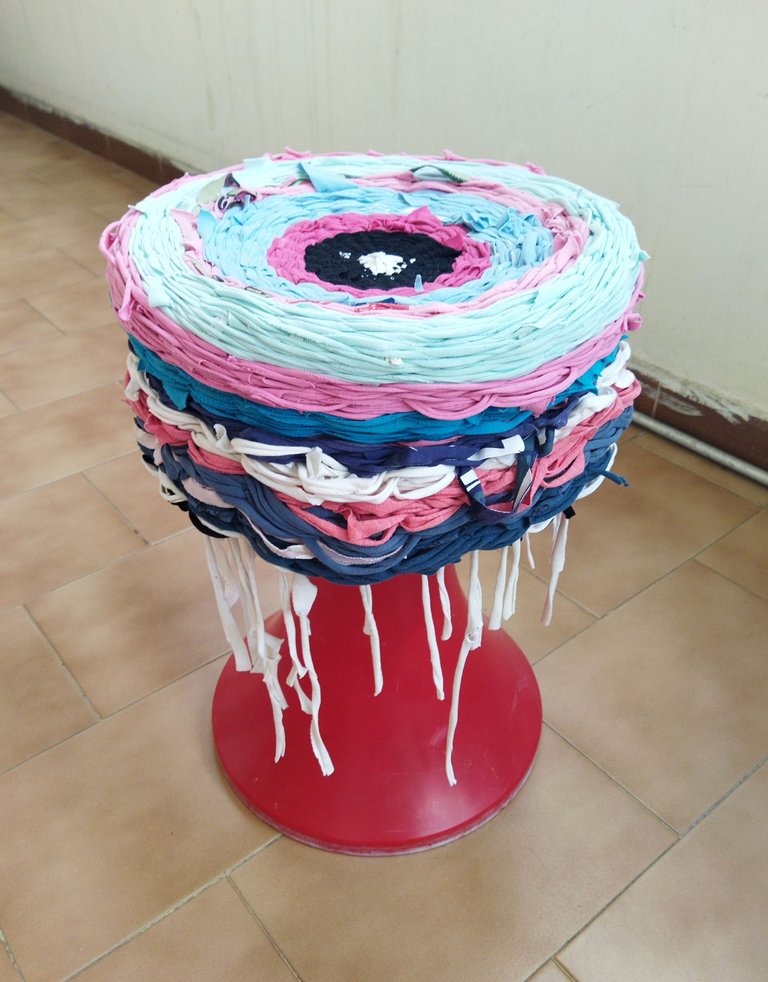
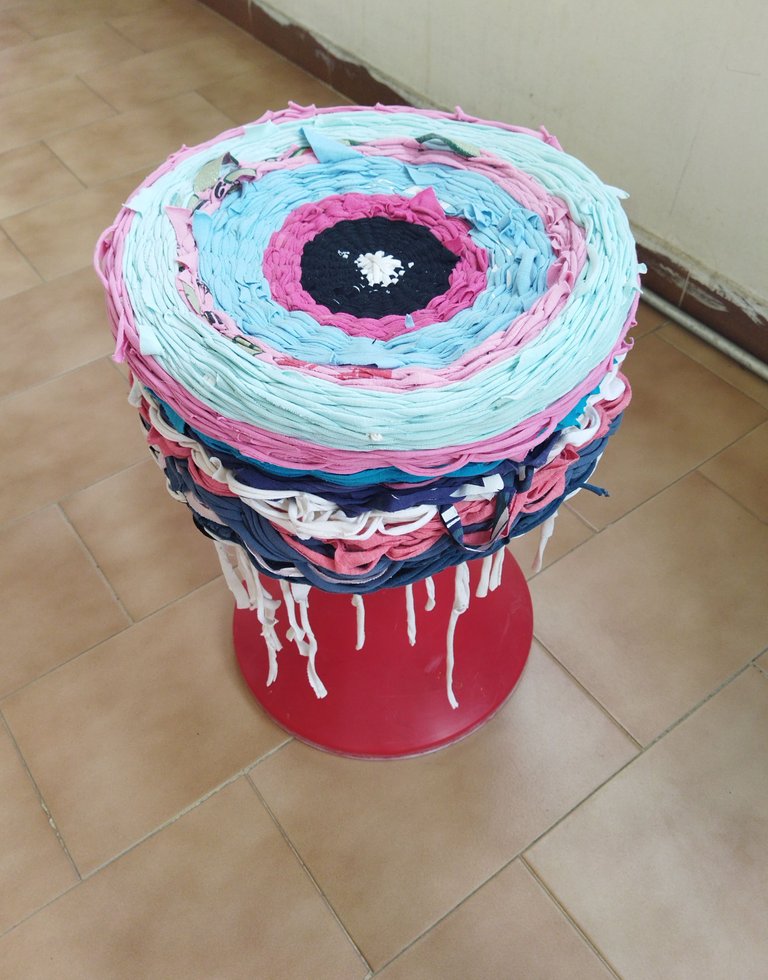
Bueno amigos, como habrán podido ver esta idea es sumamente sencilla y divertida de realizar. Reciclar y reutilizar los materiales no solo ayuda al planeta sino también a nosotros porque nos permite trabajar nuestra creatividad y hacer cosas útiles, bonitas y originales transformando algo que perdió su utilidad en una cosa totalmente diferente.
Well friends, as you may have seen this idea is extremely simple and fun to do. Recycling and reusing materials not only helps the planet but also us because it allows us to work our creativity and make useful, beautiful and original things by transforming something that has lost its usefulness into something totally different.
Espero que esta publicación les haya gustado y los inspire a reciclar y reutilizar lo que ya no usen ¿Se animan a hacerlo? Gracias por su tiempo.
I hope you liked this post and it inspires you to recycle and reuse what you no longer use. Do you dare to do it? Thanks for your time.
Gracias por leer, compartir, apoyar, votar y comentar.
Hasta la próxima.
¡Miau!
Thanks for read, share, vote and comment.
Until next post.
Meow!
