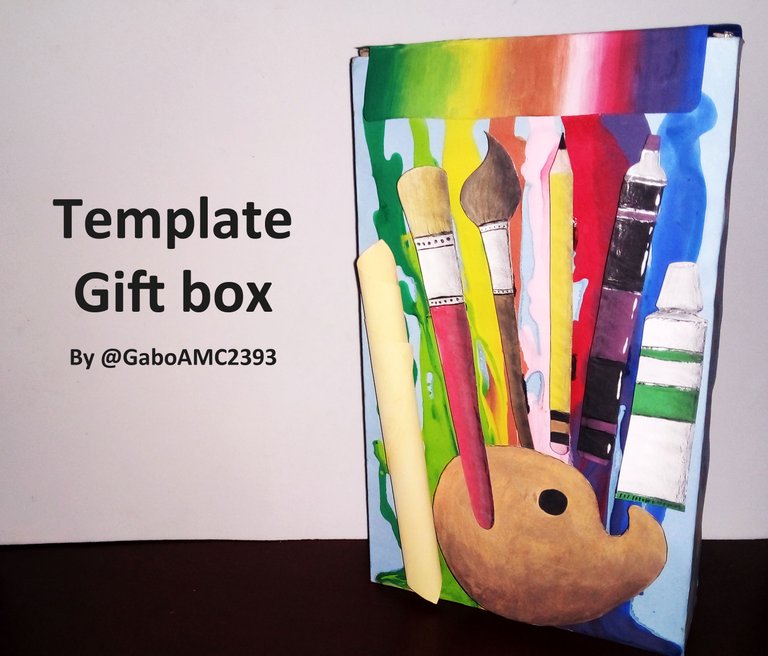
English
Greetings to all, fellow creatives. Recently the template contest was launched in the HiveDIY community. Although I can't participate, being a moderator, it occurred to me to make a design of my own for a gift box. I had the materials, so I got to work.
My design was very simple, really. I simply took a sheet of paper and folded it with a ruler following certain measurements.
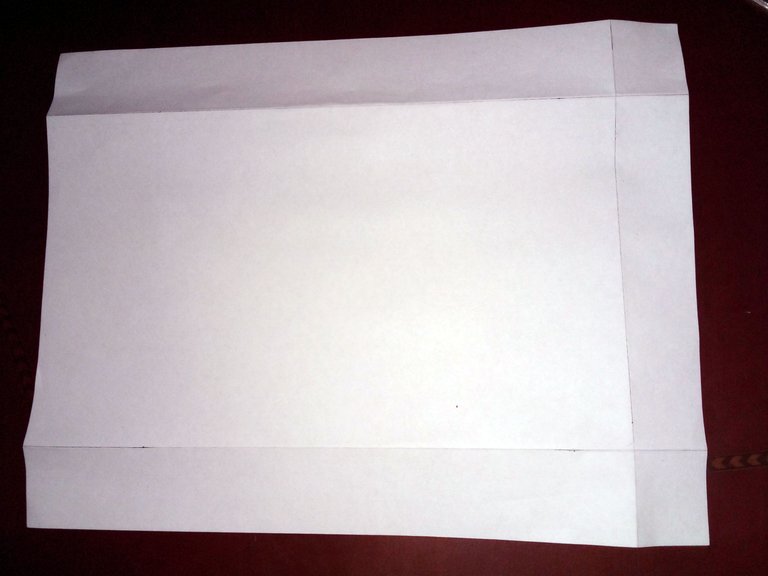
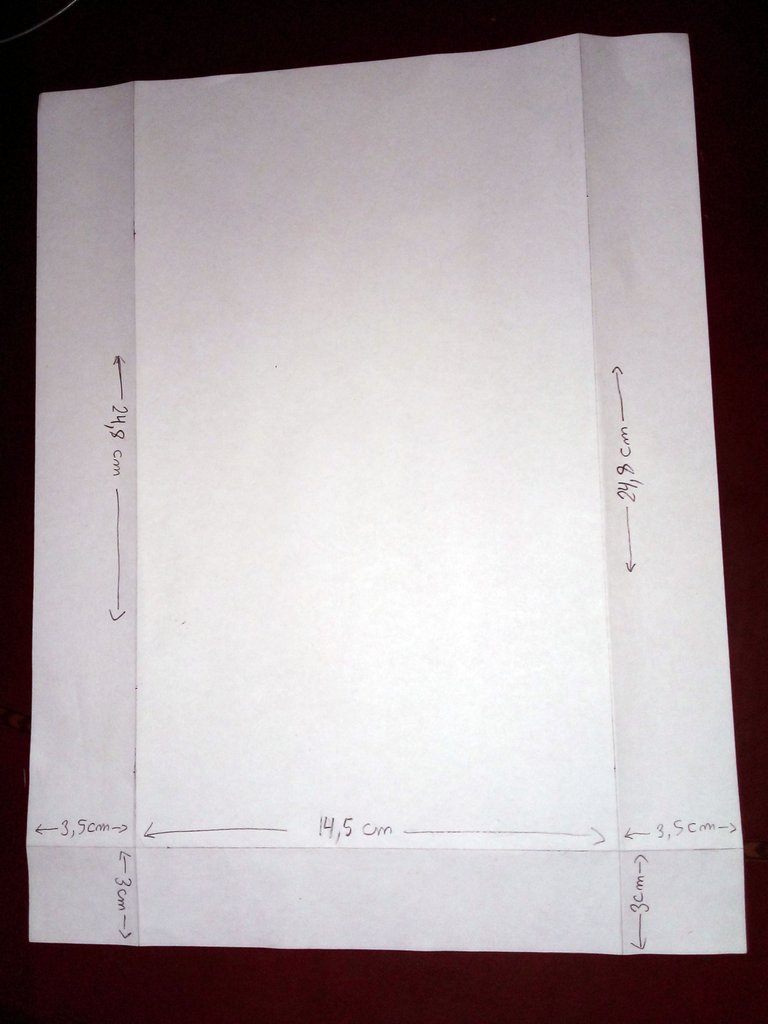
Below you can see how I started folding the sheet of paper, in the image on the left; in the image on the right you can see the measurements of each space and sector of the box:
Español
Saludos a todos, compañeros creativos. Hace poco se lanzó el concurso de plantillas en la comunidad HiveDIY. Aunque no puedo participar, por ser moderador, se me ocurrió hacer un diseño propio para una caja de regalo. Tenía los materiales, así que puse manos a la obra.
Mi diseño fue muy sencillo, la verdad. Simplemente tomé una hoja de papel y la doblé con una regla siguiendo ciertas medidas.
A continuación pueden ver cómo comencé doblando la hoja de papel, en la imagen de la izquierda; en la imagen de la derecha se aprecian las medidas de cada espacio y sector de la caja:
 |  |
|---|
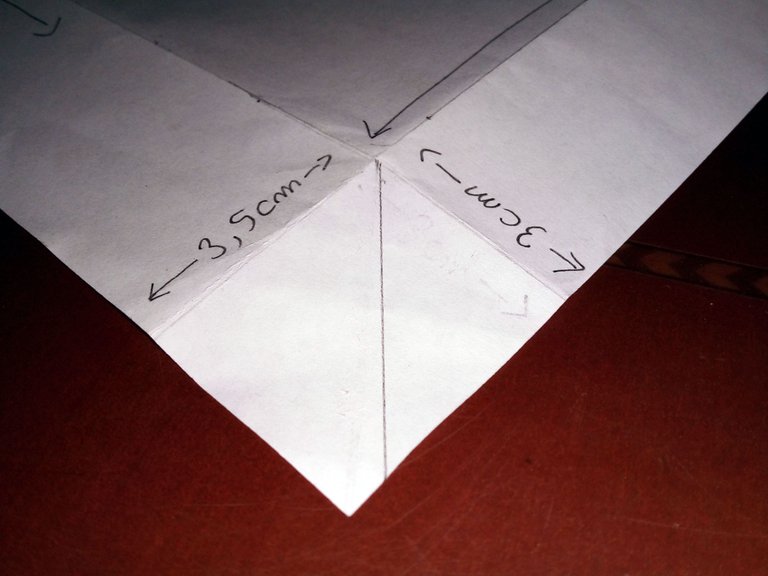
I also made some measurements and made some paper cuts to imagine how I wanted the template to look like. In the image on the left is a fold of the corner of the box; on the right are some pieces I cut for the cover that opens and closes the box:
También hice unas medidas e hice algunos cortes de papel para imaginar cómo quería que quedase la plantilla. En la imagen de la izquierda está un dobléz de la esquina de la caja; a la derecha unos trozos que corté para la cubierta que abre y cierra la caja:
 | 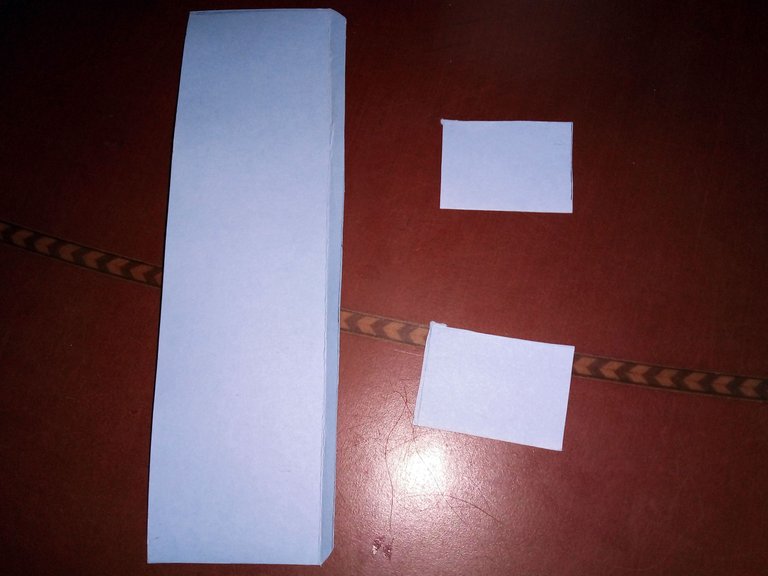 |
|---|
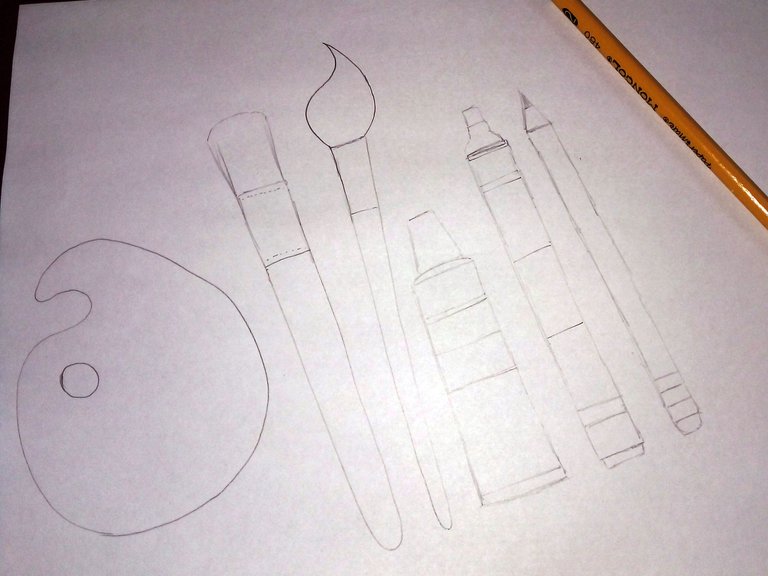
I also made some sketches of the drawings that I would place in the front area of the box. I was inspired by my tempera paints and brushes to make these drawings, since I was going to paint it, so I gave it the theme of paintings and stuff.
También hice unos bocetos de los dibujos que colocaría en el área frontal de la caja. Me inspiré en mis temperas y pinceles para hacer estos dibujos, ya que iba a pintarla pues le di la temática de pinturas y esas cosas.
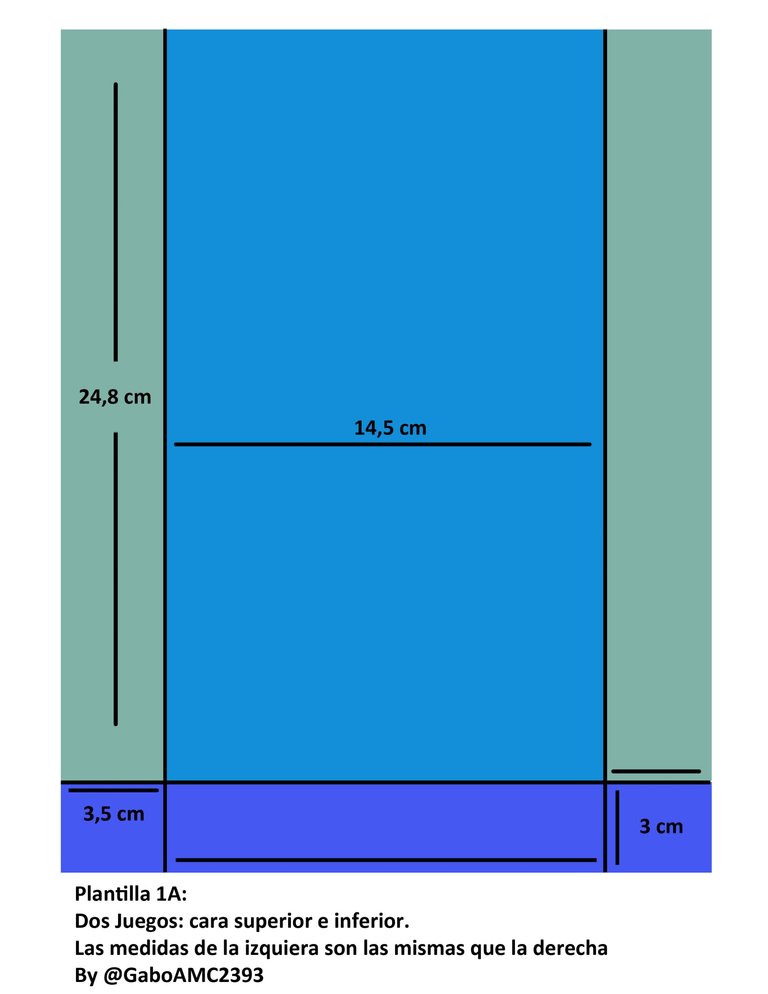
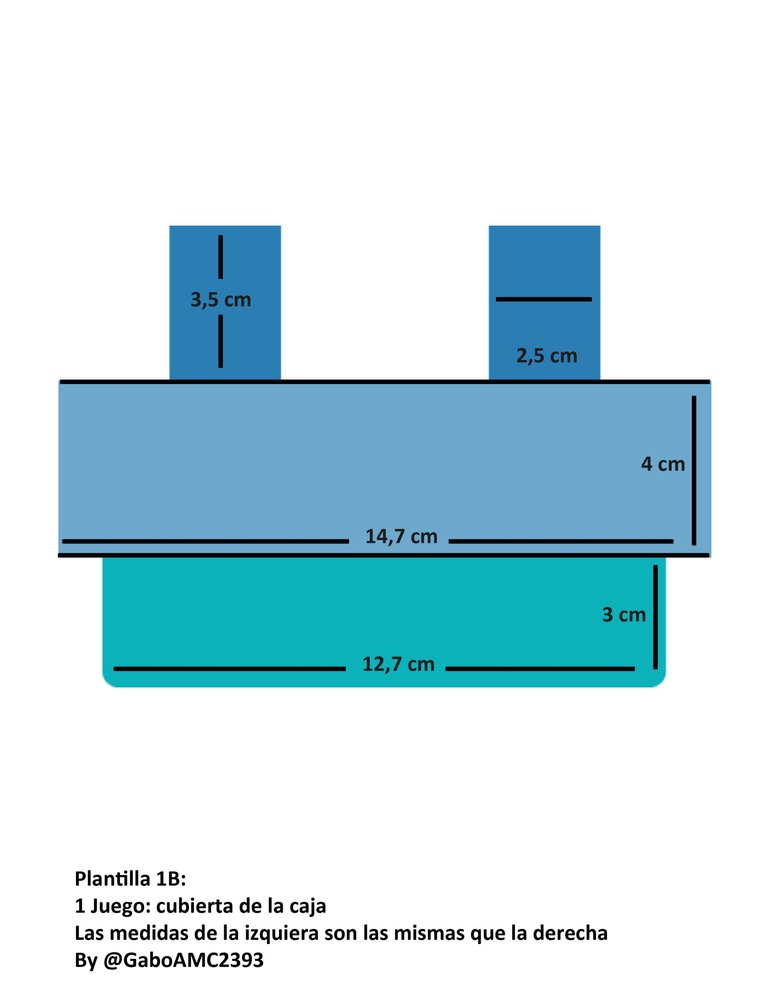
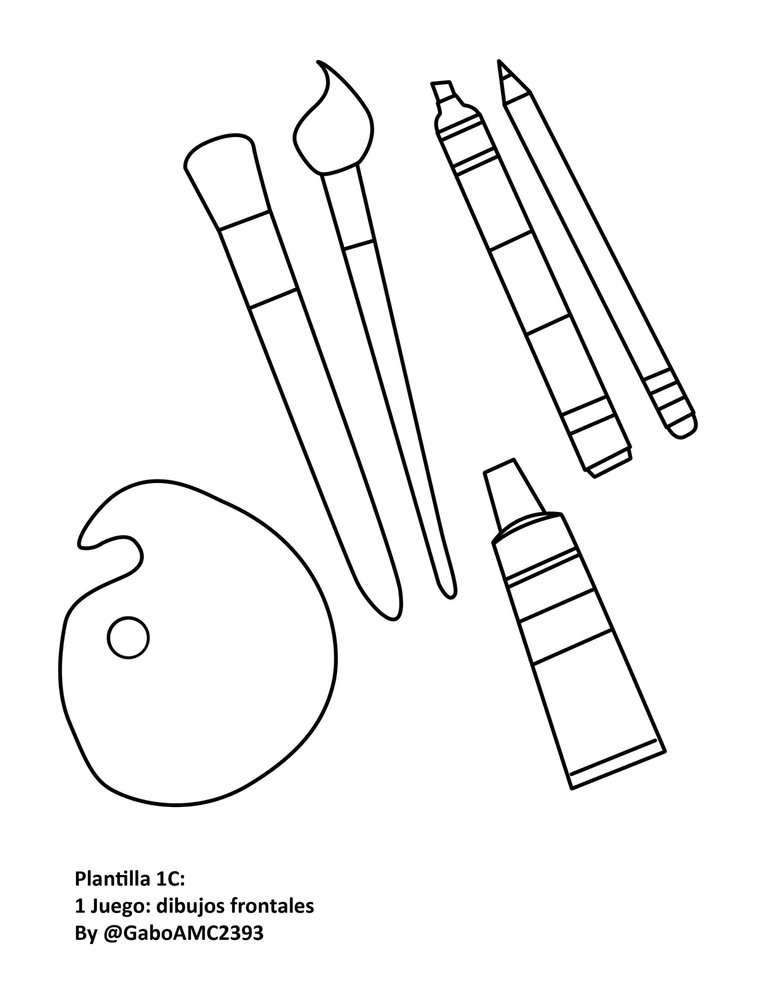
Below you can see the digitally finished template, with measurements and information for each template. Feel free to use this template for future posts in the community to give us ideas on how to decorate a box like this:
A continuación pueden ver la plantilla terminada digitalmente, con medidas e información de cada plantilla. Siéntanse libres de usar esta plantilla para futuras publicaciones en la comunidad que nos den ideas de cómo decorar una caja así:
 |  |  |
|---|
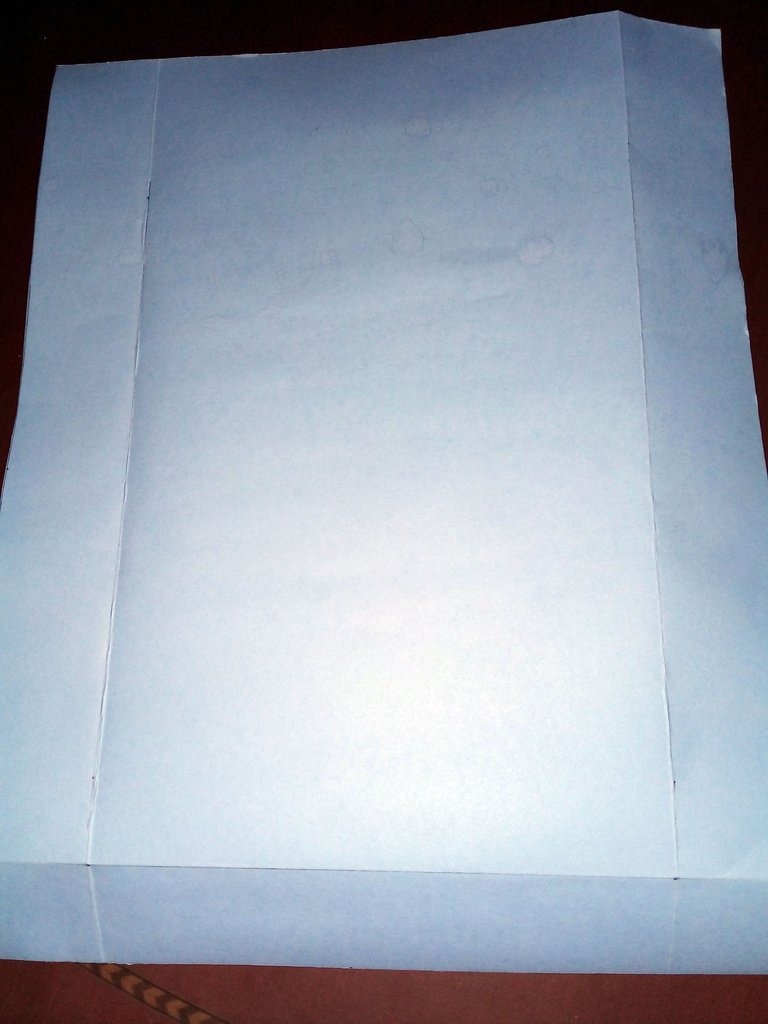
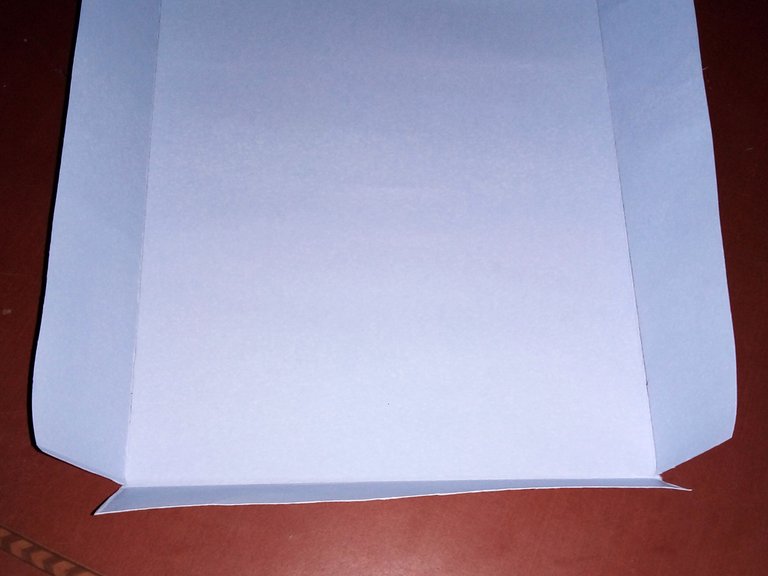
Well, to assemble the box I traced the template design onto the cardstock. I cut two sets of template 1A.
Bien, para armar la caja plasmé el diseño de la plantilla en la cartulina. Corté dos juegos de la plantilla 1A.
 |  |
|---|
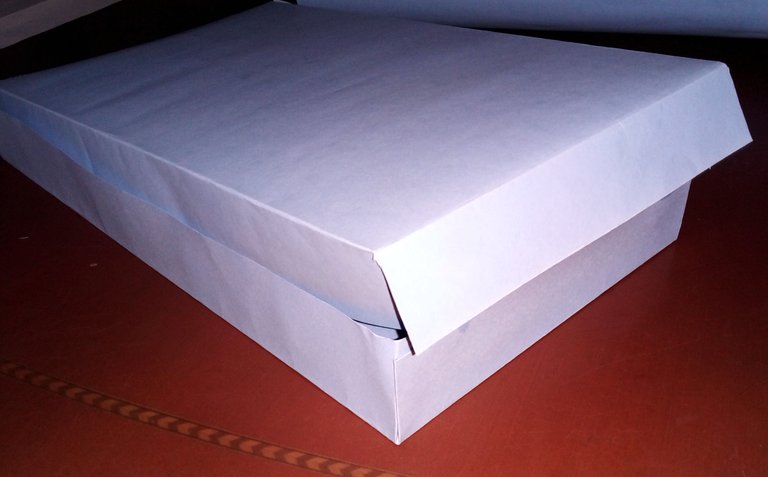
The sides (24.8cm x 3.5cm) should be folded inward and the bottom (3cm x 14.5cm) should be folded inward. The bottom corners (3cm x 3.5cm) can be cut at the top or bottom, but should be left loose as fasteners for gluing the bottom of the sides.
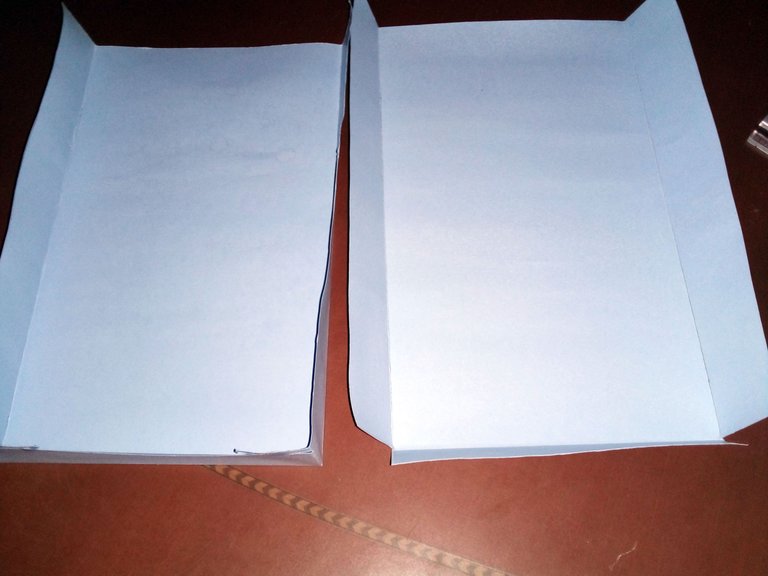
If you have seen a shoe box, you will have an idea of how to do it. Here is a picture of how it looks like. On the left the bottom box and on the right the top box.
Los lados (24,8cm x 3,5cm) se deben doblar hacia el interior y la parte de abajo(3cm x 14,5cm) también. Las esquinas inferiores (3cm x 3,5cm) se pueden cortar arriba o abajo, pero deben quedar sueltas como sujetadores para pegar la parte inferior de los laterales.
Si han visto una caja de zapato, tendrán una idea de cómo hacerlo. Acá una foto de cómo va quedando. A la izquierda la caja inferior y a la derecha la caja de arriba.
Once each set is cut, I simply place them one on top of the other and glue them together to make sure they are well glued.
Una vez cortado cada juego, simplemente los coloco uno encima del otro y se pegan para dejarlos bien sujetos.
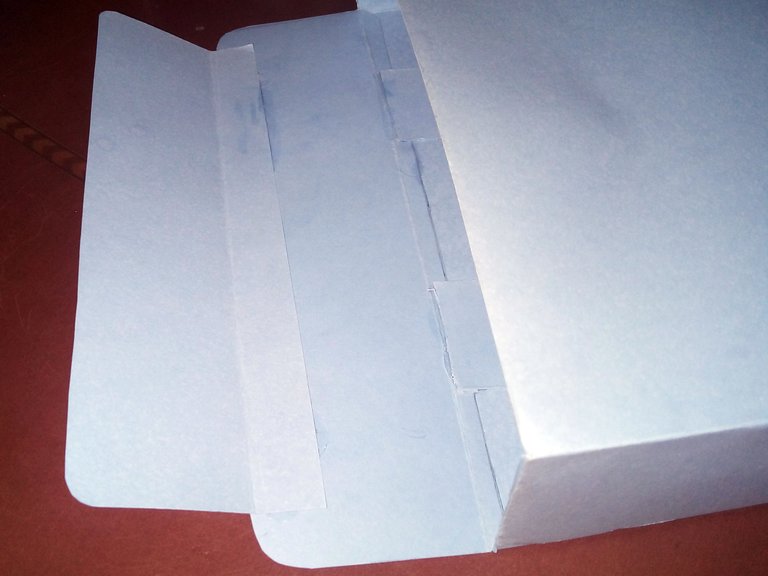
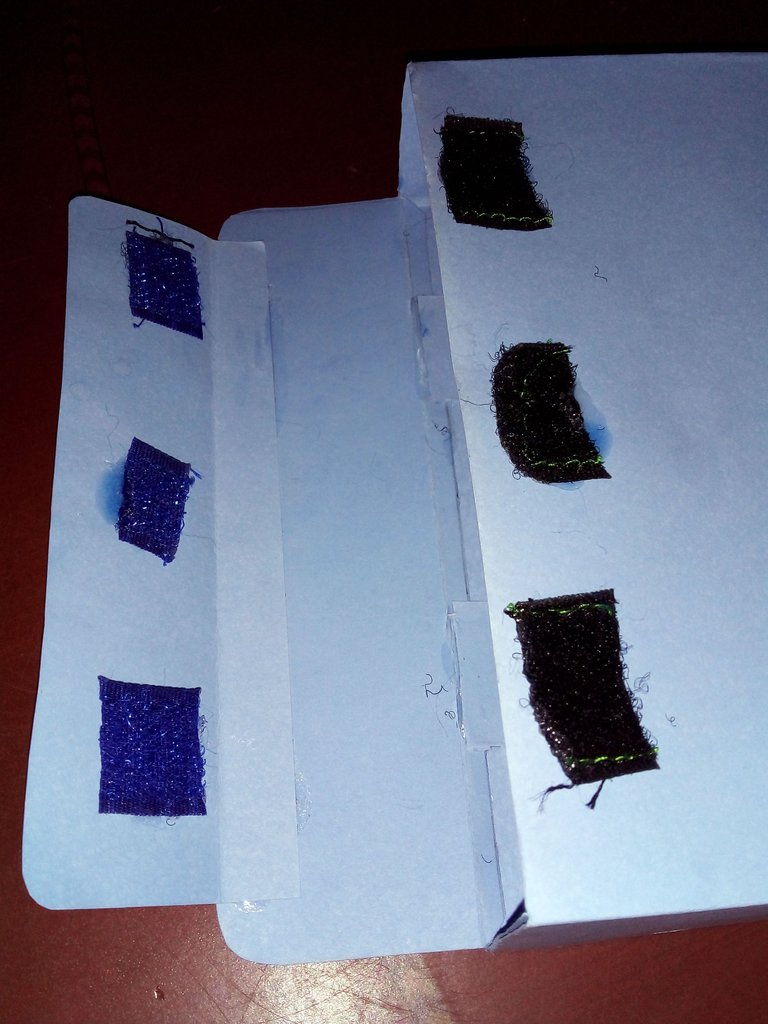
Once the two sets of blanket 1A were joined, I cut one set of template 1B. With the two small flaps (3,5cm x 2,5cm) I glued them inside the open part of the box. Then I glued three small pieces of magic clasp (velcro) to hold the lid of the box with the front part.
Una vez unidos los dos juegos de la blantilla 1A, corté un juego de la plantilla 1B. Con las dos pequeñas solapas que tiene (3,5cm x 2,5cm) las pequé en el interior de la parte abierta de la caja. Luego le pegué tres trocitos de cierre mágico (velcro) para sujetar la tapa de la caja con la parte frontal.
 |  |
|---|
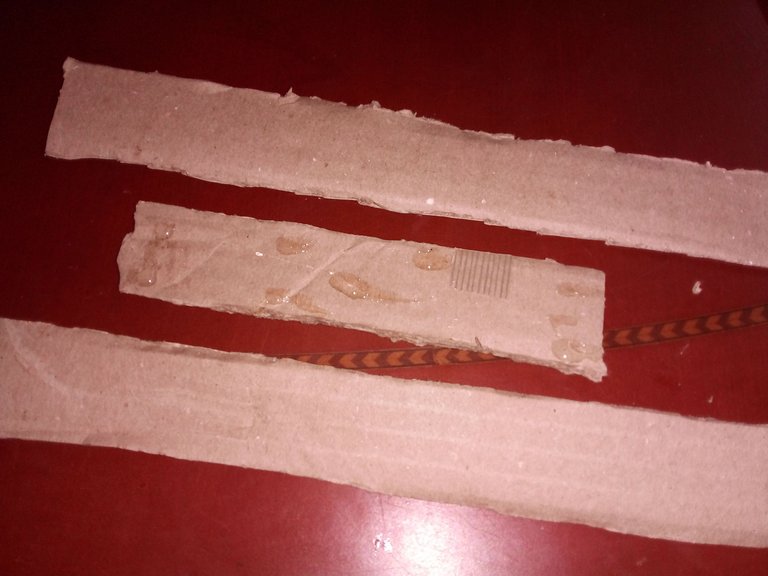
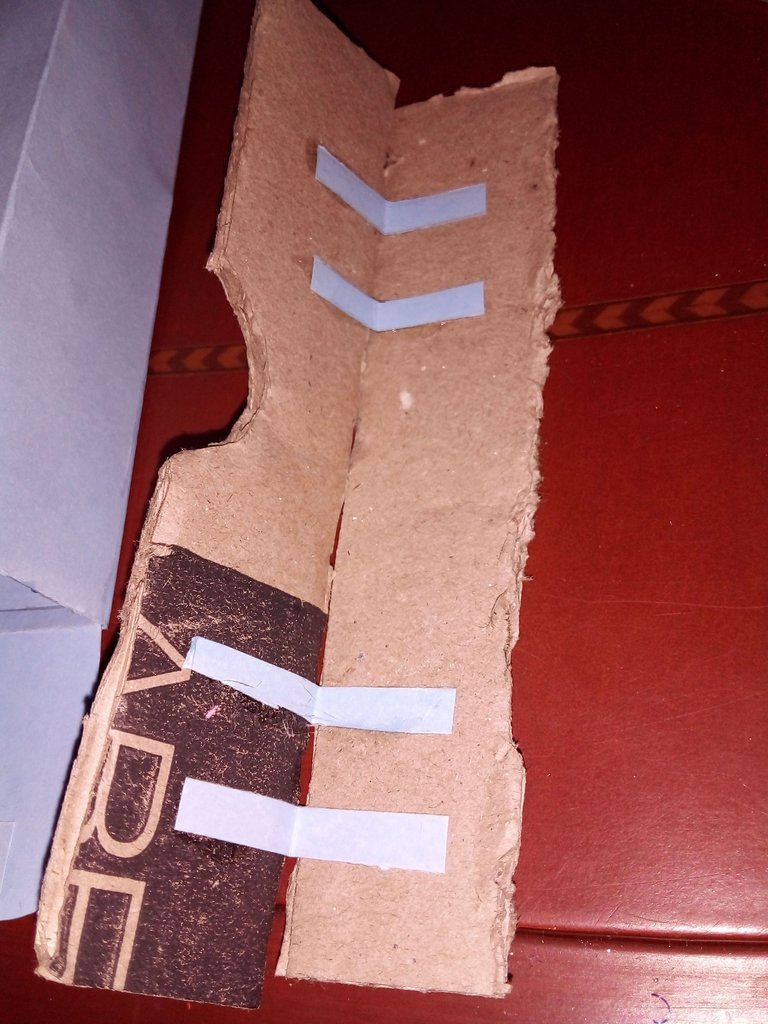
Although it is made of cardboard, the box was too soft for my taste, so I cut a few cardboard supports to make it firmer. I should point out that just as it was, without the supports, it would be fine to store papers or something similar.
Aunque es de cartulina, la caja quedó muy suave para mi gusto, así que corté unos cuantos soportes de cartón para darle mayor firmeza. Aclaro que así tal cual como estaba, sin los soportes, quedaría bien para guardar papeles o algo parecido.
 |  |
|---|
The cardboard supports, seen above, I glued them on the sides, bottom and edge of the box opening, as I said, to give the box more firmness.
Los soportes de cartón, que se observan arriba, los pegué en los laterales, en el fondo y en el borde de la apertura de la caja, como dije, para darle mayor firmeza a la caja.
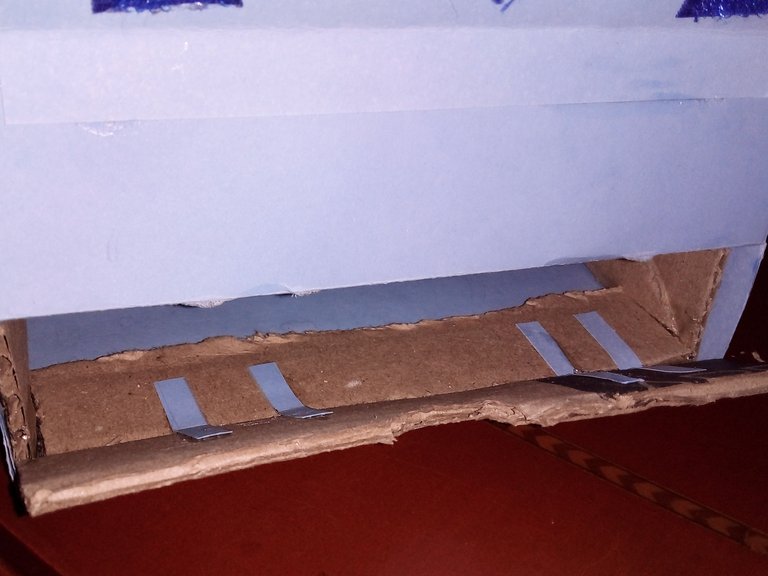
This way it was finished. Below you can see the result:
De esta manera quedó terminada. A continuación pueden ver el resultado:
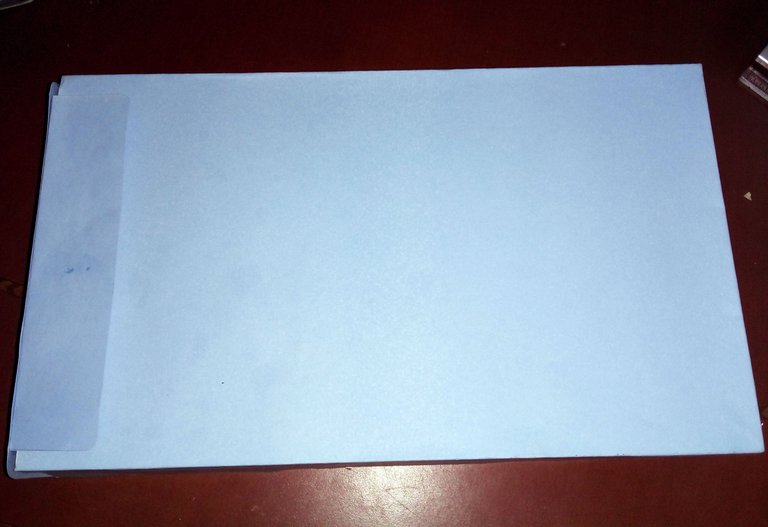
Decoration time!
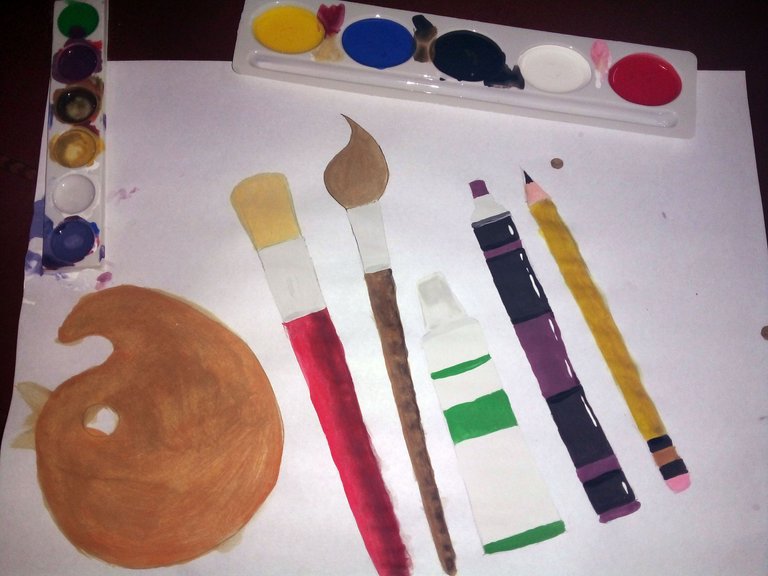
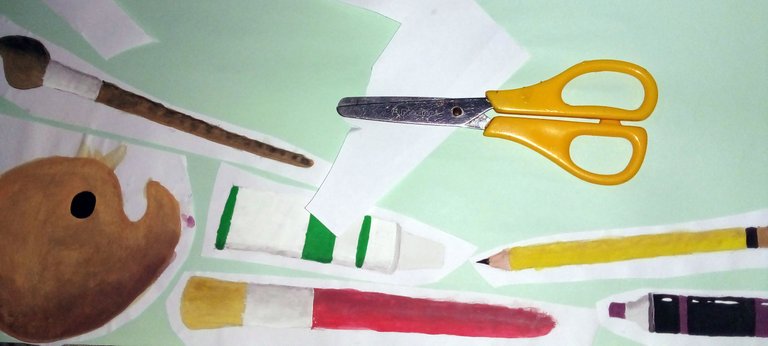
To decorate the box I cut the 1C template, the one with the drawings. I painted them and glued them on a cardboard so that they would be glued to a hard material. Then I cut out each drawing following the shape of each one.
¡Hora de la decoración!
Para decorar la caja corté la plantilla 1C, la de los dibujos. Los pinté y los pegué en una cartulina para que quedasen pegados a un material duro. Después corté cada dibujo siguiendo la forma de cada uno.
 |  |
|---|
To paint the rest of the box, I used school tempera paints. In the image below you can see the colors I used.
Para pintar el resto de la caja, usé témperas escolares. En la imagen de abajo pueden ver los colores que utilicé.
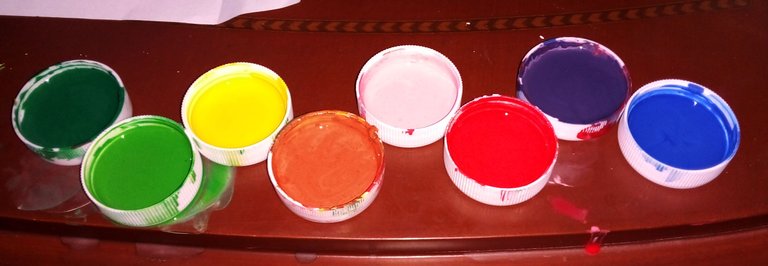
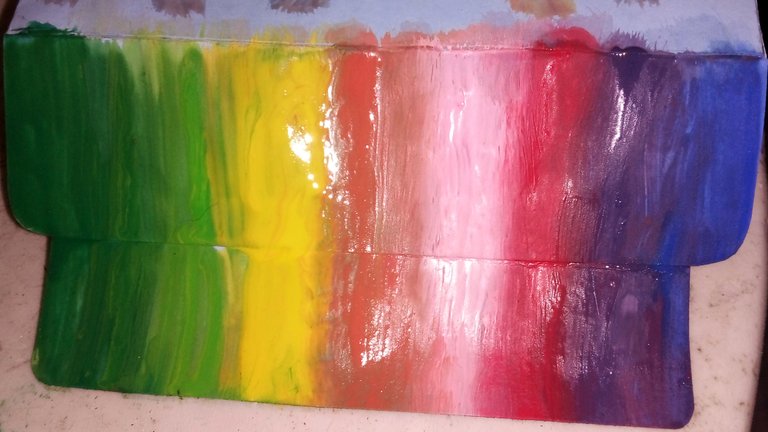
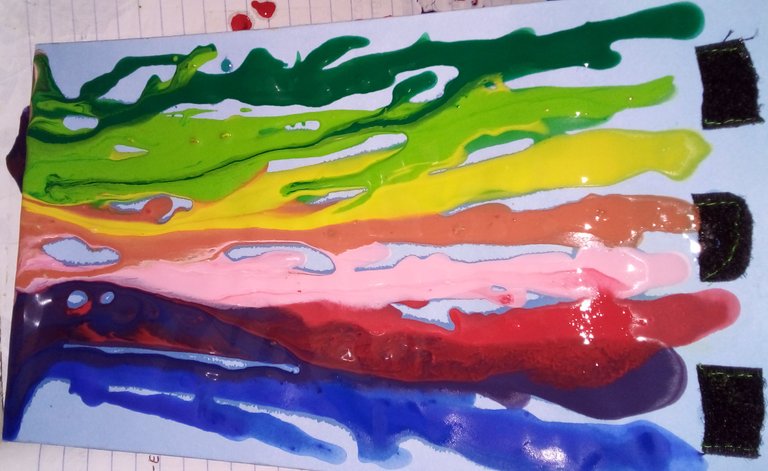
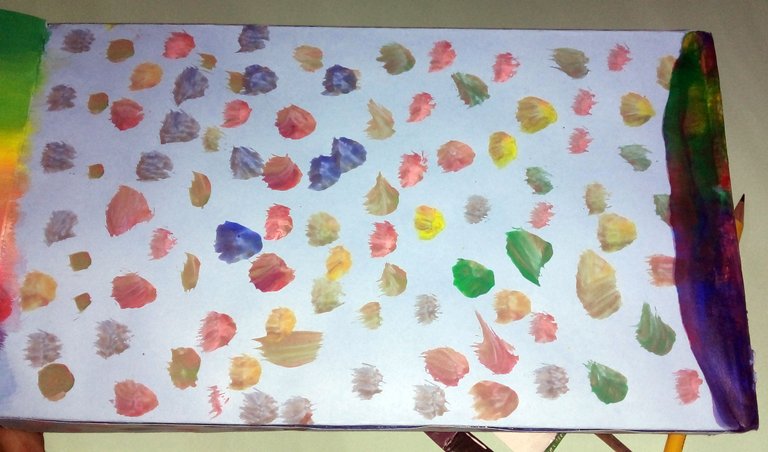
For the opening of the box I used a paintbrush to make something similar to a rainbow (1st photo), with all the colors from the temperas above. For the front area I simply dropped paint of different colors and let it slide down (2nd photo). For the back I used the brush and tapped to create all those colored polka dots you see in the 3rd photo.
Para la apertura de la caja usé un pincél para hacer algo similar a un arcoíris (1era foto), con todos los colores de las temperas de arriba. Para la zona frontal simplemente dejé caer pintura de diferentes colores y dejé que se deslizara hacia abajo (2da foto). Para la parte trasera usé el pincel y di golpecitos para crear todos esos lunares de colores que se observa en la 3era foto.
 |  |  |
|---|
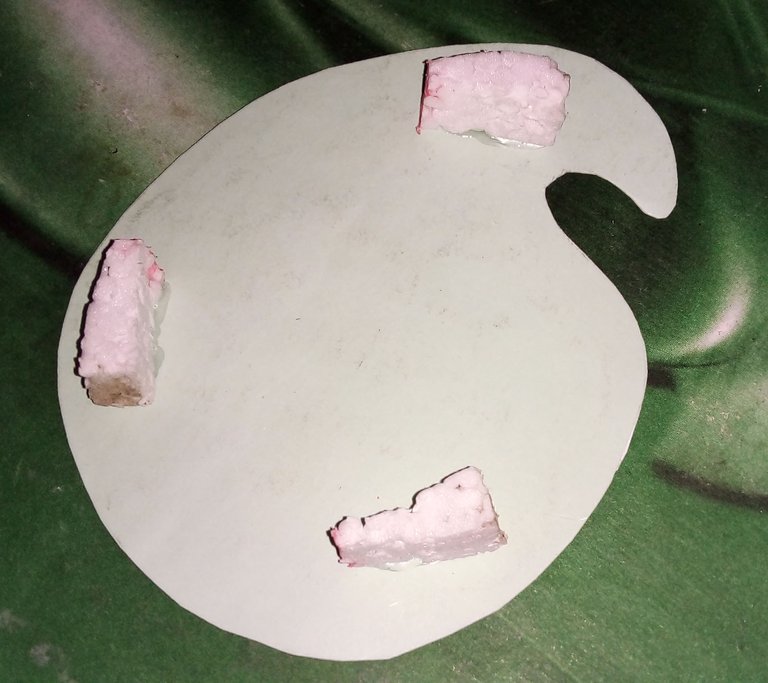
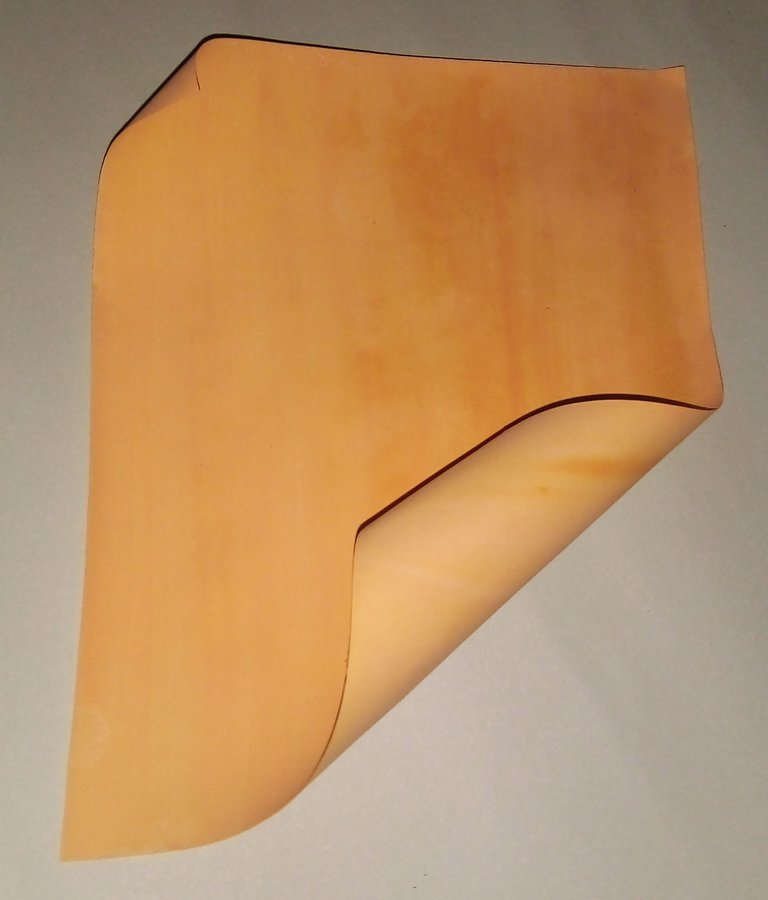
Once the box was dry, I glued pieces of polystyrene to the bottom of the drawings and cut a small piece of yellow paper and rolled it up, as if it were drawing paper.
Una vez seca la caja, pegué trozos de poliestireno a la parte de abajo de los dibujos y corté un pequeño trozo de papel amarillo y lo enrollé, como si fuese un papel para dibujar.
 |  |
|---|
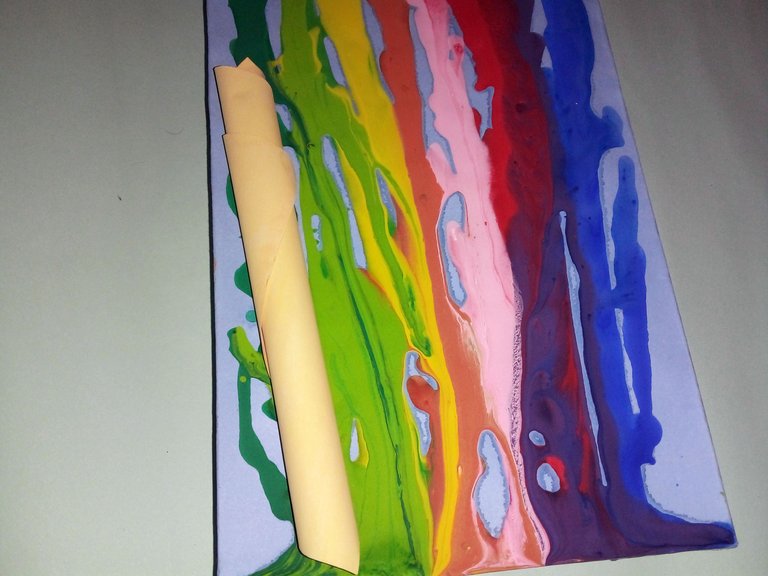
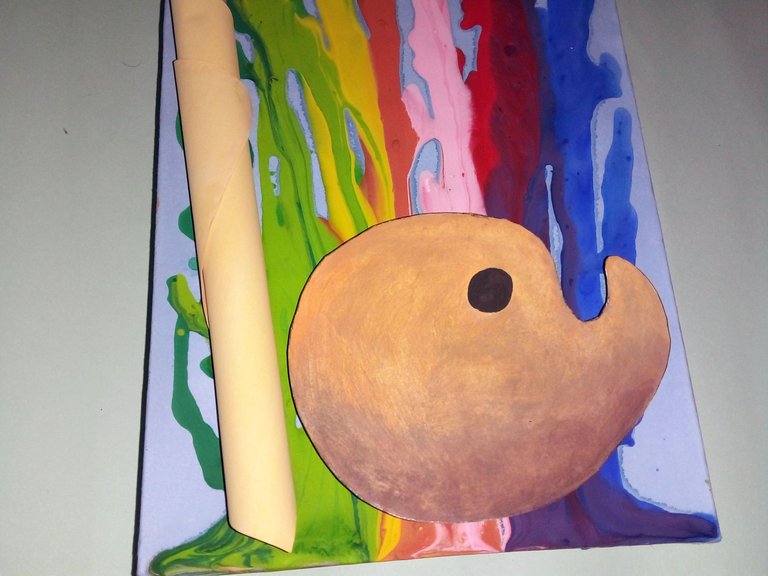
I glued the rolled up piece of paper on the front of the drawing, then continued gluing all the other drawings. The little pieces of polystyrene are to stand up and create a sort of 3D effect.
Pegué el trozo de papel enrollado en la parte frontal del dibujo, luego continué pegando todos los demás dibujos. Los trocitos de poliestireno es para que queden levantados y creen una suerte de efecto 3D.
 |  |
|---|
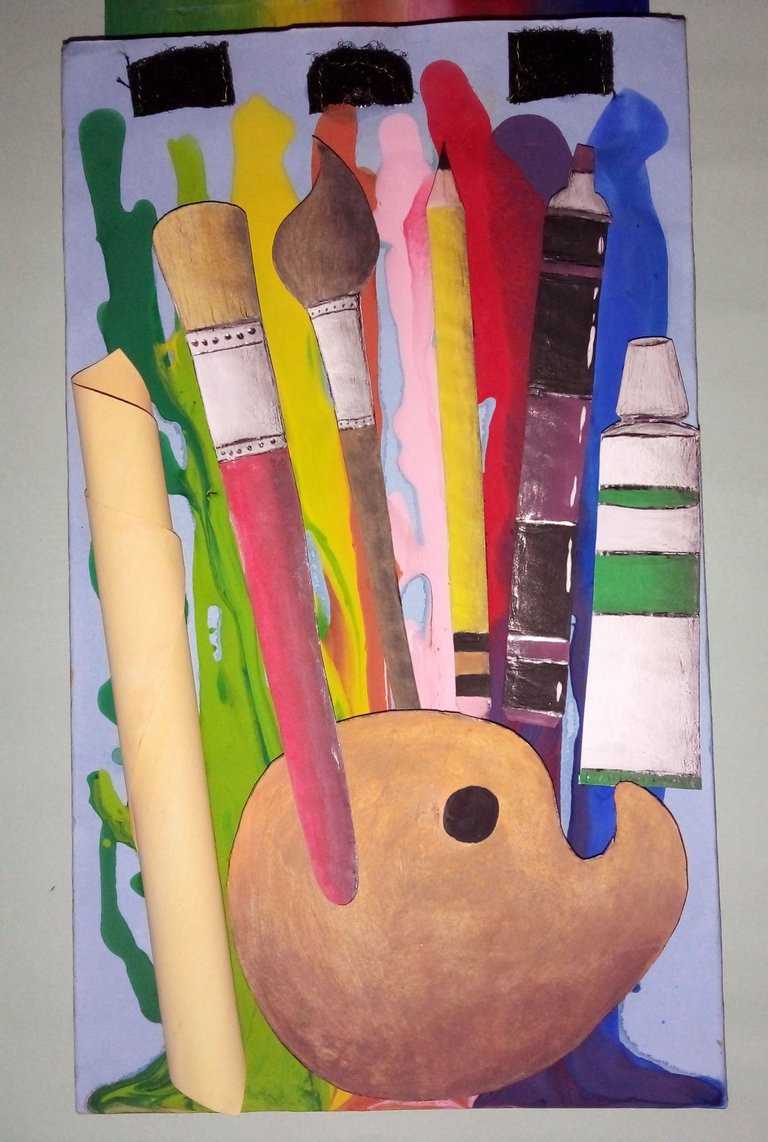
Below you can see how the front part looks with all the drawings glued together.
A continuación pueden ver cómo quedó la parte frontal con todos los dibujos pegados.
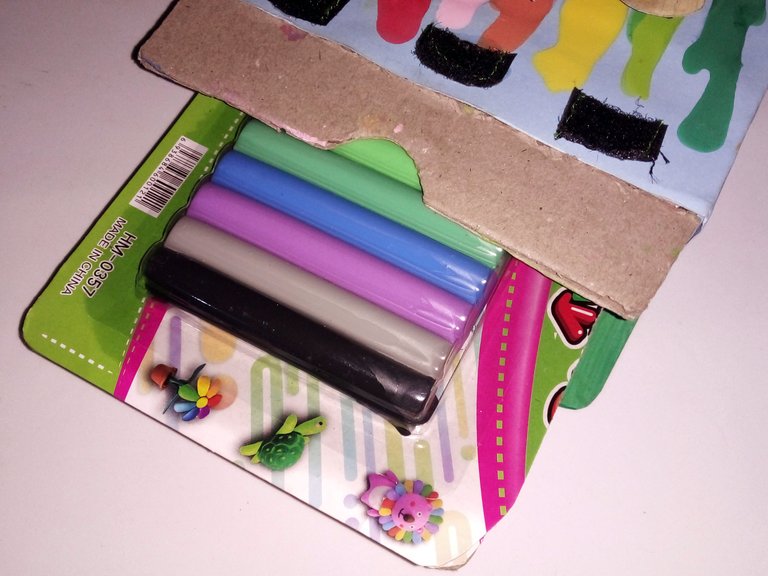
You may wonder what can be stored in this little box, because I found it useful to store my plasticine boxes, so that they are not left out in the open and get damaged.
Quizás se pregunten qué se puede guardar en esta cajita, pues a mi me pareció útil guardar mis cajitas de plastilina, para que no queden al aire libre y se dañen.
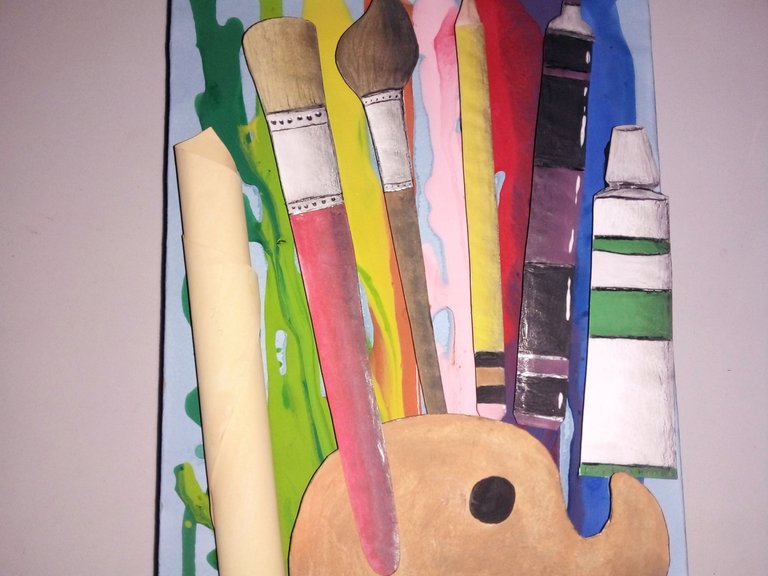
And this is how the box I made with this template was finished. Here are some pictures of the final result:
Y de esta manera quedó terminada la caja que hice con esta plantilla. A continuación una serie de fotografías del resultado final:
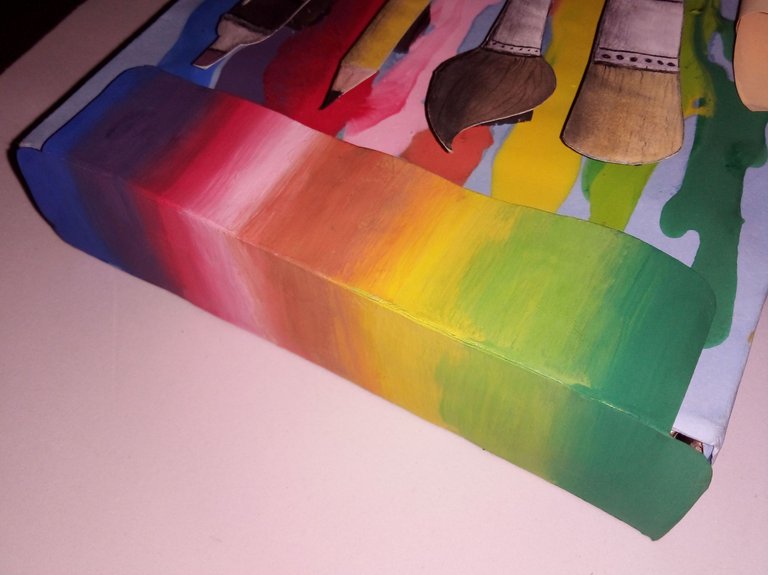
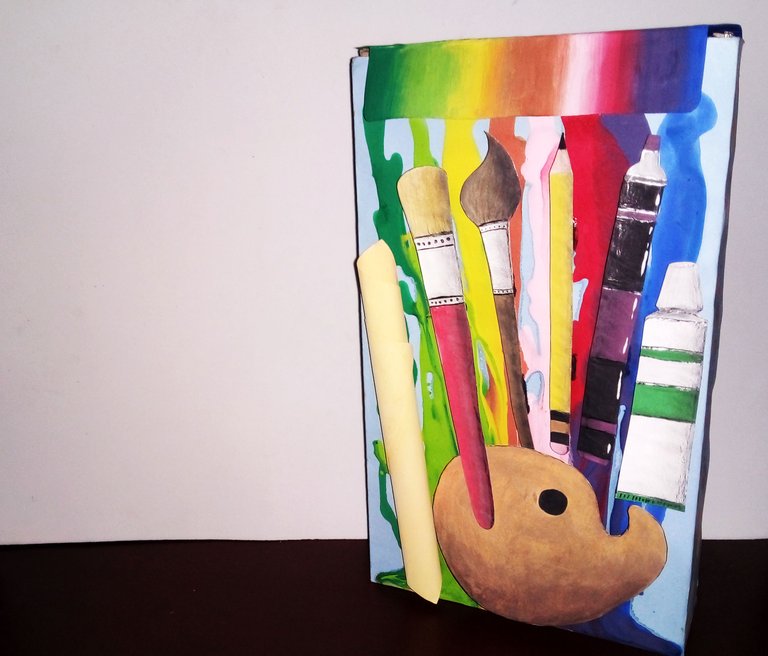
Well friends, what did you think? For me it has been a pleasure to have shared with you this craft. It took me some time but I think the result is as expected. At least that's how I imagined it in my mind.
I made this publication thinking about the HiveDIY contest. It is still active so I invite you to participate. From here I extend my participation directly to @kellyrsa and @fixie, I would like to see what they manage to do.
Link to the contest:
https://peakd.com/hive-130560/@hive-130560/contest-design-your-template-and-decorate-to-your-liking-concurso-disena-tu-plantilla-y-decora-a-tu-gusto-espeng
For my part this has been all. I invite you to leave your opinions below in the comments, as always I will be happy to read them. Without, more to add I will say goodbye then....
See you next time!
Bien amigos, ¿qué les pareció? Para mi ha sido un placer haber compartido con ustedes esta manualidad. Me llevó algo de tiempo pero creo que el resultado es el esperado. Al menos así lo imaginaba en mi mente.
Esta publicación la hice pensando en el concurso de HiveDIY. Aún está activo así que los invito a participar. Desde acá extiendo mi participación directamente a @kellyrsa y @fixie, me gustaría ver que logran hacer.
Link del concurso:
https://peakd.com/hive-130560/@hive-130560/contest-design-your-template-and-decorate-to-your-liking-concurso-disena-tu-plantilla-y-decora-a-tu-gusto-espeng
Por mi parte esto ha sido todo. Los invito a dejar sus opiniones abajo en los comentarios, como siempre estaré encantado de leerlos. Sin, más que agregar me despido entonces...
¡Hasta la próxima!

Traducido con DeepL
WE95 - Children & Vehicles
Cómo usar el nuevo Hive-Engine
Una tarjeta que hice Para Ellas
