
Here in my country, at this time of the year, many students graduate from high school or are promoted from elementary school to high school and parents often give gifts to their children.
Relatively recently a lady, who knows that I am good with handicrafts, asked me to make a gift for her little girl and I was happy to do it for her.
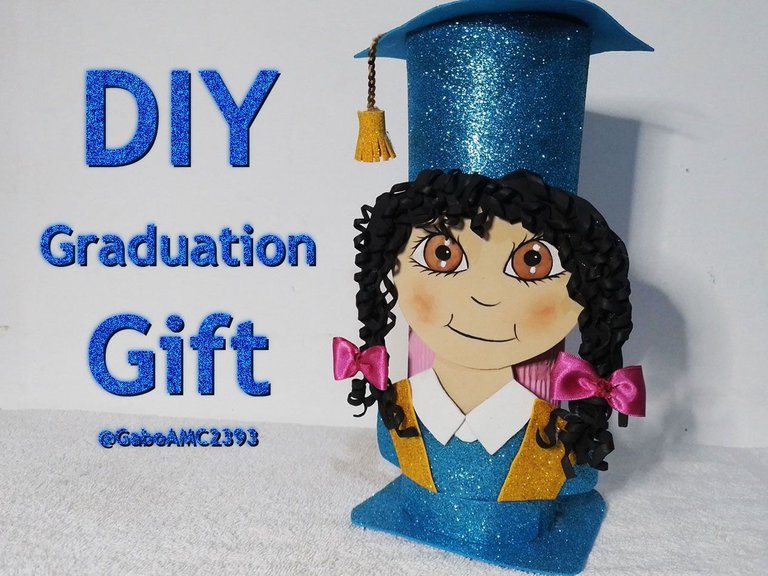
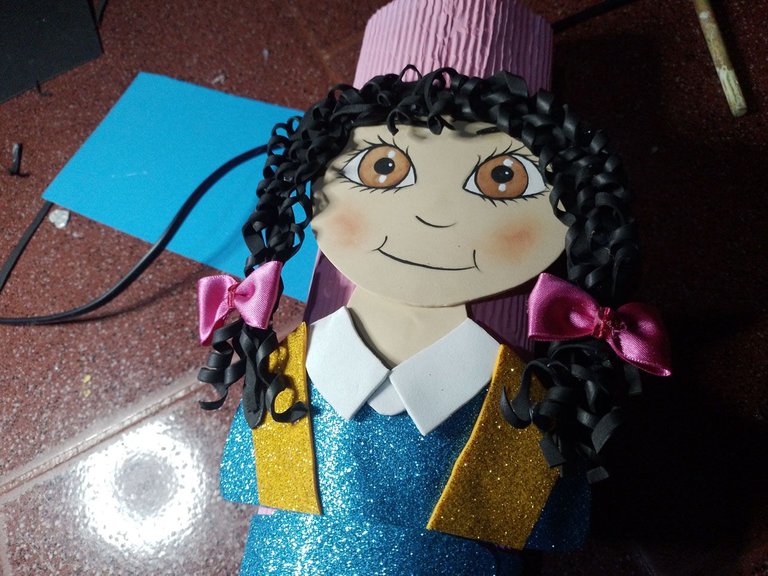
It is a sort of doll, with a cap and gown, which has a lot of goodies hidden inside. Join me in the step by step of this great gift idea!

Aquí en mi país, en esta época del año, muchos alumnos se gradúan de bachillerato o son promovidos de escuela primaria a bachillerato y son muy frecuentes los regalos que suelen hacer los padres a sus hijos.
Hace relativamente poco una señora, que sabe que soy buena con las manualidades, me encargó un regalo para su niña y yo con mucho gusto se lo hice.
Se trata de una suerte de muñeca, con toga y birrete, la cual tiene un montón de chucherías ocultas en su interior. Acompáñenme en el paso a paso de esta idea genial para regalar¡Comencemos!
Materials
The materials to be used are not as many as they seem. Yes they are varied but they are few, here is the list:
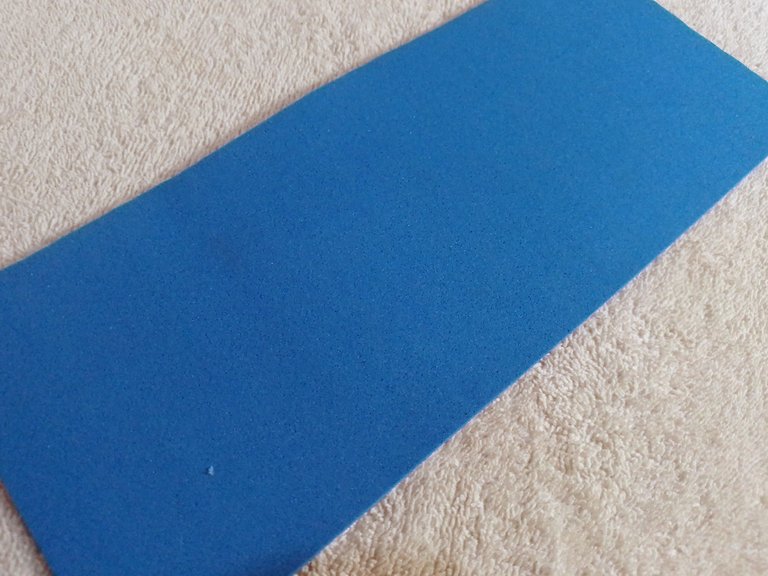
- Foami (or Goma Eva)
- A silicone stick
- Cardboard
- Paint
- Paper and carbon paper (optional)
Materiales
Los materiales a utilizar no son tantos como parece. Sí son variados pero son pocos, acá la lista:
- Foami (o Goma Eva)
- Una barra de silicón
- Cartulina
- Pintura
- Papel y papel carbón (opcional)
Step by step
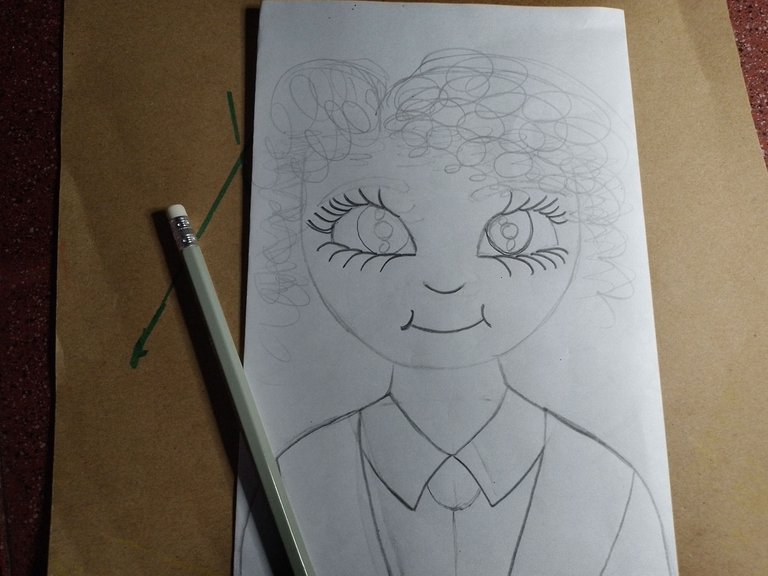
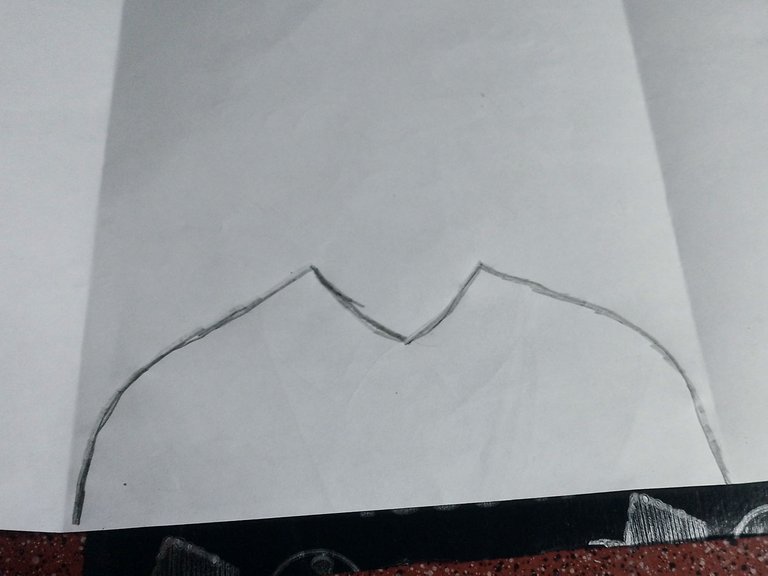
In this case, the first step I did is the sketch, this is not always necessary but in my case I recommend to do it.
Making a sketch allows us to have an idea of how it could be what we want to do and if we do the sketch in real size, it can also serve as a template for our final work, as in this case.
Paso a paso
En este caso, el primer paso que yo hice es el del boceto, este no siempre es necesario pero en mi caso recomiendo hacerlo.
Hacer un boceto nos permite tener una idea de cómo podría quedar lo que deseamos hacer y si hacemos el boceto de tamaño real, también nos puede servir de plantilla para nuestro trabajo final, tal como es este caso.
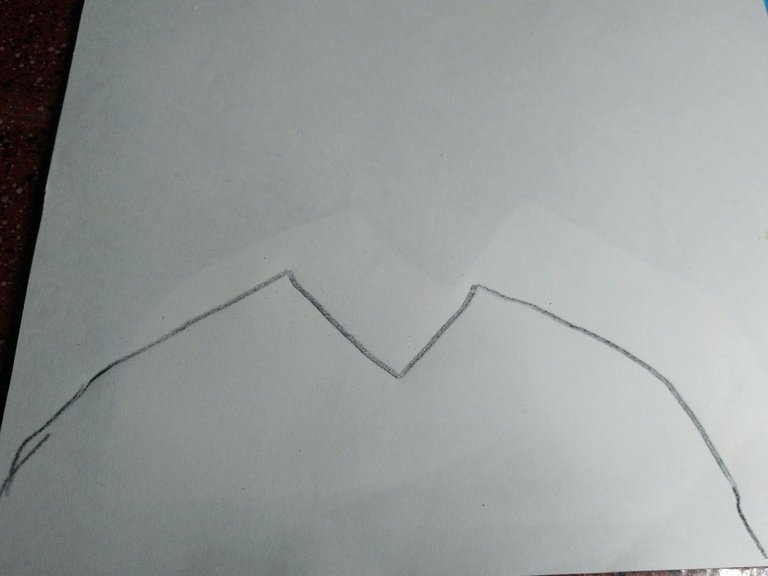
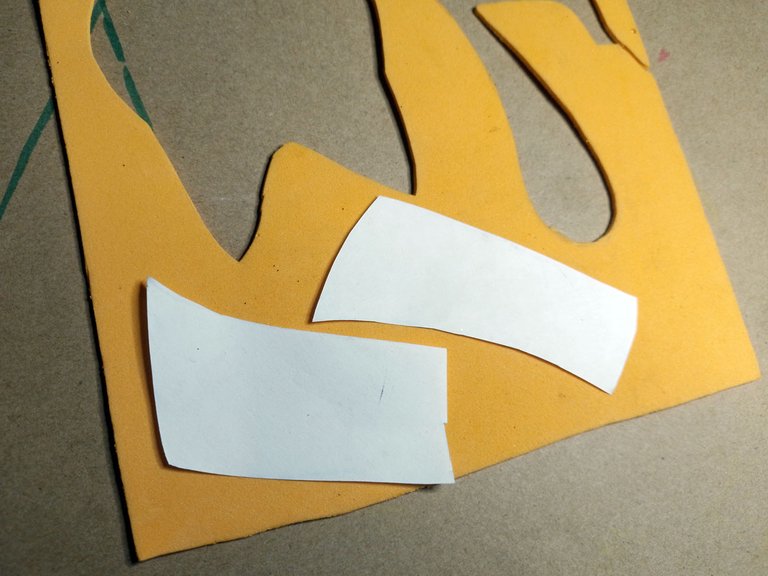
From this sketch and with the help of carbon paper, I engraved on a sheet of paper the patterns that I had to cut in foami for the pieces of this doll.
A partir de este boceto y con ayuda del papel carbón, grabé en una hoja los patrones que debía cortar en foami para las piezas de esta muñeca.
 |  |  |
|---|
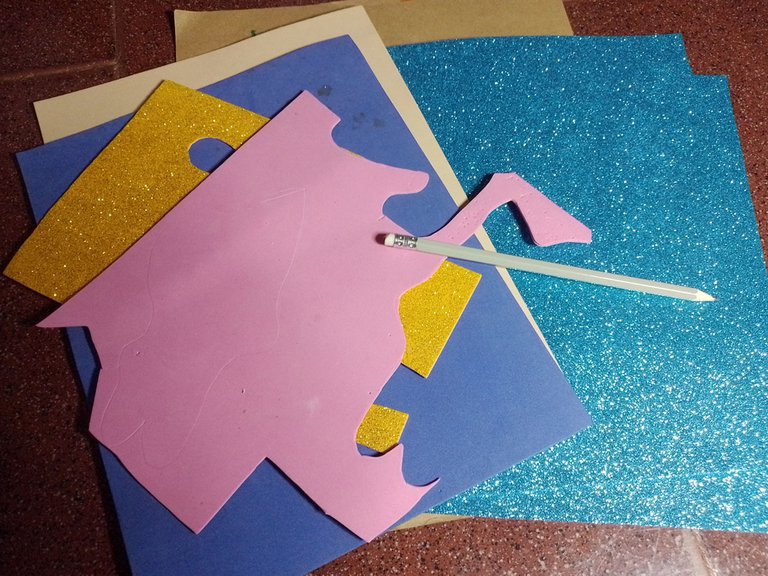
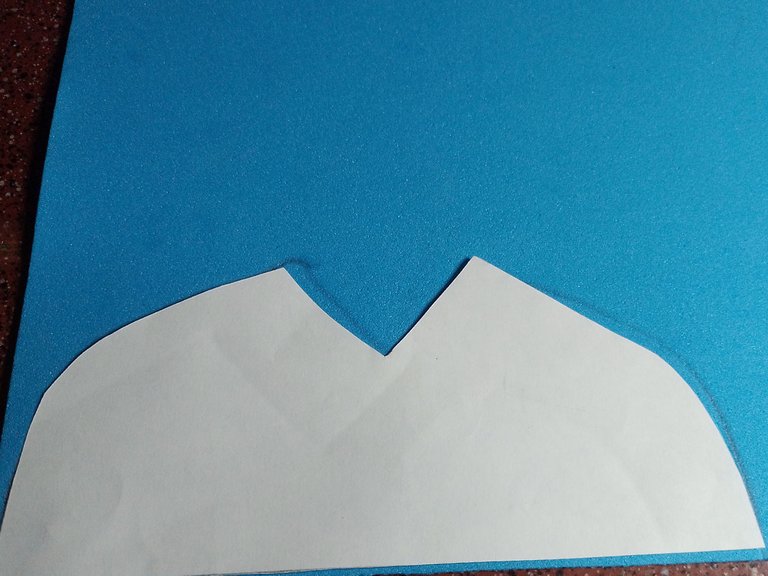
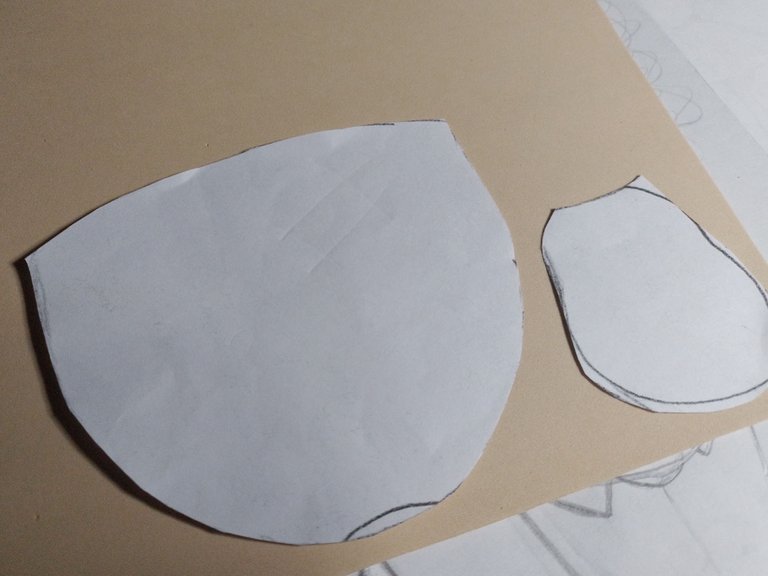
I cut the patterns on paper and then printed the templates on the foami, in turn, I cut the foami once I marked the templates.
Corté los patrones en papel y luego las plantillas las imprimí en el foami, a su vez, corté el foami una vez marqué las plantillas.
 |  |
|---|
 |  |
|---|
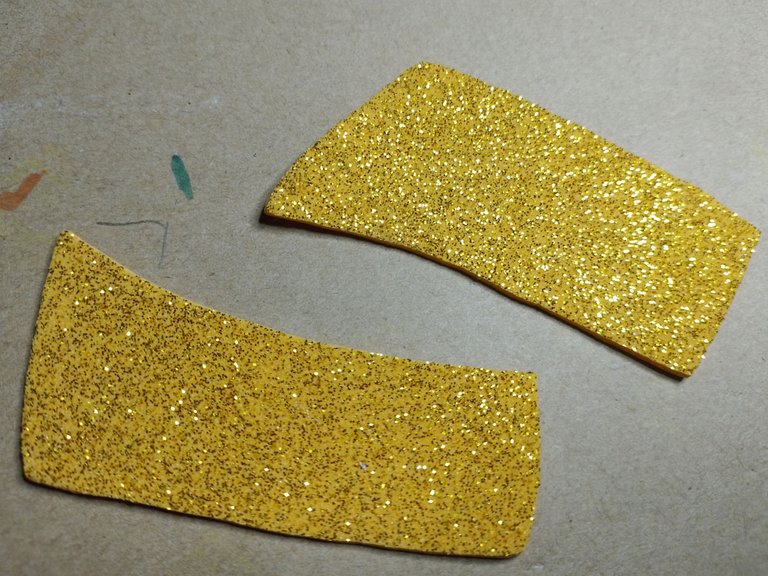
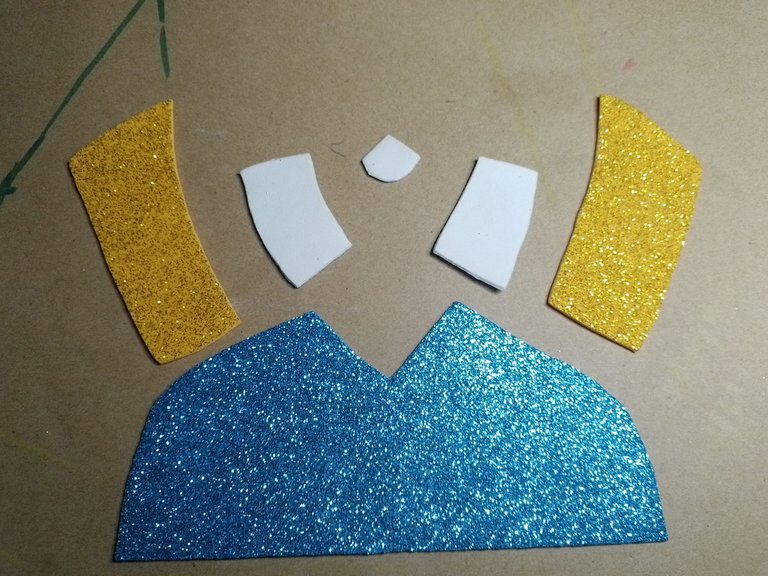
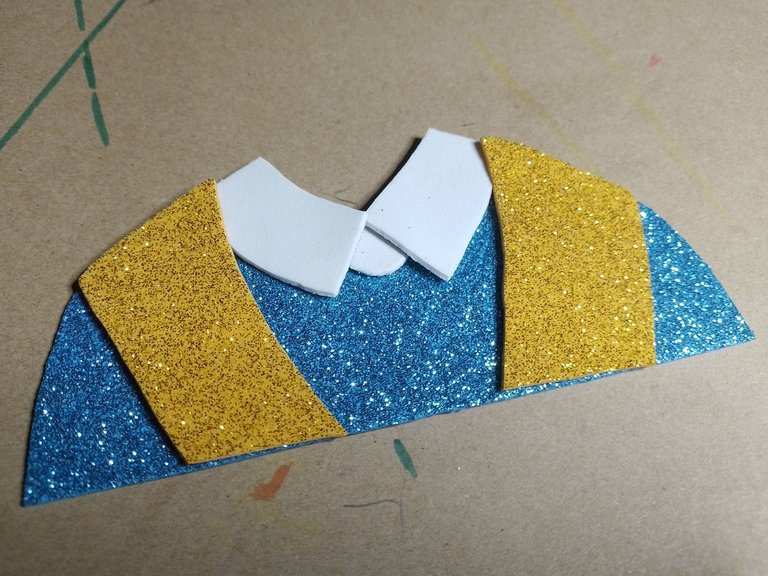
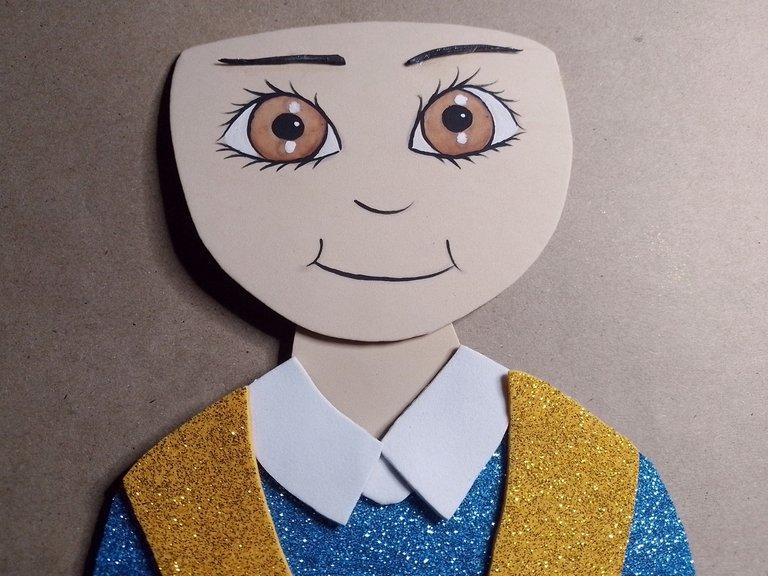
Below you can see the patterns already cut for the whole bottom part, the gown, the collar of the white blouse and some golden bands for ornamentation.
A continuación pueden ver los patrones ya cortados de toda la parte de abajo, la toga, el cuello de la blusa blanca y unas bandas doradas de adorno.
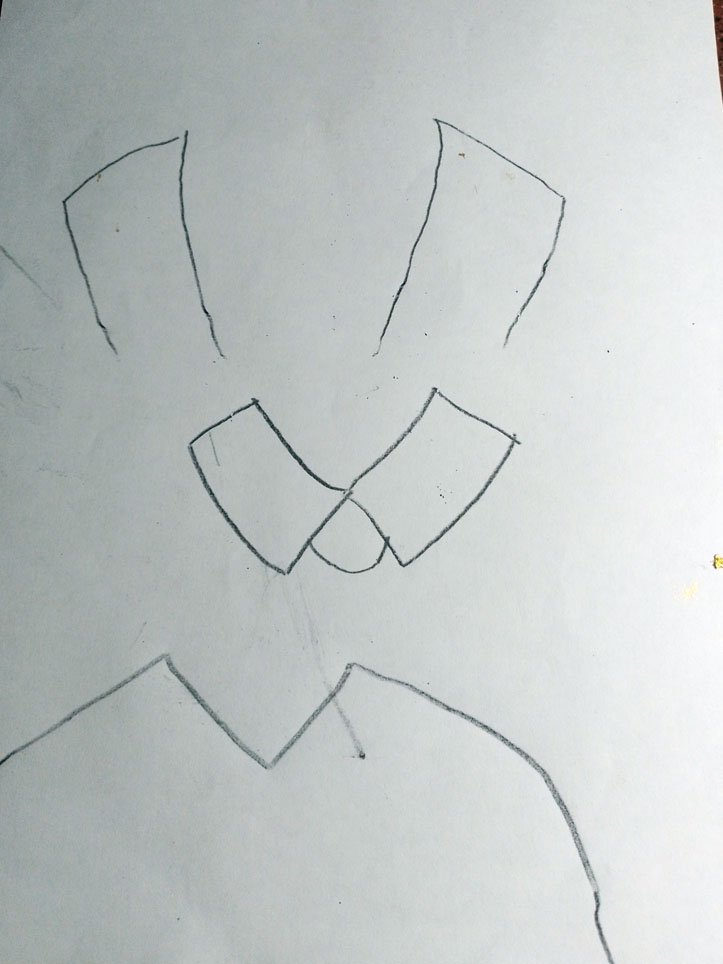
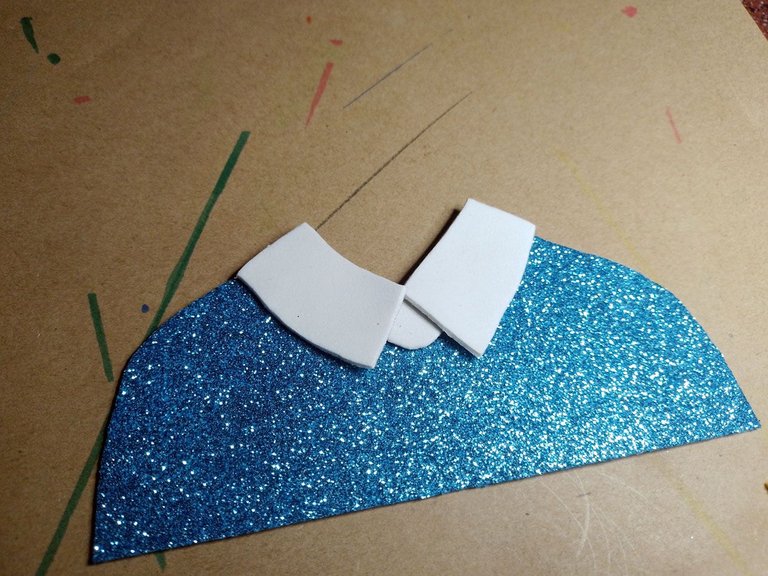
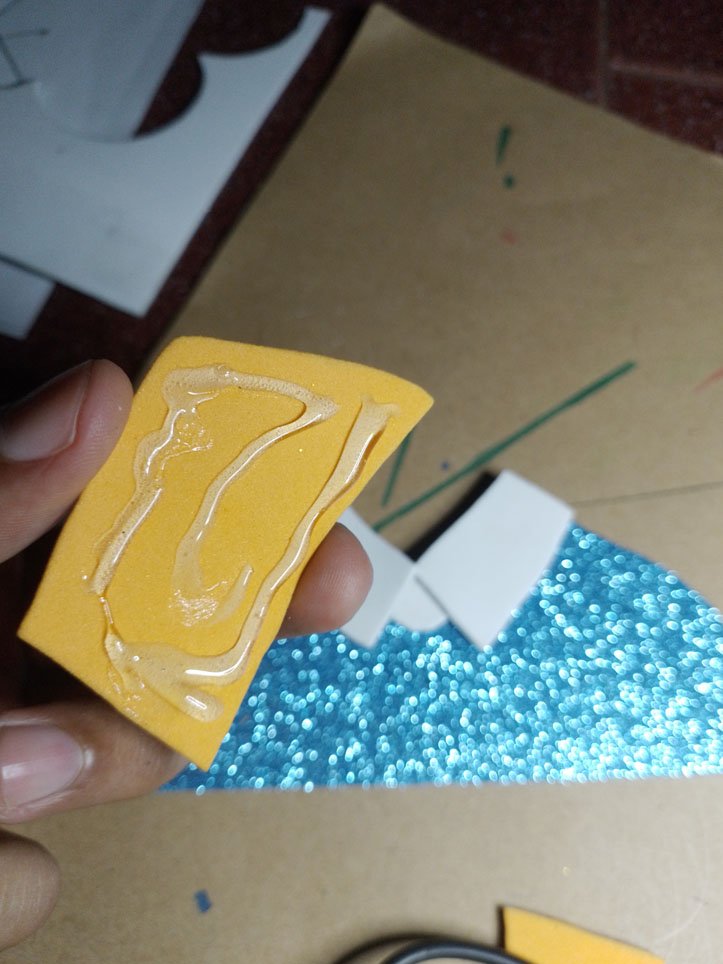
Here I started the assembly process. I used silicone to glue them together, but you can use whatever glue you like.
I prefer to use hot silicone because it sticks very well with the foami, but you have to be careful because once it sticks you can't separate the pieces because you can damage them.
Aquí comencé el proceso de armado. Usé el silicón para para pegarlas, pero ustedes pueden usar el pegamento que ustedes gusten.
Yo prefiero usar silicón caliente porque pega muy bien con el foami, pero sí hay que tener cuidado porque una vez que pega no se pueden separar las piezas porque se pueden dañar.
 |  |
|---|
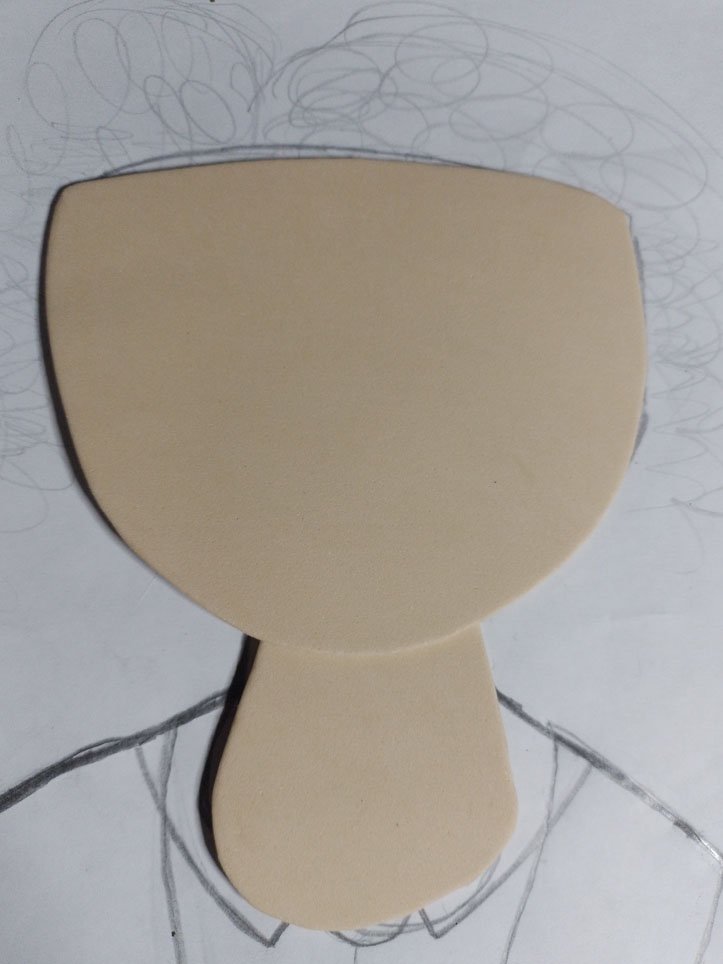
The same thing happened for the head, I made the pattern on paper and printed it on a light skin colored foami, then I cut the pieces and joined them with silicone.
Para la cabeza sucede lo mismo, hice el patrón en papel y lo imprimí en un foami de color piel clara, luego corté las piezas y las uní con silicón.
 |  |
|---|
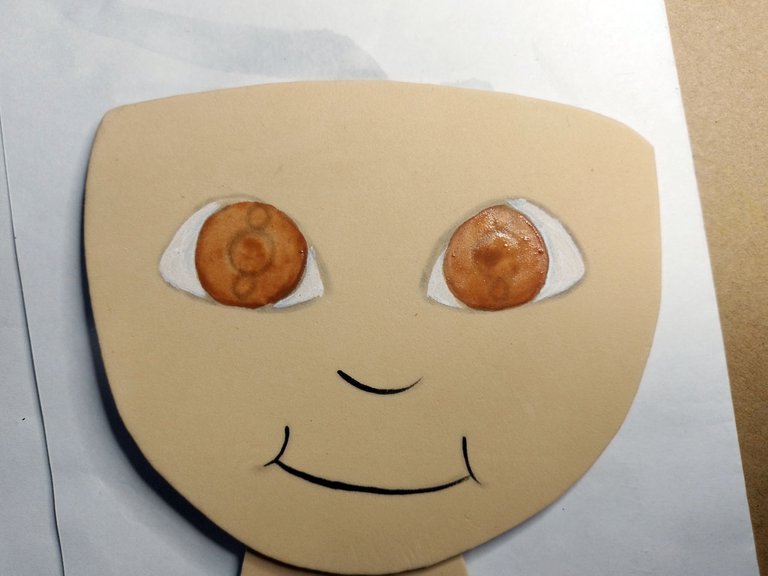
On the same foami I drew the same face and eyes that I had already made in the sketch, hence the importance of making a sketch, because we already have a clear idea of the spaces and dimensions.
In this case, I drew the mouth, nose and eyes with a pencil with a thick tip, not a thin one because it can break the foami. After making this drawing I painted and made the outline with a very fine brush.
En el mismo foami dibujé la misma cara y los ojos que ya había hecho en el boceto, e ahí la importancia de hacer un boceto, porque ya tenemos una idea clara de los espacios y dimensiones.
En este caso, dibujé la boca, la nariz y los ojos con un lápiz con punta gruesa, no fina porque después puede romper el foami. Después de hacer ese dibujo pinté e hice el delineado con un pincel muy fino.
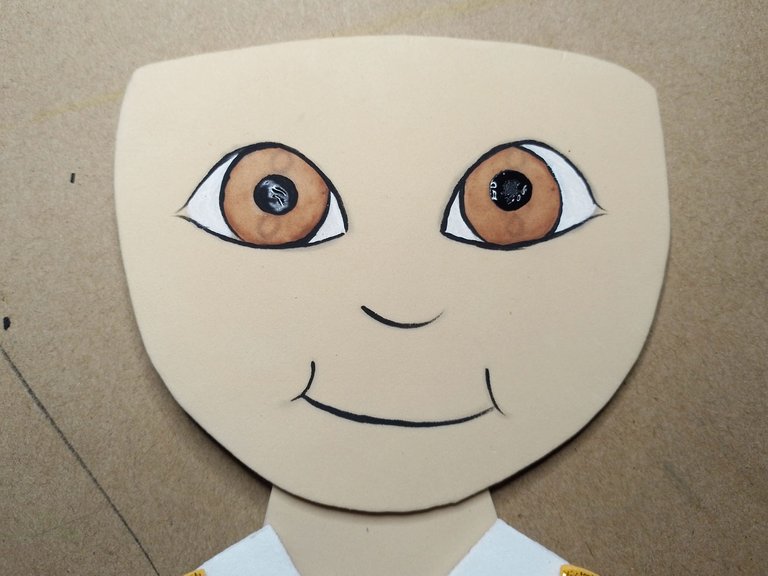
Notice that after painting the eyes, I painted the eyeliner with the same fine brush, then I added thick eyelashes and eyebrows made with foami.
Since it was for a little girl, I made the eyelashes very long so that they would be noticeable. I also added two white dots above and below the pupils to simulate glitter, all this with school paint.
Fíjense que después de pintar los ojos, pinté el delineado de los ojos con el mismo pincel fino, luego agregué pestañas y cejas gruesas hechas con foami.
Como era para una niña, le hice las pestañas bien largas para que se note. También agregué dos puntos blancos arriba y abajo de las pupilas para simular brillo, todo esto con pintura escolar.
 |  |
|---|
Now one of the most interesting things I made for this doll, the hair.
The little person for whom the gift was intended has curls in her hair, so I thought it would be a good idea to make a doll with this type of hair.
First I made a dark base for the thickness of the hair, as you can see in the image below:
Ahora una de las cosas más interesantes que hice de esta muñeca, el cabello.
La personita a la que iría destinado el regalo tiene rulos en su cabello, así que pensé que sería buena idea hacer una muñeca con este tipo de pelo.
Primero hice una base oscura para el grueso del pelo, tal como pueden ver en la imagen de abajo:
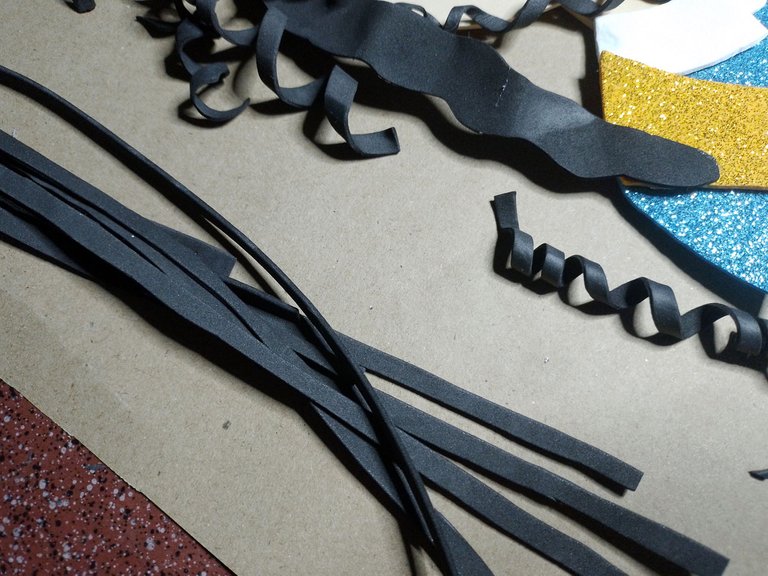
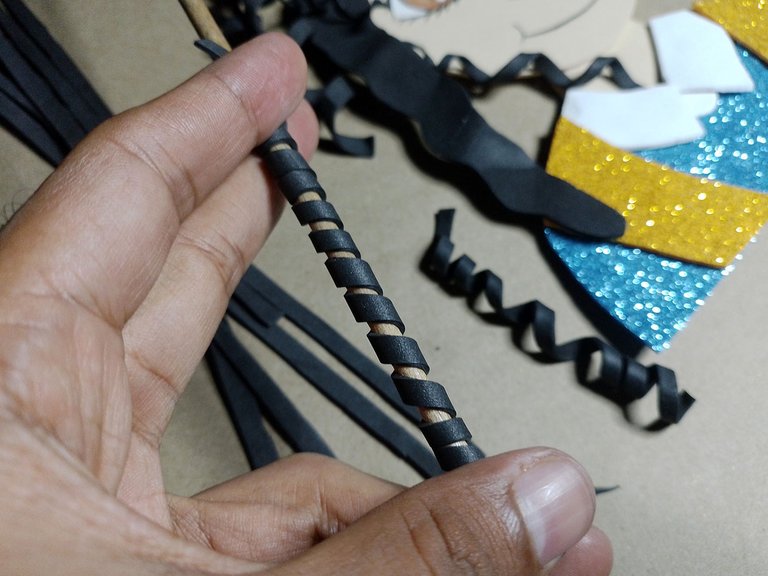
For the curls I cut a lot of lines of foami. The idea was to heat them so that they would keep the curl shape.
To make the curls simply roll the foami on a very thin stick, in this case the thin part of a paintbrush.
Para los rulos corté un montón de líneas de foami. La idea era calentarlas y que estos conservaran esa forma de rulos.
Para hacer los rulos simplemente hay que enrollar el foami en un palillo muy delgado, en este caso la parte fina de un pincel.
 |  |
|---|
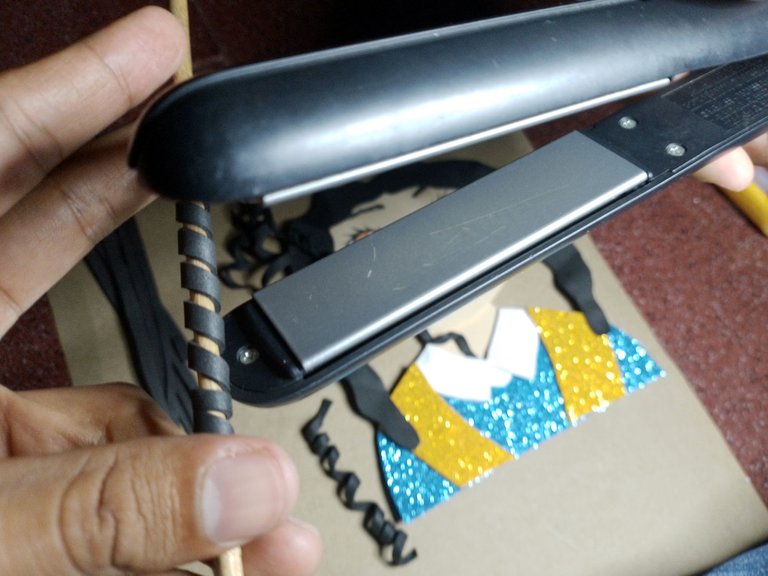
As I said you have to heat them to keep their shape. You can use a hair dryer or, as I did, use a hair iron.
This is ideal, because with the hair dryer you can burn them. With the hair straightener too, but there is more control. Just press a little with the iron around the foami rolled on the brush and that's it.
Repeat the process with each strip of foami and you will have a bunch of curls in a matter of minutes.
Como dije hay que calentarlos para que conserve esa forma. Pueden usar un secador de pelo o, como yo hice, usar una plancha para cabello.
Esta es ideal, porque con el secador de cabello se pueden quemar. Con la plancha para cabello también, pero hay más control. Solo hay que apretar un poco con la plancha alrededor del foami enrollado en el pincel y listo.
Se repite el proceso con cada tira de foami y tendrán un montón de rulos en cuestión de minutos.
 |  |
|---|
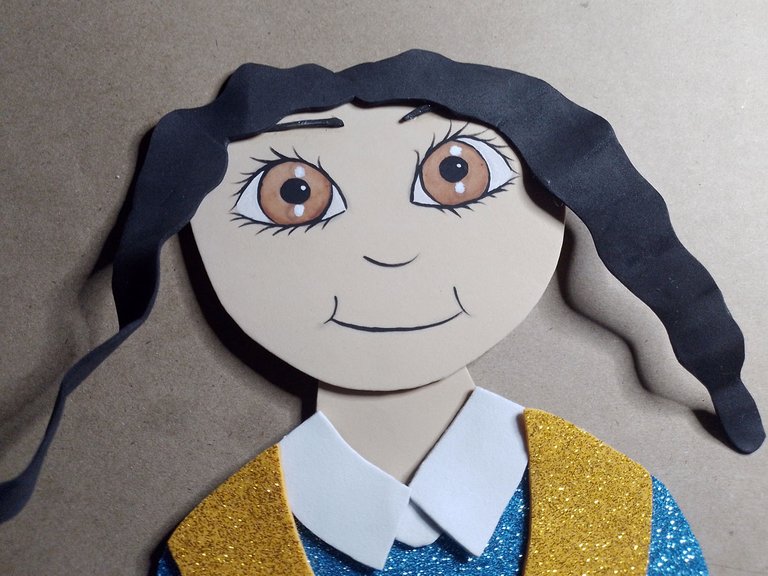
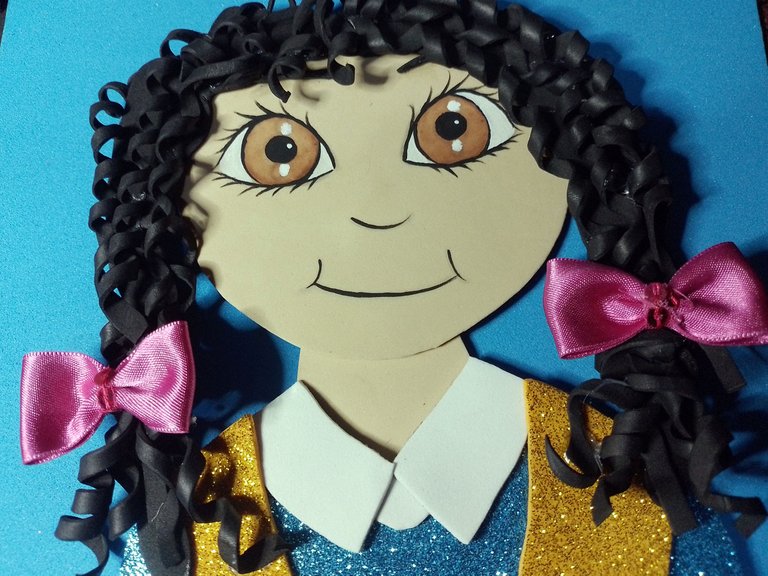
Each of these curlers must be glued to the base hair, the thicker one that I placed at the beginning. This is to give background, the curls to create depth.
Cada uno de estos rulos hay que pegarlos en el cabello base, el grueso que coloqué en un principio. Este es para darle fondo, los rulos para crear profundidad.

Finally I added a couple of bows at the bottom and glued them on. I didn't make these bows myself, I bought them at a haberdashery where they sell them by the pair, so they were not expensive at all.
(I don't know how to make bows, but I have yet to learn).
Finalmente agregué un par de lazos en la parte de abajo y los pegué. Estos lazos no los hice yo, los compré en una mercería donde los venden por par, así que no salieron para nada caros.
(No sé hacer lazos, pero tengo pendiente aprender).
Now the base where this doll would go.
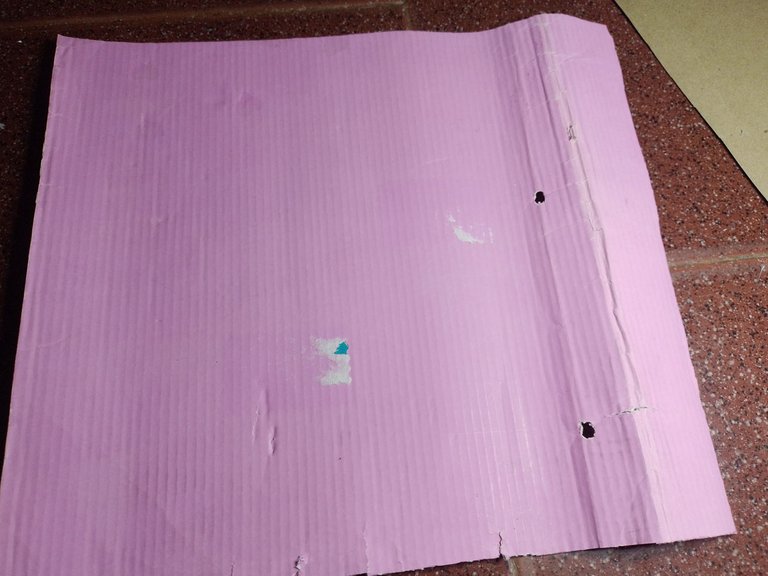
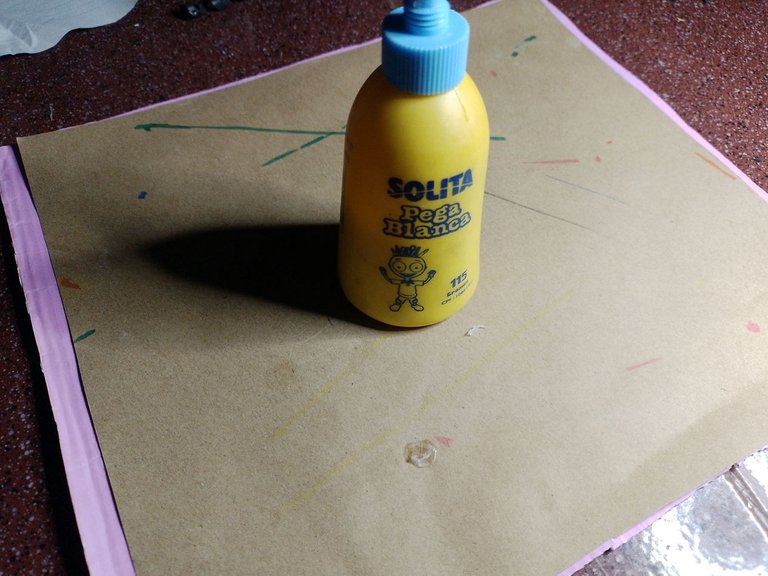
I thought about making a cardboard cylinder, but I decided to recycle an old corrugated cardboard I had lying around. Inside this cardboard I glued a piece of thicker brown cardboard, to give it support, and glued it with silicone and glue.
Once dry, I rolled the two pieces into a sturdier cylinder.
Ahora la base en donde iría esta muñeca.
Para ello pensé en hacer un cilindro de cartón, pero decidí reciclar una vieja cartulina corrugada que tenía por allí. Dentro de esta cartulina pegué un trozo de cartulina marrón más gruesa, para darle soporte, y lo pegué con silicón y pegamento.
Una vez seco, enrollé las dos piezas en un cilindro más resistente.
 |  |
|---|
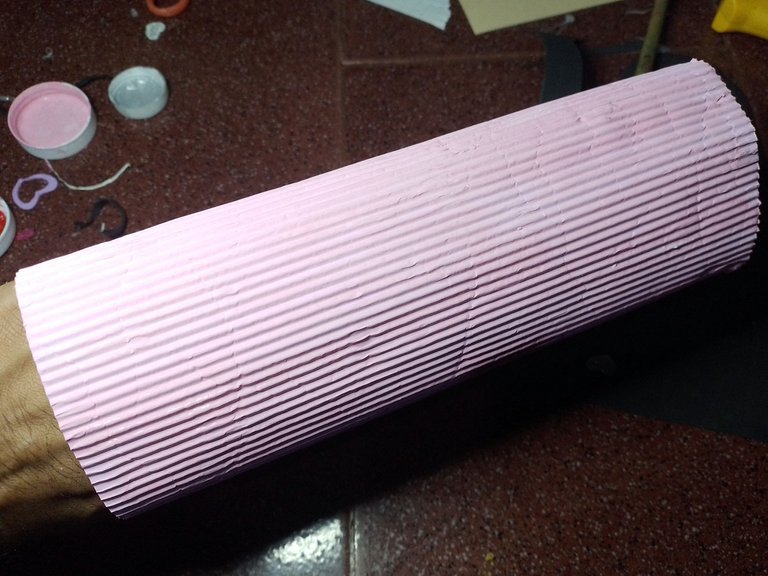
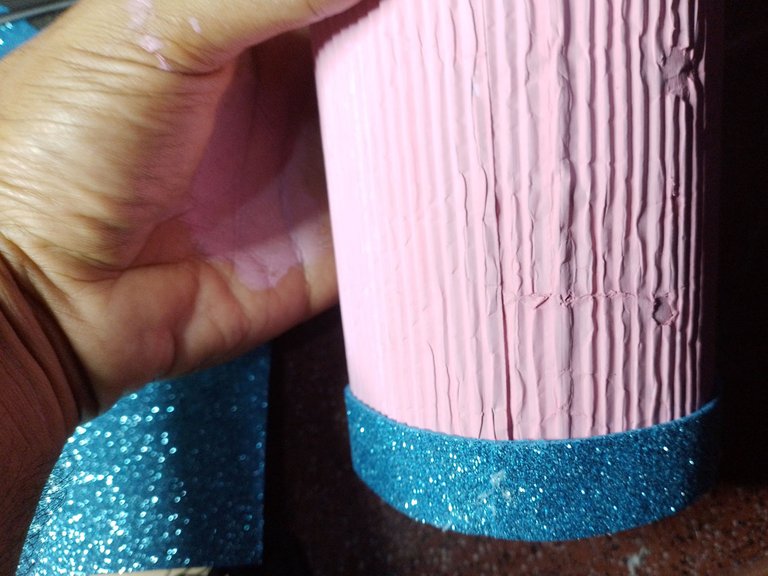
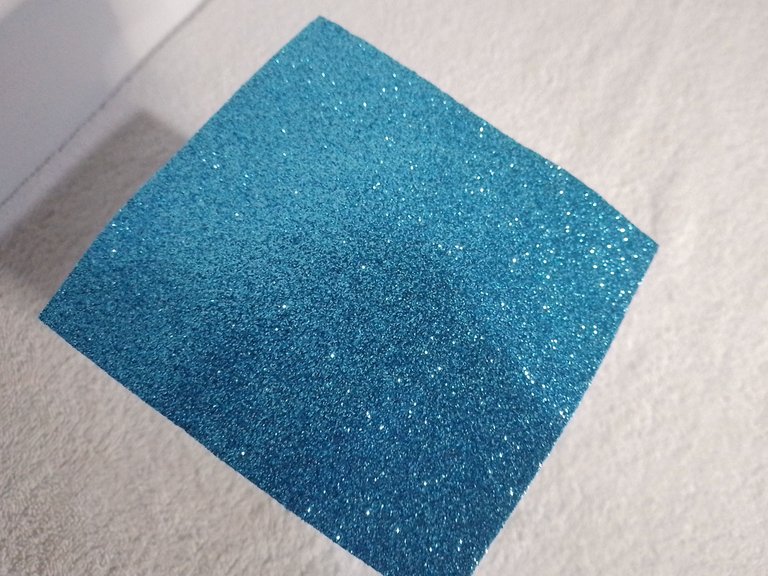
With a paint mixture that was a similar color to the corrugated cardboard, I painted the cylinder and once dry I used the blue foami I made the toga with to make a base.
Con una mezcla de pintura que fuese de un color similar al de la cartulina corrugada, pinté el cilindro y una vez seco usé el foami azul con el que hice la toga para hacer una base.
 |  |
|---|
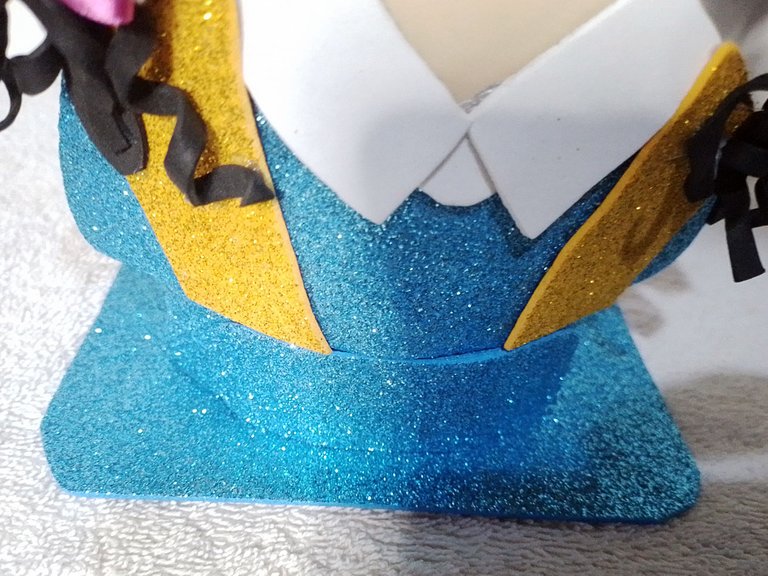
Then I glued the doll, as you can see in the image below:
Luego pegué la muñeca, tal como pueden ver en la imagen de abajo:
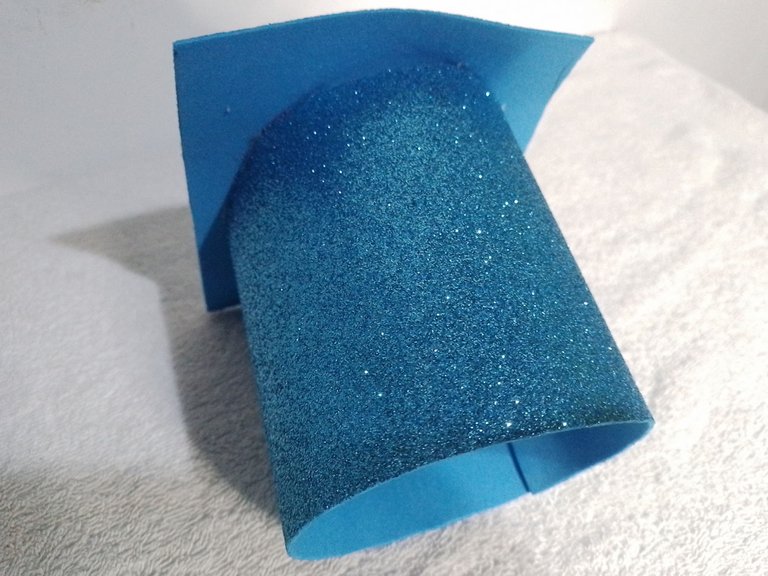
The cap was one of the easiest things to make out of this whole piece. I simply cut a rectangle and a square.
The rectangle I attached at each end to make a cylinder, then the square I glued on top of this cylinder.
El birrete fue de las cosas más fáciles de hacer de toda esta pieza. Simplemente corté un rectángulo y un cuadrado.
El rectángulo lo uní en cada extremo para hacer un cilindro, luego el cuadrado lo pegué encima de este cilindro.
 |  |
|---|
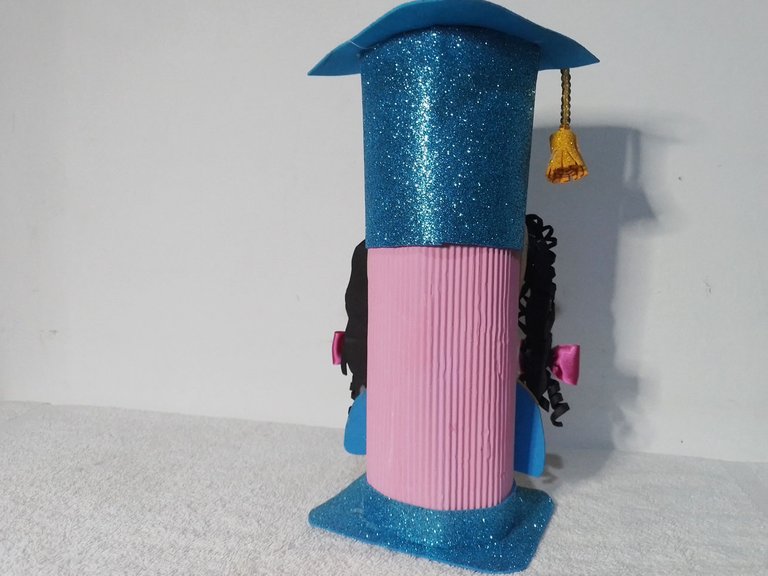
Make sure that the cap cylinder is slightly larger than the cardboard cylinder, as the cap will go on top of the cardboard cylinder, like the cover of the pink cylinder.
Hay que asegurarse que el cilindro del birrete tenga dimensiones un poco más grandes que el del cilindro de cartulina, pues el birrete irá encima de este, como la cubierta de aquel cilindro rosado.
 |  |
|---|
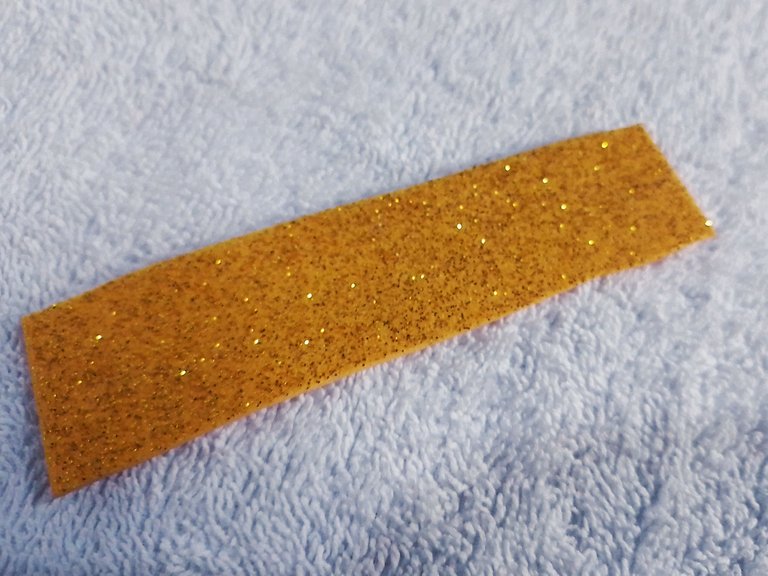
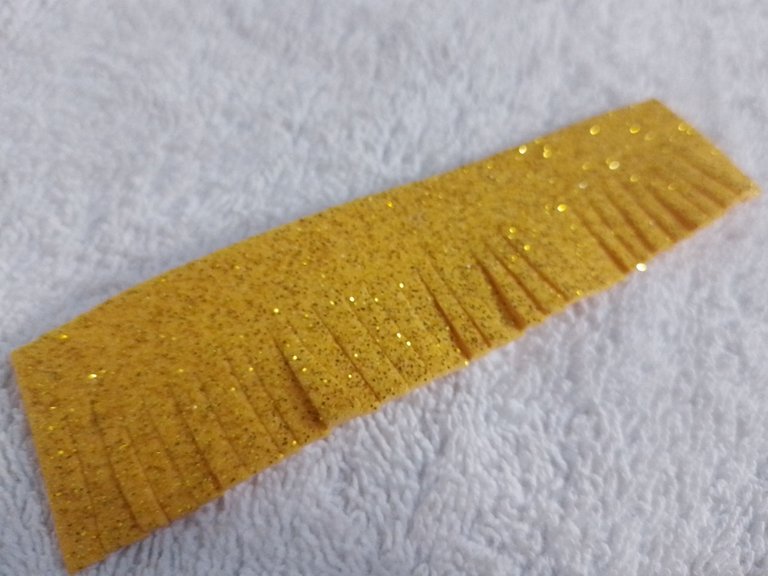
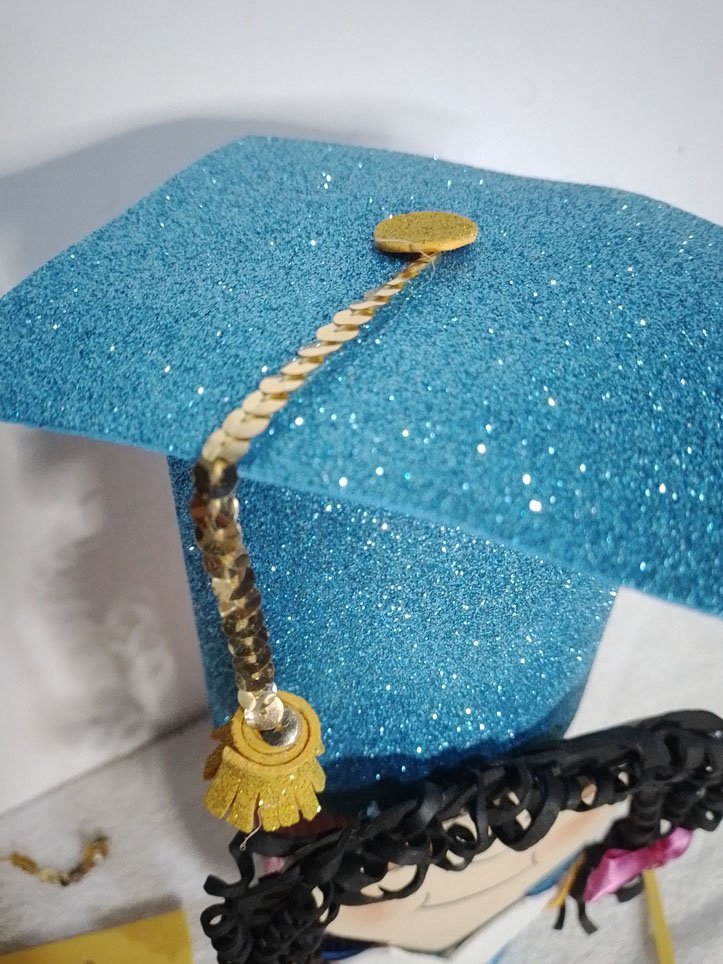
Time to make the tassel.
The tassel is that little thing that usually hangs from the birettas. To make it I used a small, but small, rectangle of gold foami.
I cut vertically many lines on the bottom of the foami, as you can see in the image below.
Hora de hacer la borla.
La borla es esa pequeña cosita que normalmente cuelga de los birretes. Para hacerla usé un pequeño, pero pequeño, rectángulo de foami dorado.
Corté de manera vertical muchas líneas en la parte inferior del foami, tal como observan en la imagen de abajo.
 |  |
|---|
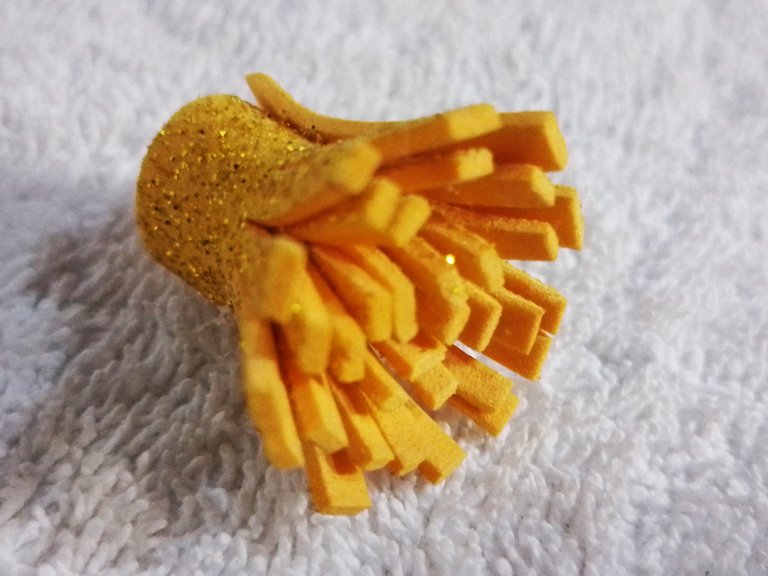
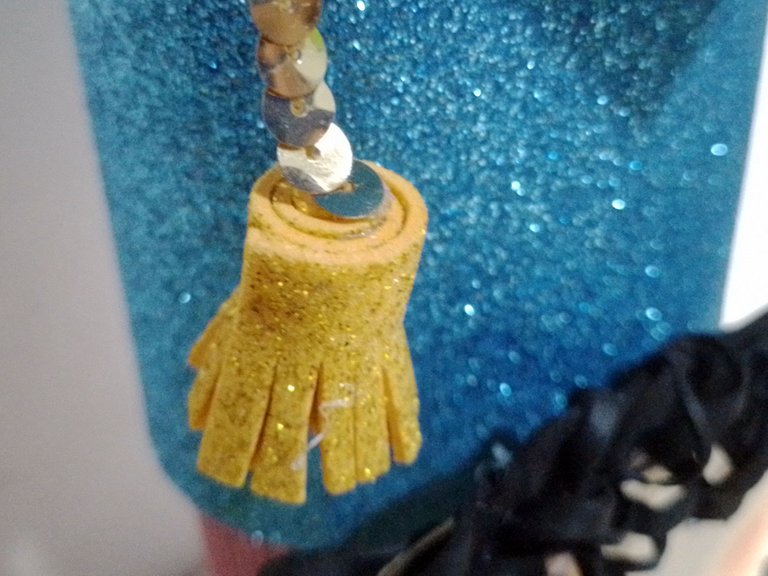
Once I made all the cuts in that area of the foami, I rolled it up and folded out all the little strips that were left.
Una vez que hice todos los cortes en esa área del foami, lo enrollé y doblé hacia afuera todas las pequeñas tiras que quedaron.
I glued it in the center of the biretta with a gold cutter that I also bought, using liquid silicone to fix it.
Lo pegué en el centro del birrete con un cortón dorado que también compré, usando silicón líquido para fijarlo.
 |  |
|---|
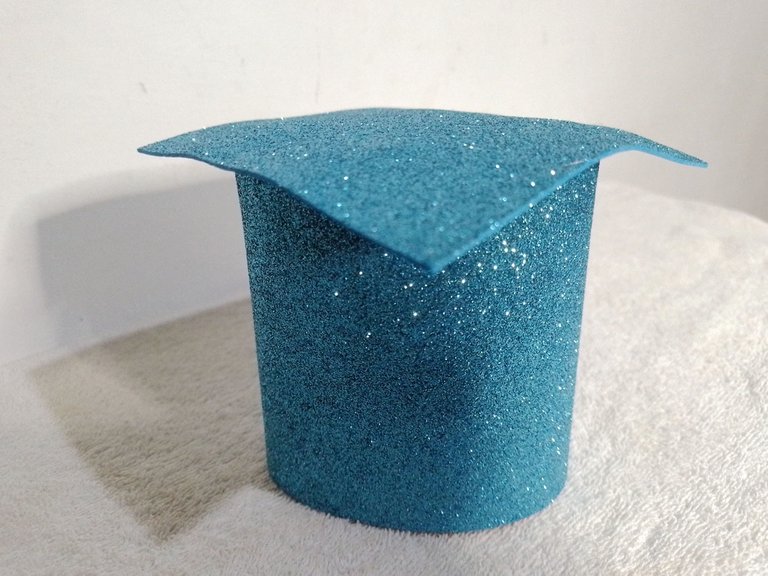
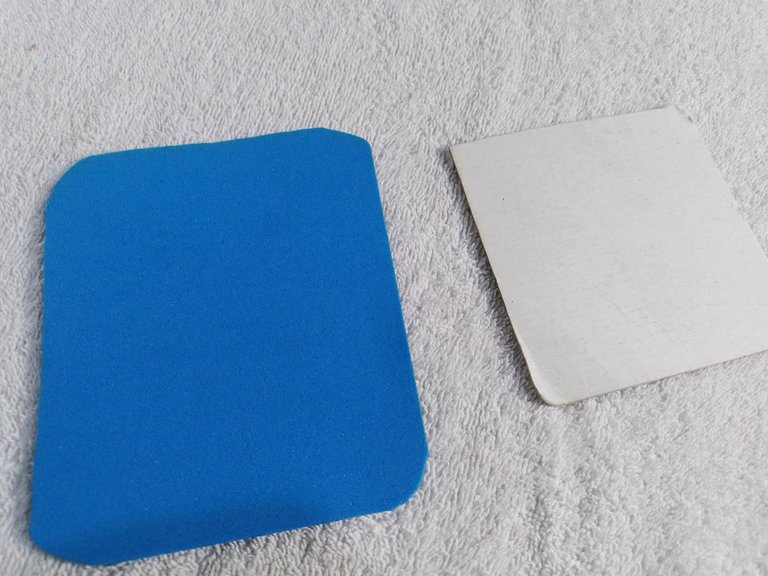
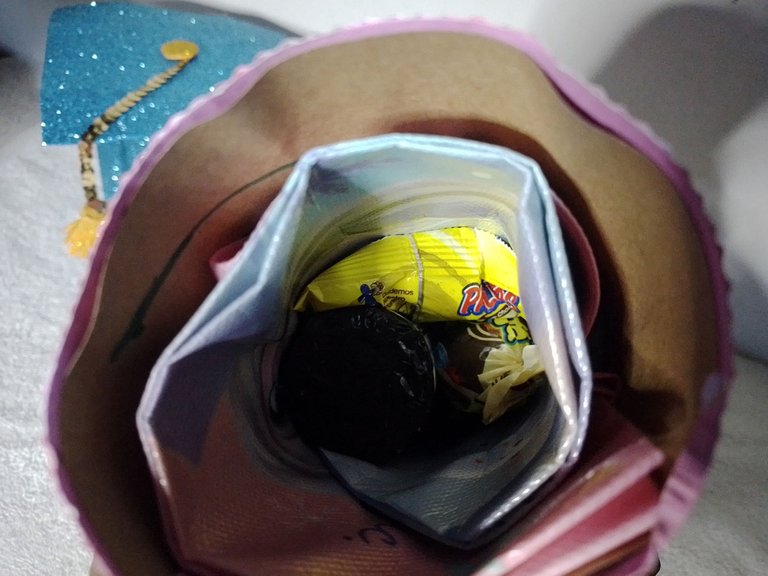
The last thing was to place the base so that everything that would be stored in the cylinder would be kept inside. I made this base with cardboard and blue foami.
The cardboard and the foami are cut in the shape of a rounded square, the foami being bigger than the cardboard. The cardboard is glued under the foami and the whole doll piece is glued on the foami.
Lo último fue colocarle la base para que se mantenga dentro todo lo que guardaría en el cilindro. Esta base la hice con cartulina y foami azúl.
La cartulina y el foami de cortan en forma de cuadrado redondeado, siendo el foami más grande que la cartulina. Esta última se pega debajo del foami y toda la pieza de la muñeca se pega en el foami.
 |  |
|---|
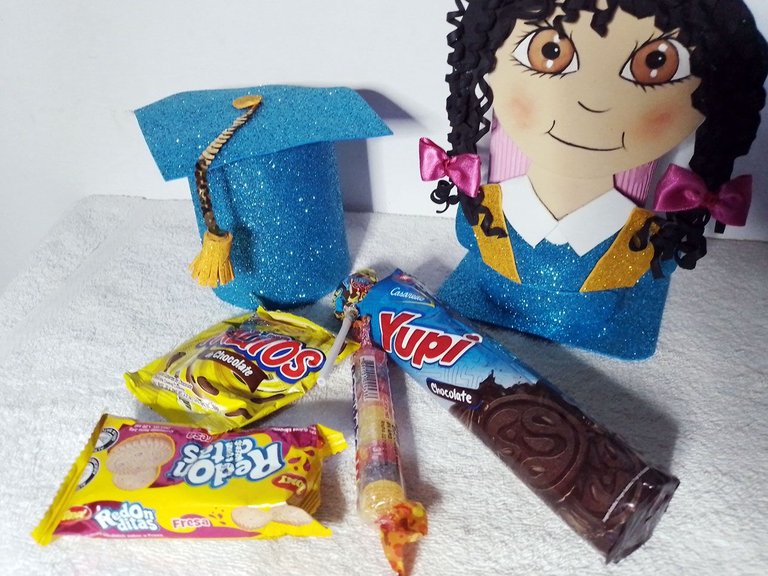
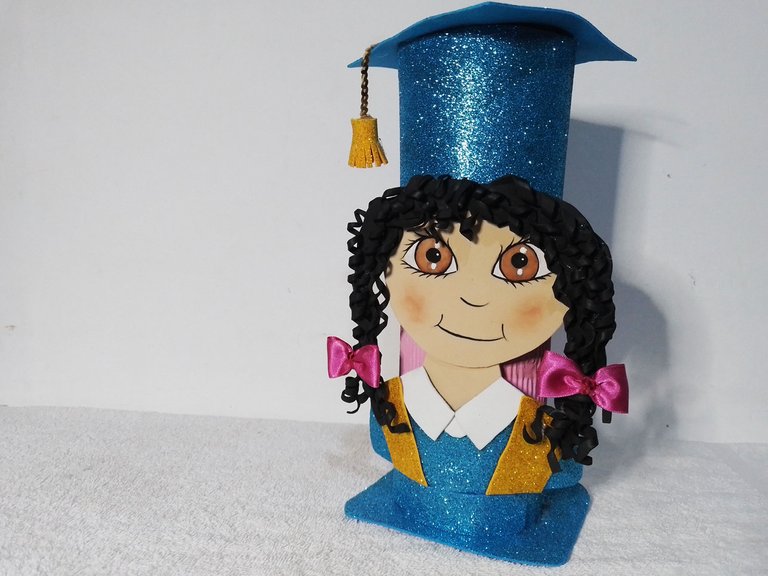
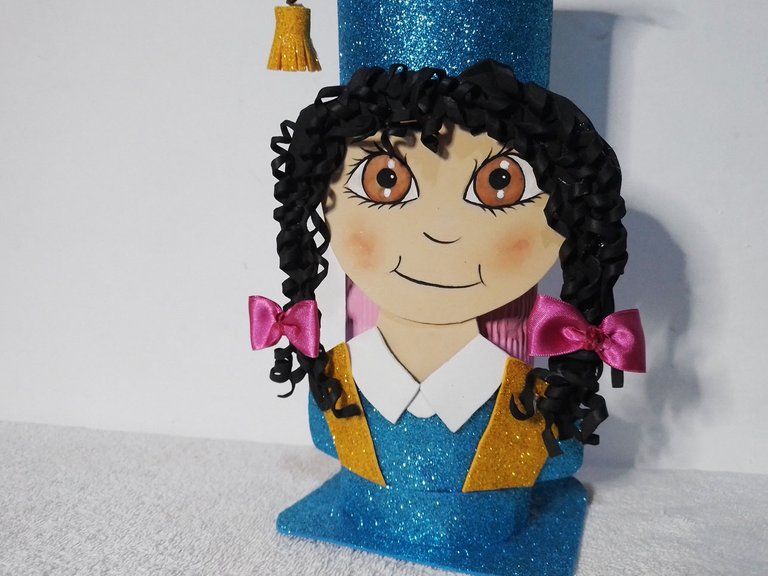
This way the doll was finished. Below you can see some pictures of the final result, along with all the candies and sweets that I kept inside the doll.
De esta manera la muñeca quedó terminada. A continuación pueden ver unas fotografías del resultado final, junto a todos los dulces y chucherías que guardé en el interior de la muñeca.

Well friends, what did you think of this craft? I loved the way it turned out, I even surprised myself with the result.
I would love to know your opinions, you can leave them below in the comments, as always I will be happy to read them. Thank you very much for taking the time to read it. With nothing more to add I'll say goodbye then...
See you next time!
Bien amigos, ¿Qué les ha parecido esta manualidad? A mi me ha encantado cómo quedó, incluso me sorprendió a mi mismo el resultado.
Me gustaría saber sus opiniones, pueden dejarlo abajo en los comentarios, como siempre estaré encantado de leerlos. Agradezco mucho que se tomaran el tiempo de leerme. Sin más que agregar me despido entonces...
¡Hasta la próxima!


