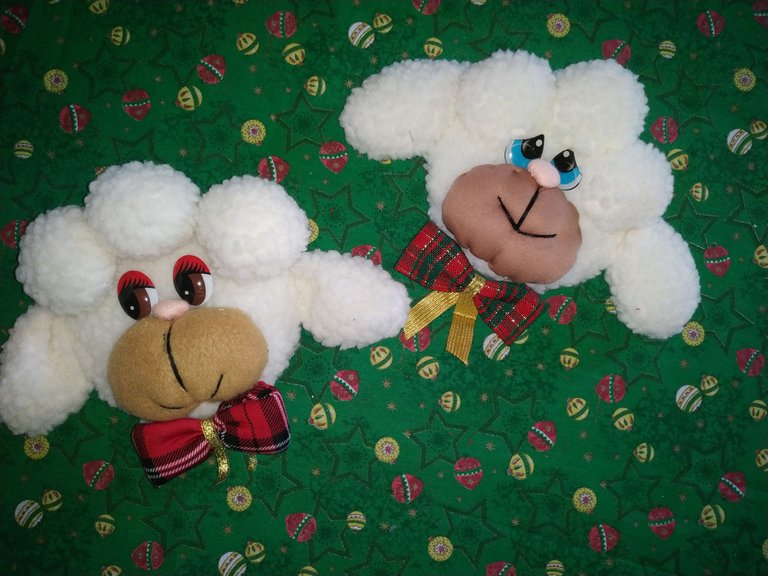

Hola a todos queridos amigos de Hive, feliz domingo. El día de hoy quiero enseñarles a hacer una hermosa manualidad y decoración navideña hecha a partir de retazos de tela y materiales de reciclaje.
El proceso es muy sencillo y además muy divertido, yo lo hice en compañía de mi mamá y menos de una hora ya teníamos listas dos ovejitas muy bonitas.
Espero les guste el proceso, a continuación les dejo el paso a paso y los materiales que necesitan para elaborarlo.

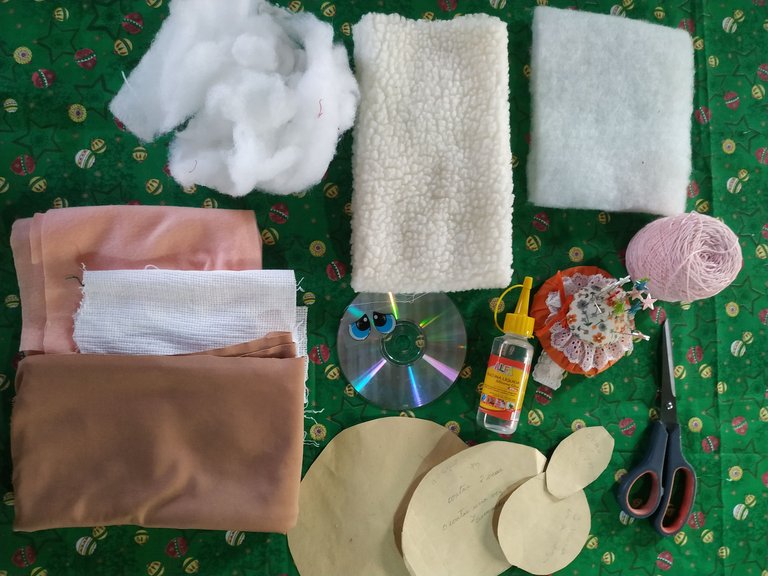
- Tela de peluche.
- Guata.
- Hilo y aguja.
- Silicón frío.
- Tela de cobija.
- Tijeras.
- Ojos de plástico.
- 1 CD.
- Molde.

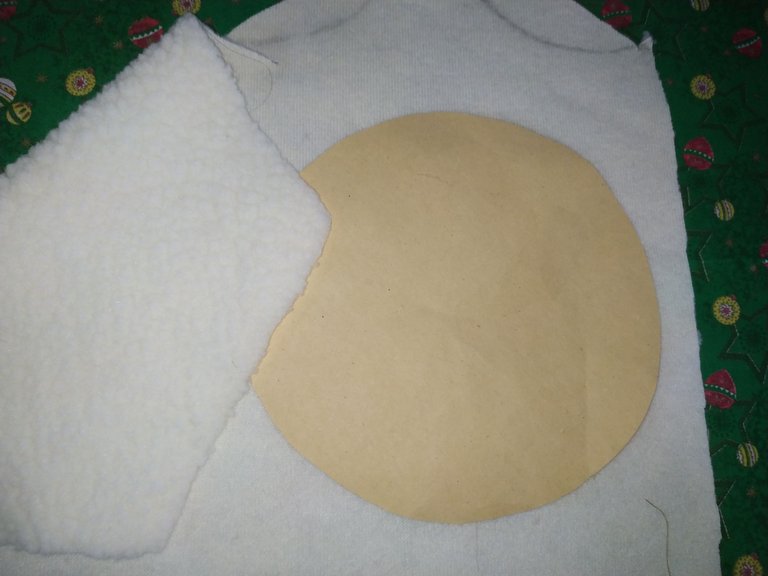
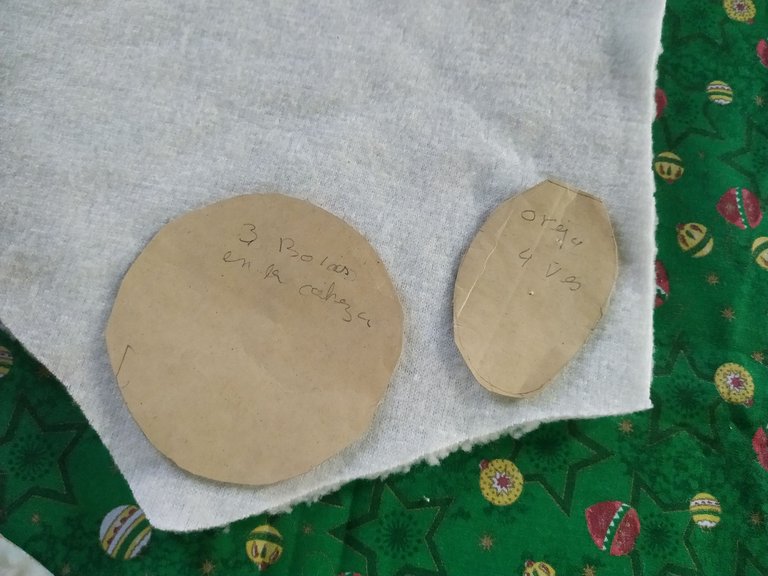
Sobre la tela de peluche blanca vamos a colocar los moldes de la cara, orejas y la lana de la frente de la oveja (las tres pelotitas). Recortamos al ras y dejamos a un lado.
Sobre la tela de cobija o tela de peluche lisa, colocamos el molde de la trompa.
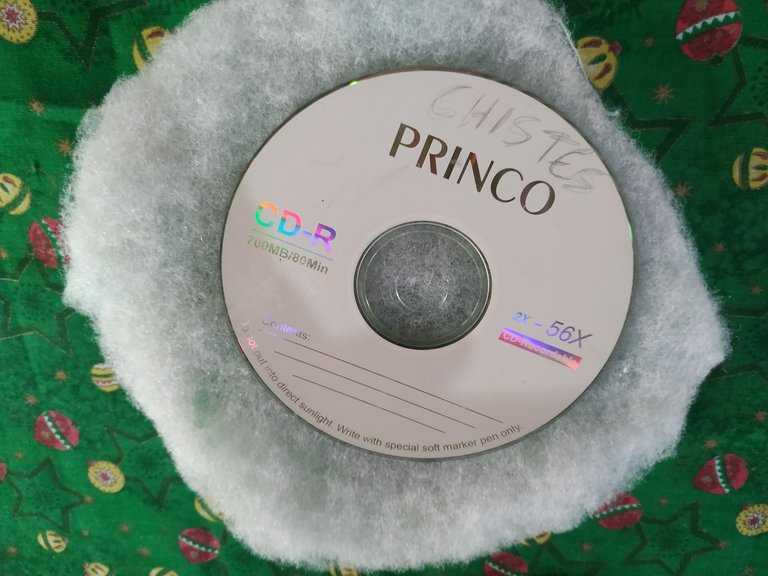
Sobre un trozo de guata colocamos el CD, pegamos una de las caras con Silicón frío y recortamos los excedentes alrededor.
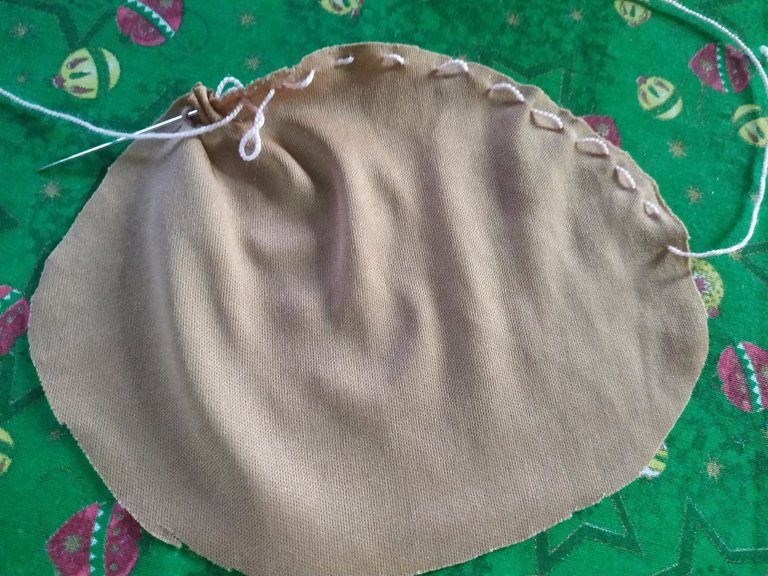
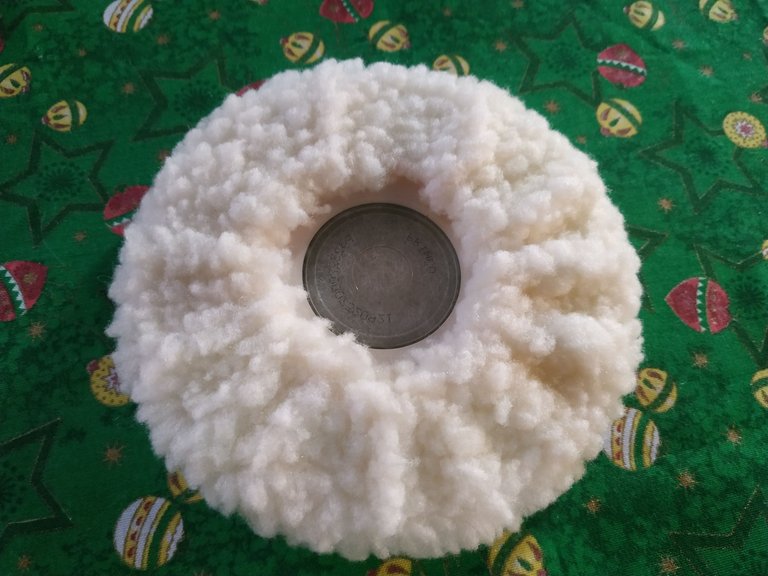
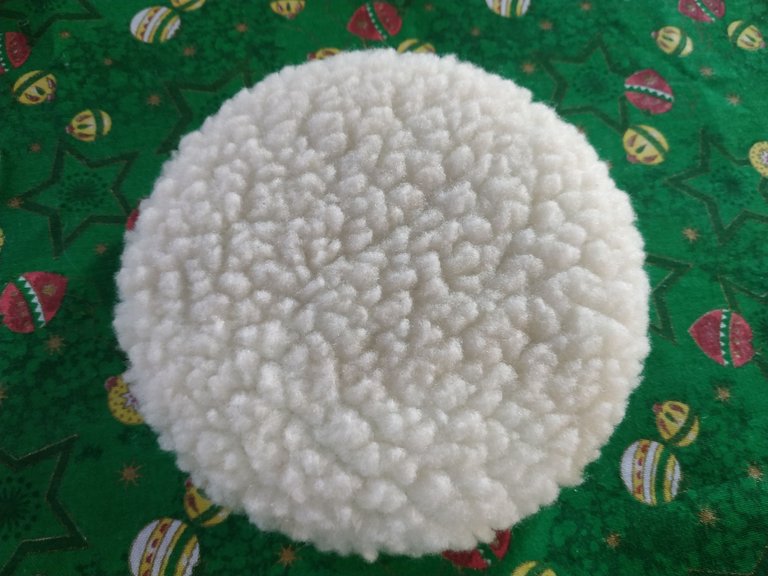
Sobre el círculo más grande vamos a pasar una costura por todo el contorno, cuando lo pasemos por toda la circunferencia, sobre el colocamos el CD, luego empezamos a halar el hilo hasta que nos quede totalmente forrado.
Continuamos con los cuatro moldes de las orejas, los colocamos de a par con la parte posterior hacia afuera. Vamos a pasar costura tipo festón por todo el contorno y dejamos una parte sin pasar costura.
Damos vuelta y rellenamos con un poco de guata, repetimos el proceso con la otra oreja.
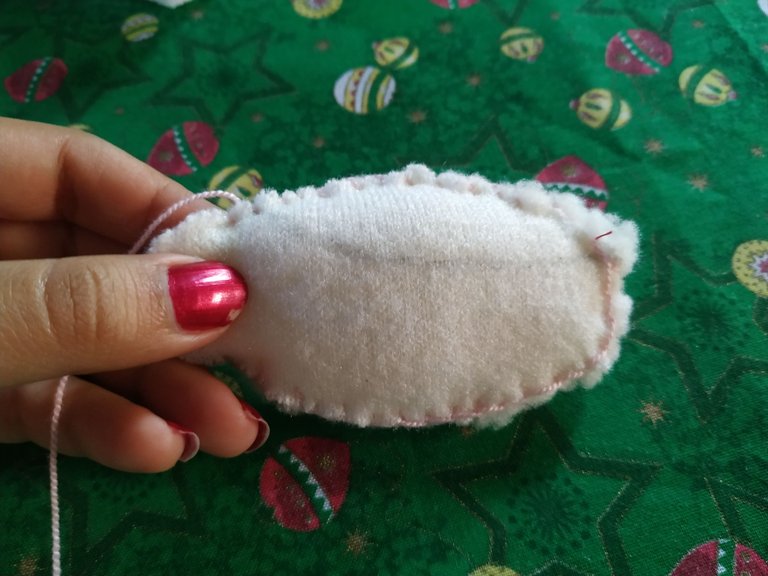
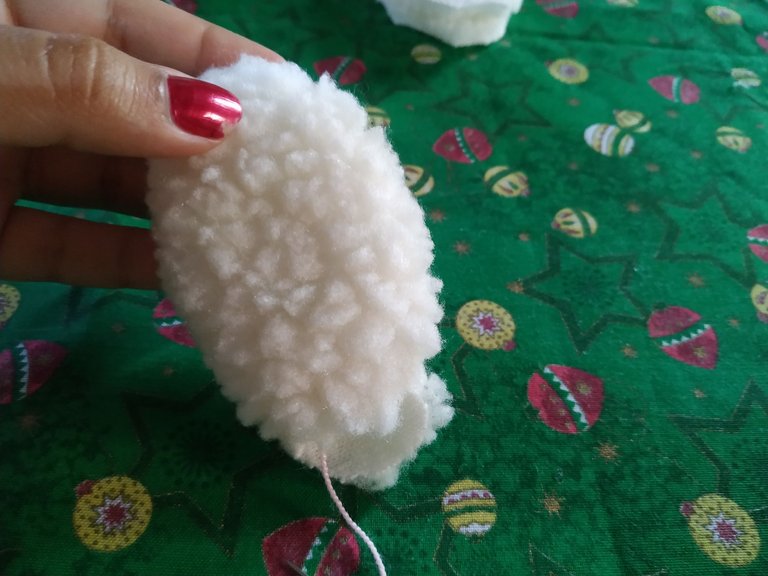
Para hacer las 3 bolitas o pelotas que estarán el la parte superior de la cara de la oveja, vamos a tomar uno de los círculos y pasamos una costura por todo el contorno, colocamos suficiente relleno en el centro y tiramos del hilo.
Le damos forma a la pelota y rematamos la costura. Repetimos con las otras dos.
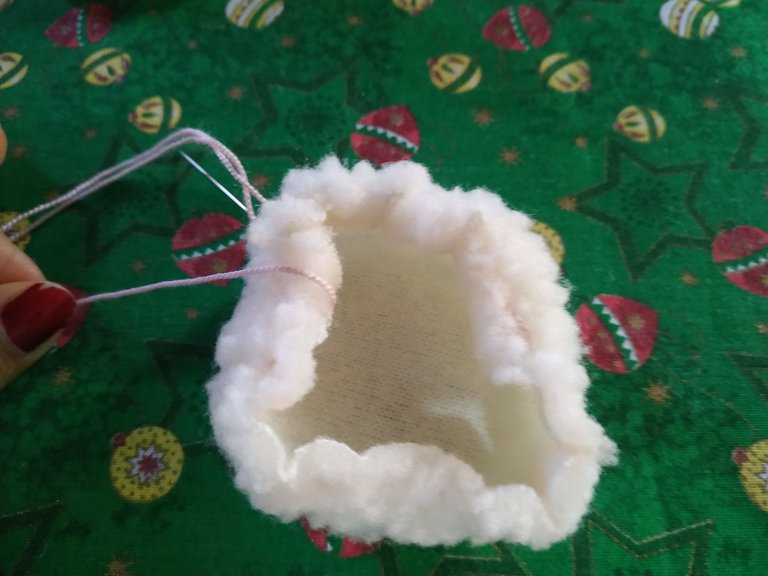
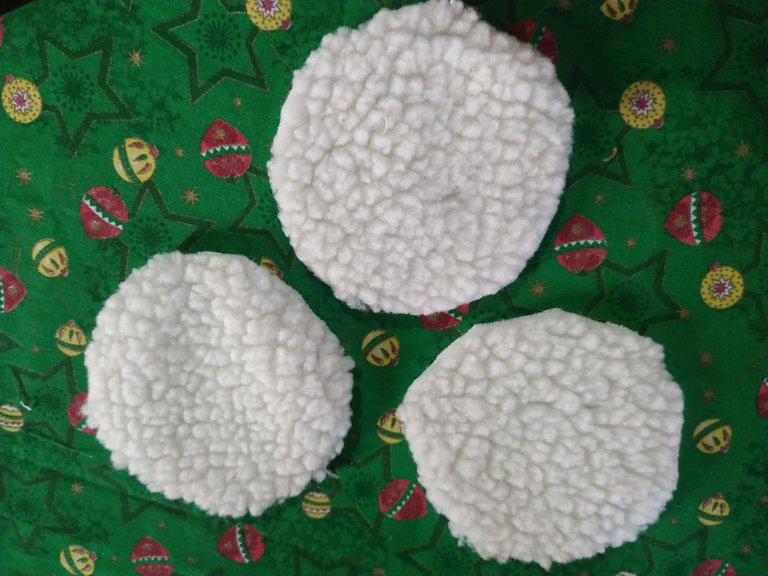
Para la trompa vamos a rellenar el óvalo y pasamos costura por la parte posterior. Luego dibujamos la silueta con un lápiz, en donde vamos a pasar el hilo color negro para hacer la separación.
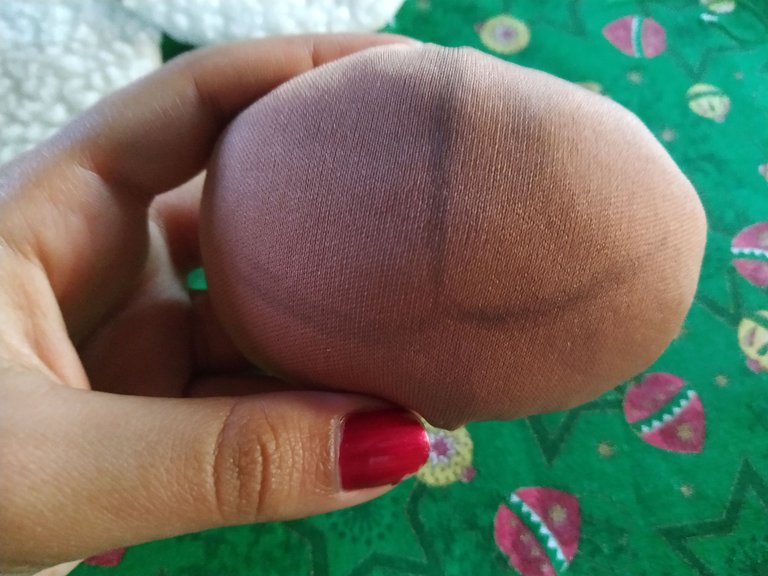
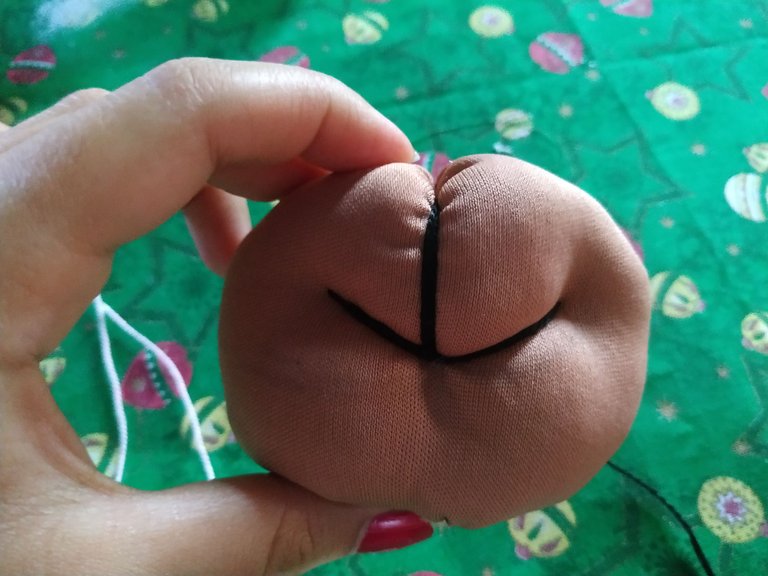
Empezamos a coser todo a la cara.
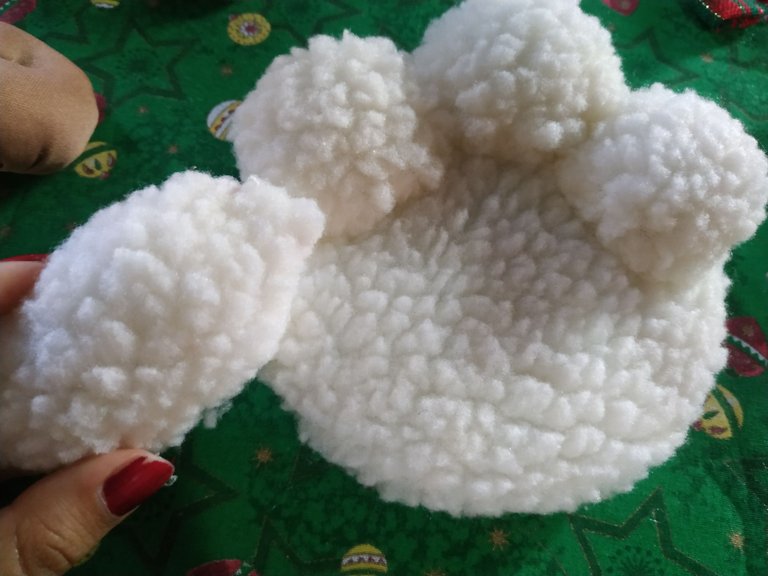
Luego cosemos la trompa y pegamos los ojos y la nariz que se hace con un pequeño trozo de tela rosada.
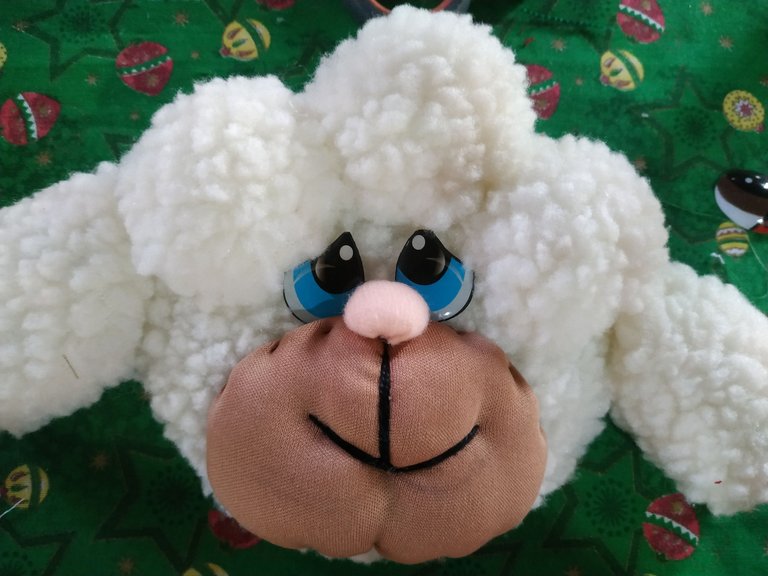
También le hacemos un pequeño lazo para que quede mucho más bonito y navideño.
Con esto tendremos lista esta bella decoración navideña.
Este fue el resultado de ambas ovejas, la verdad el resultado me gustó mucho y creo que quedarán muy bonitas en el árbol de navidad junto a los otros adornos.
Déjenme saber en los comentarios que les pareció está manualidad, les deseo a todos que tengan un feliz día y noche.


Hello all dear friends of Hive, happy Sunday. Today I want to show you how to make a beautiful Christmas craft and decoration made from scraps of fabric and recycled materials.
The process is very simple and also very fun, I did it with my mom and in less than an hour we had two beautiful sheep ready.
I hope you like the process, here is the step by step and the materials you need to make it. o.

- Plush fabric.
- Wadding.
- Thread and needle.
- Cold silicone.
- Blanket fabric.
- Scissors.
- Plastic eyes.
- 1 CD.
- Mold.


On the white stuffed fabric we are going to place the molds of the face, ears and the wool of the sheep's forehead (the three little balls). Cut out flush and set aside.


On the blanket fabric or plain plush fabric, we place the mold of the trunk.

Place the CD on a piece of wadding, glue one side with cold Silicone and trim the excess around it.

On the largest circle we are going to sew a seam all around the contour, when we pass it around the circumference, we place the CD on it, then we begin to pull the thread until it is completely lined.


We continue with the four ear molds, placing them in pairs with the back side facing out. We are going to sew a scallop stitch all around the contour and leave a part without sewing.
Turn over and fill with a little wadding, repeat the process with the other ear.


To make the 3 balls that will be on the upper part of the sheep's face, we will take one of the circles and sew a seam all around the contour, place enough stuffing in the center and pull the thread.
Shape the ball and finish off the seam. Repeat with the other two.


For the trunk we are going to fill in the oval and sew through the back. Then we draw the silhouette with a pencil, where we are going to pass the black thread to make the separation.


We start stitching everything to the face.

Then we sew the trunk and glue the eyes and the nose, which is made with a small piece of pink fabric.

We also make a small bow to make it look much more beautiful and christmasy.
With this we will have ready this beautiful Christmas decoration.
This was the result of both sheep, I really liked the result and I think they will be very nice on the Christmas tree with the other ornaments.
Let me know in the comments what you thought of this craft, I wish you all a happy day and noc
he.

