
Feliz domingo mis queridos amigos de Hive, espero está haya sido una muy buena semana para todos.
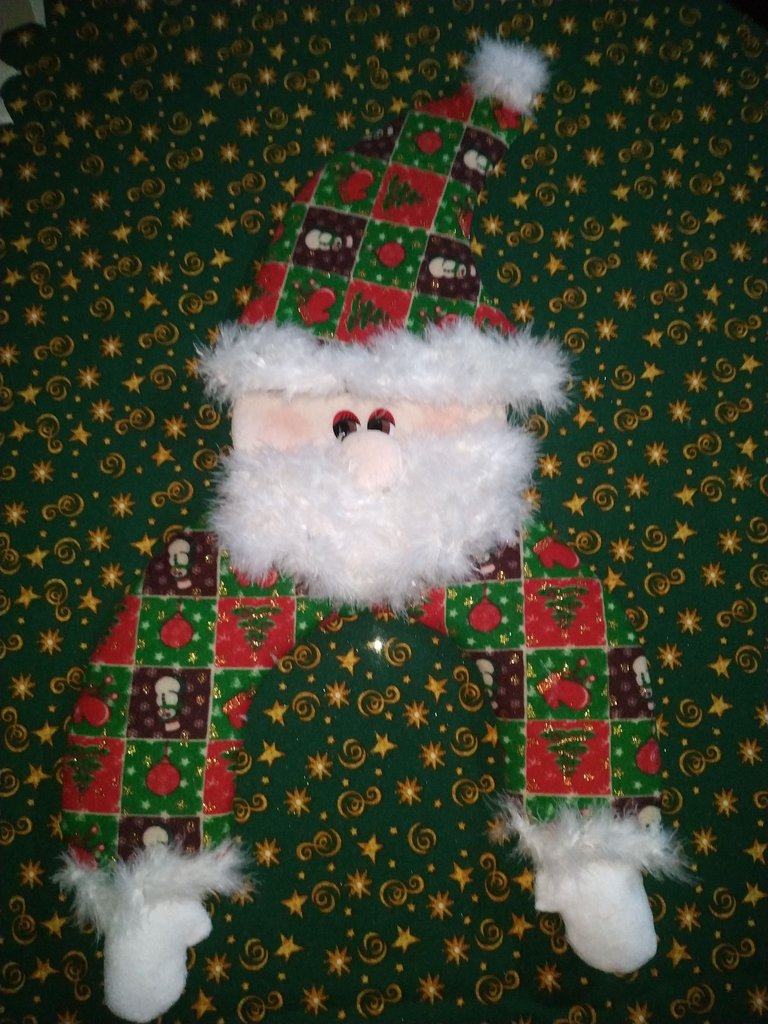
Ya estamos en diciembre y tengo aún varias manualidades por enseñarles, entre ellas este bello Santa para colocar como decoración en el árbol de navidad.
Es una manualidad hecha con cartón como base, llena de mucho color y detalles que hacen que el acabado sea muy profesional.
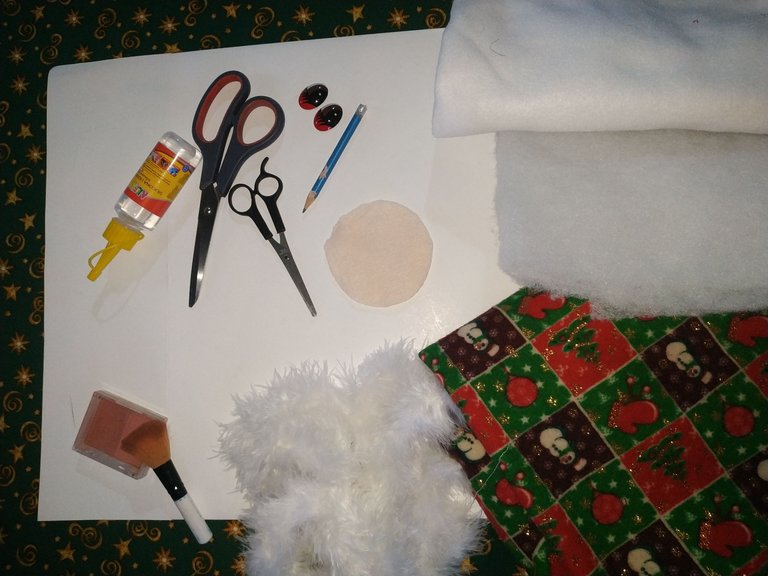
Debo decir que esta es una manualidad muy sencilla de hacer, con materiales que podemos conseguir en cualquier mercería (almacen donde venden materiales de costura). Para este proyecto utilice Silicón frío para pegar todo, porque era lo que tenía a la mano, pero es mejor si utilizan silicon en barra caliente, ya que queda mucho más seguro y seca más rápido.
Ahora si, sin más que decir comencemos.

- Tela estampada navideña.
- Tela blanca y beige.
- Tela tipo plumas.
- Cartón.
- Guata.
- Tijeras.
- Lápiz.
- Hilo y aguja.
- Ojos para peluches.
- Rubor y brocha.
- Escarcha o polvo de hadas.

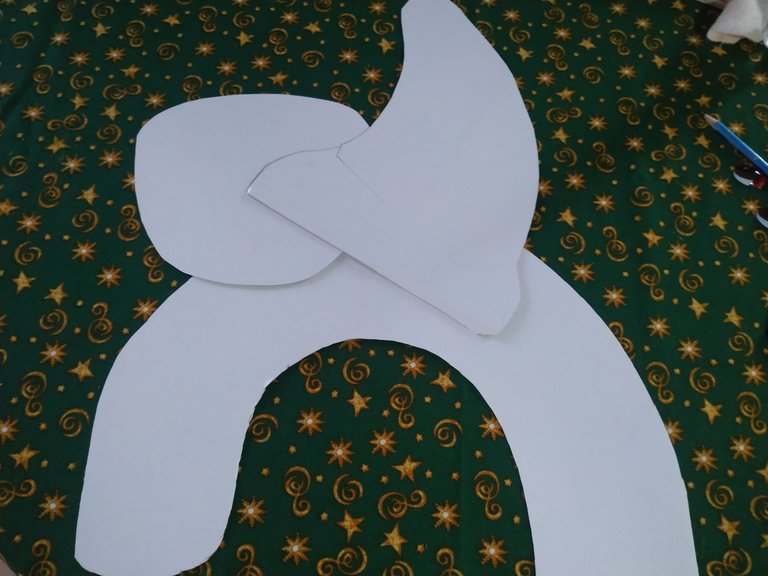
Como primer paso vamos a dibujar en nuestro cartón las tres piezas del santa. La cabeza, el gorro y los brazos. Esto lo hice a mano alzada midiendo Todas las piezas para que quedaran similares.
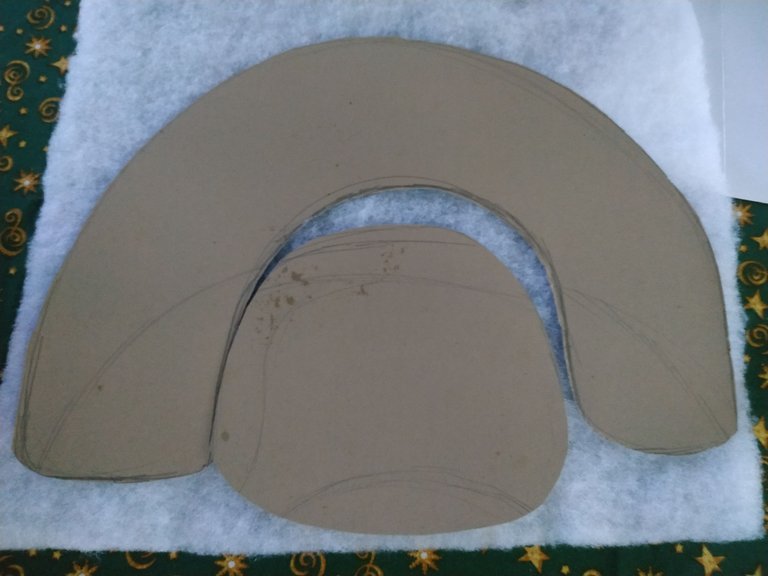
Continuamos cortando la guata del tamaño de nuestras piezas.
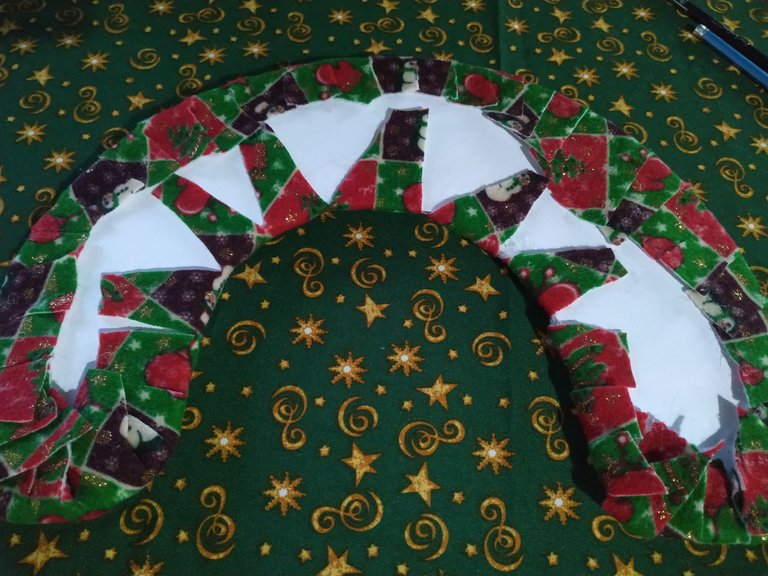
Ahora vamos a colocar la pieza que hicimos sobre la tela con la que vamos a forrar cada pieza, las hacemos con tres centímetros de diferencia para luego hacer unos cortes por todo el contorno.
Damos vuelta a la pieza y forramos. Comenzamos a pegar por la parte del cartón con nuestro Silicon, de manera que quede bien liso en la parte frontal.
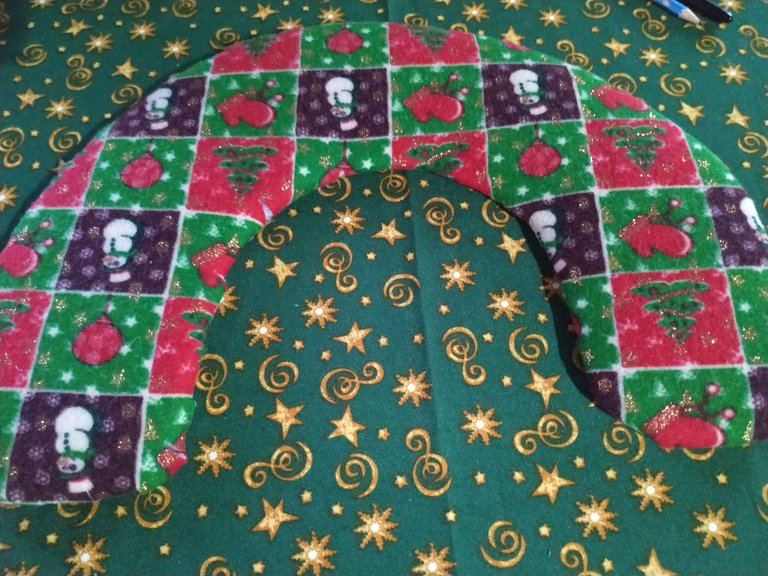
Repetimos el proceso con la cara y con el gorro. Para la cara lo hicimos con la tela de color rosado y el gorro con la misma tela estampada navideña que se uso con los brazos.
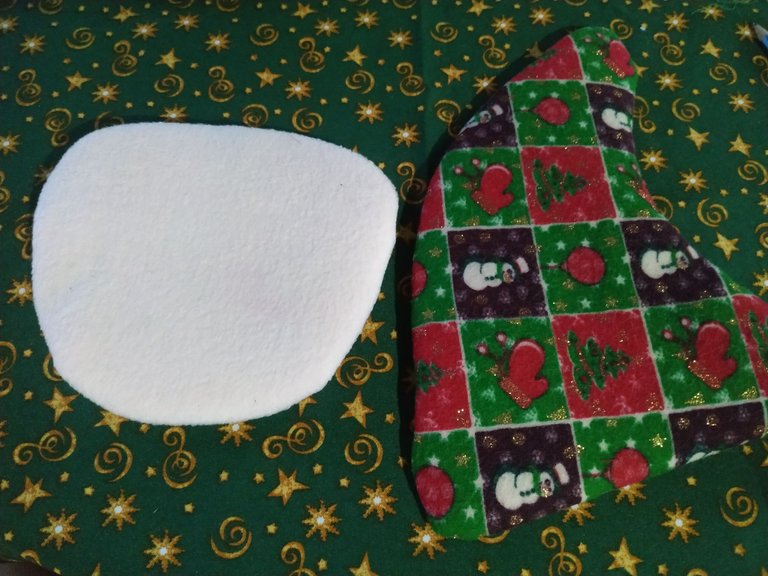
Continuamos haciendo las manos, hacemos nuestro molde, medimos con los brazos. Luego, sobre la tela doblada de color blanca colocamos nuestro molde recortamos al ras y repetimos el proceso para sacar cuatro de estas piezas, damos vuelta y las colocamos una sobre la otra. Pasamos costura por todo el contorno y damos vuelta para rellenar con guata y cerrar por completo.
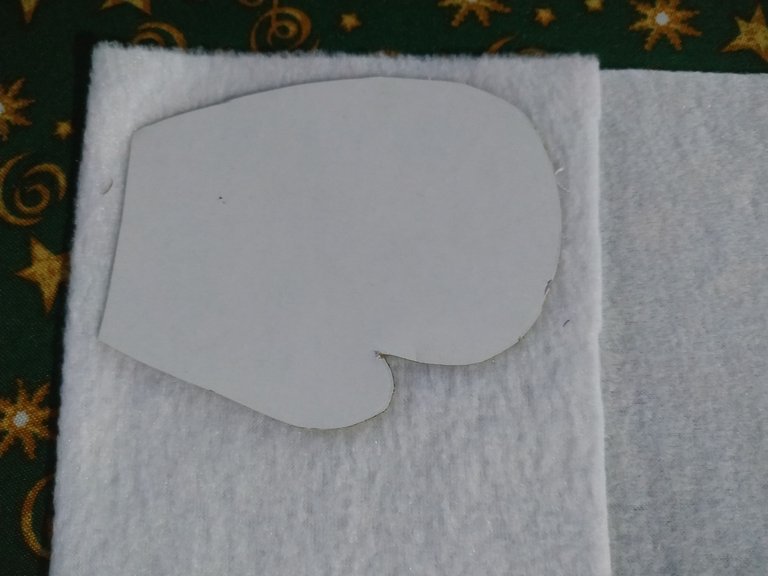
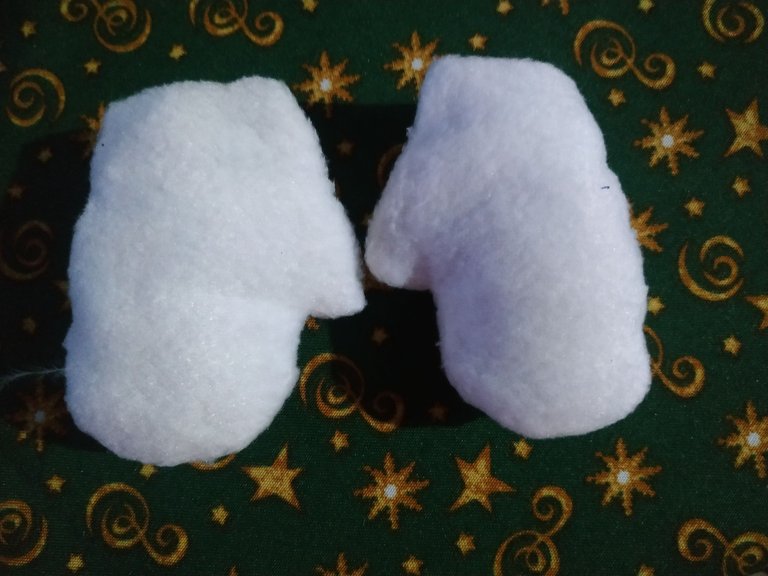
Pegamos a los extremos de los brazos y colocamos tira de tela tipo plumas en las muñecas.
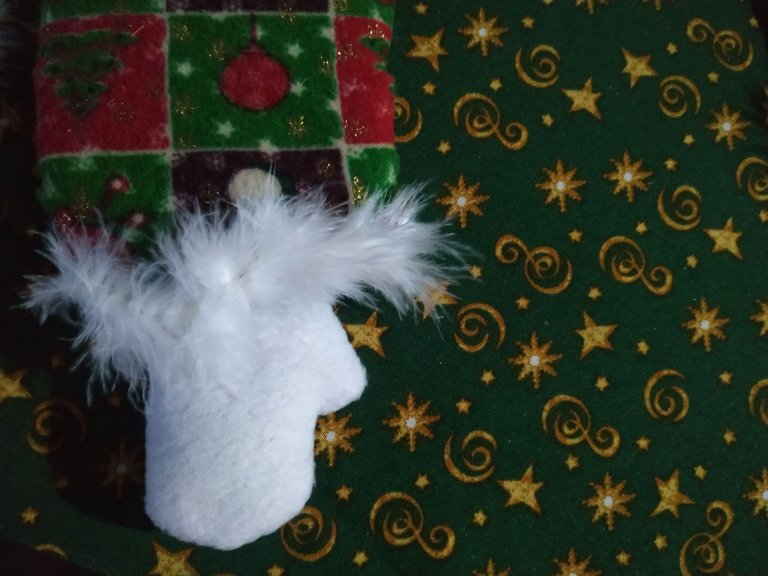
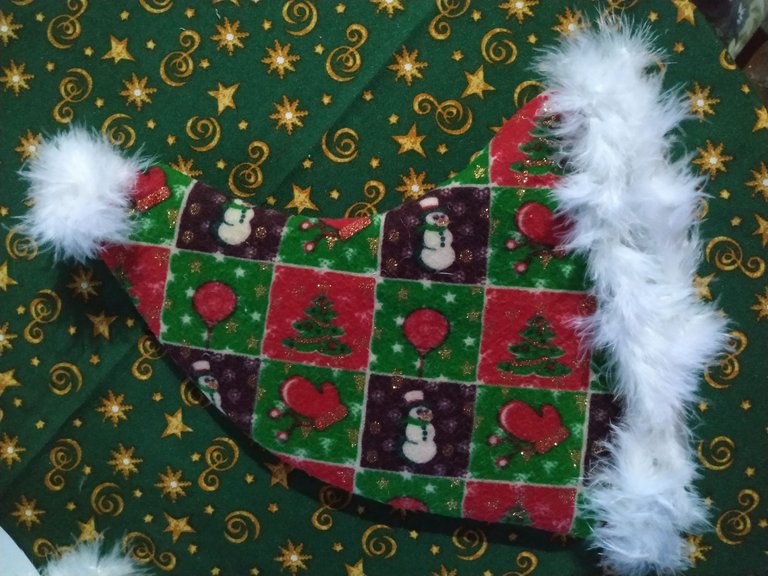
Para terminar el gorro decoramos en la parte inferior y en la punta del mismo, de manera que quede como una pequeña pelota de felpa.
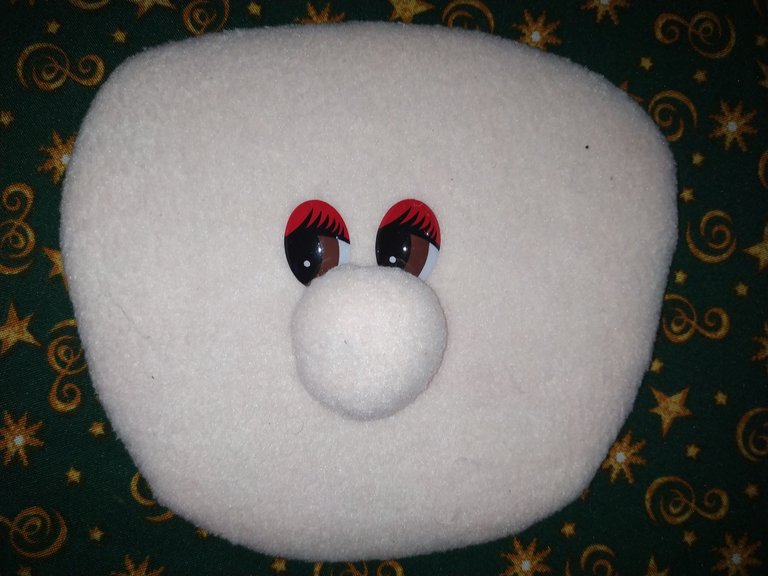
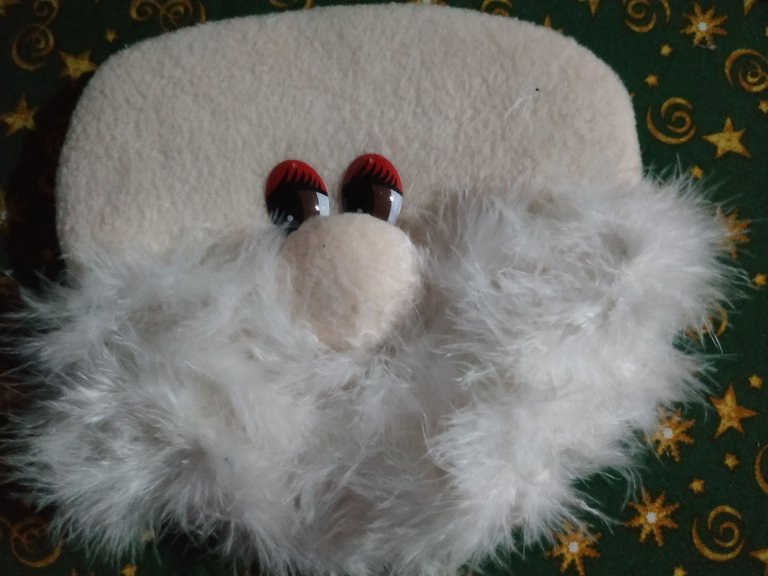
Para la cara, vamos a hacer un circulo con tela color beige, la colocamos en el centro de la cara y luego procedemos a pegar los ojos.
Hacemos la barba, pegando con Silicón frío y decoramos agregando un poco de rubor en las mejillas y en la nariz para dar color.
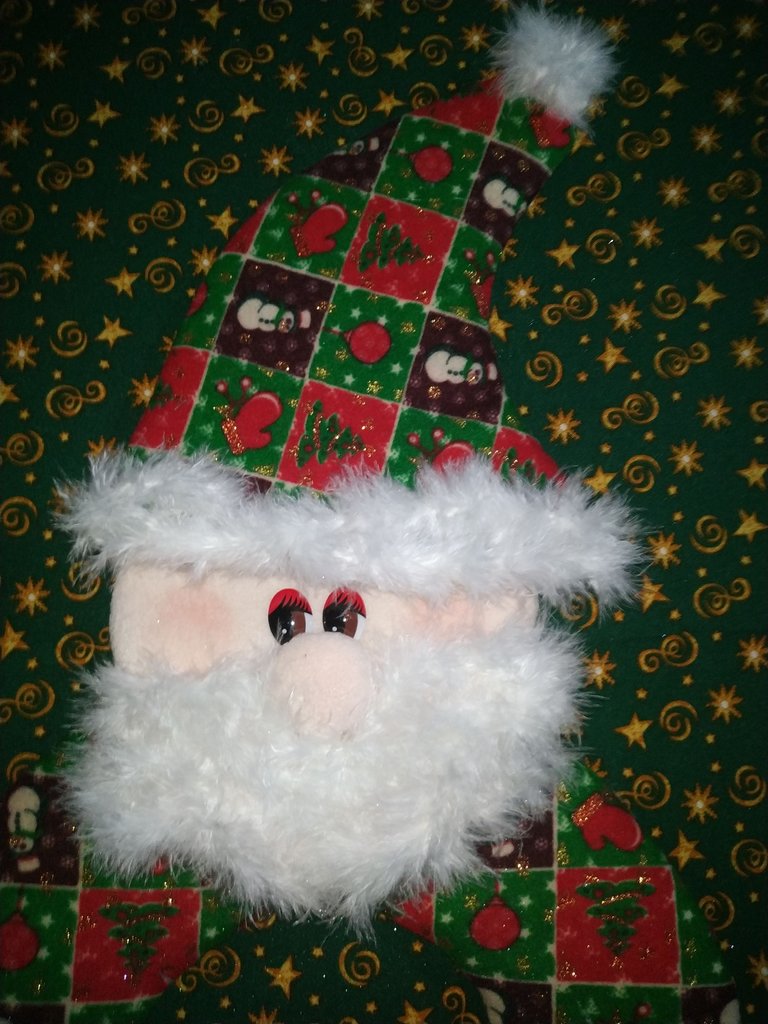
Pegamos las tres piezas ya armadas y decoradas. Por último y de manera opcional agregamos polvo de hadas o escarcha para que quede con mejor acabado.
Con esto tendremos listo nuestro Santa Claus para el árbol de navidad, yo no dude en colocarlo en el árbol como pieza central, es una decoración que da mucha personalidad y alegria.
Espero les haya gustado nuestro blog del día de hoy, por acá les dejo el Link de la publicación donde saque la idea para hacerla. Como siempre les deseo que tengan un feliz día y noche.

Happy Sunday my dear friends of Hive, I hope this has been a very good week for everyone.
We are already in December and I still have several crafts to show you, among them this beautiful Santa to place as decoration on the Christmas tree.
It is a craft made with cardboard as a base, full of color and details that make the finish very professional.
I must say that this is a very simple craft to make, with materials that we can get in any haberdashery (store where they sell sewing materials). For this project I used cold silicone to glue everything, because it was what I had at hand, but it is better if you use hot silicon stick, as it is much safer and dries faster.
Now, without further ado, let's get started.

- Christmas printed fabric.
- White and beige fabric.
- Feather fabric.
- Cardboard.
- Wadding.
- Scissors.
- Pencil.
- Thread and needle.
- Eyes for stuffed animals.
- Blush and brush.
- Frosting or fairy dust.


As a first step we are going to draw on our cardboard the three pieces of the santa. The head, the hat and the arms. I did this freehand measuring all the pieces so that they were similar.

We continue cutting the wadding to the size of our pieces.

Now we are going to place the piece we made on the fabric with which we are going to line each piece, we make them with three centimeters of difference and then make some cuts all around the contour.
We turn the piece over and line it. We begin to glue the cardboard part with our Silicon, so that it is very smooth on the front side.


Repeat the process with the face and the hat. For the face we did it with the pink fabric and the hat with the same Christmas print fabric used for the arms.

We continue making the hands, we make our mold, we measure with our arms. Then, on the folded white fabric we place our mold, cut it flush and repeat the process to get four of these pieces, turn them over and place them one on top of the other. We sew all around the contour and turn over to fill with wadding and close completely.


We glue to the ends of the arms and place a strip of feather-like fabric at the wrists.

To finish the cap we decorate the bottom and the tip of the cap, so that it looks like a small plush ball.

For the face, we are going to make a circle with beige fabric, place it in the center of the face and then proceed to glue the eyes.

We make the beard, gluing with cold Silicone and decorate adding a little blush on the cheeks and nose to give color.

Glue the three pieces already assembled and decorated. Finally and optionally add fairy dust or frosting for a better finish.
With this we will have ready our Santa Claus for the Christmas tree, I do not hesitate to place it on the tree as a centerpiece, it is a decoration that gives a lot of personality and joy.
I hope you liked our blog today, here is the Link of the publication where I got the idea to make it. As always I wish you have a happy day and night.


Fotos tomadas de mi teléfono Xiaomi Redmi Note 6 Pro || Photos taken from my Xiaomi Redmi Note 6 Pro phone.
Fuente del editor de imágenes || Image editor source

