

Feliz lunes y feliz inicio de semana mis queridos amigos de Hive, espero se encuentren muy bien y que está semana sea muy productiva y bendecida para todos.
Quiero compartirles en mi publicación del día de hoy una pequeña manualidad que hice el fin de semana, se trata de unas flores muy bonitas hechas a partir de hojas de papel de colores.
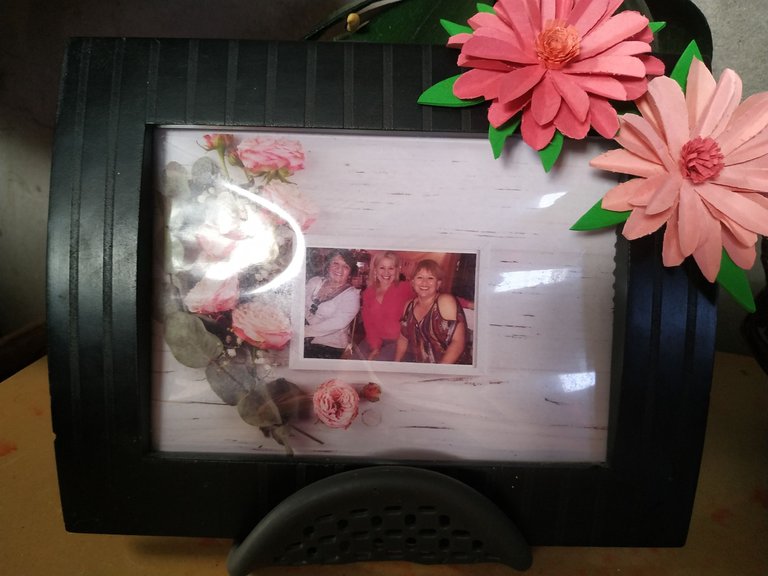
La verdad desde hace un tiempo quería decorar un poco más los portaretratos que hay en la sala de mi casa, son de color negro y se ven muy elegantes, pero entre estos portaretratos está una foto de mi mamá junto a mis dos tías y quería decorarlo para que resaltará mucho más, así que se me ocurrió la idea de estas flores que al final quedaron muy bonitas y el resultado fue el que esperaba.
Debo acotar que hacer estas flores es sencillo y puedes aplicarlo a diferentes manualidades que puedes hacer.
Sin más, espero les guste y aquí está el paso a paso.

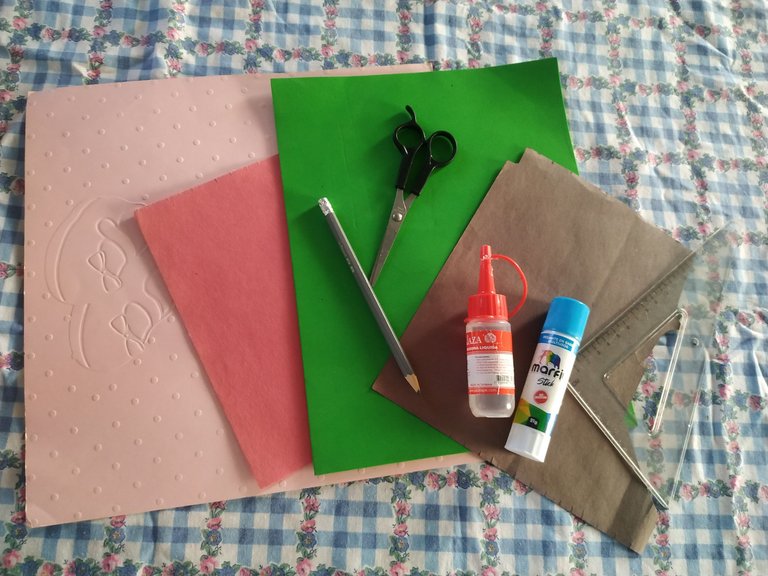
- Hojas de papel de colores.
- Foami color verde.
- Tijeras.
- Lápiz.
- Silicón frío.
- Pega o goma en barra.

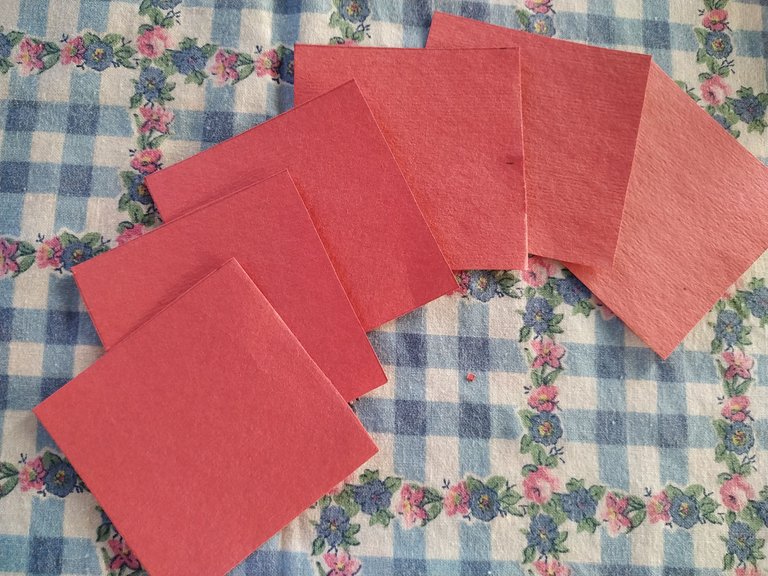
Cómo primer paso vamos a tomar la hoja del color que más nos guste y vamos a recortar cuadrados de 7 por 7 centímetros, para cada flor utilice cuatro cuadrados de estos.

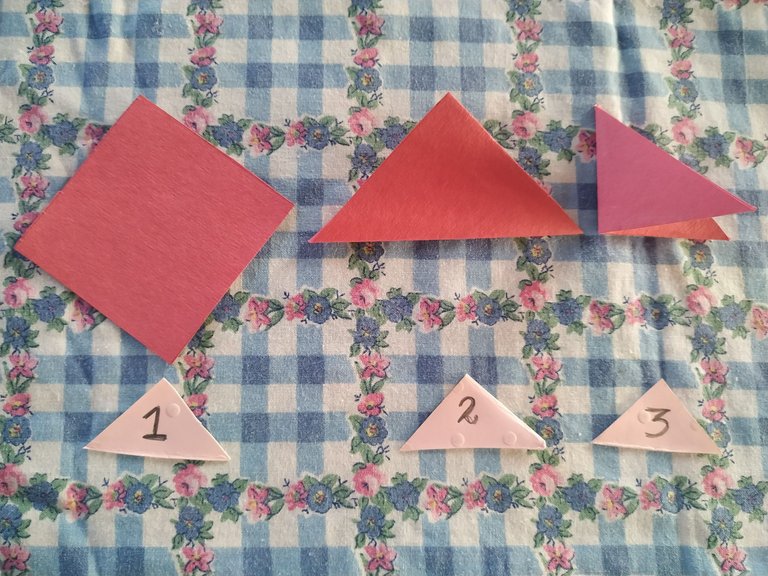
Tomamos uno de los cuadros que acabamos de cortar y procedemos a unir dos esquinas para que nos quede en forma de un triángulo (2). Volvemos a hacer un doblez, por todo el medio del triángulo y nos debe de quedar en forma de un triángulo rectángulo (3).
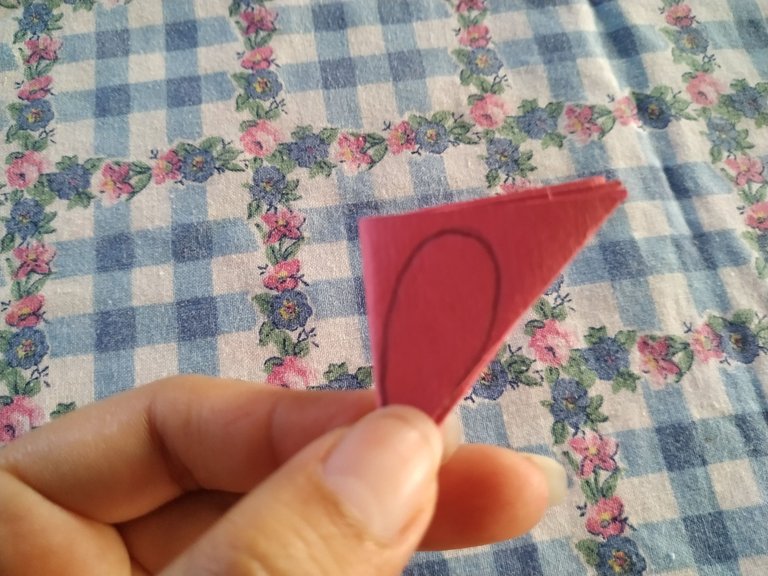
Nos van a quedar dos solapas, una la doblamos hacia el frente y la otra hacia el lado posterior. De manera que antes de presionar, se debe de formar como una letra W.
Presionamos para que quede bien doblado y dibujamos sobre una de las caras un pétalo.
Procedemos a cortar por todo el contorno de la línea que hicimos y abrimos para que nos quede la forma de los pétalos de la flor.
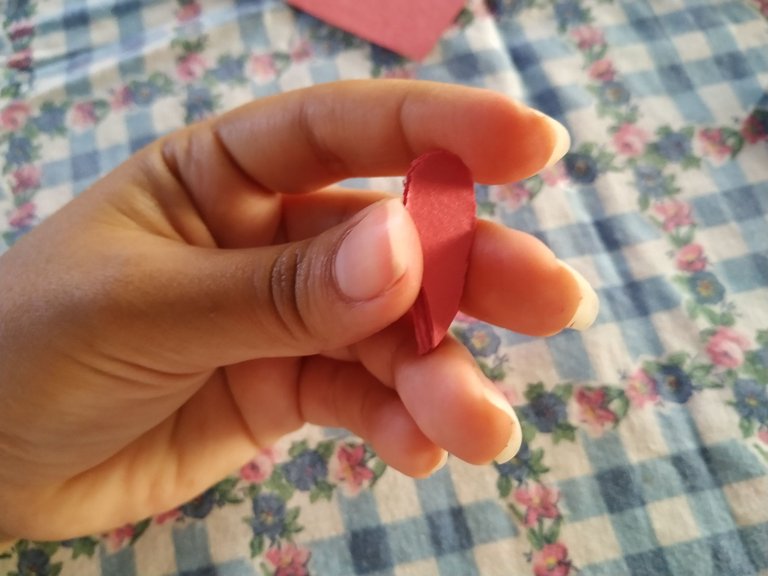
Cuando esté totalmente abierto, vamos a doblar los pétalos a la mitad para darle más volumen.
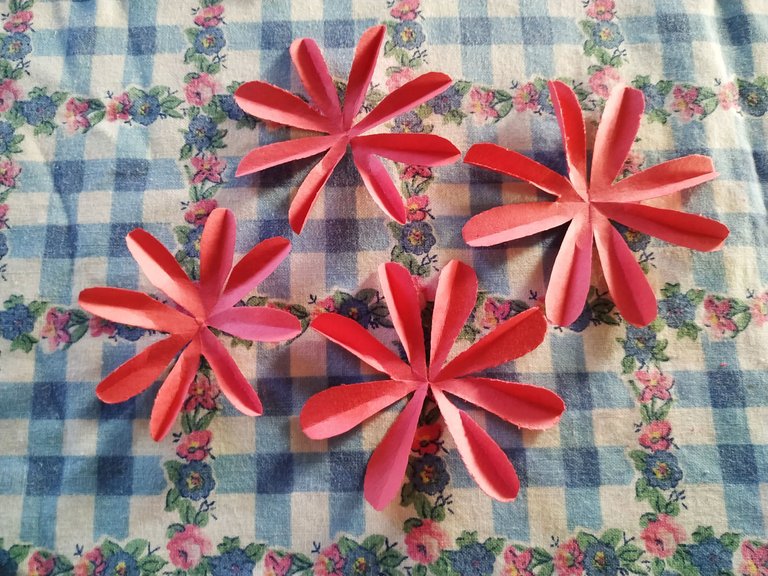
Repetimos el proceso con los cuadros restantes.
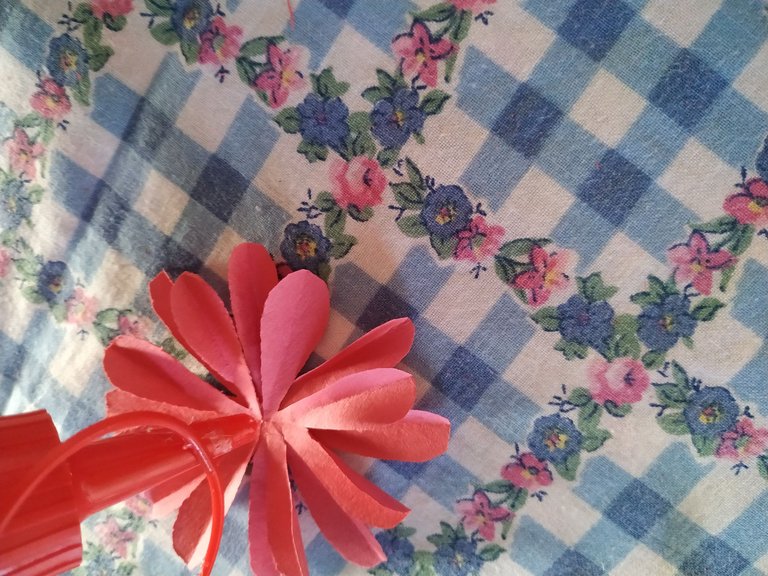
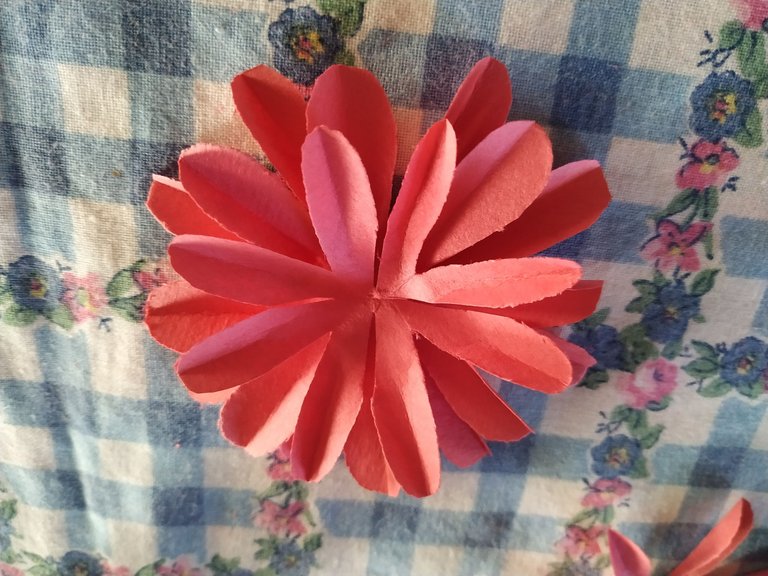
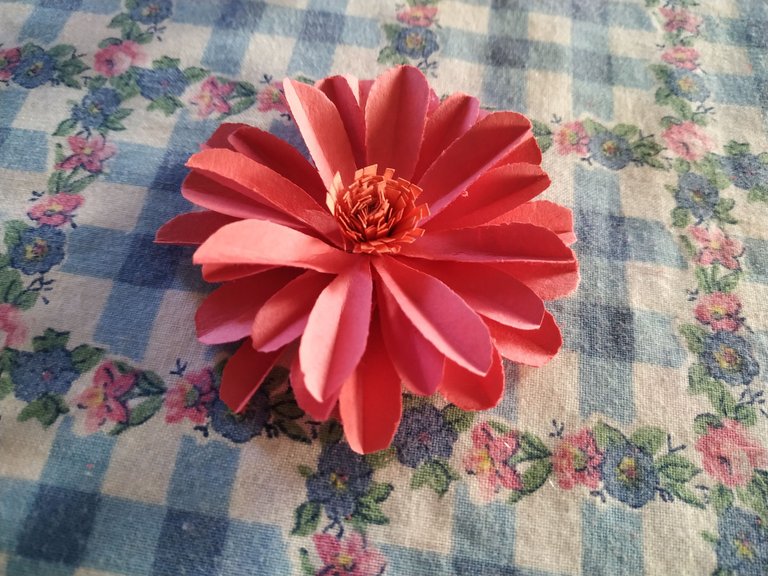
Colocamos Silicón frío en el centro de una de las flores que hicimos y procedemos a colocar sobre ella, otra flor. Repetimos el proceso hasta completar con las cuatro flores, recordando intercalar los pétalos para que quede mucho mejor.
Vamos a recortar una tira de 10cm de largo por 1cm de ancho y la doblamos varias veces para que nos quede un pequeño segmento.
Vamos a cortar líneas sin llegar al otro extremo de manera que nos queden unas pequeñas tiras y procedemos a dar vueltas o enrollar.
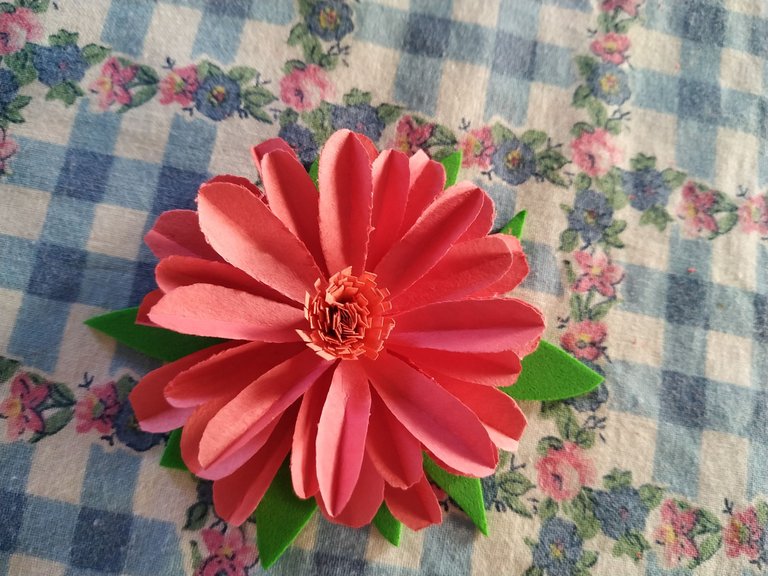
Unimos a la parte central de la flor y continuamos haciendo las hojas
En un foami color verde, dibujamos un círculo y a partir del mismo, dibujamos unas hojas por todo el perímetro, recortamos y pegamos como base de nuestra flor, dejamos secar por completo.
Repetimos el proceso con una hoja de un color más claro para obtener dos flores de color rosado.
Pegamos al portarretratos y con esto tendremos lista está fácil y bella manualidad.
Espero les haya gustado el resultado tanto como a mí, la verdad quede muy a gusto con el resultado. Hasta aquí mi blog del día de hoy, que tengan un buen día y noche.

Happy Monday and happy start of the week my dear friends of Hive, I hope you are doing well and that this week is very productive and blessed for everyone.
I want to share with you in today's post a little craft I did over the weekend, it is a very pretty flowers made from colored paper leaves.
The truth is that for some time I wanted to decorate a little more the picture frames that are in the living room of my house, they are black and look very elegant, but among these frames is a picture of my mom with my two aunts and I wanted to decorate it to highlight much more, so I came up with the idea of these flowers that in the end were very nice and the result was what I expected.
I must point out that making these flowers is simple and you can apply it to different crafts you can do.
Without further ado, I hope you like it and here is the step by step.

- Colored sheets of paper.
- Green Foami.
- Scissors.
- Pencil.
- Cold silicone.
- Glue or glue stick.

As a first step we are going to take the leaf of the color that we like and we are going to cut out squares of 7 by 7 centimeters, for each flower use four of these squares.
We take one of the squares that we just cut and proceed to join two corners so that we have a triangle shape (2). We make a fold again, through the middle of the triangle and it should be in the shape of a right triangle (3).
We will be left with two flaps, one we fold to the front and the other to the back side. So that before pressing, it should be formed as a letter W.
We press to make sure it is well folded and draw a petal on one of the sides.
We proceed to cut around the contour of the line we made and open it so that we have the shape of the petals of the flower.
When it is completely open, we are going to fold the petals in half to give it more volume.
Repeat the process with the remaining squares.
We place cold Silicone in the center of one of the flowers we made and proceed to place another flower on top of it. Repeat the process until completing the four flowers, remembering to intersperse the petals so that it looks much better.
We are going to cut a strip of 10cm long by 1cm wide and fold it several times so that we have a small segment.
We will cut lines without reaching the other end so that we have a few small strips and proceed to turn or roll.
We join the central part of the flower and continue making the leaves.
In a green foami, we draw a circle and from it, we draw some leaves around the perimeter, cut and paste as the base of our flower, let it dry completely.
Repeat the process with a lighter colored leaf to obtain two pink flowers.
Glue to the picture frame and with this we will have ready this easy and beautiful craft.
I hope you liked the result as much as I did, the truth is that I was very pleased with the result. So far my blog for today, have a nice day and night.

Editado en Canva || Edited in canva
Fotos tomadas de mi teléfono Xiaomi Redmi Note 6 Pro || Photos taken from my Xiaomi Redmi Note 6 Pro phone.
Fuente del editor de imágenes y separadores || Image editor source and separators