
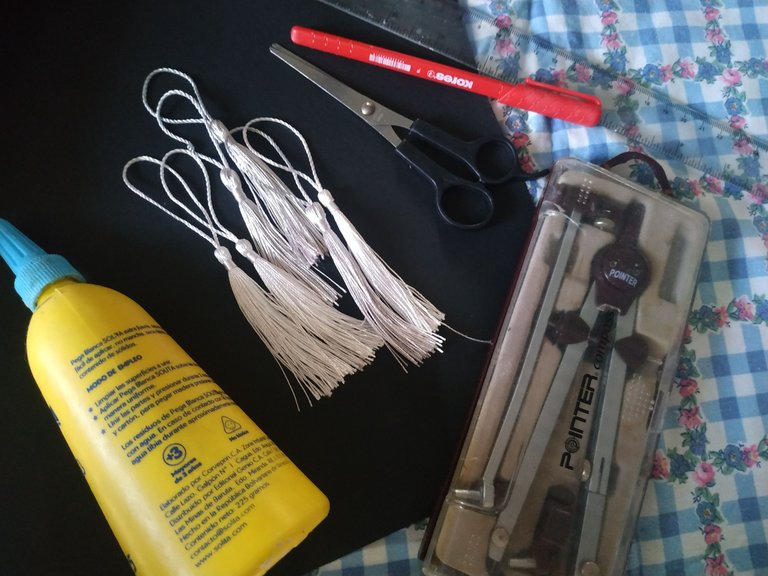
El mes de julio fue época de graduaciones, y siempre es de gran importancia dar un pequeño detalle en esos momentos memorables. Es por ello que les comparto una idea muy creativa, bonita y sencilla para regalar a cualquier graduado. Se trata de una pequeña caja en forma de birrete 🎓 en la cual podemos agregar algún detalle especial. Para poder elaborarla, vamos a necesitar:

- Cartulina negra.
- Tijeras.
- Pega líquida blanca.
- Silicon caliente.
- Reglas.
- Compás.
- Borlas.
- Lápiz / lapicero.

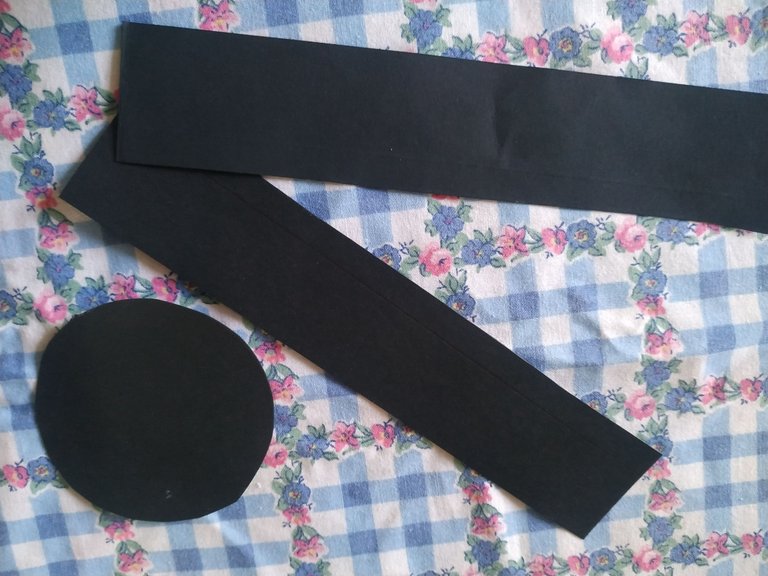
Como primer paso debemos tomar la cartulina negra y sobre ella vamos a dibujar una circunferencia de 8 cm y de 7 cm de diámetro, una dentro de la otra.
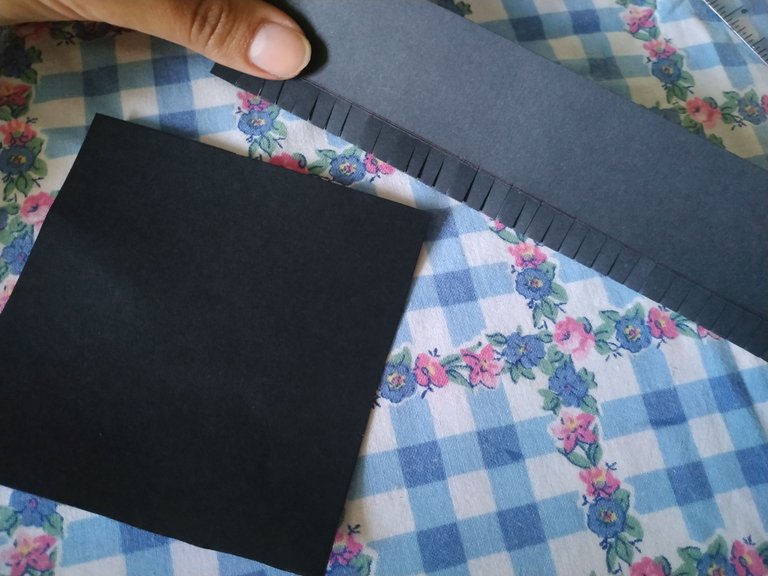
También vamos a dibujar dos rectángulos de 4 cm de ancho por 20 cm de largo.
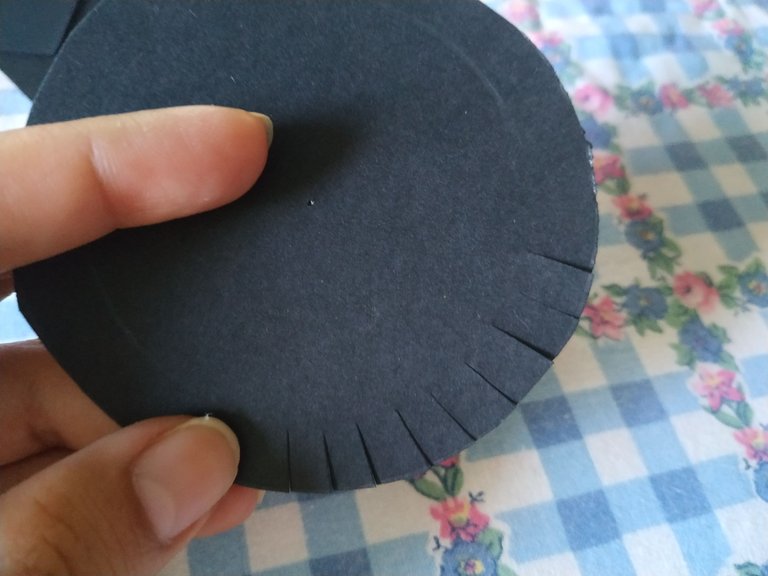
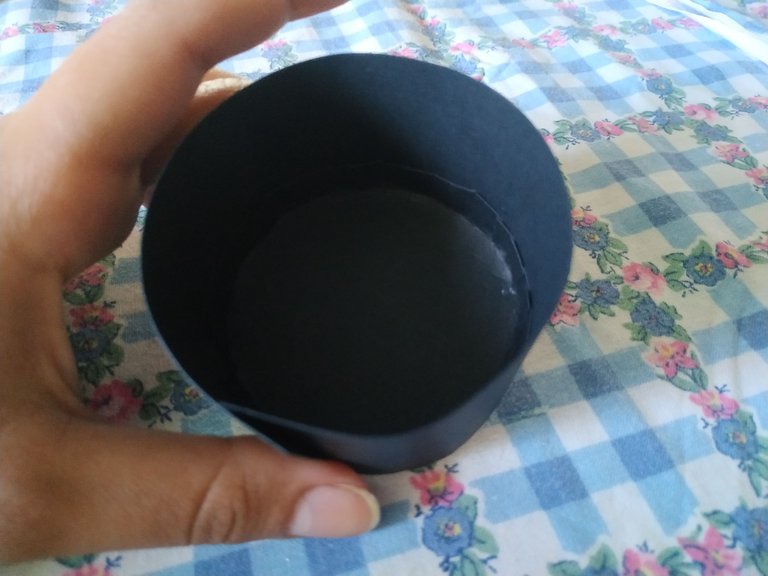
Las piezas las vamos a recortar por todo el contorno, a la pieza circular le vamos a hacer unos pequeños cortes de manera que podamos doblarlos y que queden como en la segunda foto.
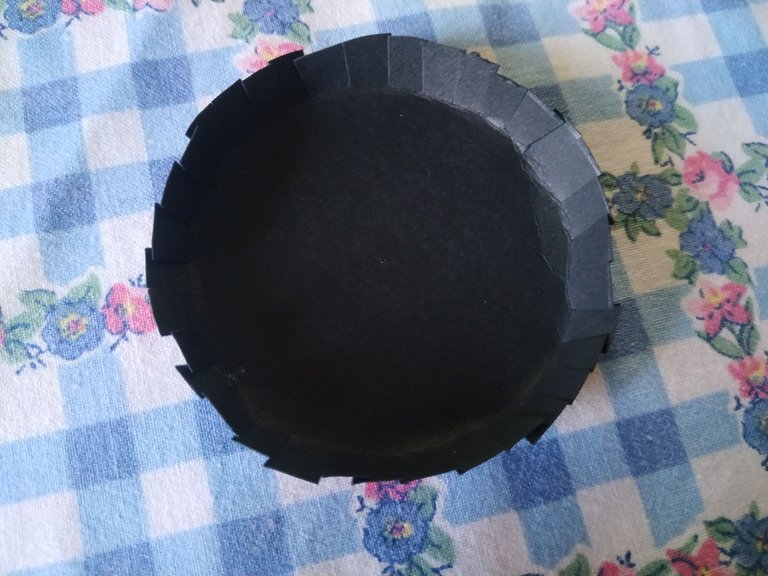
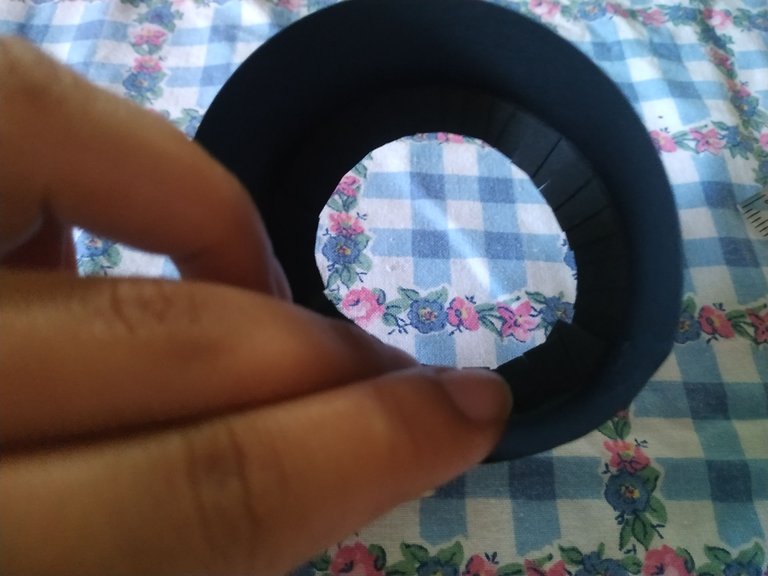
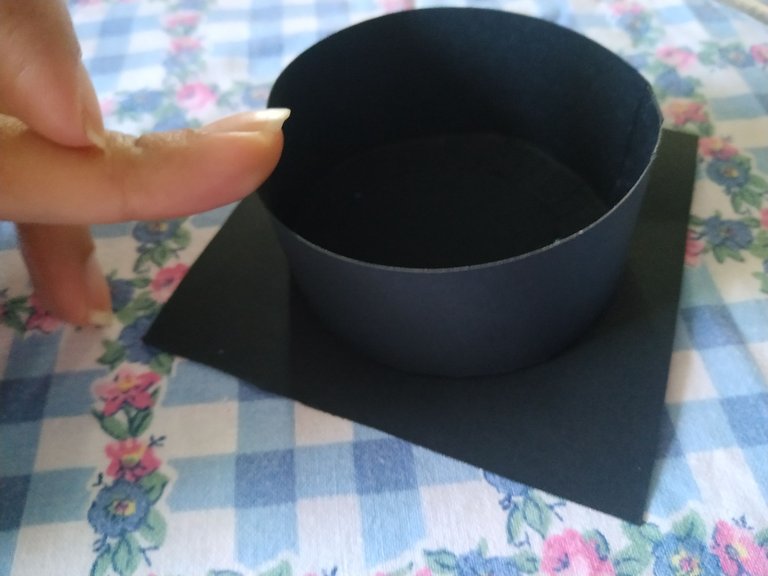
En uno de los laterales se agrega la goma blanca líquida y la unimos a la pieza que doblamos anteriormente, presionamos un poco para que se adhiera muy bien.

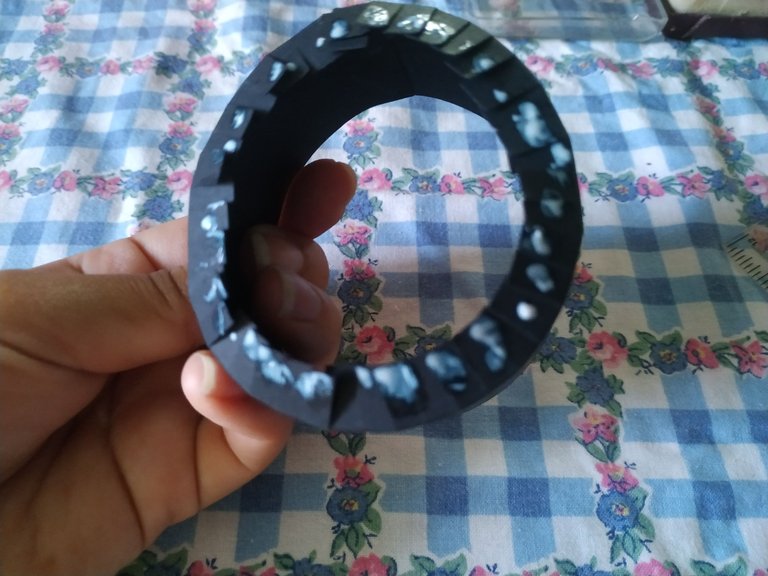
Para la parte de la tapa, vamos a utilizar el otro rectángulo y al mismo le vamos a hacer unas pequeñas solapas que vamos a doblar y colocar en forma circular.
También debemos cortar un cuadrado de 15 x 15 cm.
Unimos ambas piezas.
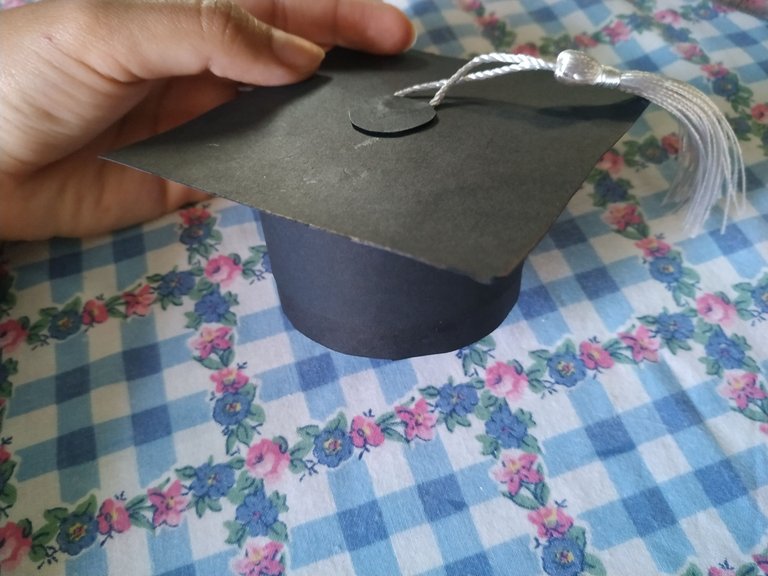
Con ayuda de silicona caliente colocamos la borla en la parte superior de la tapa, disimulamos con una pequeña pieza de cartulina color negra.
Con esto ya tendremos listo el proyecto, solo queda colocar en el interior la sorpresa o detalle. En mi caso agregué dos golosinas con una pequeña pulsera con la inicial de cada estudiante.

Hasta aquí mi proyecto de hoy, espero les haya gustado esta idea y puedan hacerla ustedes también.
Gracias por leer mi blog, les deseo que tengan un feliz día y noche.

July was graduation time, and it is always of great importance to give a small detail in those memorable moments. That is why I share with you a very creative, beautiful and simple idea to give as a gift to any graduate. It is a small box in the shape of a cap 🎓 in which we can add a special detail. In order to make it, we will need:
- Black cardboard.
- Scissors.
- White liquid glue.
- Hot silicon.
- Rulers.
- Compass.
- Tassels.
- Pencil / pencil.
As a first step we must take the black cardboard and on it we are going to draw a circumference of 8 cm and 7 cm in diameter, one inside the other.
We are also going to draw two rectangles of 4 cm wide and 20 cm long.
We are going to cut the pieces all around the contour, to the circular piece we are going to make some small cuts so that we can fold them and they look like in the second photo.
On one of the sides, add the liquid white gum and attach it to the piece that we folded previously, pressing a little so that it adheres very well.
For the part of the lid, we are going to use the other rectangle and we are going to make some small flaps that we are going to fold and place in a circular shape.
We must also cut a square of 15 x 15 cm.
We join both pieces together.
With the help of hot silicone we place the tassel on the upper part of the lid, concealing it with a small piece of black cardboard.
With this we will have the project ready, it only remains to place the surprise or detail inside. In my case I added two candies with a small bracelet with the initial of each student.
So much for my project today, I hope you liked this idea and you can do it too.
Thank you for reading my blog, I wish you a happy day and night.
Fotos tomadas de mi teléfono Xiaomi Redmi Note 6 Pro || Photos taken from my Xiaomi Redmi Note 6 Pro.
Fuente del editor de imágenes || Image editor source