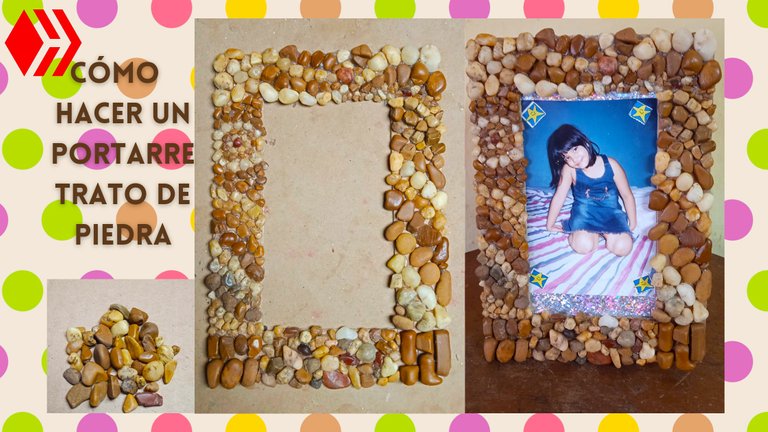
| You can make a beautiful, inexpensive and original picture frame for your photos using small and simple stones. Here's how to do it. | Puedes hacer un bonito, económico y original portarretrato para tus fotos usando pequeñas y sencillas piedras. A continuación te muestro como hacerlo. |
|---|
For the materials needed
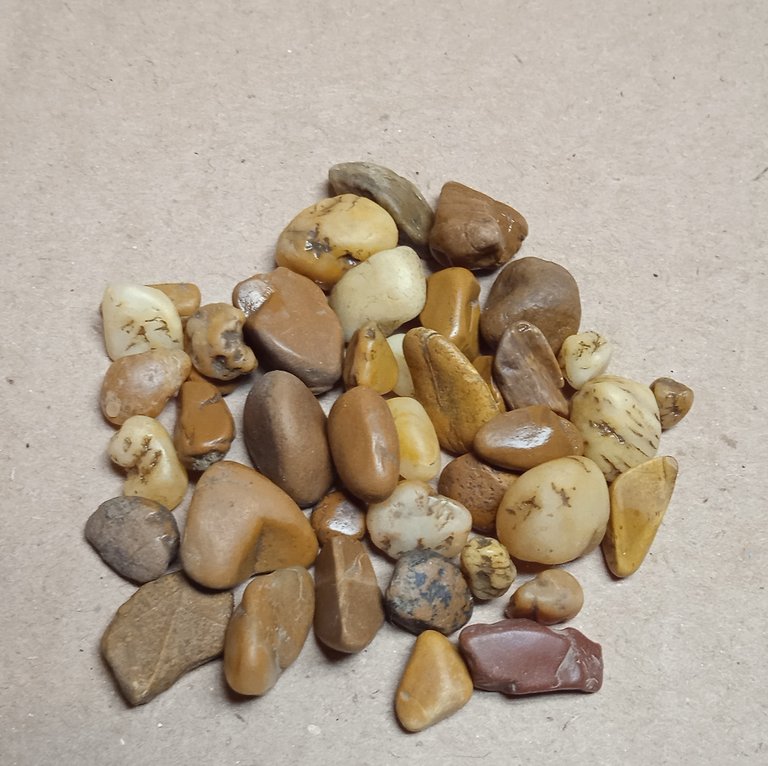
- Stones of various shapes and colors.
- 3 Rectangles of cardboard or other figure of your choice.
- Silicone stick.
- Cutter or scissors.
Para los materiales se necesitan:
- Piedras de varias formas y colores.
- 3 Rectángulos de cartón u otra figura que prefieras.
- Silicón en barra.
- Cutter o tijeras.
Process
Proceso
| English | Español |
|---|---|
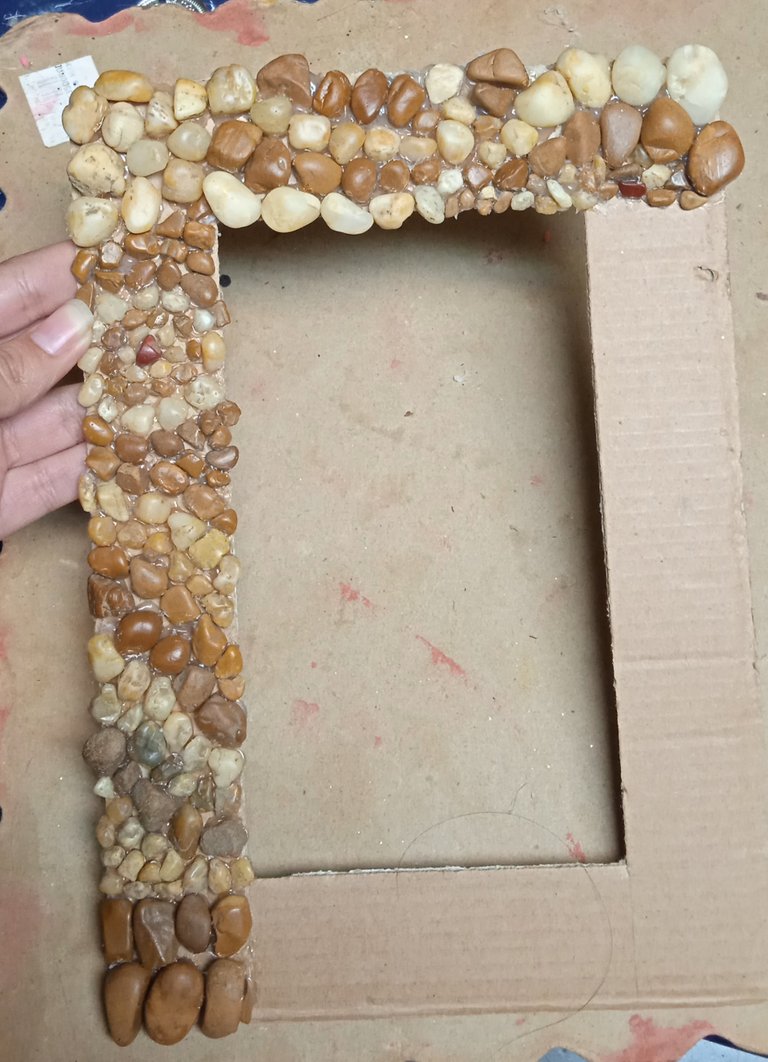
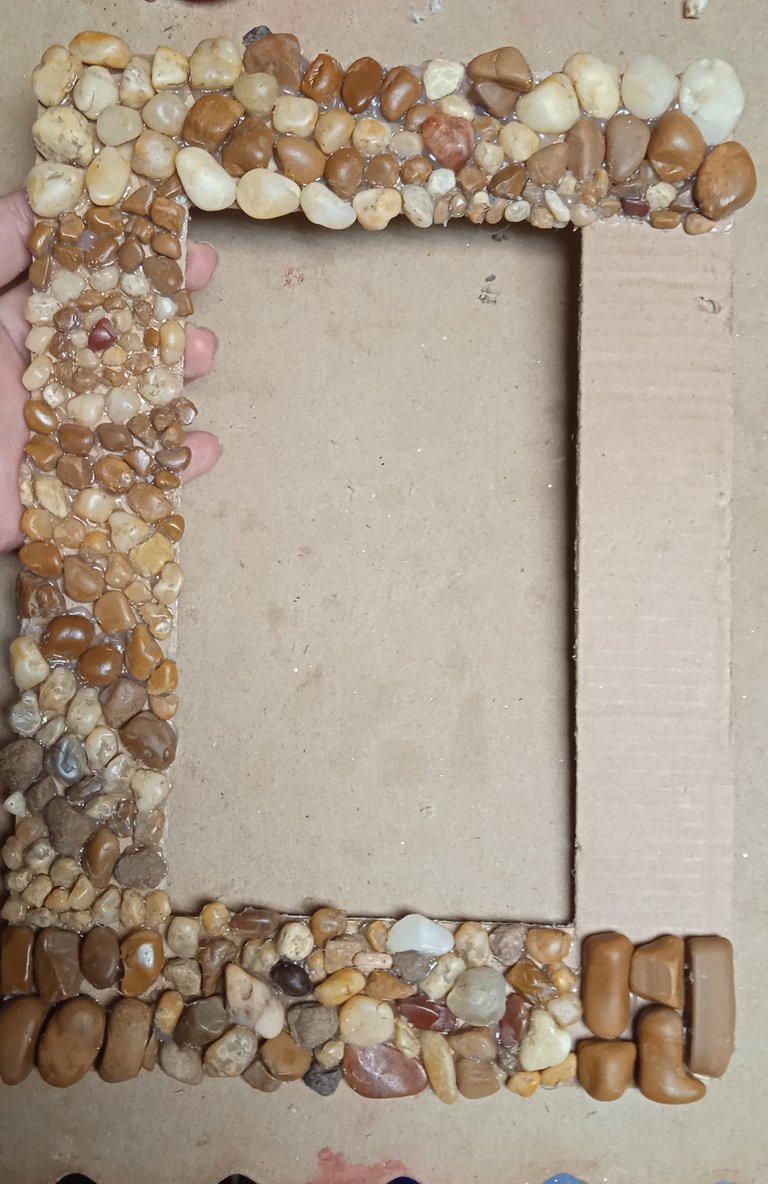
| First, the shape of a frame is cut out of cardboard. | Primero se corta la forma de un marco en cartón. |
| English | Español |
|---|---|
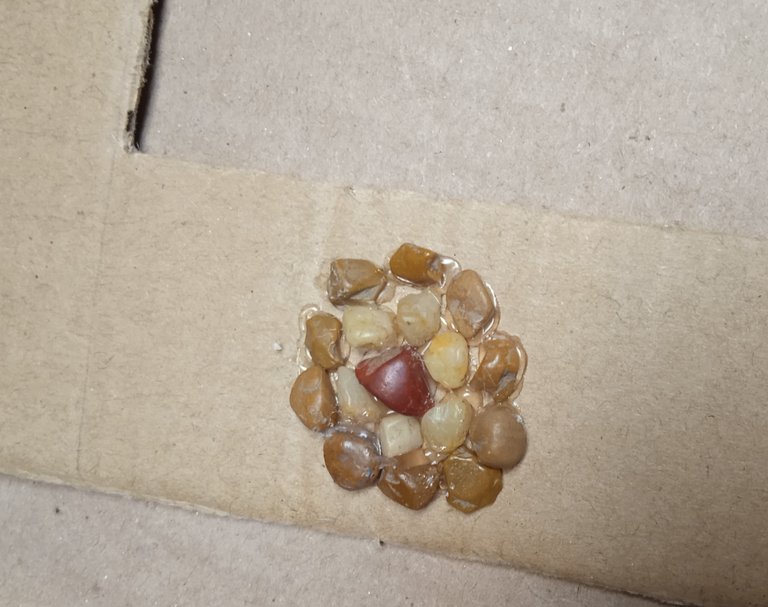
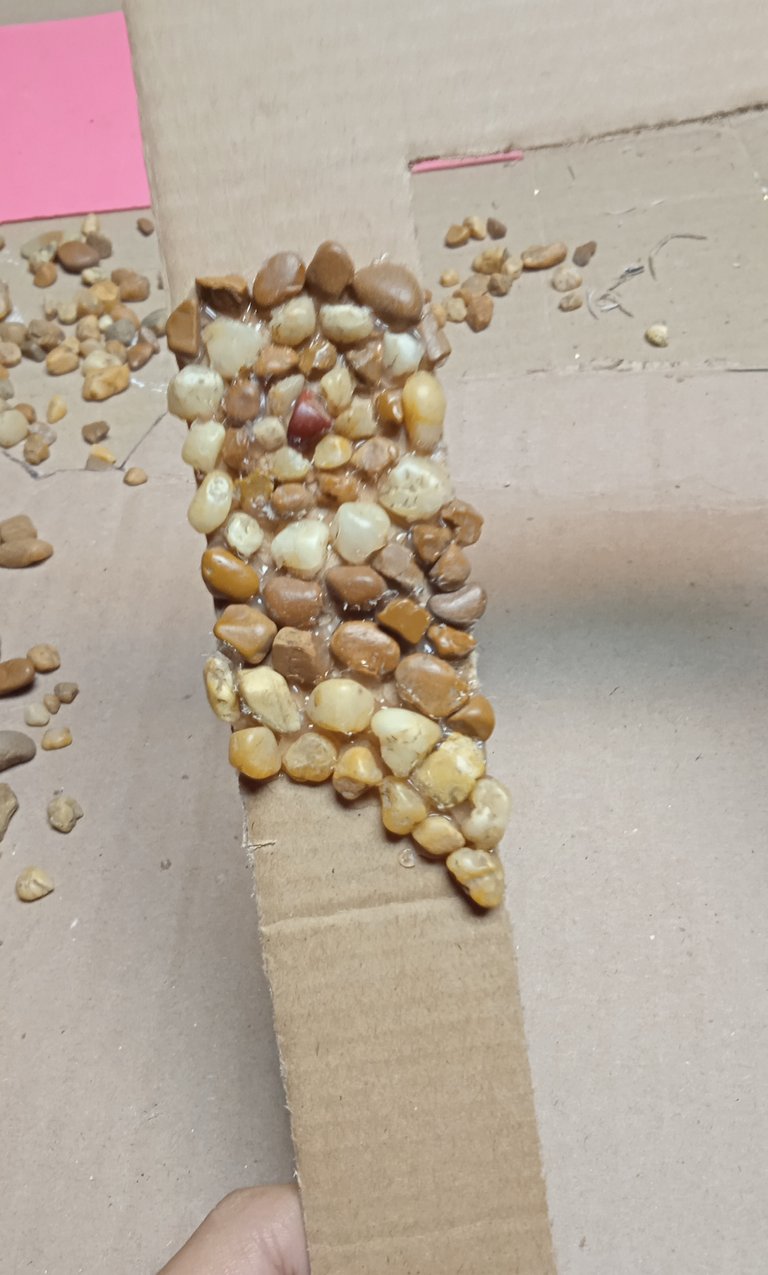
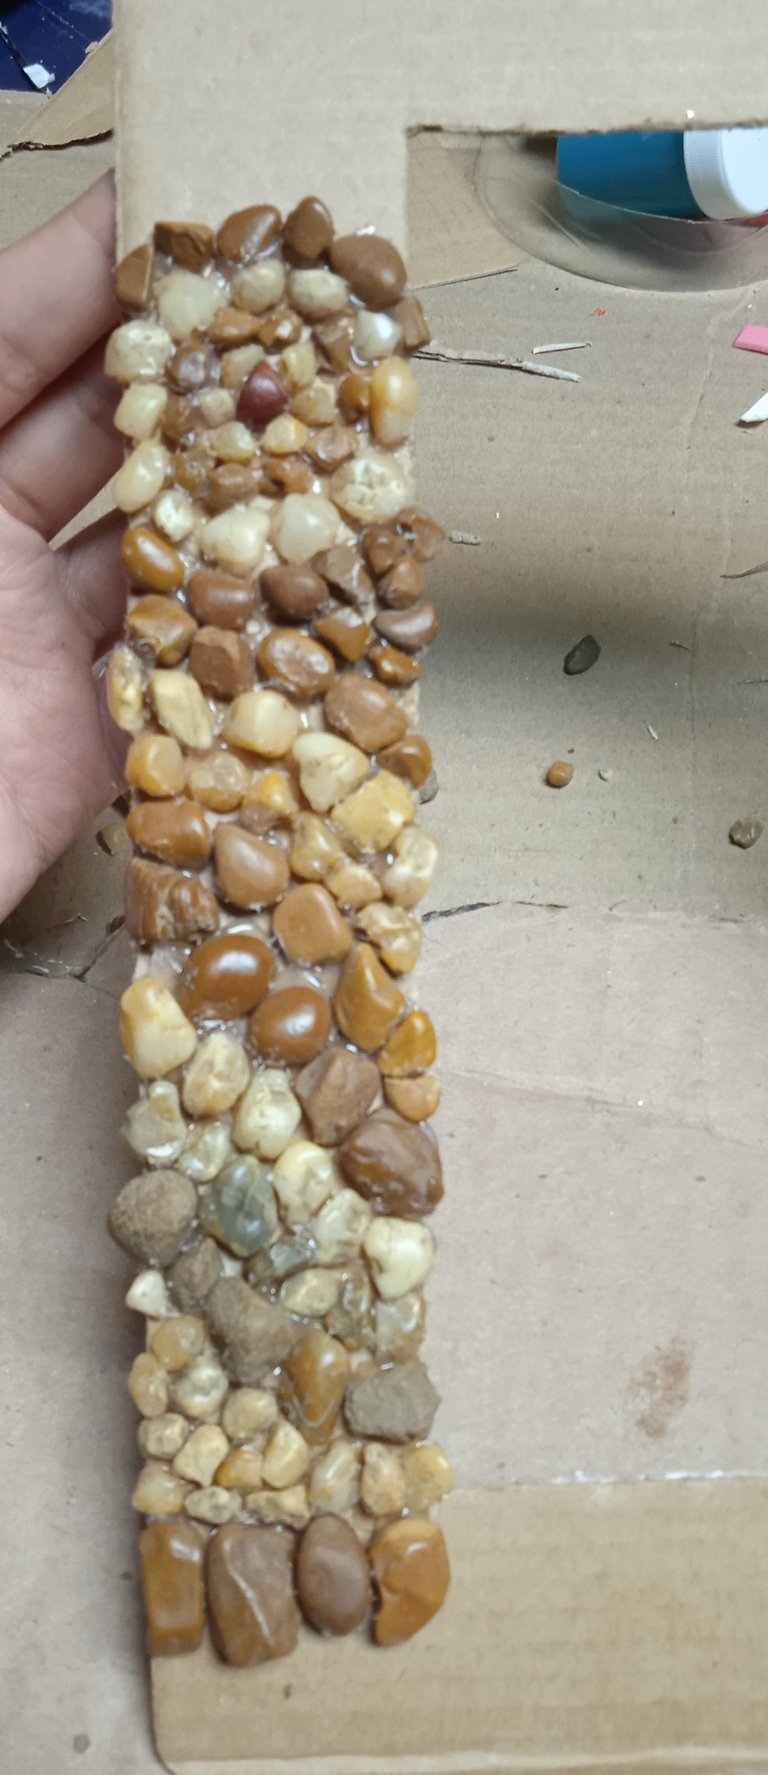
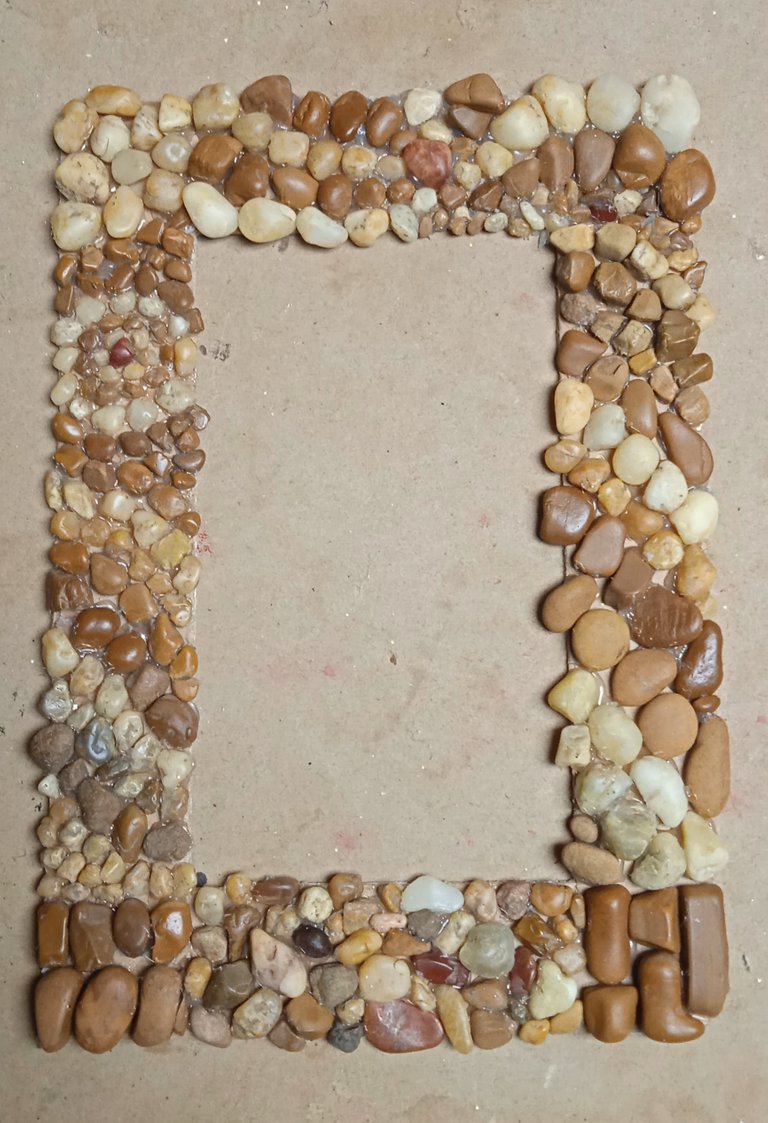
| Then the stones are glued with silicone. To make the circular design of the image, start in the center with a stone and place the others around it. You can make many different figures playing with their sizes and colors or just place them randomly. | Luego se pegan las piedras con silicón. Para hacer el diseño circular de la imagen se comienza en el centro con una piedra y se van colocando las otras alrededor. Se pueden hacer muchas figuras diferentes jugando con sus tamaños y colores o solo colocarlas al azar. |
| English | Español |
|---|---|
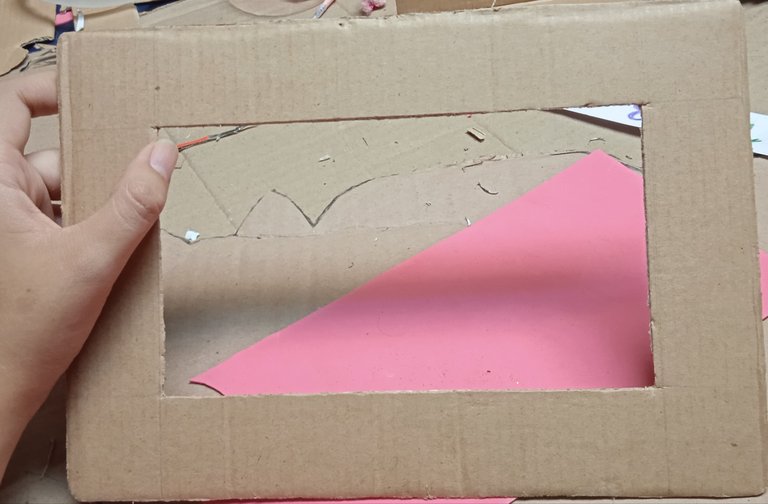
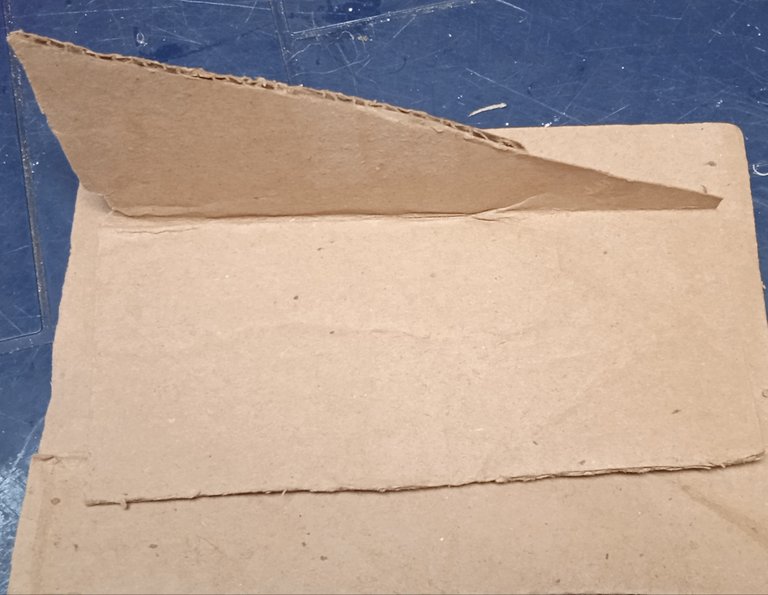
| To finish, use a piece of cardboard to close the back, leaving one side unglued to put the photos in and take them out. The last rectangle is folded in half, one side is cut into a triangular shape to serve as a support and glued in the middle. | Para terminar se usa un cartón para cerrar la parte de atrás dejando un lado sin pegar para meter y sacar las fotos. El último rectángulo se dobla a la mitad, se recorta un lado en forma triangular para servir de soporte y se pega en medio. |
| English | Español |
|---|---|
| Finally, this is what the completely assembled picture frame looks like, I used an old childhood photo as an example. With these simple steps you get an ornament with a rustic touch and at the same time elegant for your home. I hope you liked it, see you later. | Finalmente así se ve el portaretrato completamente armado, le puse una antigua foto de la infancia como ejemplo. Con estos sencillos pasos se consigue un adorno con toque rústico y a la vez elegante para tu casa. Espero que les haya gustado, hasta luego. |