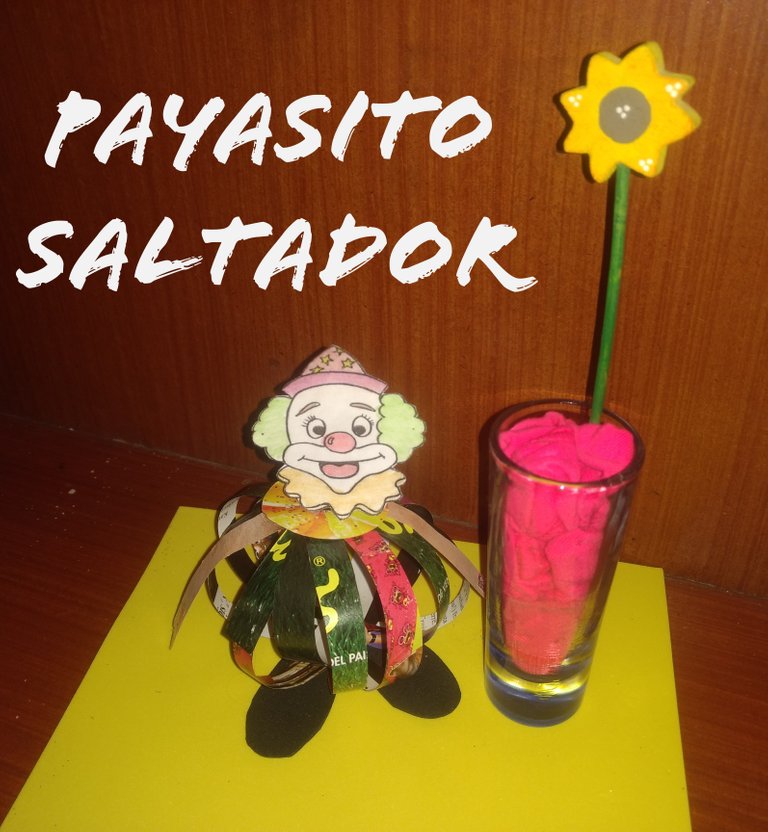
Jumping Clown (Intermediate level) [English/Spanish)

in #hive-1305603 years ago

img_0.5321706689455921.jpg

My dear #HiveDiy, What a pleasure to come back to this community to teach you simple and easy things, made with materials we have at home or acquire at low cost.

Carnival is my favourite holiday (after my birthday), because it is surrounded by colours and fun; creativity is infinite, nothing limiting like other dates that are distinguished by colours or decorations.

In this opportunity, I want to show you a cute little clown made with useful materials, which for me who doesn't usually work with this kind of art was a bit complicated (that's why I called it intermediate level), but if you are more creative then it will be very easy to make.

So, let's get started!

Payasito Saltador (nivel intermedio) [Inglés/Español) Mis queridos #HiveDiy, Que placer volver por esta comunidad a enseñarles cosas sencillas y fáciles, hechas con materiales que tenemos en casa o adquirimos a bajo costo. El carnaval es mi fiesta favorita (después de mi cumpleaños), porque está rodeada de colores y diversión; la creatividad es infinita, nada limitante como otras fechas que se distinguen por colores o adornos. En esta oportunidad, les quiero mostrar un lindo payasito hecho con materiales de provecho, que para mí que no trabajo usualmente con este tipo de arte me resultó un poquito complicado (por eso lo llame nivel intermedio), pero si usted es más creativa (o) entonces sera muy fácil para su elaboración. Entonces, ¡Comenzamos!


#Materials//Materiales


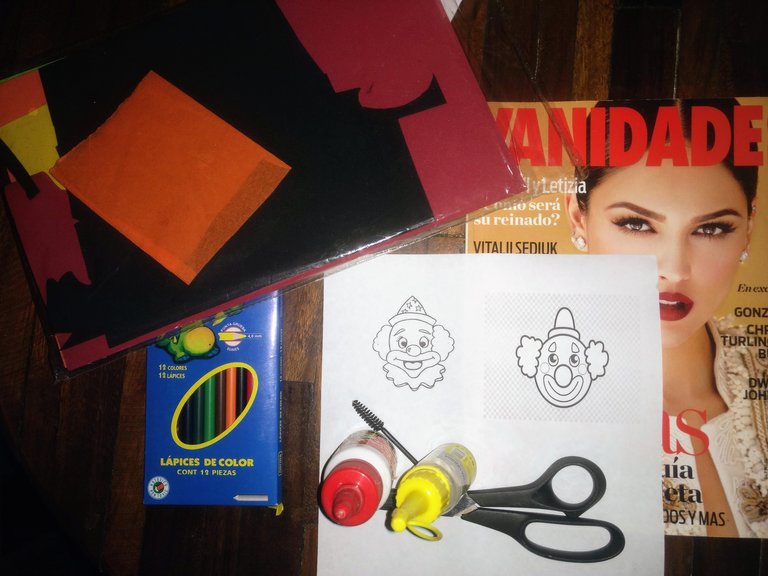
🤡 Magazine. I used magazine to make it colourful, but you can use construction paper or one-colour sheets of paper. It's a clown, so it should be colourful.

🤡Foami. Small scraps.

🤡Scissors.

🤡Liquid silicone or glue.

🤡Colours or markers.

🤡Printed clown's head. I did it on LESS than 1/4 of the sheet, so it would hold up. Remember it's paper and it's too light to hold the weight.

🤡

Revista. Usé revista para que fuera colorido, pero puedes usar los block de construcción u hoja de papel unicolor. Es un payaso, así que debe ser colorido.
🤡Foami. Pequeños retazos.
🤡Tijera.
🤡Silicón líquido o pega.
🤡Colores o marcadores.
🤡La cabeza de un payaso impresa. Yo la hice en MENOS DE 1/4 de la hoja, para que se pudiera aguantar. Recuerden que es papel y es muy liviano para sostener el peso.
img_0.2351522479632819.jpg

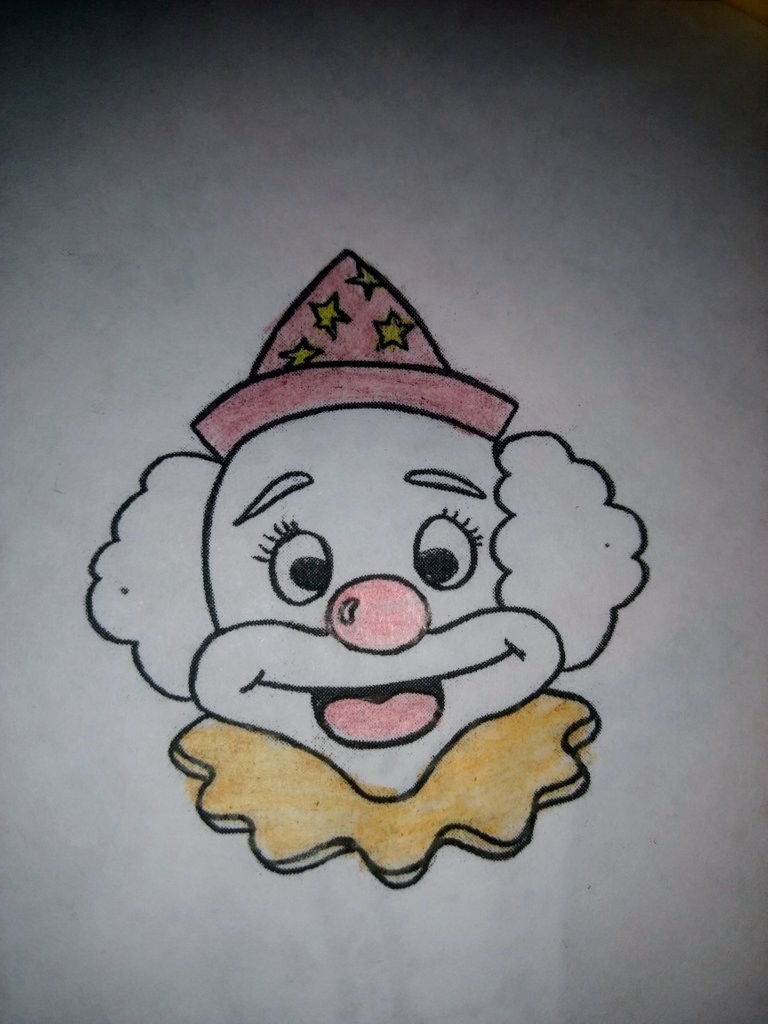
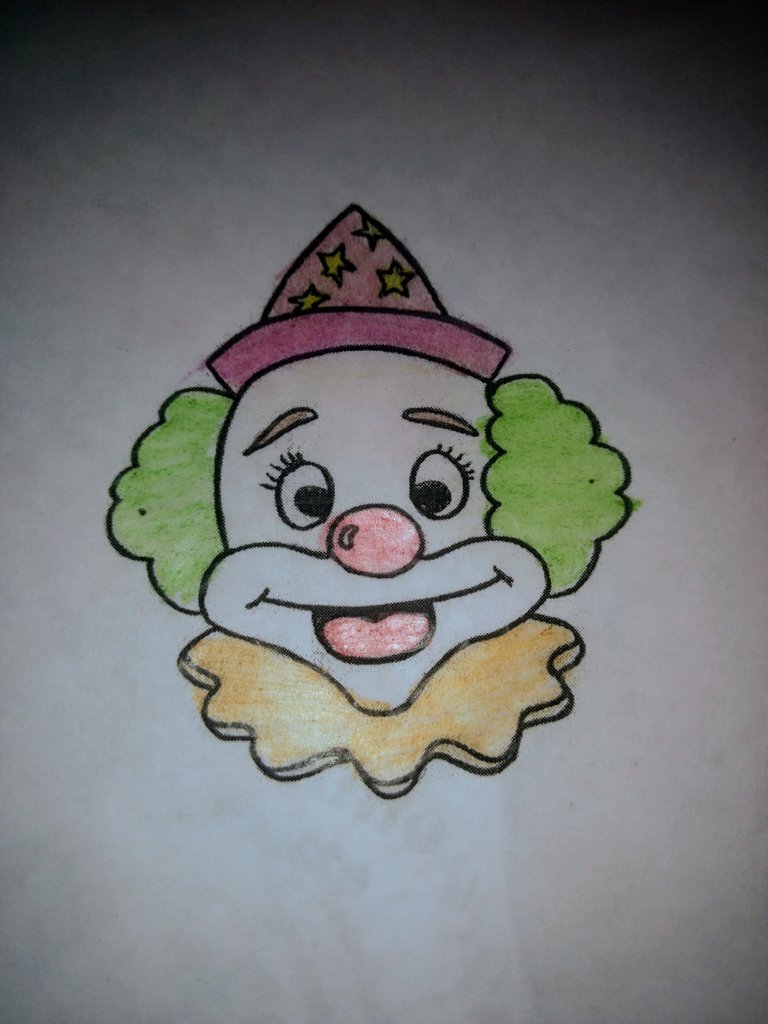
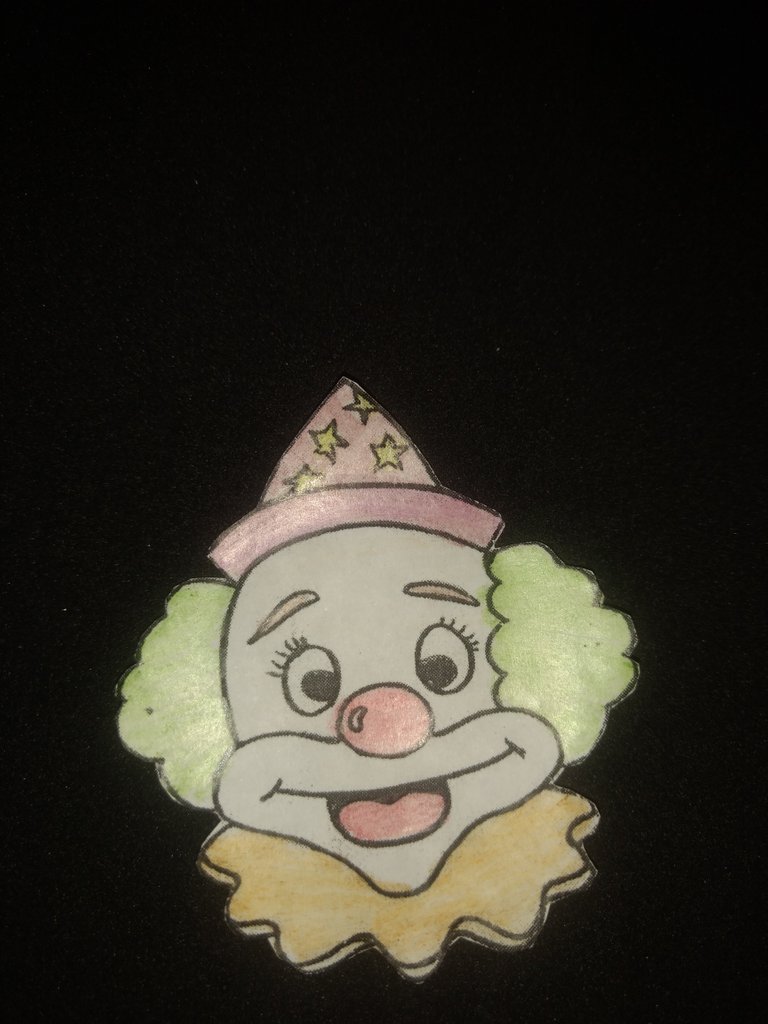
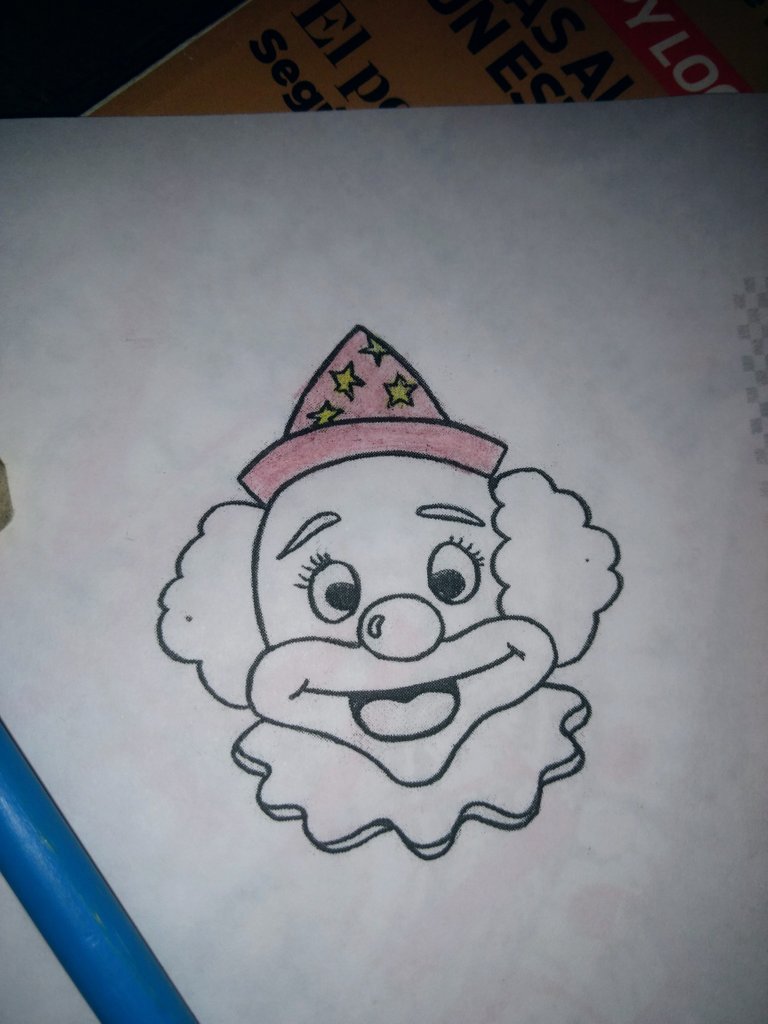
1️⃣Paint the clown. You can print it in colour but I decided to paint it.

1️⃣Pintar el payaso. Puedes imprimirlo a color pero yo decidí pintarlo.
img_0.10684504780823148.jpg

img_0.06109527055993359.jpg

img_0.34929438621173103.jpg

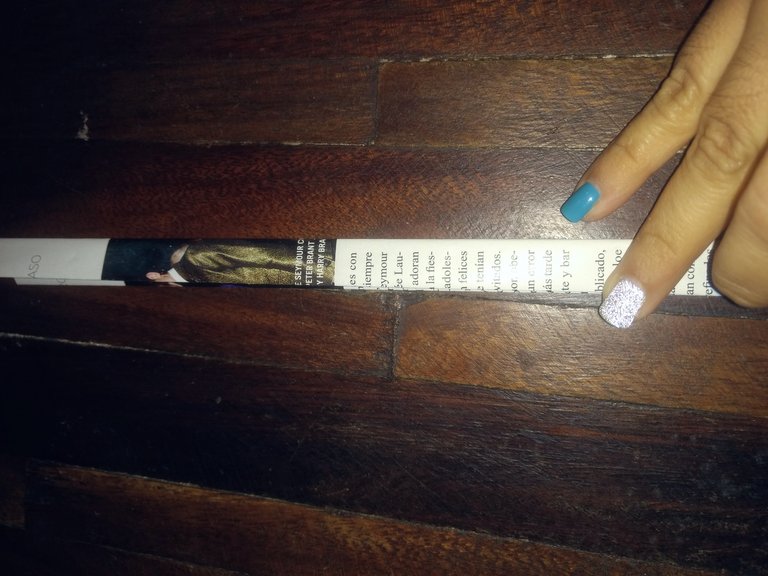
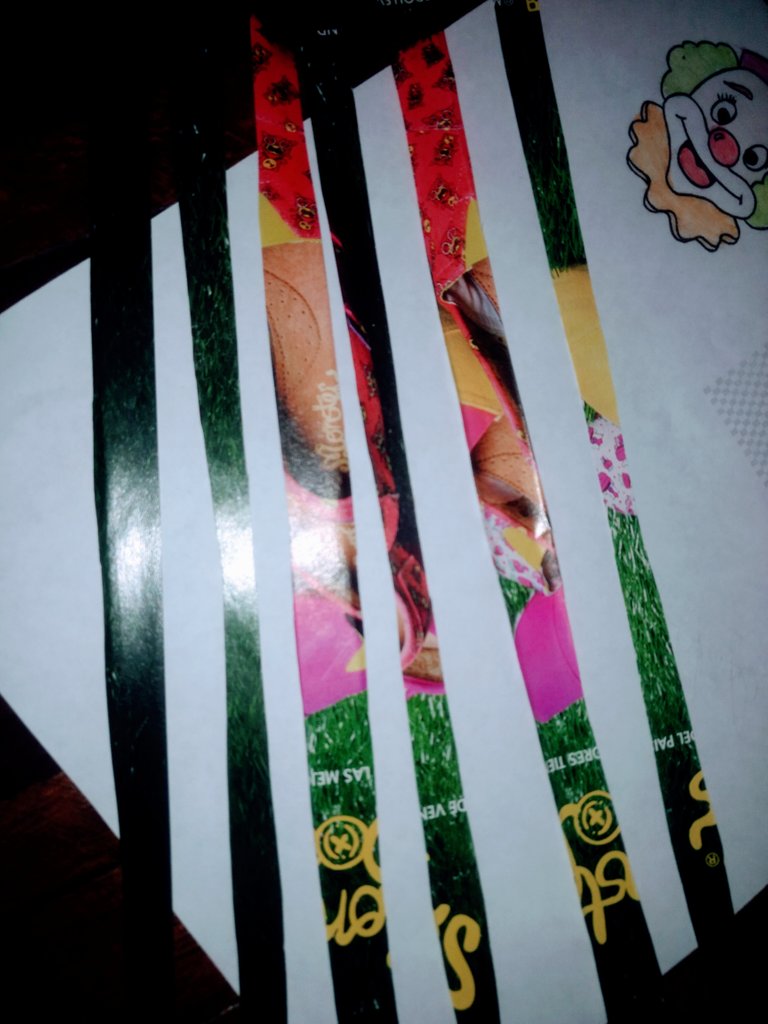
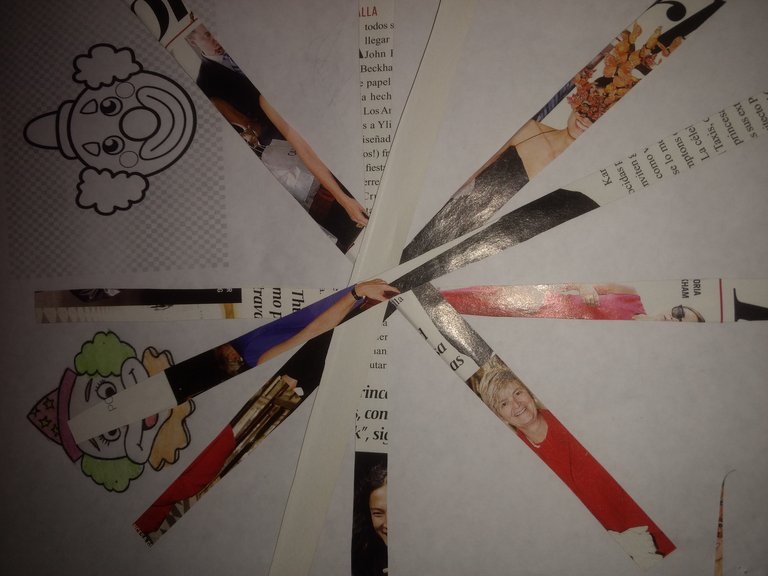
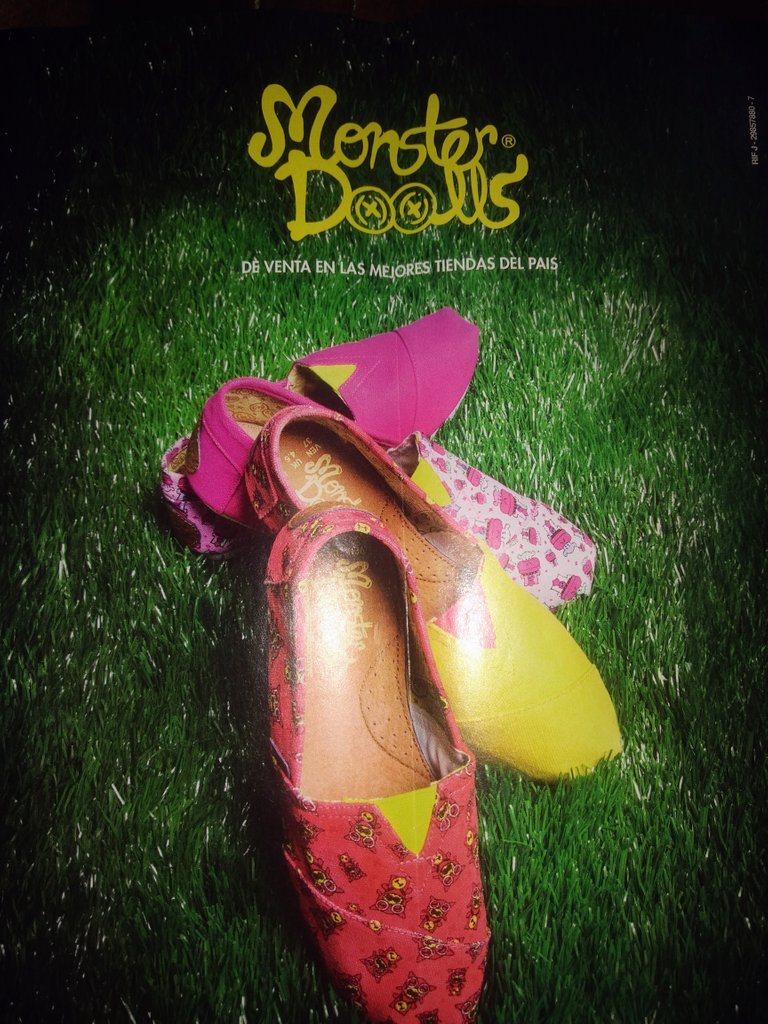
2️⃣ Then we take a leaf from the colourful magazine and chop it up. I chose colour and not letters but it's up to your imagination.

To cut it, I folded it like an accordion and chose 6 strips.
img_0.7917441380992437.jpg

img_0.2852662994649234.jpg

img_0.5002797074582608.jpg

These strips, we are going to place them in the shape of a star and we are going to join them like this with the silicone.

img_0.4167726299723609.jpg

img_0.20351119998278352.jpg

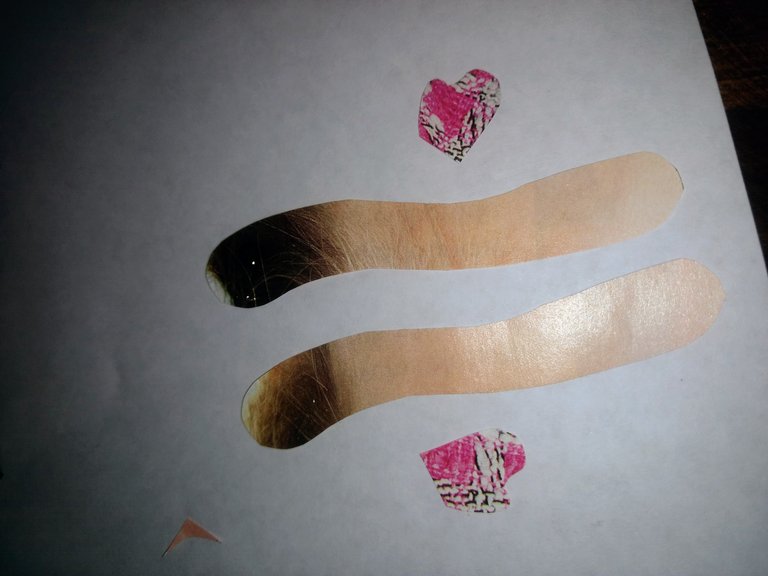
3️⃣ Cut off what would be the arms and hands.
img_0.5386582330631222.jpg

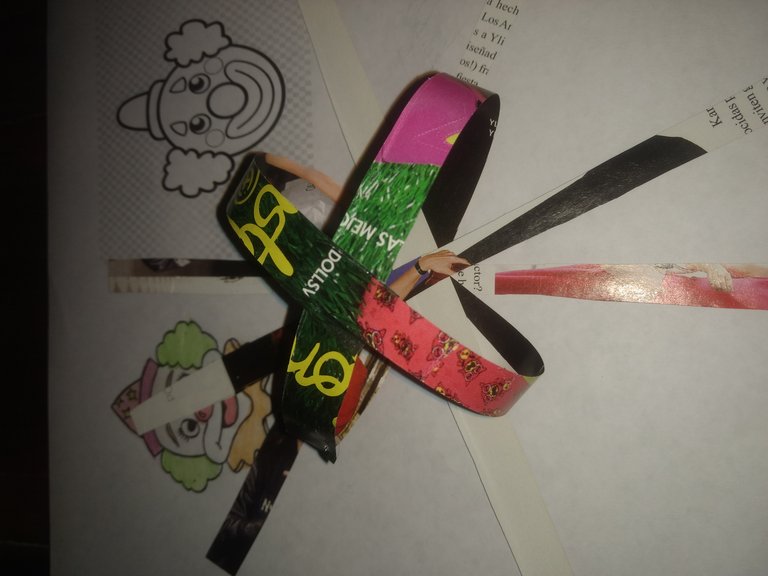
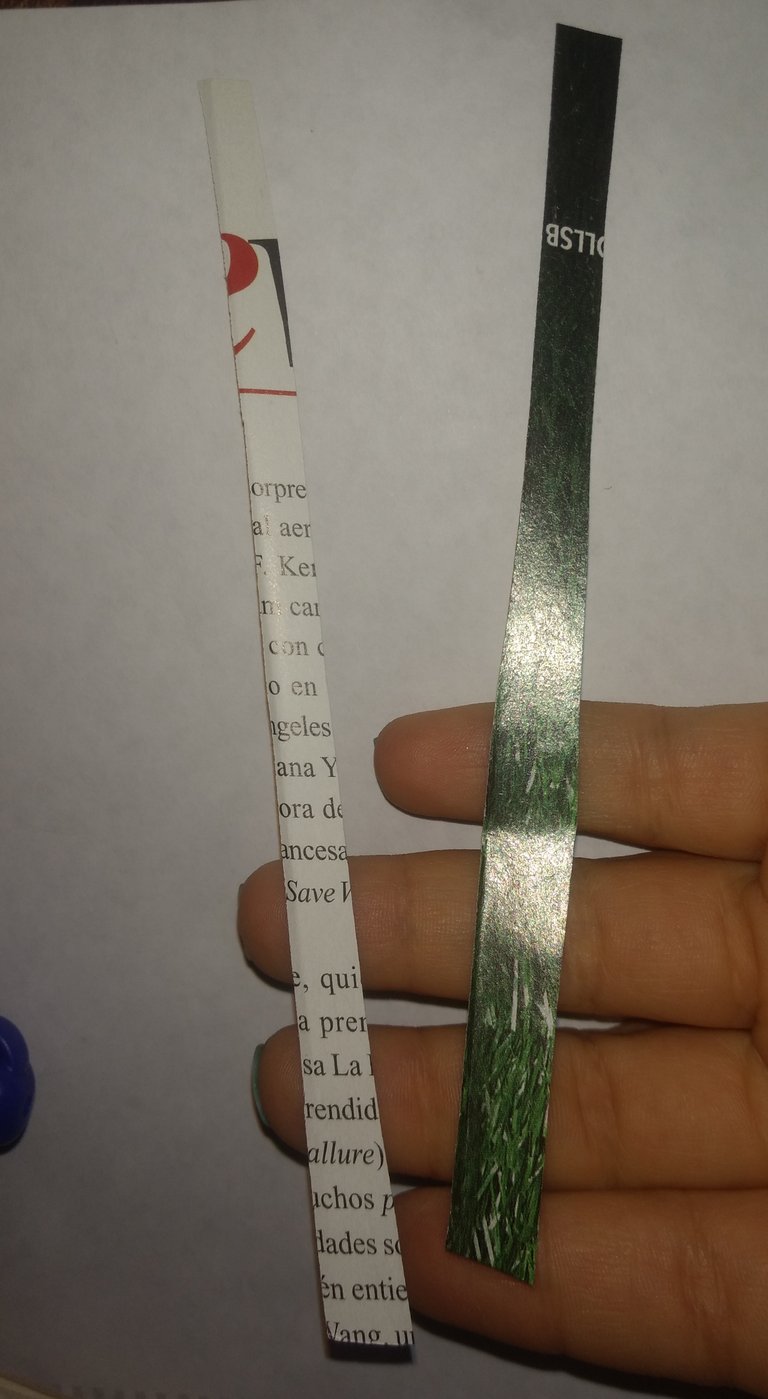
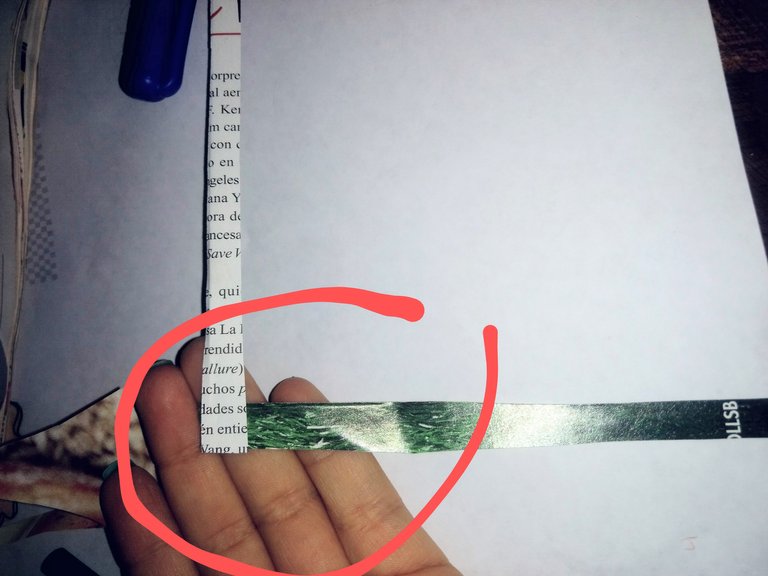
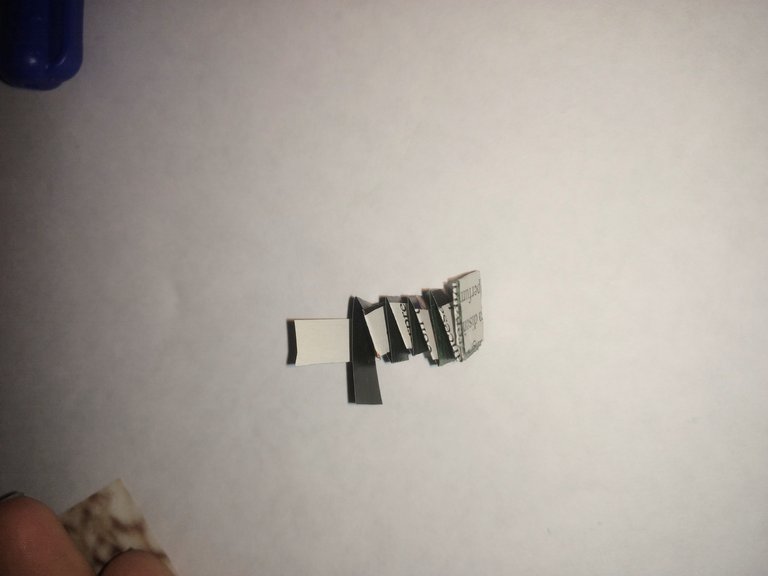
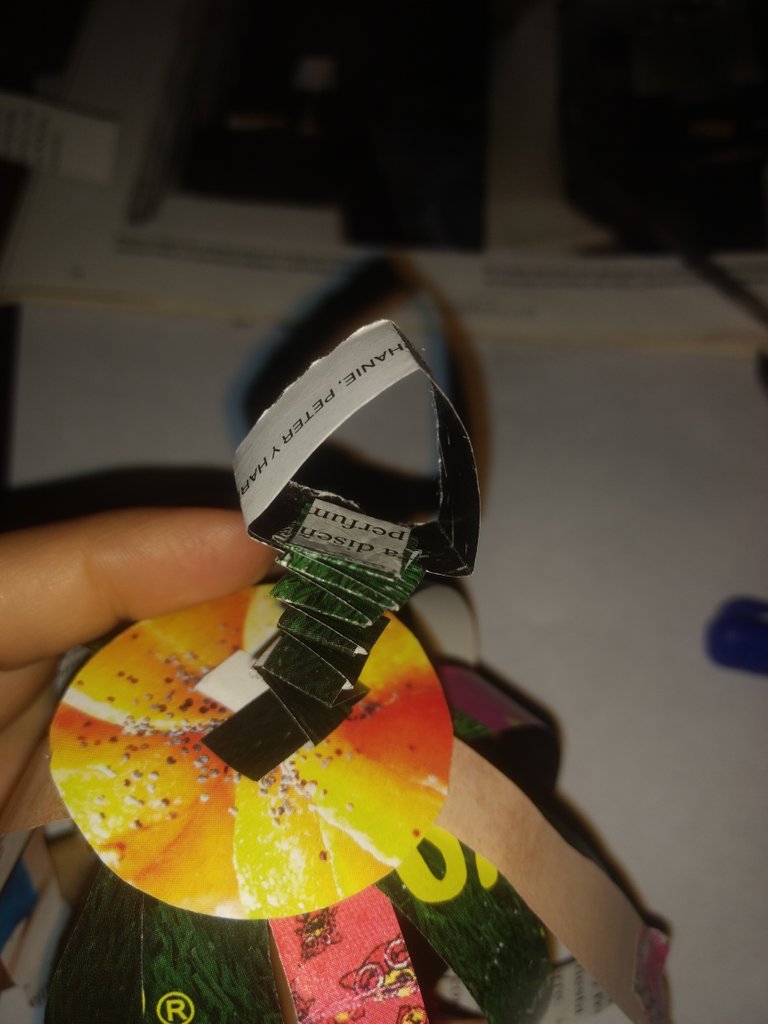
4️⃣ Take two more strips and glue them together in an L-shape it's bending. This is to make the accordion for the head that will move.

img_0.2919748398329675.jpg

img_0.46620279450430624.jpg

The idea is to fold one on top of the other until it looks like an accordion.

img_0.4228508011069086.jpg

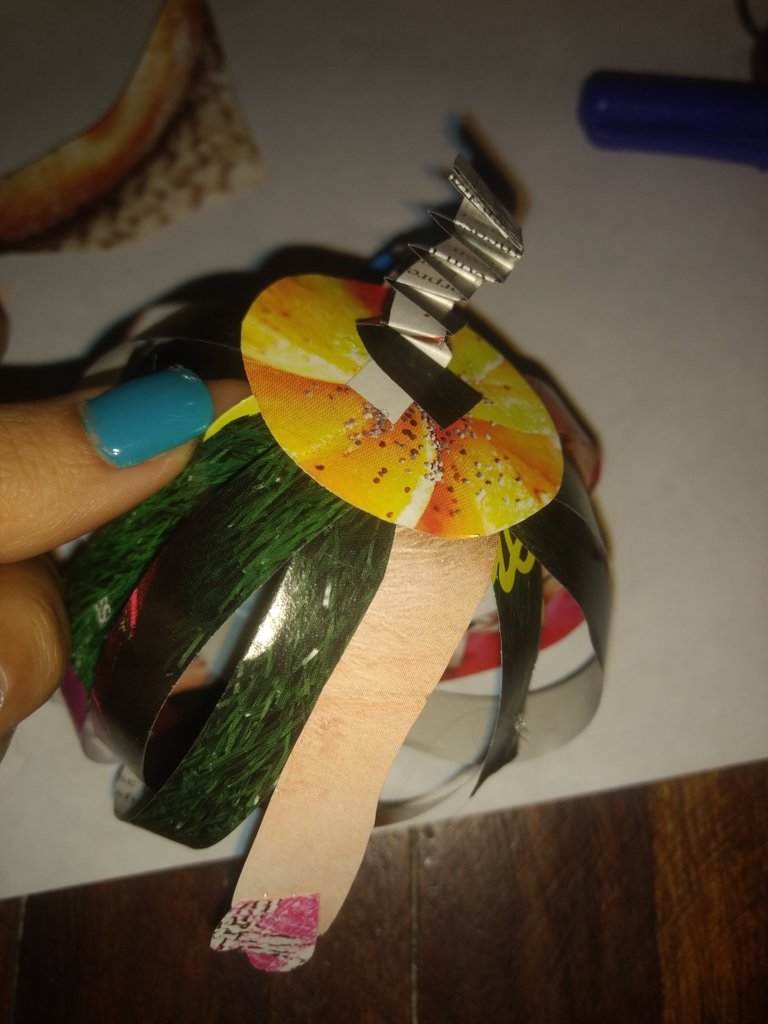
Cut out a circle, a little smaller than the "body" of the clown, to support what would be the accordion and the head and glue it on.

img_0.5901625681785755.jpg

And finally, we place a triangle to hold the head of our clown.

3️⃣ Se corta lo que serían los brazos y las manos. 4️⃣ Se toman dos tiras más y se pegan en forma de L por las puntas y se va doblando. Esto con la finalidad de hacer el acordeón para la cabeza que se moverá. La idea es doblar una encima de la otra hasta que quede como el acordeón. Se corta un círculo un poco más chico que el "cuerpo" del payaso que sostendrá nuestro cuello movible. Y por último, le colocamos un triángulo para sostener la cabeza como tal de nuestro payaso.
img_0.9968380389716709.jpg

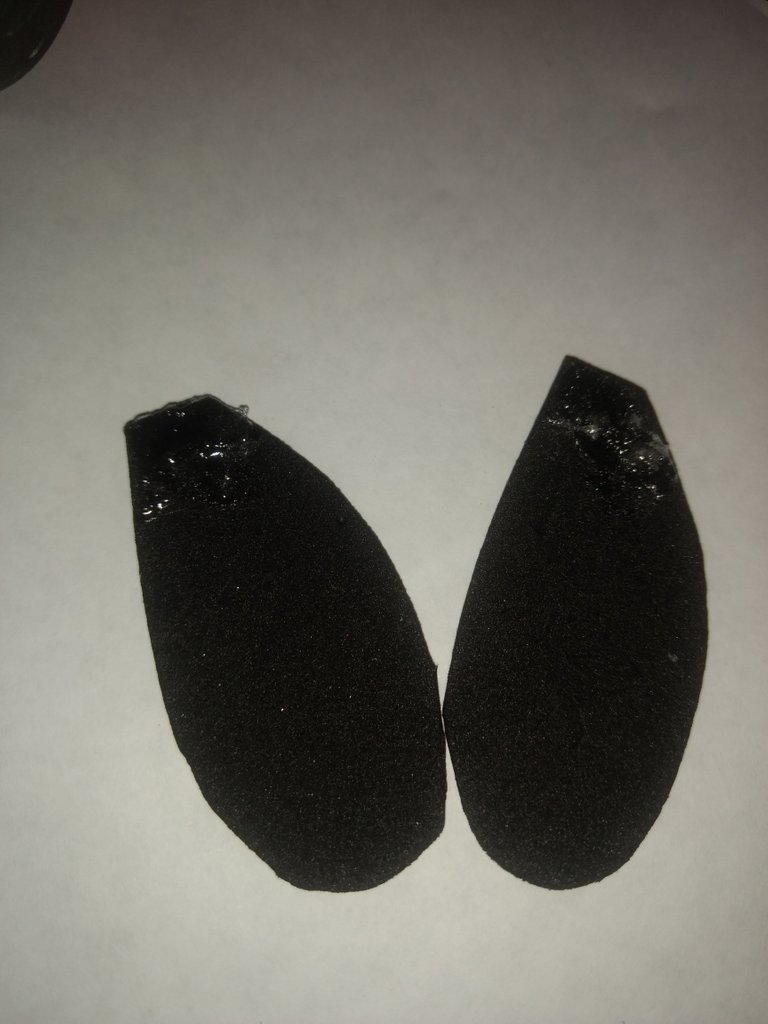
5️⃣The shoes. Here I used foami because it's stronger. I made them black but you know, you choose your colour. Try to make them long because if they are short, then the doll won't be stable and with the weight, it comes forward.

img_0.12995919230164155.jpg

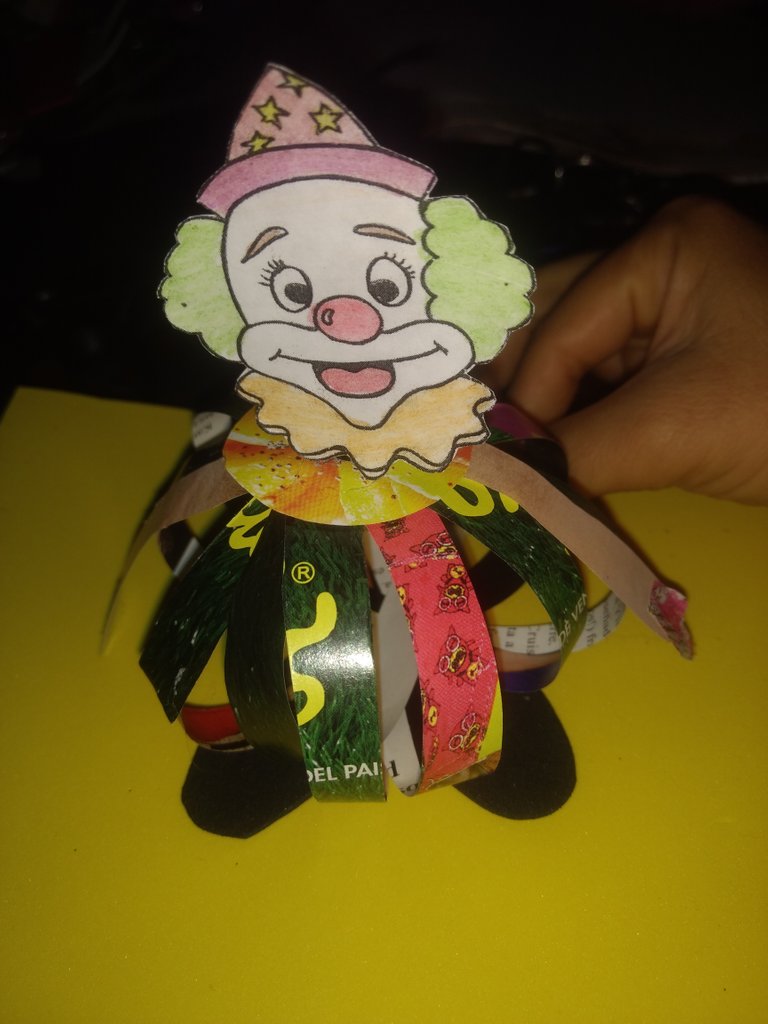
6️⃣ Now, remember that little head we painted at the beginning? Well, it's time to cut it out and place it on our work.

img_0.14087881942407557.jpg

Treat it with care because as it is "movable" paper it goes sideways. What I did was to look for its natural fall and I was arranging the body to find balance in the weight (those are the small letters that don't say in the tutorials).

img_0.6853596767094979.jpg

5️⃣Los zapatos. Aquí usé foami porque es más fuerte. Los hice negro pero ya saben, ustedes eligen su color. Traten de hacerlos largos porque si quedan cortos, entonces el muñeco no será estable y con el peso, se viene hacia adelante. 6️⃣ Ahora, ¿Recuerdan aquella cabecita que pintamos al inicio? Bueno, llegó el momento de recortarla y colocarla en nuestro trabajo. Tratenla con cuidado porque al ser papel "movible" se va de lado. Yo lo que hice fue buscar su caída natural y fui arreglando el cuerpo para encontrar equilibrio en el peso (esas son las letras pequeñas que no dicen en los tutoriales).
img_0.1819911021775899.jpg

img_0.7288797490067113.jpg

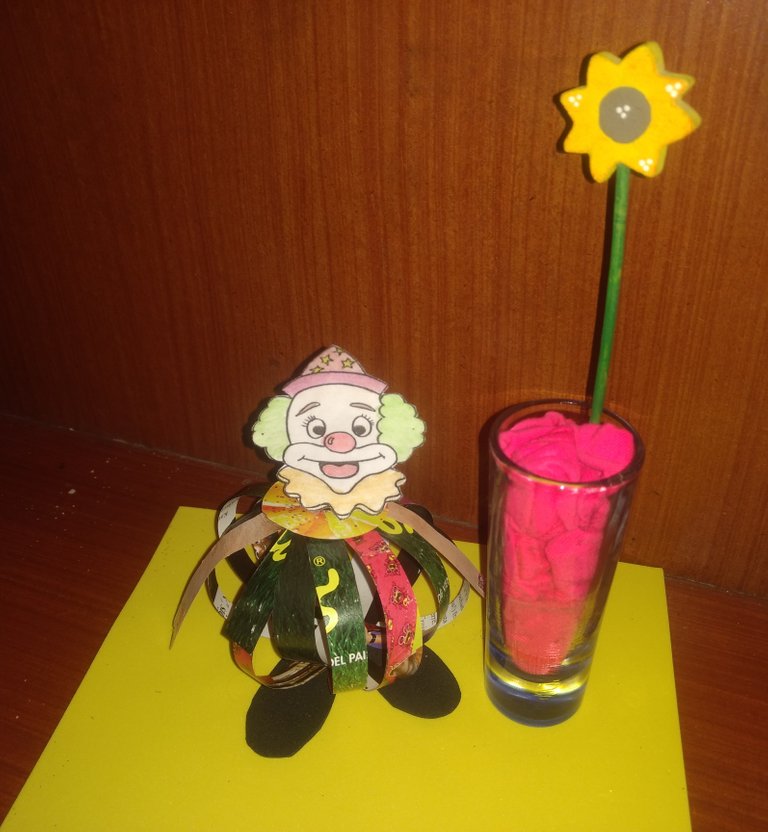
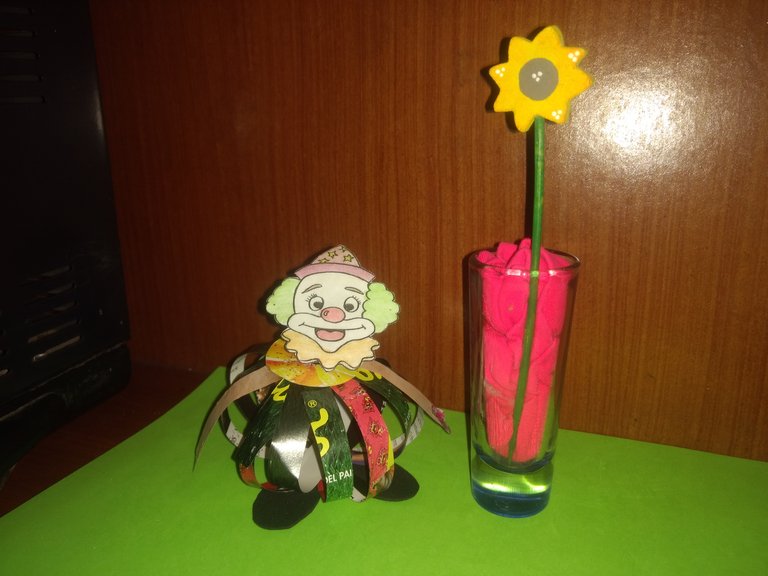
And so, dear creators, I finish this beautiful clown that I loved for its colours, mobility and above all because it represents the joy of carnival!

They can be used to decorate the office, a shelf in a shop or as a gift for a friend at this special time of the year.

As I always say, imagination is unlimited and if I could do it, so can you!

All images are my own, edited with Google photos and the Photoshop express app.

The dividers can be found Here

@eve66 has some beautiful ones.

And it will be

Until the next creation!

Y así nos queridos creadores, termino este bello payaso que me encantó pro sus colores, movilidad y sobre todo porque representa ¡La alegría del carnaval! Sirven para adornar la oficina, un estante en una tienda o para regalar a algún amigo en esta época especial. Cómo siempre les digo, la imaginación es ilimitada y si yo pude hacerlo ¡Usted también puede! Todas las imágenes son de mi propiedad, editadas con Google fotos y la app Photoshop express. Los separadores puedes encontrarlos [acá] @eve66 tiene bellezas. Y será ¡Hasta la próxima creación!

Sort:  

This looks very cool idea .... and happy to see you maid it :) .... I hope you try make more this paper job... you can make also big forest :)

A big forest? Quite a challenge, but we can try to...

😉🤗.

You need a lot of paper then :)))

You can try it! ☺️☺️☺️


The rewards earned on this comment will go directly to the person sharing the post on Twitter as long as they are registered with @poshtoken. Sign up at https://hiveposh.com.

Awesome creativity🔥🔥
Love it and you showed the process bit by bit, just great😍

Si, gracias, espero detalladamente se entienda. Saludos 🤗.

Me encatan las manualidades, de casi todos los tipos. te quedo muy lindo el payasito y bien explicado el paso a paso. felicidades por tu proyecto.

Gracias amiga, traté de que se viera todo je,je. Saludos 🤗.

Muchas gracias por el apoyo ☺️.