Hello friends, I hope you are very well, today I want to show you how I made a striking keychain of the Predator 2 mask, the city hunter. This predator is one of my favorites because unlike the classic one it has some variations and new weapons, among those is its slightly more terrifying helmet since it has the shape of a skull, and it also looks more like an alien. This character in the second film is more bloodthirsty and brutal when it comes to hunting, and unlike the classic predator, he does not keep the forms to hunt since he is not afraid to show himself to people. I made this keychain following the model of the mask, I hope you like it.
Hola amigos, espero que se encuentren muy bien, hoy quiero enseñarles como hice un llamativo llavero de la máscara del Depredador 2 el cazador de la ciudad. Este depredador es uno de mis favoritos porque a diferencia del clásico tiene algunas variaciones y nuevas armas, entre esas está su casco un poco más aterrador ya que tiene forma de calavera, y también se asemeja más a un alien. Este personaje en la segunda película es más sanguinario y brutal a la hora de cazar, y al contrario del depredador clásico no guarda las formas para cazar ya que no teme mostrarse ante las personas. Este llavero lo hice siguiendo el modelo de la máscara, espero que les guste.

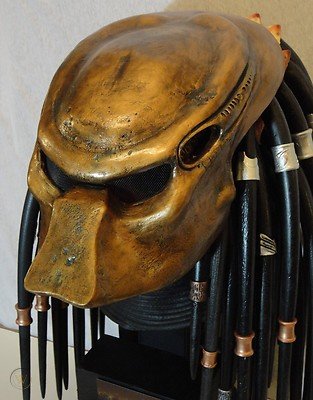
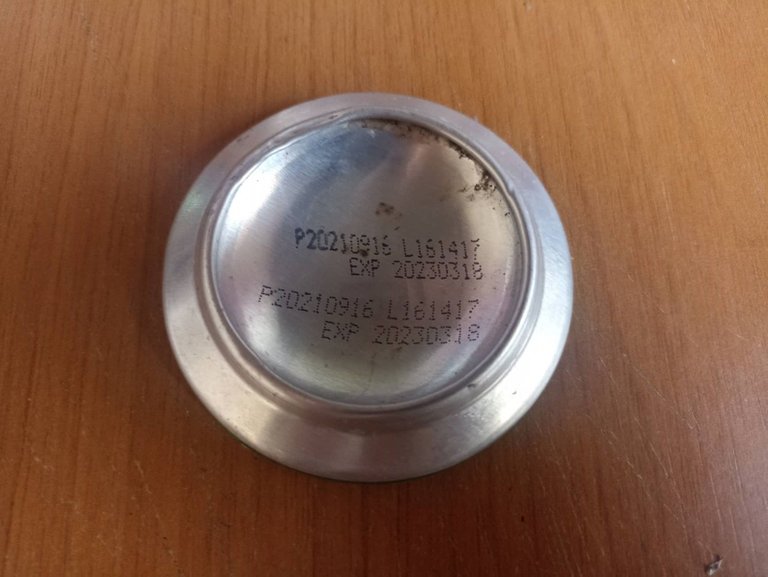
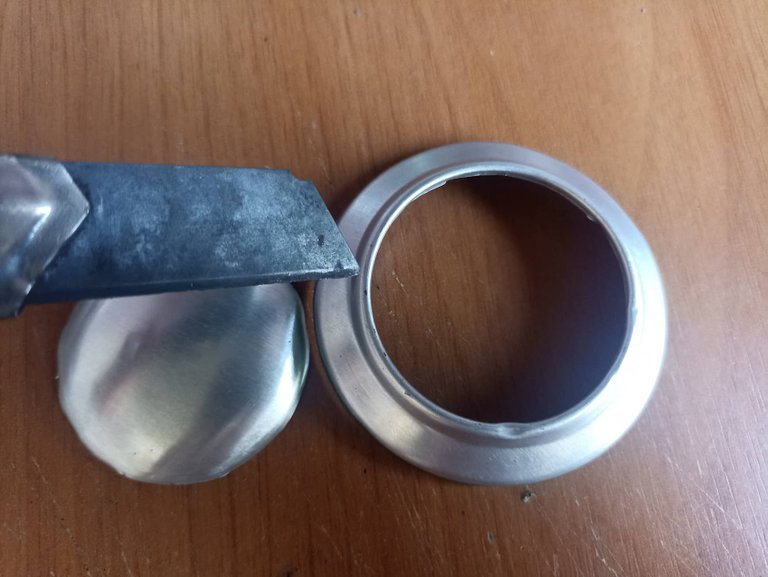
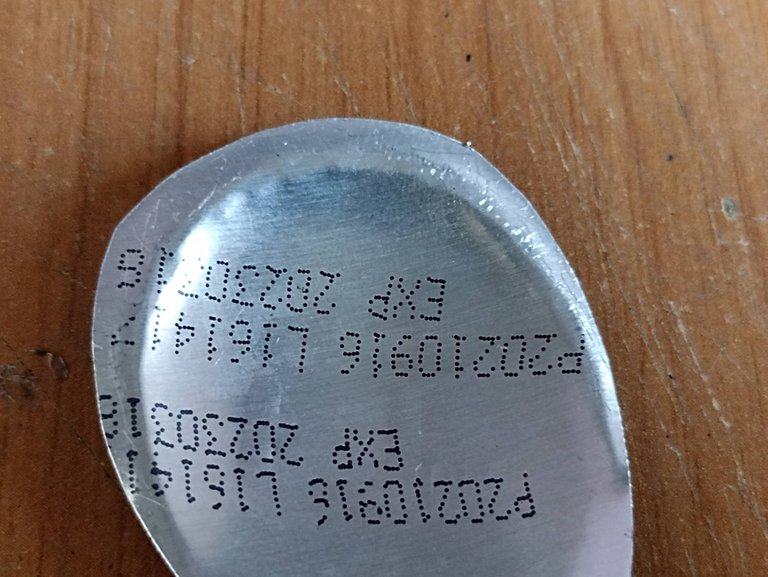
To make the keychain I used the circular part of the base of the cans, this aluminum part is thicker but very malleable although it is also very dangerous because it cuts more easily. I took an image as a model to guide me and make the shape of the helmet as faithful as possible. With a knife I removed the circular part, I used a total of 3 soda bases.
Para hacer el llavero utilicé la parte circular de la base de las latas, esta parte de aluminio es más gruesa pero muy moldeable aunque tambien es muy peligrosa porque corta con más facilidad. Tomé una imagen como modelo para guiarme y hacer la forma del casco lo más fiel posible. Con una navaja retiré la parte circular, utilicé en total 3 bases de refrescos.
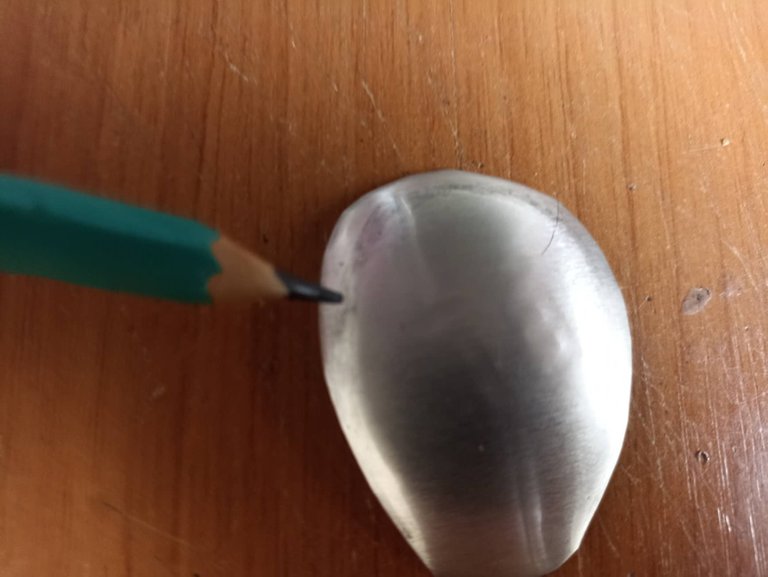


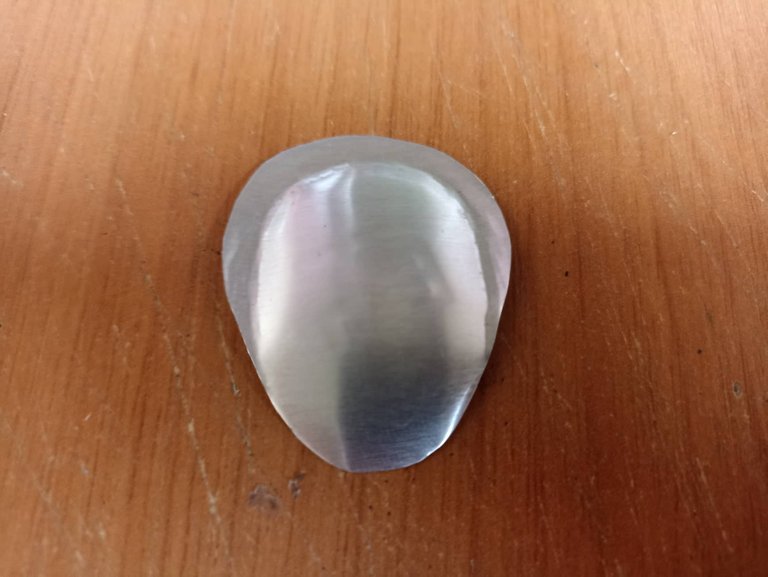
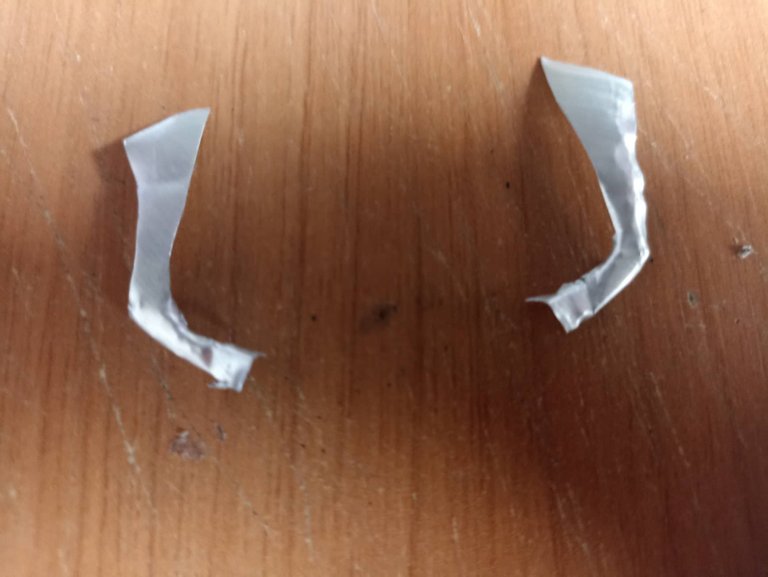
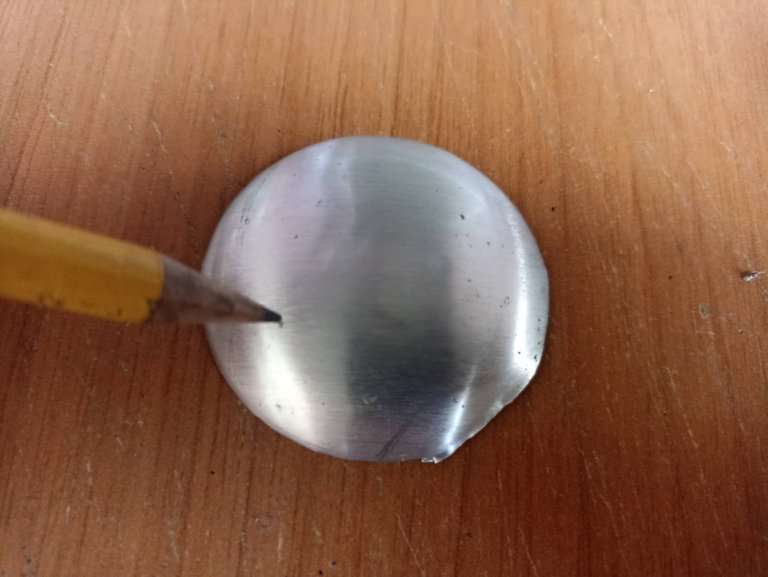
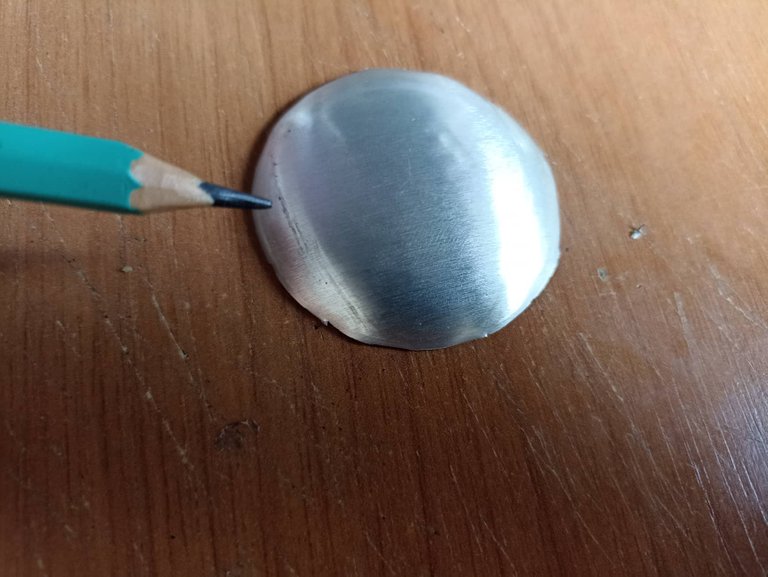
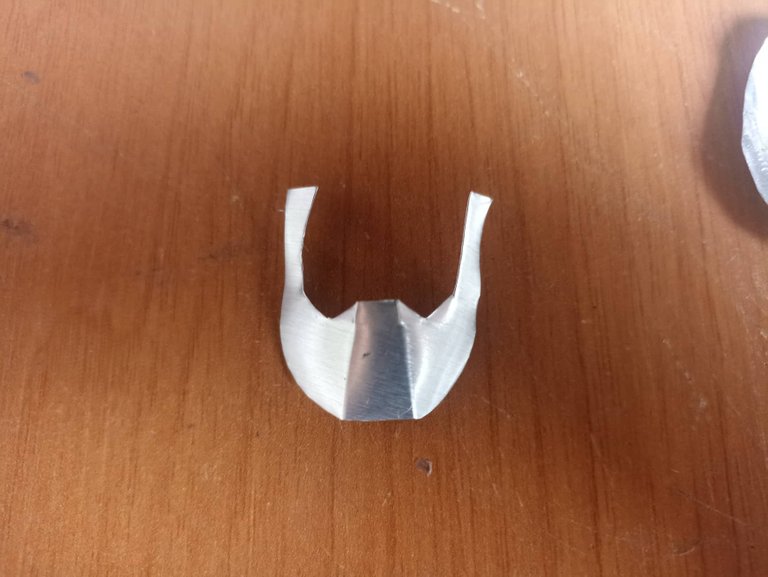
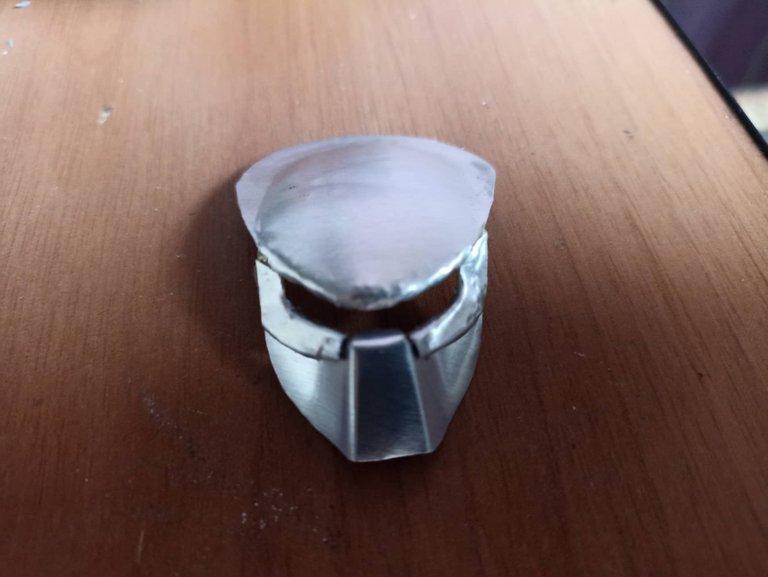
Having all the round parts cut and separated, all that remains is to start molding them. First we will make the upper part of the mask, for this with a pencil we will draw an oval in the shape of a spoon, we will make the strokes and then with the scissors we will cut all the stroke that we made. After that we make another line inside that we cut out, but we do not do it completely, once done we take a clamp and begin to bend the aluminum can little by little towards the opposite side, we must be very aware of the image of the real hull to try to do it the same way. After doing this step we are going to cut two L-shaped pieces, these pieces will be used later to make the lower part of the mask.
Al tener todas las partes redondas cortadas y separadas solo queda comenzar a moldearlas. Primero haremos la parte superior de la mascara, para esto con un lápiz dibujaremos un óvalo en forma de cuchara, hacemos los trazos y luego con la tijera recortamos todo el trazo que hicimos. Después de eso hacemos otro trazo en el interior que recortamos, pero no lo hacemos completo, una vez hecho tomamos una pinza y comenzamos a doblar poco a poco la lata de aluminio hacia el lado contrario, debemos estar muy pendiente de la imagen del casco real para tratar de hacerlo de la misma forma. Despues de hacer este paso vamos a recortar dos piezas en forma de L, estas piezas nos servirán mas adelante para hacer la parte inferior de la máscara.

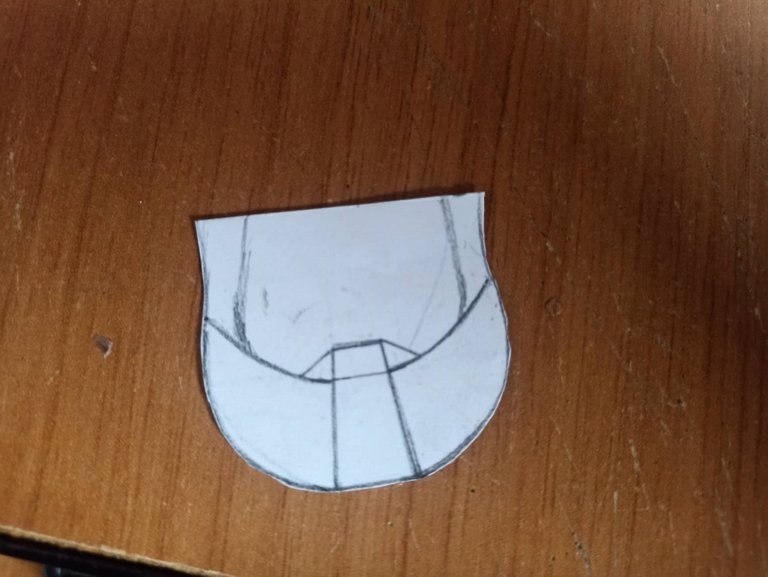
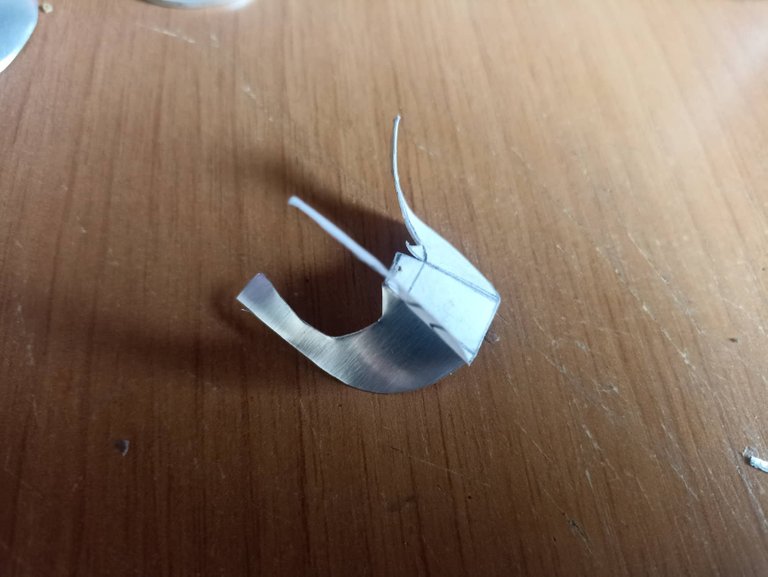

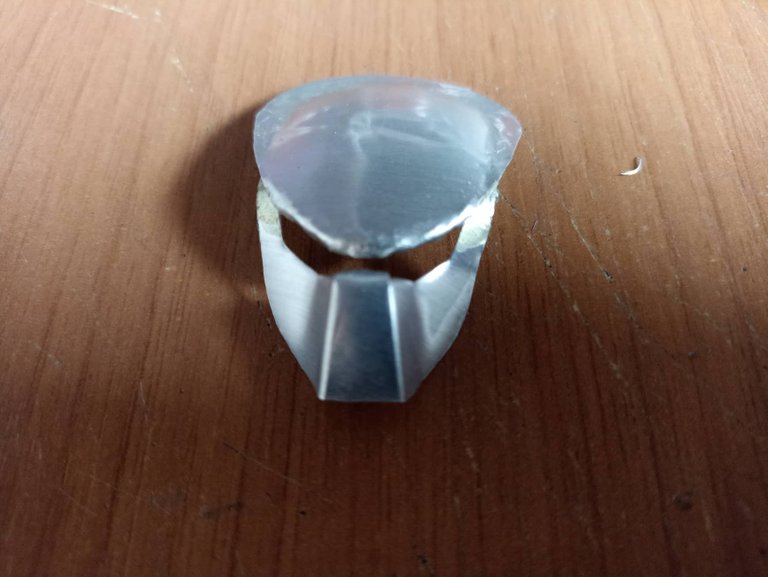
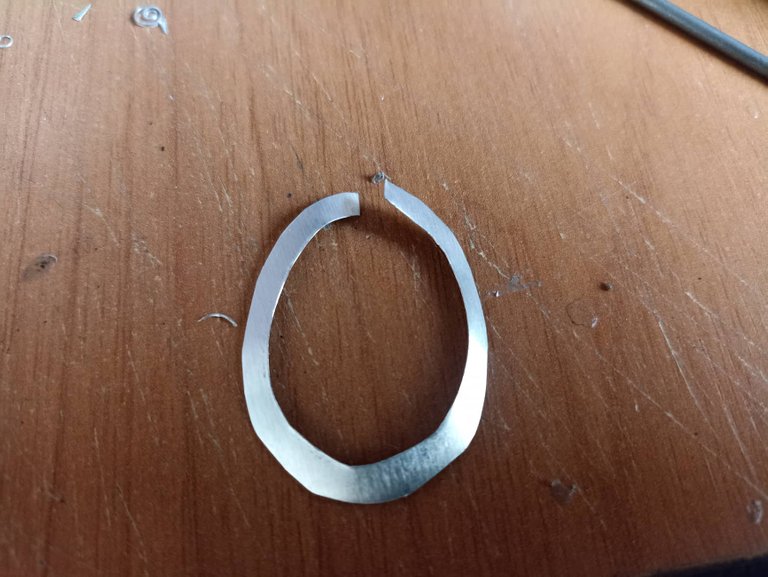
The next step was to make the bottom part of the mask, this step was by far the most difficult. First of all I made the template after looking at the mask for a long time, then I came to the conclusion that with a crescent shape I could do it, then I made the shape and then I put it on the can and cut it out, the problem was molding it Since it was very small, I couldn't exert enough force, so I had to mold it with two tweezers and it lasted a long time since I had to do it very carefully so as not to break the can or bend it badly and give it a different shape.
El siguiente paso fue hacer la parte inferior de la máscara, este paso fue por lejos el más dificil. En primer lugar hice la plantilla luego de observar por mucho tiempo la máscara, entonces llegue a la conclusión de que con una forma de media luna podría hacerlo, entonces hice la forma y luego la puse sobre la lata y la recorté, el problema fue moldearla ya que al ser muy pequeña no podía ejercer fuerza suficiente, así que con dos pinzas tuve que moldear y así duré un buen rato ya que debía hacerlo con mucho cuidado para no romper la lata o doblarla mal y darle una forma diferente.

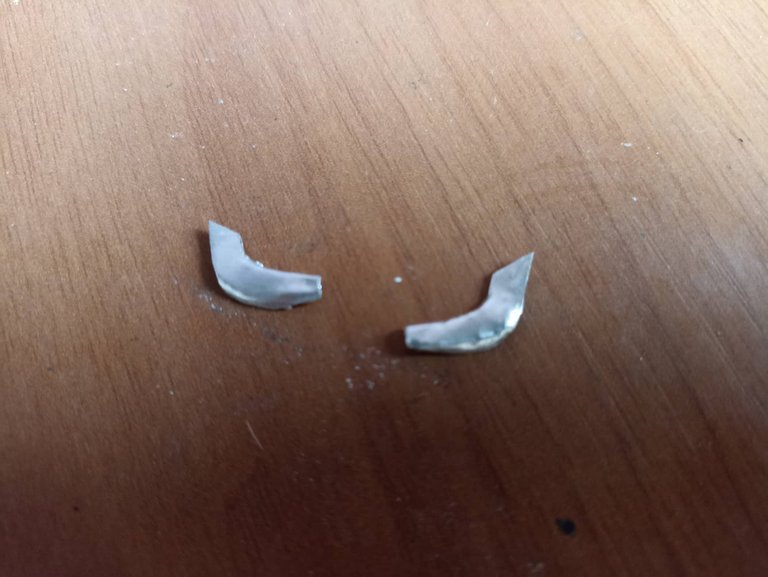
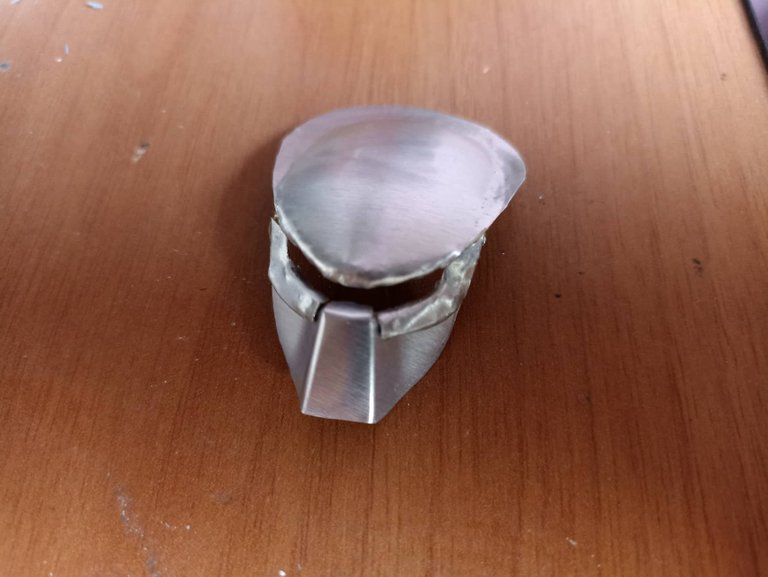
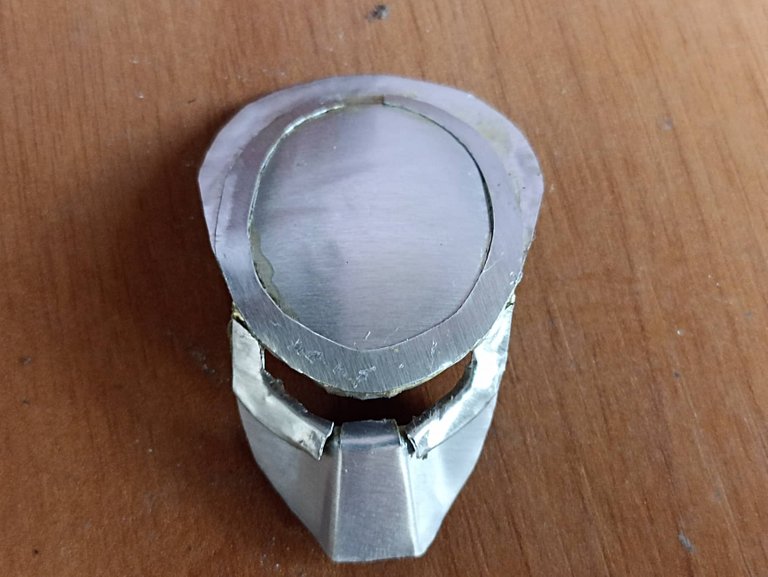
Having both parts of the mask, the only thing left was to join them, for that I used a very good instant glue, I only let it dry for a few seconds and it joined completely. After this, I took the small pieces that I made at the beginning and glued them just below the eyes, this detail seemed important to me to do and put it on to make it more similar to the real model.
Al tener ambas partes de la máscara solo quedó unirlas, para eso utilicé un pegamento instantáneo muy bueno, solo dejé secar unos segundos y se unió totalmente. Despues de esto, tomé las pequeñas piezas que hice al principio y las pegue justo debajo de los ojos, este detalle me pareció importante hacerlo y ponerselo para hacerlo más parecido al modelo real.
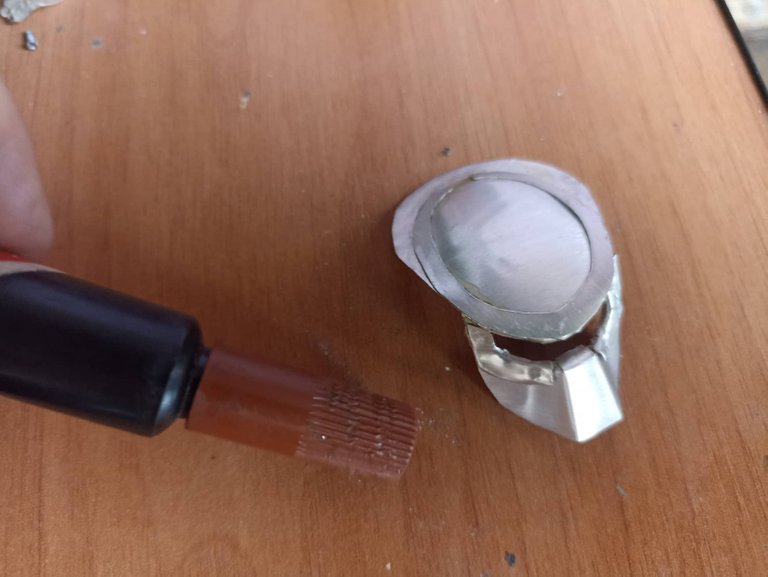

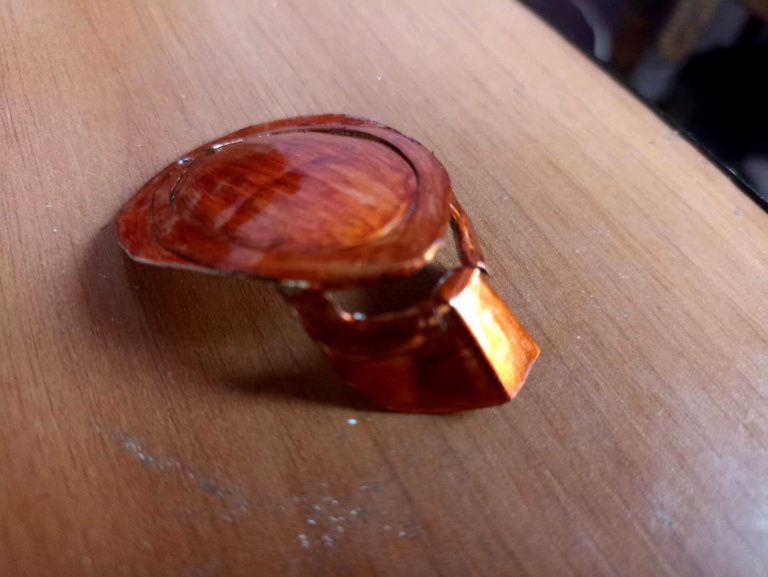
Another important step at an aesthetic level is to make a kind of crown that this helmet has on top, for that we take another soda can base and draw an oval with a pencil and cut it out in the shape of a strip, then with glue we are fixing in the upper part that is where it corresponds. The next step is to paint the helmet, as the original is bronze, I used this brown marker that has a copper tone on top of the can, I really liked how it looks so I painted it completely, applied 3 layers marker and then I put transparent varnish to make it shiny.
Otro paso importante a nivel de estética es hacer una especie de corona que posee este casco en la parte superior, para eso tomamos otra base de lata de refresco y dibujamos con un lapiz un óvalo y lo recortamos en forma de tira, después con pegamento lo vamos fijando en la parte superior que es donde corresponde. El siguiente paso es pintar el casco, como el original es de color bronce yo uticilé este marcador de color marrón que encima de la lata tiene un tono a color cobre, me gustó mucho como se ve así que lo pinte por completo, aplique 3 capas de marcador y despues le puse barniz transparente para que quedara brillante.
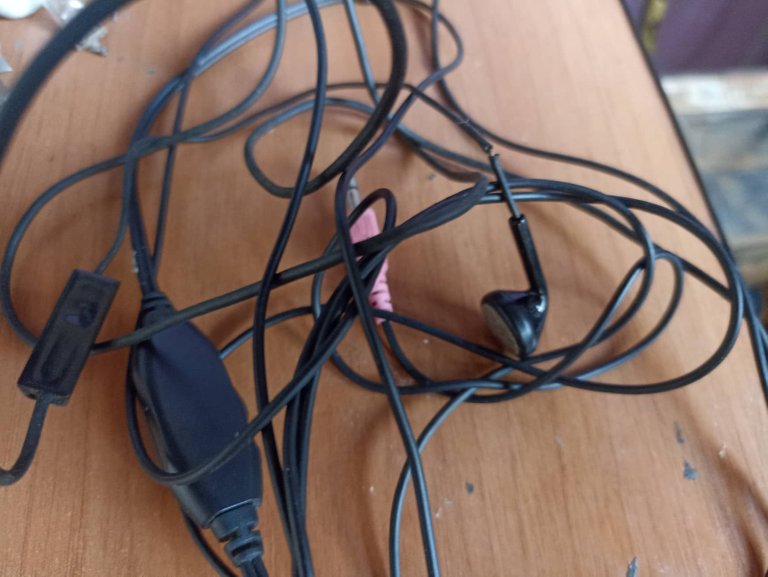
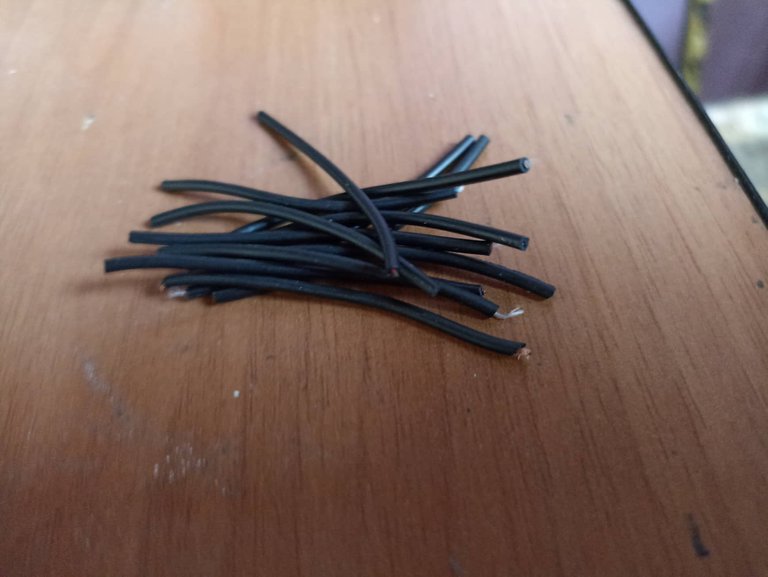
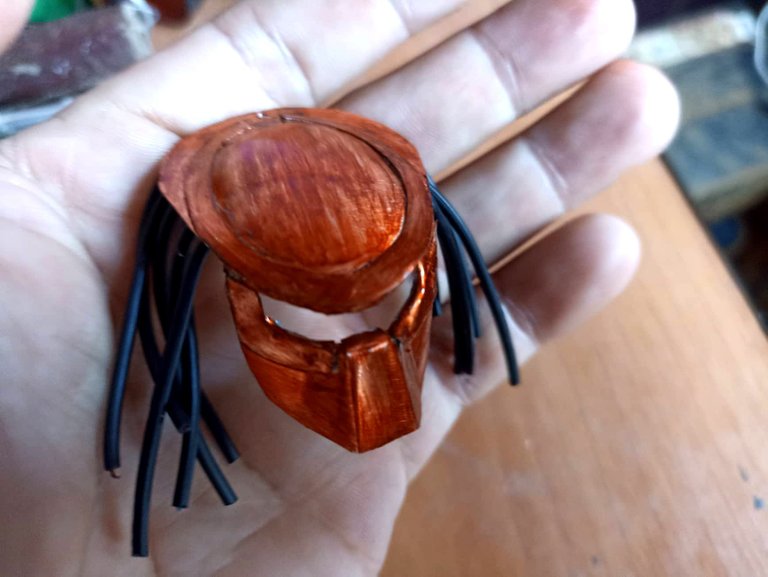
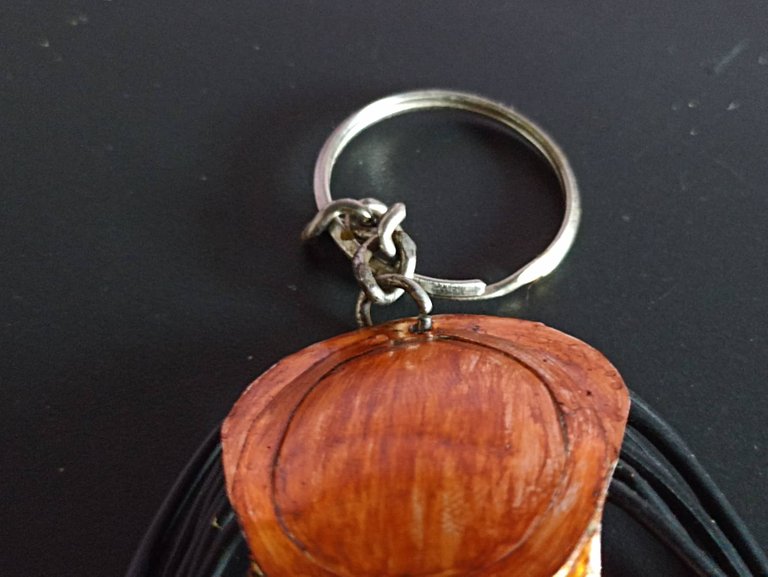
And to finish I put something characteristic of this character and that gives it that tribal appearance, it's about the dreadlocks, to make the dreadlocks I used cables from damaged headphones, these cables are always soft and small so I found them very useful for this purpose. I cut 12 strips of cables of 3 centimeters each, and I put glue on them, I also put glue on the reverse side of the mask and I placed each cable in its place with the help of tweezers, finally I put the chain and thus finished the key ring.
Ya para ir finalizando puse algo característico de este personaje y que le da esa apariencia tribal, se trata de las rastas, para hacer las rastas usé ccables de unos audífonos dañados, estos cables siempre son suaves y pequeños así que me parecieron muy útiles para este propósito. Corte 12 tiras de cables de 3 centímetros cada uno, y les puse pegamento, también puse pegamento por el lado del reves de la máscar ay fui colocando cada cable en su sitio con ayuda de unas pinzas, por último puse la cadena y así terminar el llavero.
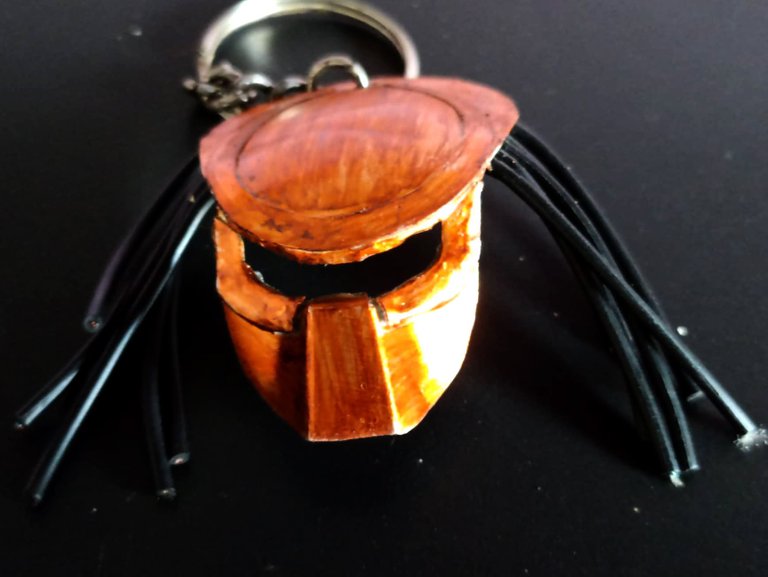
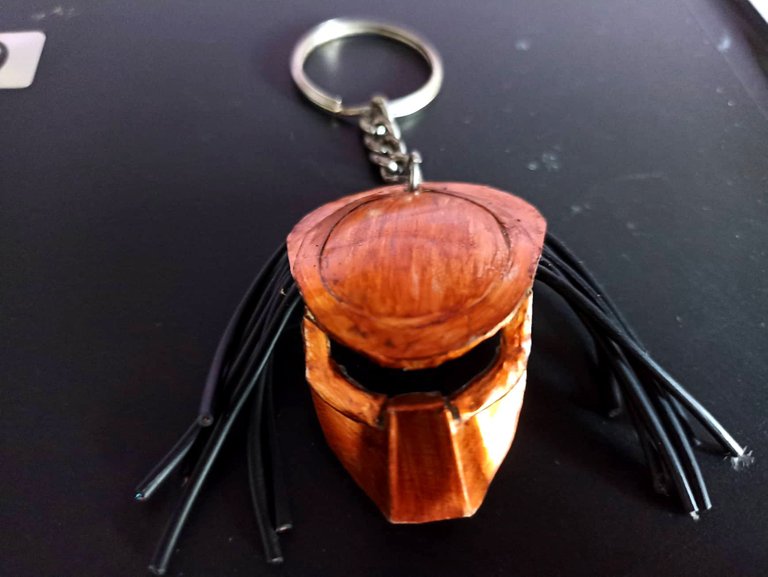
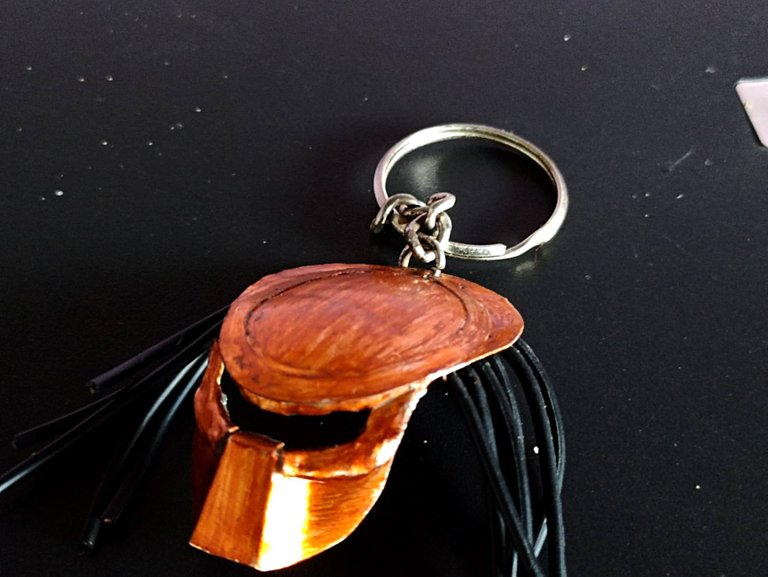
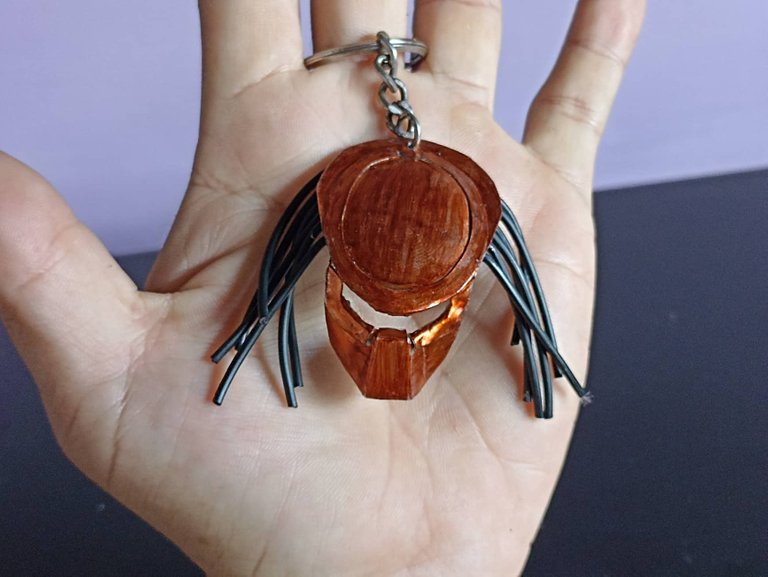

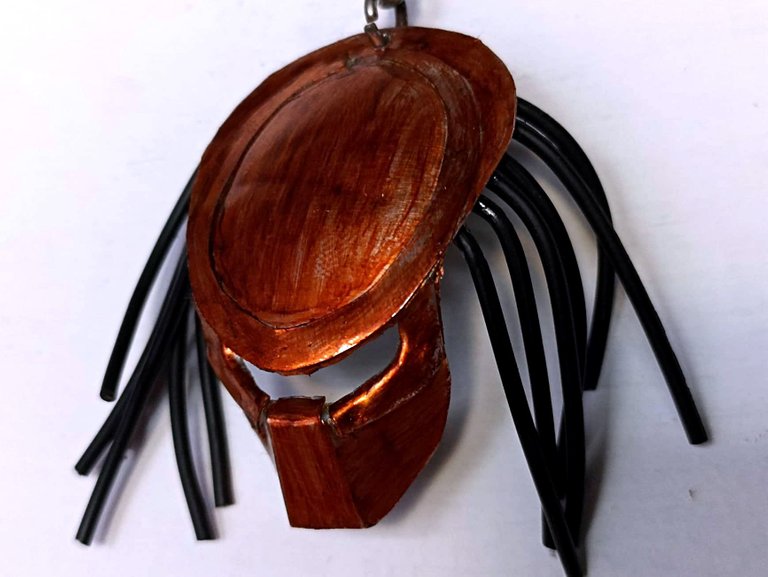
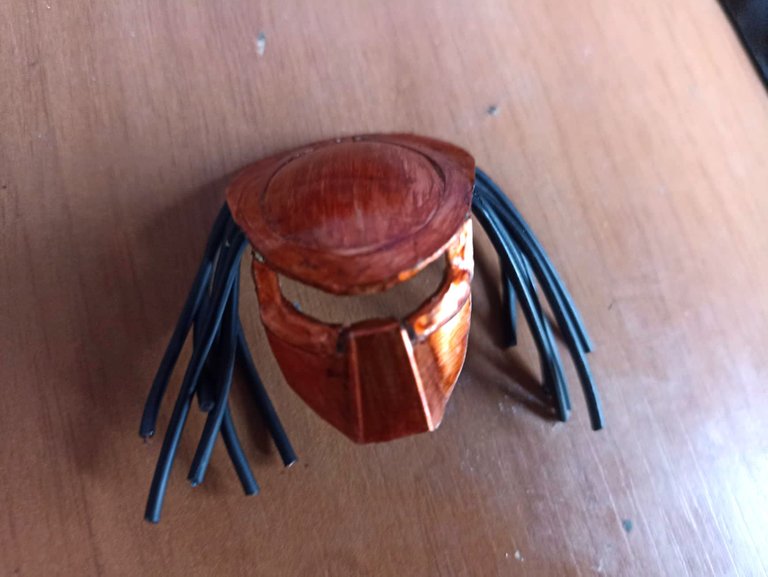
This is how the Predator 2 keychain nicknamed the city hunter has been completed. I really liked this keychain, I really felt very creative since it cost me a lot to make it from scratch, especially this model. It also left me that I no longer have it in my hands but someone wanted to buy it, someone who is also a fan of the Predator saga. I hope you liked it and if so I hope you let me know in the comments. I say goodbye see you soon, I wish you have a great time..
Así ha quedado finalizado el llavero de Depredador 2 apodado el cazador de la ciudad. Este llavero me gustó mucho, la verdad lo sentí muy creativo ya que me costó bastante hacerlo desde cero, especialmente este modelo. Me quedó tambien que ya no lo tengo en mis manos sino que alguien quiso comprarmelo, alguien que también es fan de la saga de Depredador. Espero que les haya gustado y si es así espero que me lo hagan saber en los comentarios. Me despido hasta pronto, deseo que la pasen muy bien..