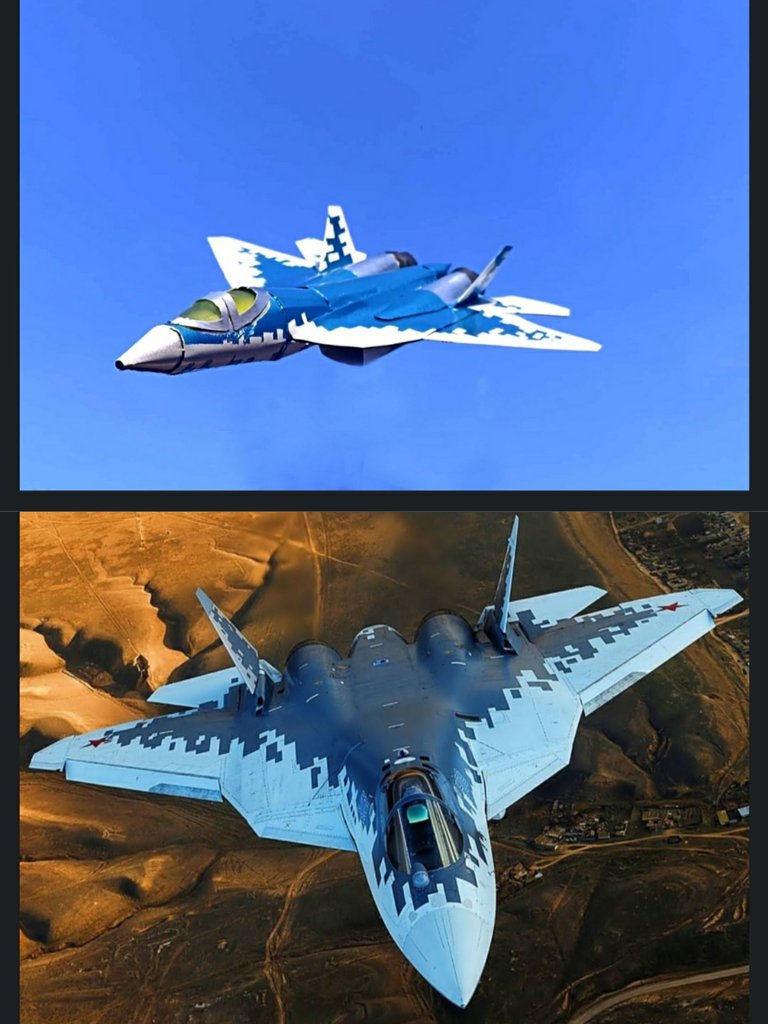
Hello dear friends, I hope you are very well, avoiding the difficulties of my country such as internet and electricity failures, I have returned with a new job. While I was "off" I was working on a scale model of the Russian 5th Generation fighter plane: The Sukhoi - 57, this plane is part of the Russian air force and is the most advanced so far. Although it is a stealth technology aircraft created for 5th generation combat, it still uses 4th generation fighter engines, so it is not considered to be quite ready yet, this aircraft represents the Russian answer to the F-22 Raptor from USA. The model I made is based on drawings of the original model, the templates were carefully made to be able to have all the most realistic aspects of the plane. Hope you like.
Hola queridos amigos, espero que se encuentren muy bien, sorteando las dificultades de mi país como las fallas de internet y de la luz, he vuelto con un nuevo trabajo. Mientras estuve "apagado" etsve trabajando en un modelo a escala del avión de combate de 5ta Generación ruso: El Sukhoi - 57, este avión forma parte de la fuerza aerea rusa y es el más avanzado hasta el momento. Aunque es una vión con tecnolgía de sigilo creado para el combate de 5ta generación, este aún utiliza motores de cazas de 4ta generación, por lo que aún no se considera que esté listo del todo, esta nave representa la repuesta rusa al F-22 Raptor de U.S.A. El modelo que hice está realizado con base en dibujos del modelo original, las plantllas las hice cuidadosamente para poder tener todos los aspectos más realistas del avión. Espero que les guste.
 PROCESS
 Image
Image
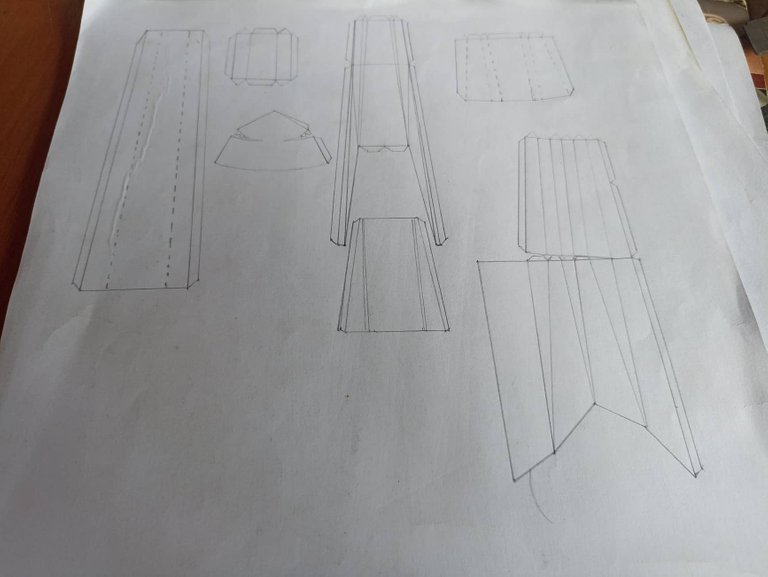
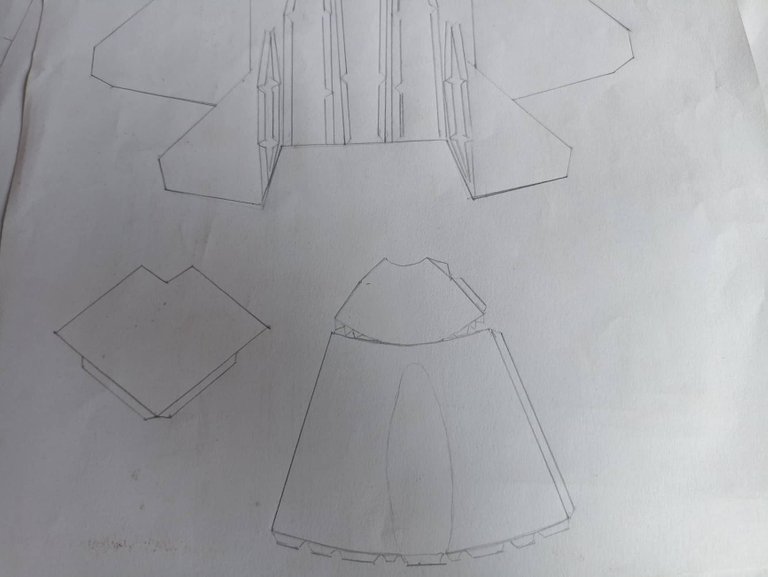
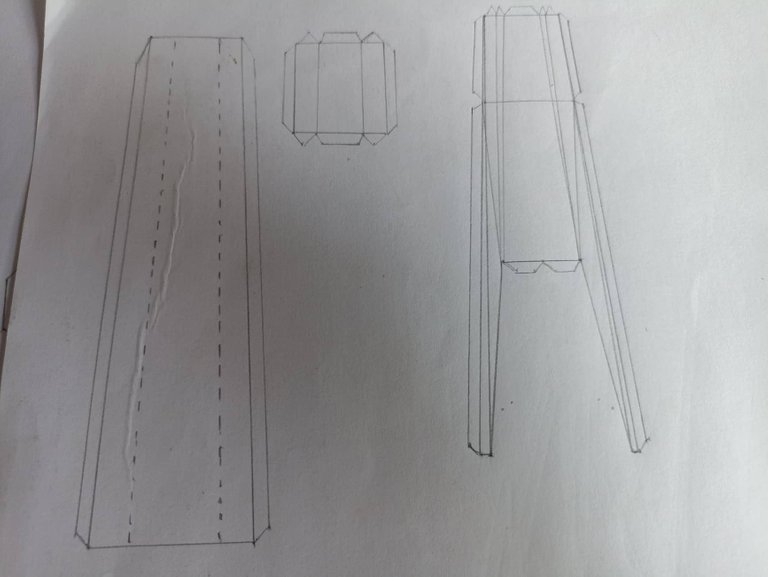
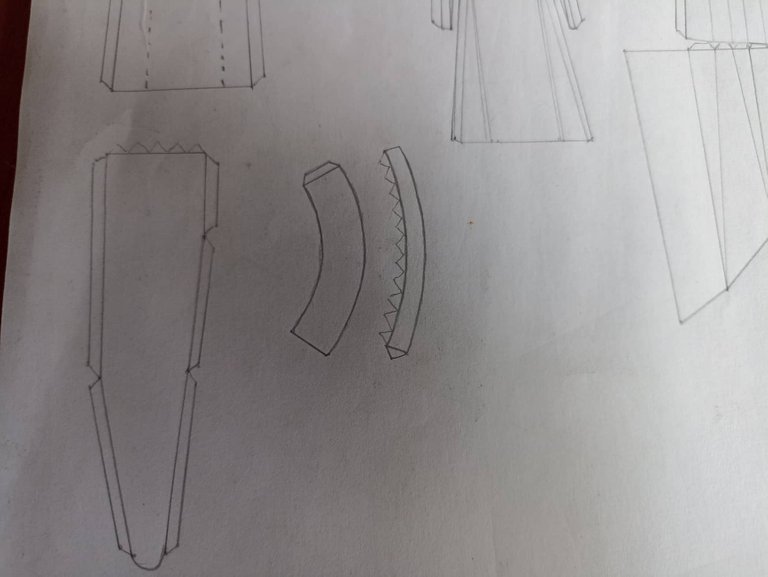
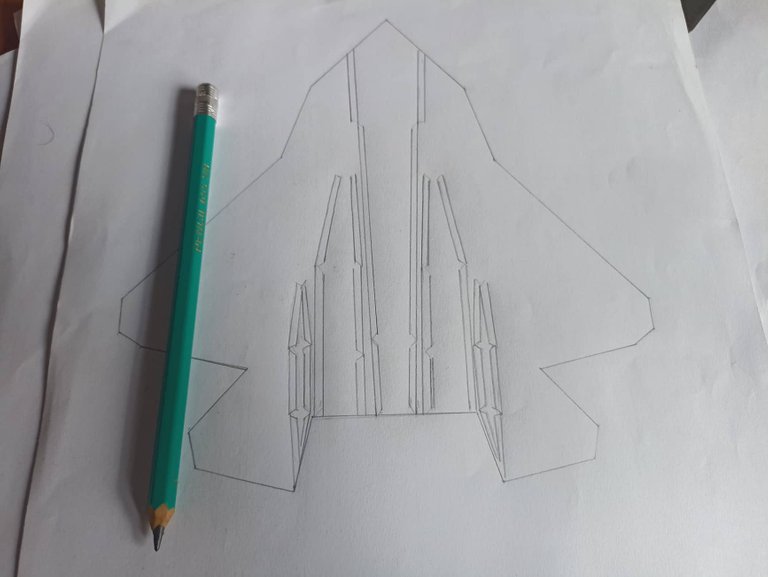
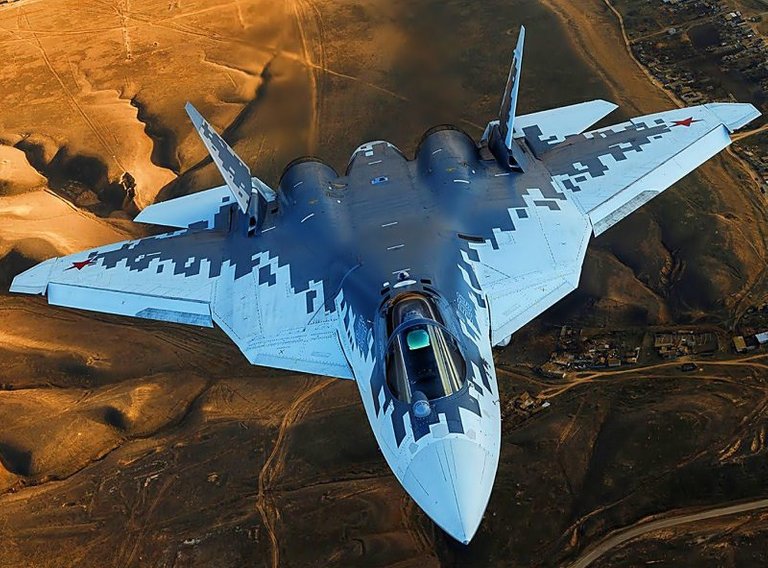
From a real image, he extracted the most important parts, such as the total shape of the plane and then by parts, such as the fuselage, the turbines, the wings, the cockpit, the ailerons and flight stabilizers. I was drawing them separately, as it is an aluminum can it is difficult to give the designs an oval shape, so I tried to make them somewhat square and thus look for more similarity and realism. The process was as always, draw on the paper and then with the template extract the pieces of the cans, in total I used 8 soda cans.
De una imagen real fue extrayendo las partes par importantes, como la forma total del avión y luego por partes, como el fuselaje, las turbinas, las alas, la cabina los alerones y estabilizadores de vuelo. Los fui dibujando por separado, como se trata de lata de aluminio es dificil darle una forma ovalada a los diseños, así que traté de hacerlos algo cuadrados y de esa forma buscar más similitud y realismo. El proceso fue como siempre, dibujar encima del papel y luego con la plantilla extraer las piezas de las latas, en total utilicé 8 latas de sodas.

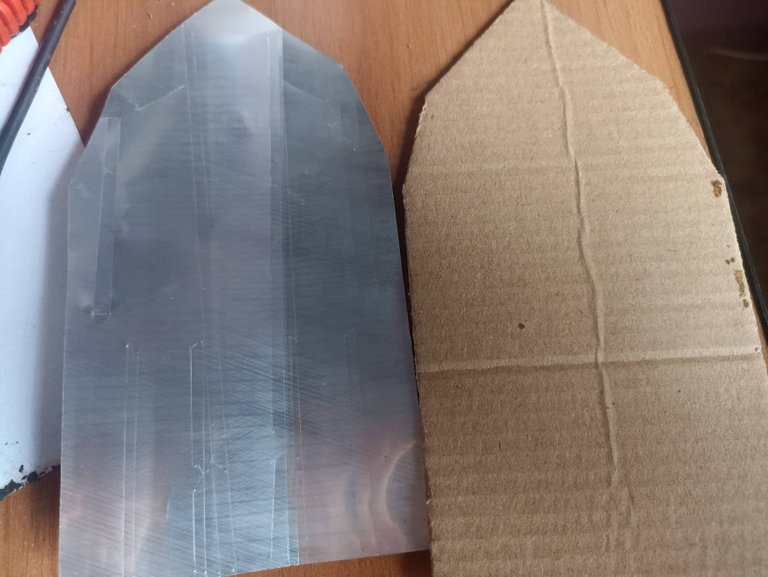
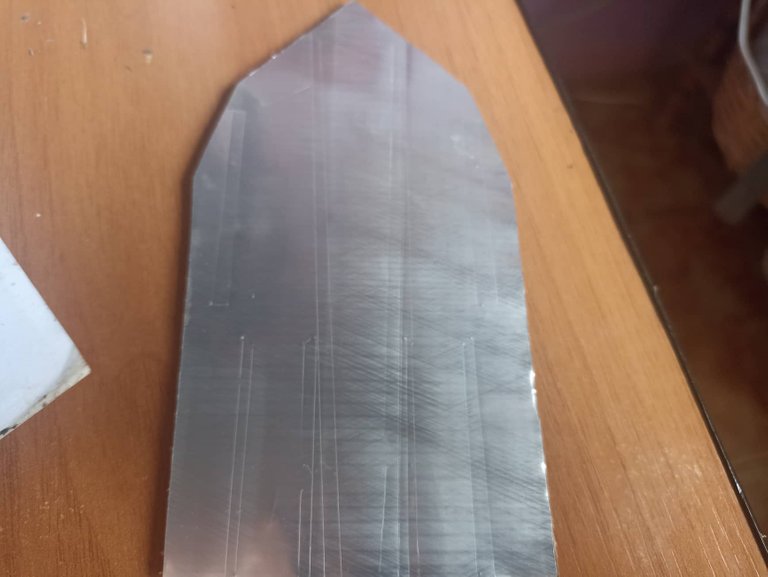
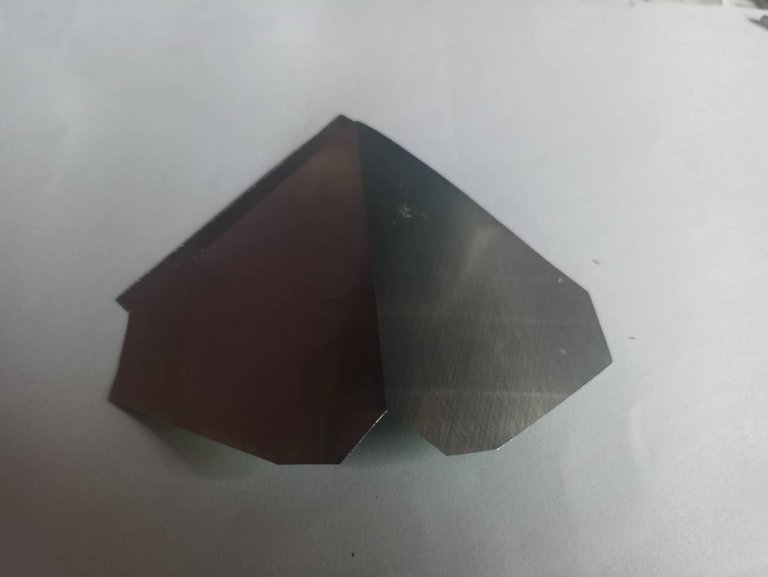
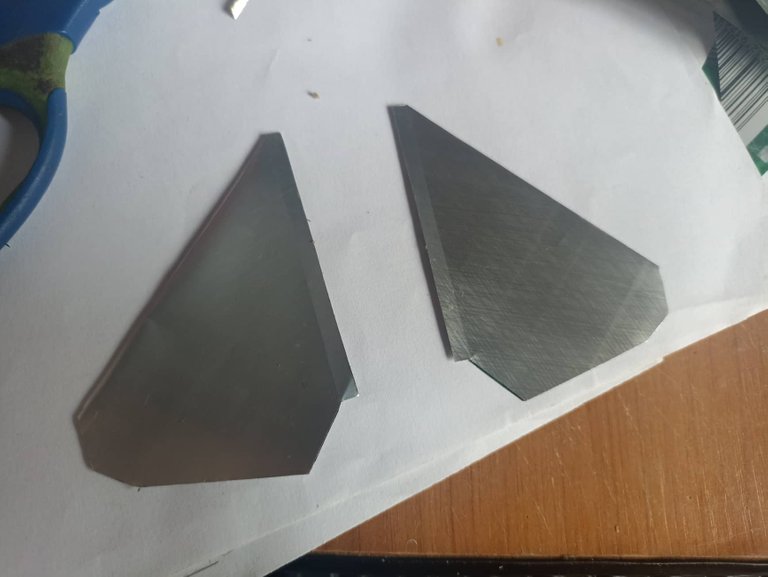
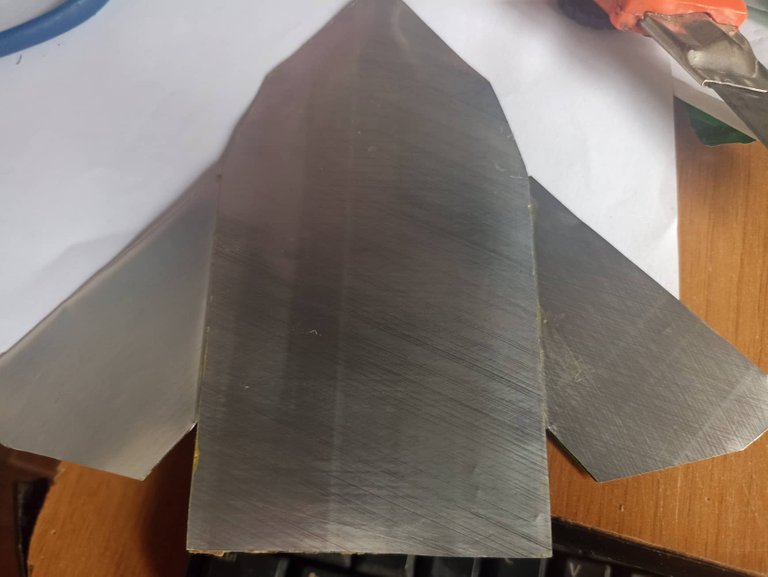
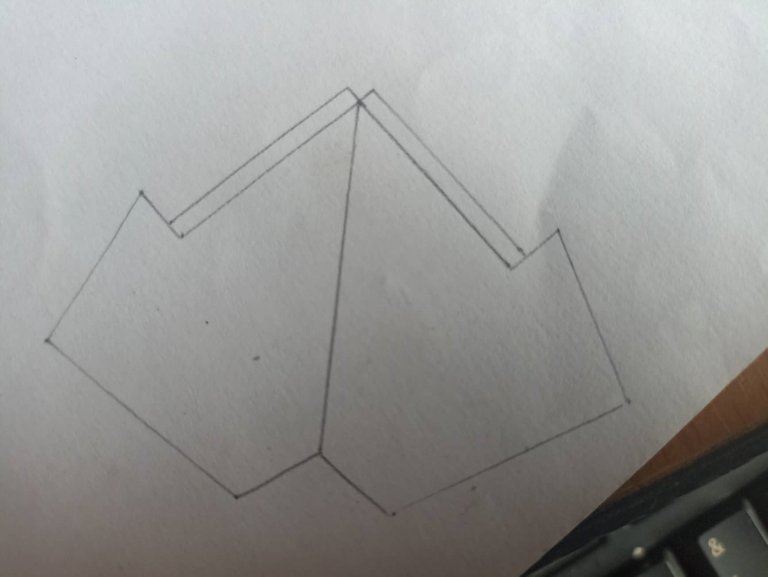
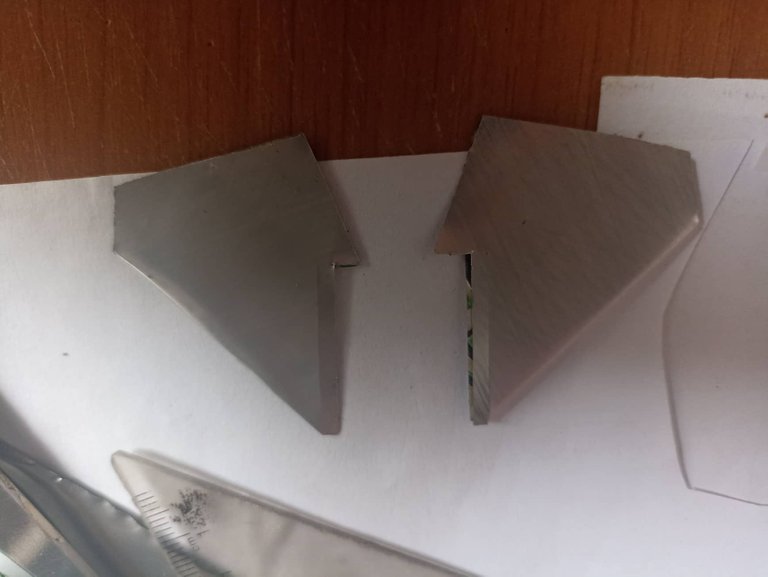
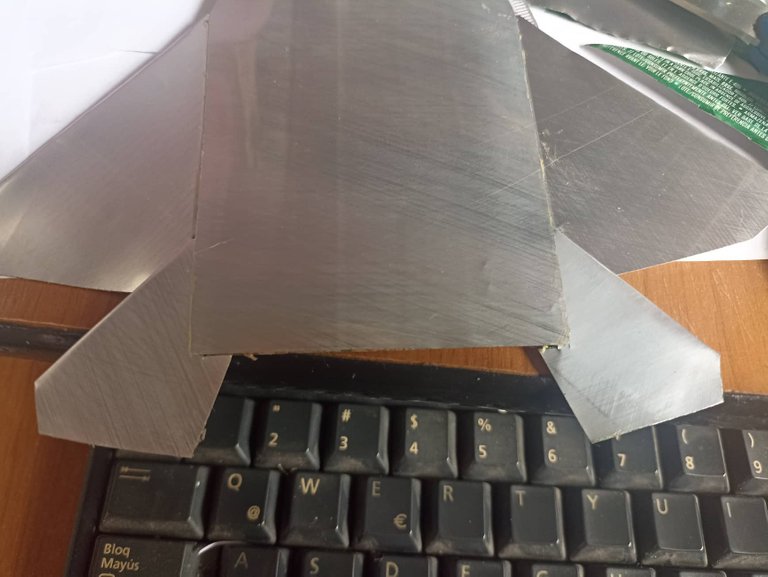
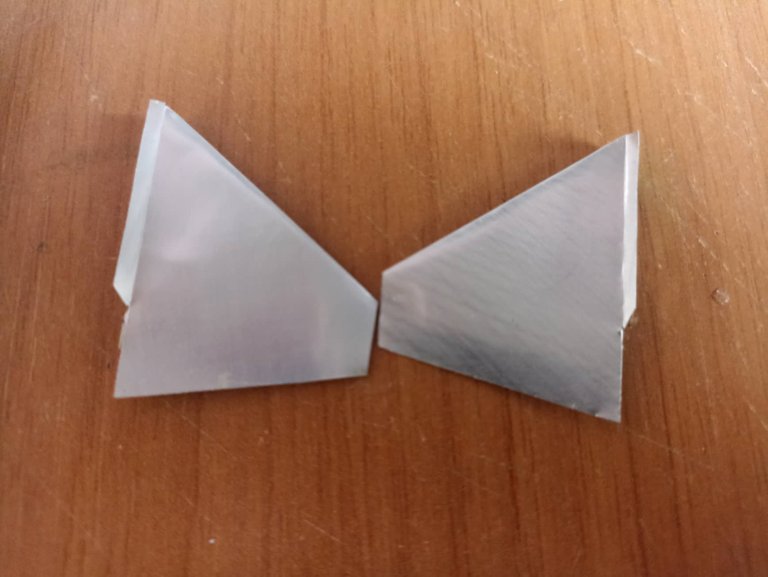
To build the plane we start with the base of the body, that is, the fuselage, wings and stabilizers. For the body we take the template in the form of a triangle and cut it, we make two pieces and we also make a piece of cardboard, this to give it more hardness, then we cover it with aluminum, marking on the surface the points where we will glue the other missing pieces. Then we will build the wings using the templates, once cut we fold them together so that the wings are hard, then we stick them in place with glue, the same process we repeat with the stabilizers.
Para construir el avión comenzamos con la base del cuerpo, es decir el fuselaje, las alas y estabilizadores. Para el cuerpo tomamos la plantilla en forma de tríangulo y la cortamos, hacemos dos piezas y también hacemos una pieza de cartón, esto para darle más dureza, luego la recubrimos con aluminio, marcando en la superficie los puntos donde pegaremos las demás piezas faltantes. Después construiremos las alas utilizando las plantillas, una vez recortadas las doblamos entre sí para que las alas queden duras,m seguidamente las pegamos en su sitio con pegamento, el mismo proceso repetimos con los estabilizadores.

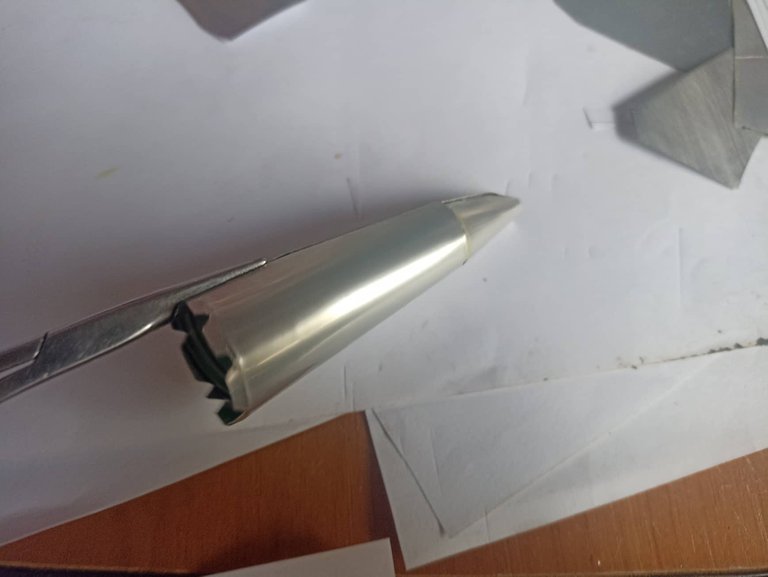
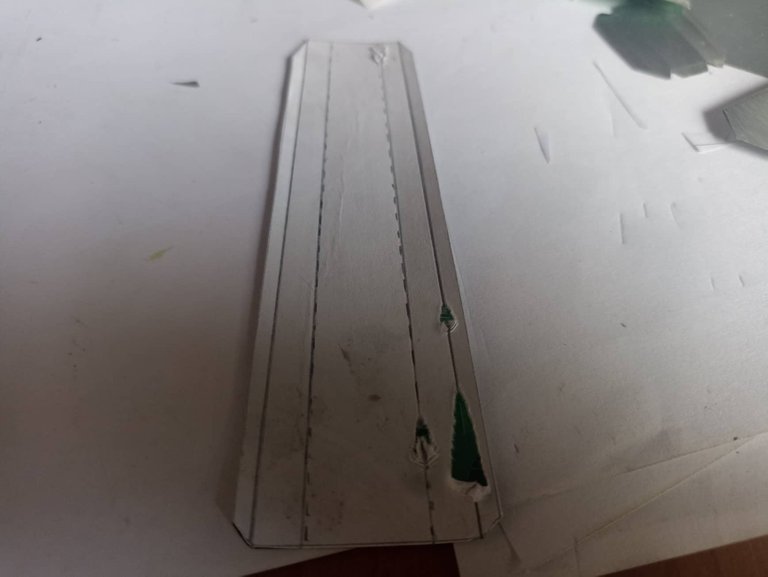
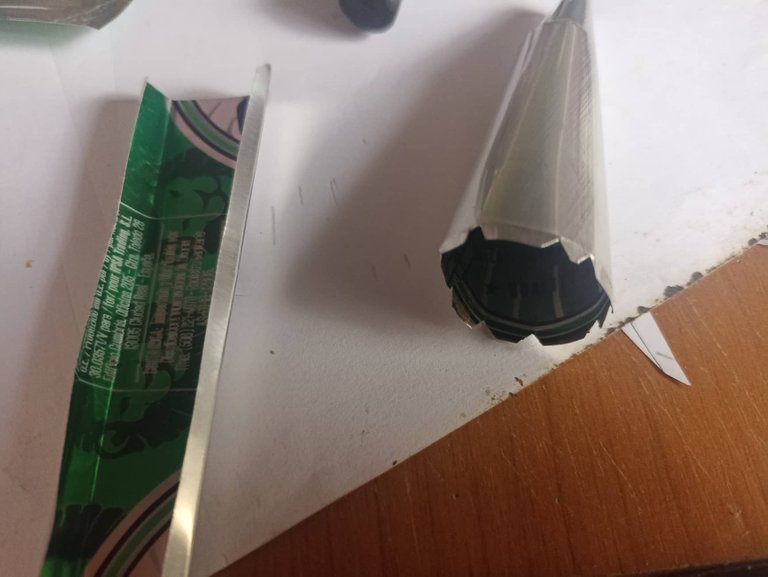
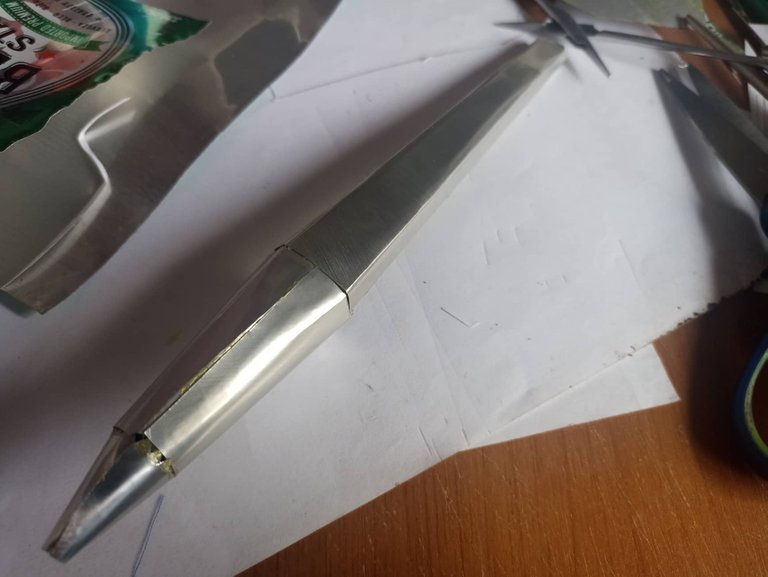
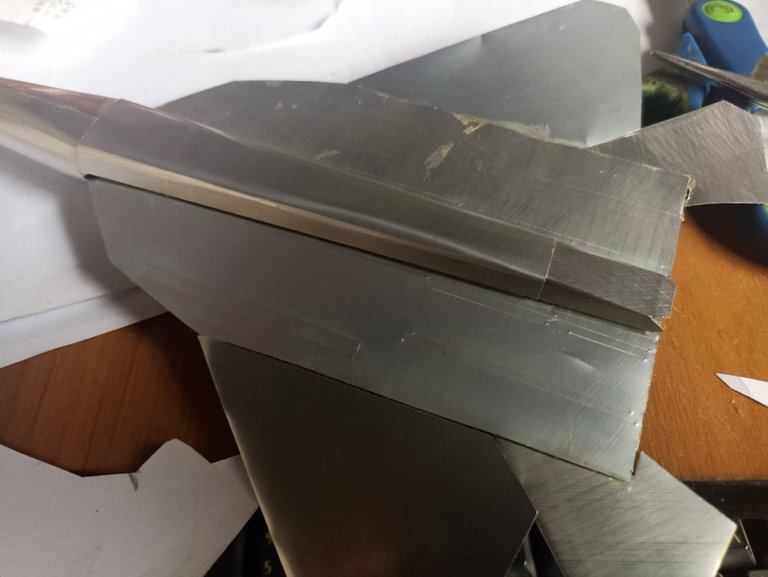
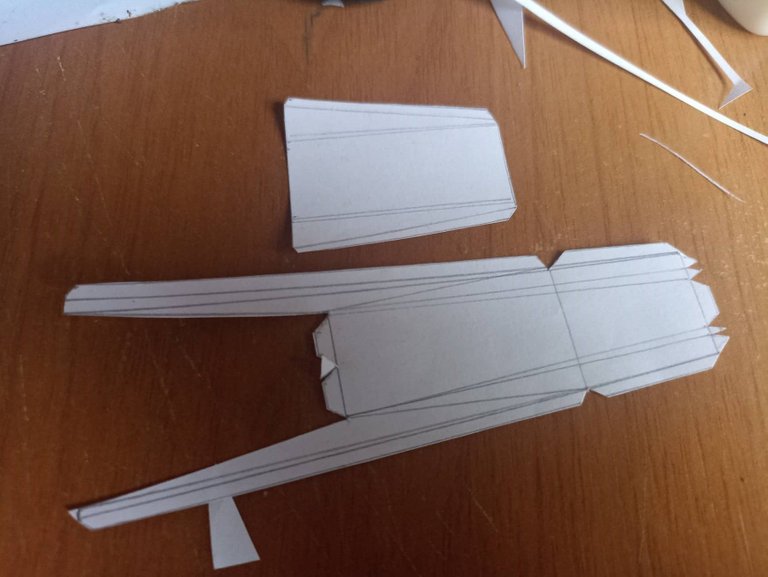
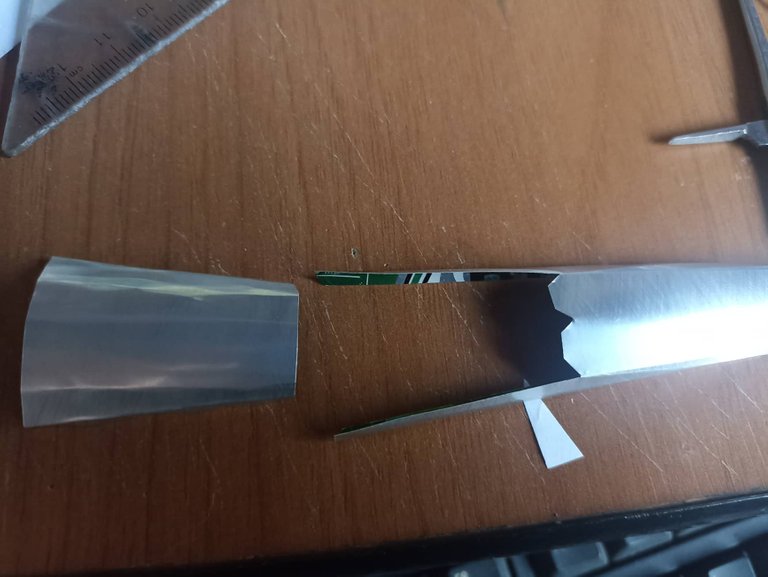
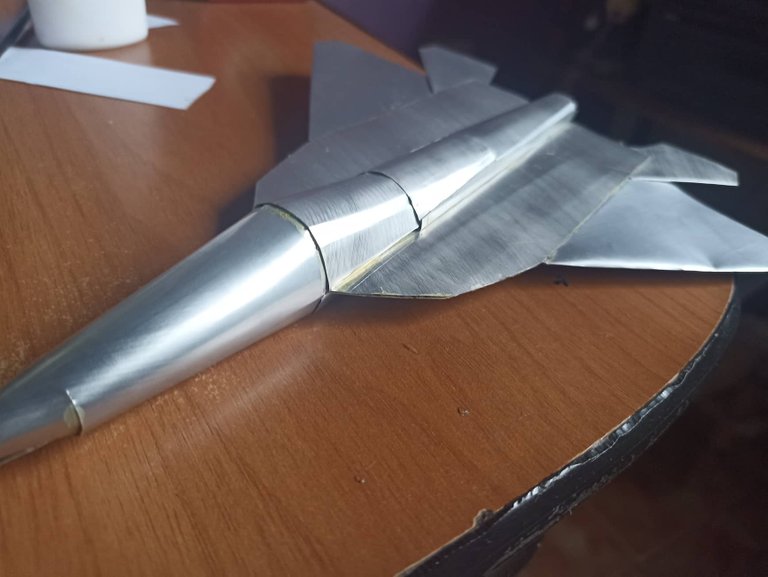
The next step is to build the fuselage body for both the top and bottom. So we cut the pieces for the bottom which includes the nose of the plane and the cockpit, and is attached to the rear of the fuselage at the bottom of the plane. We join them together and then stick it in the points that we marked before. In the same way we cut the pieces of the upper part, we join them together and then we paste them in the marked points, so we can see how the shape of the combat plane is left.
El siguiente paso es construir el cuerpo del fuselaje tanto para la parte superior como la parte inferior. Así que cortamos las piezas para la parte inferior que incluye la punta del avión y la cabina, y va unida al retso del fuselaje por la parte inferior del avión. Los unimos entre ellos y luego lo pegamos en los puntos que marcamos antes. De la misma forma cortamos las piezas de la aprte superior, los unimos entre ellos y después los pegamos en los puntos marcados, así podemos ver como va quedando ya la forma del avión de combate.

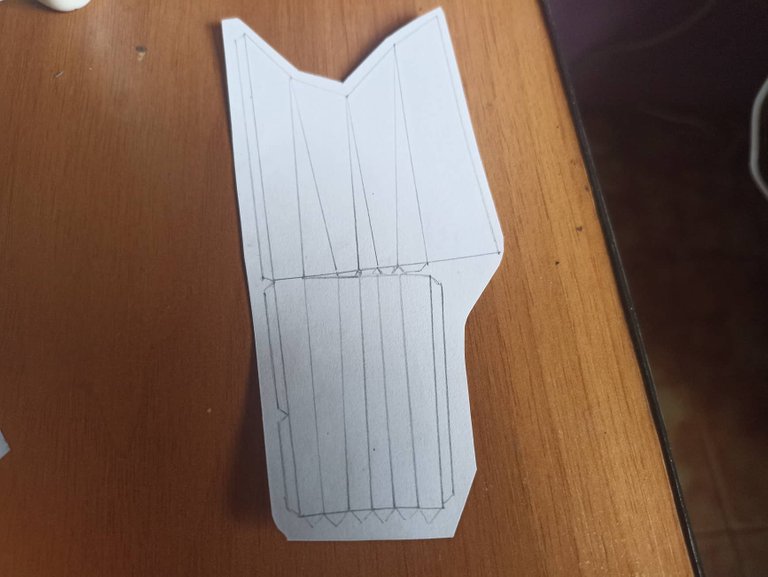
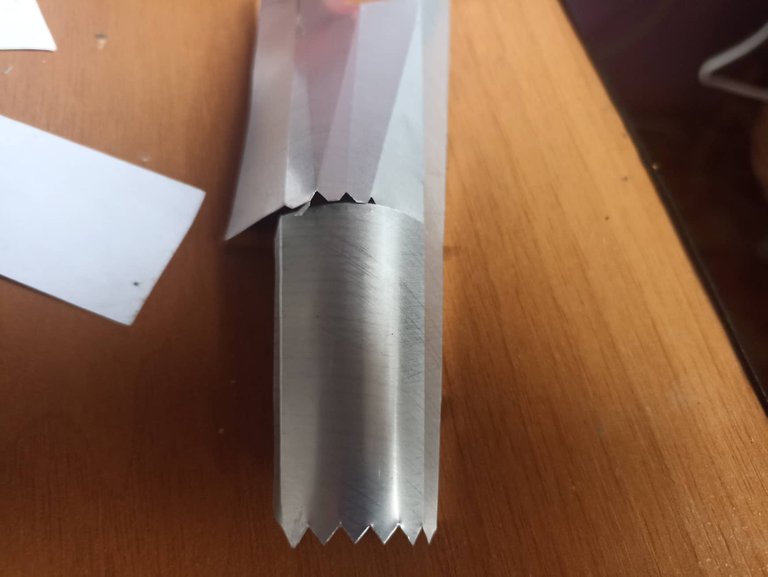
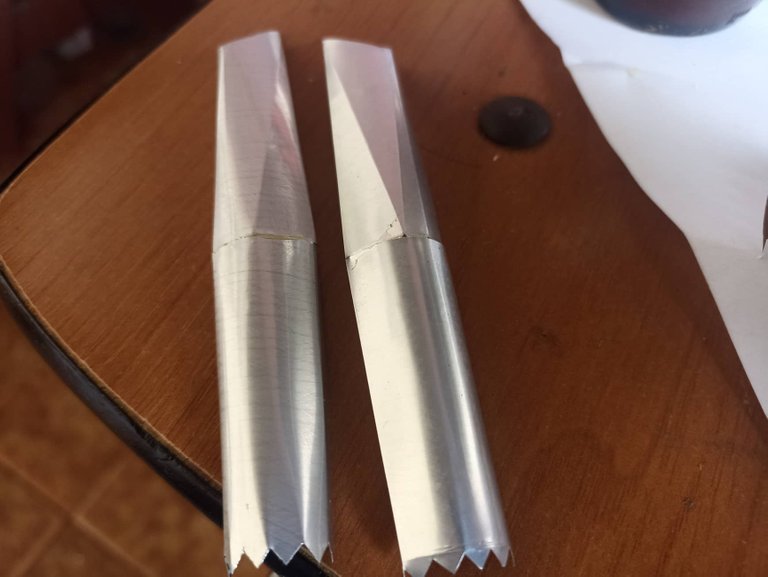
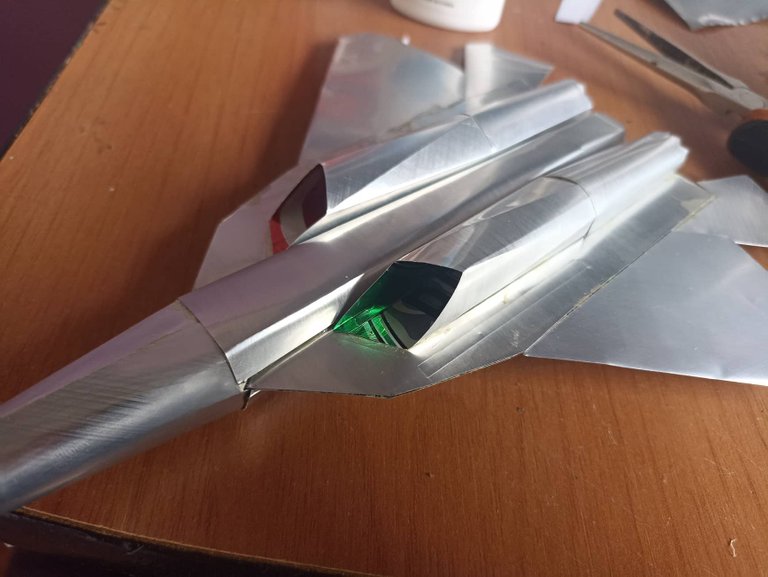
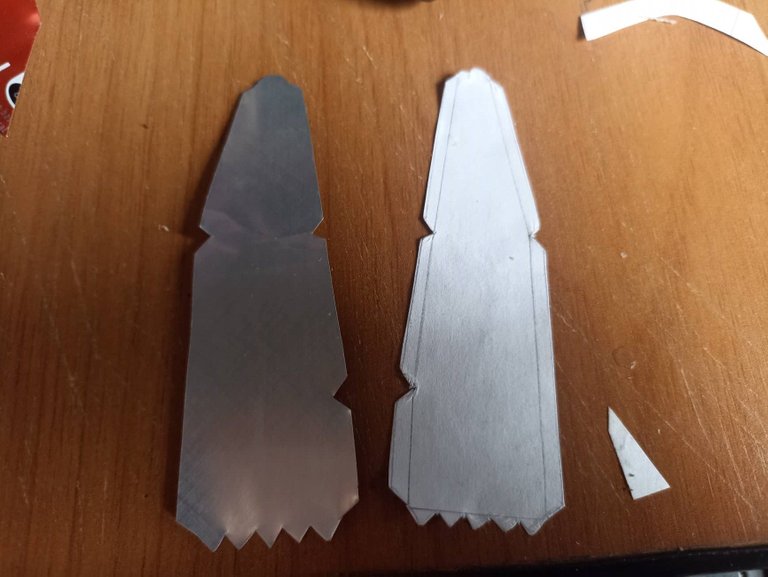
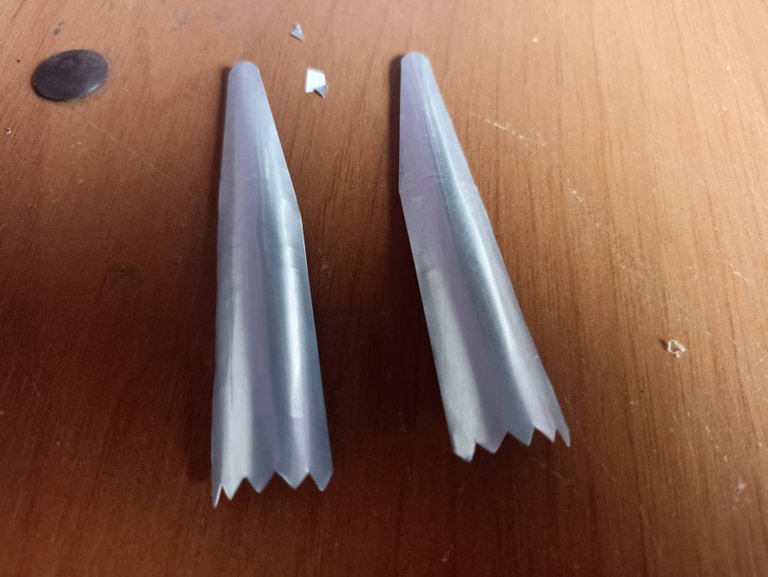
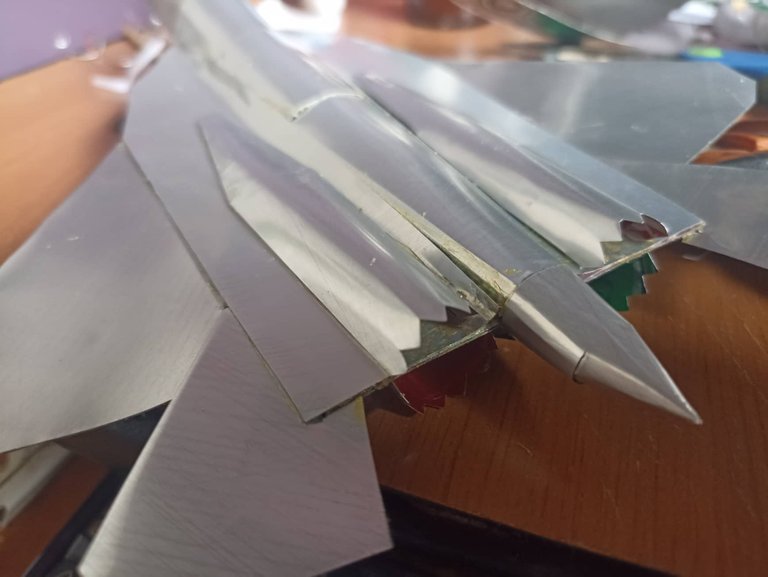
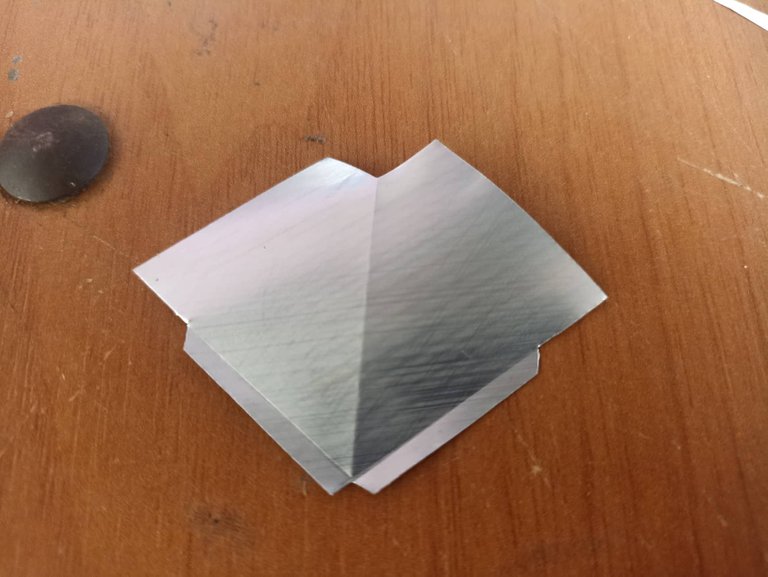
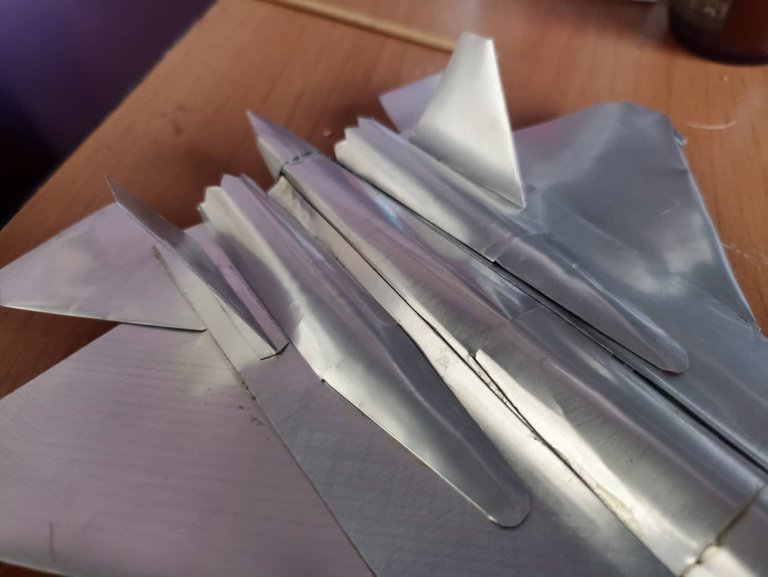
Now we make one of the parts that I like the most of all the fighter models: the turbines. This model has the lower part that at the end joins the upper part. We cut out the templates and then we mold them from the can, we take out the two pieces and once finished we glue them to the bottom of the plane, we hold them well so that the glue acts. Then we make the ones that go in the upper part, we also take out two pieces and mold them, and in the same way we glue them, both pieces are joined in a circular way at the rear of the plane. Finally we make the vertical fins, we mold them by folding them between them and we place them to one side of the turbines in the final part.
Ahora hacemos unas de las partes que más me gusta de todos los modelos de cazas: las turbinas. Este modelo tiene la parte inferior que al final se une con la parte de arriba. Recortamos las plantillas y luego las moldeamos de la lata, sacamos las dos piezas y una vez terminadas la pegamos por la parte de debajo del avión, las sostenemos bien para que el pegamento actúe. Seguidamente hacemos las que van en la parte superior, sacamos también dos piezas y las moldeamos, y de la misma forma la pegamos, ambas piezas se unen de forma circular en la parte trasera del avión. Por último hacemos los alerones verticales, los moldeamos doblandolos entre ellos y los colocamos a un lado de las turbinas en la aprte final.

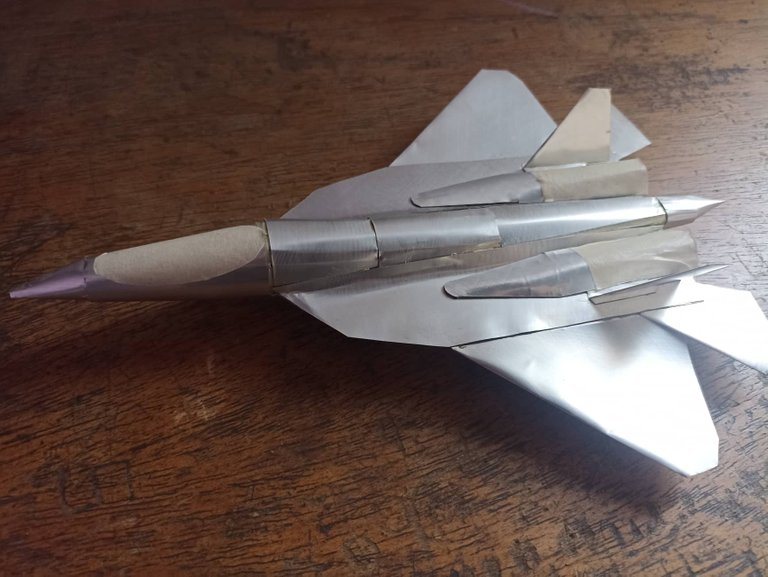
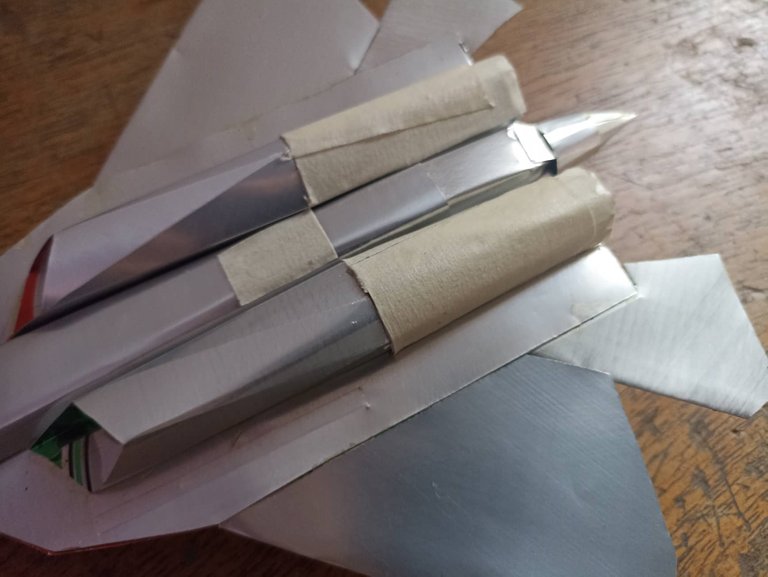
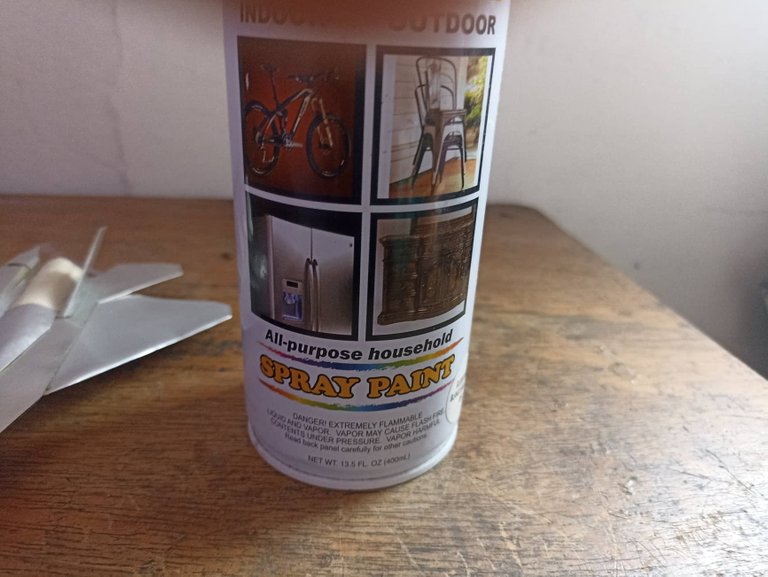
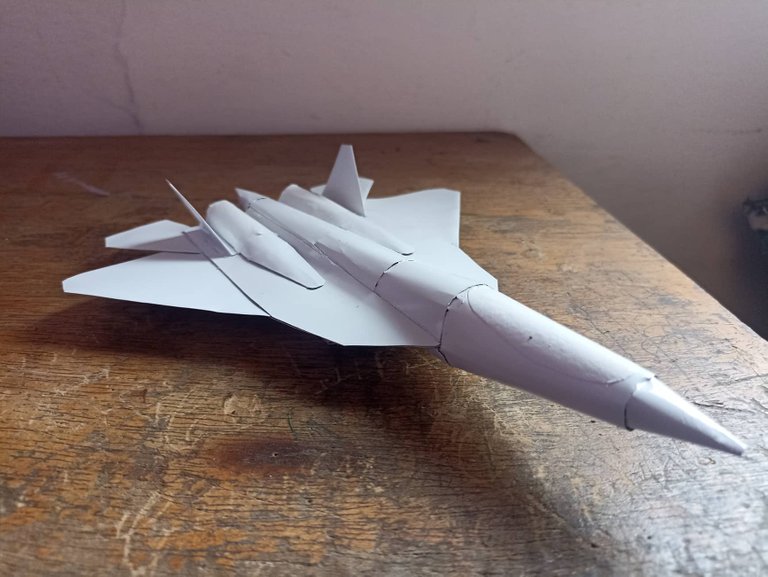
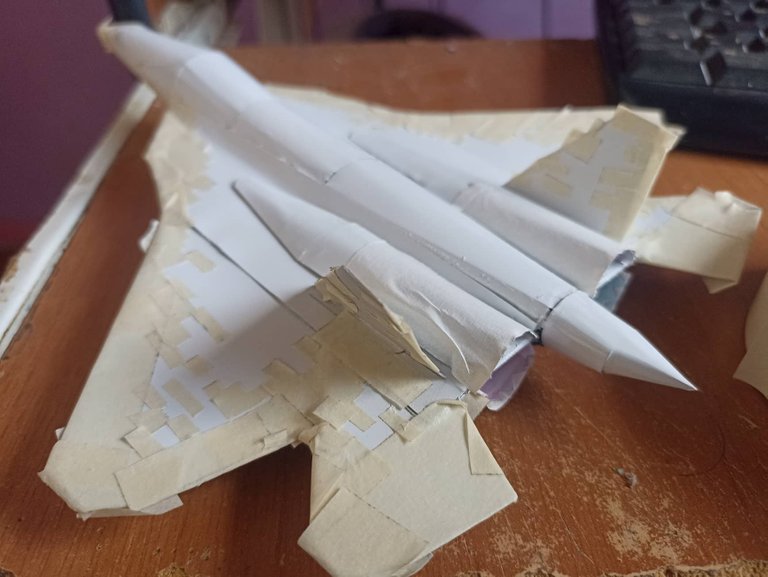
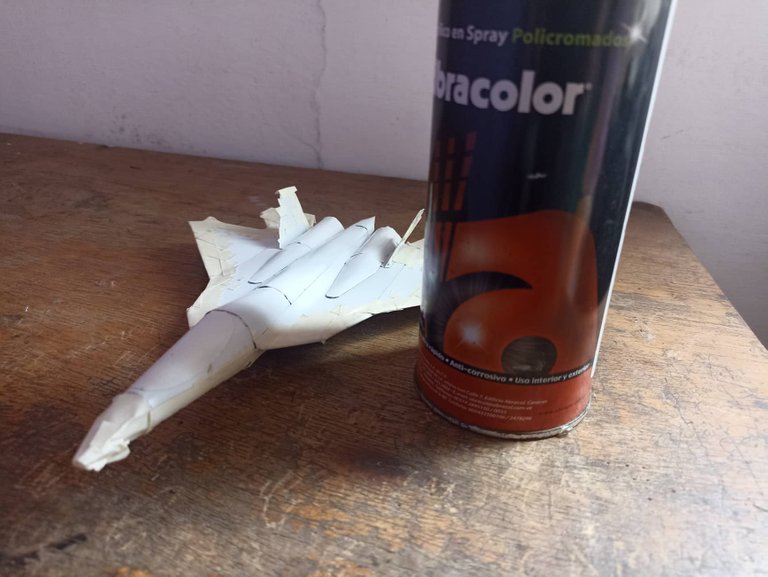
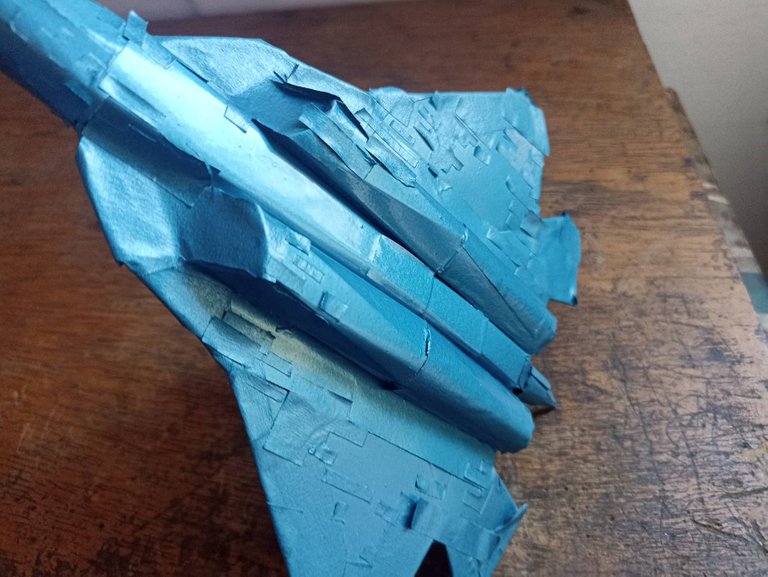
Now we begin one of the most important and careful parts in the construction of the plane: The painting. We prepare the plane by cleaning it, I used thinner. Then with adhesive tape we cover the parts that we will not paint, such as the cockpit and part of the turbines, once this is done we put 3 layers of white paint. Once we let it dry for a few hours we began to prepare the plane for the second color, but first we are going to cover the edges with adhesive tape, this process was the most difficult for me, since the original design the painting has the form of pixels in the edges, so I spent almost a whole day covering this part and making the shape of the pixels so that the painting would look very good. Once finished I also used 3 coats of metallic blue paint, I have had this paint since I painted my bike so it was very useful.
Ahora comenzamos unas de las partes más importantes y cuidadosas en la construcción del avión: La pintura. Preparamos el avión limpiandolo, yo utilicé thiner. Después con cinta adhesiva cubrimos las partes que no pintaremos como la cabina del piloto y parte de las turbinas, una vez hecho esto ponemos 3 capas de pintura de color blanco. Una vez dejamos secar por unas horas comenzamos a preparar el avión para el segundo color, pero antes con cinta adhesiva vamos a cubrir los bordes, este proceso fue el más dificil para mi, ya que el diseño original la pintura tiene forma de pixeles en los bordes, así que estuve casi un día entereo cubriento esta parte y hacer la forma de los pixeles para que la pintura quedara muy bien. Una vez terminado huse también 3 capas de pintura azul metálico, esta pintura la tengo desde que pinté mi bicicleta así que fue muy útil.

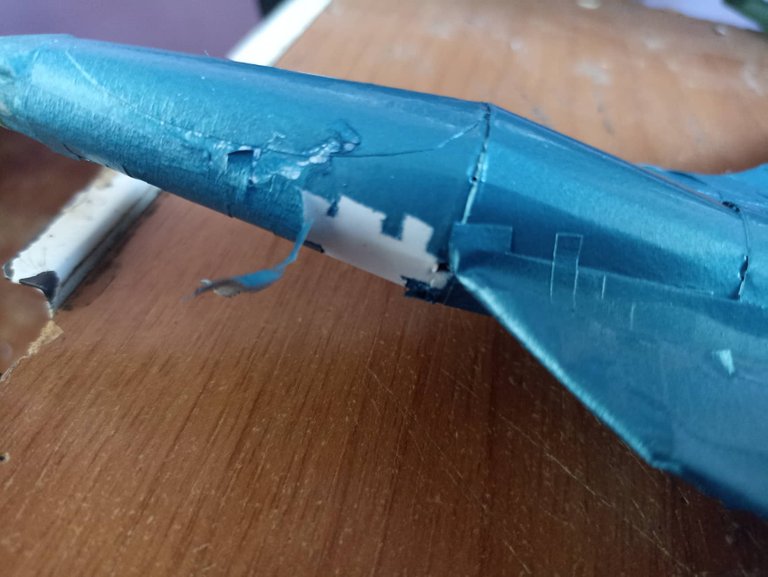
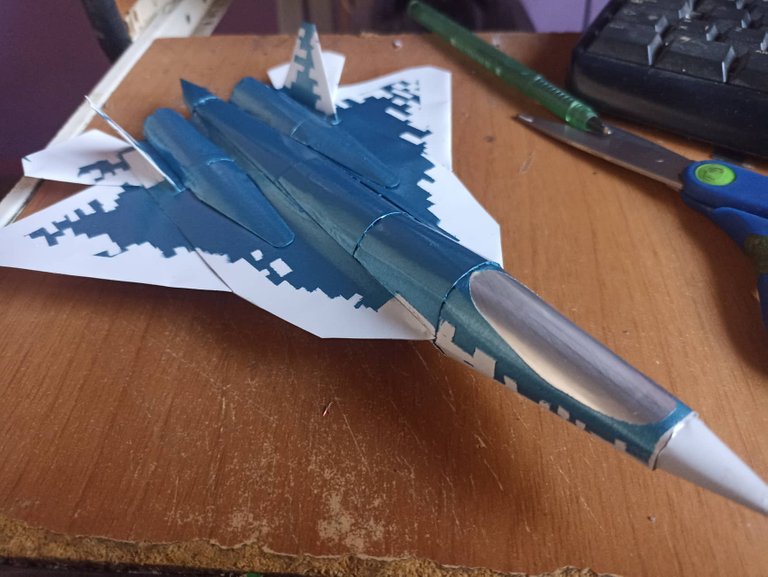
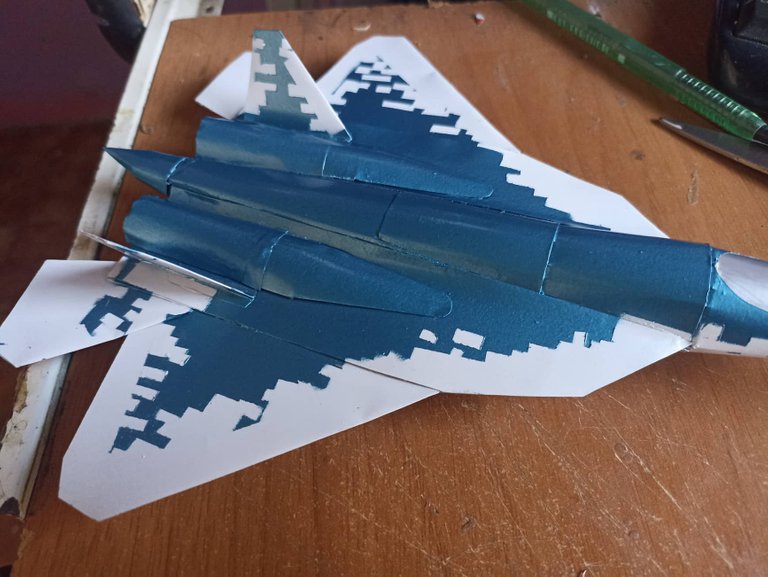
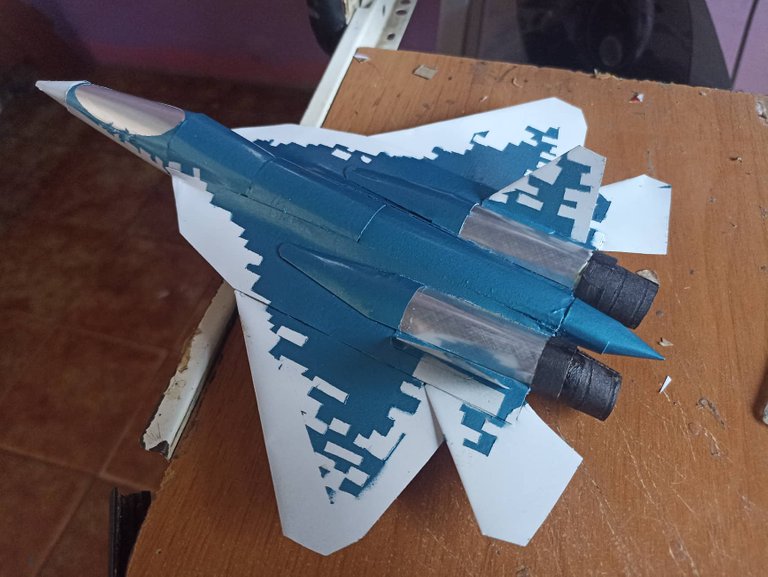
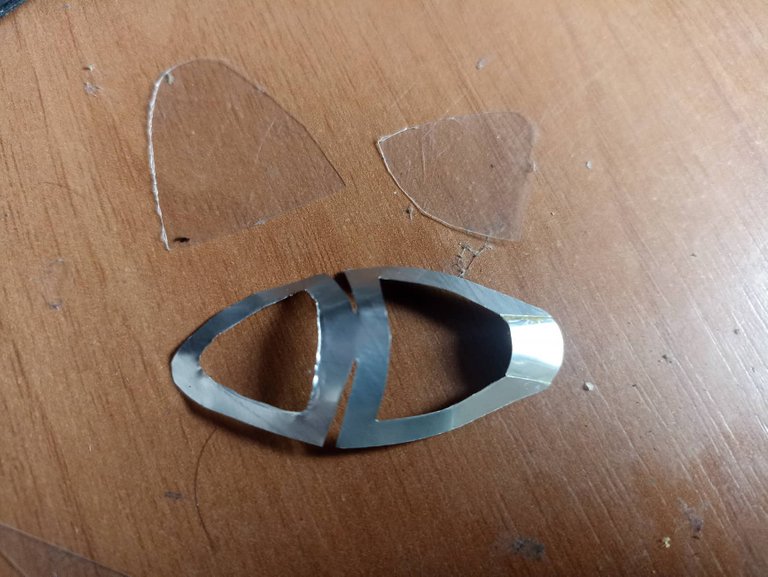
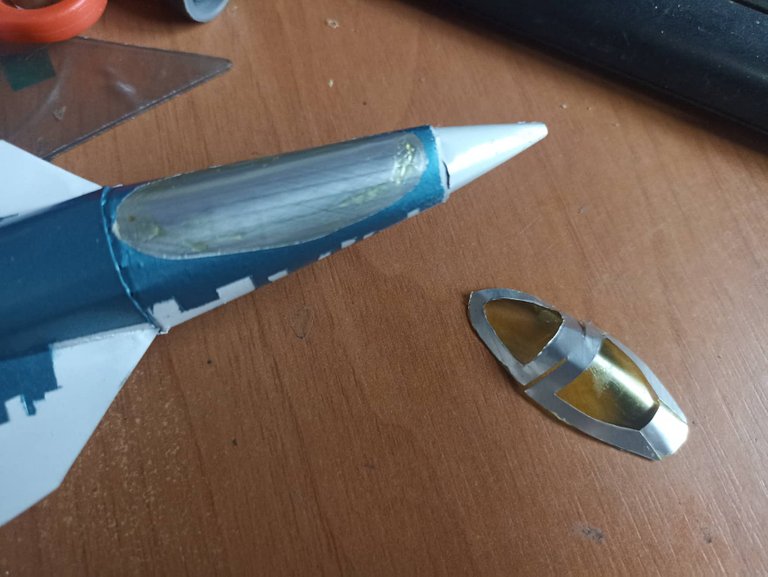
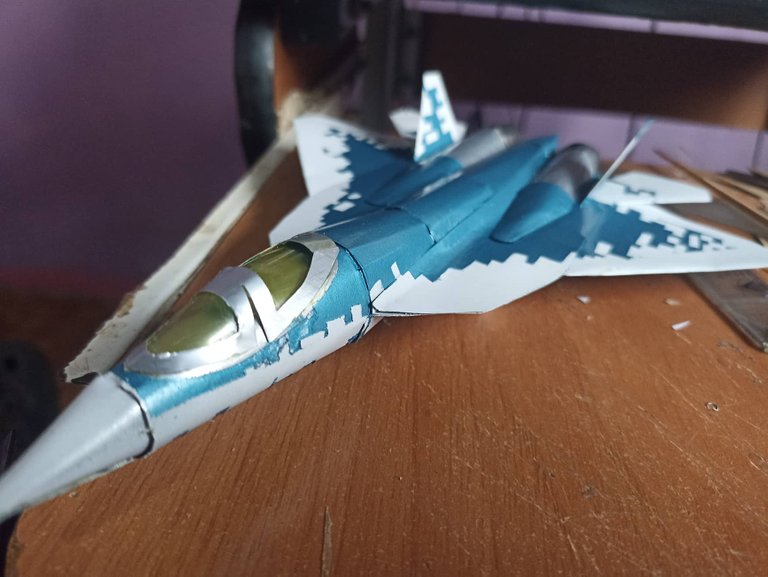
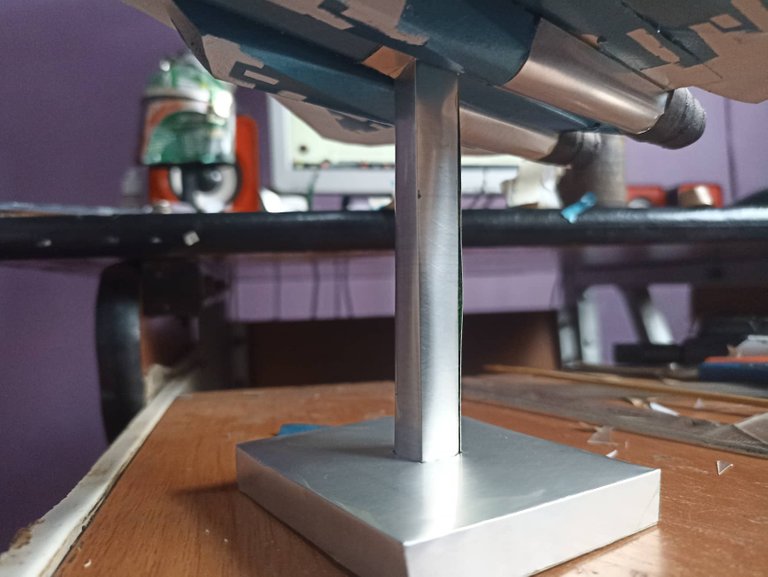
After the paint has dried very well, with one piece we carefully remove all the adhesive tape, little by little we remove it until we have removed everything. As you can see in the images, the painting turned out very well, after that I made the final parts of the turbines, I made those round peaks with catron and painted them black, then I made the cabin with plastic and aluminum and painted the plastic yellow. and then I put it in the right place, finally I made a base for the plane and in this way it was finished.
Después e que la pintura haya secado muy bien, con una pienza vamos retirando toda la cinta adhesiva cuidadosamente, poco a poco la vamos quitando hasta tener retirarlo todo. Como pueden observar las imágenes la pintura quedó muy bien, después de eso hice las partes finales de las turbinas, esos picos redondos los hice con catrón y los pinté de negro, despues hice la cabina con plastico y aluminio y pinté el plástico de color amarillo y luego lo puse en el lugar que le corresponde, por último hice una base para el avión y de esta manera quedó finalizado.
 FINAL WORK
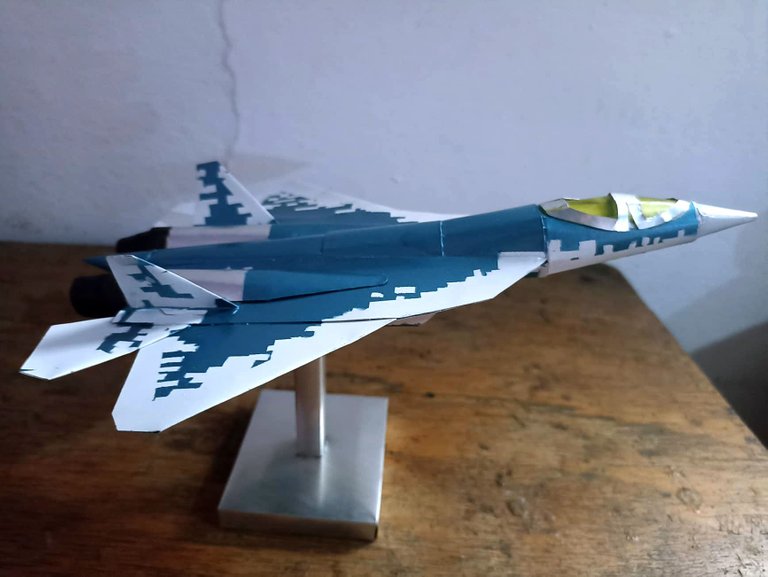
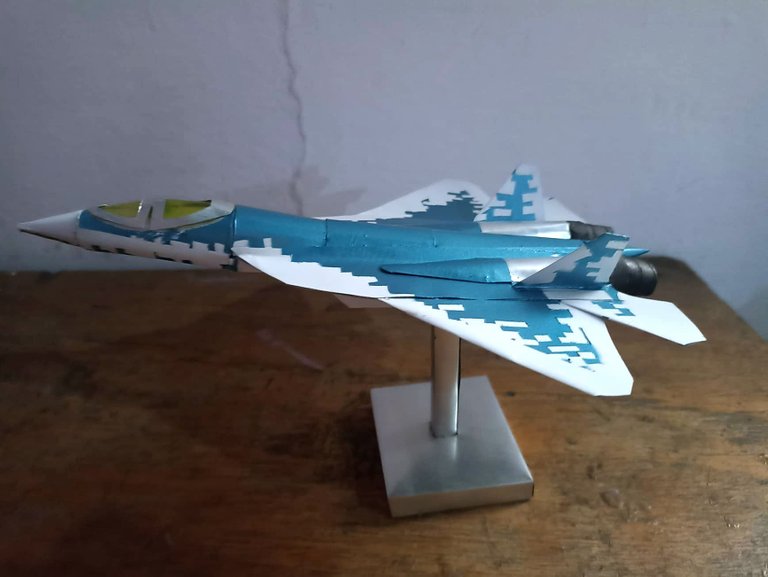
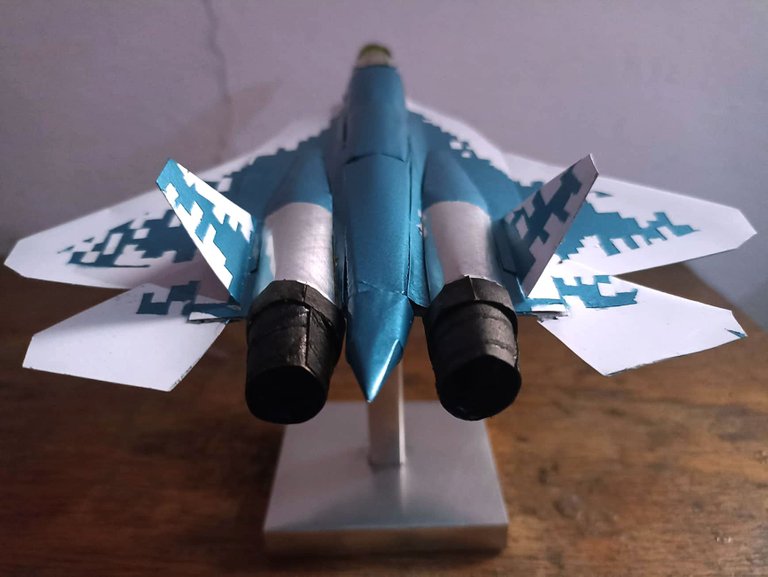
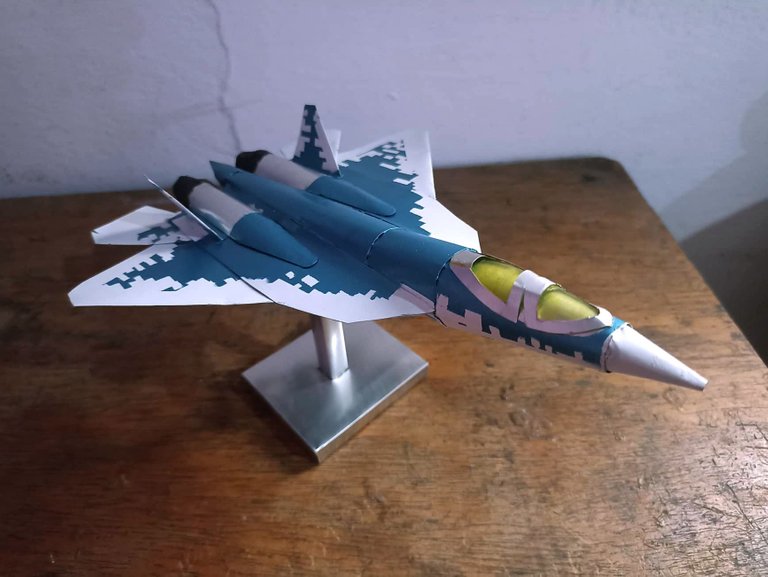
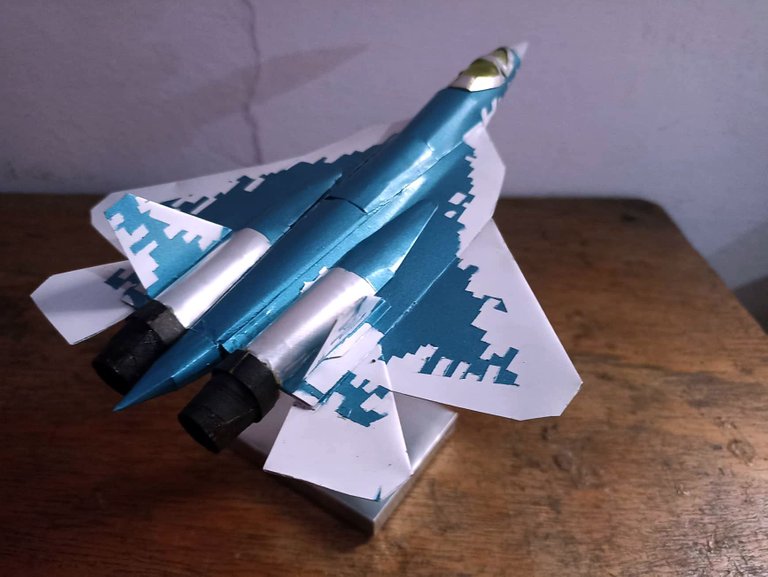
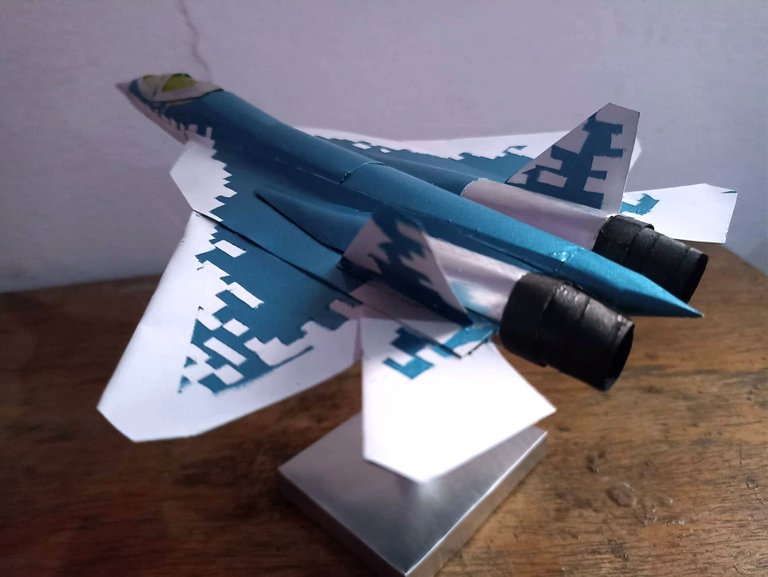
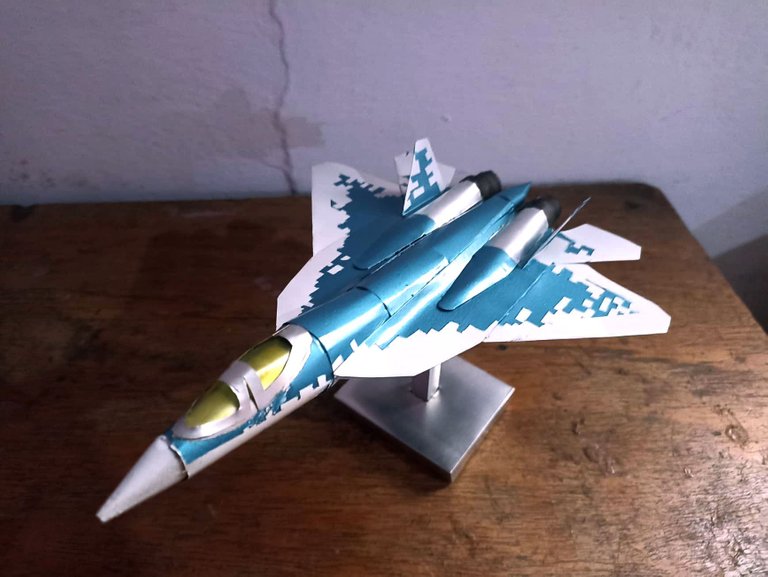
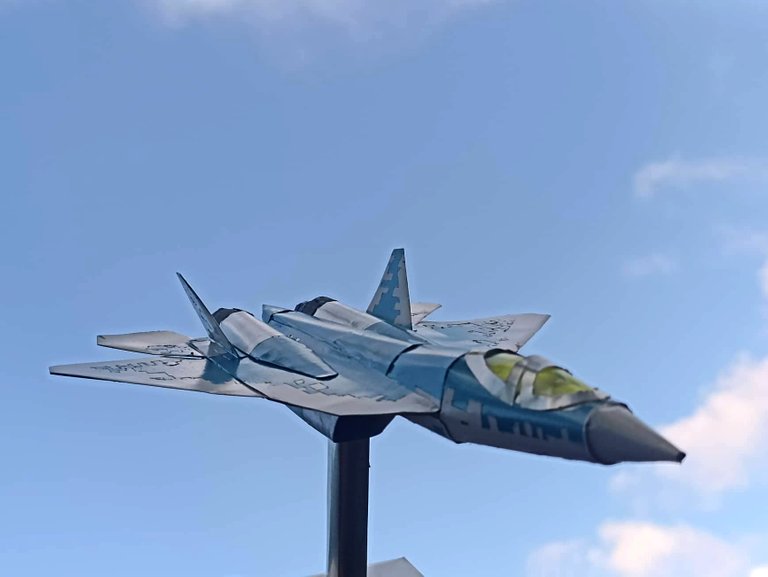
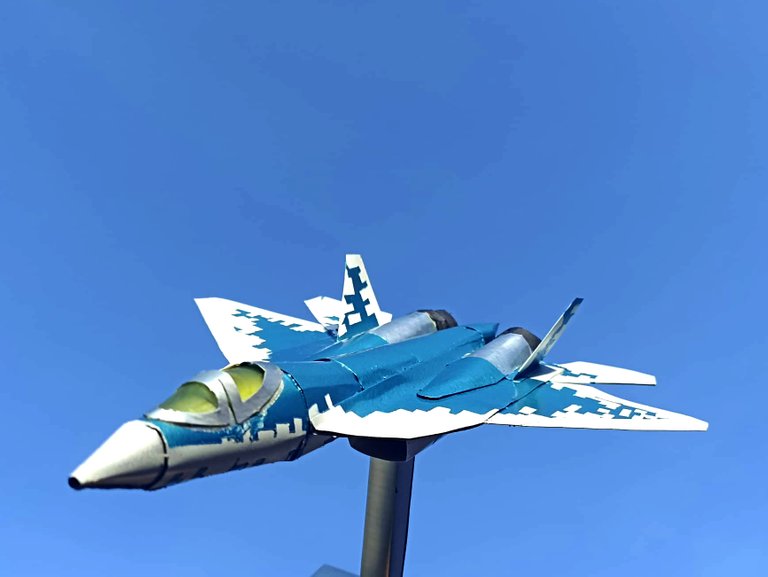
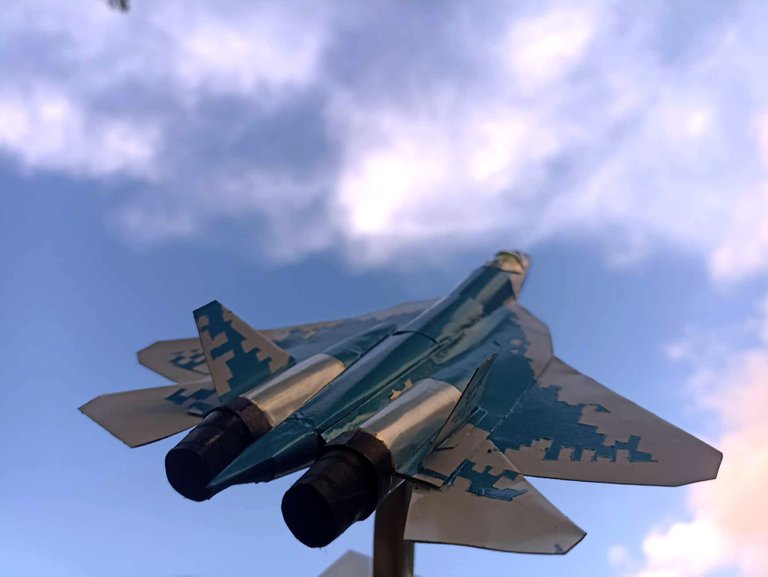
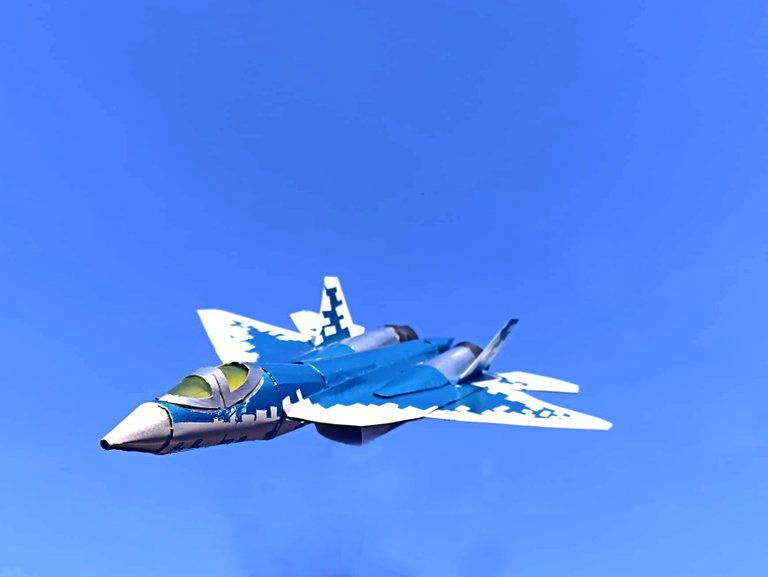
After putting the base, so that the paint would look better and be preserved, I applied two coats of transparent acrylic paint, or varnish, this gives it more shine and protection. As you can see, this is how the Sukhoi SU-57, Russia's 5th generation aircraft, was completed. This plane has not yet seen action like those of other countries due to many delays, however I like its design very much, it is very futuristic. A detail of this fighter is that it emits a creepy sound when it performs flight actions, you can search youtube, I don't want to imagine one of these planes flying at night, I think it would be terrifying. I hope you liked my work, I am not advocating war, I just like war objects. Do not forget to leave your opinion in the comments, for me it is important. I say goodbye soon.
Luego de poner la base, para que la pintura quede mejor y se conserve le eché dos capas de pintura acrílica transparente, o barniz, esto le da más brillo y protección. Como pueden ver así quedó finalizado el Sukhoi SU-57, el avión de 5ta generación de Rusia. Este avión aún no ha visto acción comolos de otros países por muchos retrazos, sin embargo su diseño me gusta muchísimo, es muy futurista. Un detalle de este caza es que emite un sonido espeluznante cuando realiza acciones de vuelo, pueden buscar el youtube, no me quiero imaginar a un avión de estos volando en la noche, creo que sería aterrador. Espero que les haya gustado mi trabajo, no hago ninguna apología a la guerra, solo me gustan los objetos bélicos. No olviden dejar su opinión en los comentarios, para mi es importante. Me depsido hasta pronto.


