Hello dear friends, I hope you are very well, returning to crafts this time I have let out my fanaticism for the Star Wars universe so I have made a Destroyer ship used by the Galactic Empire to conquer and subdue all the spaces of the galaxy very far. This ship is capable of using super weapons and at the same time transporting smaller ships such as Tie-class fighters. I have made this model using ordinary cardboard that we can find in our home. Hope you like.
Hola queridos amigos, espero que se encuentren muy bien, volviendo a las manualidades esta vez he dejado salir mi fanatismo por el universo de Star Wars así que he realizado una nave Destroyer utilizada por el Imperio Galáctico para conquistar y someter todos los espacios de la galaxia muy lejana. Esta nave es capaz de utilizar super armas y a la vez transportar navez más pequeñas como los caza de la clase Tie. Esta maqueta la he realizado utilizando cartón corriente que podemos encontrar en nuestro hogar. Espero que les guste.


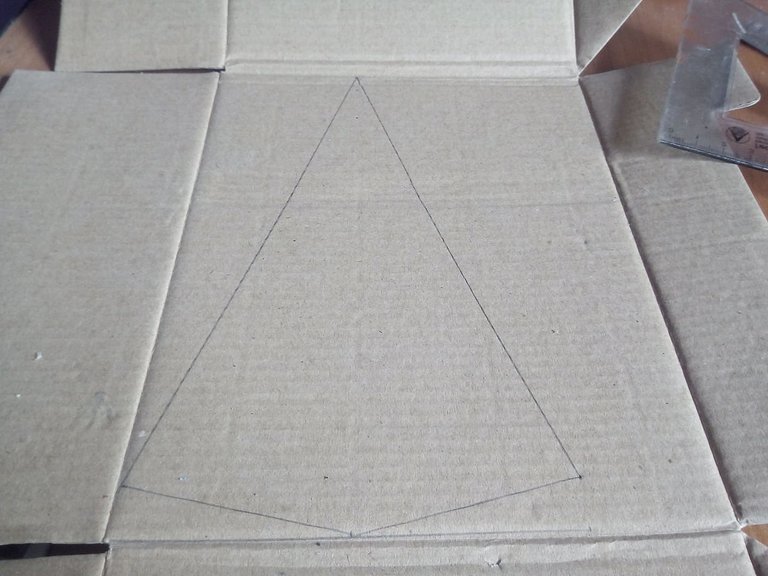
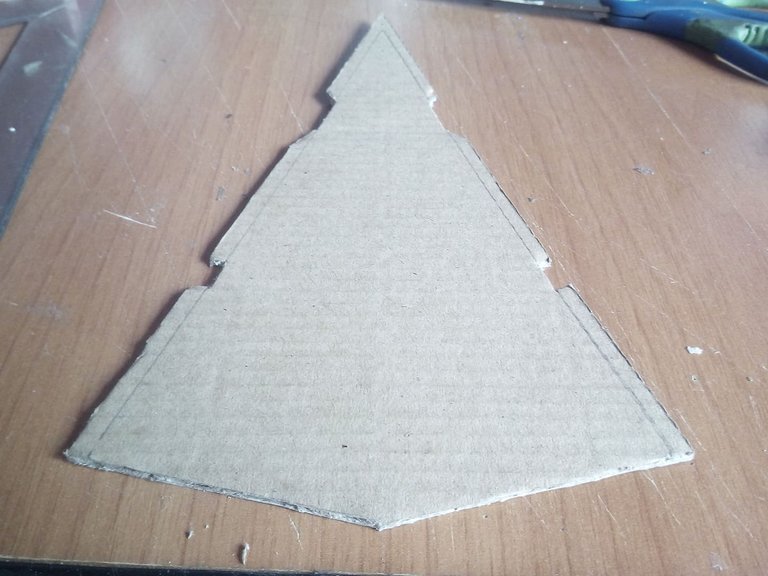
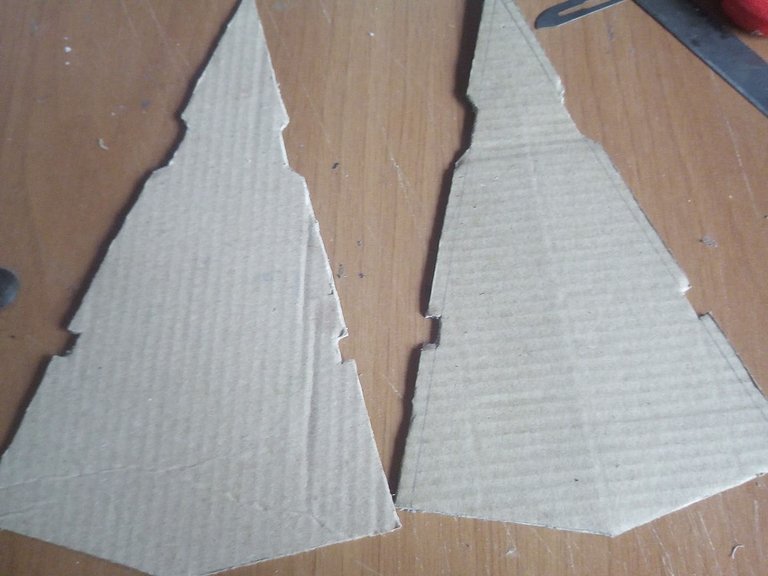
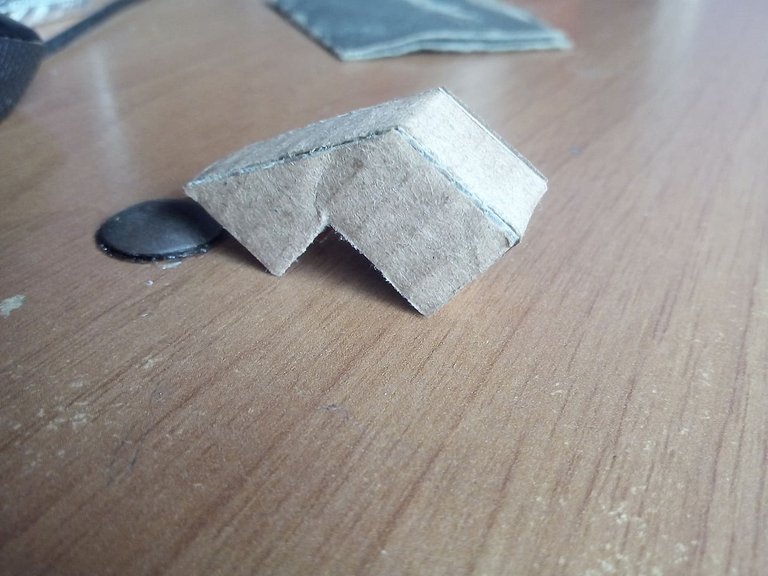
To do this work I chose a box of cookies that no longer had cookies, hehe. These boxes are usually softer than other types of cardboard so they are easy to cut with scissors. We measure the size of the templates with a ruler, I used 20 centimeters long by 10 centimeters wide, this ship has a triangle shape so we must be more exact with the measurements we use. Also cut a piece that goes inside and serves to join both sides.
Para hacer este trabajo escogí una caja de galletas que ya no tenía galletas, jeje. Estas cajas suelen ser más suaves que otro tipo de cartón por lo qu es facil cortar con tijeras. Medimos con una regla el tamaño de las plantillas, yo utilicé 20 centímetros de largo por 10 centímetros de ancho, esta nave tiene forma de triangulo por lo que debemos ser más excatos con las medidas que utilicemos. También corte una pieza que va por el interior y que sirve para unir ambas caras.
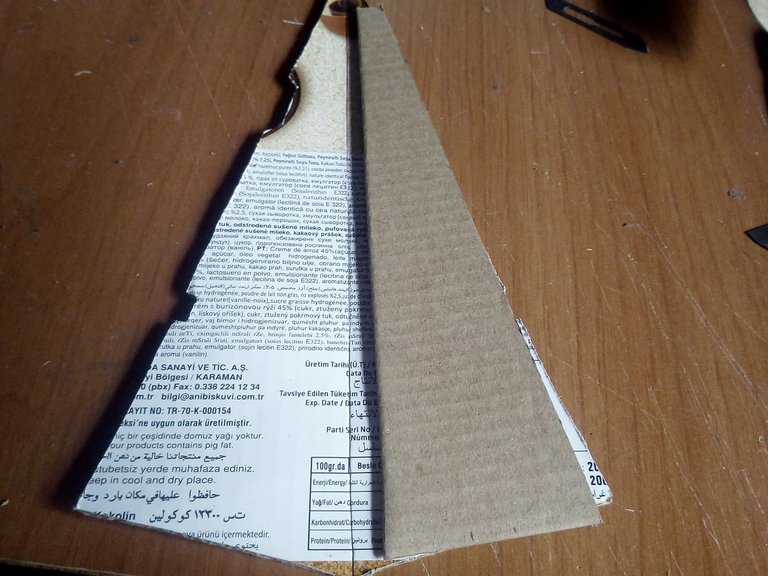
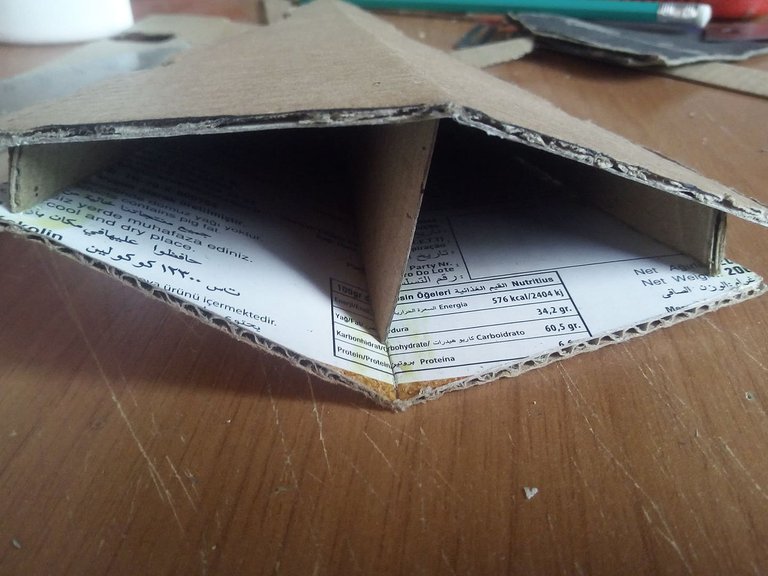
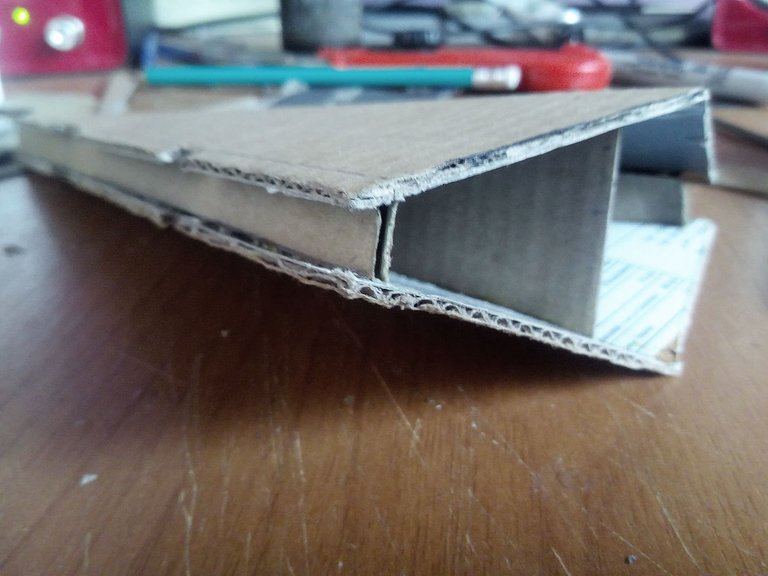
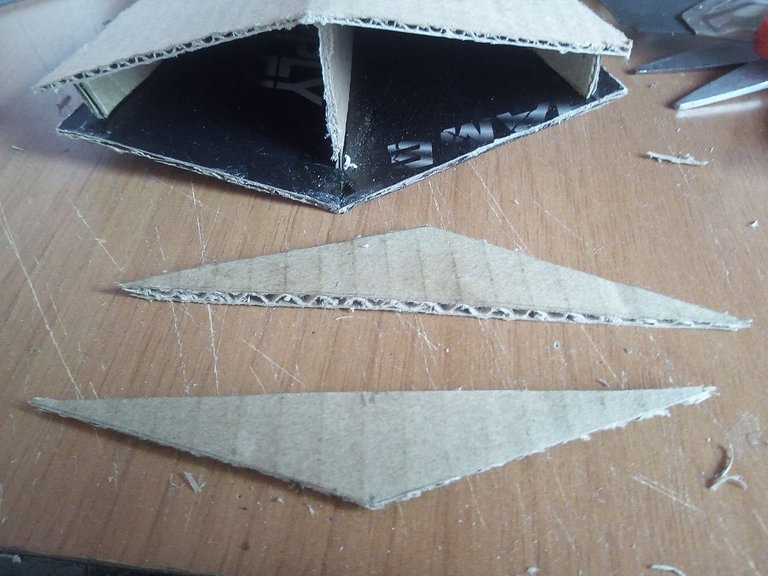
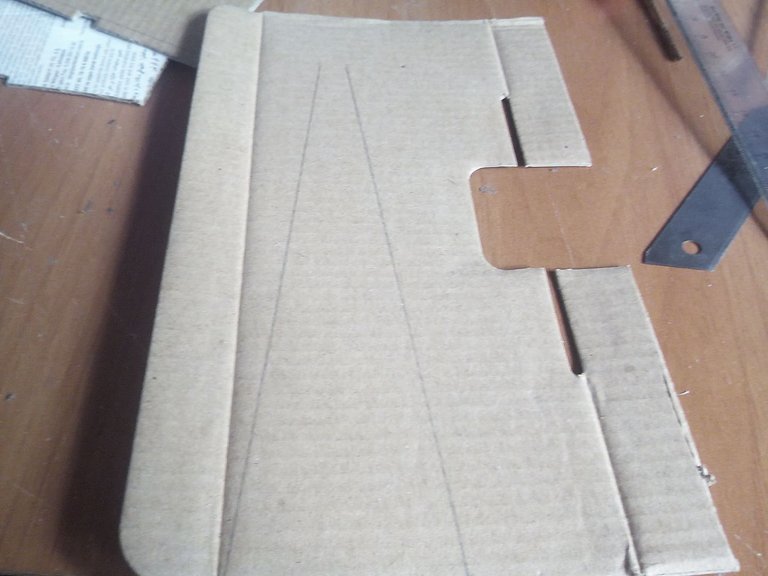
Then the next step is to assemble all the pieces that we have cut so far from the cardboard. First we take one of the triangles and place two strips of cardboard on the sides, then we take the other piece and place one of the templates we made in the middle. Then we take both sides, put glue and join them. In this way we will have made most of the ship. To finish we will seal the back part using two small triangular pieces that will be joined with glue, in the middle of them there will be an opening, we will cut a strip of cardboard to seal what is needed.
Luegoi el siguiente paso es armar todas las piezas que hemos cortado hasta ahora delk cartón. Primero tomamos uno de los triangulos y colocaremos dos tiras de cartón por los costados, despues tomamos la otra pieza y colocamos en medio una de las plantillas que hicimos. Seguidamente tomamos ambas caras, colocamos pegamento y las unimos. De esta manera habremos realizado la mayor parte de la nave. Para finalizar sellaremos la parte trasera utilizando dos pequeñas piezas triangulares que iran unidas con pegamento, en medio de ellas quedará una abertura, cortaremos una tira ce cartón para sellar lo que haga falta.
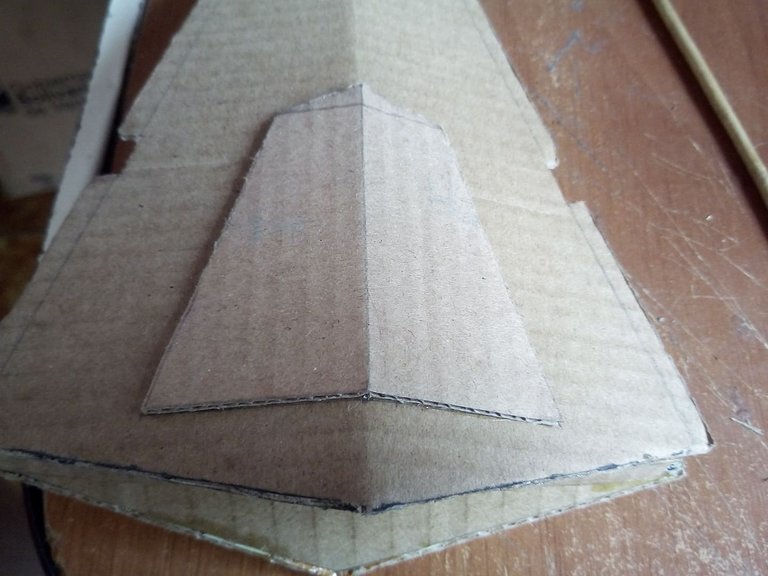
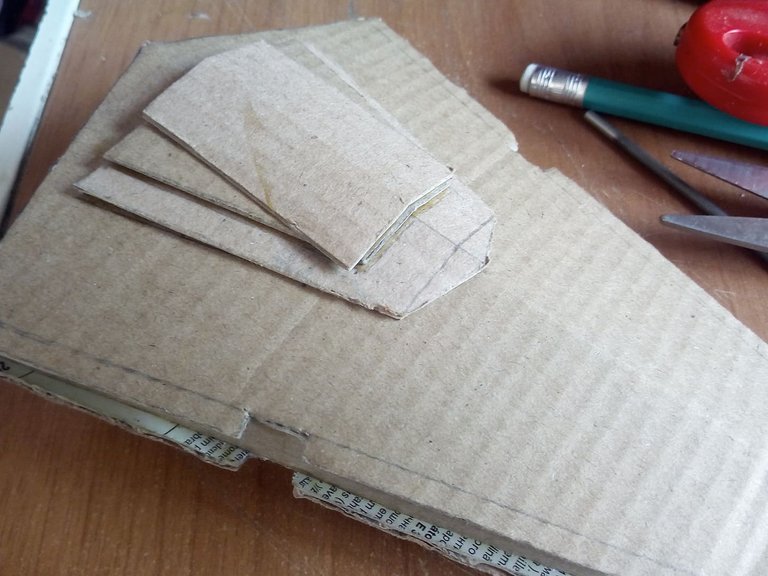
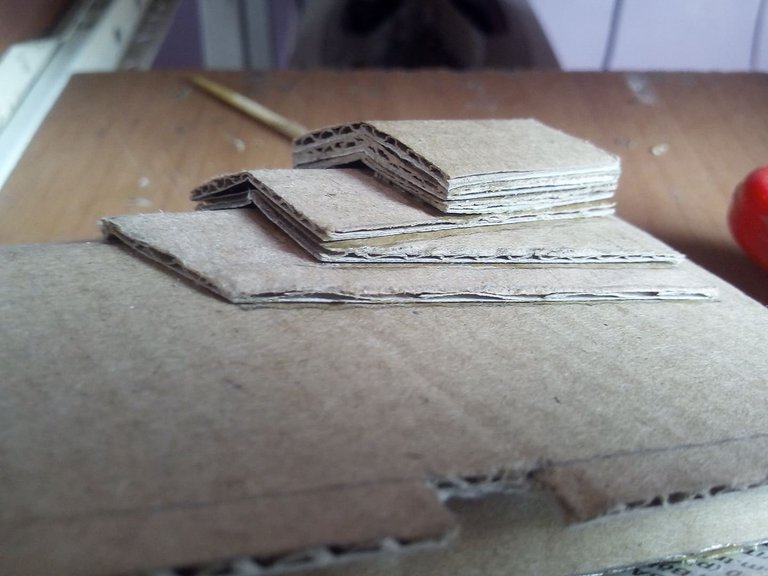
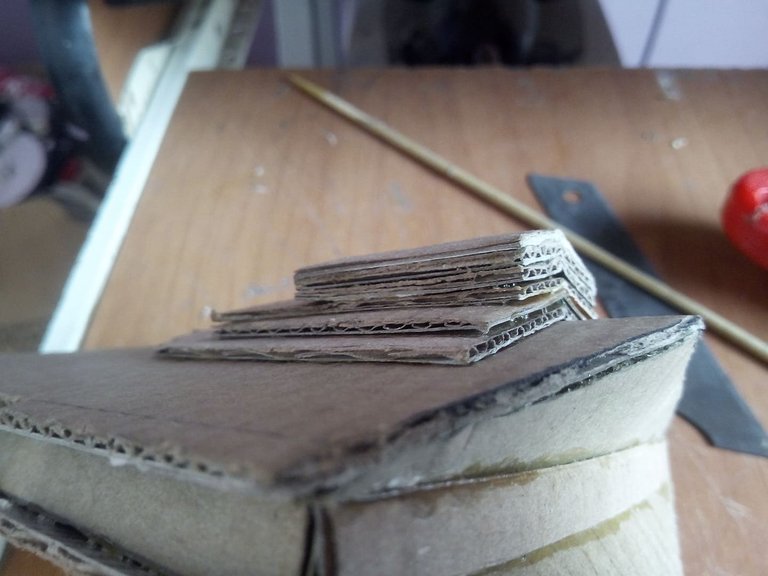
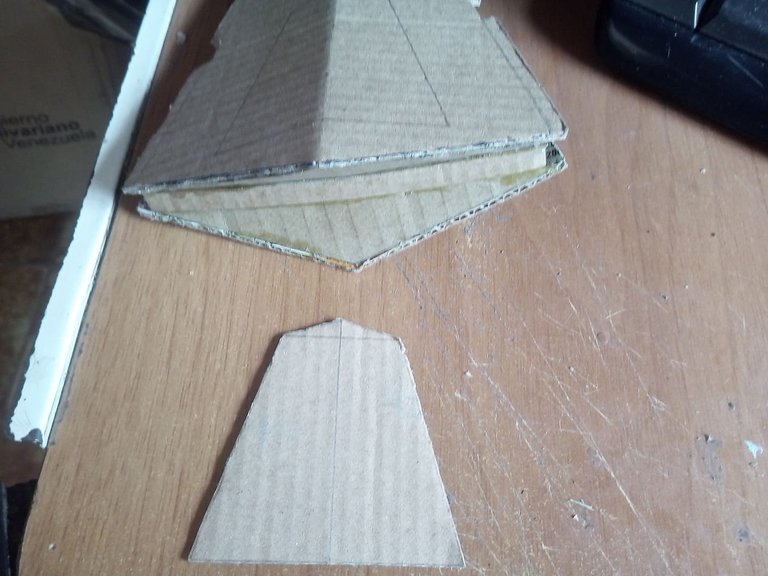
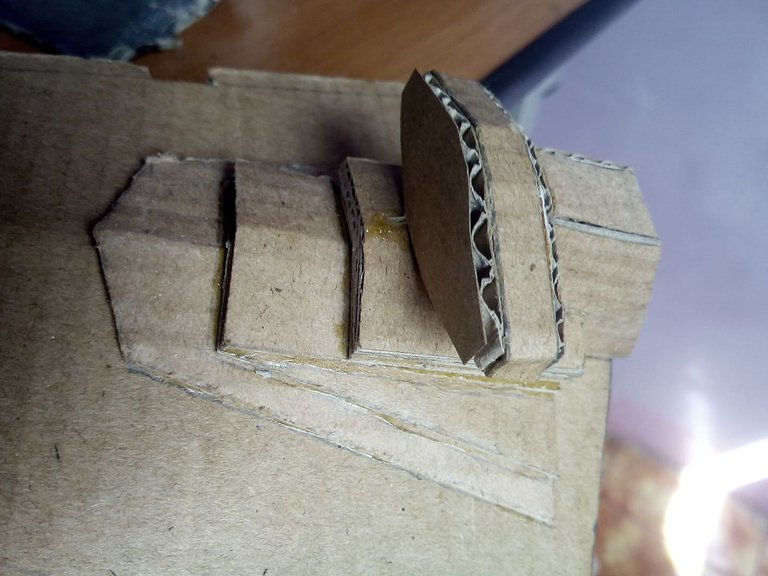
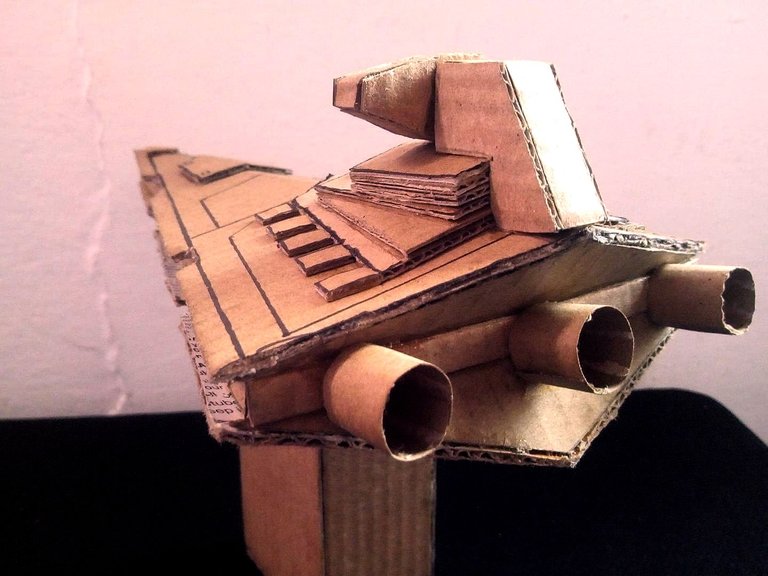
To begin with the most important details of the ship, we begin with those of the outer part located in the last part, here are all the superior controls of the Star Destroyer. We cut some small pieces of cardboard following the original model and fix each one with glue.
Para comenzar con los detalles más importantes de la navez comenzamos con los de la parte exterior ubicados en la última parte, aquí se encuentran todos los mandos superiores del Destructor Estelar. Cortamos unas pequeñas piezas de cartón siguiendo el modelo original y vamos fijando cada una con pegamento.
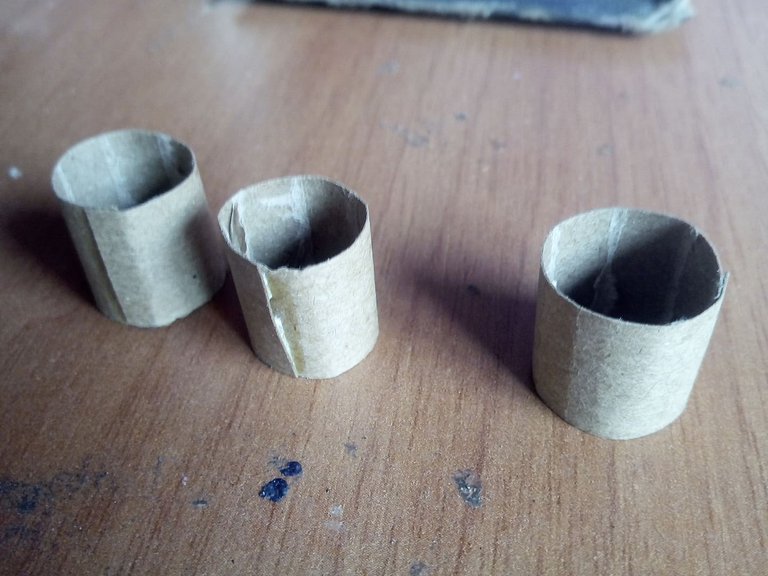
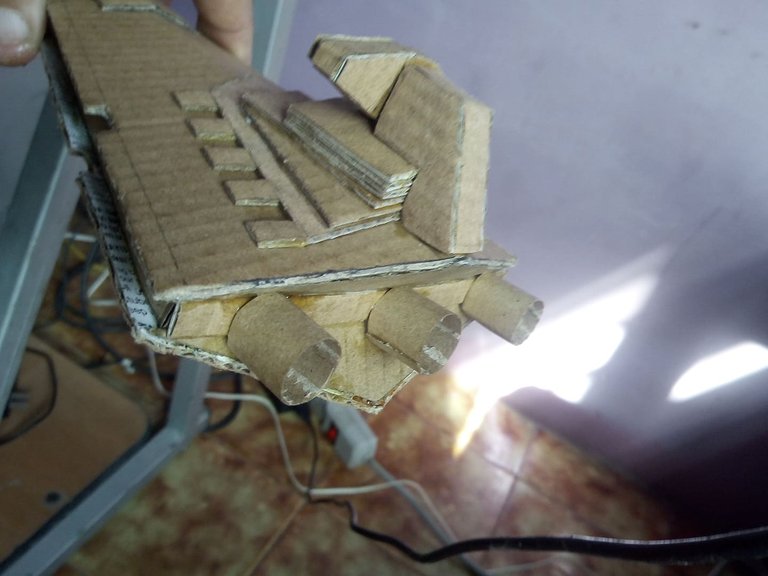
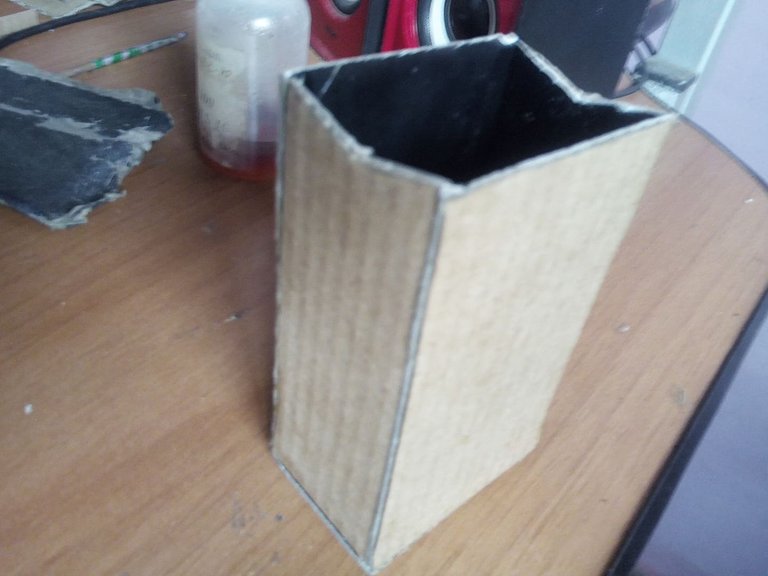
Finishing our ship we place the upper hull, we also make 3 tubes with cardboard, these tubes will be for the turbines of the ship and finally we will make a base where to lay the ship, we must calculate its position well so that it holds the ship very well.
Finalizando nuestra nave colocamos el casco superior, tambien hacemos con cartón 3 tubos, estos tubos serán para las turbinas de la nave y por último haremos una base donde posar la nave, debemos calcular bien su posición para que sostenga muy bien la nave.
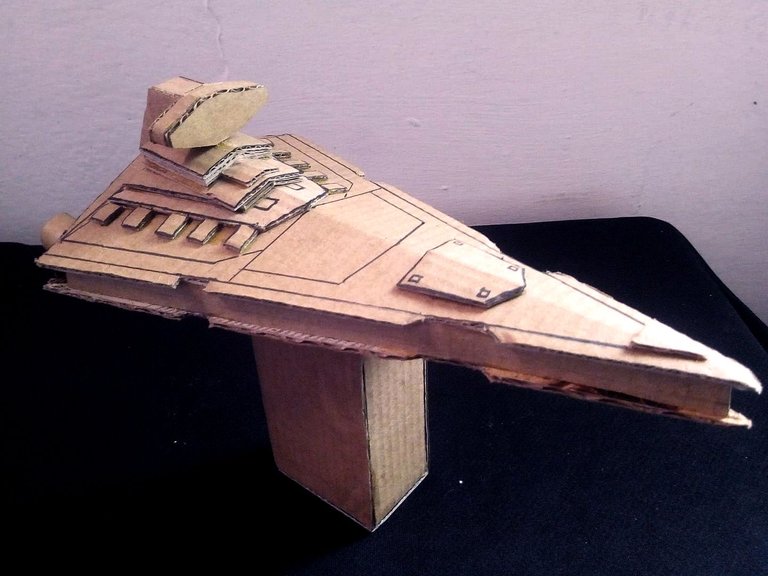

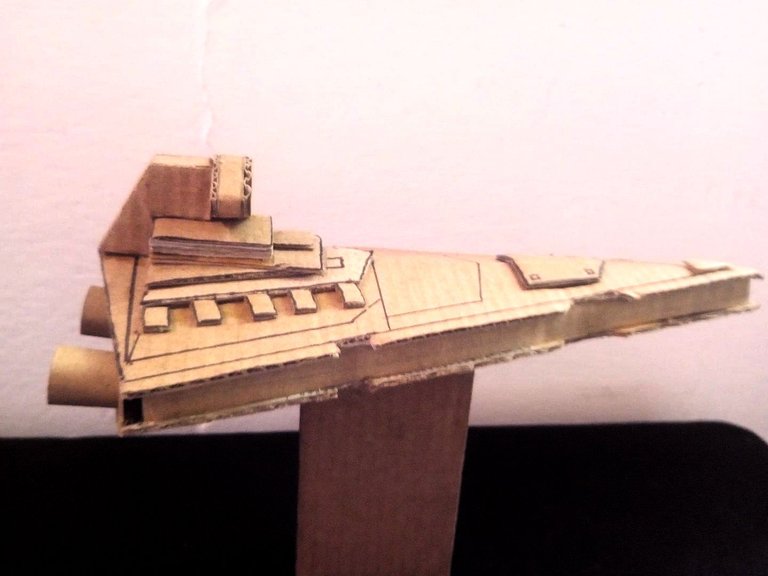
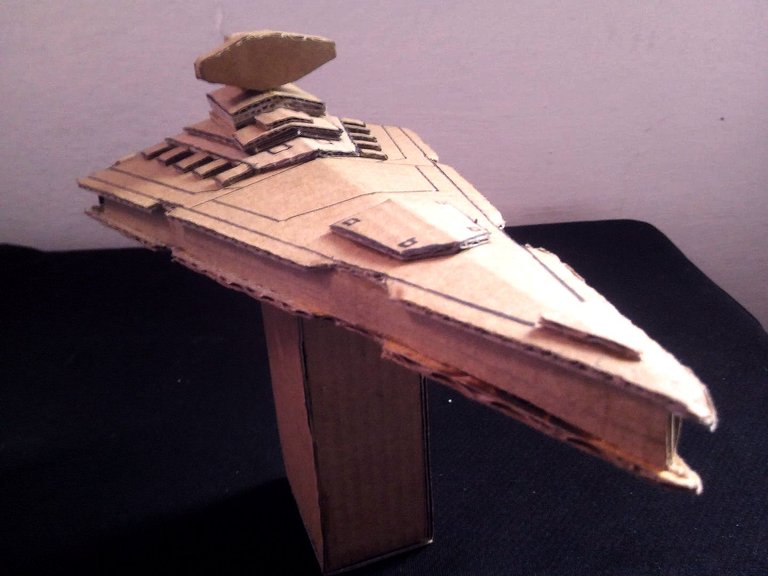
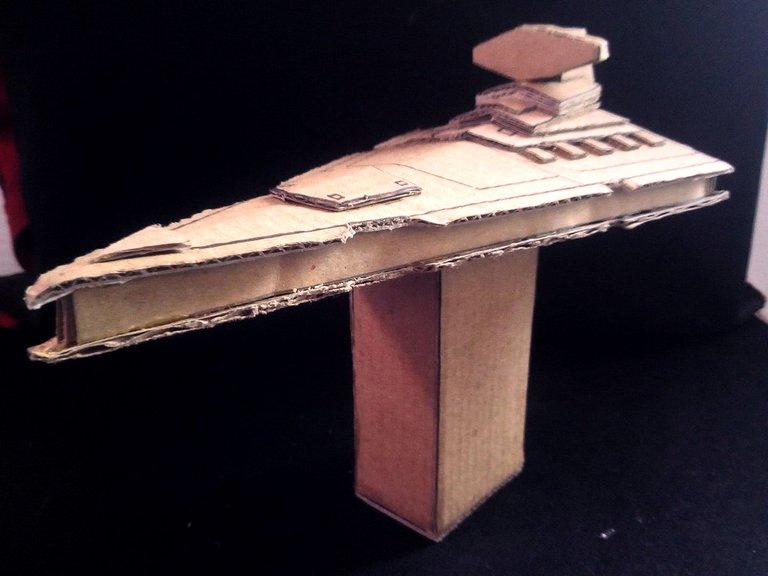
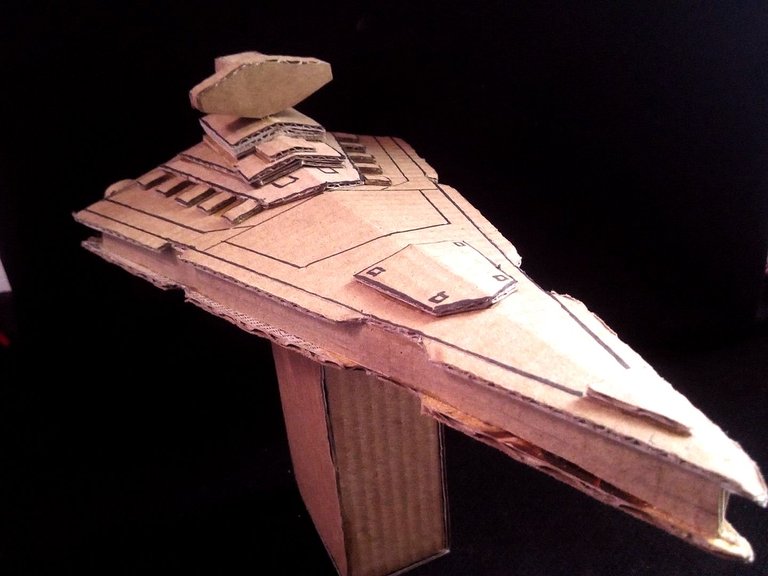
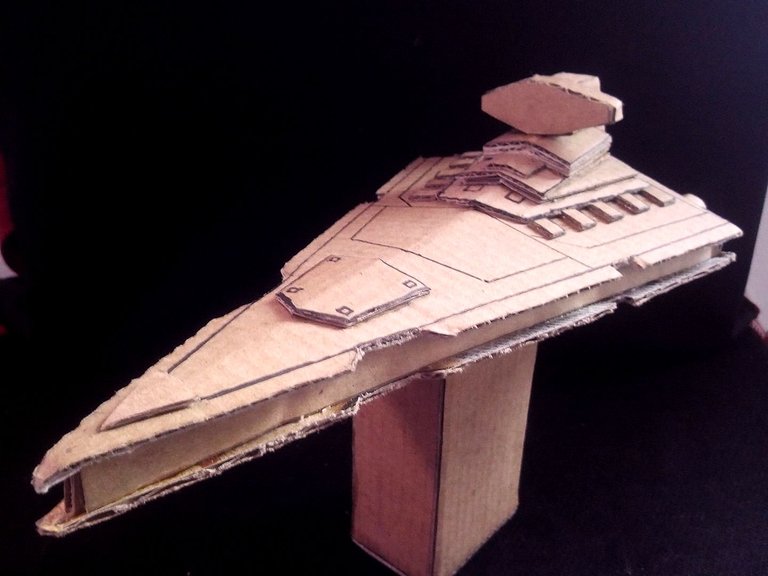
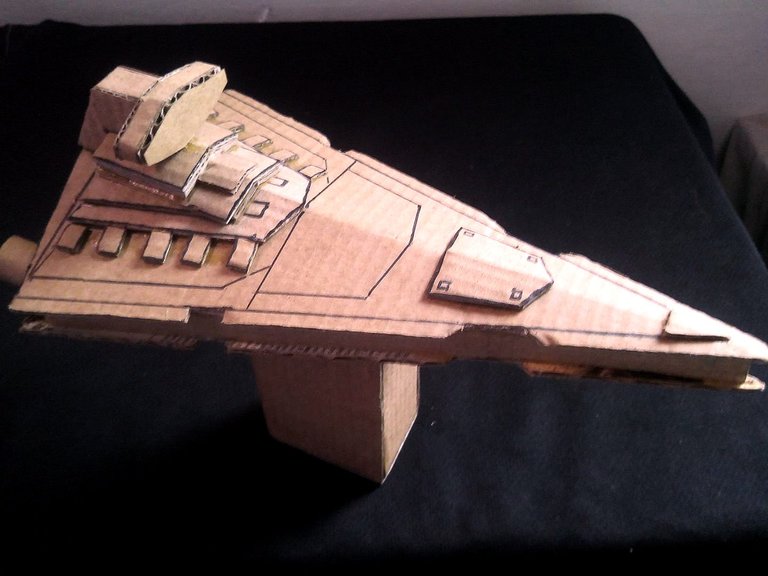
This is how the fearsome Star Destroyer of the Galactic Empire has been, at the last moment it occurred to me to add some lines to give the ship a better aesthetic, so with a very fine-tipped black marker I was able to do them. I am satisfied with the results obtained. I hope you liked this miniature, and if you have any suggestions, or would like me to make another Star Wars ship, let me know in the comments. I will gladly make it in whatever material. I say goodbye until soon, wishing you are very well. Greetings to all.
Así ha quedado el temible Destructor Estelar del Imperio Galáctico, en último momento de me ocurrió agregar algunas lineas para darle mejor estética a la nave, así que con un marcador negro de punta muy fina pude hacerlos. He quedado satisfecho con los resultados obtenidos. Espero que les haya gustado esta miniatura, y si tienen alguna sugerencia, o les gustaría que haga otra nave de Star Wars háganmelo saber en los comentarios. Con mucho gusto la realizaré en el material que sea. Me despido hasta pronto, deseando que se encuentren muy bien. Saludos para todos