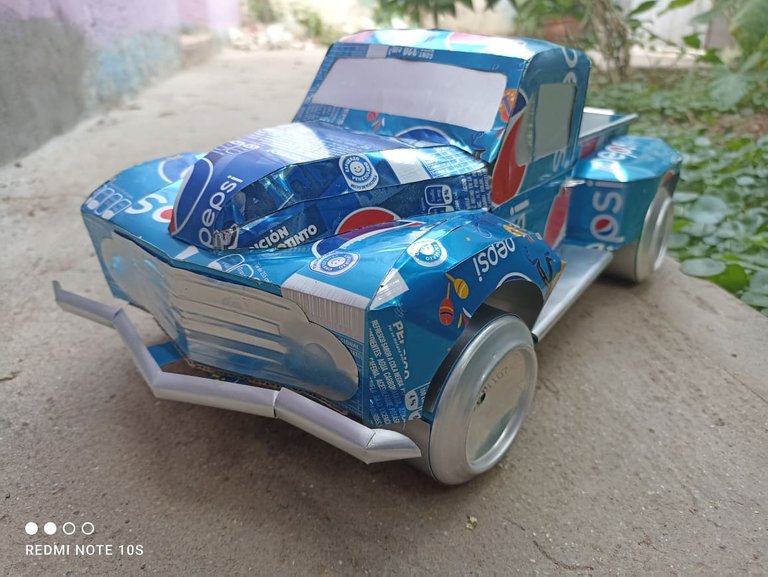
Hello dear friends, I hope you are very well, today I want to show you the last thing I have done in crafts, I have made an old Ford truck from the 50s using soda cans, in this case from the Pepsi Cola brand. For this work I downloaded some papercraft templates that helped me to make this scale model, I spent a total of 22 cans of soda and I also used cardboard to make the floor of the truck, at the end I will leave the link where you can download free papercraft templates easy to do and very educational, I hope you like it.
Hola queridos amigos, espero que se encuentren muy bien, hoy quiero mostrarles lo último que he realizado en manualidades, he hecho una antigua camioneta Ford de los años 50 utilizando latas de soda, en este caso de la marca pepsi cola. Para este trabajo descargué unas plantillas de papercraft que me sirvieron para hacer este modelo a escala, gasté un total de 22 latas de soda y también utilicé cartón para hacer el piso de la camioneta, al final dejaré el link donde podran descargar plantillas gratuitamente de papercraft fáciles de hacer y muy educativos, espero que les guste.
 PROCESS
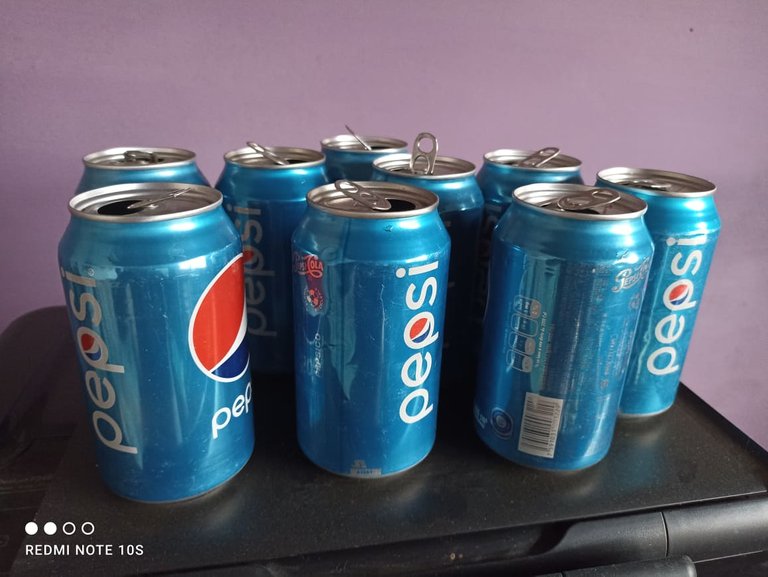
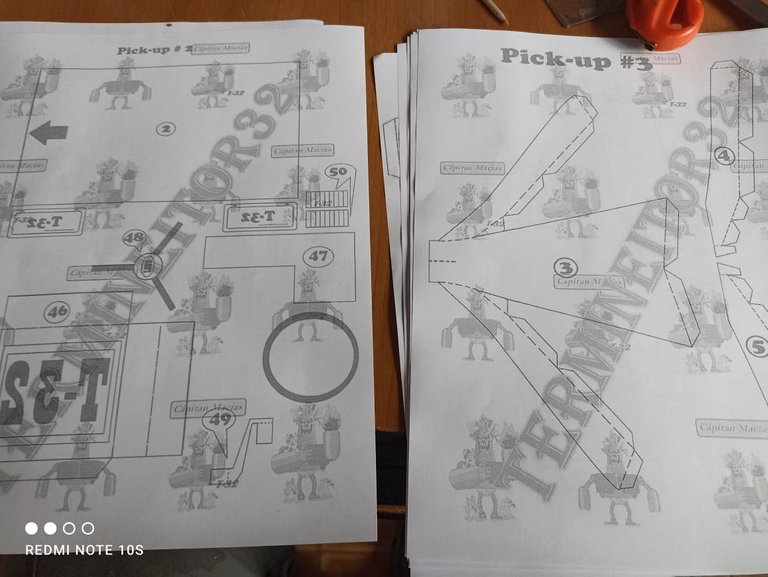
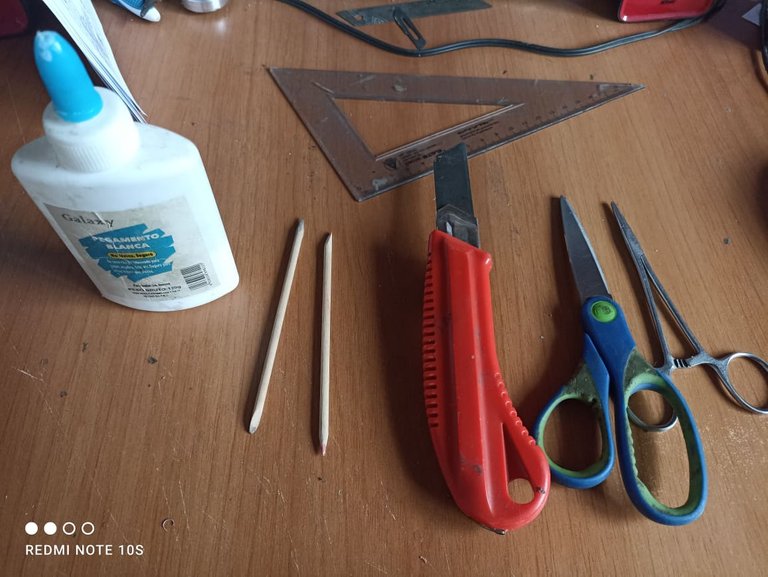
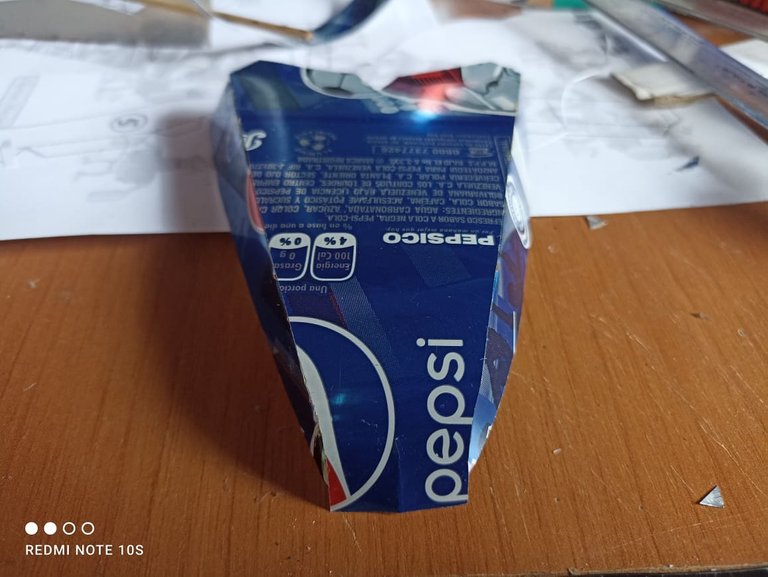
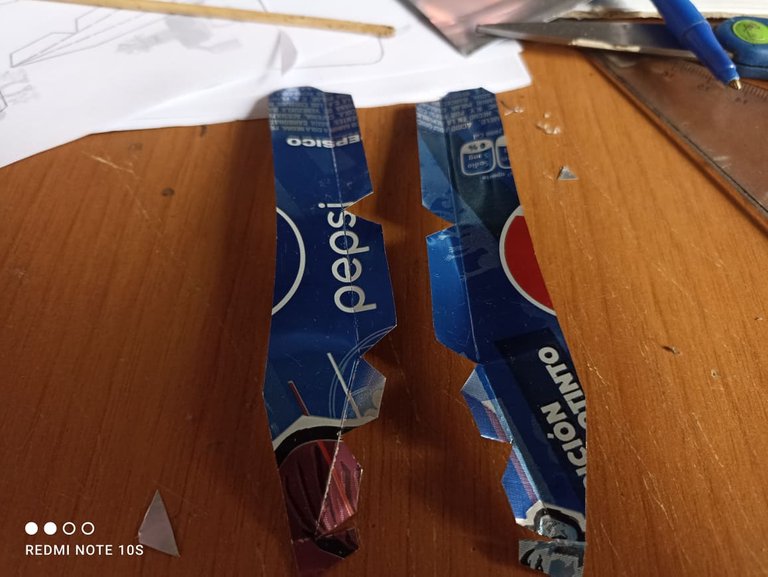
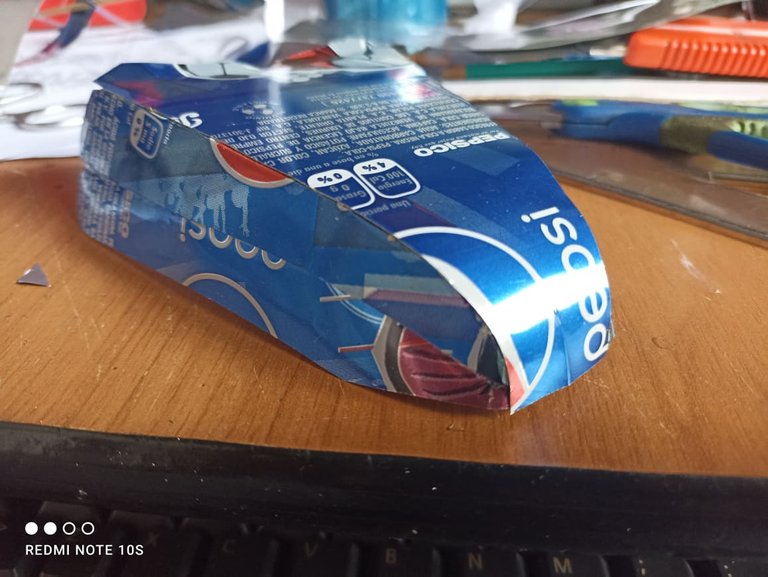
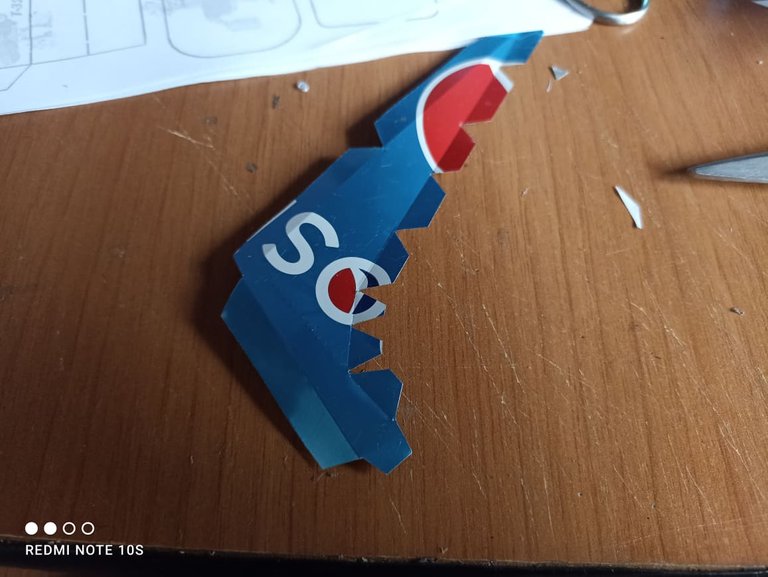
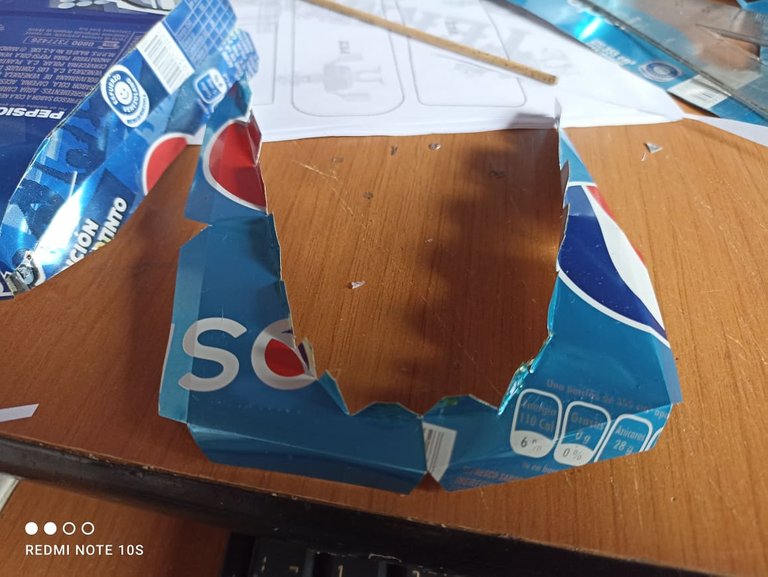
We select the cans that we will use and the tools such as scissors, glue, tweezers, rulers, pencil, we cut each of the cans until they become thin sheets. The first step then is to cut the templates, they come by numbers so it is easier to join them and it does not come with instructions, with the numbering it is enough. So the first piece is the hood, this piece consists of 3 parts that are joined together. From number 1 to number 6, so that joining them with glue in that order, the assembly will not be as complicated as in other cases.
Selecionamos las latas que utilizaremos y las herramientas como tijeras, pegamento, pinzas, reglas, lápiz, cortamos cada una de las latas hasta convertirlas en finas láminas. El primer paso entonces es cortar las plantillas, estas vienen por números así que es más facil unirlas y no trae instrucciones, con la numeración es suficiente. Entonces la primerza pieza es el capó, está pieza consta de 3 partes que van unidas entre sí. Desde el número 1 hasta el número 6, de manera que uniéndolas con pegamento en ese orden el ensamblaje no será tan complicado como en otros casos.

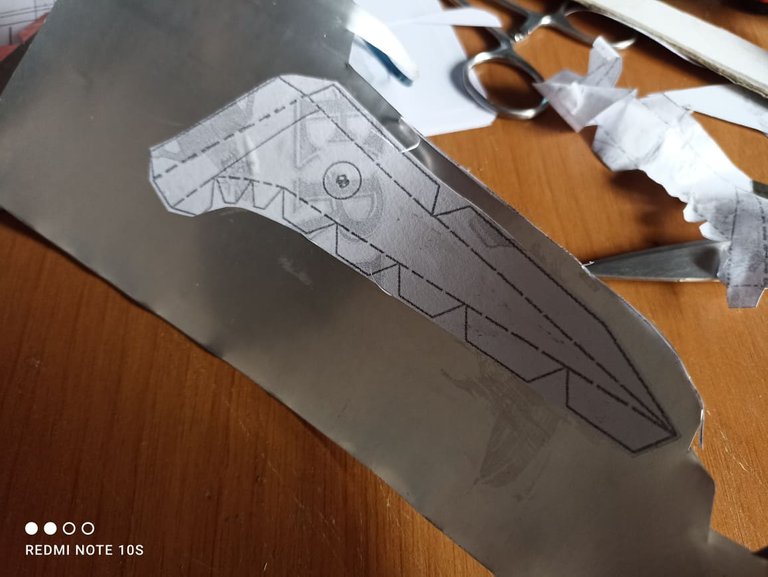
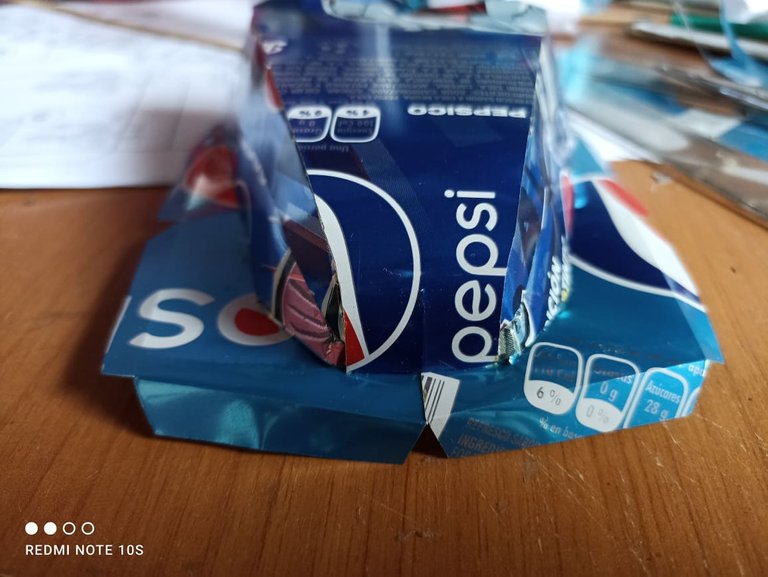
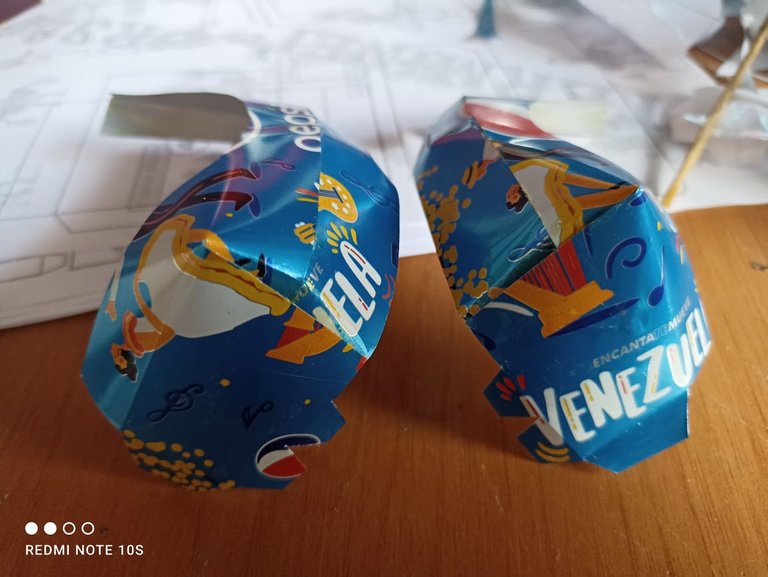
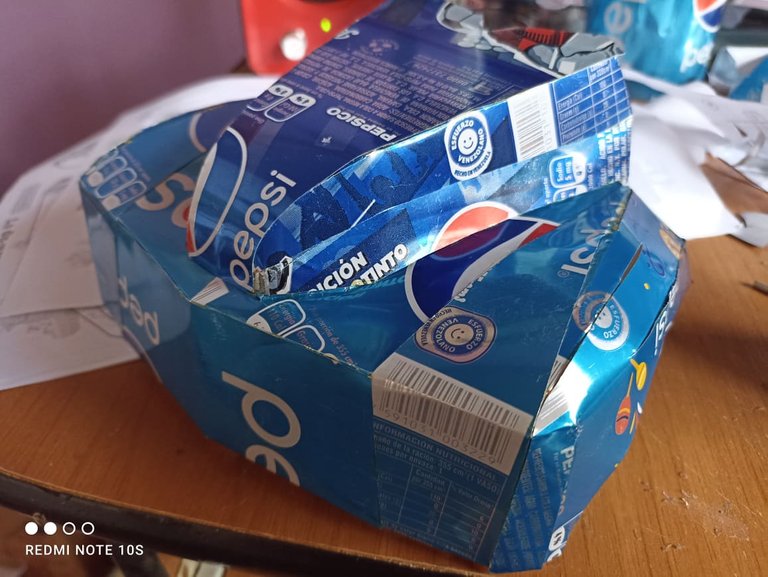
The next step is to complete the front part, following the previous example we cut the pieces by their numbers, and join them with glue, in this case we will finish making the base of the hood, the fenders and the front where the bumpers and headlights go. . In this order we will place each of the pieces.
El siguiente paso es completar la parte delantera, siguiendo el ejemplo anterior cortamos las piezas por sus números, y unimos con pegamento, en este caso terminaremos de hacer la base del capó, los guardafangos y el frontal donde van las defensas y los faros de iluminación. En este orden iremos colocando cada una de las piezas.

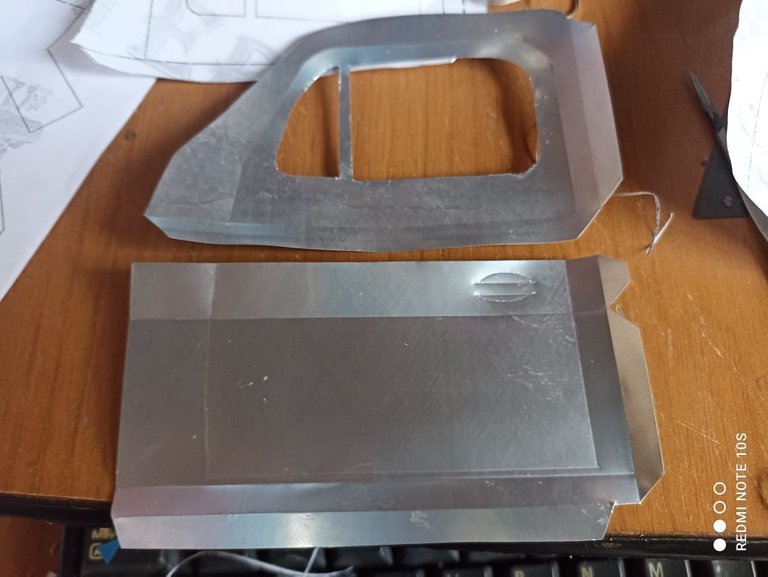
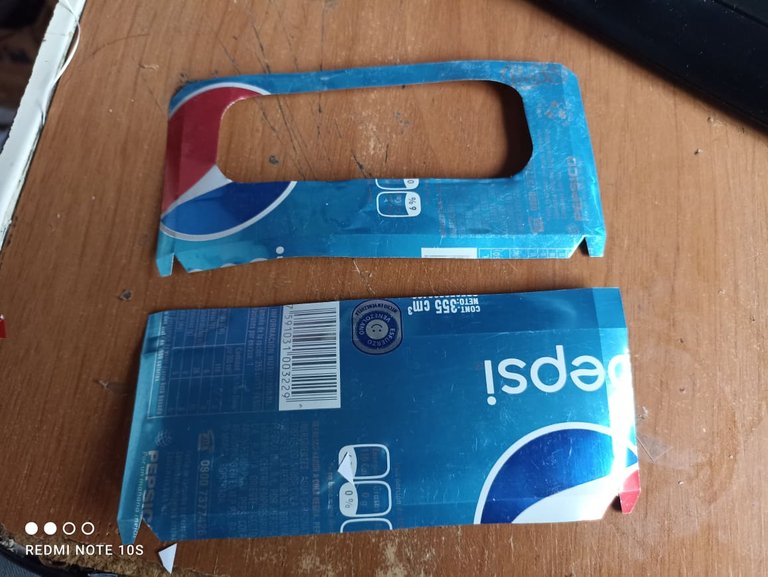
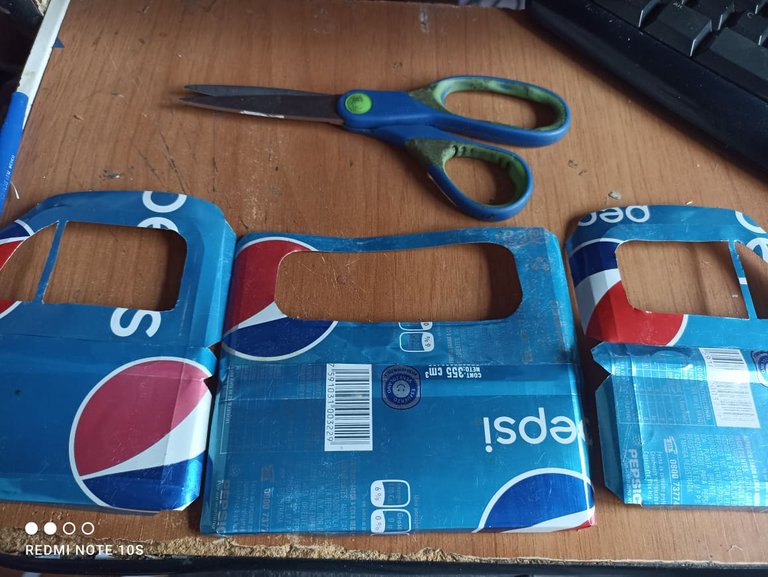
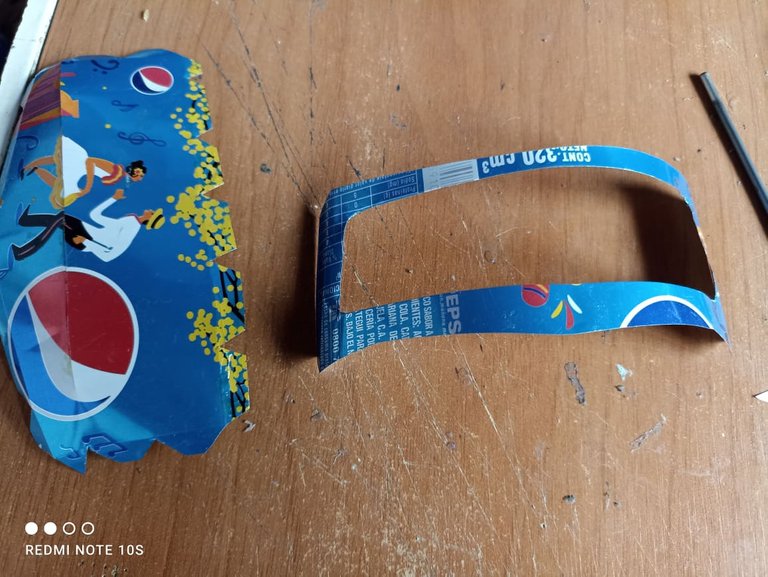
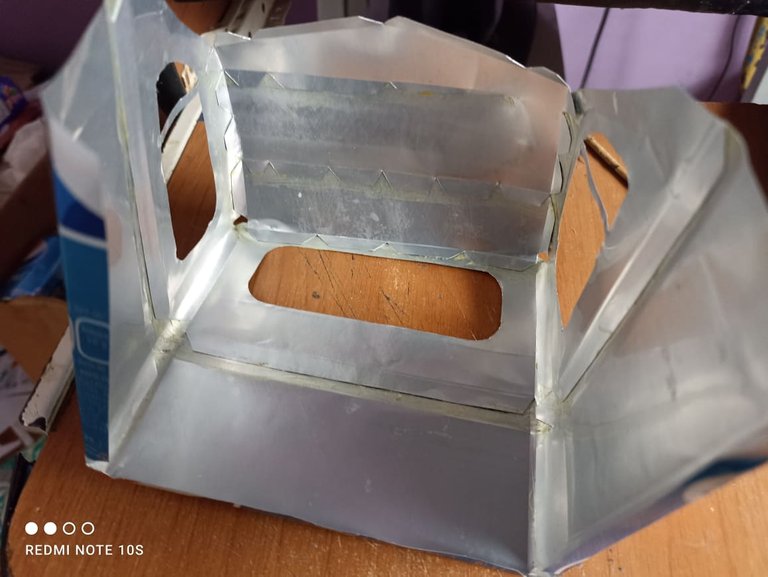
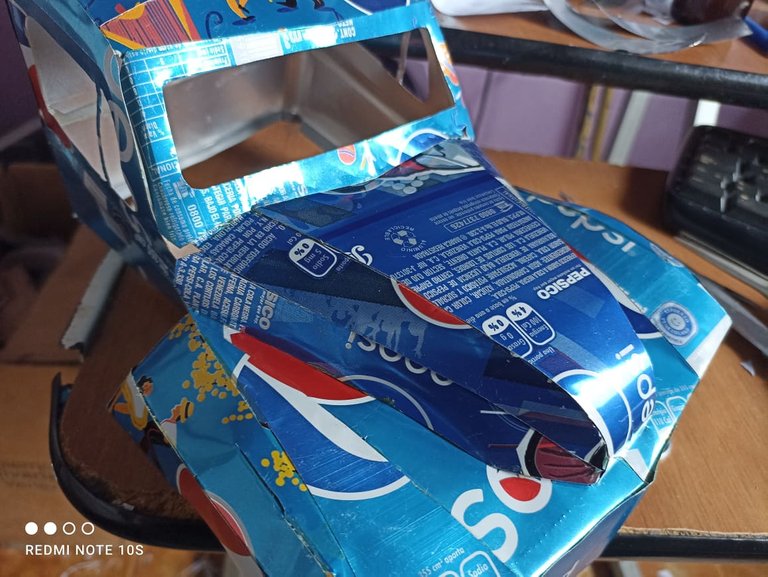
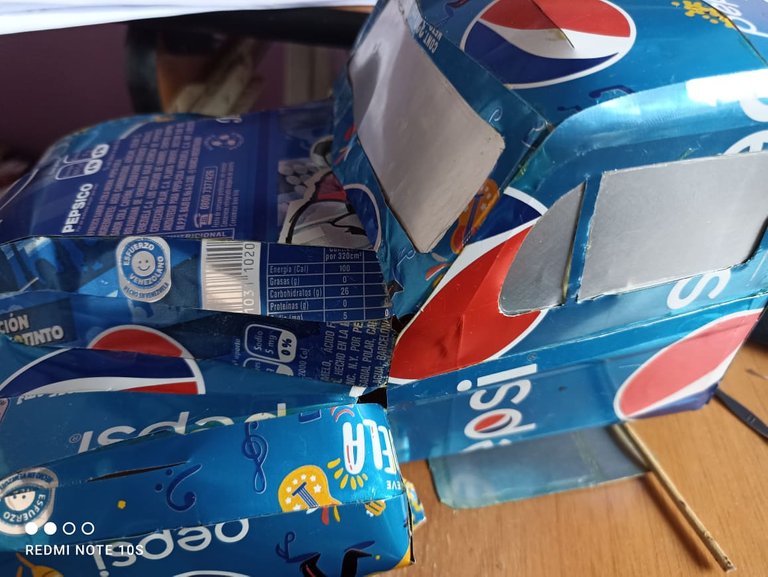
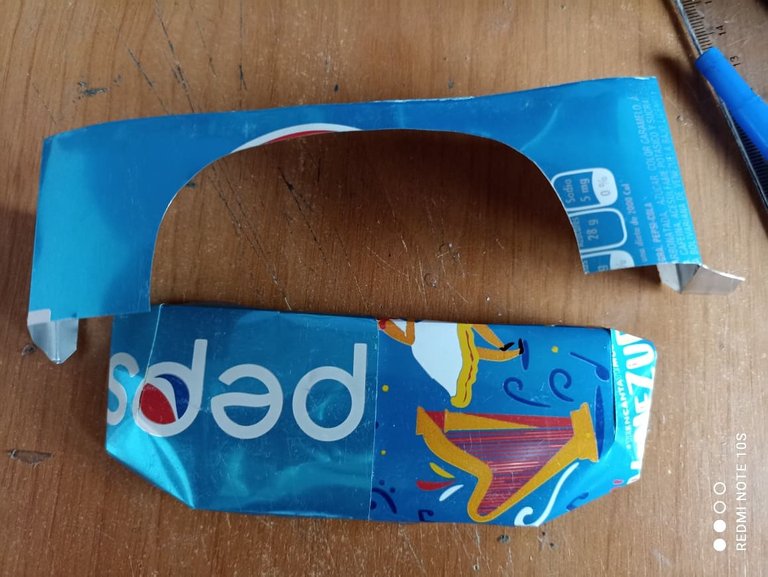
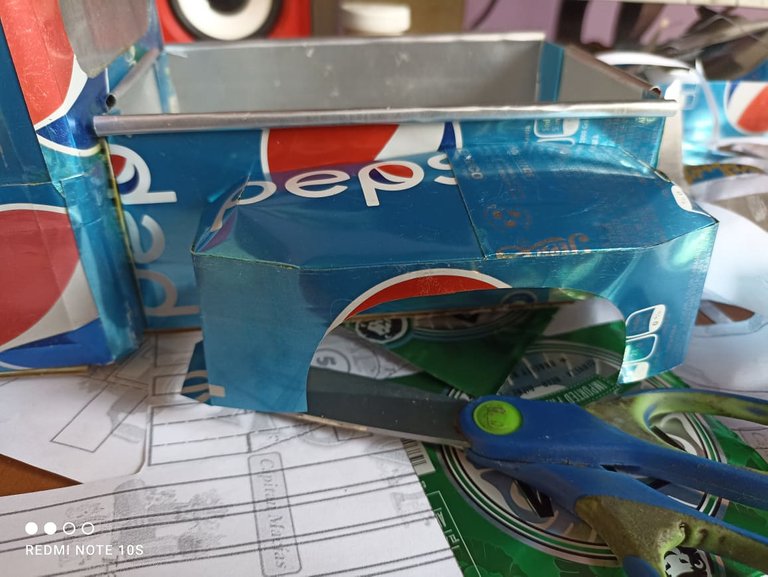
Next we will make the second piece of the body that consists of the driver's cabin. We will remove the doors and the part of the rear glass, following their numbering, we will join them to each other with glue, trying to be very exact with the measurements. Then we will take the piece for the front windshield and place it on the previous piece, that is, the hood. Once we have completed this step we are going to assemble the cabin with the hood. So that we don't get sidetracked, the template has some signs, we draw those on the can and from there we will do the process with the glue. I was going to use plastic for the glass, but I used aluminum can to cover the windows, I wanted to try something different.
Seguidamente haremos la segunda pieza de la carrocería que consta de la cabina del conductor. Sacaremos las puertas y la parte del vidrio trasero, siguiendo su numeración las unimos unas con otras con el pegamento, tratando de ser muy exactos con las medidas. Déspues tomaremos la pieza para el parabrisas delantero y lo colocaremos en la pieza anterior, es decir, el capó. Una vaez hayamos completado este paso vamos a ensamblar la cabina con el capó. Para que no nos desviemos, la plantilla cuenta con unas señales, esas las dibujamos en la lata y de ahi haremos el proceso con el pegamento. Iba a usar plático para los vidrios, pero utilicé lata de aluminio para tapar las ventanas, quise probar algo diferente.

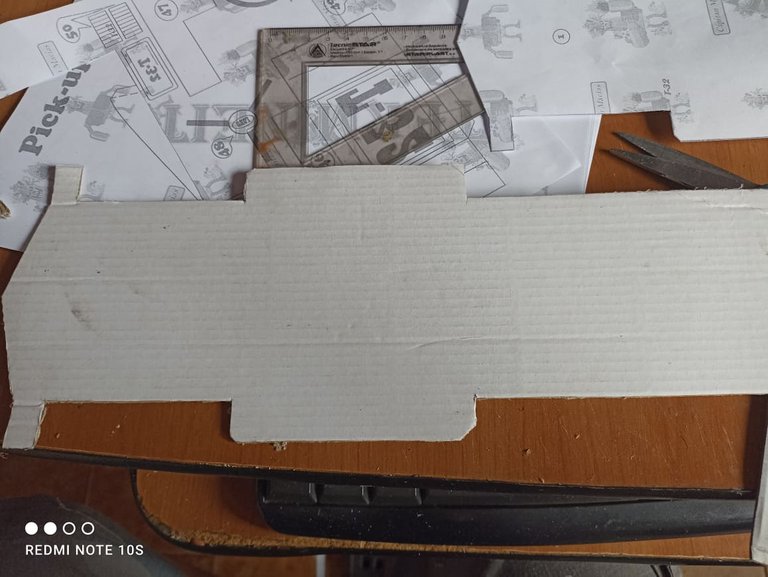
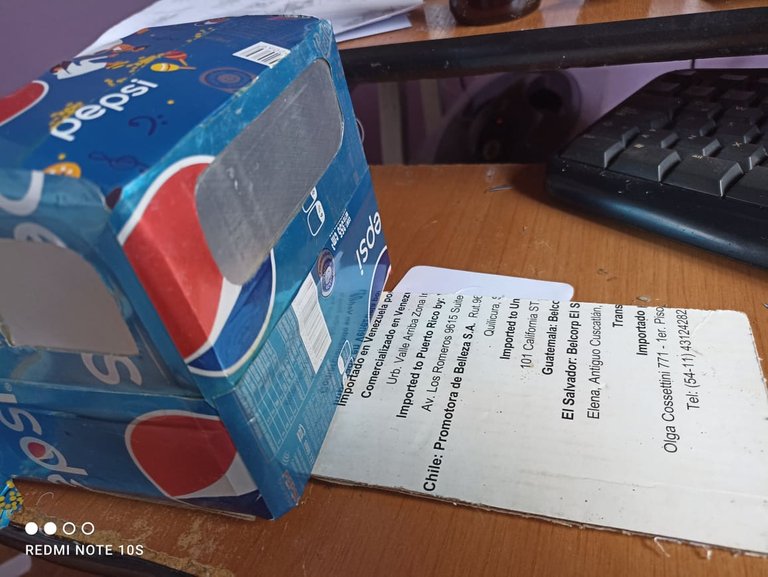
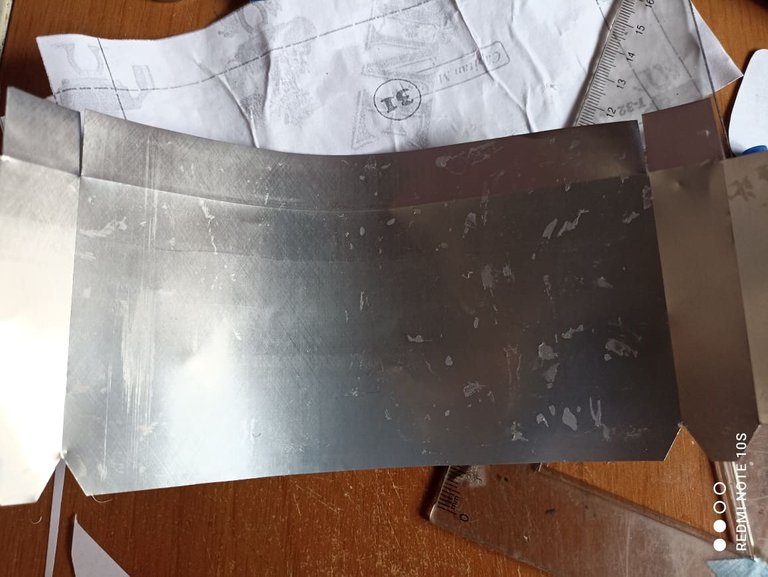
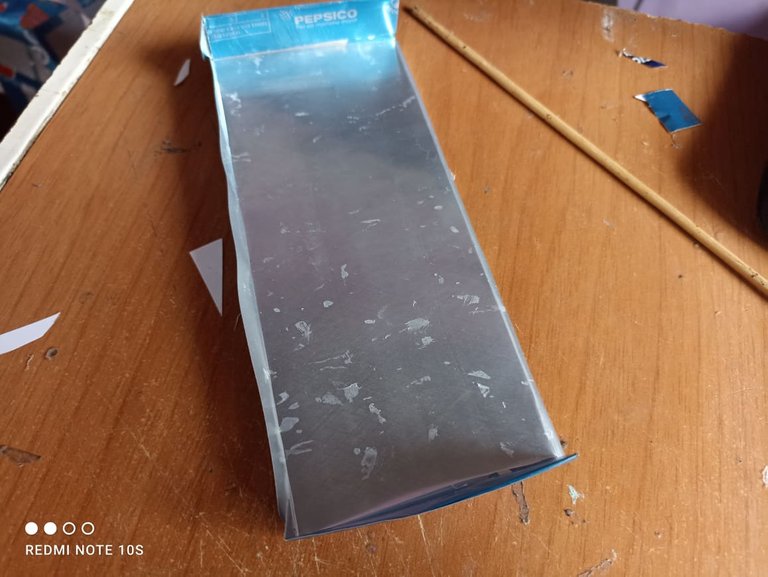
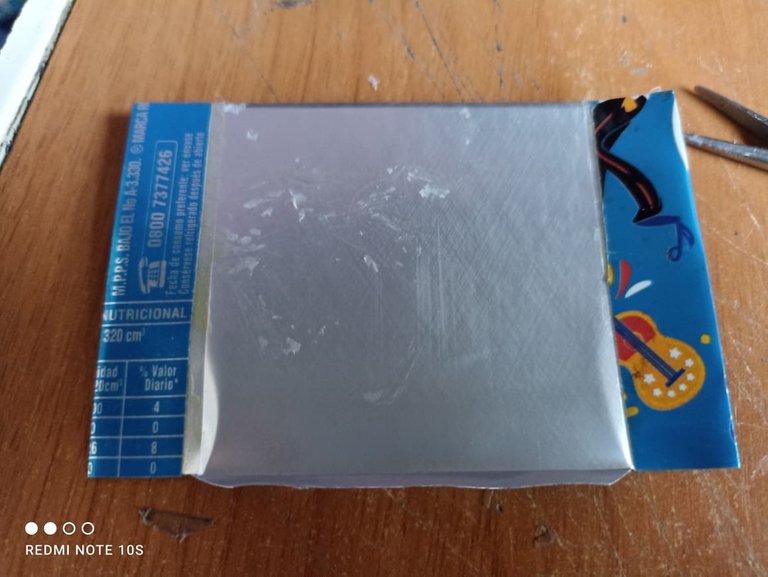
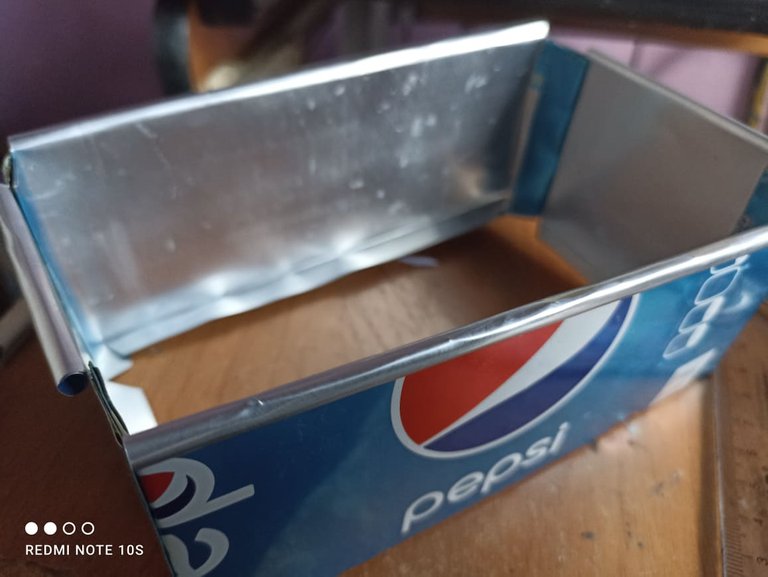
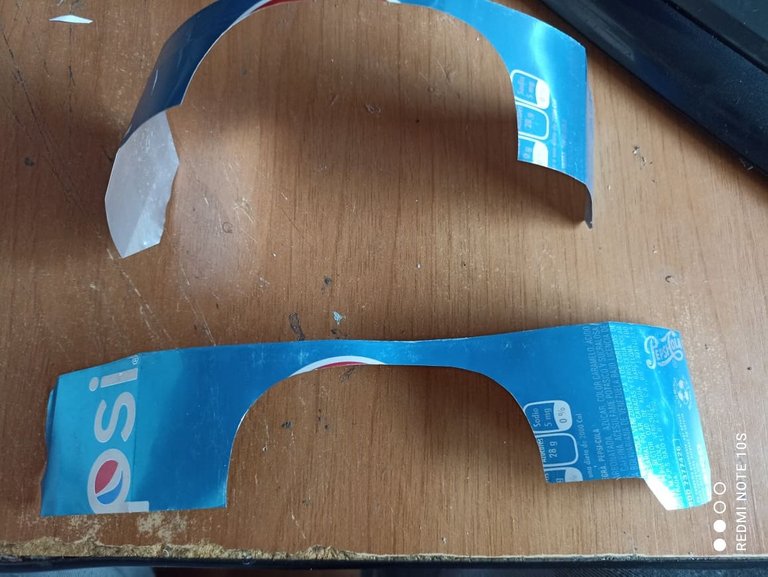
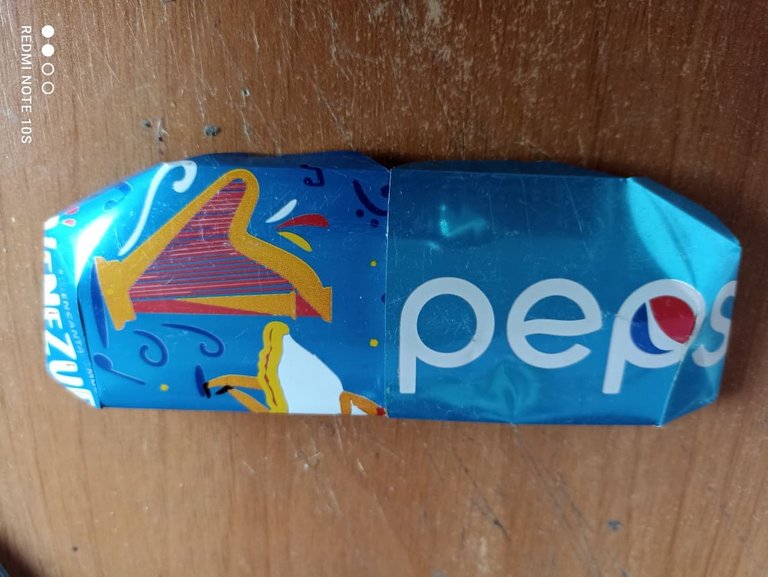
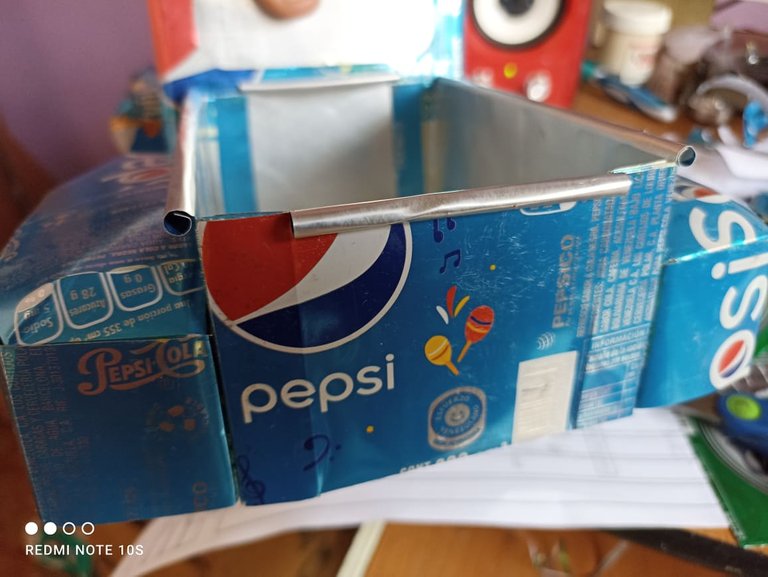
Now we will do what I consider was the longest step, we cut a piece of cardboard to make the floor of the truck. We glue it and then cut the templates to make the back, here it includes 4 pieces that will be joined and will form a box, that will go on the back. Then we will make the fenders for the rear wheels. We join the pieces following the numbering, once we have done them, we will have two pieces for each part and we will place them with glue.
Ahora haremos el que considero fue el paso más largo, cortamos un cartón para hacer el piso de la camioneta. LO pegamos y despues cortamos las plantillas para hacer la parte trasera, aquí incluye 4 piezas que iran unidas y formarán una caja, esa ira en la parte posterior. Despues haremos los guardafangos para las ruedas traseras. Unimos las piezas siquiendo la numeración, una vez las hayamos hecho, tendremos dos piezas para cada parte y las colocaremos con pegamento.

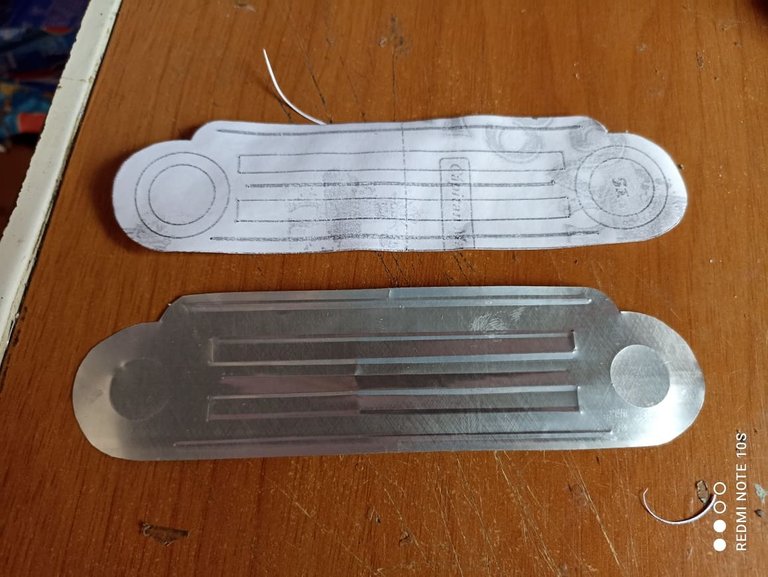
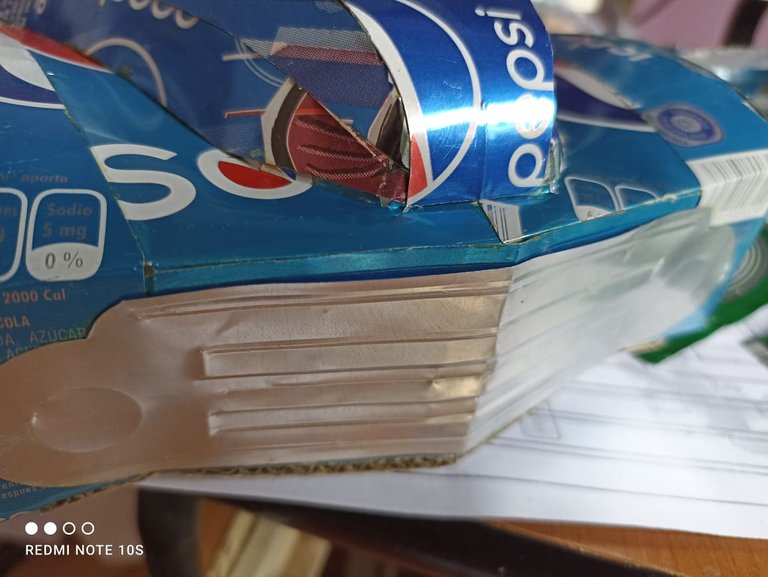
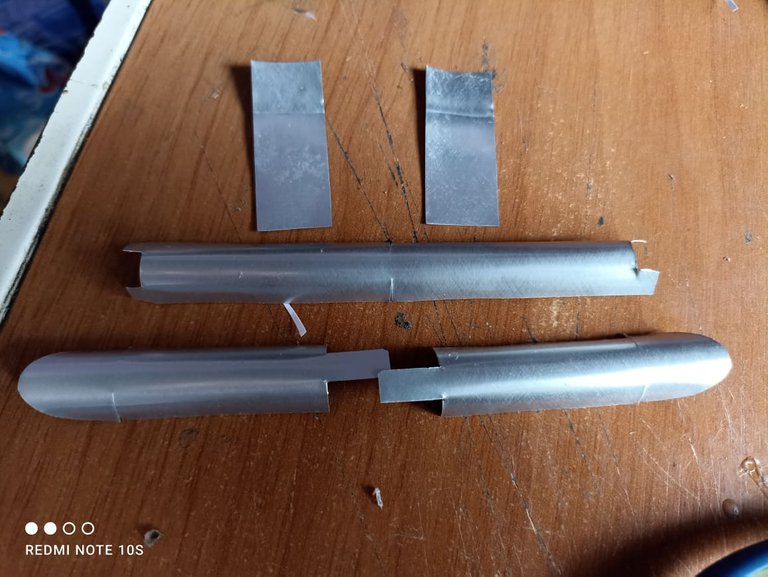
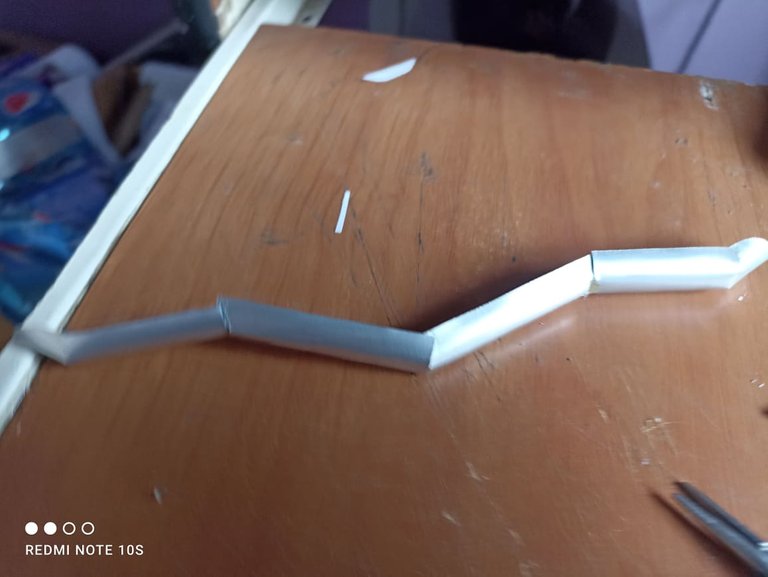
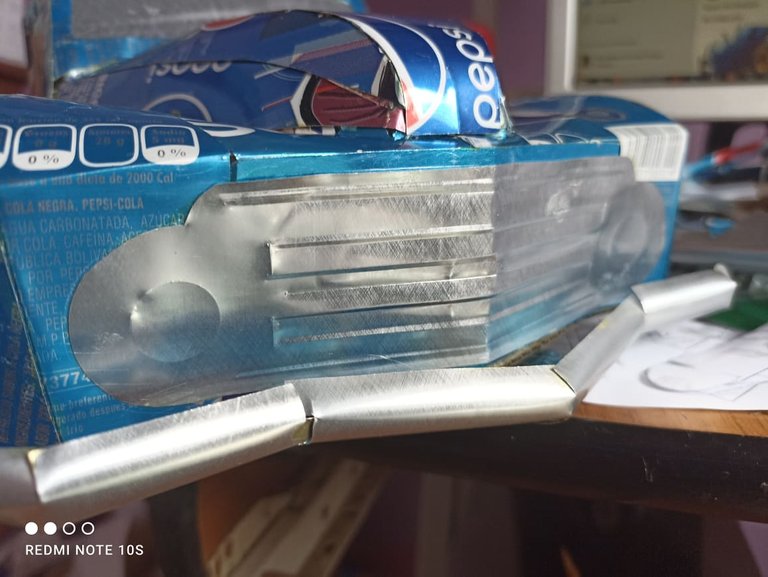
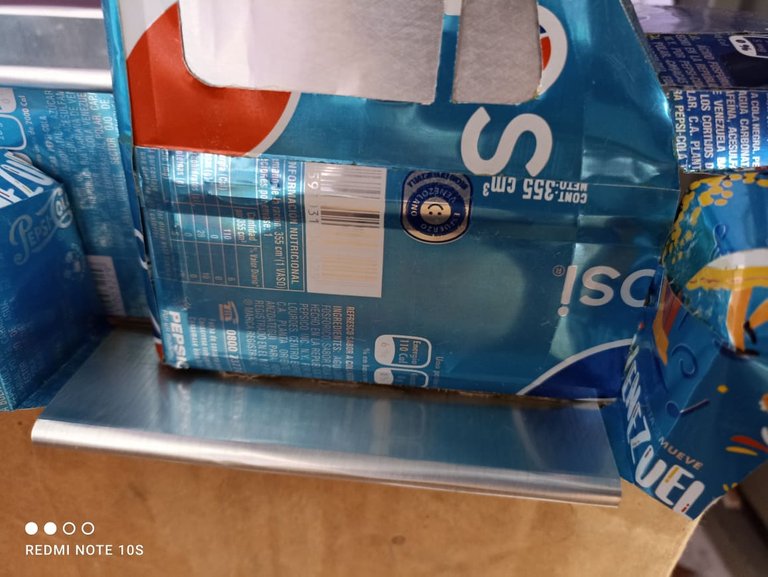
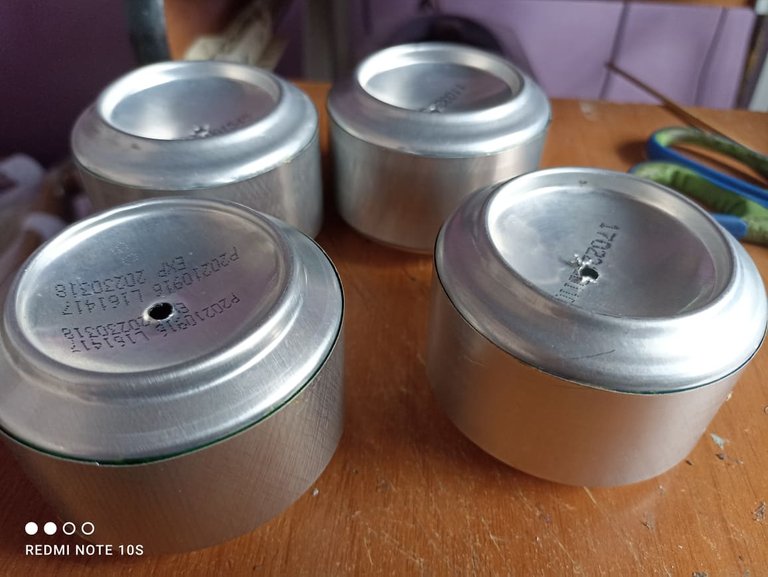
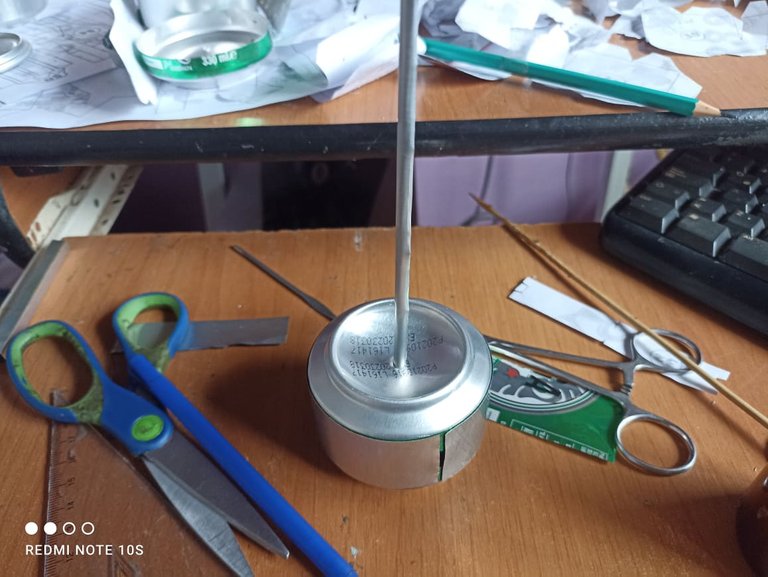
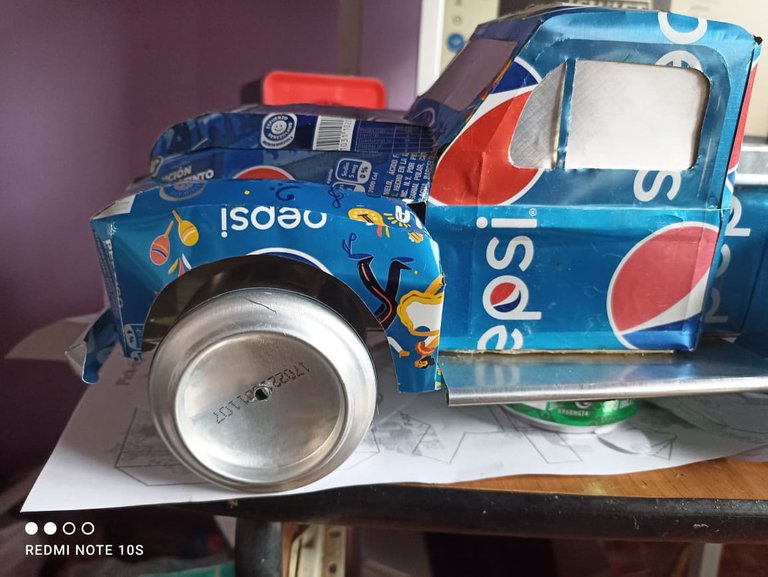
To finish with this model we will make the front, which we will place under the hood as you can see using the templates, so that it looks like this with relief we can use a pen, its metal tip helps to better sink the aluminum. Then we make the fenders, which come in small pieces to assemble, we make the front and rear ones, in the place where the doors go we will place some railings that serve to support the foot. Finally we make the wheels using the bases of the can, we put an axis to make them rotate and we install them in the lower part of the truck, in this way we will have finished.
Para finalizar con este modelo haremos el frontal, que colocaremos debajo del capó como pueden ver usando las plantillas, para que quede así con relieve podemos usar un lapicero su punta de metal ayuda a hundir mejor el aluminio. Después hacemos las defensas, que vienen en pequeñas piezas para ensamblar, hacemos las delanteras y las traseras, en el luga donde van las puertas colocaremos unas barandas que sirven para apoyar el pie. Por último hacemos las ruedas usando las bases de la lata, le ponemos un eje para hacerlas girar y las instalamos en la parte inferior de la camioneta, de esta manera habremos finalizado.
 FINAL WORK
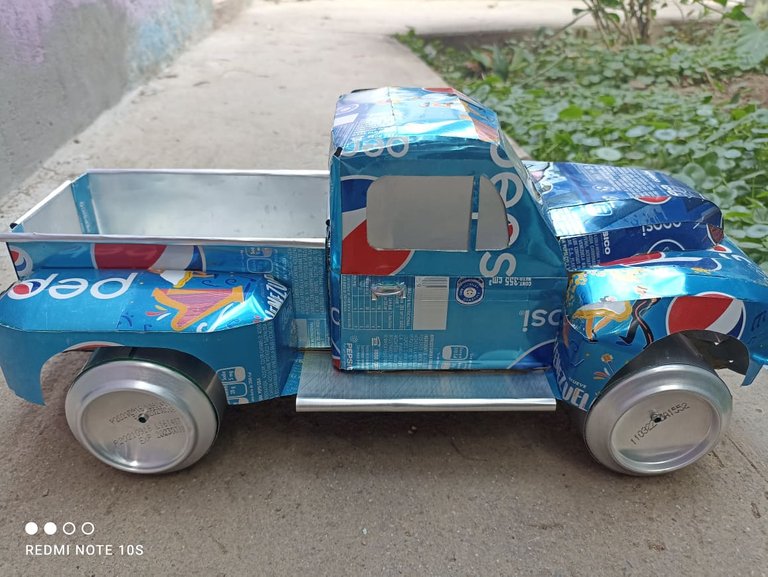

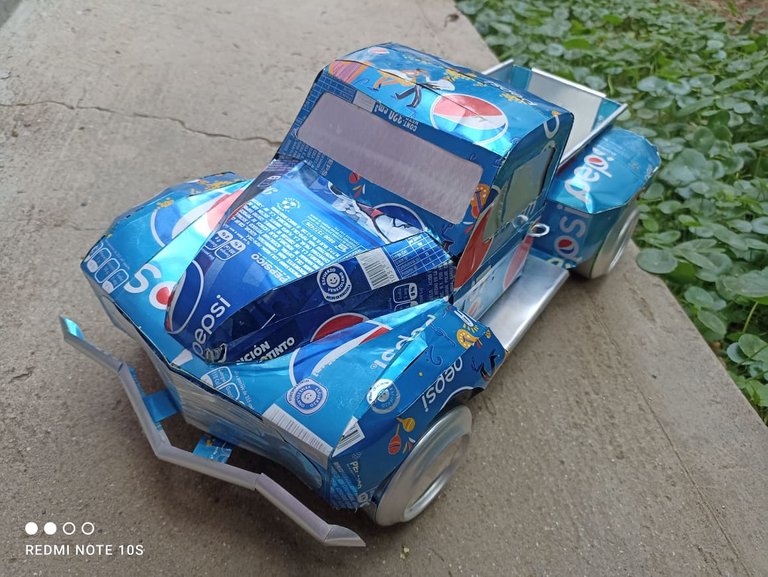
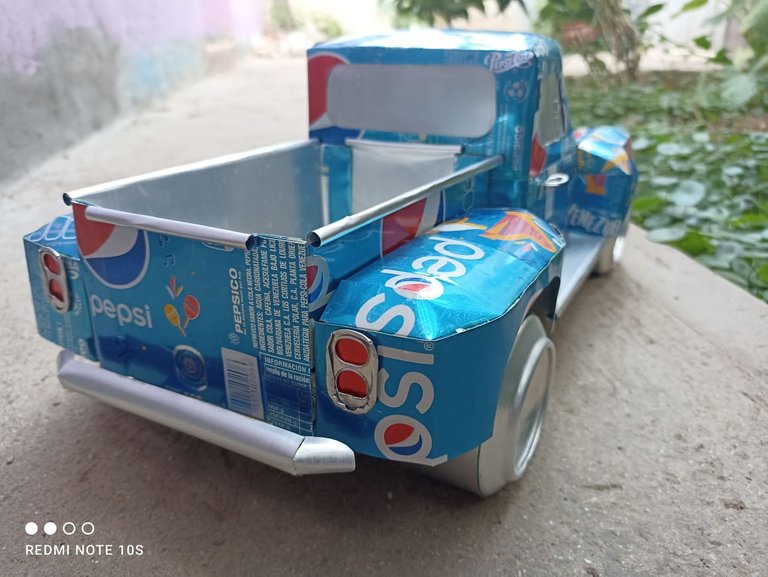
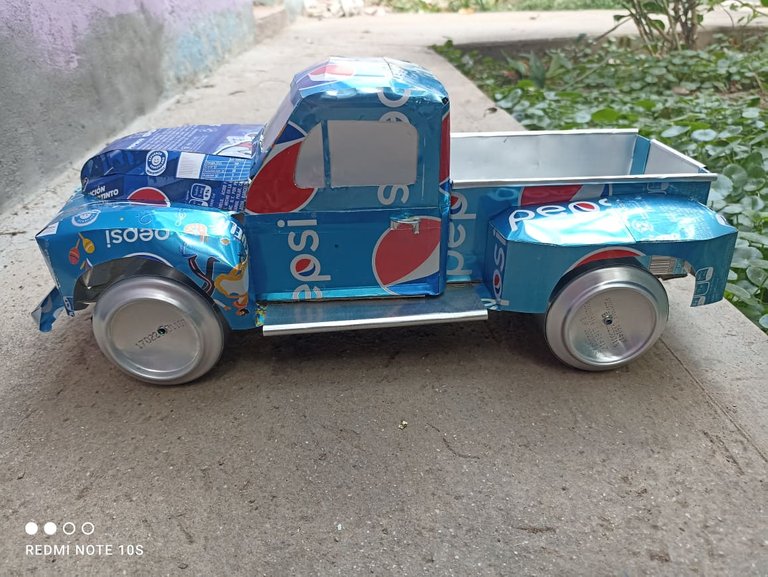
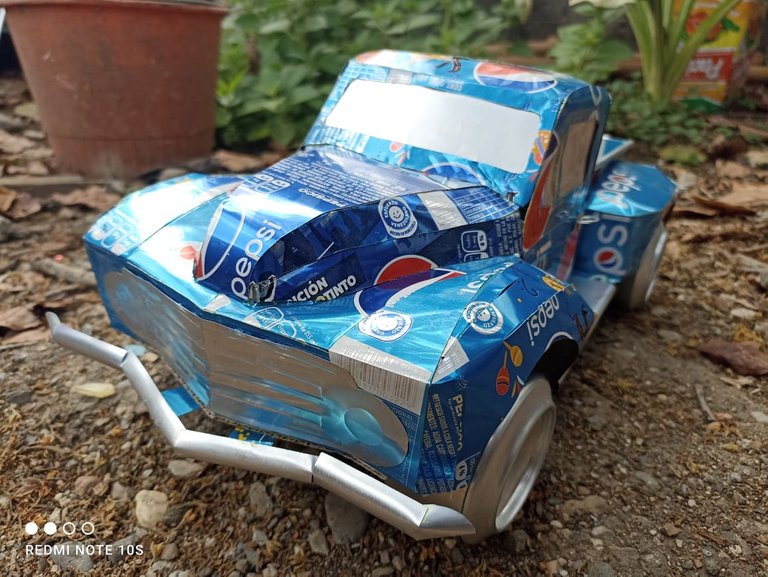
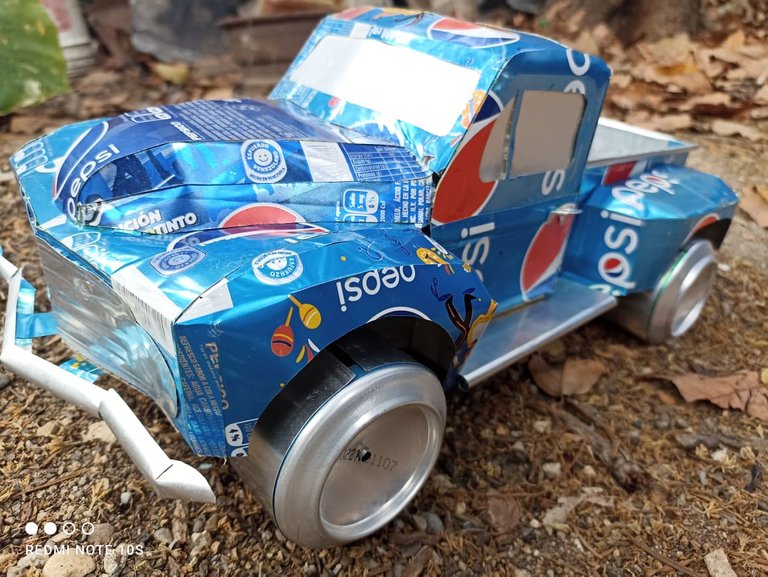
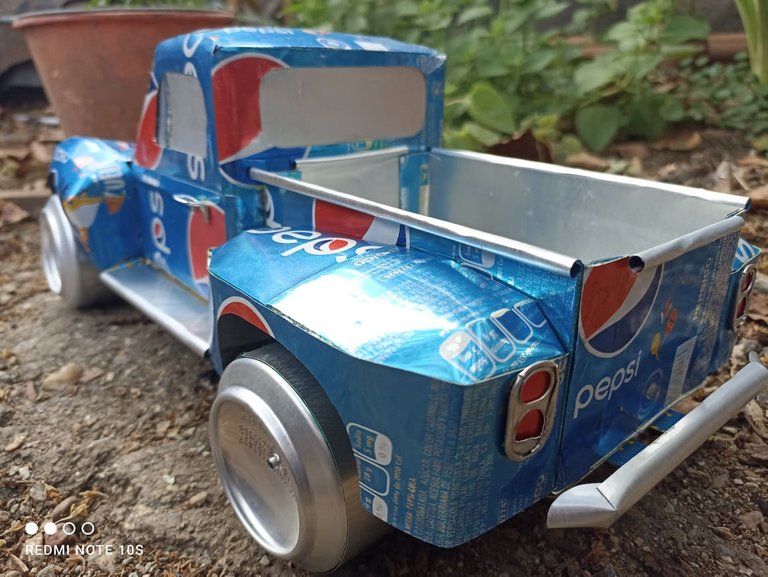
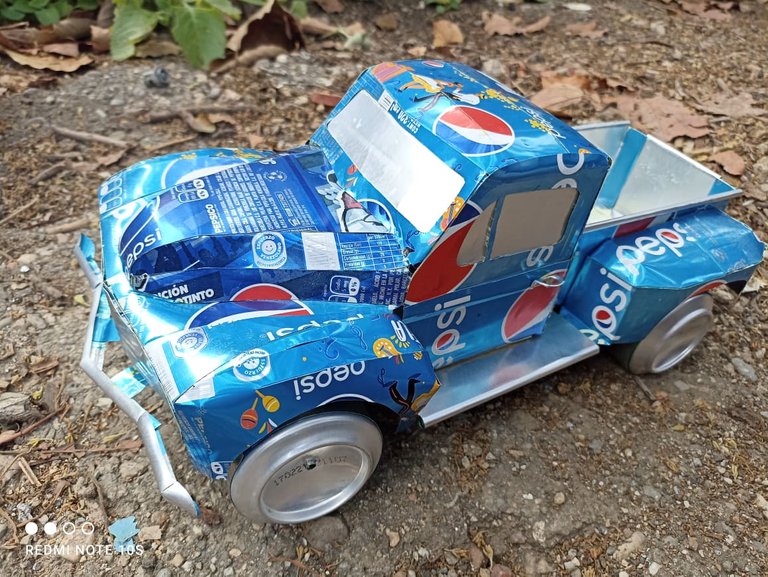
This is how this classic Ford truck model has been finished, at the end I added some details such as the door handles and some taillights. I hope you liked it, you can make the model you like and use material such as cardboard, papercraft is very useful and educational for children, it helps improve their mental abilities at the same time as their motor skills. This has been all for today, I hope you liked it, do not stop commenting what you think. I say goodbye soon.
Así ha quedado finalizado este modelo de camioneta Ford clásico, al final agregé unos detalles como las manillas para las puertas y unas luces traseras. Espero que les haya gustado, pueden hacer el modelo que guste y usar material como cartulina, el papercraft es muy util y educativo para los niños, ayuda mejorar sus capacidades mentales al mismo tiempo que sus capacidades motoaras. Esto ha sido todo por hoy, espero que les haya gustado, no dejen de cometar que les ha parecido. Me despido hasta pronto.
Papercraft
Link for free download papercraft templates


