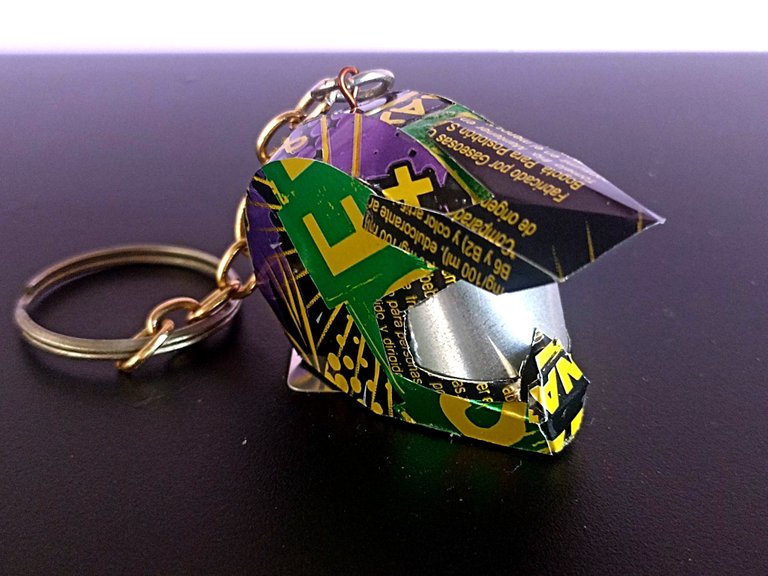
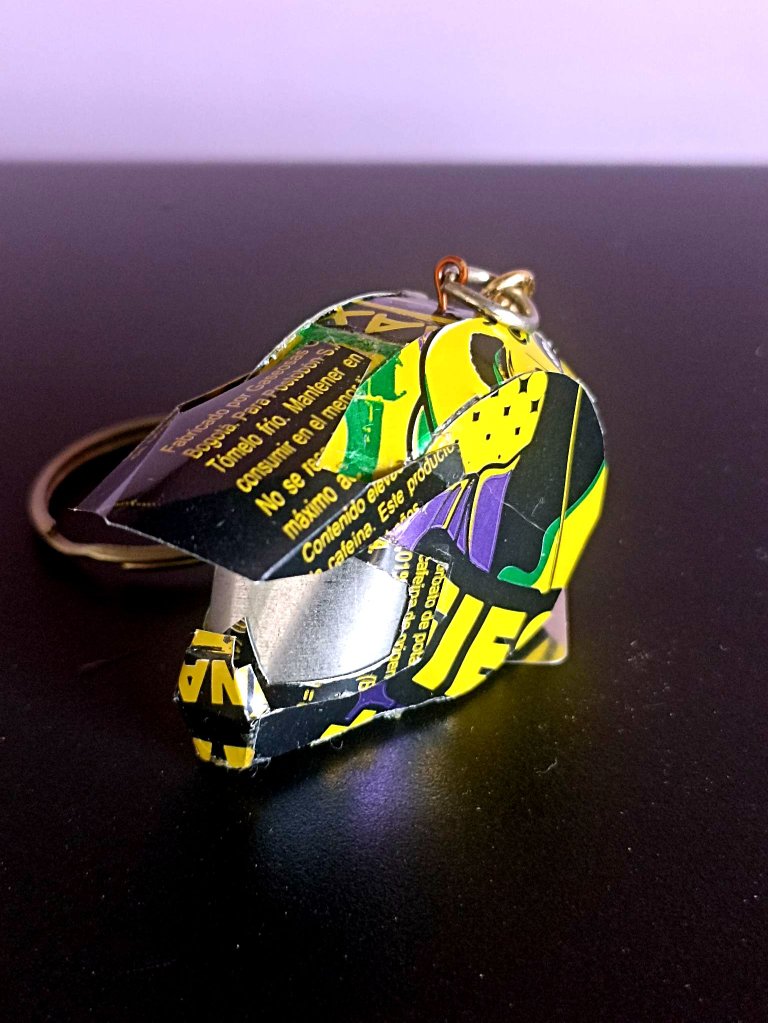
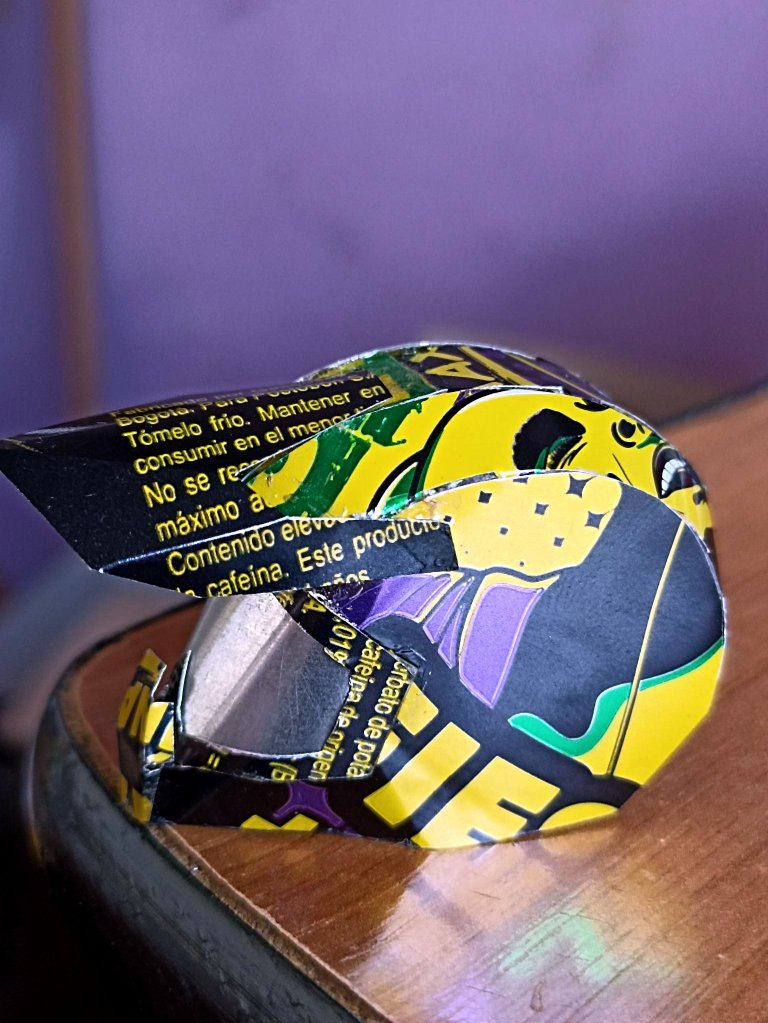
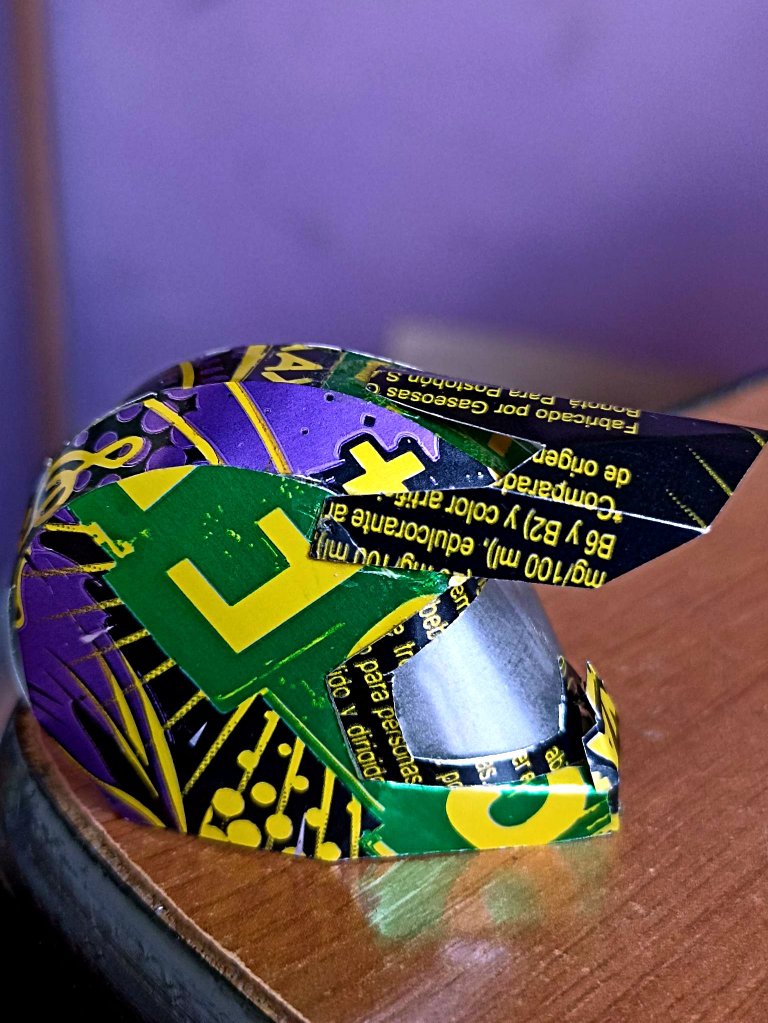
Hello friends, I hope you are very well. Today I want to share with you a craft made with aluminum from a soda can, it had been a while since I did something with this material until this opportunity arose, thanks to an order. They asked me to make a keychain whose motif was a motocross helmet, it's the first time I've made one and I want to share the experience with you. Let's get started!
Hola amigos, espero que se encuentren muy bien,. hoy quiero compartir con ustedes una manualidad realizada con aluminio de lata de soda, tenía rato que no hacía algo con este material hasta que me surgió esta oportunidad, gracias a que me hicieron un encargo. Me pidieron hacer un llavero cuyo motivo fuer aun casco de motocross, es la primera vez que realizo uno y quiero compartir la experiencia con ustedes. Comencemos!

 |  | |
|---|---|---|
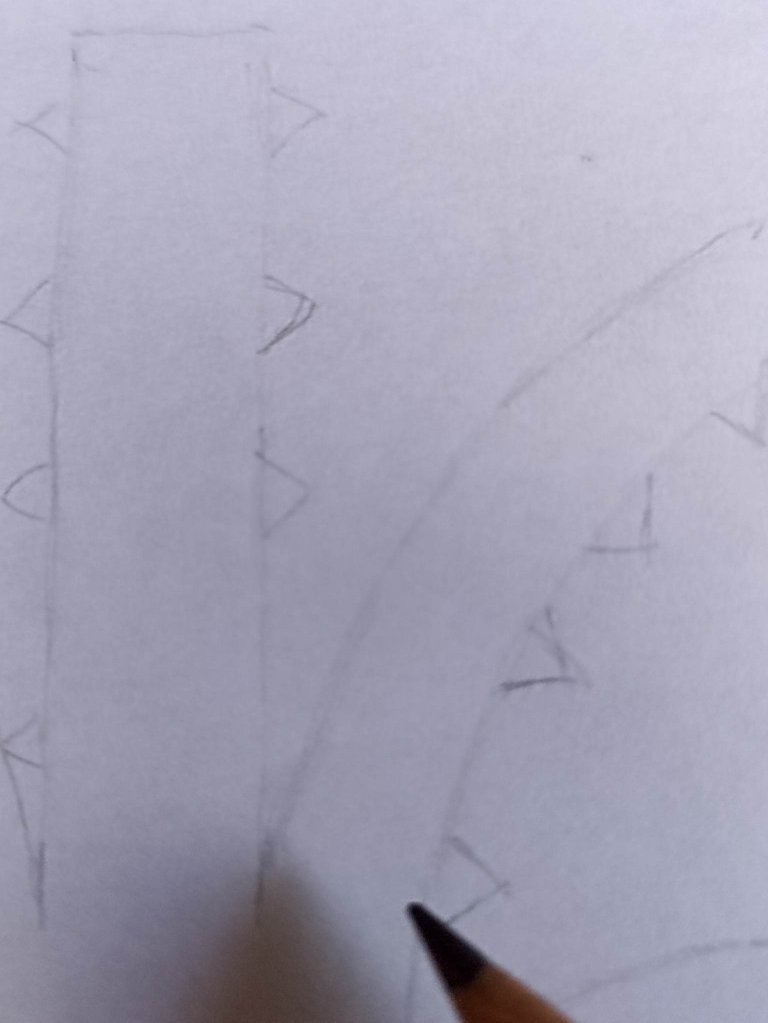 | 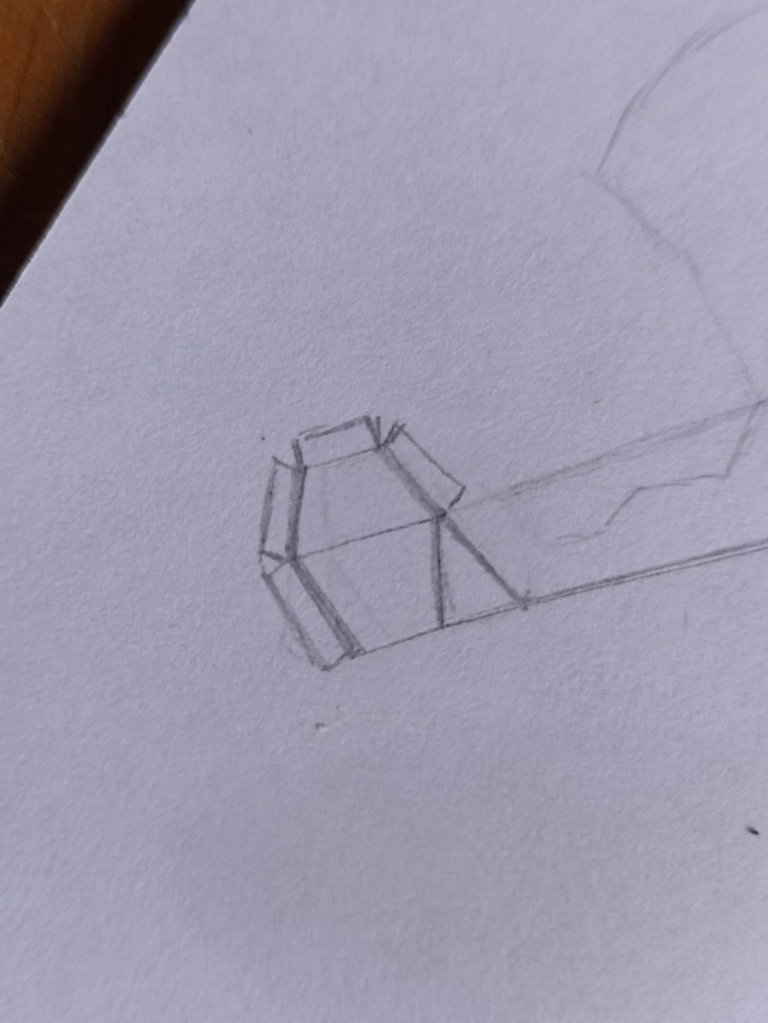 |
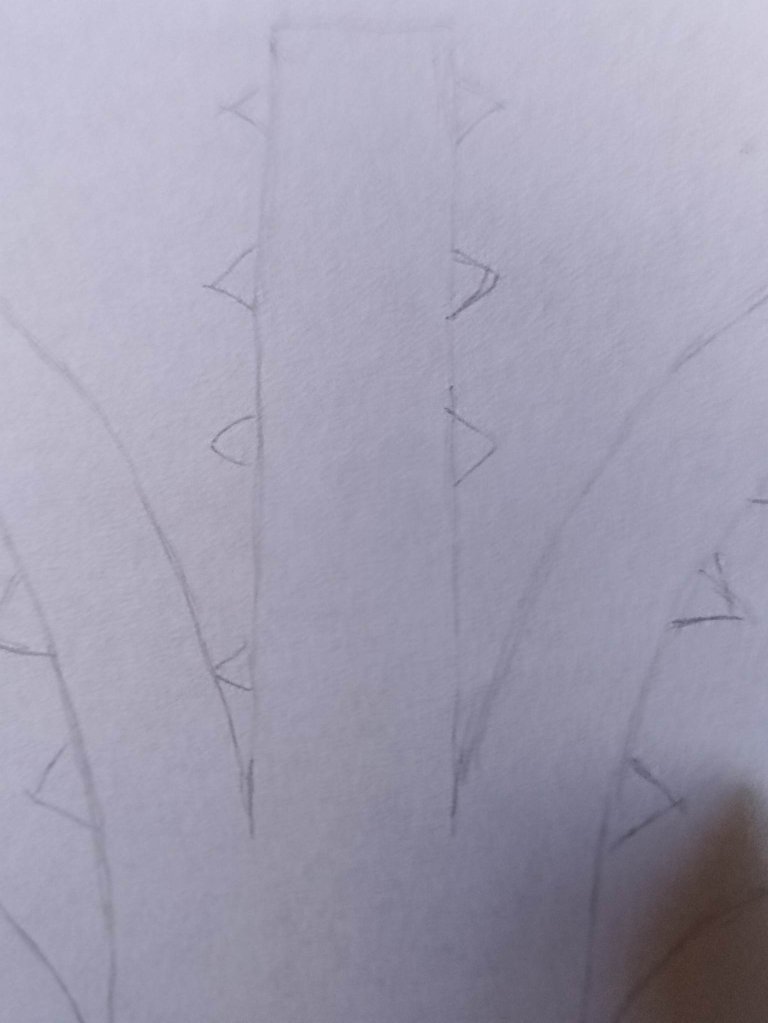
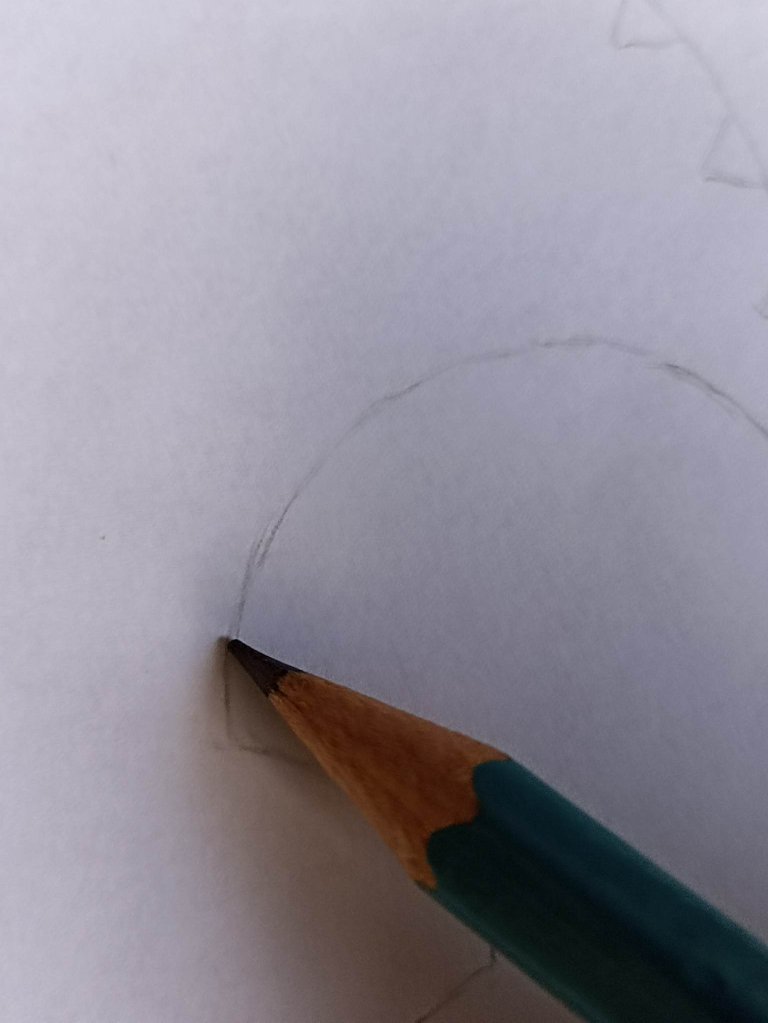
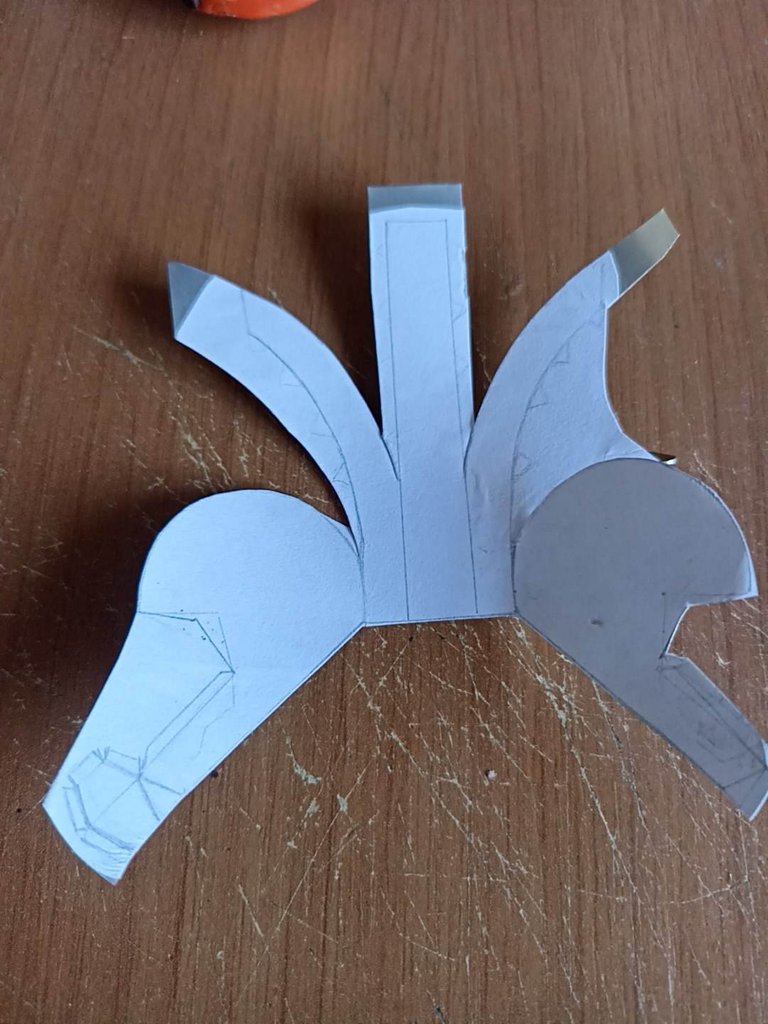
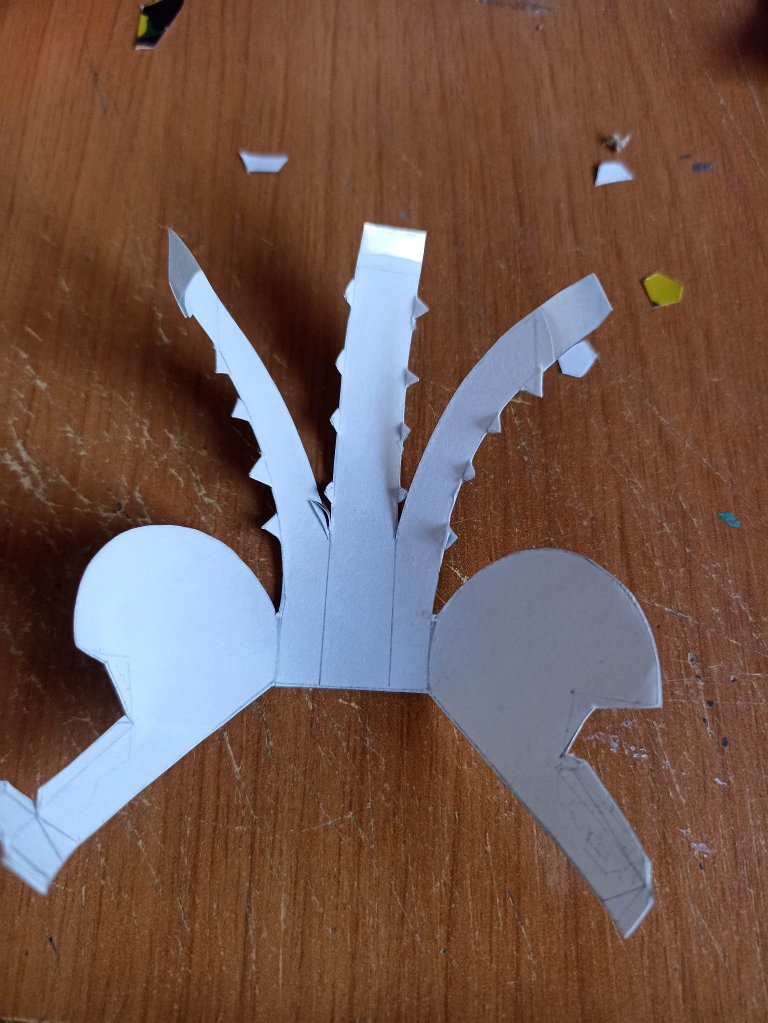
For the helmet I made a simple template that includes the upper part and the sides, in the part that protects the mouth and the jaw I looked at Iron Man's helmets so that this part would remain like this, I think it is the same principle from time to time to face protection. When I had the template, I then went to extract the patterns from the aluminum can.
Para el casco hice una sencilla plantilla que incluye la parte de arriba y los lados, en la parte que protege la boca y la quijada me fijé en los cascos de Iron Man para que esa parte quedara así, creo que es el mismo principio en cuando a la protección del rostro. Al tener la plantilla luego fue extraer los patrones de la lata de aluminio.

 |  |  |
|---|---|---|
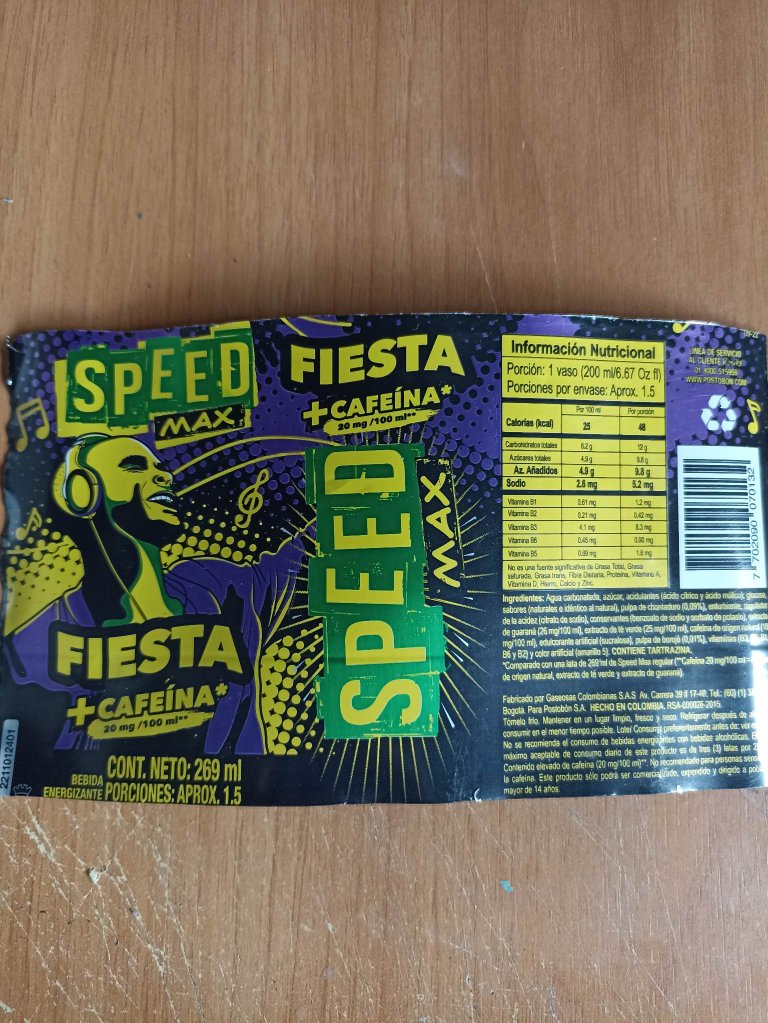 | 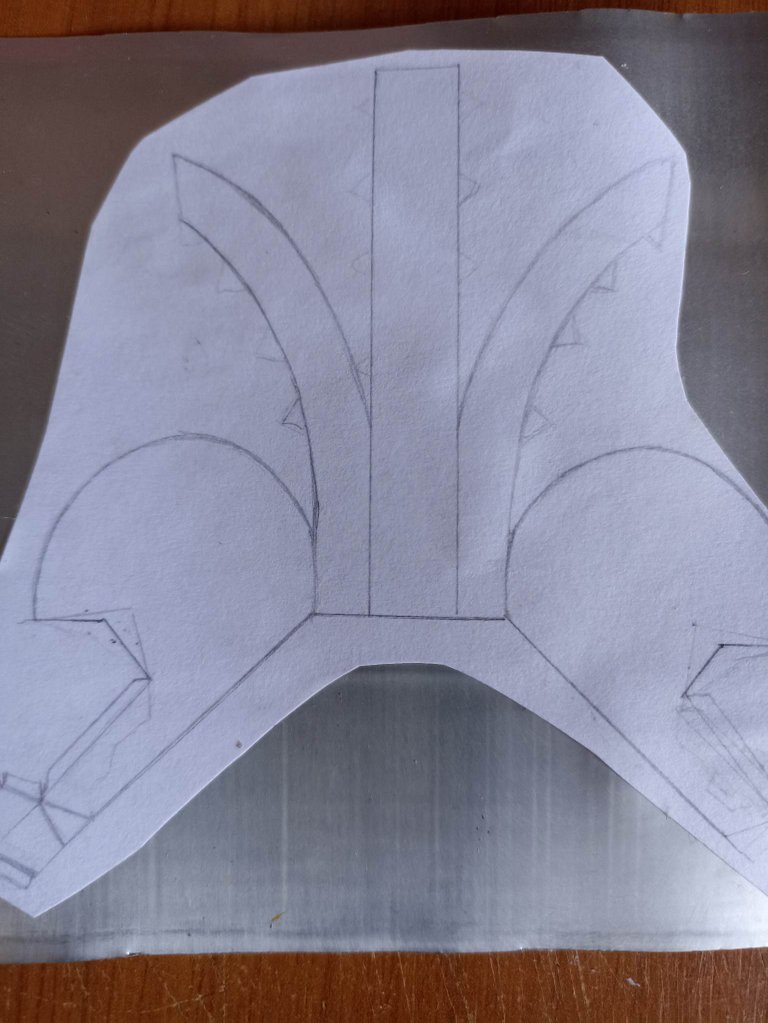 | 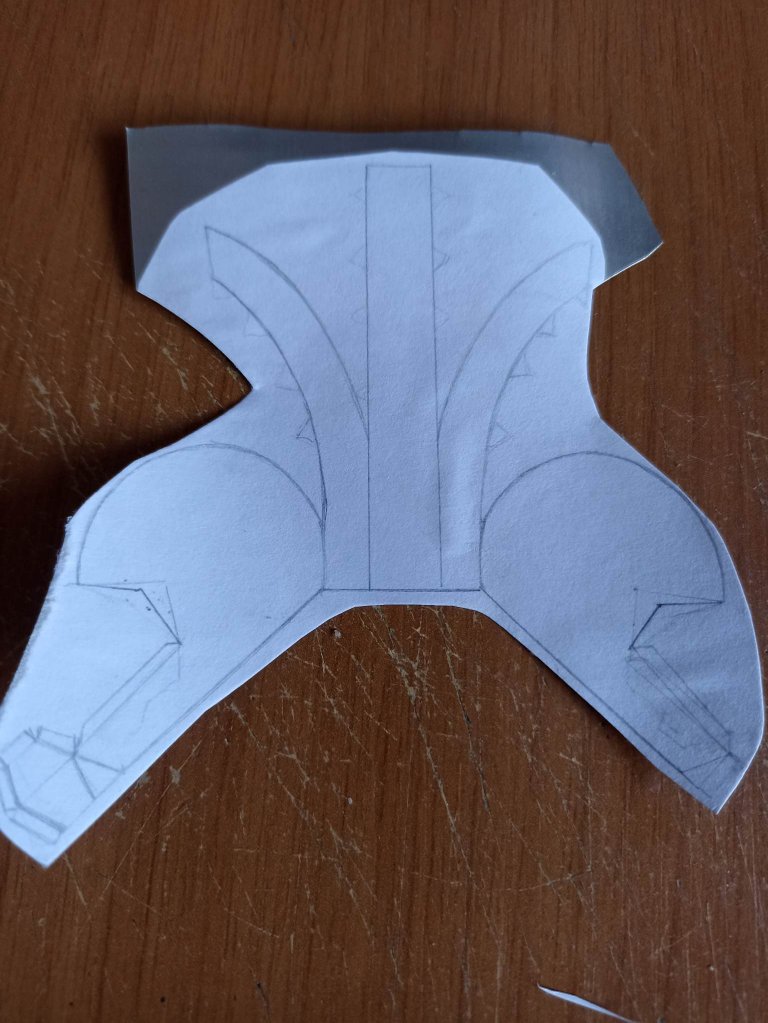 |
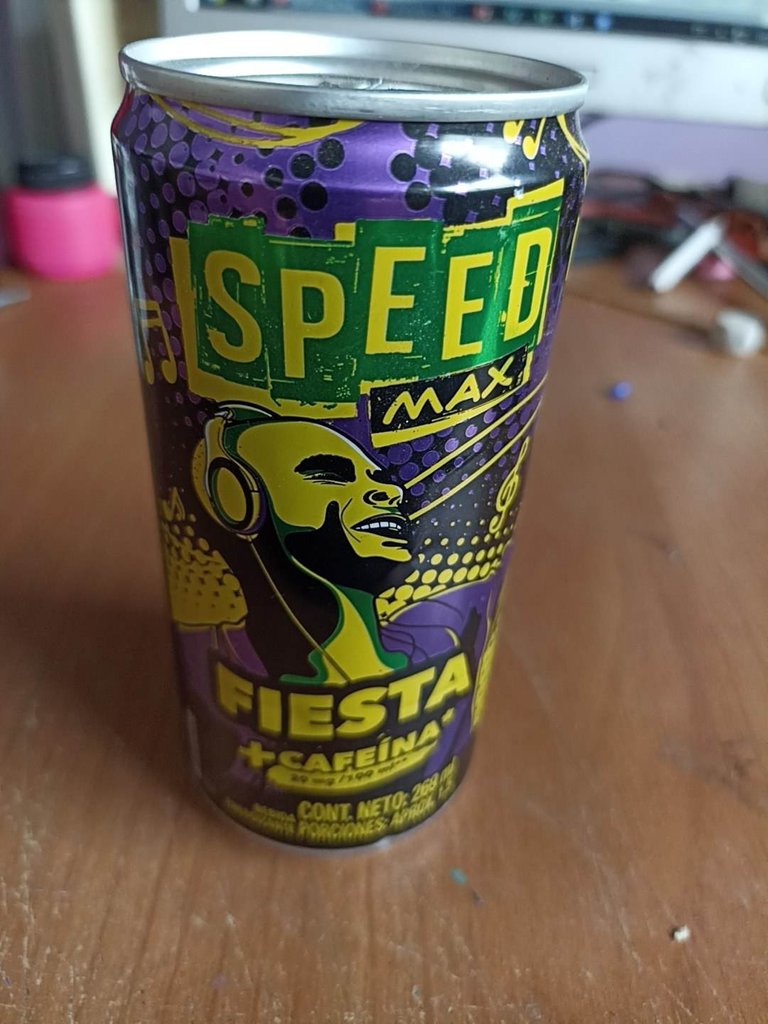
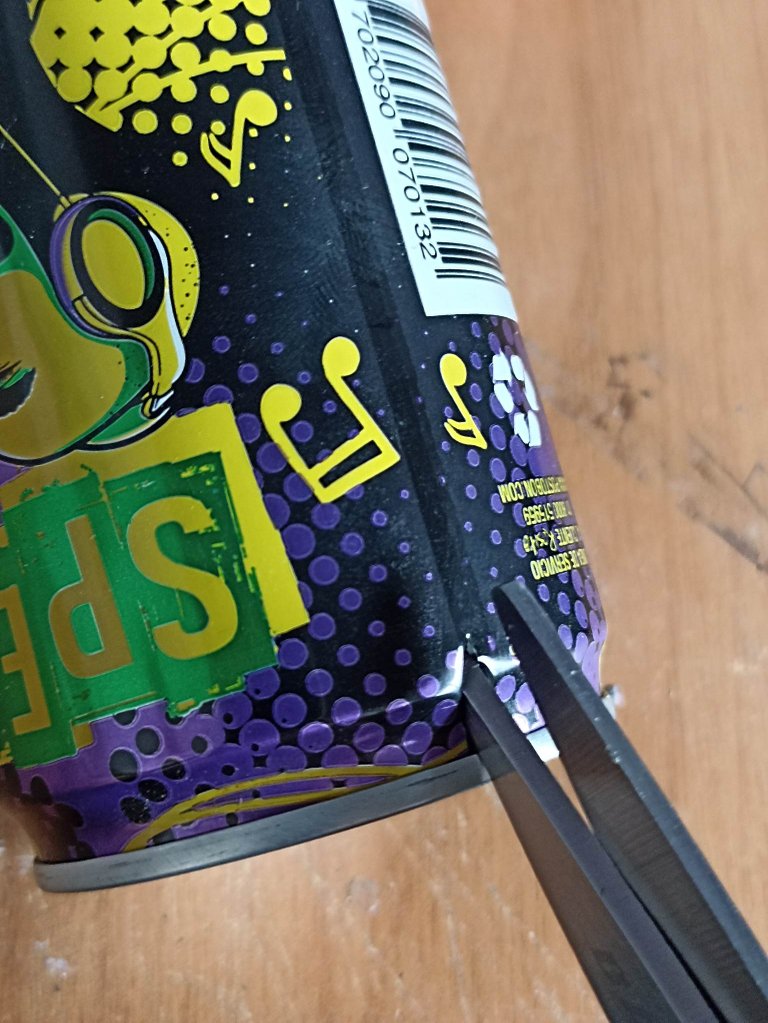
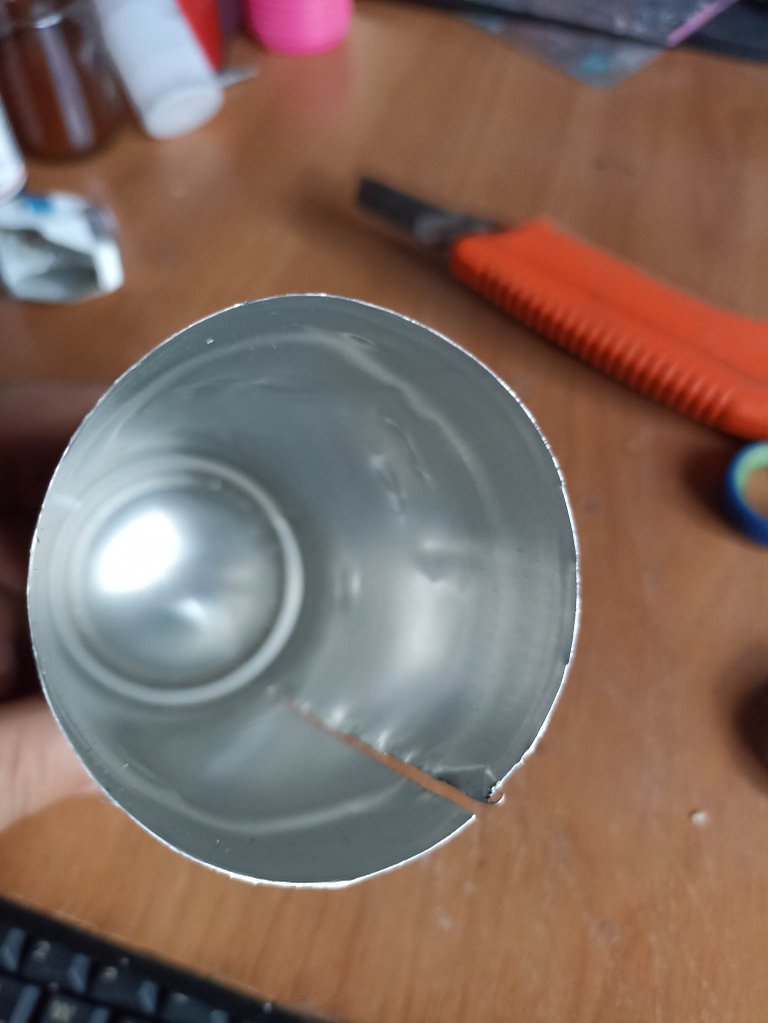
I chose to make the helmet a very colorful soda can, so that it would look like those FOX brand helmets that are very colorful in their decoration. I cut the can using scissors and then I made the can into aluminum foil, then I cut out the template and glued it on top of the can and then cut out the pattern on the helmet.
Escogí para hacer el casco una lata de refresco muy colorida, para que quedara como esos cascos de la marca FOX que son muy coloridos en su decoración. Corte la lata usando unas tijeras y luego convertí la lata en una lámina de aluminio, seguidamente recorté la plantilla y la pegué encima de la lata para luego recortar y sacar el patrón del casco.

 |  |  |
|---|---|---|
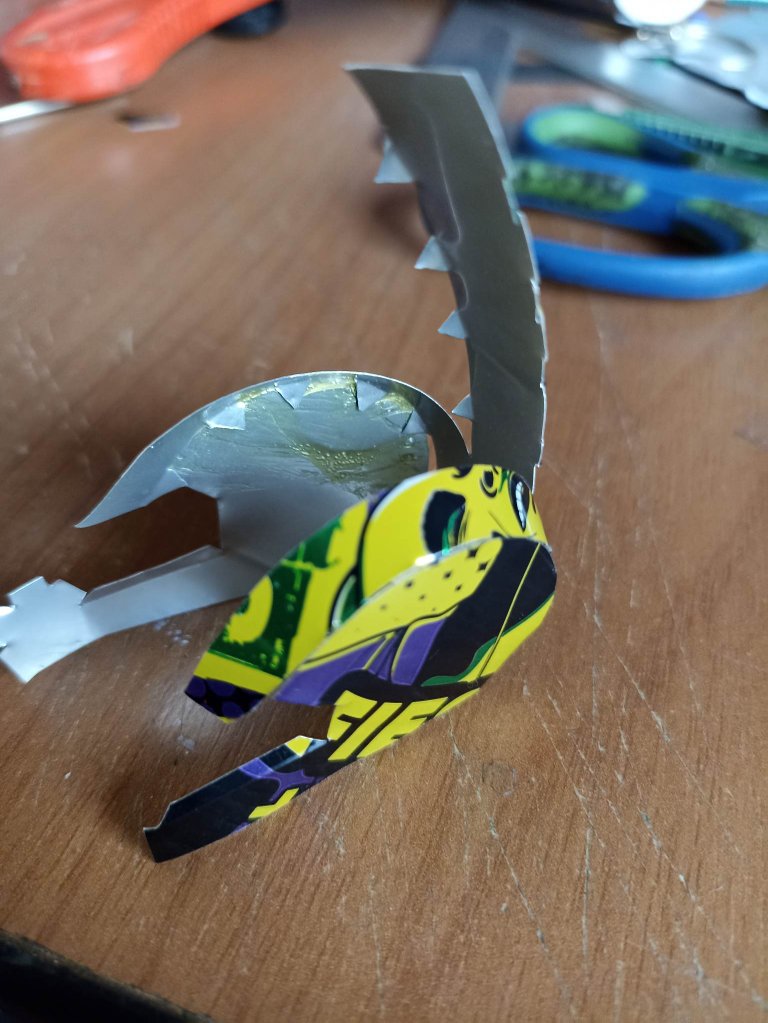 | 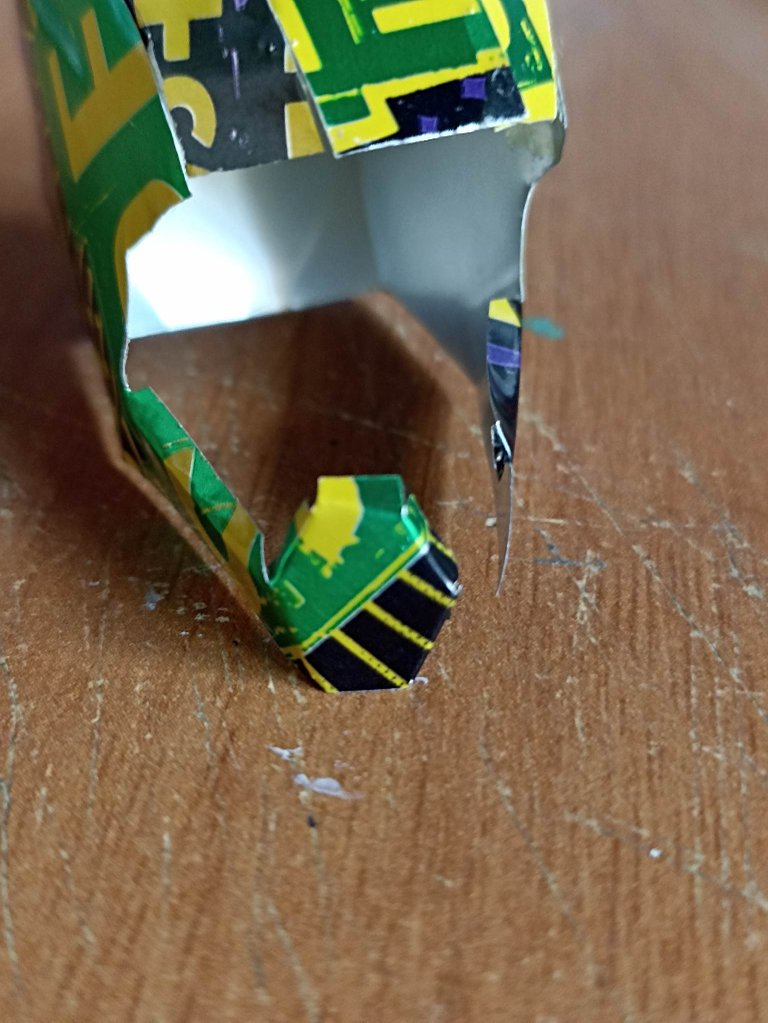 | 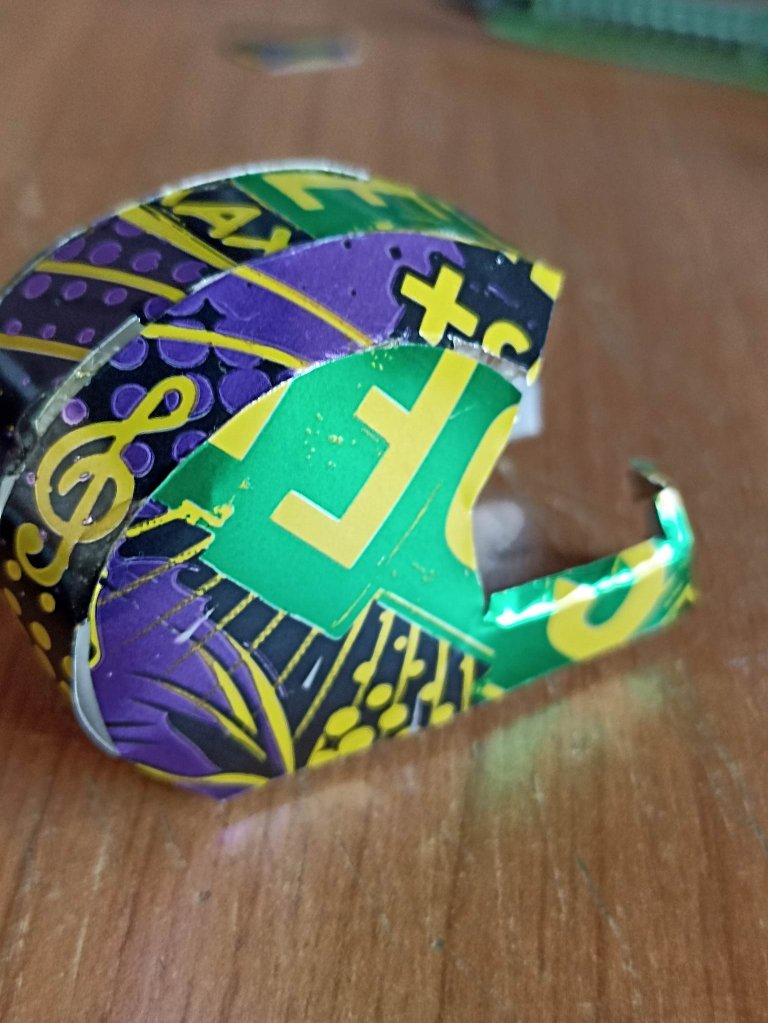 |
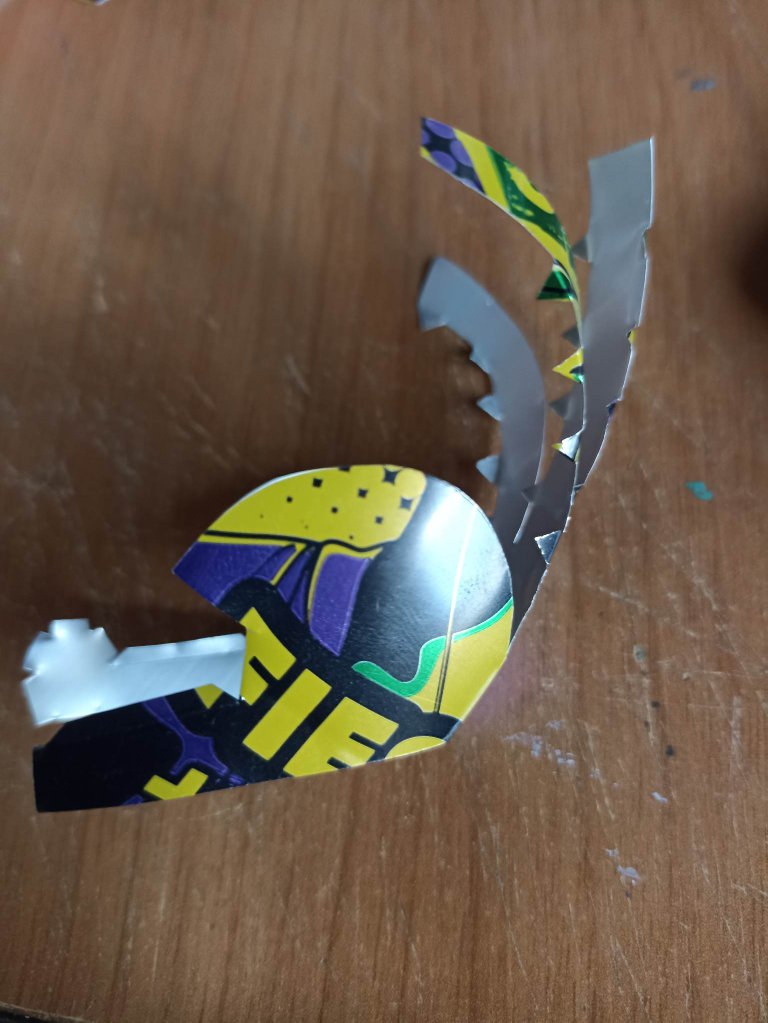
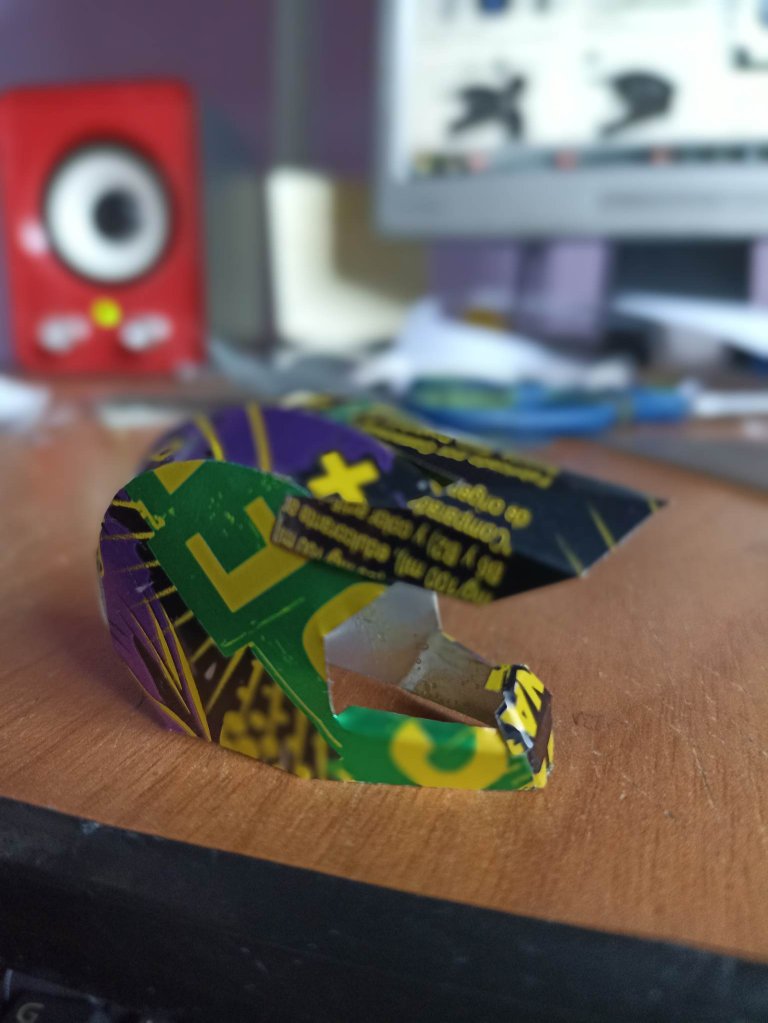
Using school glue, I glued the template on top of the can and then carefully cut it out. When I had the whole piece ready, I began to join the parts, the upper part consists of 3 circular strips, the two strips at each end are joined to the sides of the helmet, and finally I glue the strip that goes in the middle, so I already have most of the hull. Then to finish I glue the excess tabs to the front part of the helmet that covers the mouth.
Utilizando pegamento escolar pegué la plantilla encima de la lata y después fui cortando cuidadosamente. al tener toda la pieza lista comencé a unir las partes, la parte de arriba consta de 3 tiras circulares, las dos tiras de cada extremo va unida con los laterales del casco, y por último pego la tira que va en medio, así ya tengo la mayor parte del casco. Luego para finalizar pego por las pestañas sobrantes la parte delantera del casco que cubre la boca.

 |  |  |
|---|---|---|
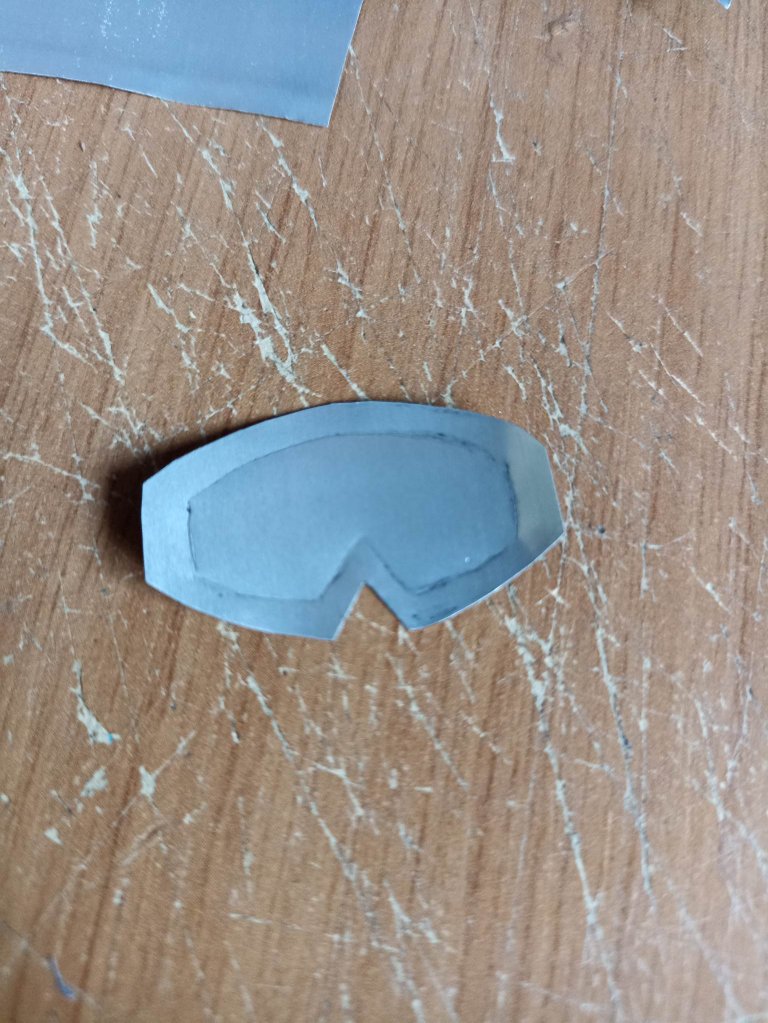 | 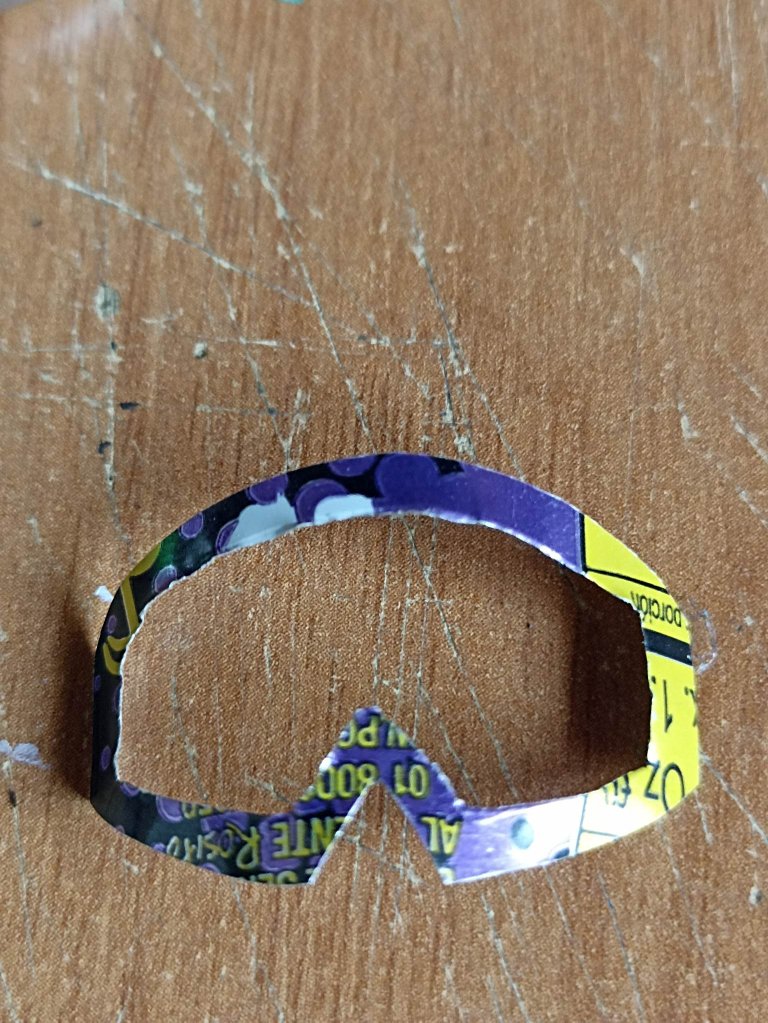 | 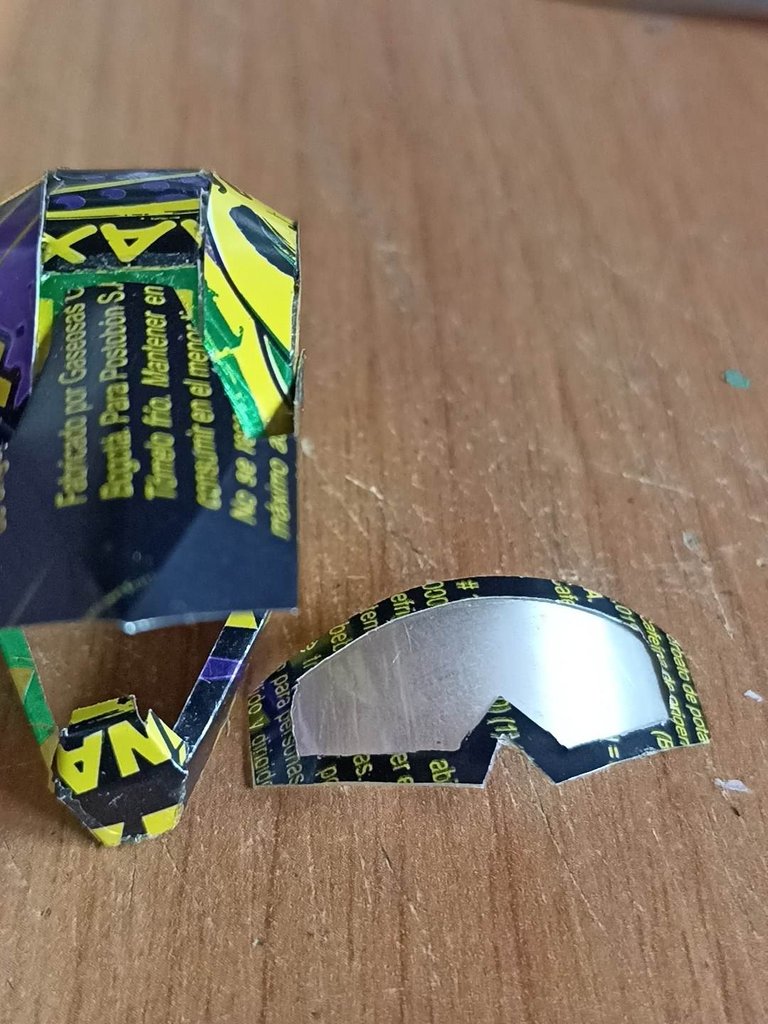 |
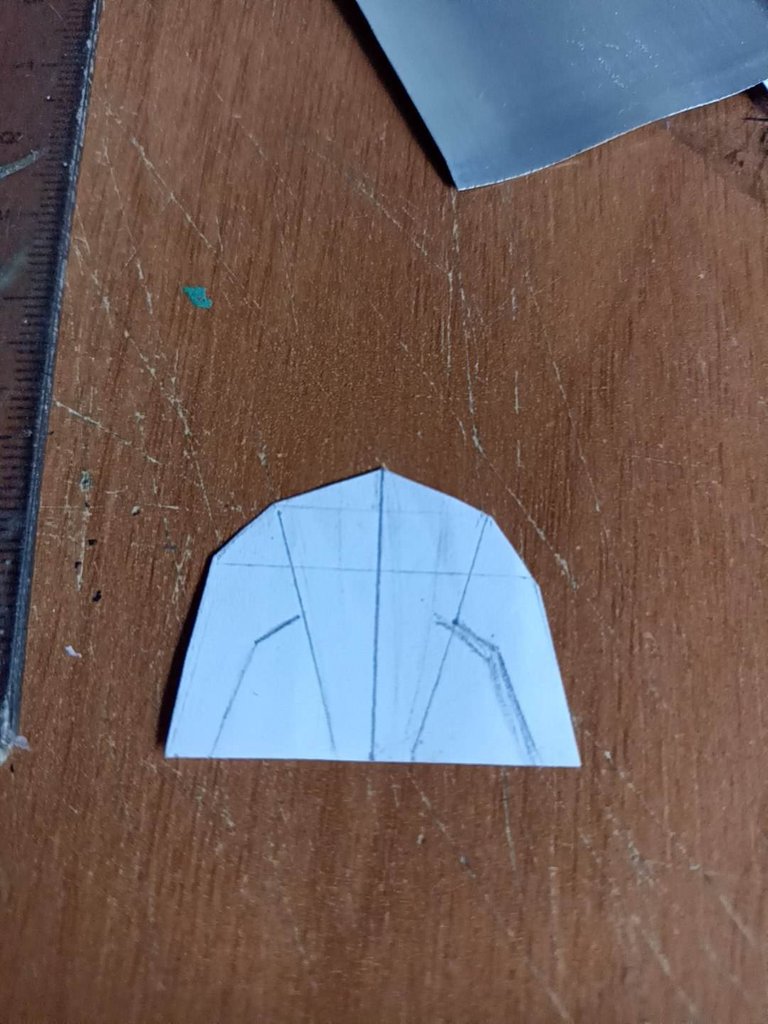
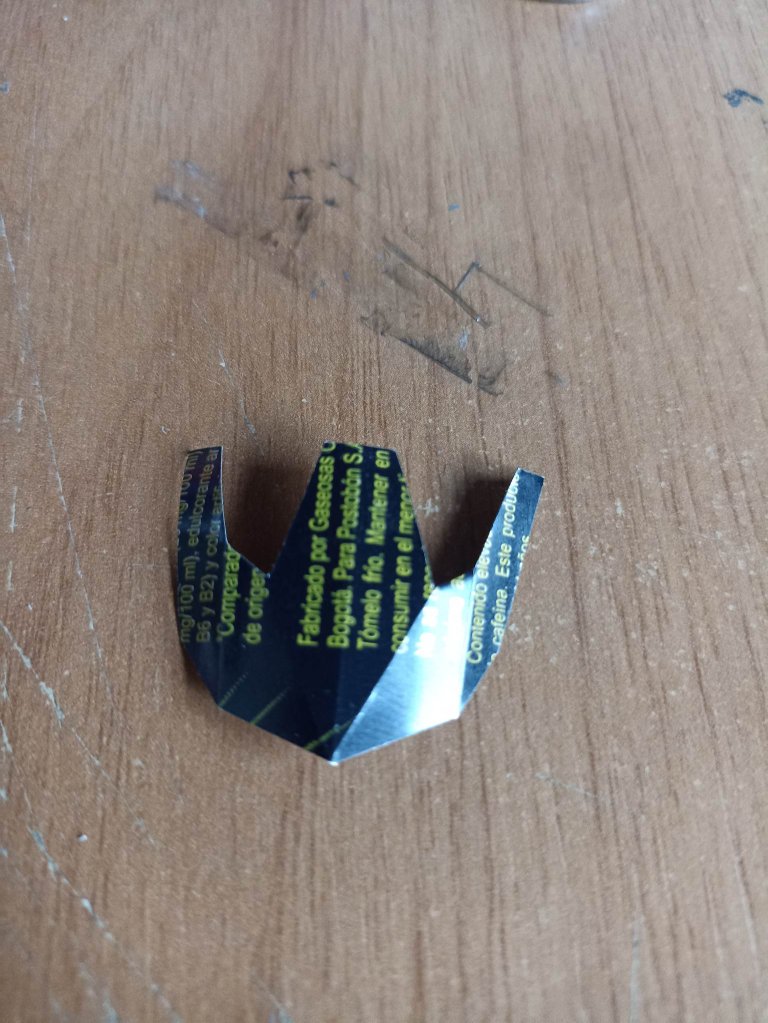
The next step was to make the visor that has the motocross helmets on the front, I made some templates in various shapes, in the end I used this one that is easier to make and fold. I cut out the template and I took out the pattern that I then folded very carefully using tweezers. I put glue right on the part that is attached to the helmet, then I made the lenses that are used for these helmets that are very huge to protect the entire uncovered part of the face, I made a simple figure to which I later glued a plastic that has a hologram effect and that was perfect.
El siguiente paso fue hacer la visera que tiene los cascos de motrocross en la parte frontal, hice algunas plantillas de diversas formas, al final utilicé esta que es más sencilla de hacer y doblar. Recorte la plantilla y saqué el patrón que luego doblé con mucho cuidado usando unas pinzas. Puse pegamento justo en la parte que va adherida al casco, seguidamente hice los lentes que se usan para estos cascos que son muy enormes para proteger toda la parte descubierta del rostro, hice una sencilla figura a la cual luego le pegué un plástico que tiene un efecto de holograma y que quedaba perfecto.

 |  |  |
|---|---|---|
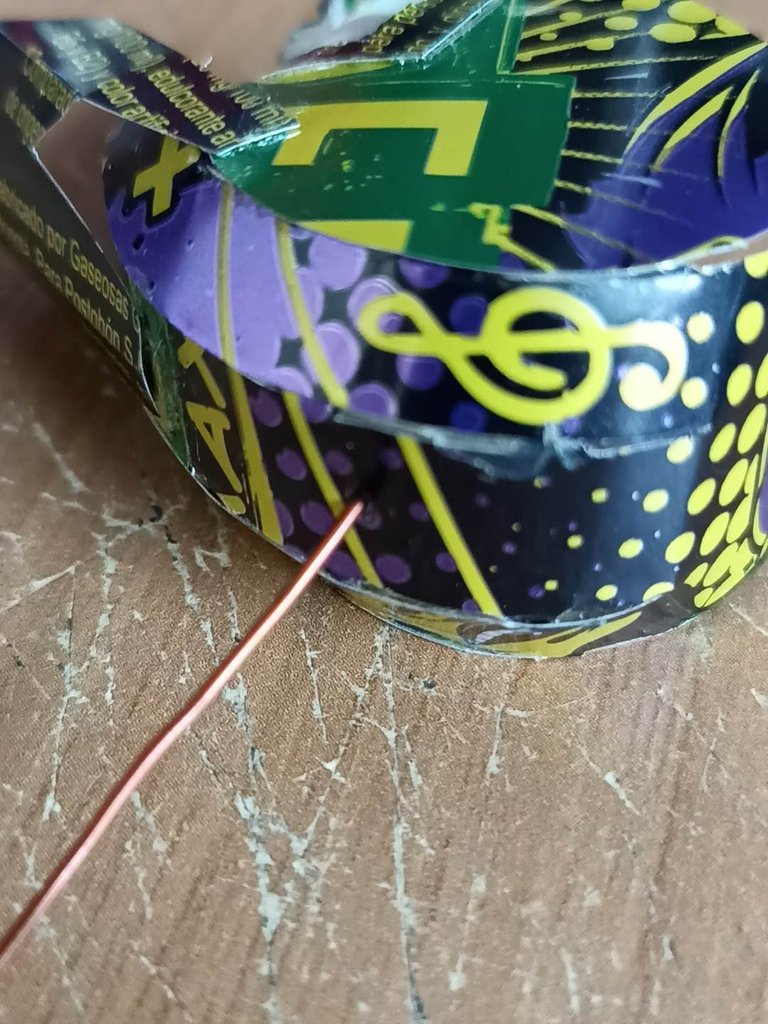 | 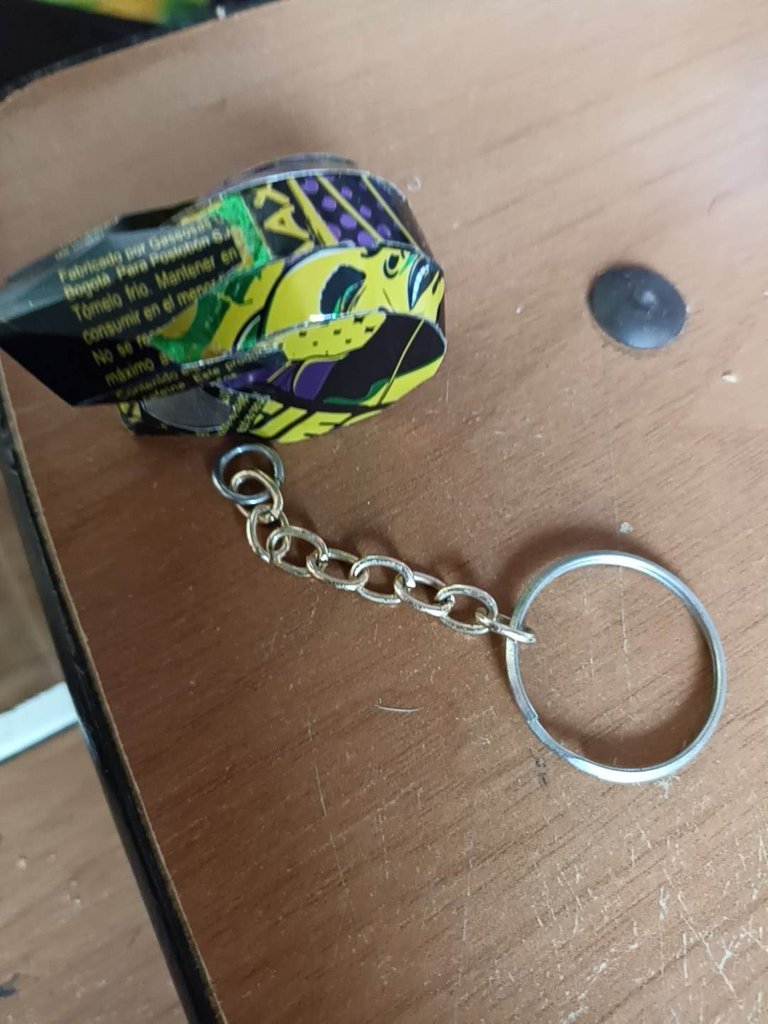 | 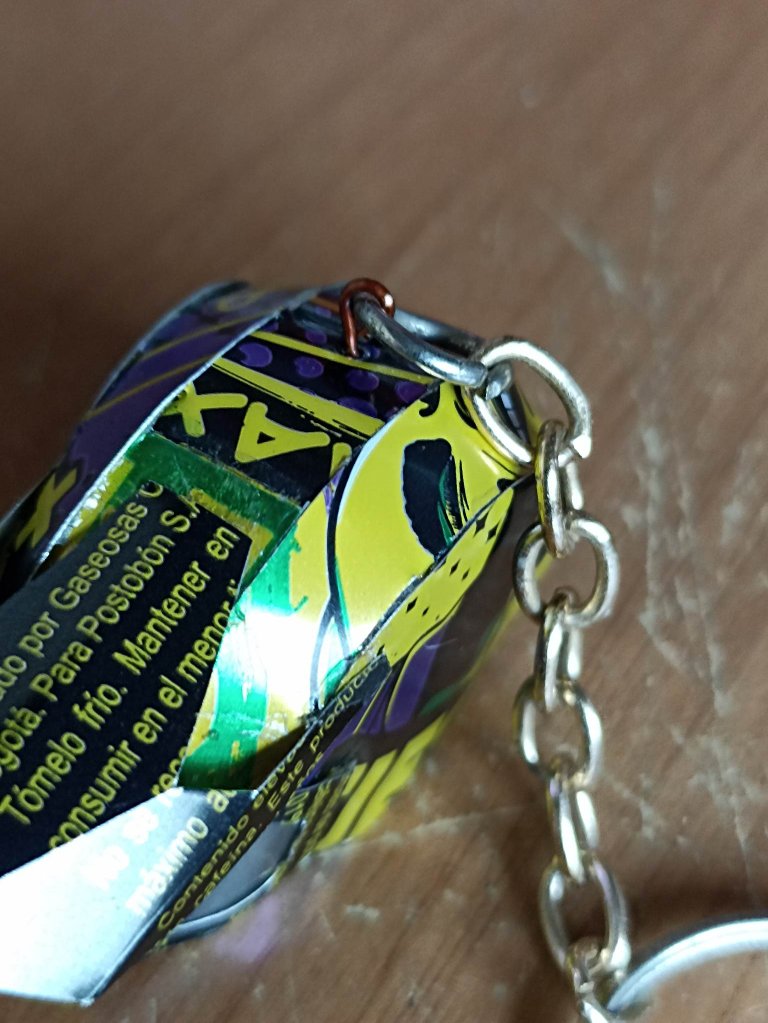 |
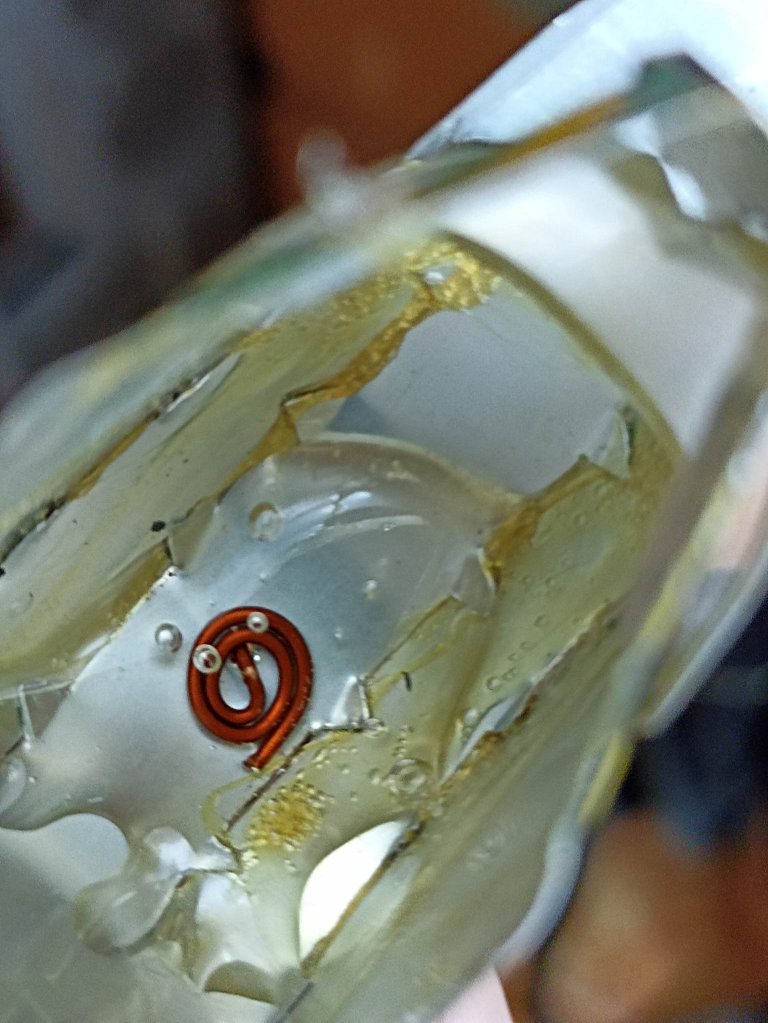
Then I glue the lenses to both ends of the helmet, to make it look better I make some marks and put the glue, let it dry for a few minutes and then I proceed to put the lenses on. To finish I opened a small hole in the upper part of the helmet through which I passed a copper wire and in the internal part I put silicone to be able to fix it, that copper wire will serve to put the chain for the keychain, in this way it has been finished.
Después pego los lentes en abos extremos del casco, para que quede mejor hago unas marcas y pongo el pegamento, dejo secar por unos minutos y ahi procedo a poner los lentes. Para finalizar abrí un pequeño agujero en la parte superior del casco por donde pasé un alambre de cobre y en la parte interna le pongo silicón para poder fijarlo, ese alambre de cobre servirá para poner la cadena para el llavero, de esta manara ha quedado finalizado.

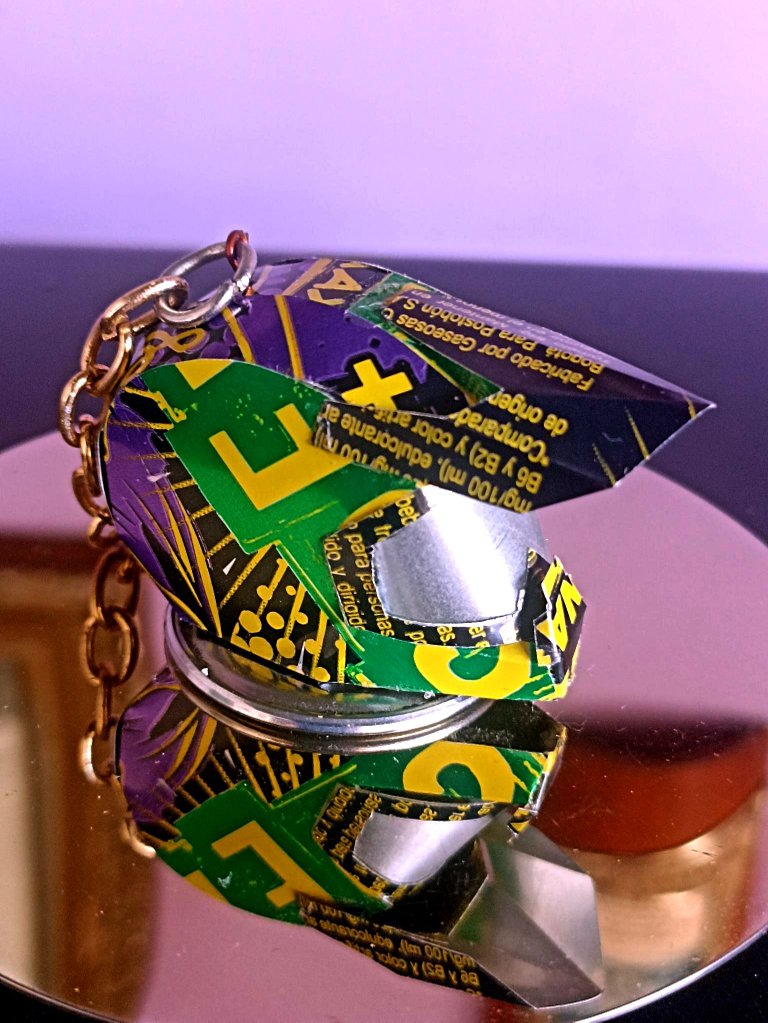
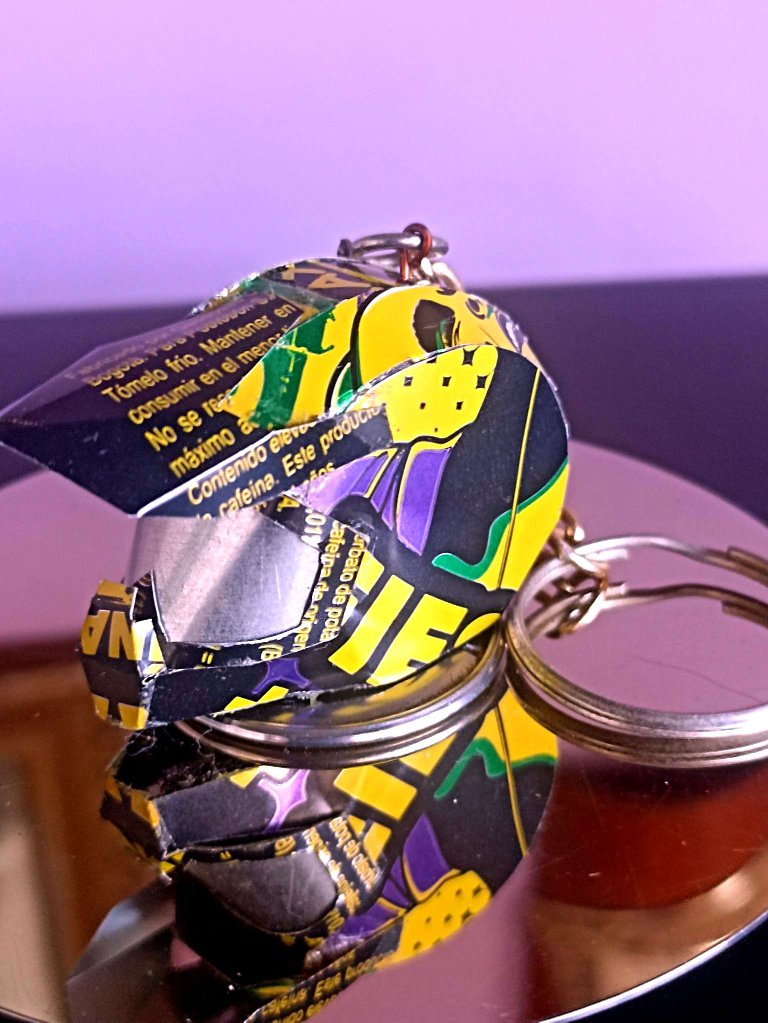
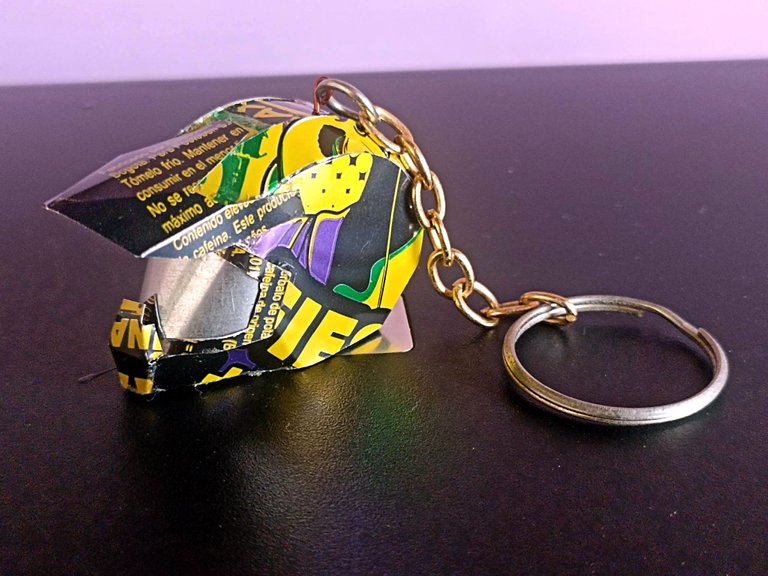
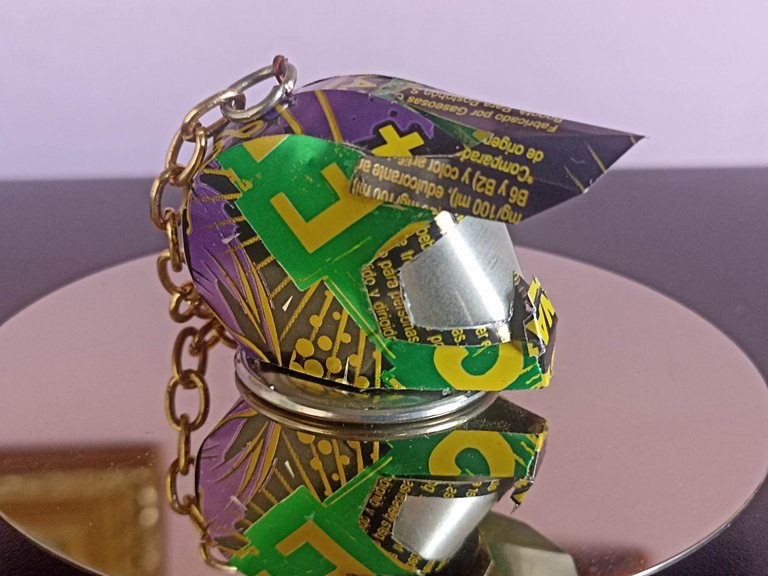
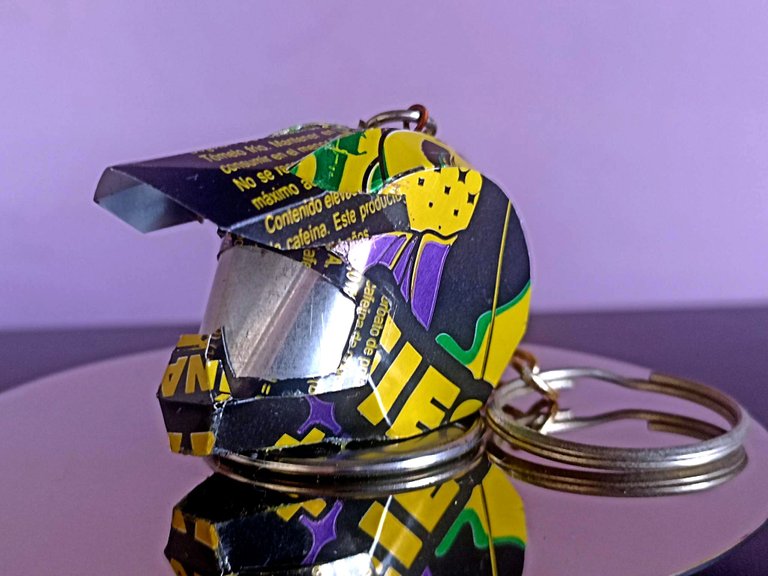
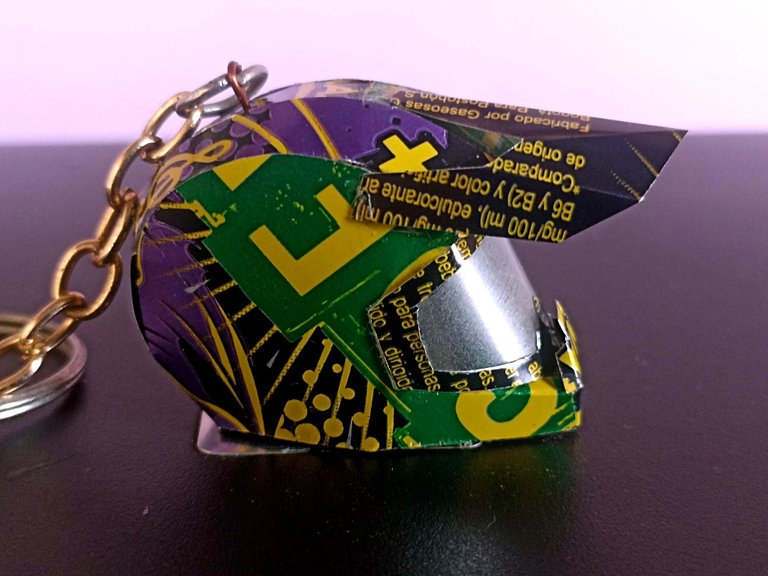

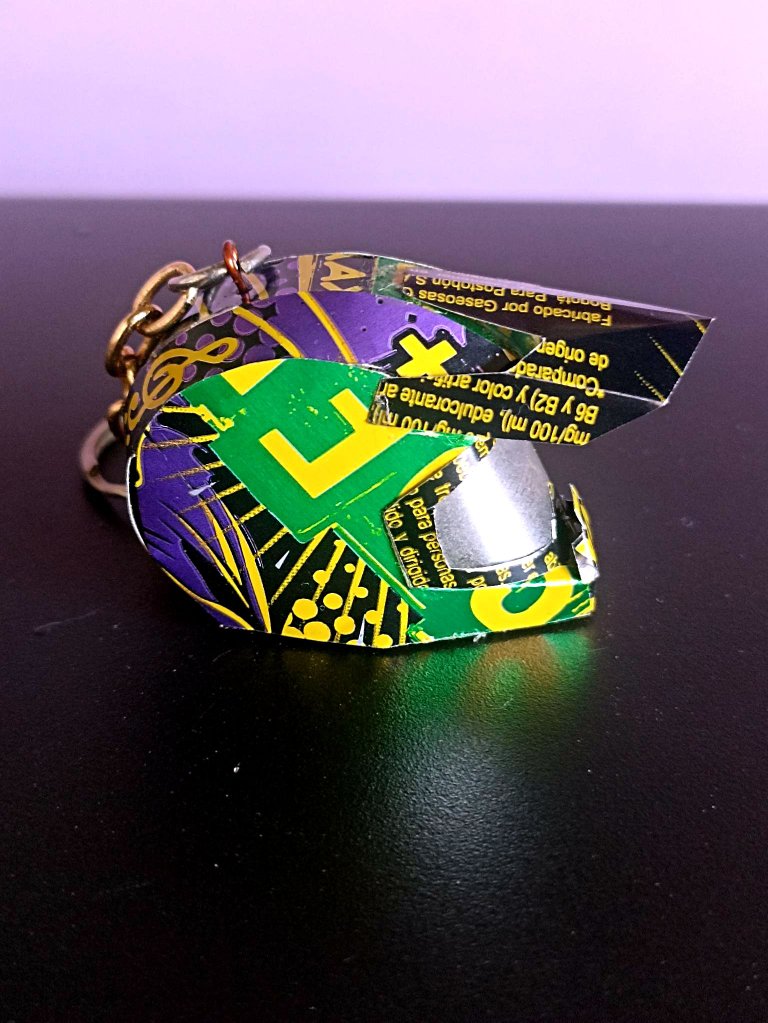

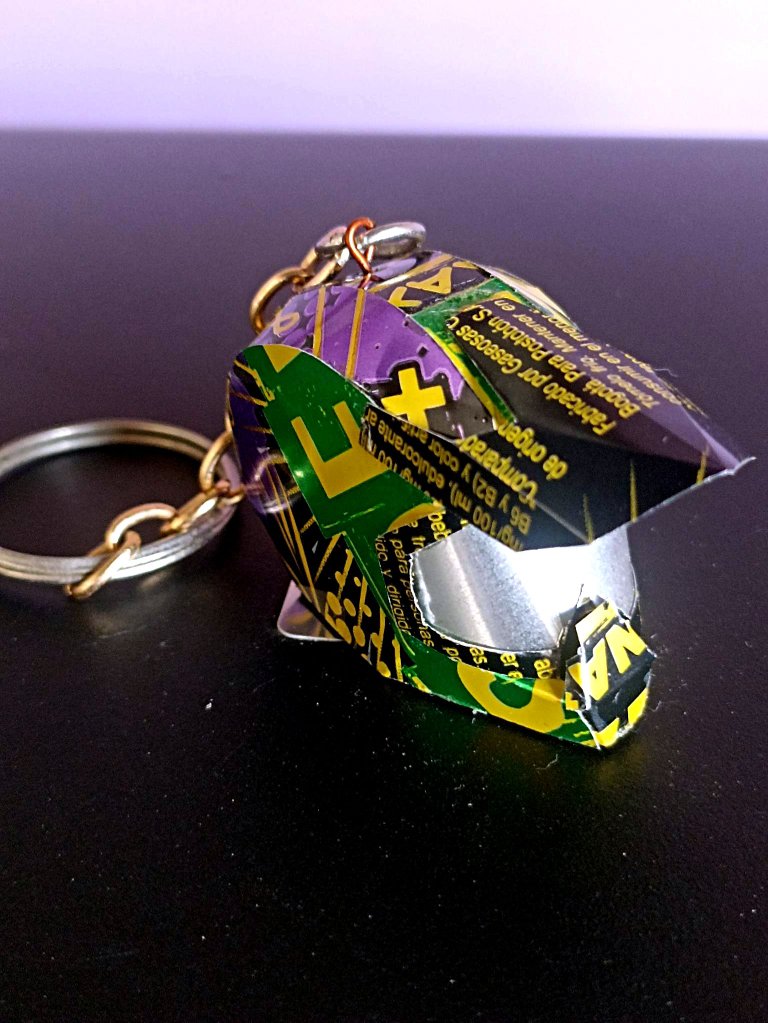
This is how this small commission was finished, I had stopped the creations with aluminum cans because they are very difficult to obtain, it was not like before, that in each corner I found one. But when I find enough I'll do something great to share, for now this has been all, it has been a great pleasure to share it with you. I hope you liked it, and if so, let me know in the comments, I say goodbye until a new opportunity. Greetings to all!
Así quedo terminado este pequeño encargo, yo había detenido las creaciones con latas de aluminio porque estan muy dificiles de conseguir, no era como antes, que en cada esquina encontraba una. Pero cuando encuentre suficientes haré algo genial para compartir, por lo pronto esto ha sido todo, ha sido un placer enorme poder compartirlo con ustedes. Espero que les haya gustado, y si así fue, déjenlo saber en los comentarios, me despido hasta una nueva oportunidad. Saludos para todos!

