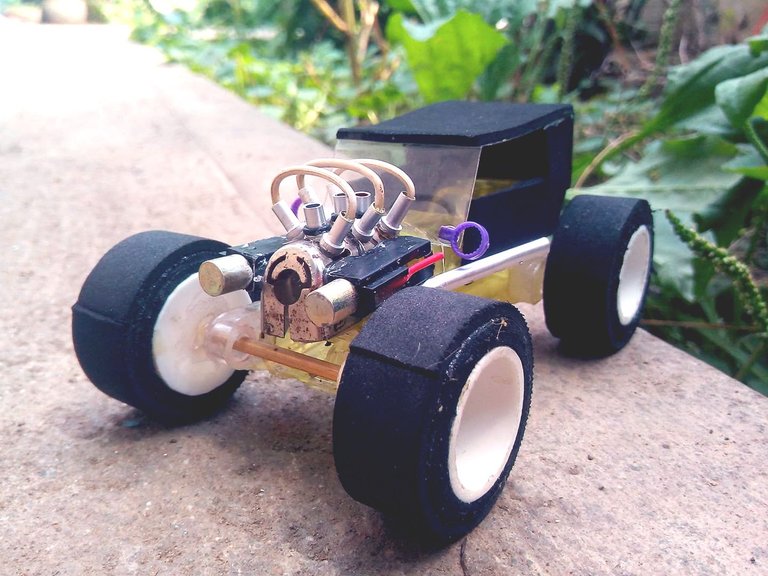
Hello friends, some time after having collected some old kitchen lighters that are no longer used, I have made another figure with them. I have made a "Hot Rod" car, a real machine out of people's imagination. History tells us that these cars were made by some mechanics who used old bodies from the 20s to the 50s and adapted more modern parts, the result was real monsters. So we can see old trucks with more powerful engines that were exposed. I have made my own version using some lighters as well as other plastic materials such as PVC tubes and transparent plastic and some foam. Hope you like.
Hola amigos, tiempo después de haber recolectadores algunos viejos encendedores de cocina que ya no tienen uso he vuelto a hacer otra figura con ellos. He realizado un coche "Hot Rod" una auténticas máquinas salidas de la imaginación de las personas. La historia nos dice que estos coches fueron realizados por algunos mecánicos quienes utilizaban carrocerías antiguas de los años 20 a los años 50 y le adaptaaban piezas más modernas, el resultado eran unos verdaderos mosntruos. Así podemos ver antiguas camionetas con motores más poderosos que quedaban al descubierto. He realizado mi propia versión utilizando algunos encendedores así como otros materiales de plástico como, tubos PVC y plástico transparente y algo de foami. Espero que les guste.
 PROCESS
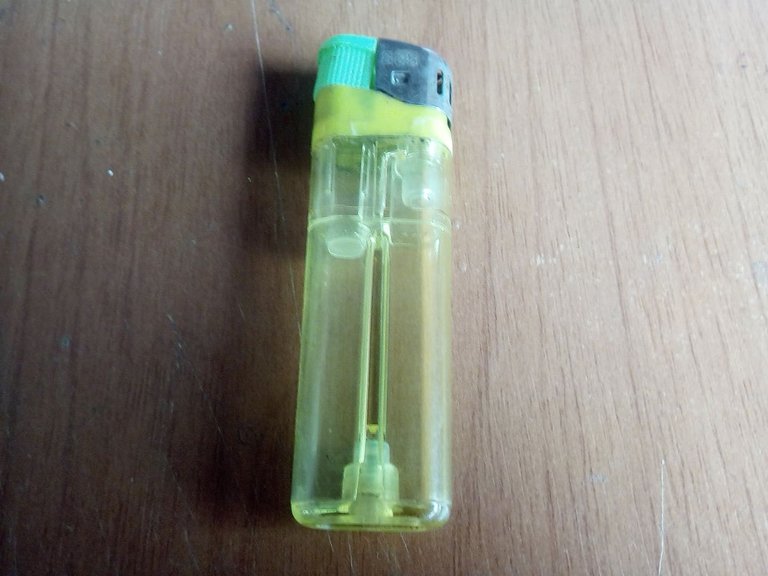
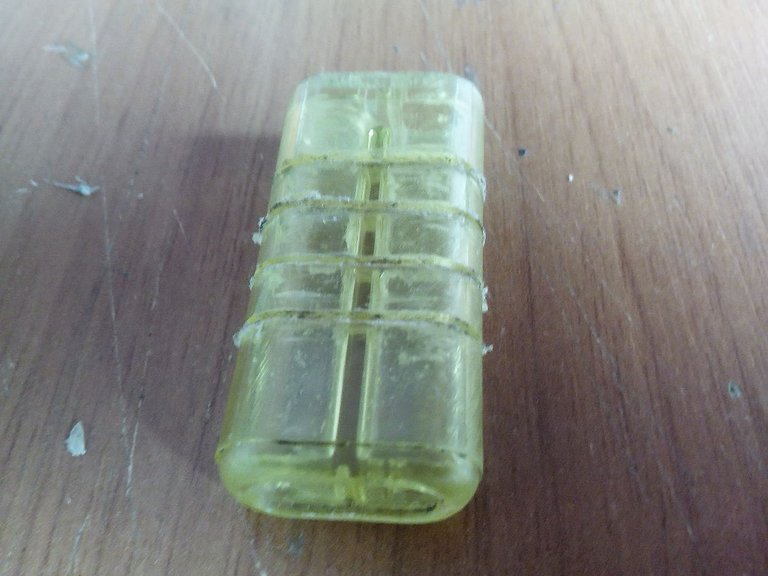
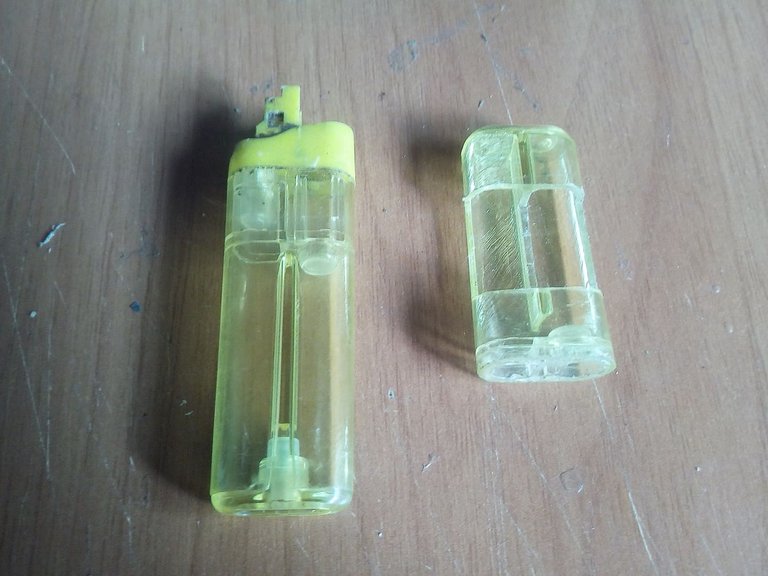
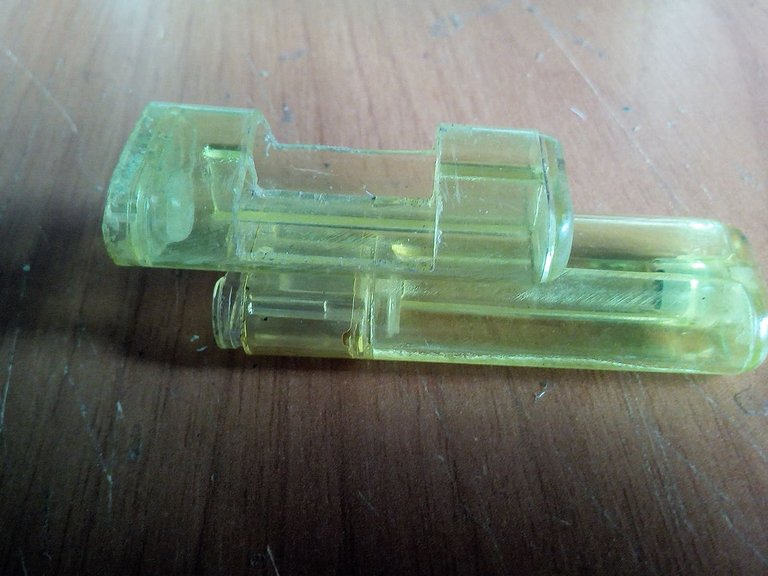
To do this work we use 6 spent lighters. To make the body we use two exactly, we cut one of them in the center with a measurement of 2 centimeters. Then we place on top of the other lighter that is uncut. We can use glue or silicone.
Para hacer este trabajo utilizamos 6 encendedores gastados. Para hacer la carrocería utilizamos dos exactamente, cortamos uno de ellos en el centro con una medida de 2 centímetros. Luego colocamos encima del otro encendedor que está sin cortar. Podemos utilizar pegamento o silicon.

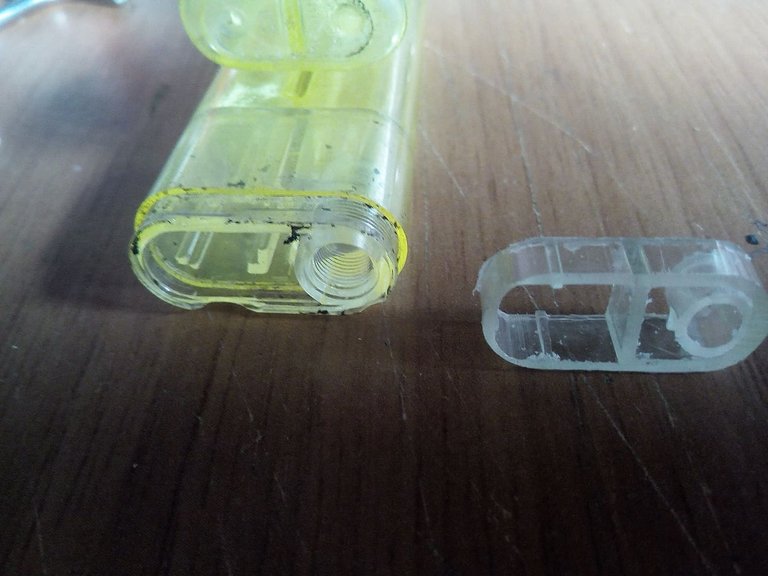
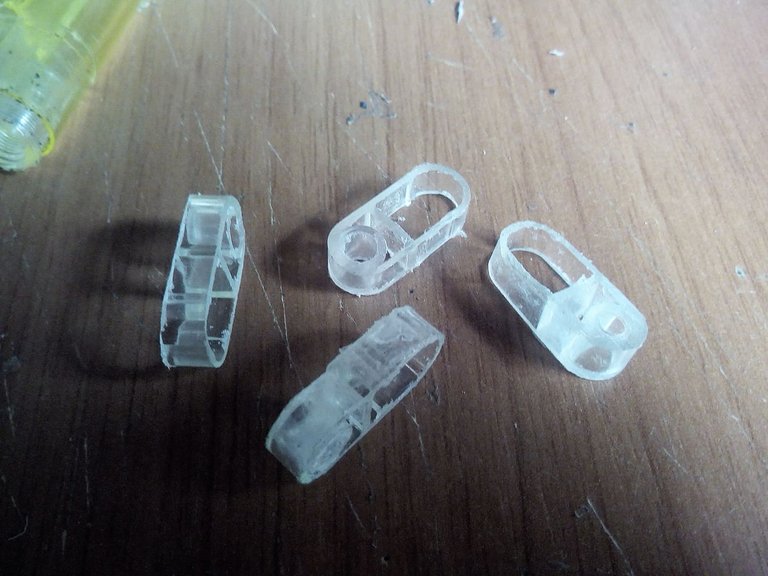
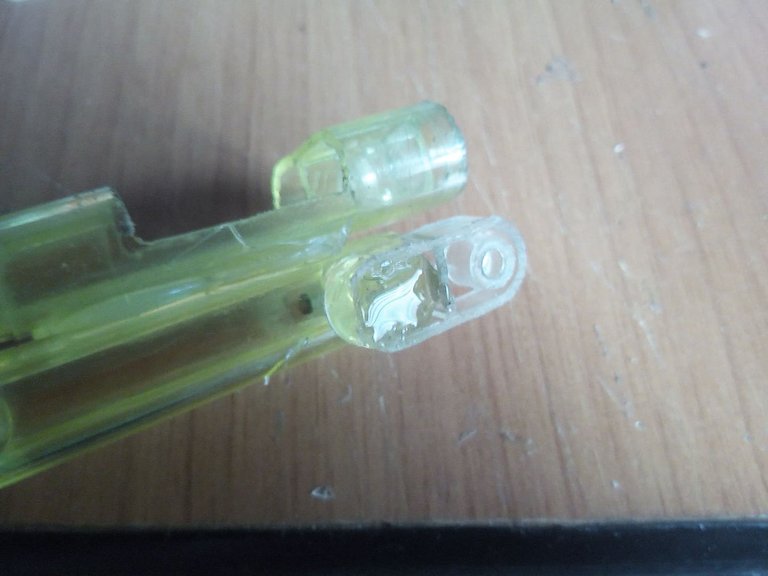
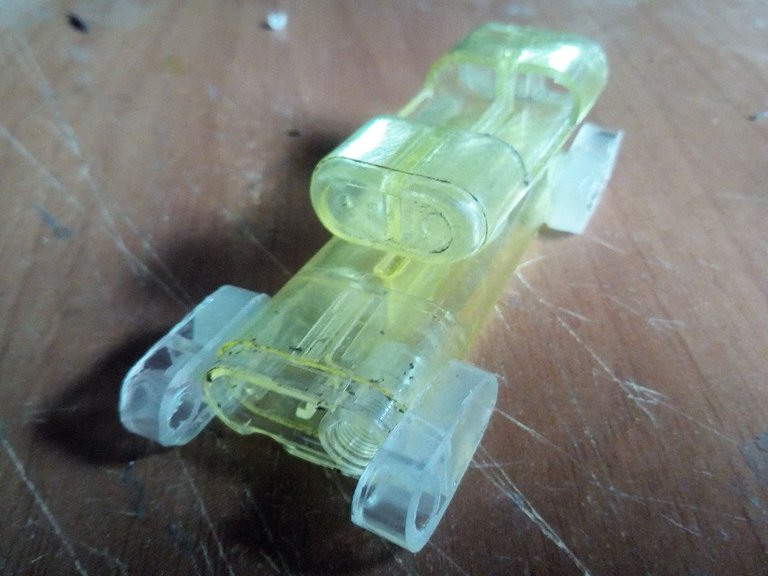
Then we will make the parts where we will place the axles of the wheels. For that we are going to cut this piece that comes in the lighters, it is where the gas passes to generate the fire. We cut out 4 equal parts and glue them to the piece we made earlier, using glue or silicone. We leave the hole where the axles will enter a little protruding.
Luego haremos las partes por donde colocaremos los ejes de las ruedas. Para eso vamos a recortar esta pieza que viene en los encendedores, es por donde pasa el gas para generar el fuego. Recortamos 4 partes iguales y las pegamos a la pieza que hicimos anteriormente, utilizando pegamento o silicón. Dejamos el agujero por donde entrarán los ejes un poco sobresalidos.

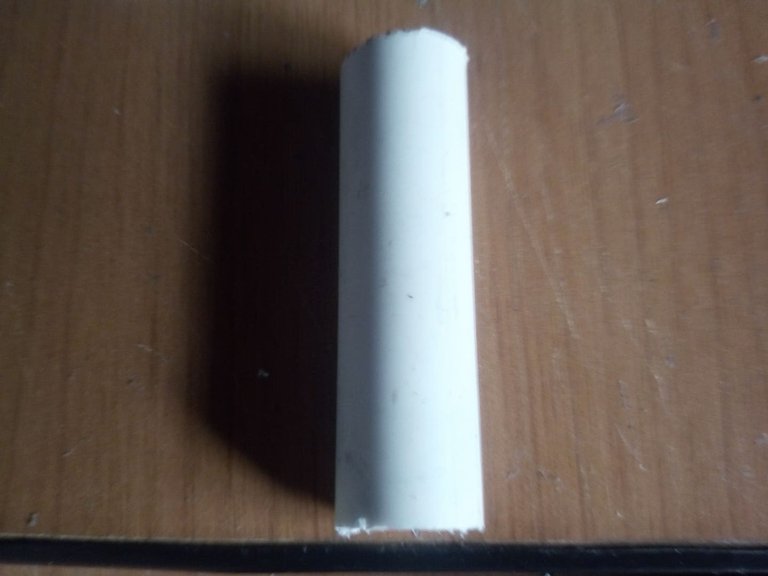
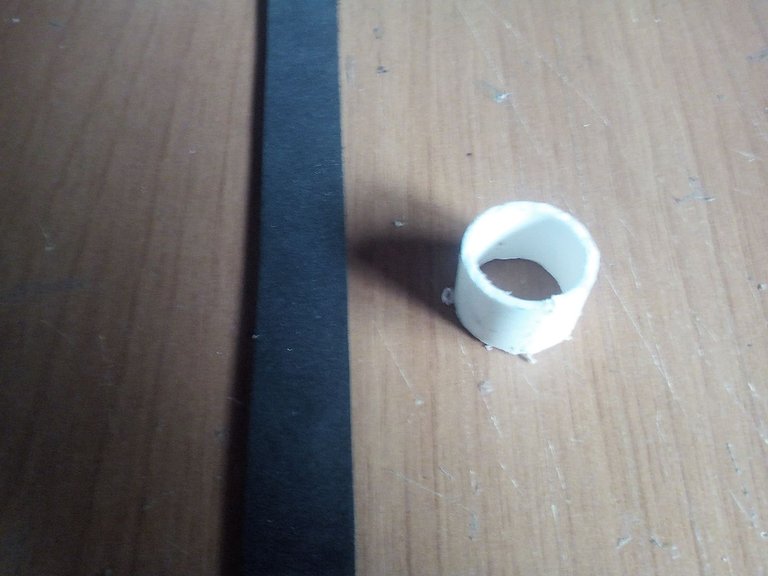
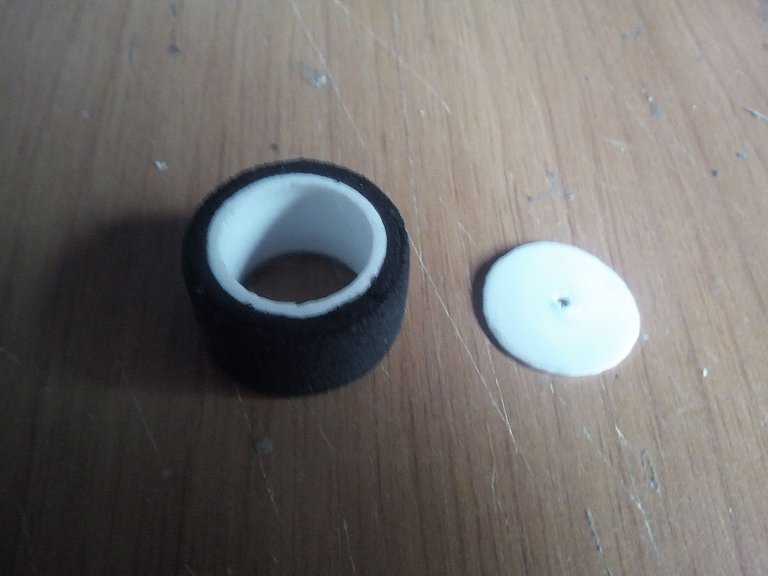
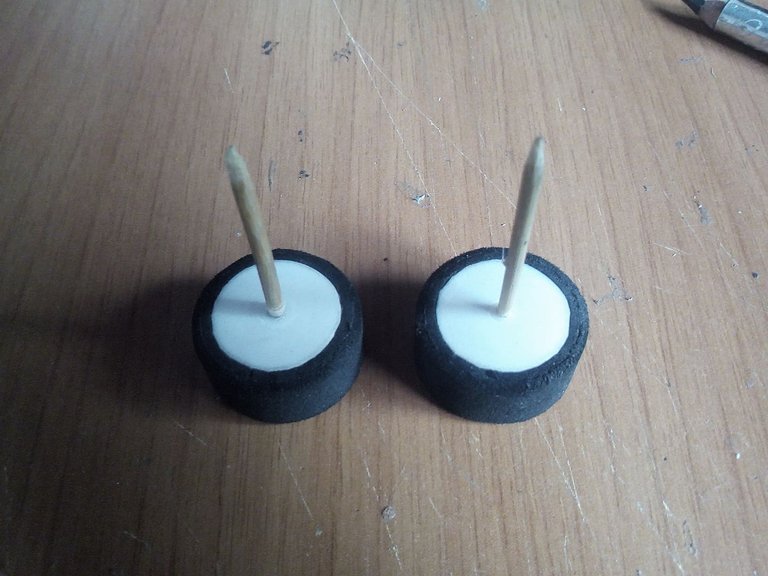
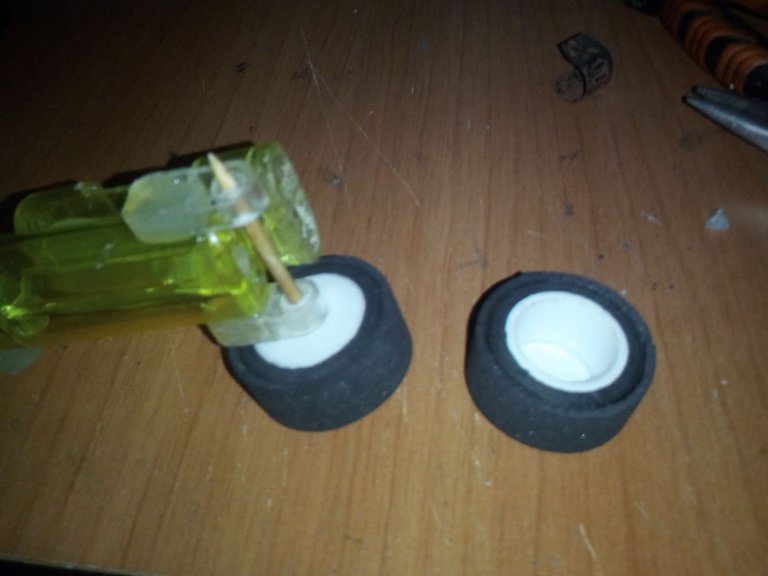
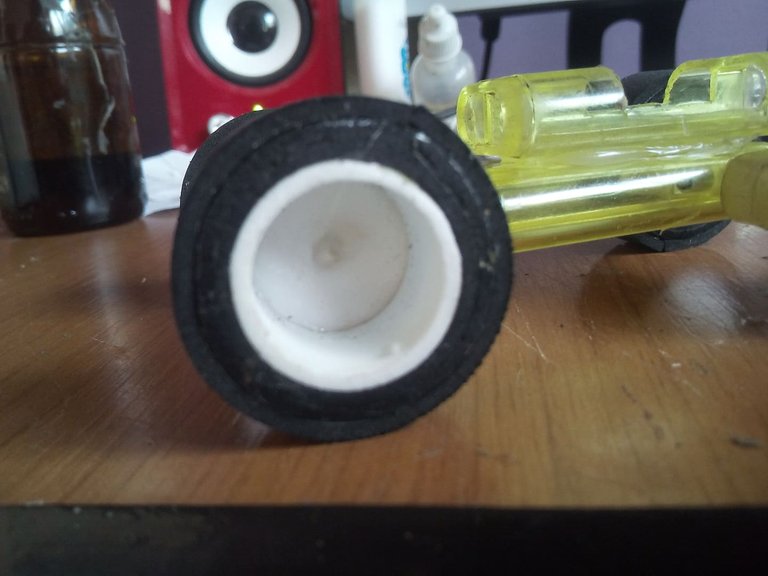
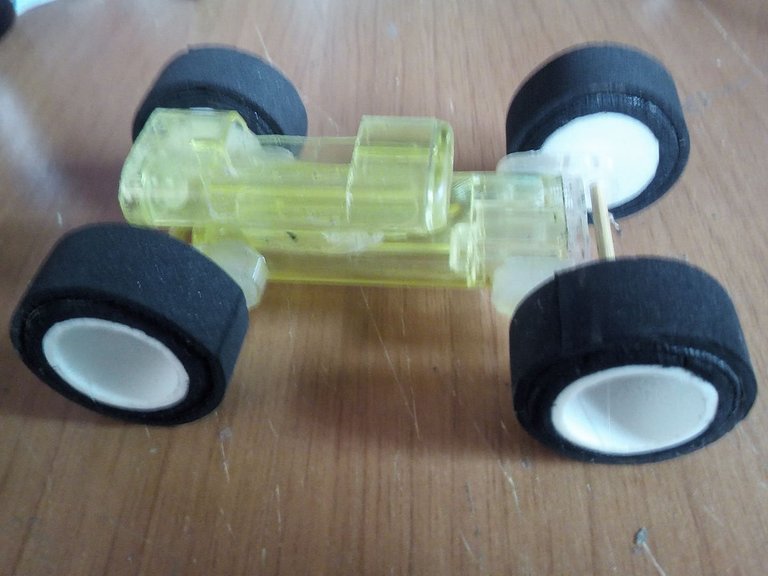
Next we will make the wheels using a PVC tube that is used to guide the clean waters. We cut 4 circles of 1.5 centimeters each, we will also cut 4 strips of foam to make the rubbers of the same thickness as the circles, and we glue the foam around the wheels. We will also make some circles that will be placed at the ends where the tips of the shafts will be joined, in this case we make the shafts with small sticks. Then we assemble the wheels and begin to install them in the parts that correspond to them.
Seguidamente haremos las ruedas utilizando un tubo pvc que se utiliza para conducir las aguas limpias. Cortamos 4 circulos de 1,5 centímetros cada uno, tambien cortaremos 4 tiras de foami para hacer los cauchos del mismo grosor de los círculos, y pegamos alrededor de las ruedas el foami. También haremos unos circulos que irán colocado en los extremos donde estarán unidos las puntas de los ejes, en este caso los ejes los hacemos con palos pequeños. Despues armamos las ruedas y comenzamos a instalarlas en las partes que les corresponden.

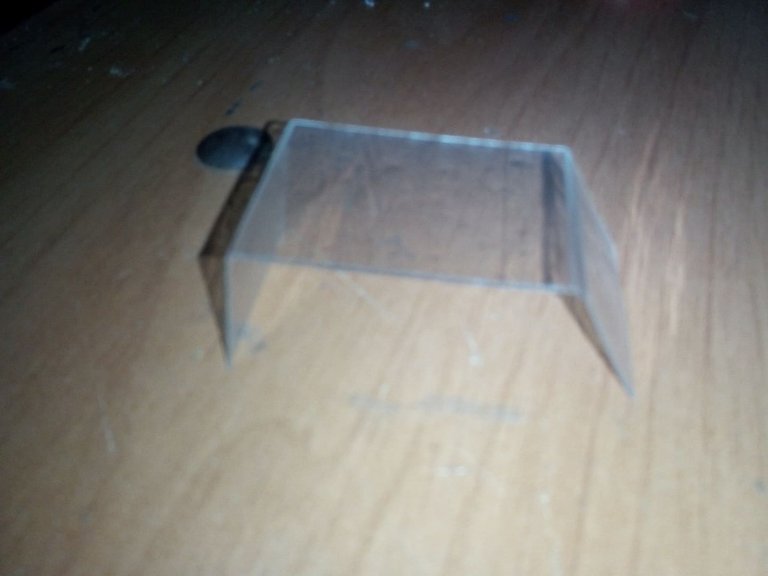
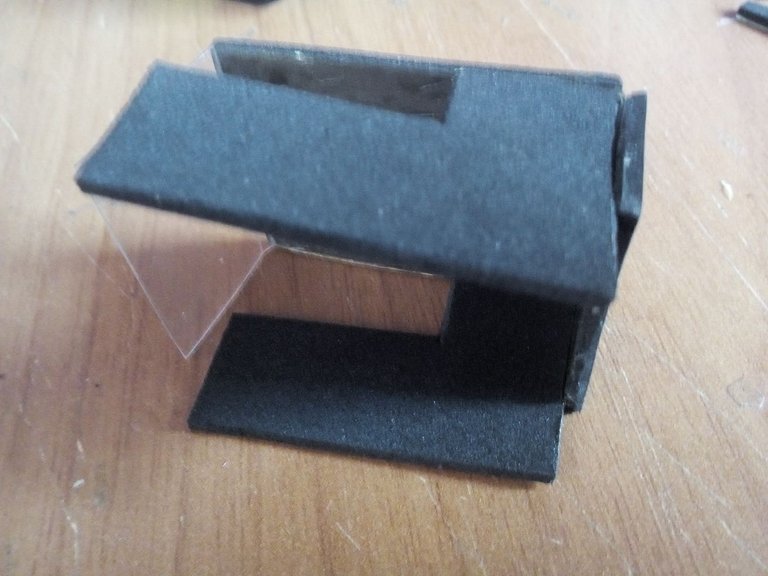
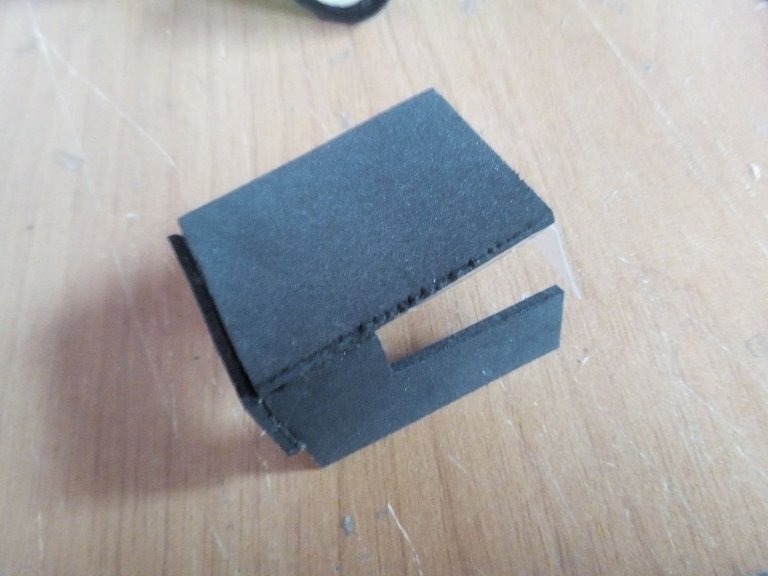
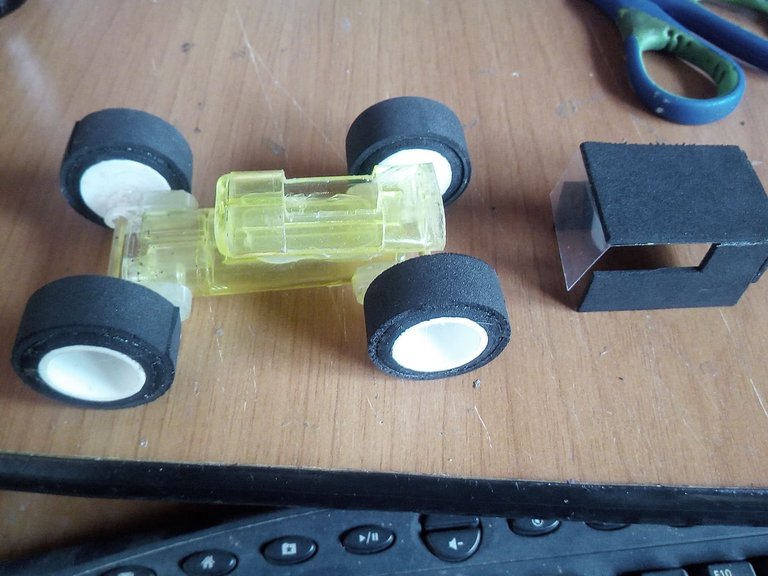
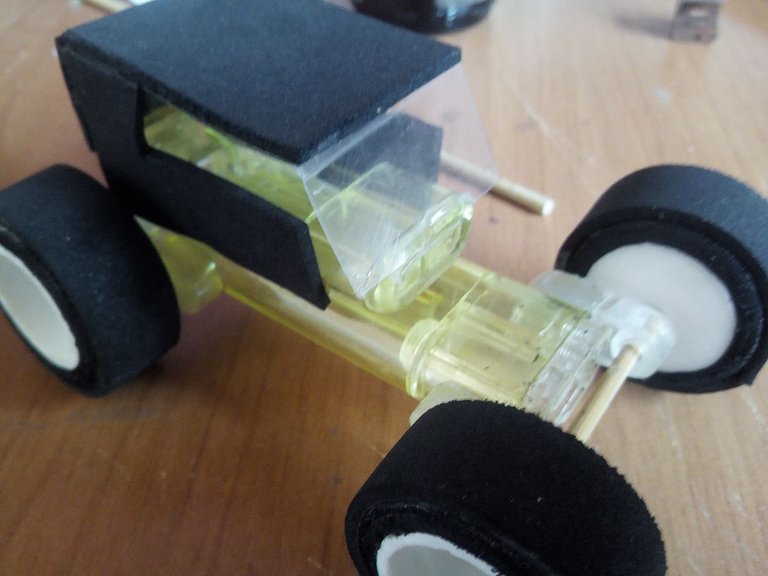
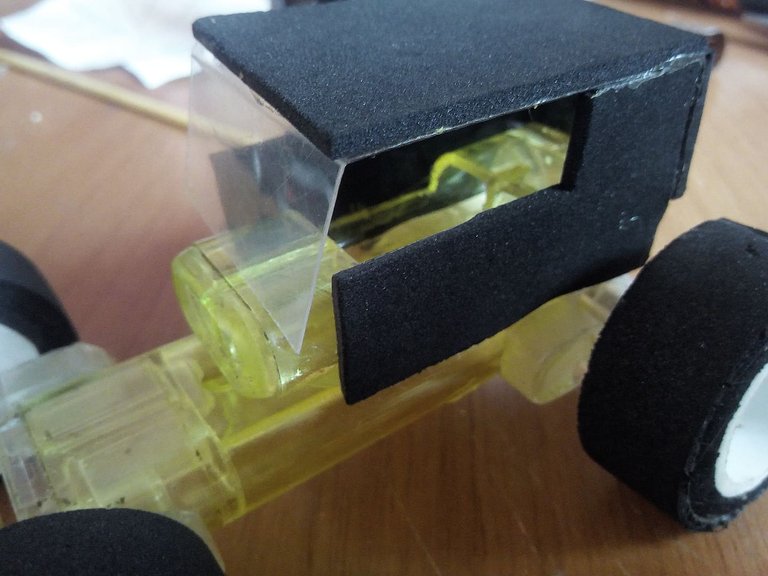
Now it is the turn of the hood of the car, we do it with transparent plastic and thus also remove the windshield. We cut the plastic and fold it and cover it with foam on the part of the roof and on the sides where the doors go, leaving space for the windows. Then we join it to the rest of the car and with glue we place them little by little so that it is well centered.
Ahora le toca el turno al capó del carro, lo hacemos con plástico transparente y así tambien sacar el parabrisas. Cortamos el plástico y lo doblamos y lo forramos con foami en la parte del techo y en los costados donde van las puertas, dejamos espacio para las ventanas. Luego lo unimos al resto del carro y con pegamento los vamos colocando poco a poco para que nos quede bien centrado.

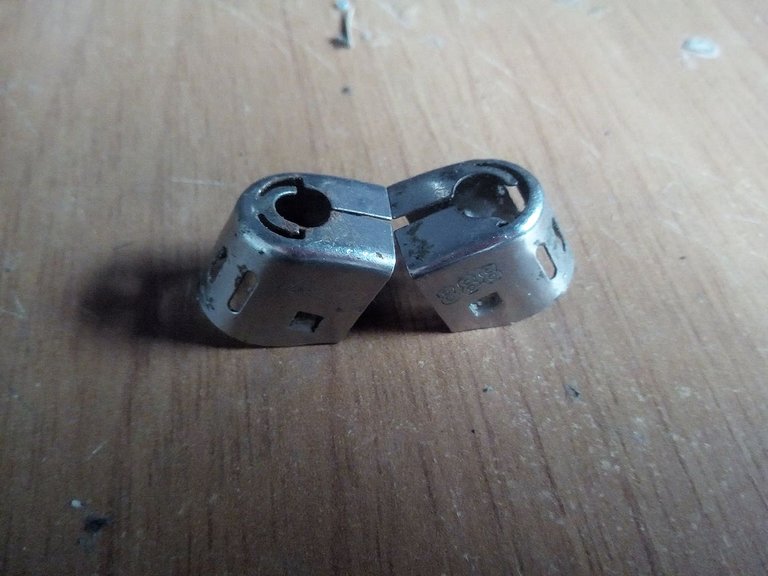
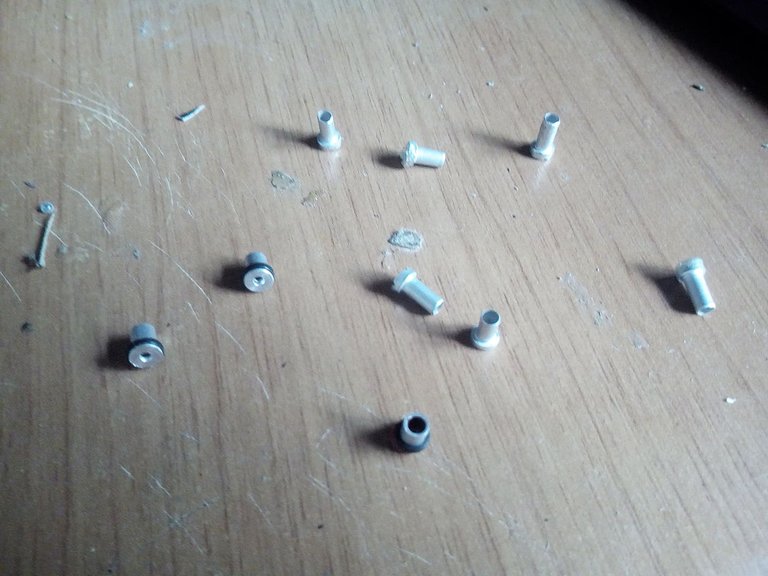
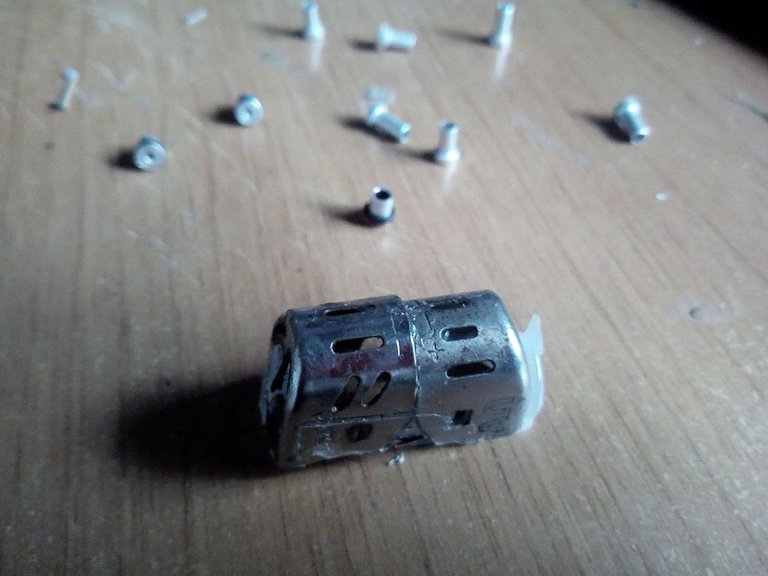
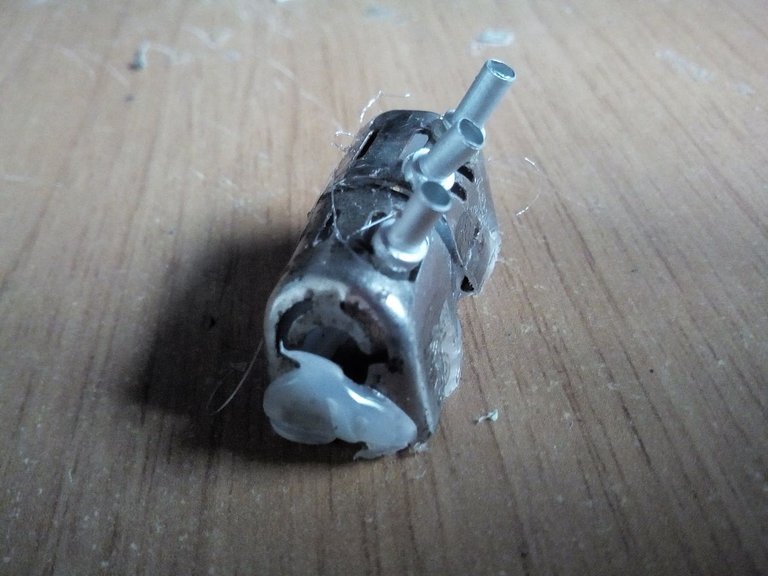
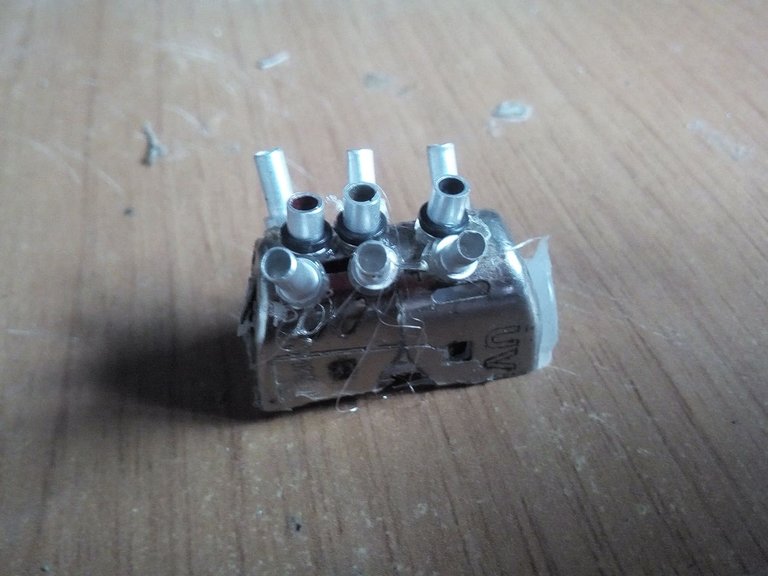
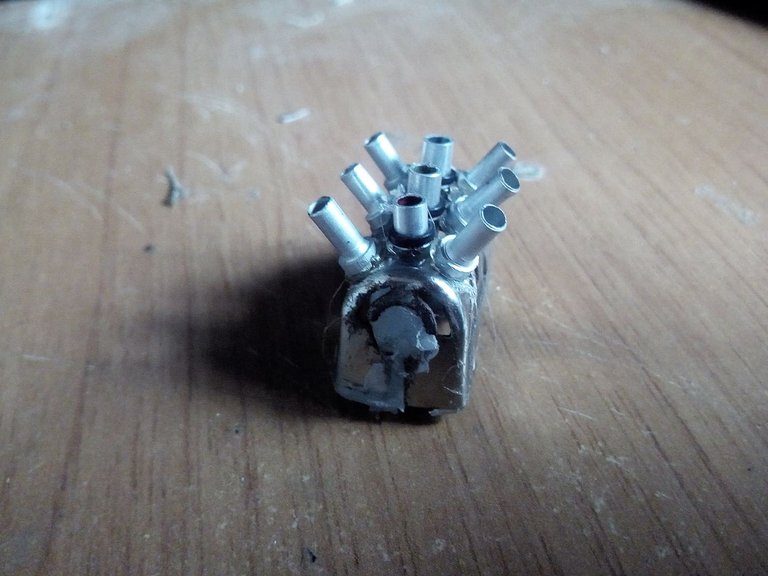
Then we will do my favorite part: The engine. To do this we will use the metal protection that the lighters bring, we will take two of them and join them. Then we will use these small pieces that come inside the gas conductors. We will glue 9 in total, 3 on each side and 3 in the center, as you can see in the image.
Después haremos mi parte preferida: El motor. Para hacerlo usaremos la protección de metal que traen los encendedores, tomaremos dos de ellos y los uniremos. Luego utilizaremos estas piezas pequeñas que vienen dentro de los conductores del gas. Pegaremos 9 en total, 3 en cada costado y 3 en el centro, así como se puede ver en la imagen.

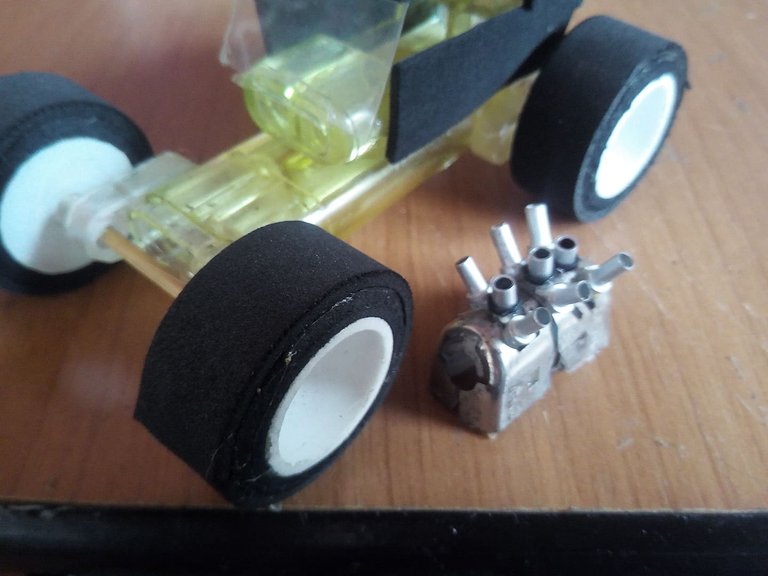
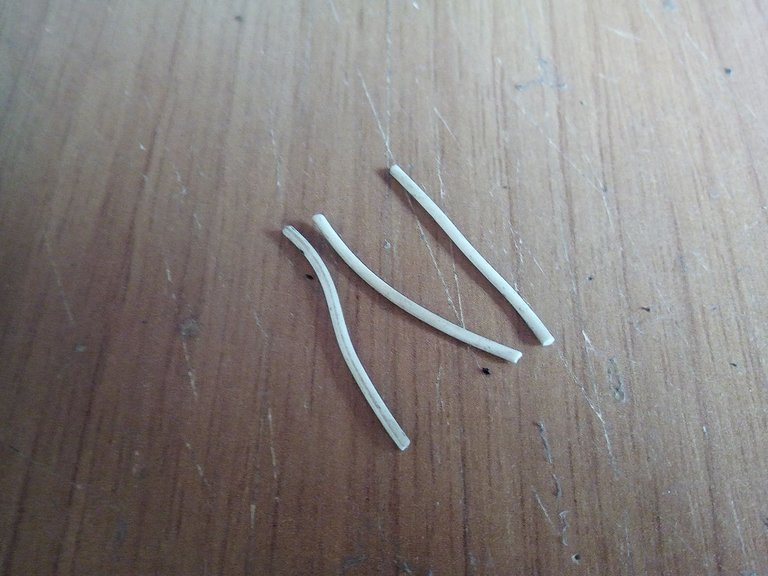
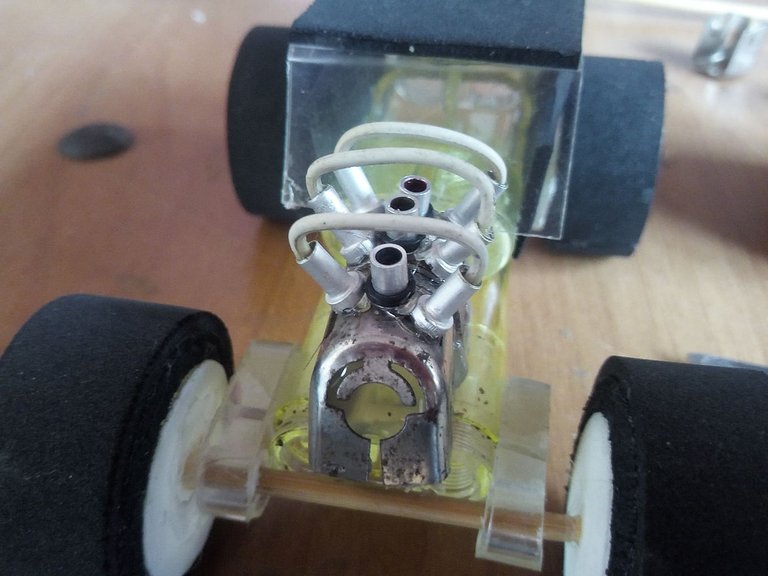
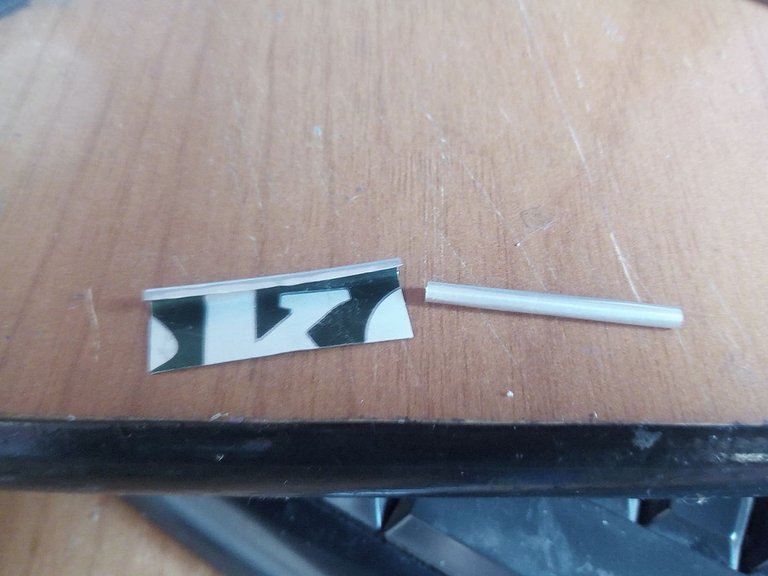
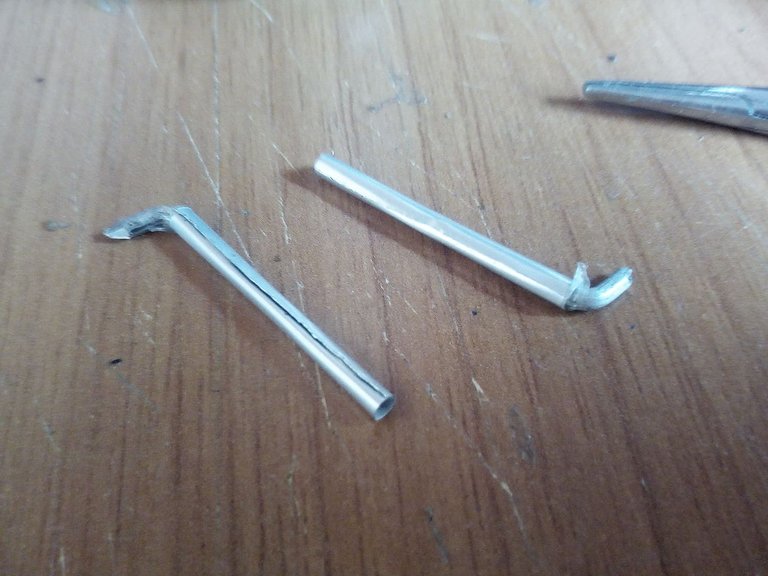
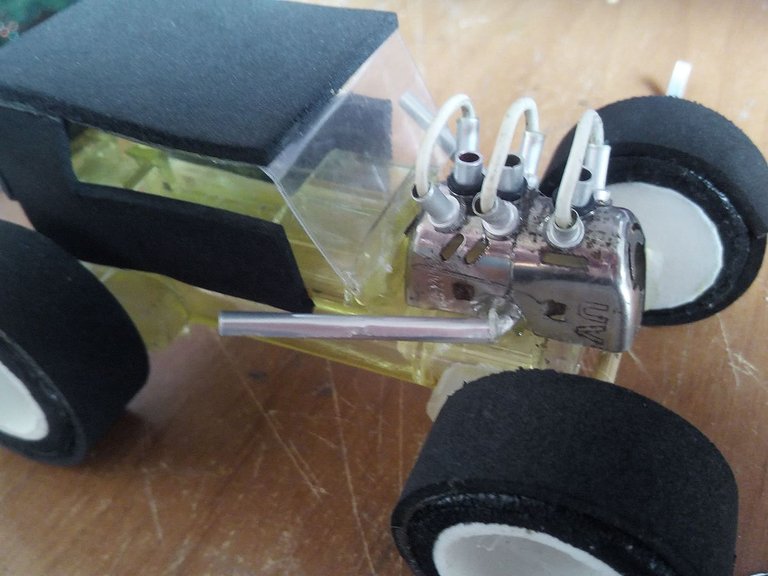
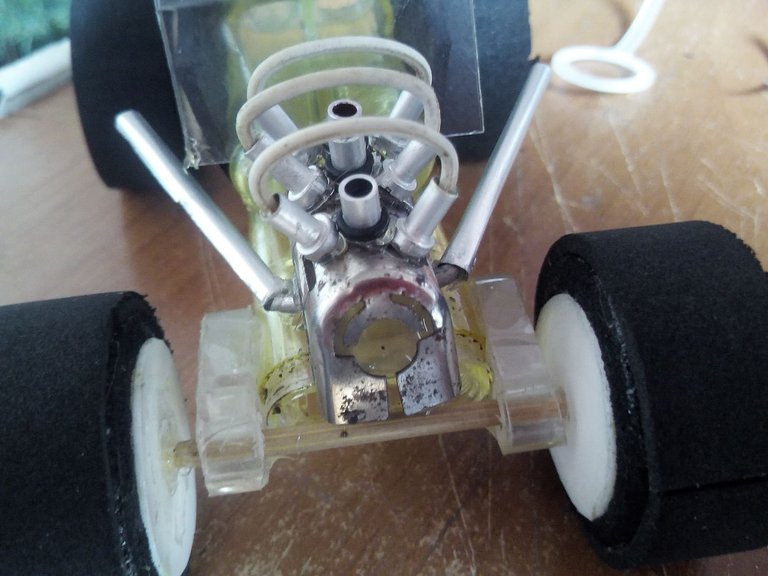
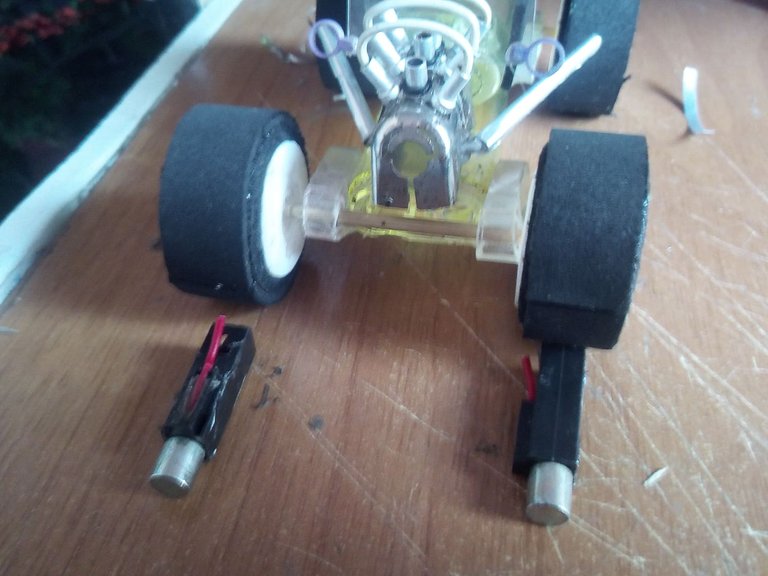
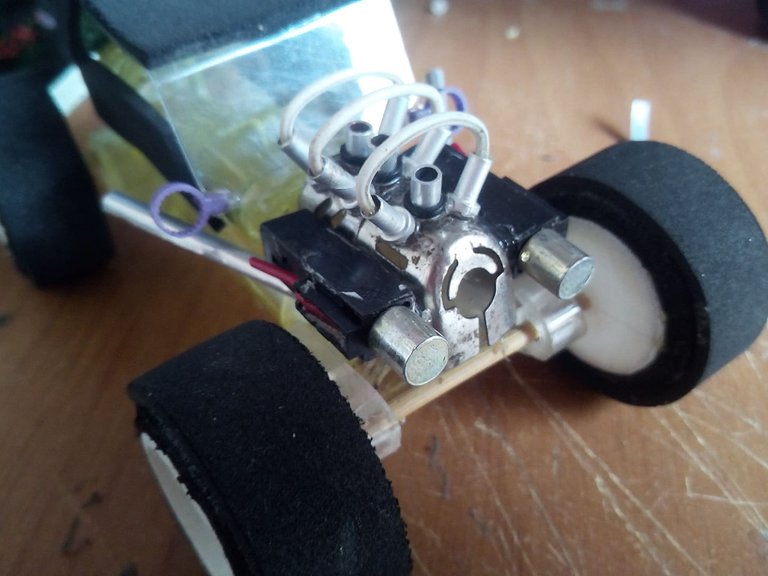
Finally we will add the last details. To the motor we put some pieces of cable from an old cell phone receiver, we cut 3 trias and we put them between the tubes and we assembled them in the corresponding space, then with an aluminum can we make two exhaust tubes for the motor and we will glue them together. on the sides, and finally we will put the headlights, for them we will use the device that the lighters bring that generate the spark of the fire. In this way we will have finished our Hot Rod.
Para finalizar agregaremos los últimos detalles. Al motor le ponemos unos trozos de cable de un viejo auricular de telefono celular, cortamos 3 trias y las colocamos entre los tubos y montamos en el espacio que le corresponde.Luego con lata de aluminio hacemos dos tubos de escape para el motor y los pegaremos en los costados, y por último pondremos los faros, para ellos utilizaremos el dispositivo que traen los encendedores que generan la chispa del fuego. De esta forma habremos terminado nuestro Hot Rod.
 FINAL WORK

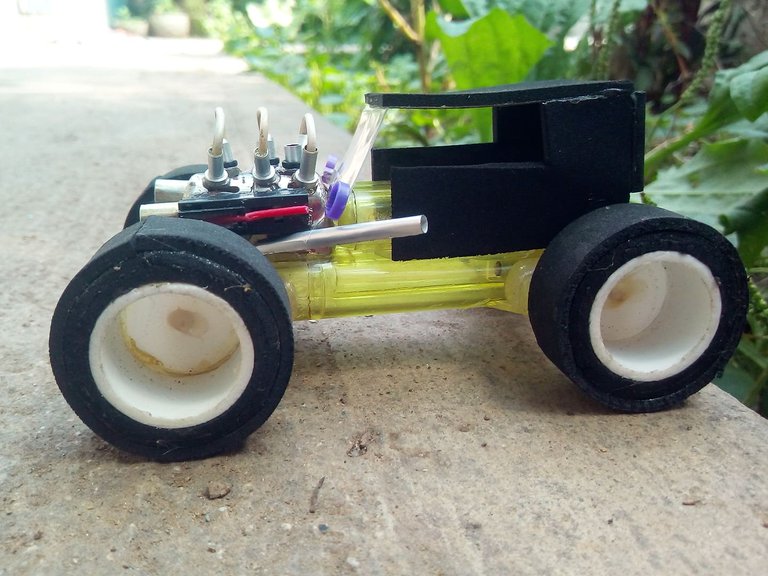
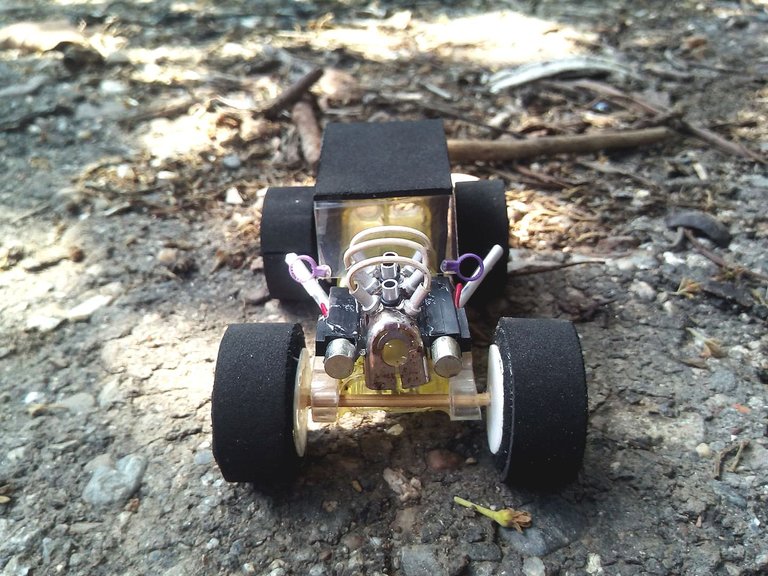
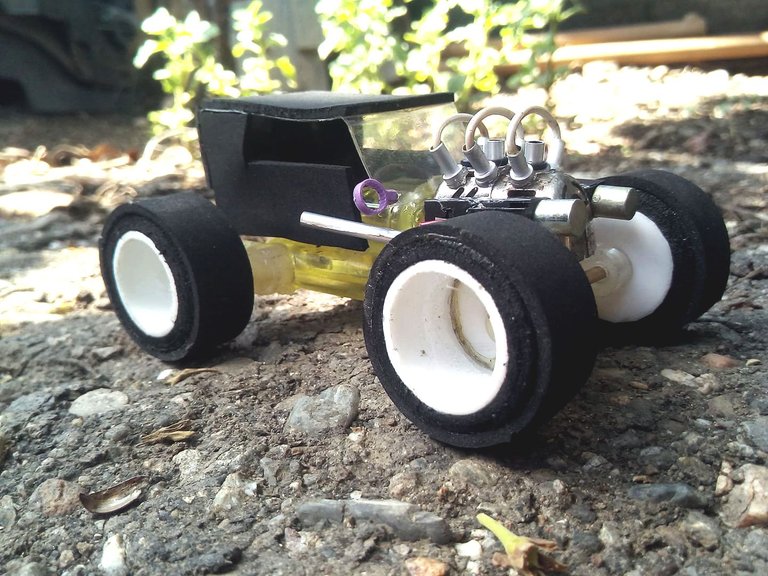
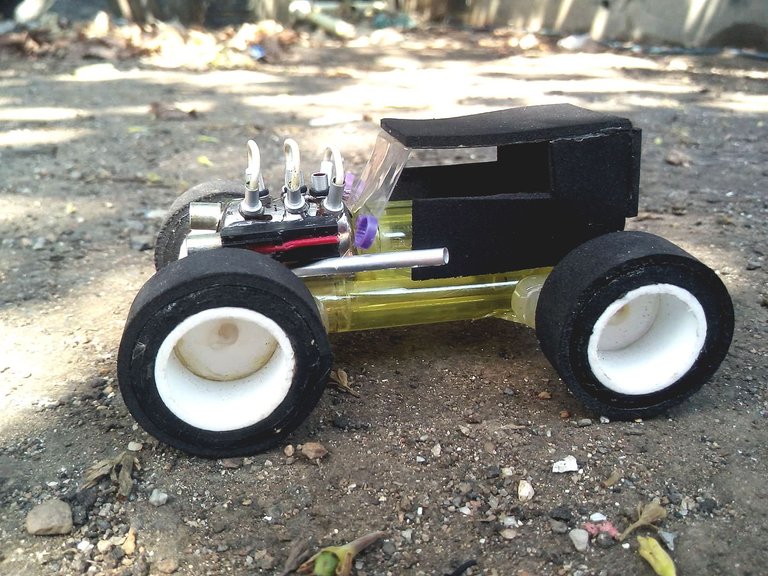
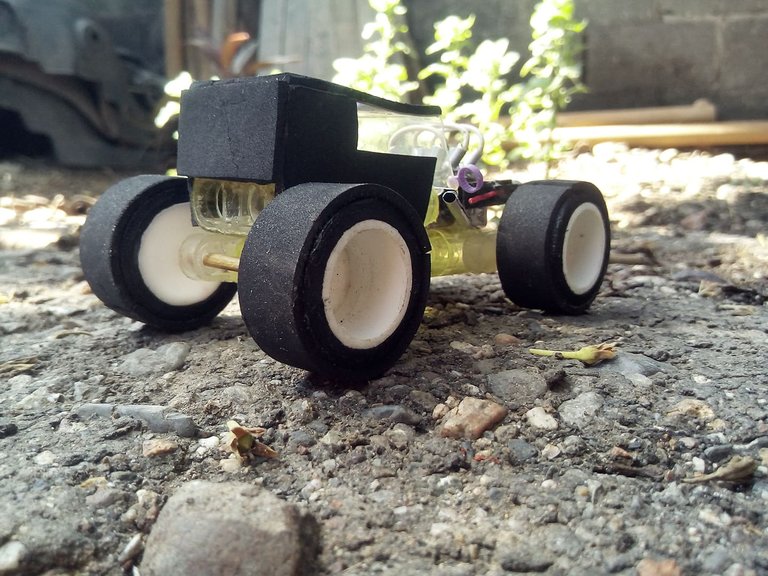
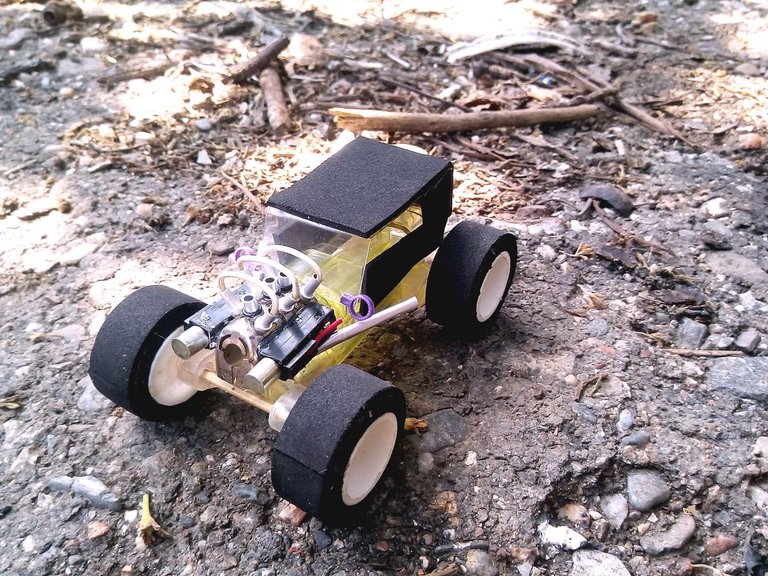
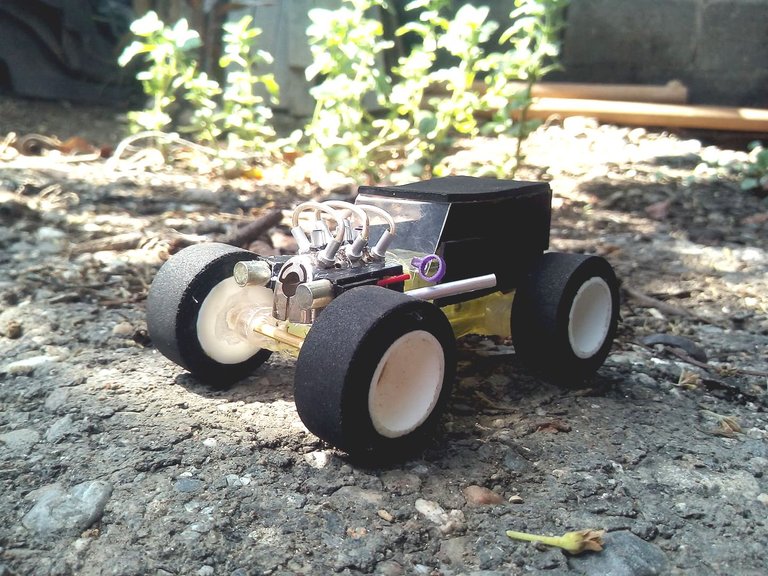
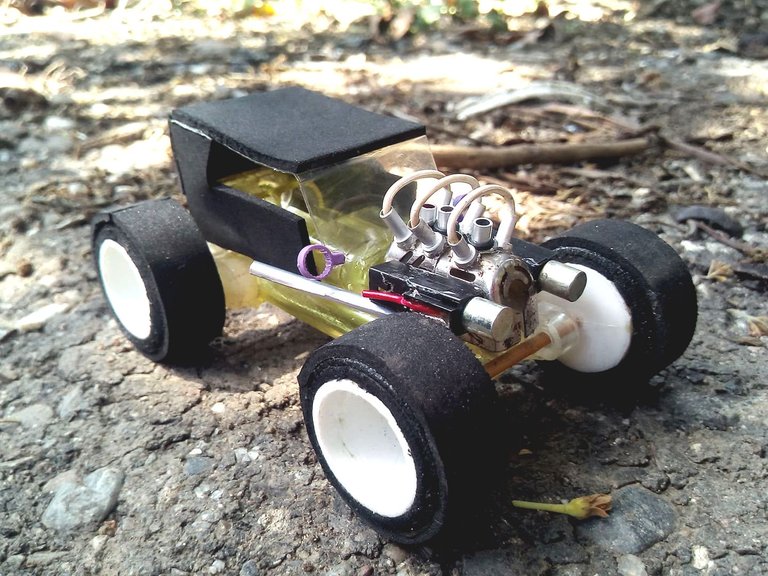
This is how this Hot Rod has been finished, you just need to turn it on and listen to what that powerful engine we made sounds like hehe. Sometimes it is difficult to collect material to make things, despite the fact that people contaminate with garbage, they dispose of it very quickly. So it's hard to find anything other than cardboard. Fortunately I found several lighters and was able to make this car. I hope you liked it, and if that was the case, do not hesitate to comment on how you found it. I say goodbye to you soon and I wish you have a good weekend.
Así ha quedado finalizado este Hot Rod, solo le falta encenderlo y escuchar como suena ese poderoso motor que hicimos jeje. A veces cuesta recolectar material para hacer cosas, a pesar de que las personas contaminen con basura, se deshcen muy rápido de ella. Así que es dificil encontrar algo que no sea cartón. Afortunamente encontré varios encendedores y pude hacer este carro. Espero que les haya gustado, y si así fue no duden en comentar que tal les ha parecido. Me despido hasta pronto y deseo que tengan un buen fin de semana.


