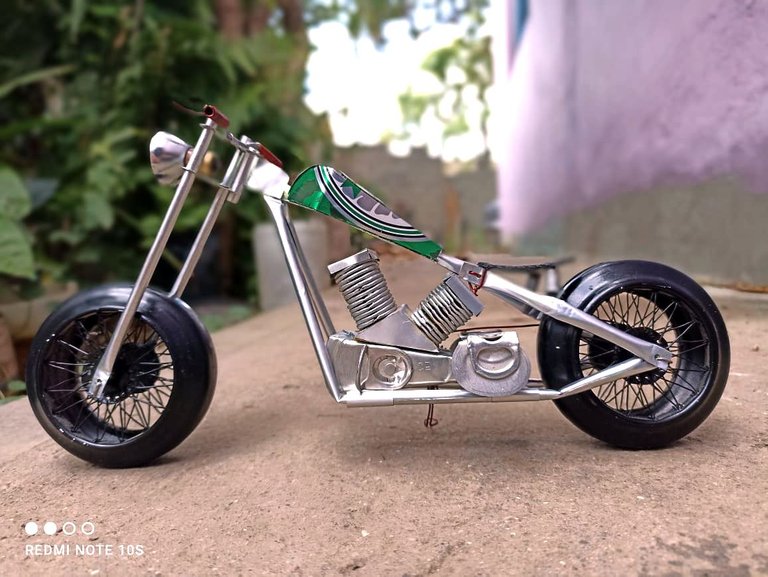
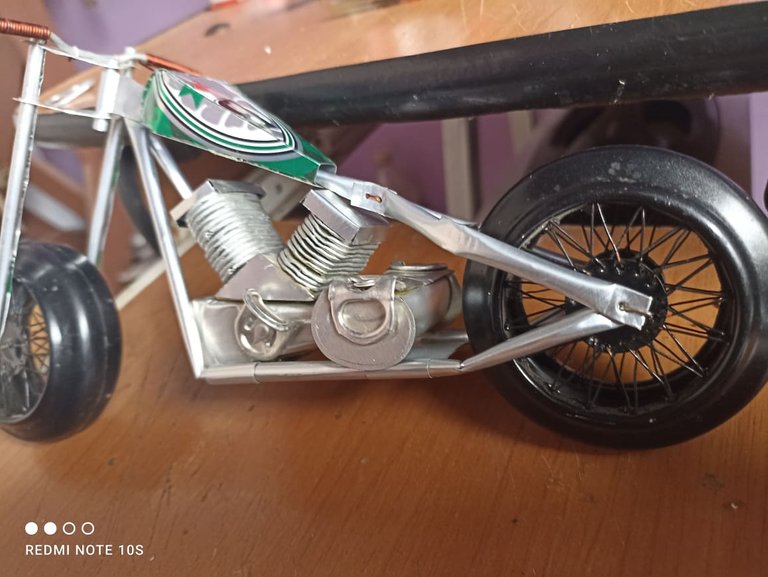
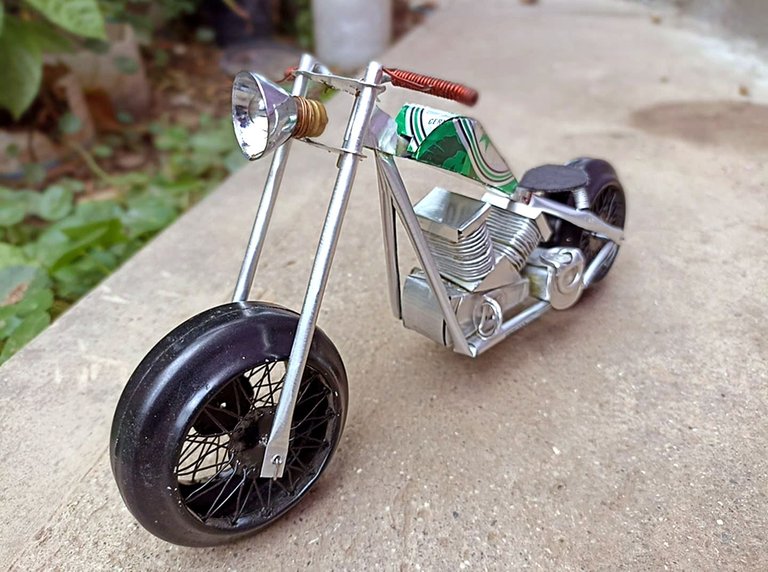
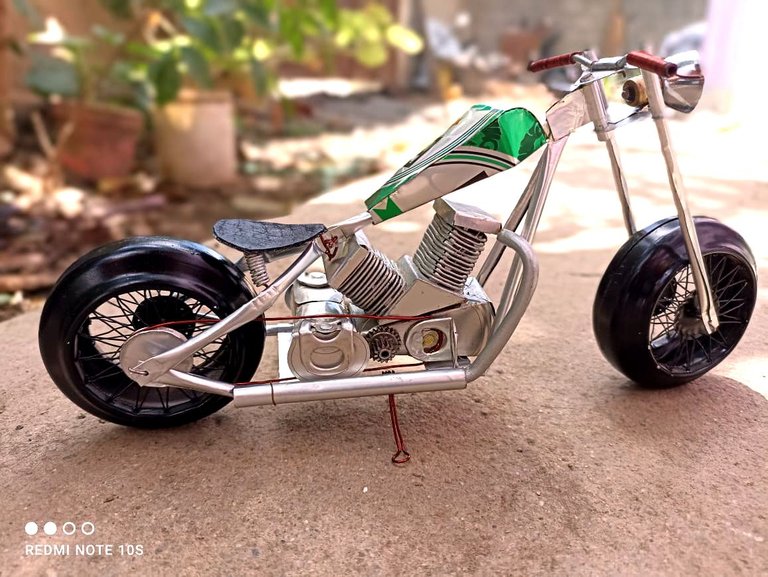
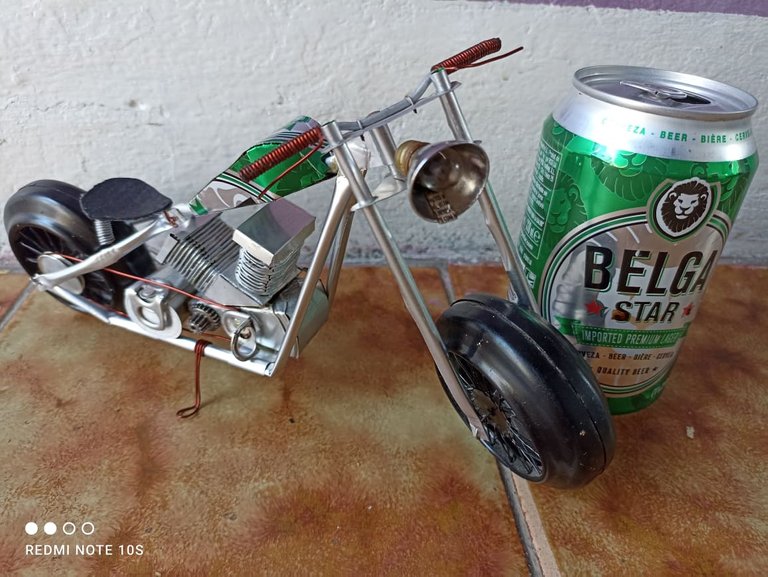
Hello dear friends, I hope you are very well, today I want to share with you another recycling craft, a scale model of a Bobber motorcycle. This model of motorcycles is one of my favorites apart from the choppers and cafe racers, I think it is one of the models that best represents the free spirit of man. This model is made mostly with soda cans, some that I have managed to get thanks to many people who know that I have taken this as a job and that for helping me I have rewarded them by giving away some of the models I have made. I was working on this project for four whole days spending a lot of time on the details to make it very realistic, I hope you like it.
Hola queridos amigos espero que se encuentren muy bien, hoy deseo compartir con ustedes otro trabajo manual de reciclaje, un modelo a escala de una motocicleta Bobber. Este modelo de motos son de mis preferidas a parte de las chopper y las cafe racer, creo que es uno de los modelos que mejor representa el espíritu libre del hombre. Este modelo está hecho en su mayoría con latas de soda, algunas que he logrado conseguir gracias a muchas personas que saben que he tomado esto como un trabajo y que por ayudarme he recompensado obsequiando algunos de los modelos que he realizado. Estuve trabajando en este proyecto por cuatro días enteros dedicándole mucho tiempo a los detalles para hacerla muy realista, espero que les guste.


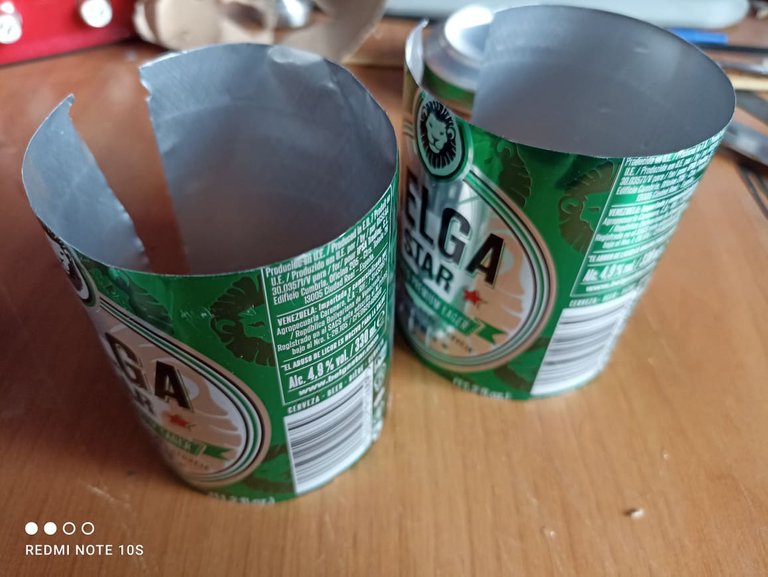
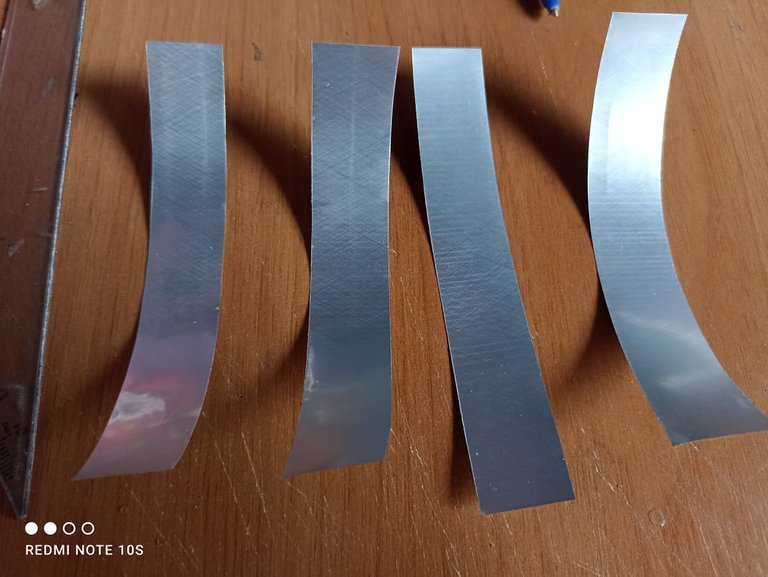
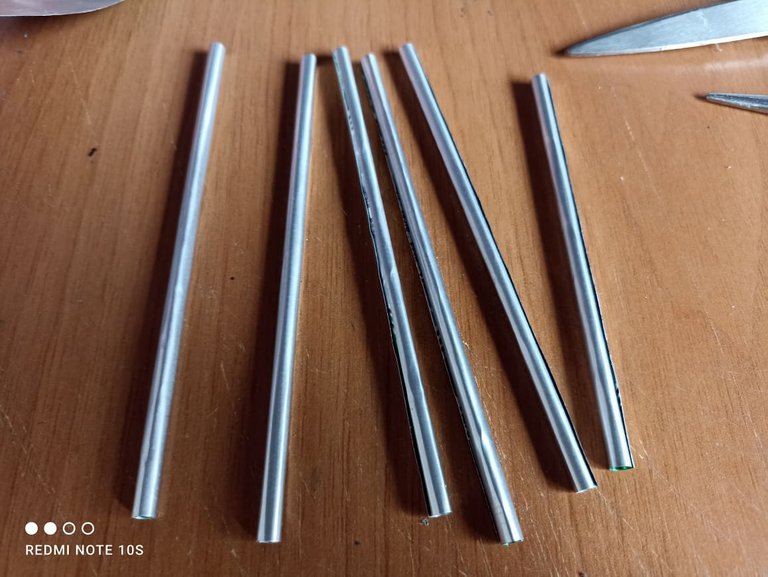
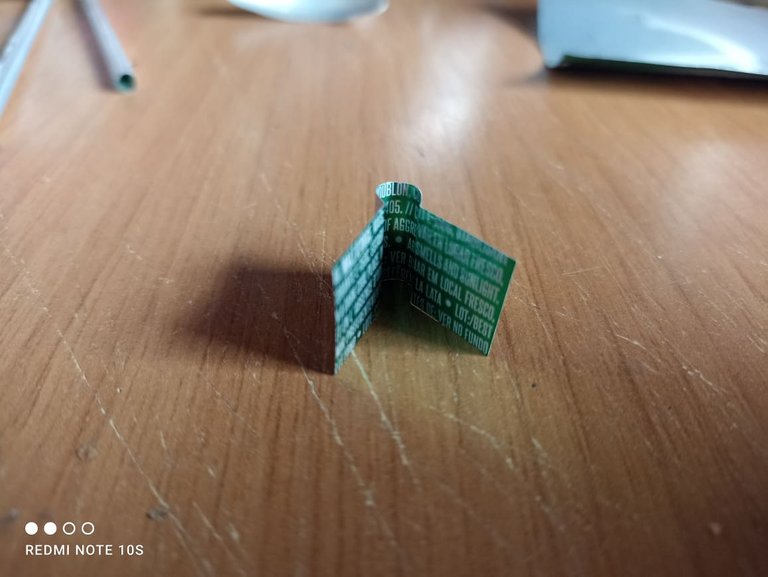
The first step of all is to make the frame of the motorcycle, for that we are going to need two empty cans. Once we have cut them, we will take several strips that measure two centimeters wide, from each strip we will make a tube. We will use these tubes to assemble the frame.
El primer paso de todos es hacer el marco de la motocicleta, para eso vamos a necesitar dos latas vacias. Una vez que las hayamos cortado sacaremos varias tiras que midan dos centímetros de ancho, de cada tira vamos hacer un tubo. Estos tubos los utilizaremos para armar el marco.

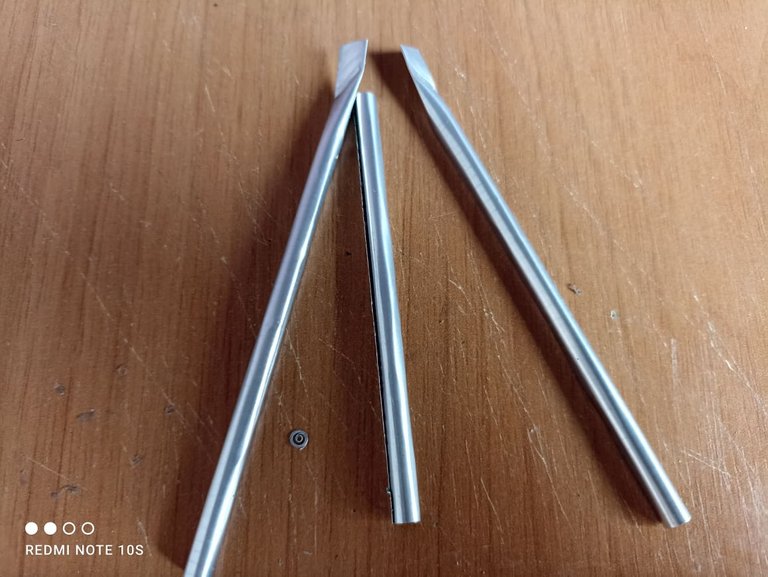


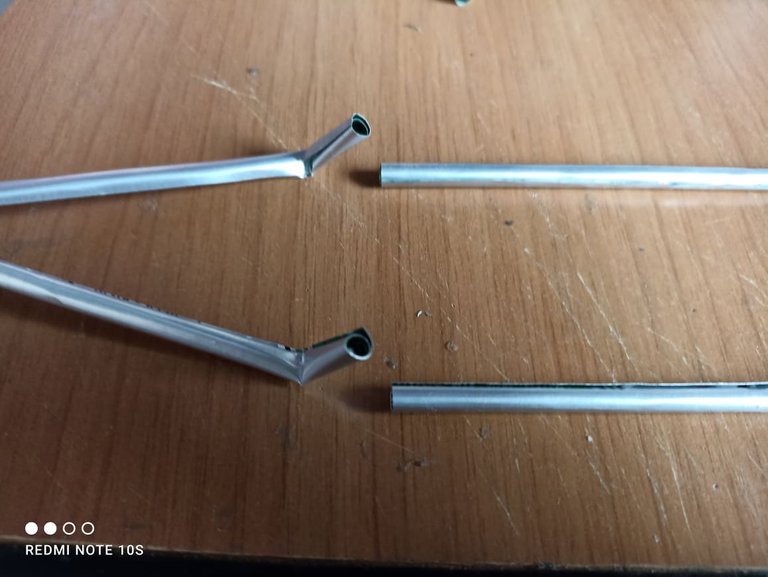
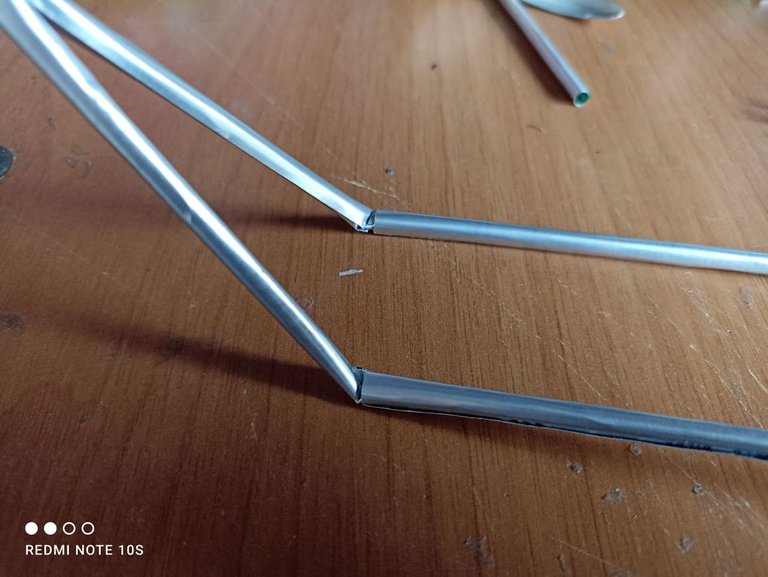
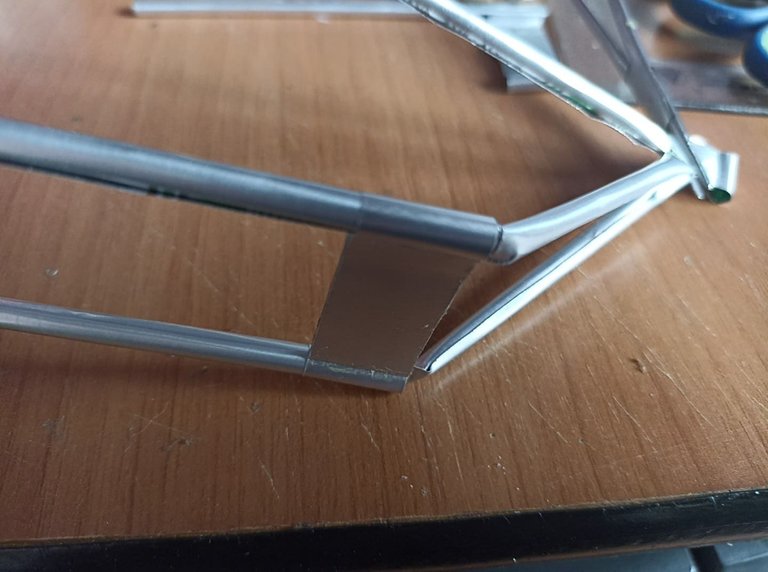
We'll start by putting together the top of the frame, specifically where the gas tank goes. For that we are going to take 3 tubes and join them at the tip, make two in the shape of a triangle and in the middle of them we will place a central tube. That will be the one that will hold the gas tank. Then we will place the part that will serve to join the steering wheel and that is crossed by a hinge, in the lower part, where the motor is held, we are going to bend the ends with tweezers and when we have done it we will introduce two more tubes, these will go in direction to position the rear wheel.
Comenzaremos armando la parte superior del cuadro, específicamente donde va el tanque de gasolina. PAra eso vamos a tomar 3 tubos y los unimos por la punta, hacemos dos en forma de triangulo y en medio de ellos colocaremos un tubo central. Ese será el que sostendrá el tanque de gasolina. Luego colocaremos la parte que servira para unir el volante y que va atravesado por una bisagra, en la parte inferior, donde va sostenido el motor, vamos a doblar las puntas con unas pinzas y cuando lo hayamos hecho introduciremos dos tubos más, estos iran en dirección para colocar la rueda trasera.
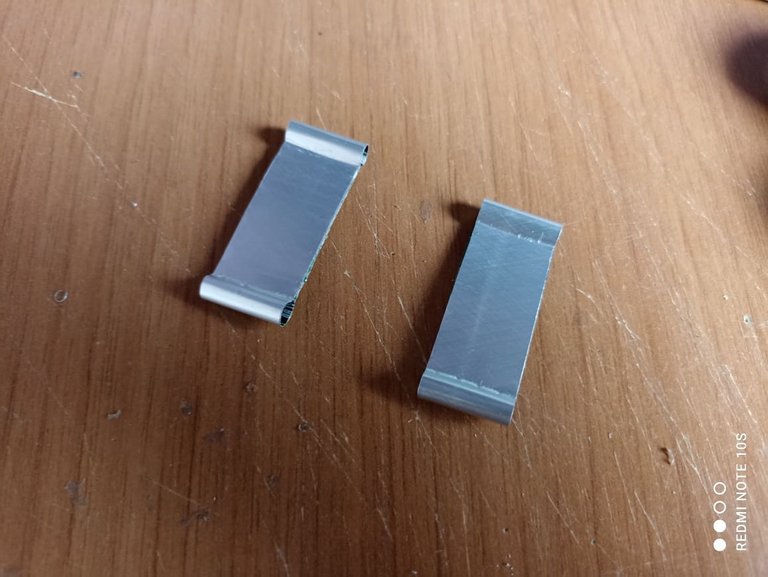
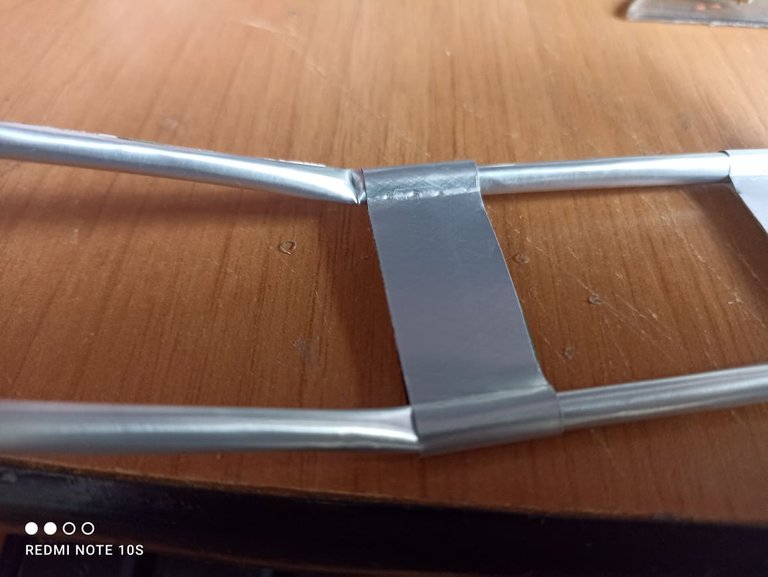
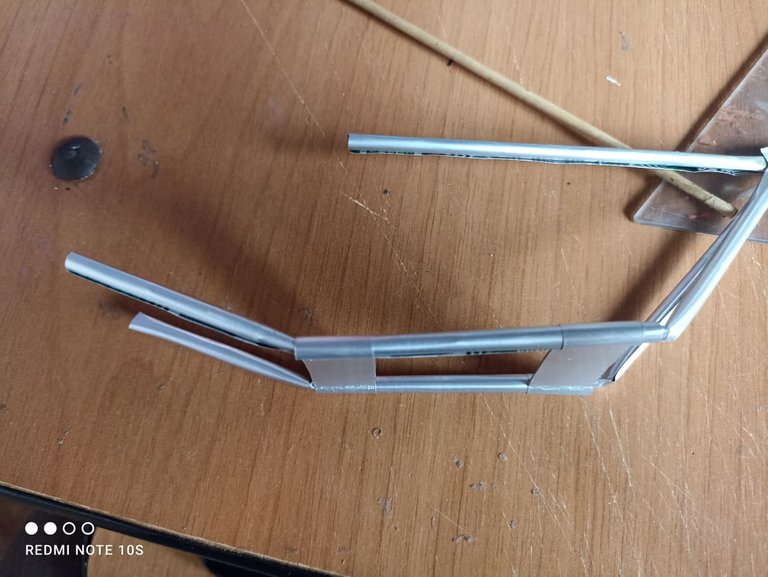


To finish with the frame we will make two rings with two holes on each side, they will serve to keep the tubes fixed and also to be the base where we will later place the motor. We introduce the first ring until the first fold that we made, then we place the second ring and measure 7 centimeters between them, then in the final part of the tubes we will make other folds. Then we will take two more tubes and we will bend them and make the shape of a fork, we will place them from the central tube of the gas tank to the two that are in the lower part, so we will have completed the frame of the motorcycle.
Para finalizar con el marcoharemos dos anillos con dos agujeros por cada lado, nos serviran para mentener fijos los tubos y también para ser la base donde más adelante colocaremos el motor. Introducimos el primer anillo hasta el primer doblez que hicimos, luego colocamos el segundo anillo y medimos 7 centímetros entre ambos, luego en la parte final de los tubos haremos otros doblez. Luego tomaremos dos tubos má sy los doblaremos y haremos la forma de una horquilla, los colocamos desde el tubo central del tanque de gasolina hasta los dos que estan en la parte de abajo, así habremos completado el marco de la motocicleta.
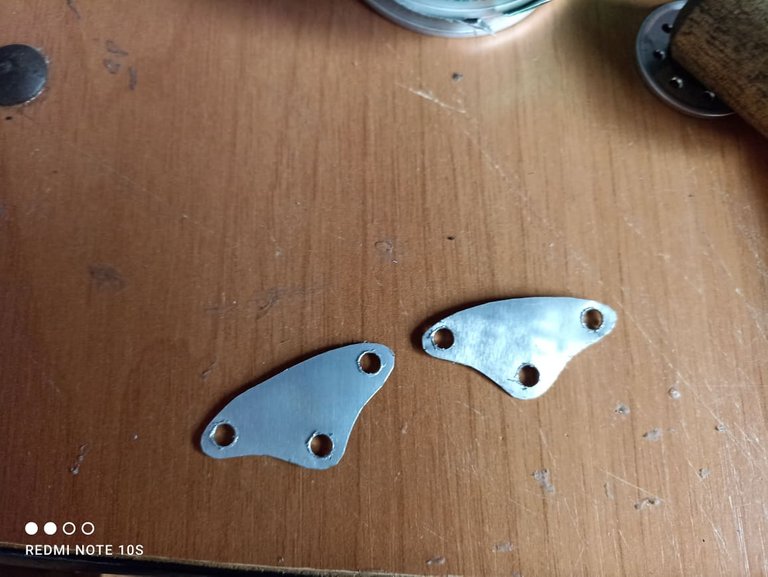
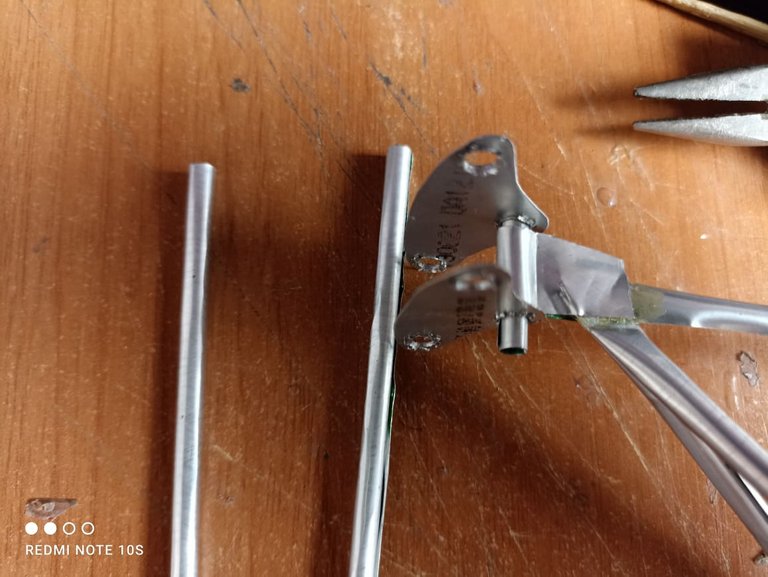
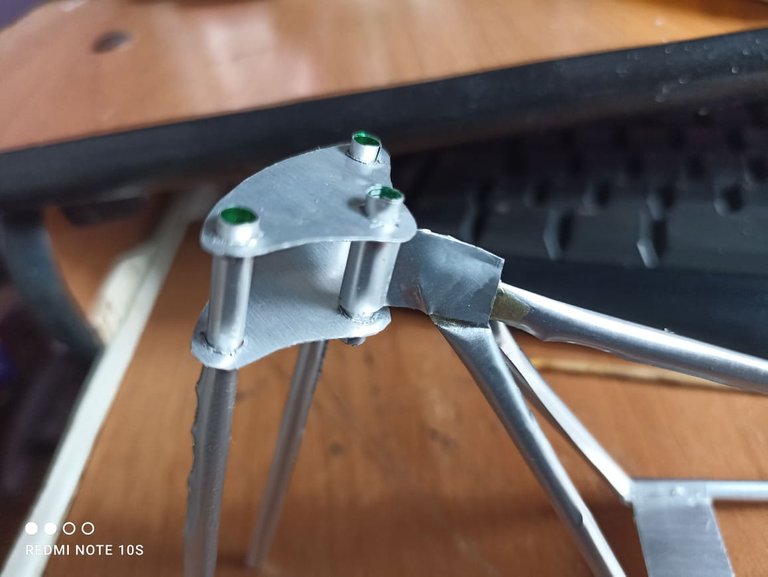
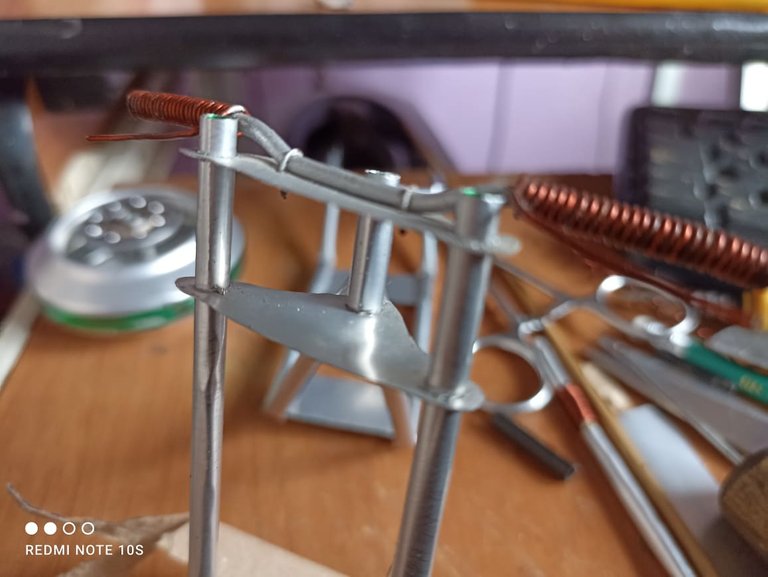
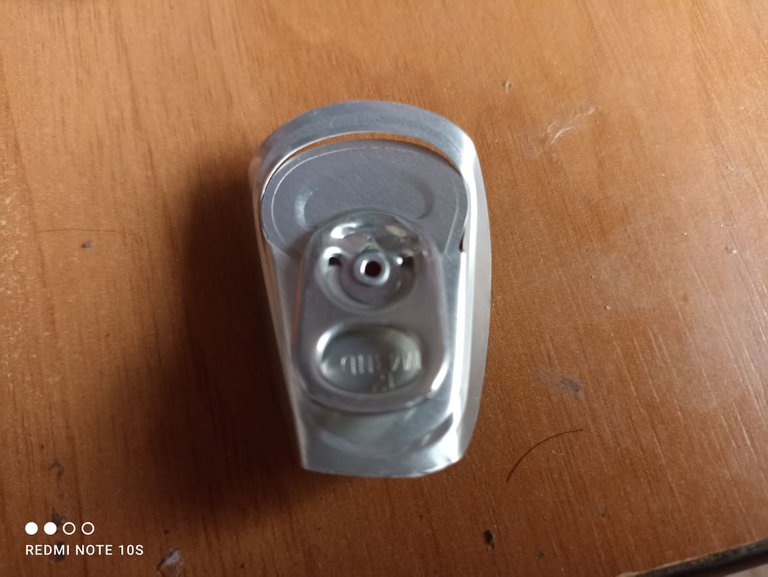
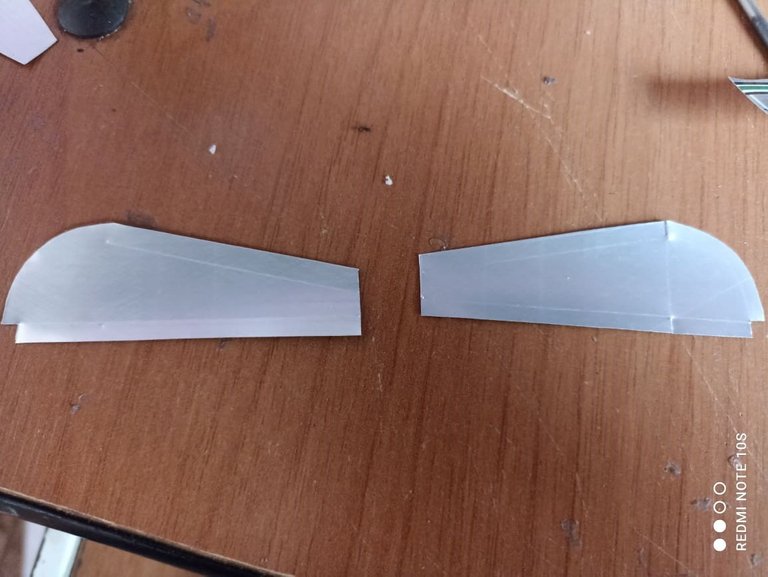
Now we will place a very important part, it is the steering wheel area. First we will make the bases of the steering wheel, we will use the base of the can and we will remove that metal that is aluminum but is thicker, we will take out two pieces, I have drawn them like this in a simple way, after drawing them we will make 3 holes. The hole in the center will be crossed by a small tube and will serve to join the rest of the frame, then in the other two holes we put two long tubes that will be the fork for the front wheel. As a steering wheel we will use a thick wire and we will give it the shape we want, the bobbers use different kinds of steering wheel I made the simplest one, and for the brake handles I used copper wire wound on the steering wheel.
Ahora colocaremos una parte muy importante, se trata del área del volante. Primero haremos las bases del volante, utilizaremos la base de la lata y retiraremos ese metal que es aluminio pero es más grueso, sacaremos dos piezas, yo las he dibujado así de una manera sencilla, luego de dibujarlas haremos 3 agujeros. El agujero del centro ira atravesado por un peqeuño tubo y servirá par aunir al retso del cuadro, luego en los otros dos agujeros metemos dos tubos largos que serán la horquilla para la rueda delantera. Como volante usaremos un alambre grueso y le daremos la forma que queramos, las bobber usan distintas clases de volante yo hice el más sencillo, y para las manillas de freno usé alambre de combre enrrollado en el volante.
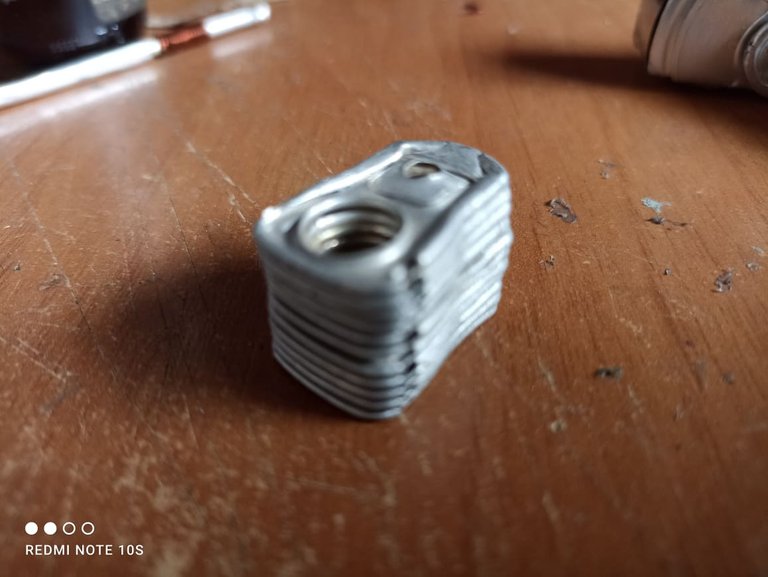

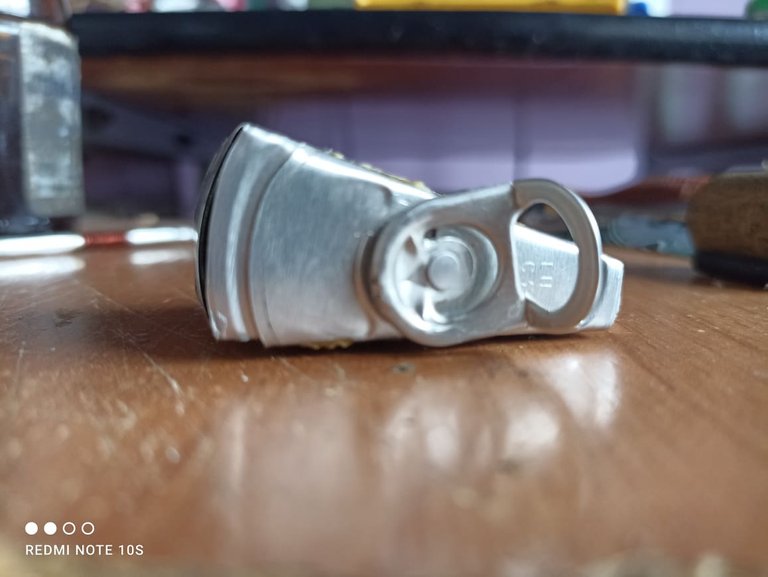
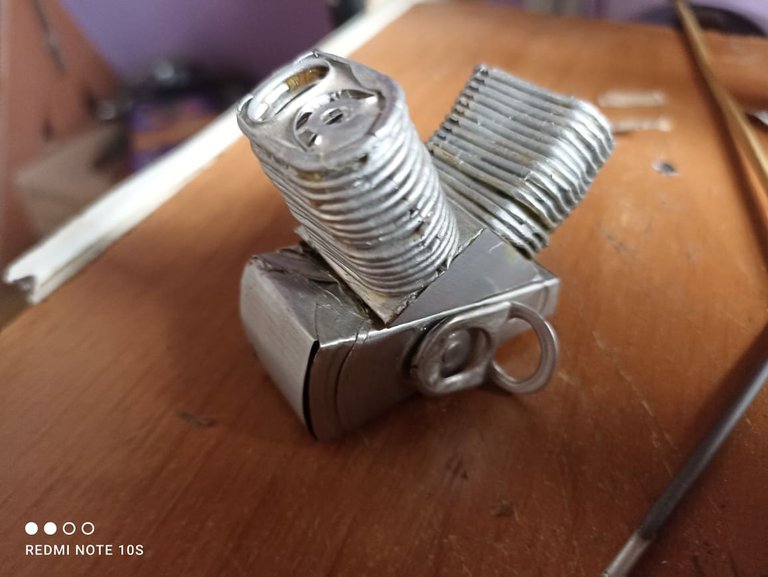
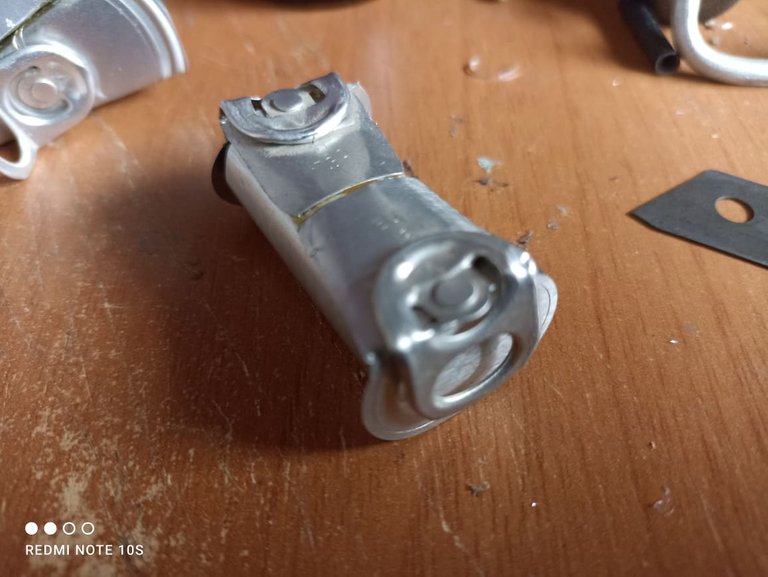
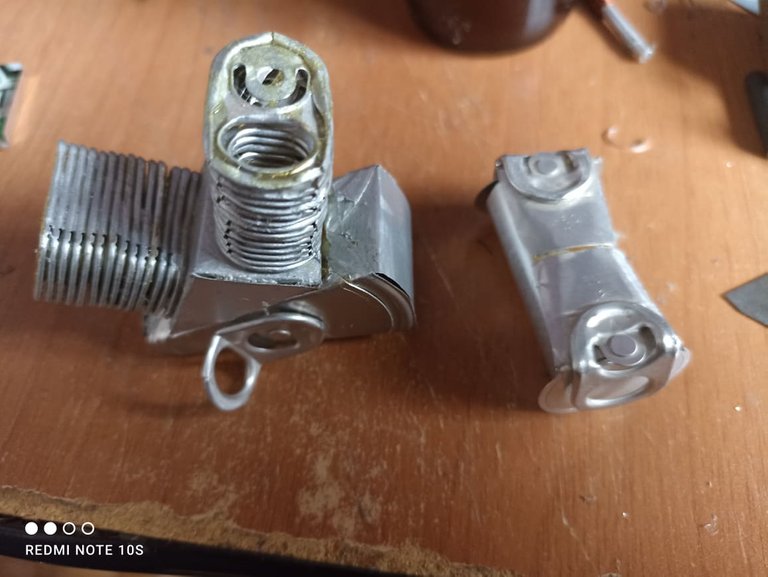
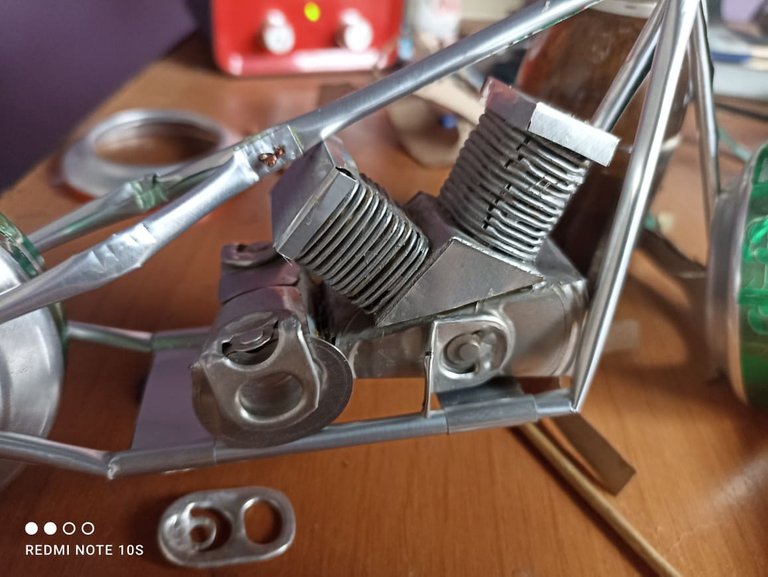
Now we go with the whole engine area. We will use the security rings that the cans bring and we will make two towers, I used 15 rings for each tower, we join them with glue and then we make a base, which can be in the shape of a triangle. Next we will take two covers where these rings come from, we will fold them and join them with an aluminum strip between them, on this piece we will place the ring towers that we made, then we add another accessory that can be freely imagined, I did it with two caps more and let the part of the rings show without taking them off. When we have assembled the entire engine, we will introduce it little by little in the center of the motorcycle frame.
Ahora vamos con toda el área dle motor. Utilizaremos los anillos de seguridad que traen las latas y haremos dos torres, yo utilicé 15 anillos para cada torre, los unimos con pegamento y luego hacemos una base, que puede ser en forma de triángulo. Seguidamente tomaremos dos tapas en donde vienen estos anillos, las doblaremos y las uniremos con una tira de aluminio entre ellas, sobre esta pieza colocaremos las torres de anillos que hicimos, despues agregamos otro accesorio que puede ser a libre imaginación, yo lo hice con dos tapas más y dejé que se vea la parte de los anillos sin quitarselos. Cuando hayamos armado todo el motor lo introduciremos poco a poco en el centro del marco de la motocicleta.
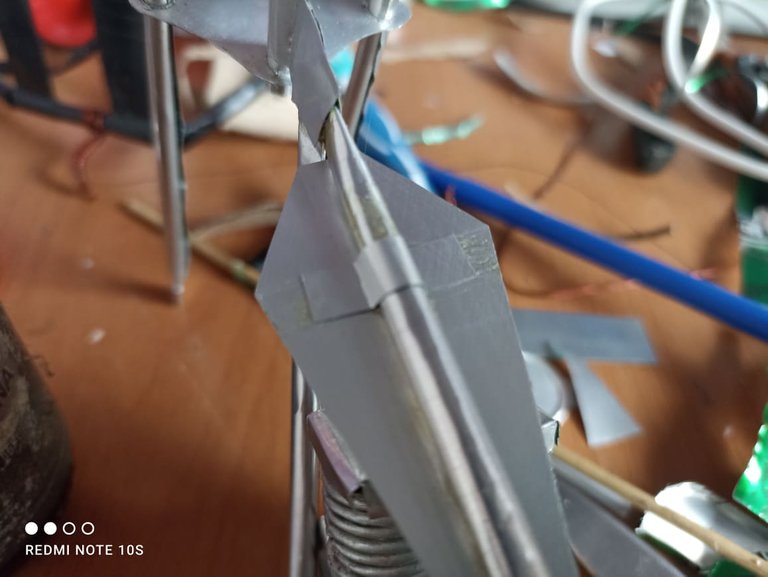
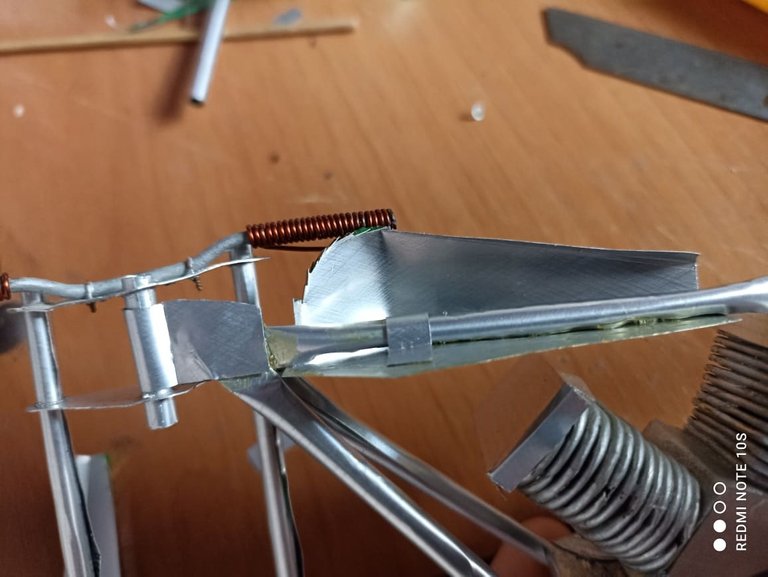

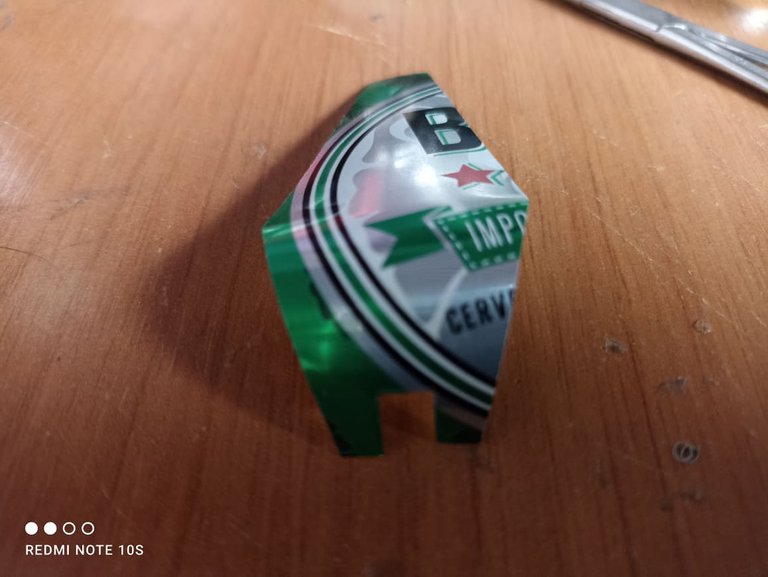
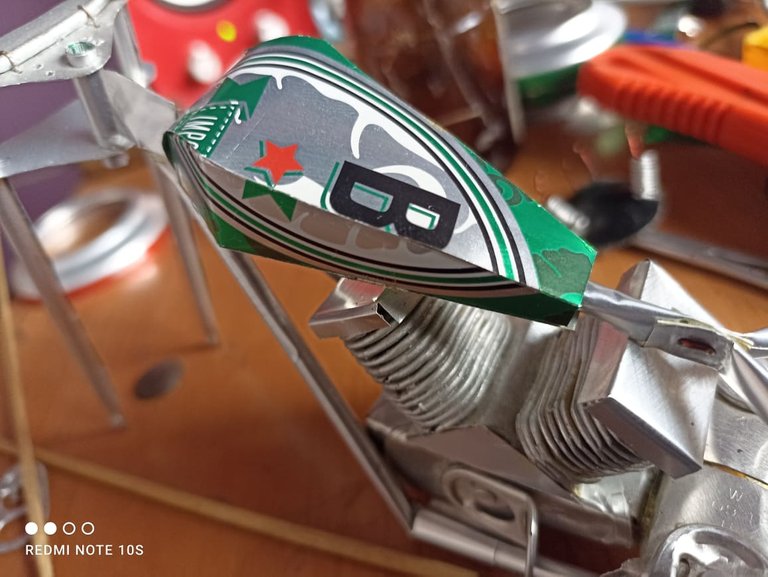
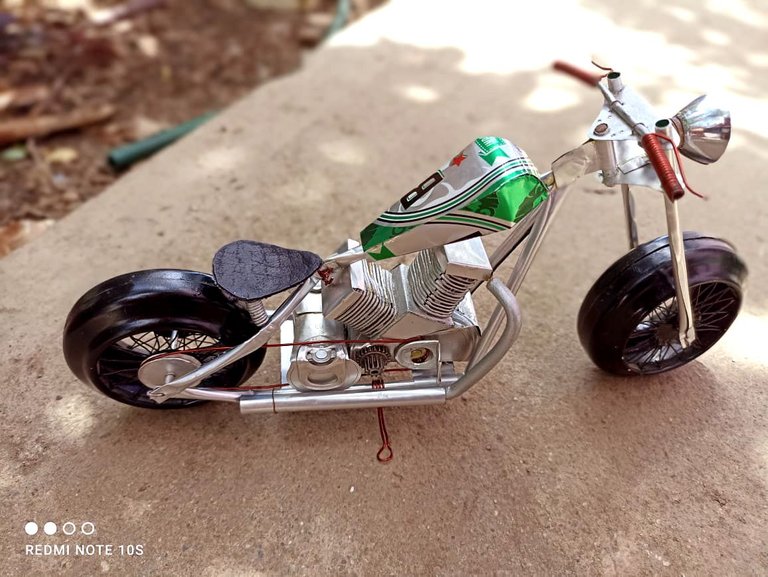
We will make the gas tank with 4 pieces, the base that is attached to the tube measures centimeters long, by 2.8 centimeters wide. On each side we will make two pieces with the same length measurements but width will measure 5 millimeters at the end of the tank. and then we will place the top cover that will measure the same as the base. This is how the tank for gasoline would be made.
El tanque de la gasolina lo ahremos con 4 piezas, la base que está unida al tubo mide centimetros de largo, por 2,8 centímteros de ancho. En cada costado haremos dos piezas con las mismas medidas de largo pero de ancho medirá en el final del tanque 5 milímteros. y luego colocaremos la tapa superior que medirá igual que la base. Así nos quedaría hecho el tanque para la gasolina.
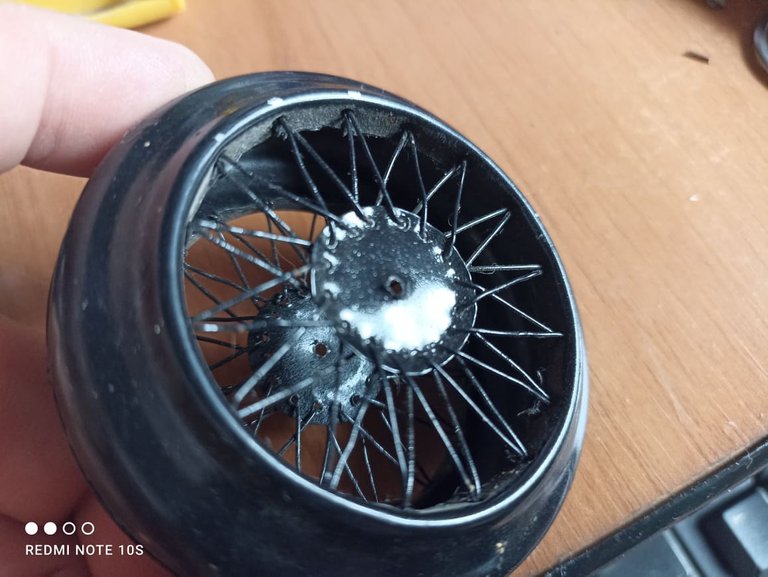
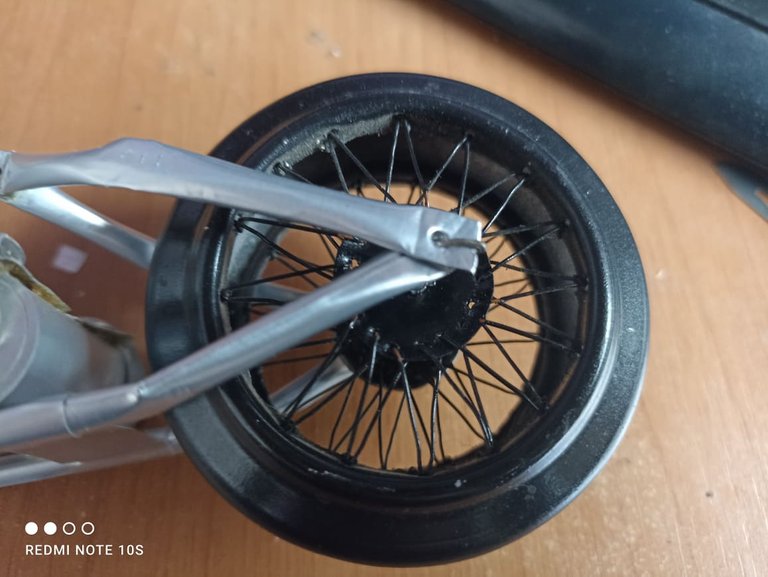
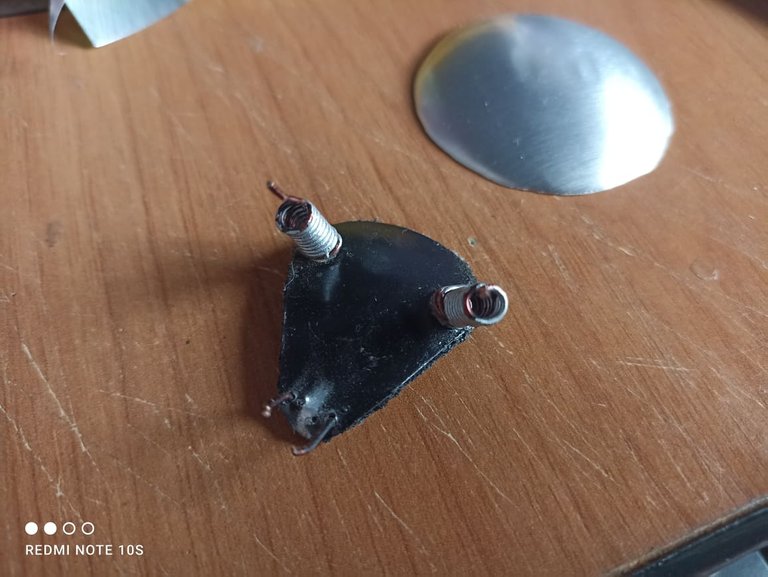
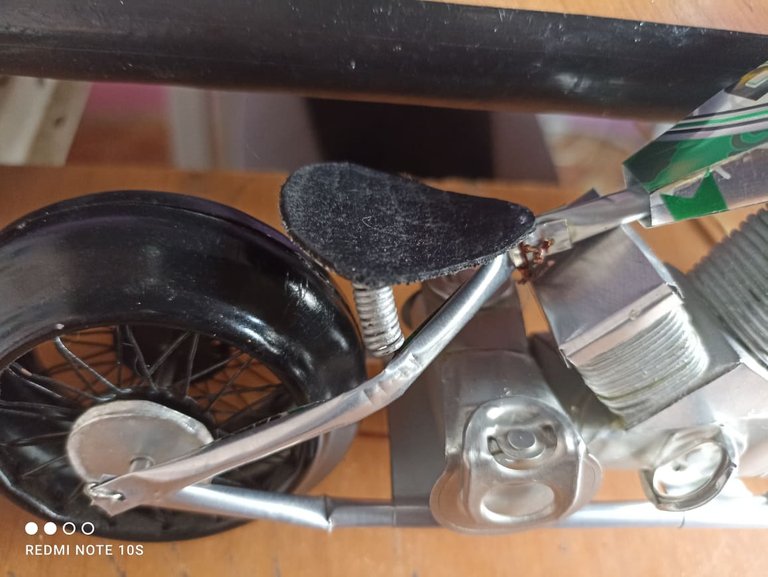
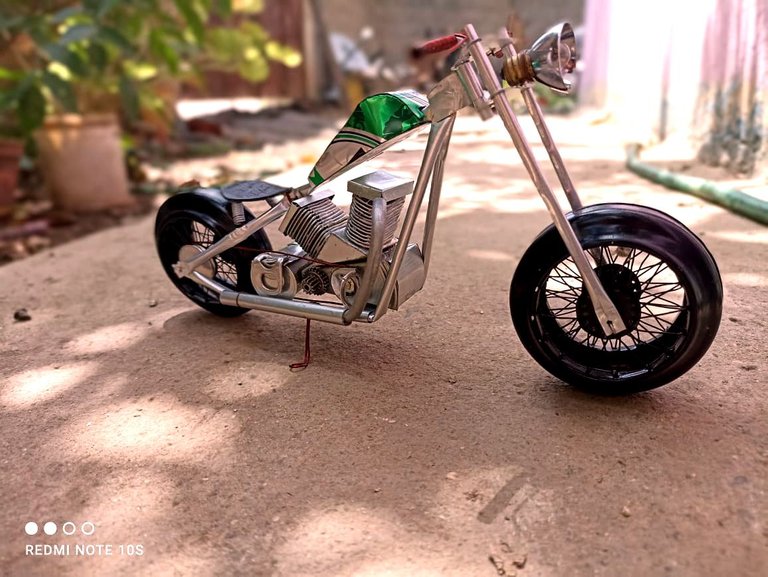
To finish with the construction of this Bobber motorcycle we will make the wheels, in this case I used some wheels that I made many years ago for a project that had occurred to me but I never carried out. These wheels were for an old car, that's why I made the details like an old wheel, since they are big and they were painted black I thought they would look good on this motorcycle, they are made with the base of soda cans and the spokes are made with fine wired copper. Then we also added the seat, which I did with the circular part of the base of the can since it is a harder material and I covered it with synthetic leather, I put copper on the bottom in the form of a spring and then I installed the seat on the picture and in this way it has been finished.
Para finalizar con la construcción de esta moto Bobber haremos las ruedas, en este caso utilicé unas ruedas que hice hace muchos años para un proyecto que se me había ocurrido pero nunca llevé a cabo. Estas ruedas eran par aun auto antiguo, por eso hice los detalles como una rueda antigua, como son grandes y estaban pintadas de negro pensé que se verían bien en esta motocicleta, están hechas con la base de las latas de soda y los radios estan hechos con cobre de cableado fino. Luego agregamos también el asiento, que lo hice con la parte circular de la base de la lata ya que es un material mas duro y la forré con cuero sintetico, puse en la parte de debajo cobre en forma de resorte y luego instale el asiento en el cuadro y des esta manera ha quedado finalizada.
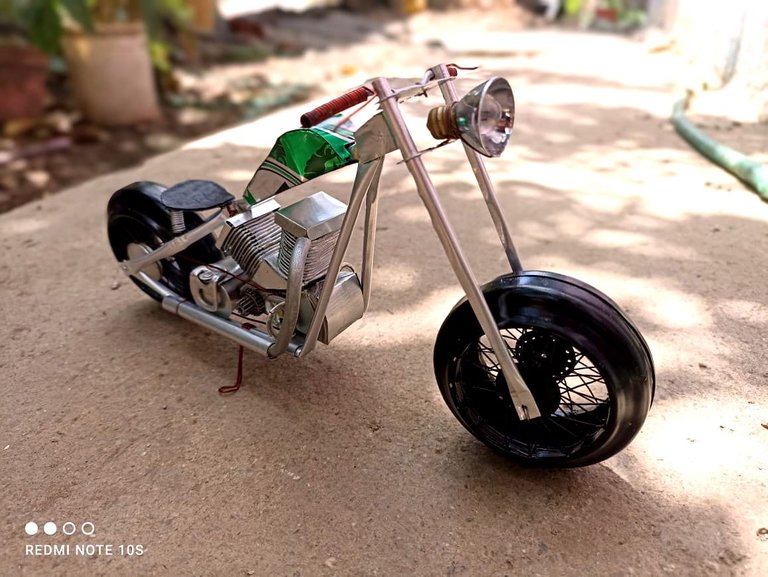
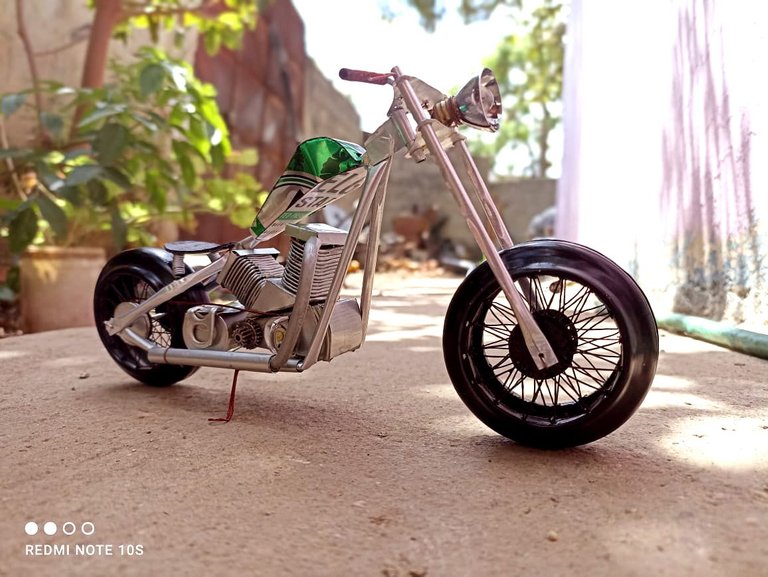
I forgot to mention that I also added a flashlight bulb to make the headlight and also added a copper exhaust pipe. This is how this model has been made, I apologize for being so long but I wanted to be very specific in the explanation. I hope you liked it, do not forget to comment your opinion that is always welcome. I say goodbye soon. Greetings.
Se me olvidó decir que agregué tambien un bombillo de linterna para hacer el faro de luz y también agregue un tubo de escape hecho con cobre. Así ha quedado este modelo realizado, pido disculpas por extenderme tanto pero quise ser muy específico en la explicación. Espero que les haya gustado, no olviden comentar su opinión que siempre es bienvenida. Me despido hasta pronto. Saludos.


