Hello friends, I hope you are very well, today I want to show you how I made a lego style Boba Fett figure. I really like collectibles, especially Star Wars, so I took on the challenge of making a figure of the most famous bounty hunter in the galaxy far, far away. I designed the templates following a normal lego model, and the rest was putting easy things on it until the figure was achieved. Hope you like.
Hola amigos, espeor que se encuentren muy bien, hoy quiero mostrarles como hice una figura de Boba Fett estilo lego. Me gustan mucho los coleccionables, especialmente si son de Star Wars, así que tomé el desafío de hacer una figura del cazarecompensas más famoso de la galaxia muy muy lejana. Diseñé las plantillas siguiendo un modelo de un lego normal, y el resto fue ponerle cosas fáciles hasta lograr la figura. Espero que les guste.

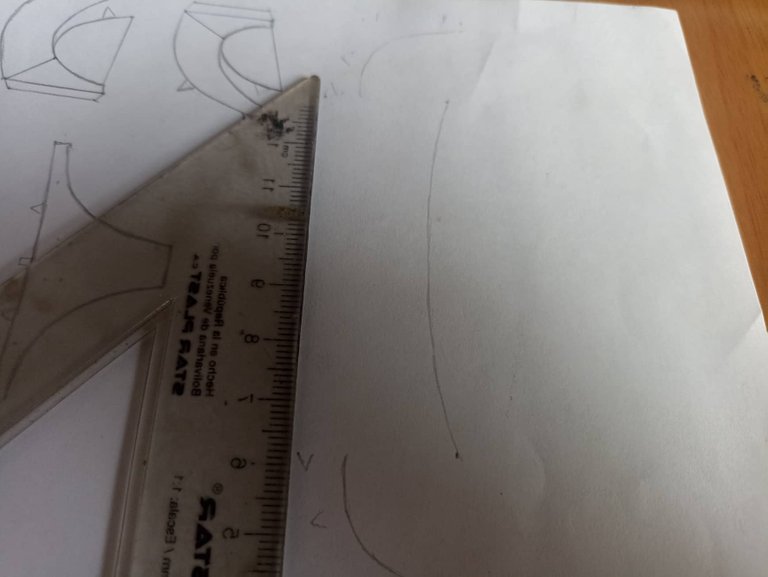
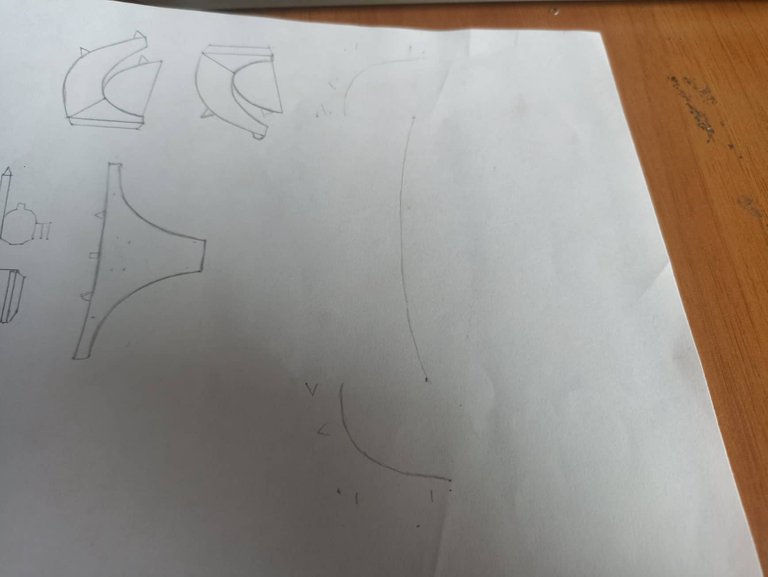
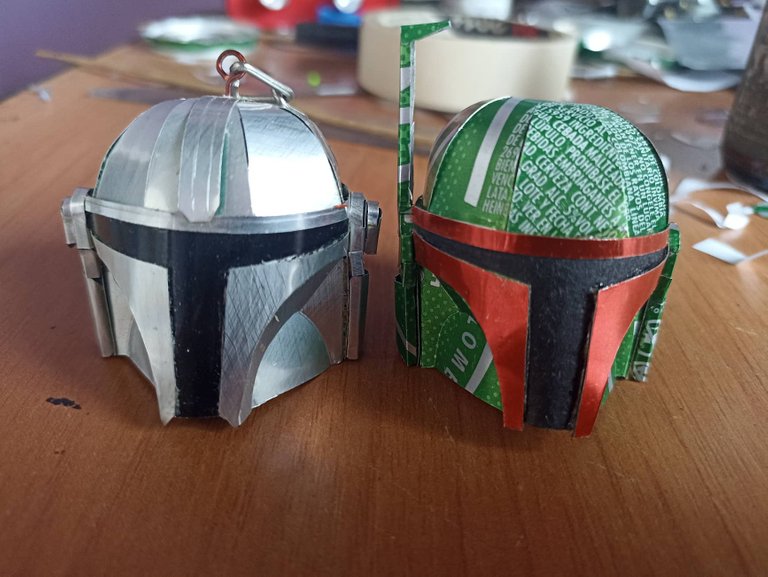
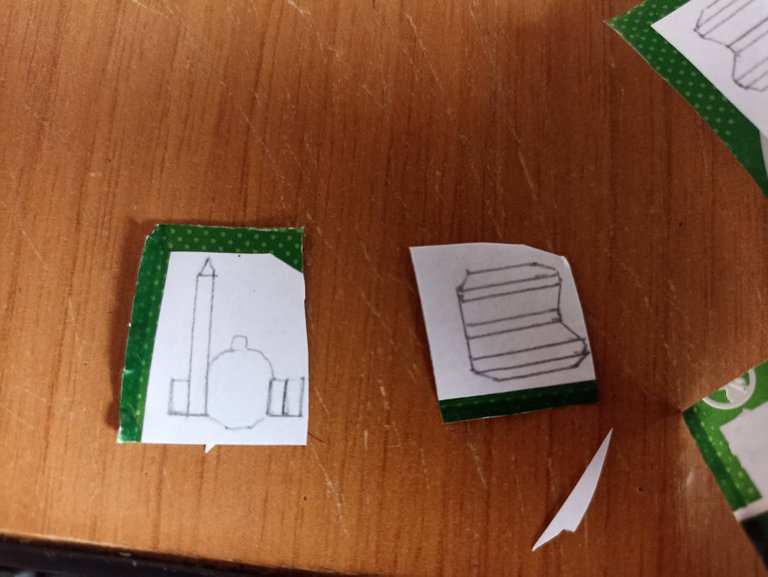
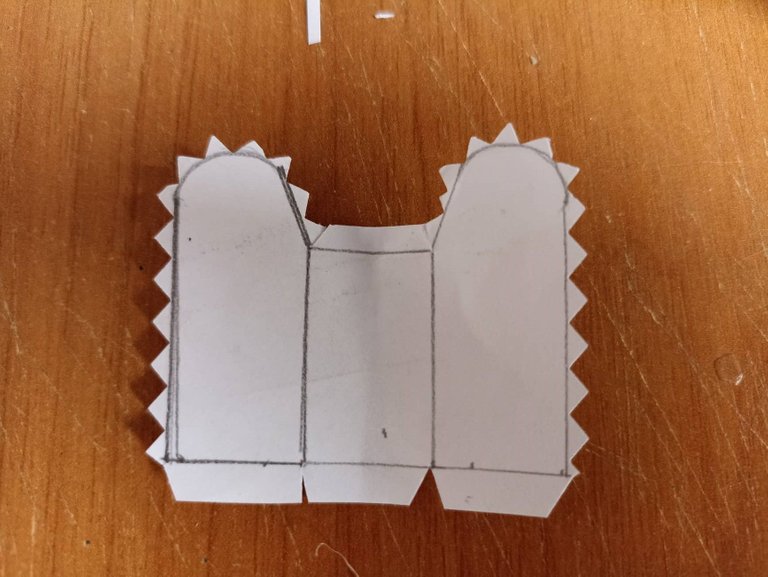
The first most important step is to make the templates for the helmet, I made these templates looking at a model I made before, the Mandalorian helmet that I made in the form of a keychain. Using the same model I made the parts for Boba Fett's helmet drawing on paper.
El primer paso más importante es hacer las plantillas para el casco, estas plantillas las hice fijandome de un modelo que hice antes, el casco del Mandaloriano que lo hice en forma de llavero. Utilizando el mismo modelo fui haciendo las partes para el casco de Boba Fett dibujando sobre papel.
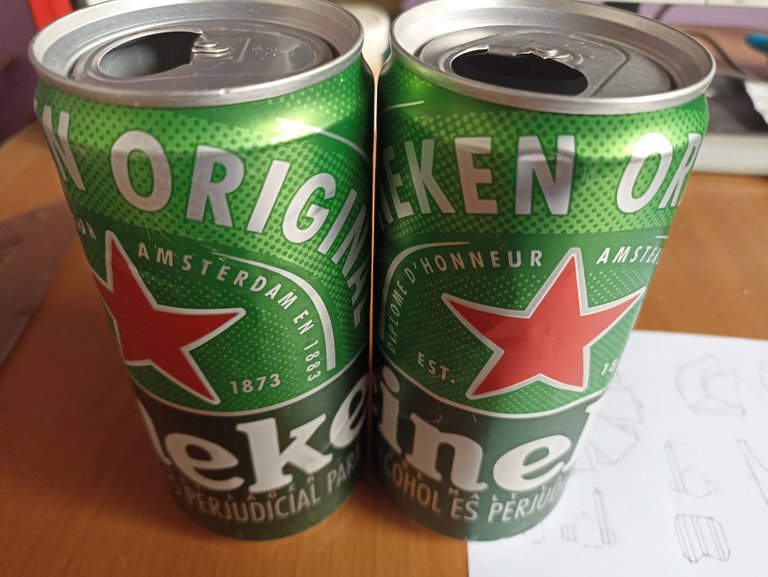


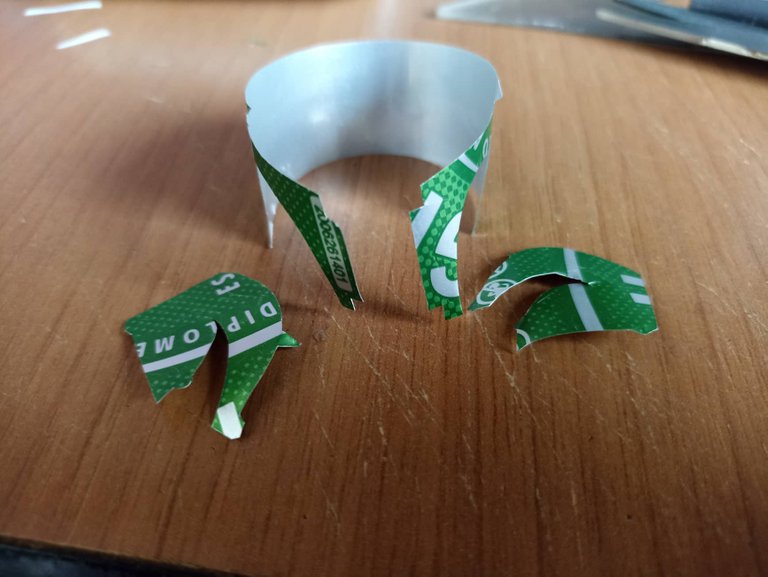
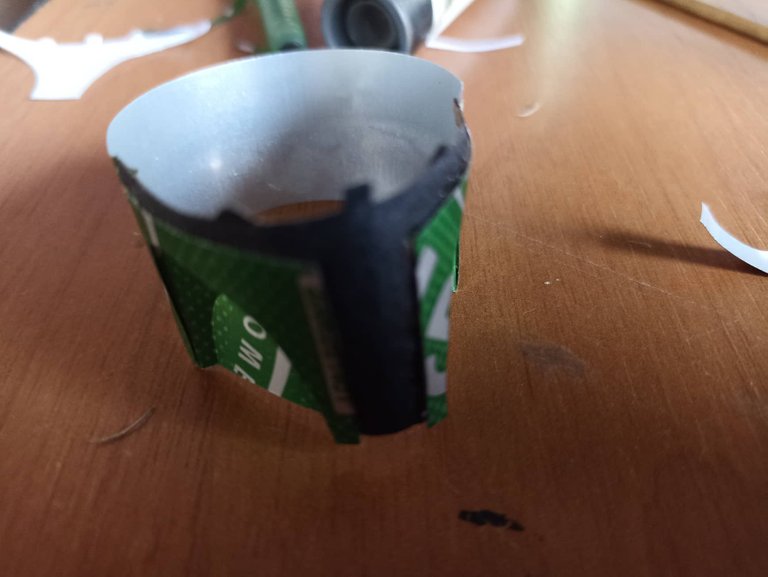
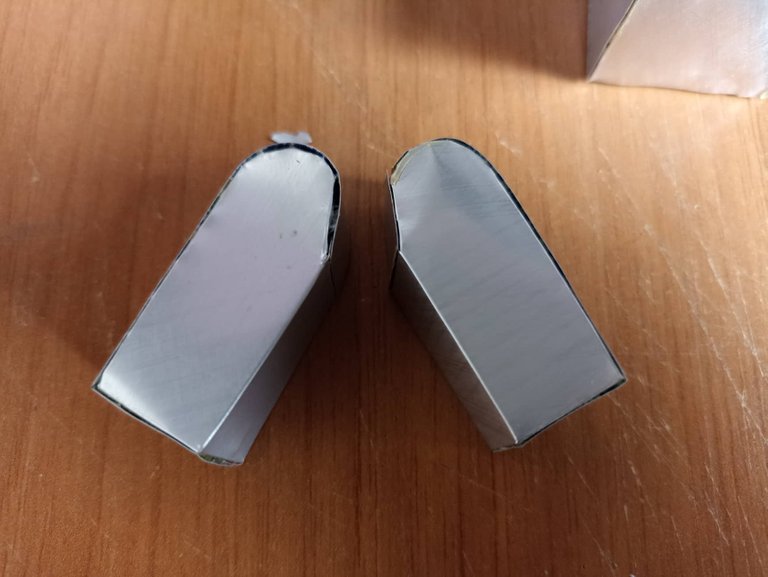
The first part is to make the lower part of the helmet that covers the neck and part of the face, we cut it out of the template and stick it on the can and then with a tojera we take out the shape, we also cut out the pieces for the front area of the helmet and that serve as protection for the jaw. We mold them little by little and then using a good glue we place each one in its place.
La primera parte es hacer la zona inferior del casco que cobre el cuello y parte del rostro, la recortamos de la plantilla y la pegamos sobre la lata para luego con una tojera vamos sacando la forma, también recortamos las piezas para la zona frontal del casco y que sirven de protección para la mandíbula. Las moldeamos poco a poco y luego utilizando un buen pegamento las colocamos cada una en su lugar.
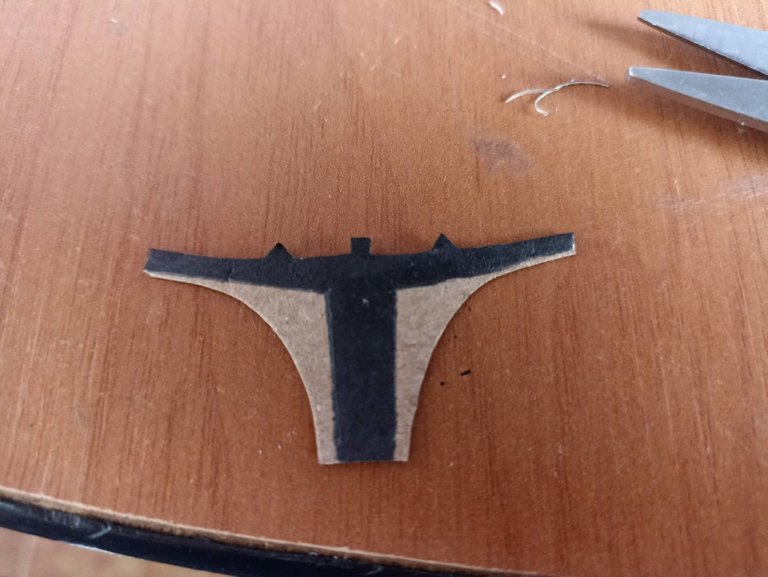
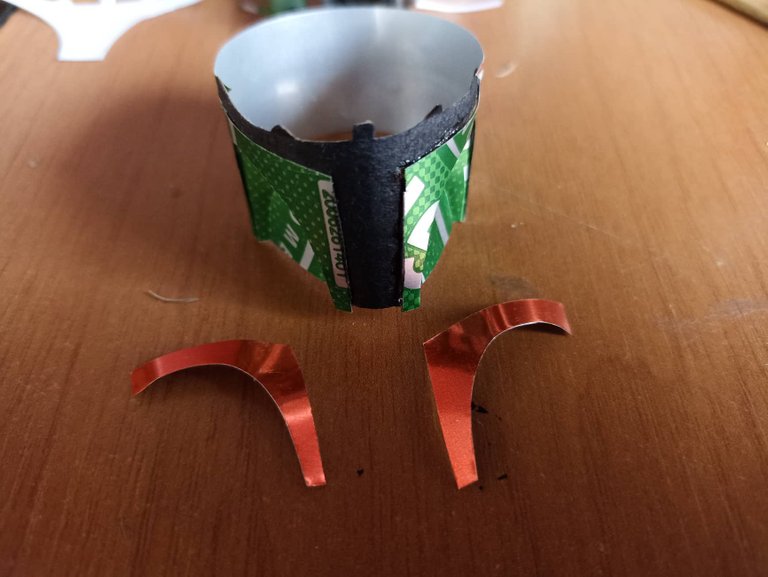
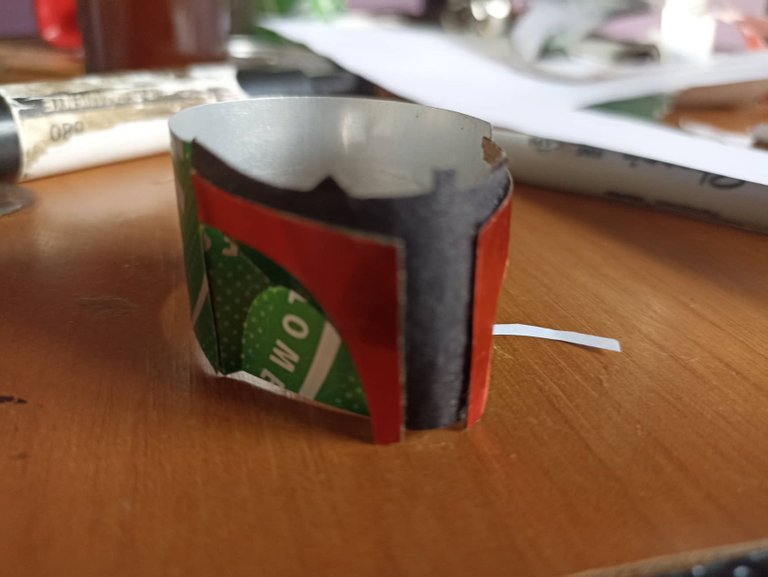
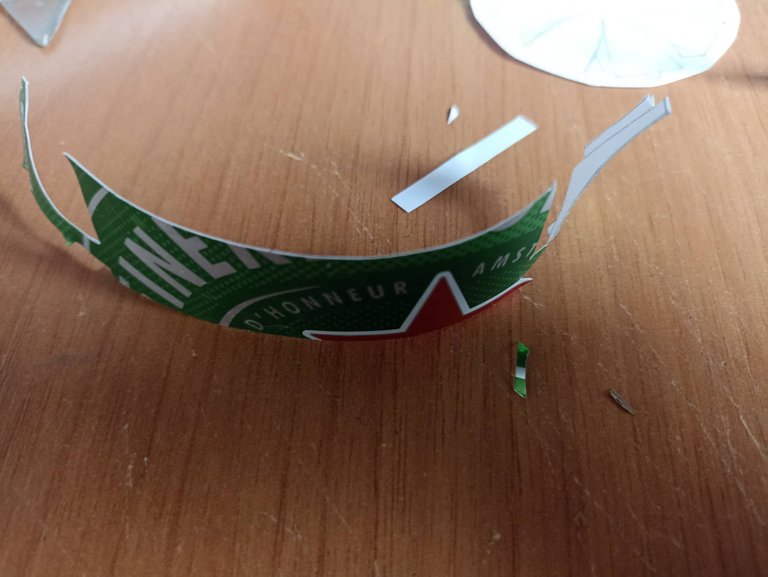
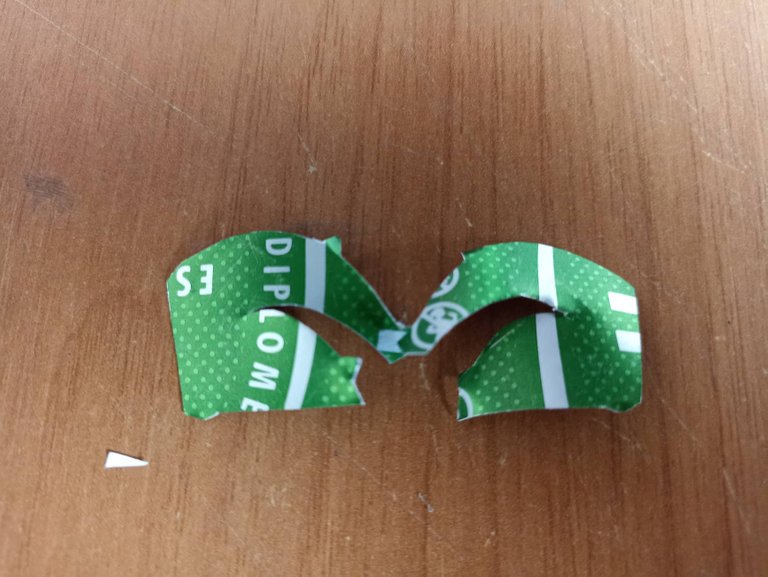
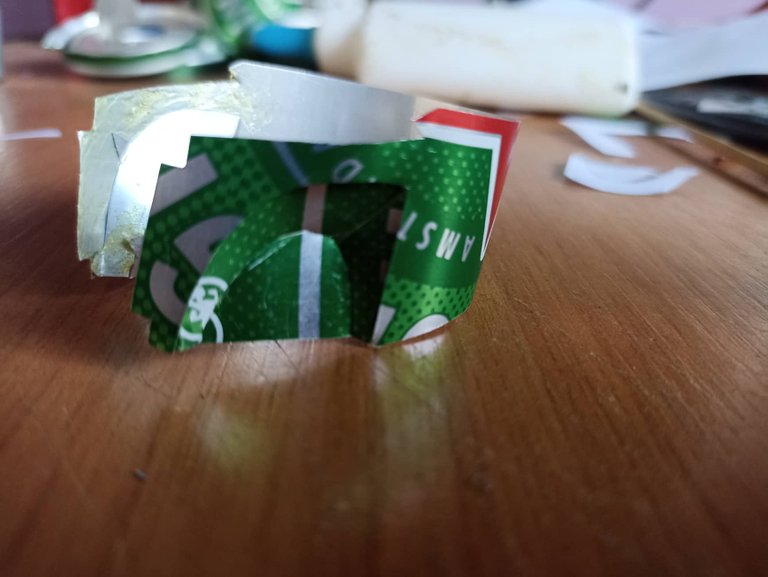
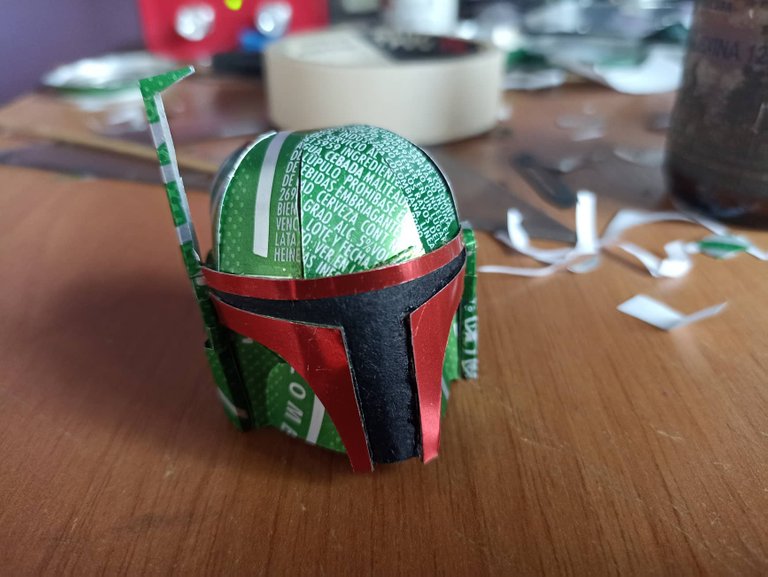
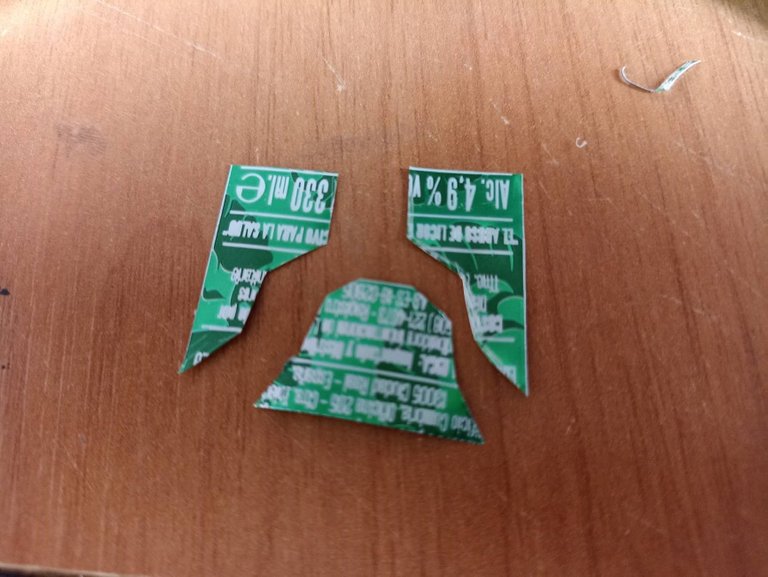
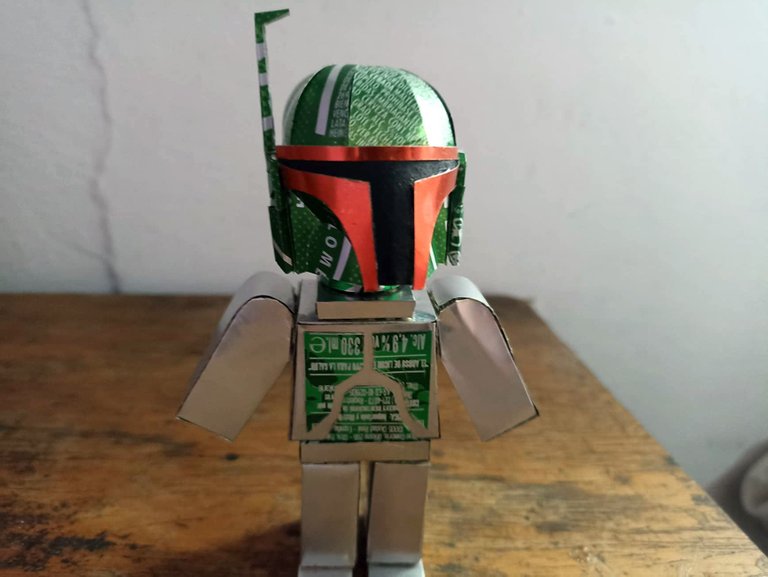
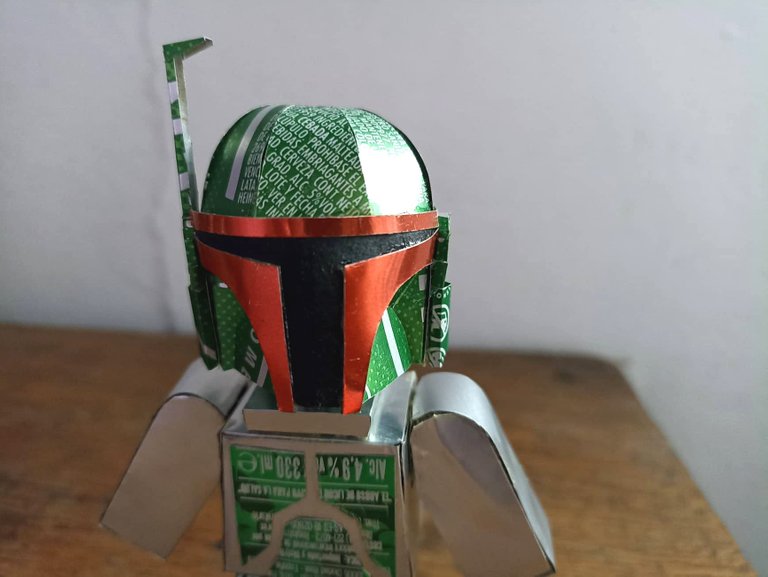
Then we make the visual protector of the helmet, cutting out the template, this time I did it with cardboard because I didn't have a black can. So I cut out the cardboard and with a black marker I painted it. Then I put glue and fixed it on both sides of the helmet, as Boba Fett's helmet has a red fringe, using a coke can I cut out those parts in red and then put them in place.
Luego hacemos el protector visual del casco, recortando la plantilla, esta vez lo hice con cartón porque no tenía lata de color negro. Así que recorté el cartón y con un marcador negro lo pinté. Despues le puse pegamento y lo fijé en ambos lados del casco, como el casco de Boba Fett tiene una frande color rojo, utilizando lata de coca cola recorté esas partes en rojo y luego las puse en su sitio.
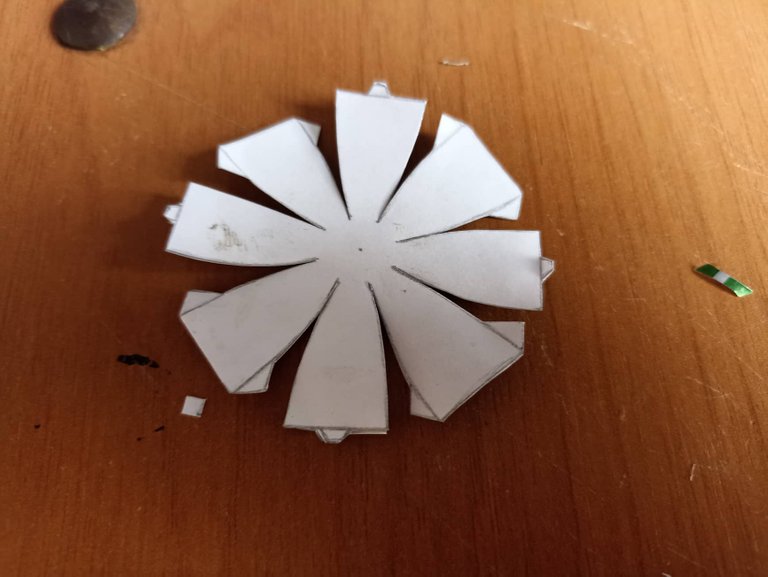
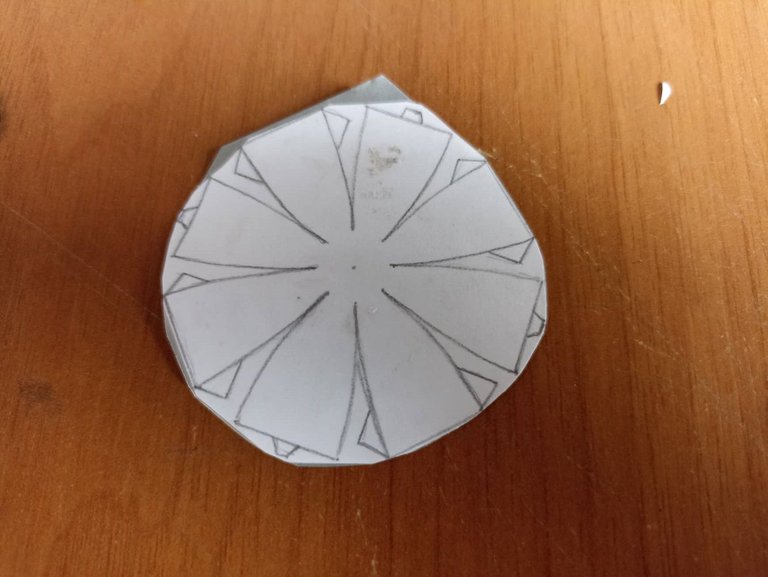
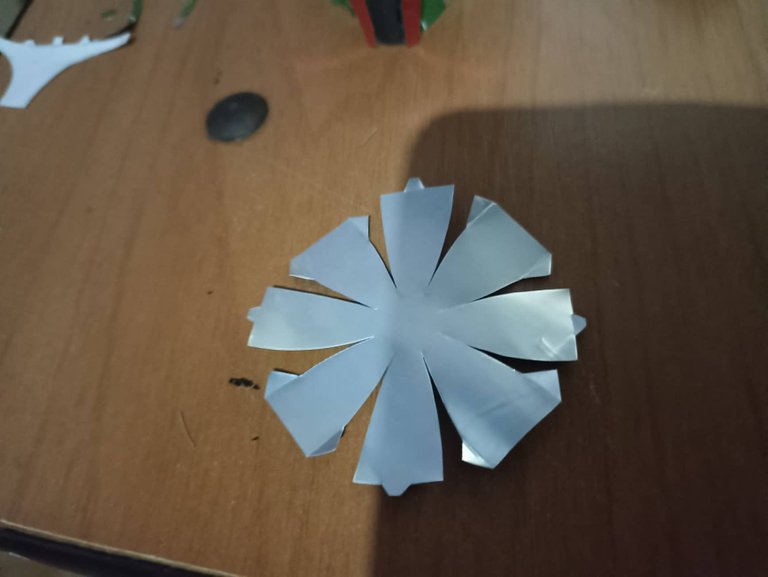

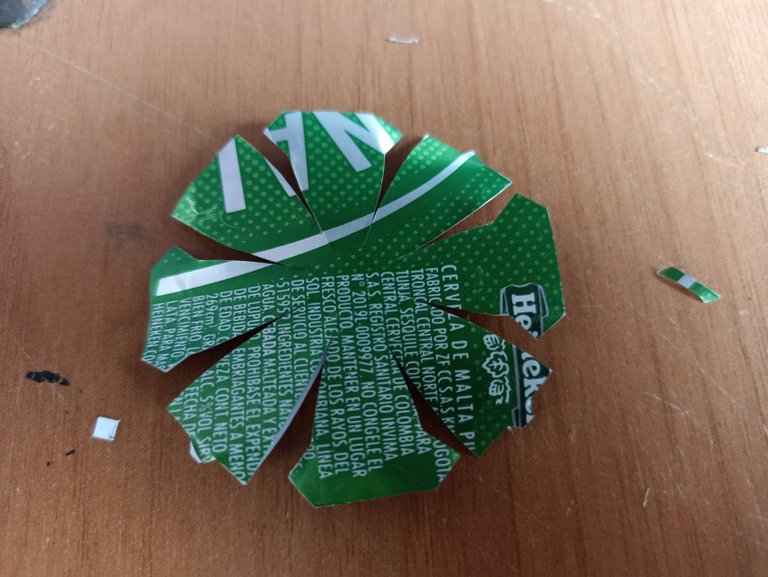


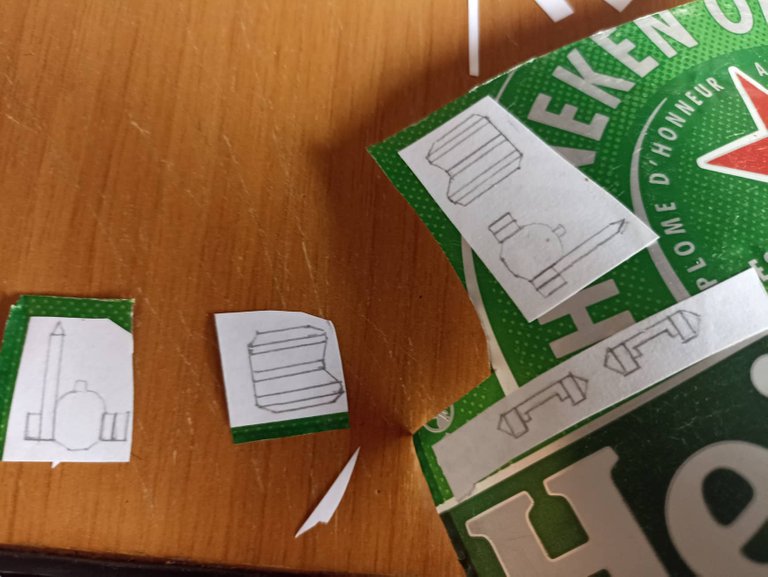
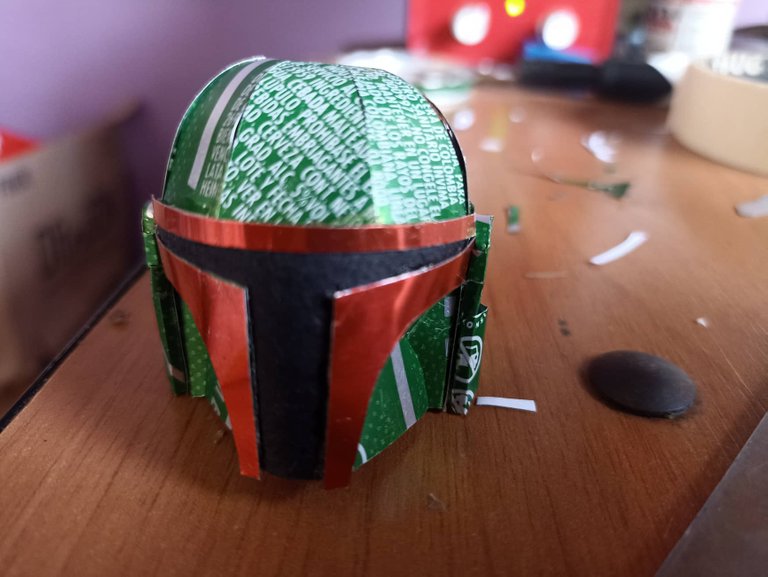
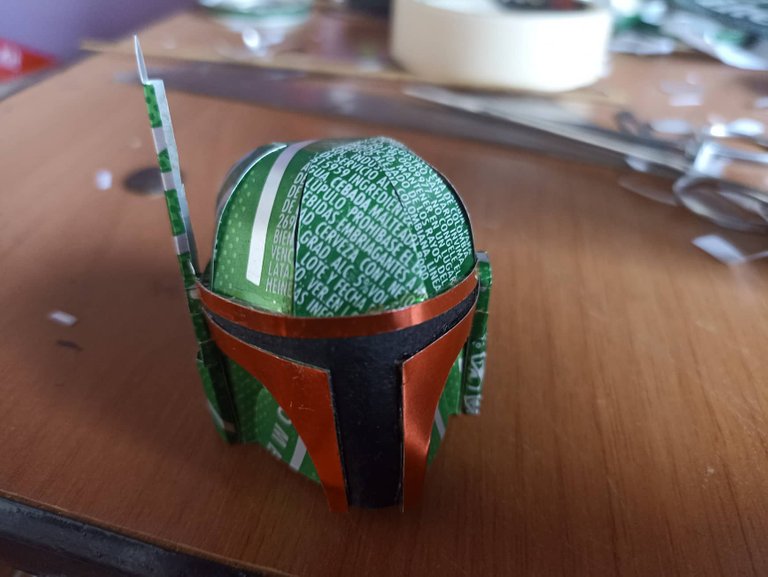
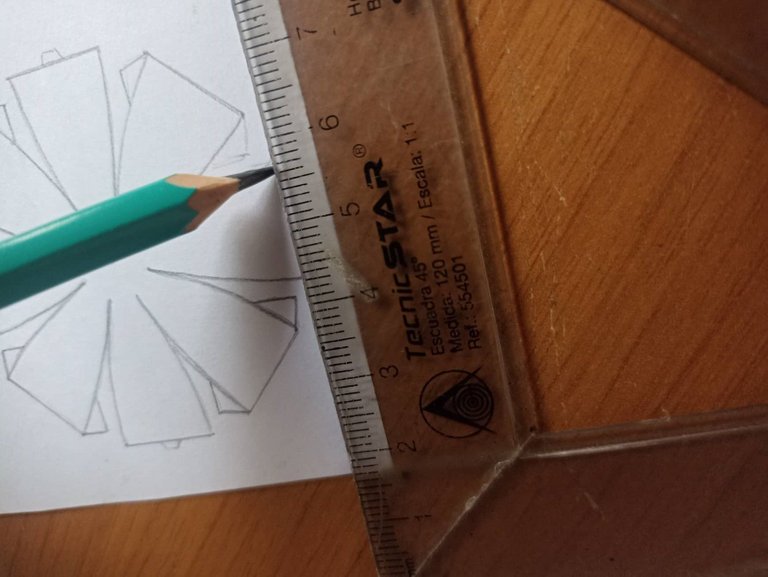
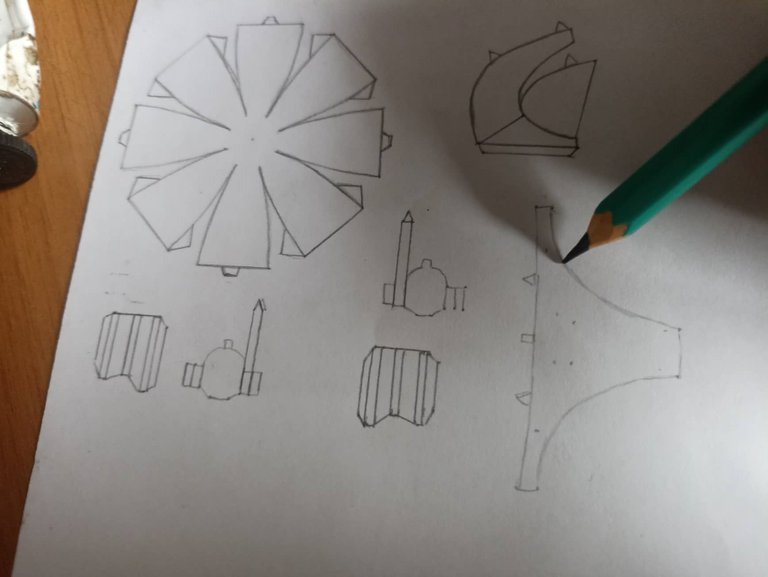
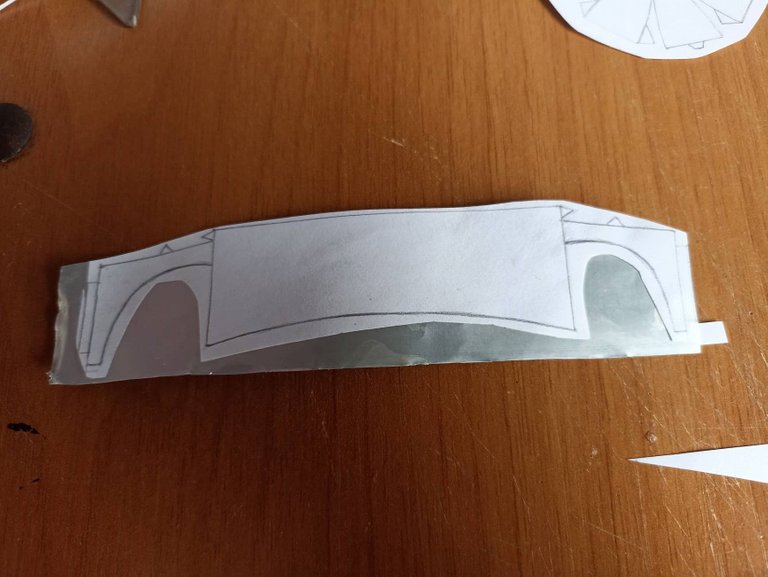
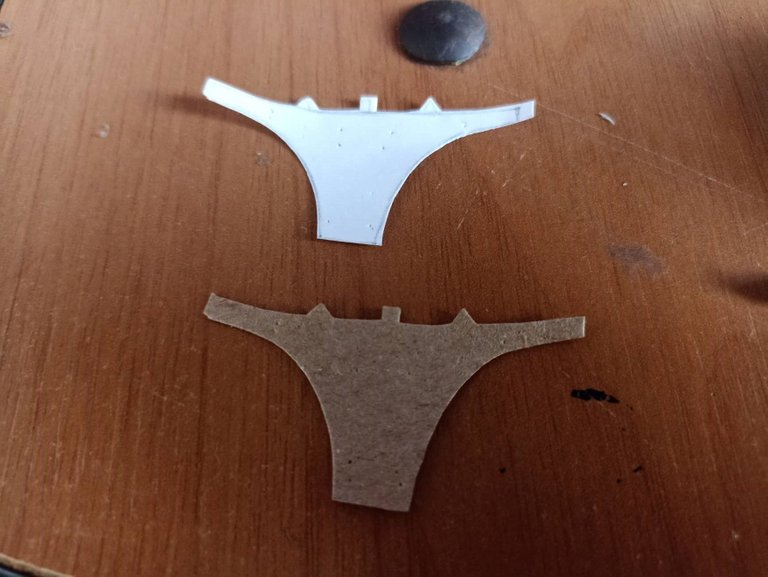
Now the next step is to place the upper part of the helmet, we cut out the piece that has a flower shape, and we glue them at the ends of each point, then very carefully we fix it on the other part of the helmet that we made. After this process, we will put the ear protectors also cutting the templates, we mold them with tweezers and put them on the sides of the helmet, finally we put the antenna-shaped piece that the helmet has, so we will have finished and so I would only want to make the body.
Ahora el siguiente paso es colocar la aprte superior del casco, recortamos la pieza que tiene forma de flor, y las pegamos por los extremos de cada punta, después con mucho cuidado la fijamos en la otra parte del casco que hicimos. Después de este proceso, pondremos los protectores de los oídos cortando tambien las plantillas, las moldeamos con unas pinzas y las ponemos en la parte de los costados del casco, por último ponemos la pieza con forma de antena que tiene el casco, así habremos finalizado y así solo querdaría por hacer el cuerpo.

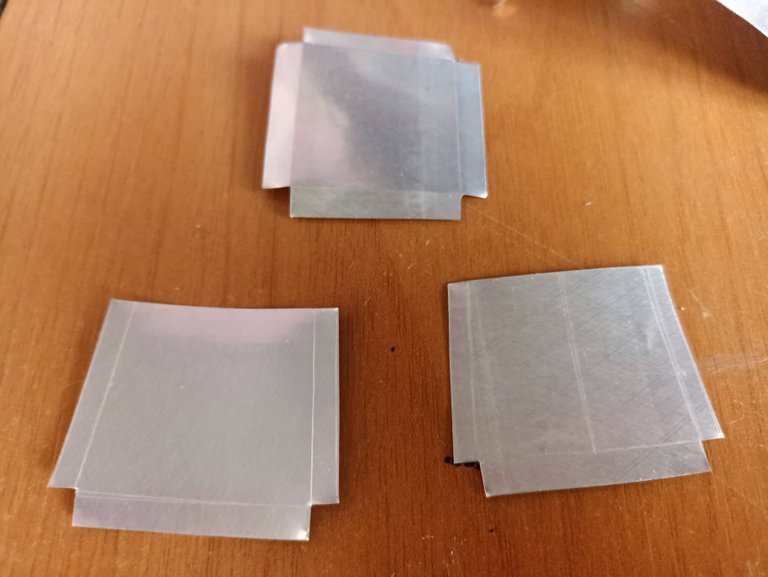
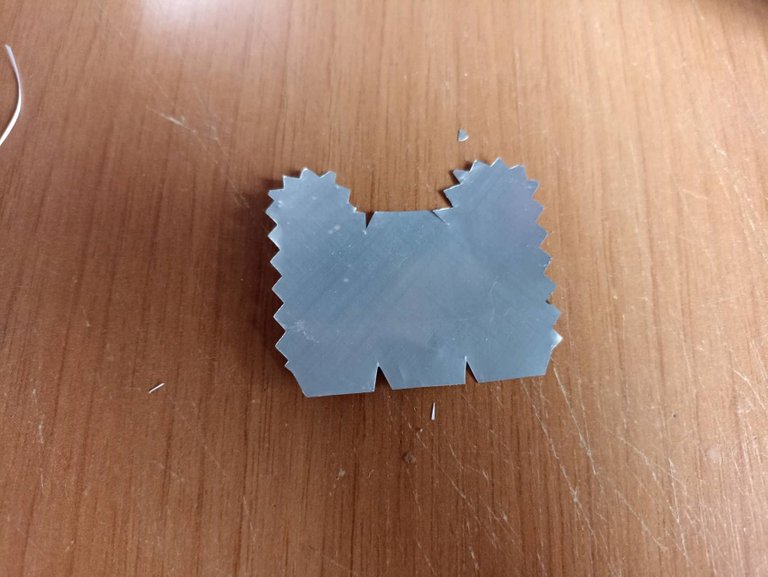
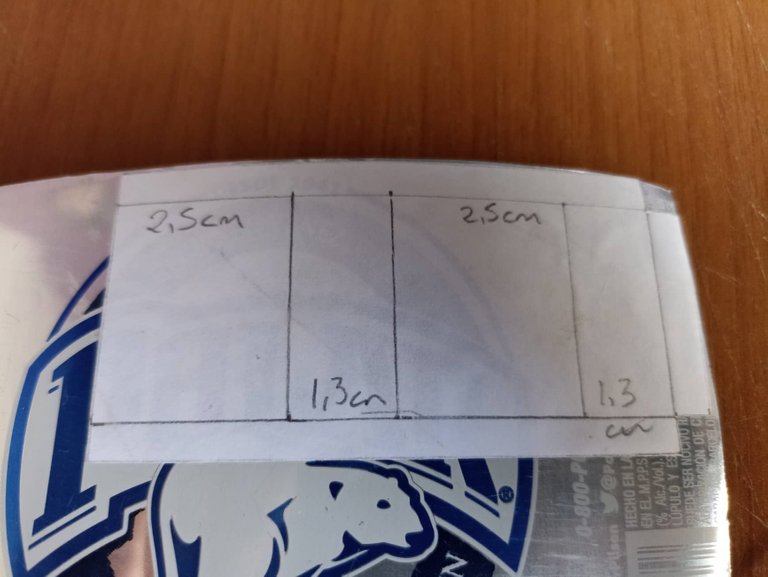
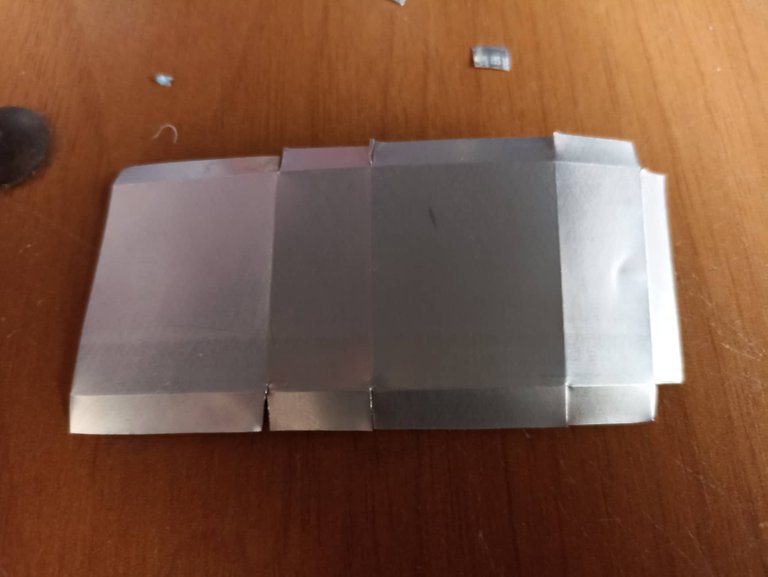
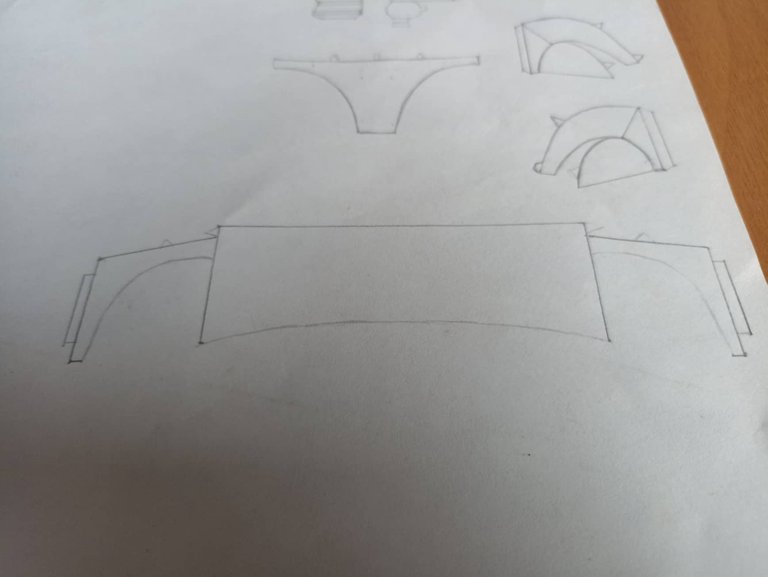
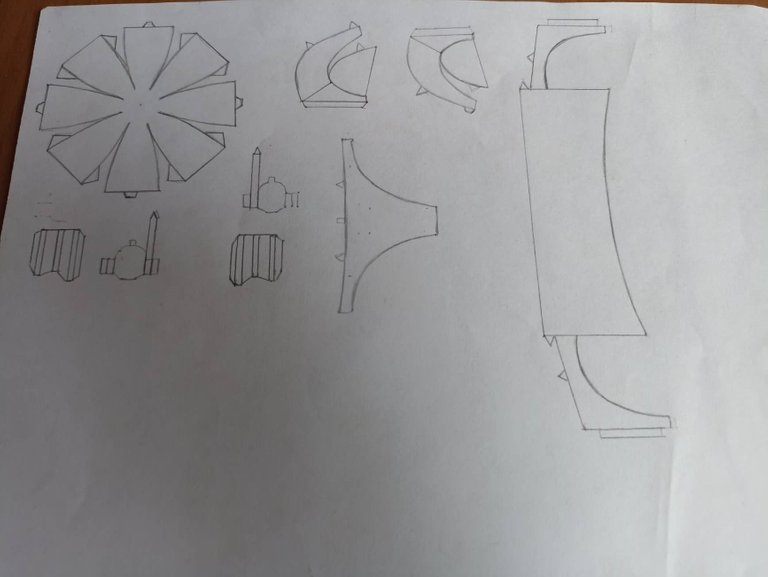
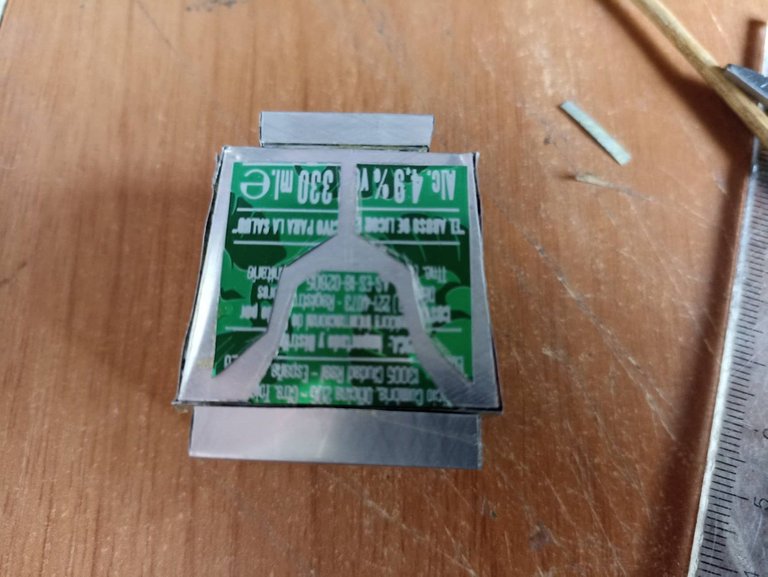
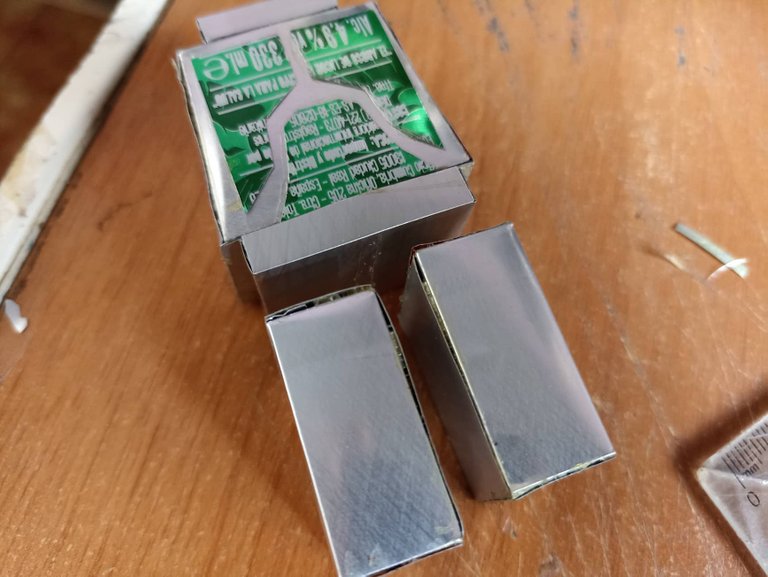
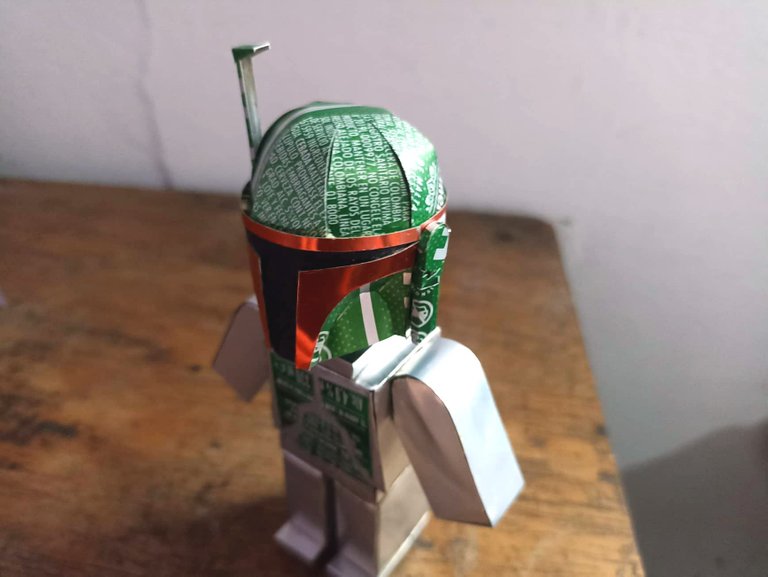
The body is very easy to make, being in lego style the most used geometric figure is the square, so I decided to make the easiest parts directly from the can, such as the trunk of the body, instead I made the arms in paper templates since I added a circular part to the shoulders, so I also made the legs in templates. The measurements of all the parts of the body are based on the same, 3.5 centimeters for all, except the transverse sides which is 1.5 centimeters.
El cuerpo es muy facil de hacer, al ser en estilo lego la figura geométrica más usada es el cuadrado, así que yo decidí hacer las partes más faciles directamente desde la lata, como por ejemplo el tronco del cuerpo, en cambio los brazos los hice en plantillas de papel ya que les agregué una parte circular en los hombros, así tambien las piernas las hice en plantillas. Las medidas de todas las partes del cuerpo estan basadas en la misma, 3,5 centímetros para todas, excepto los lados transversales que es de 1,5 centímetros.
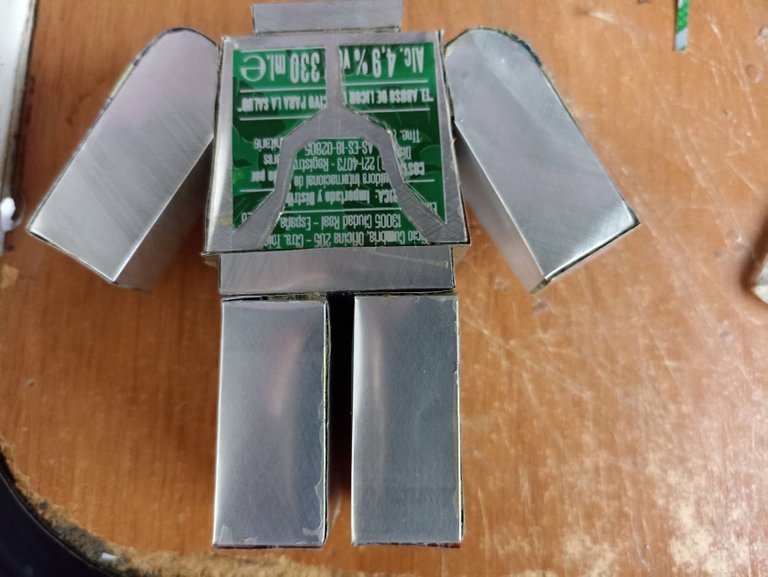
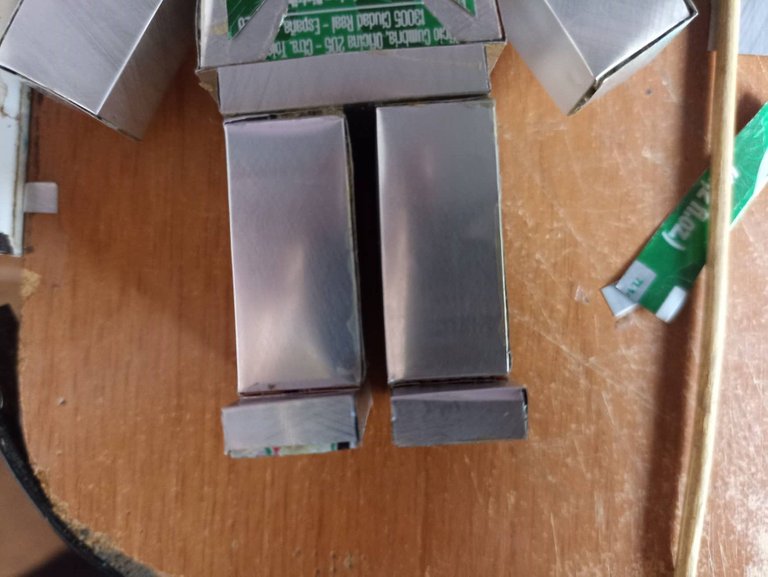
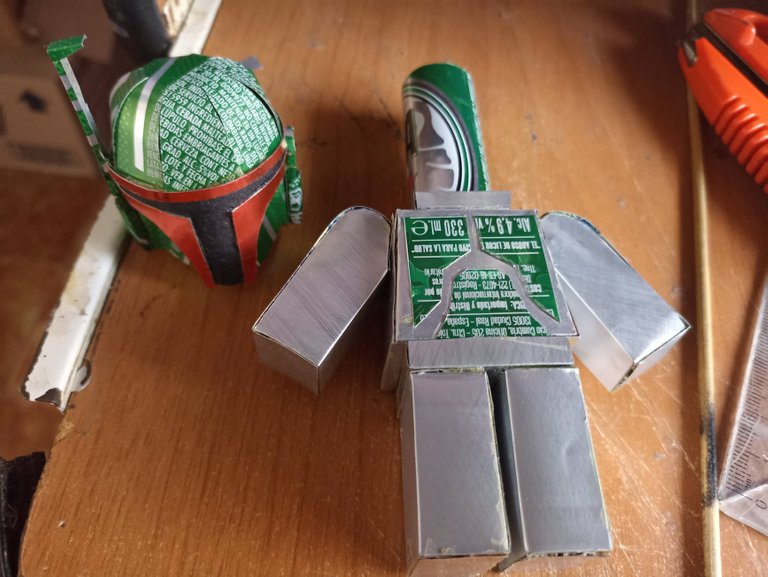

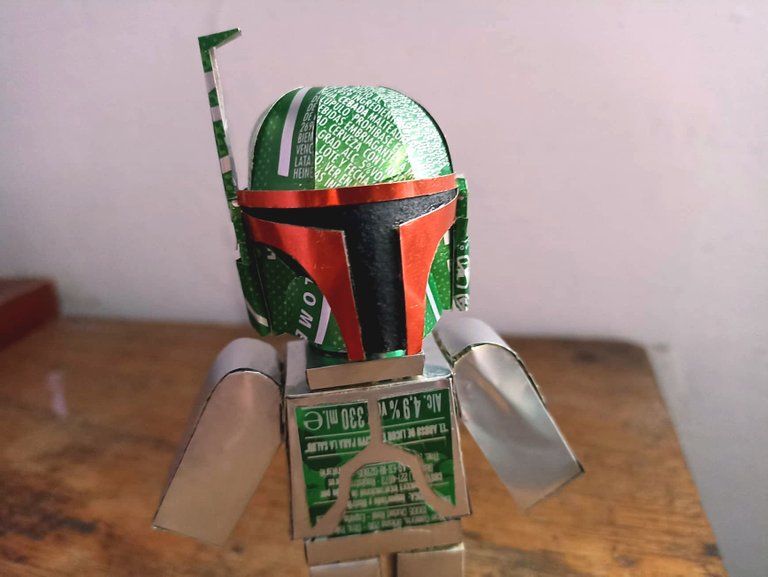
Then we make the green armor that protects Boba Fett's chest, and finally we add some boots. The next process is to put piece by piece, first we place the legs, then the arms, we install the boots that we made, we also make a box and a cylinder on the top to fit the helmet and thus finish the figure completely.
Luego hacemos la armadura de color verde que proteje el pecho de Boba Fett, y por último agregamos unas botas. El proceso siguiente es ir poniendo pieza por pieza, primero colocamos las piernas, luego los brazos, instalamos las botas que hicimos, también hacemos un cuadro y un cilindro en la parte superior para ajustar el casco y así terminar la figura por completo.
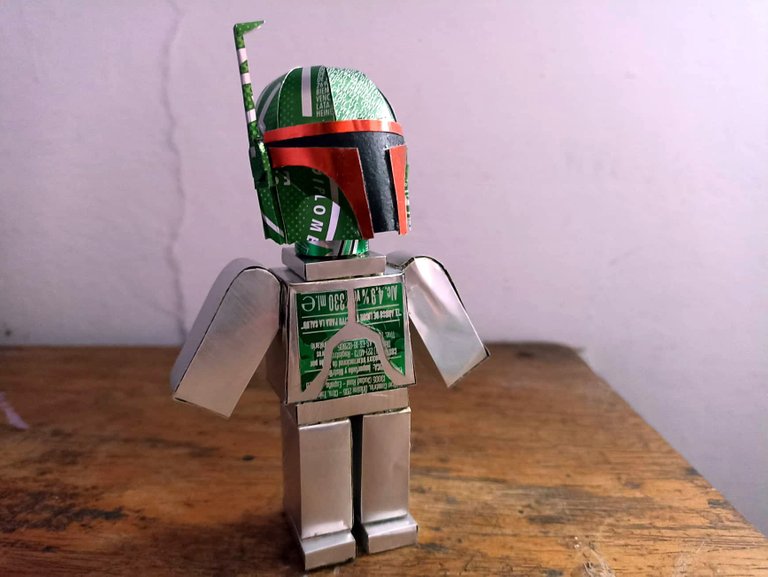
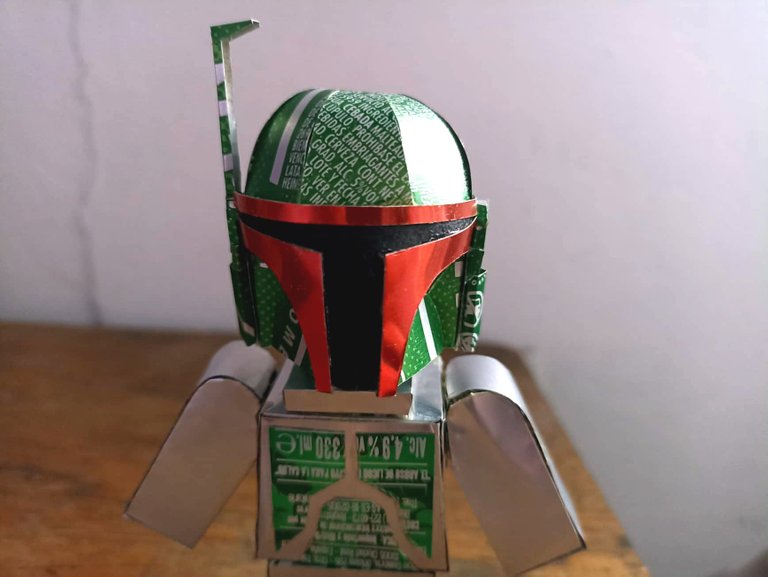
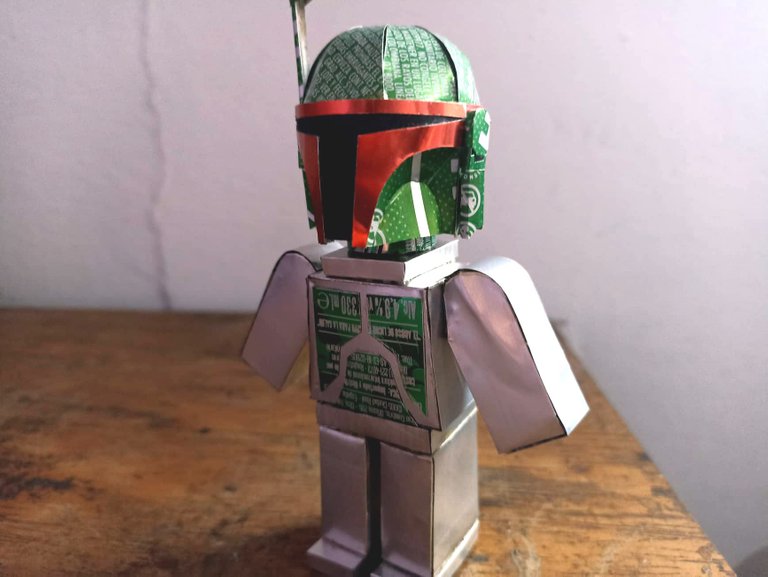
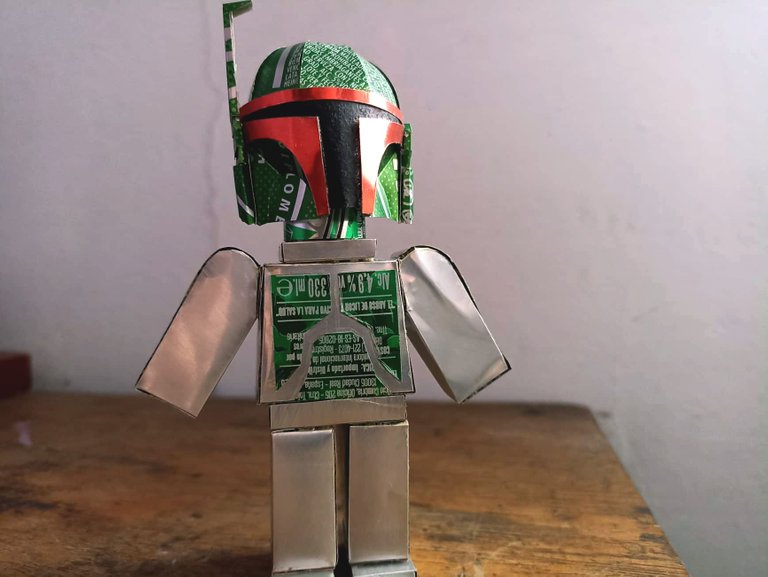
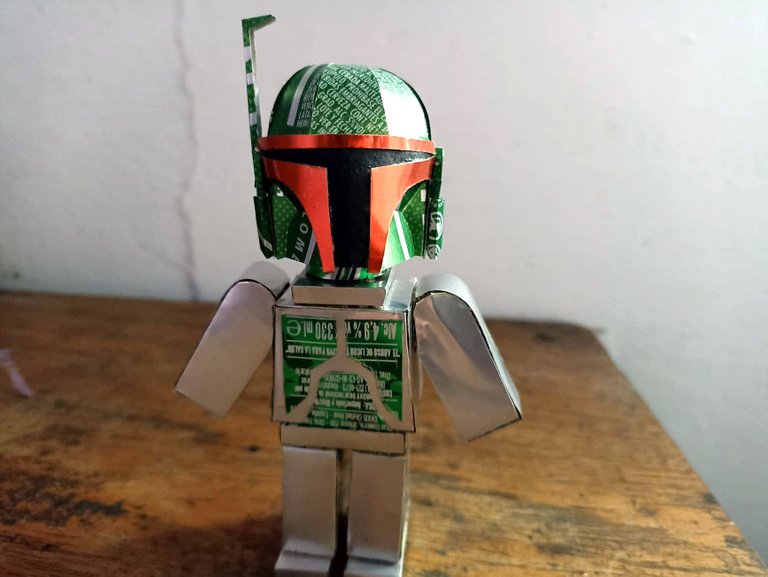
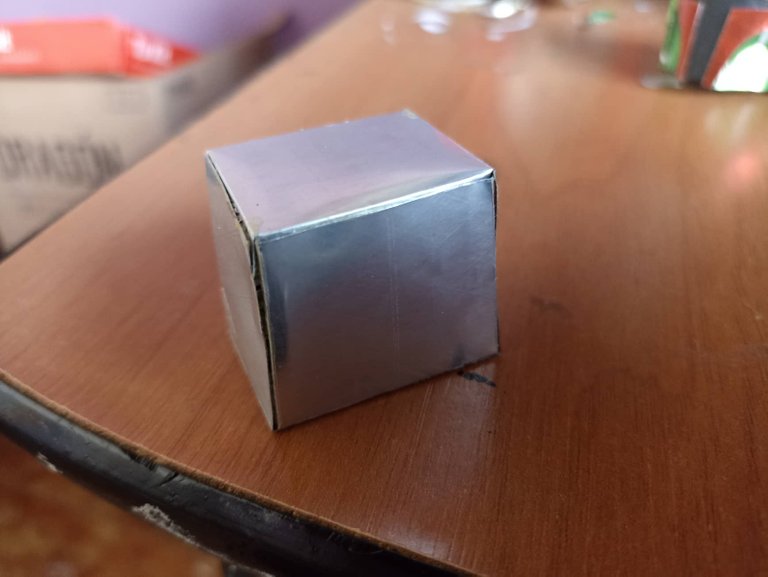
Once we have finished assembling our lego this is how it looks, it is always difficult to be satisfied, but after 3 days working on this design I feel that I did a good job to be my first design in this style, with time maybe it will improve with more practice, so I'm sure I'll come up with more figures to make, especially from Star Wars. This has been my contribution to the community for today, I did it with a lot of dedication and passion, I hope you find it interesting and are encouraged to do it, you can do it on paper and it will be a beautiful collector's item. I say goodbye see you soon, take care of yourselves.
Una vez terminado de armar nuestro lego así es como se ve, siempre es idificl quedar conforme, pero luego de 3 días trabajando en este diseño siento que hice un buen trabajo para ser mi primer diseño en este estilo, con el tiempo tal vez vaya mejorando con más practica, así que seguro se me ocurrirán más figuras por hacer, especialmente de Star Wars. Este ha sido mi aporte por hoy a la comunidad, lo hice con mucha dedicación y pasión espero que lo encuentren interesante y se animen a hacerlo, pueden hacerlo en papel y será una hermosa pieza de colección. Me despido hasta pronto, cuidense mucho.


