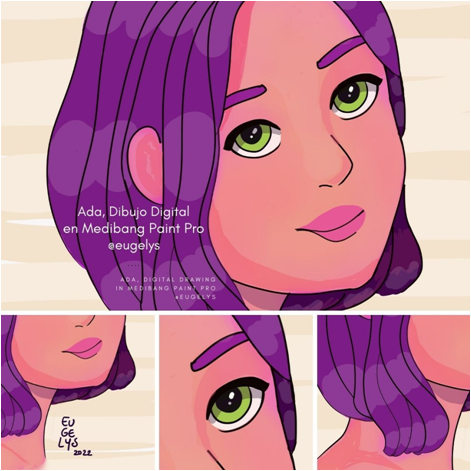
Cuando tienes varias pasiones a veces cuesta enfocarse, eso me pasa con el dibujo digital. Quiero dedicarle más tiempo pero luego el canto me atrapa y voy a él, cuando en enero tuve un virus gripal que me obligó a tomar un descanso vocal prolongado fue el momento idóneo para retomar el dibujo digital pero esta vez usando una pequeña tableta gráfica que adquirí a finales del año pasado. Estuve practicando e incluso compartí un tutorial con mi avances, luego que terminó el reposo...adiós dibujo digital. Hoy quise retomarlo y terminar este proyecto para colorear el boceto que ya les había mostrado.
Aquí les muestro un poco del paso a paso, me falta mucho por aprender pero mientras el camino del aprendizaje sea interesante yo me quedo recorriéndolo. ¡Acompáñame!
When you have several passions sometimes it's hard to focus, that happens to me with digital drawing. I want to dedicate more time to it but then the singing catches me and I go to it when in January I had a flu that forced me to take a long vocal rest was the right time to resume digital drawing but this time using a small graphic tablet that I acquired at the end of last year. I've been practicing and even shared a tutorial with my progress, but after the break ended...goodbye digital drawing. Today I wanted to take it up again and finish this project to color the sketch that I had already shown you.
Here I show you a little bit of the step-by-step, there is still a lot to learn but as long as the learning path is interesting I'll stay on it. Join me!

¿Cómo lo hice? How did I do?
- En un post anterior les mostré cómo realizar el boceto de este rostro, así que lo que hice fue tomar ese boceto como referencia para proceder a darle color y definir los rasgos de este personaje. Te comparto el link de la publicación Haciendo el boceto de un rostro en Medibang Paint Pro | Sketching a face in Medibang Paint Pro por si deseas animarte a practicar el dibujo digital.
In a previous post I showed you how to sketch this face, so what I did was to take that sketch as a reference to proceed to color and define the features of this character. I share with you the link to the post Sketching a face in Medibang Paint Pro | Sketching a face in Medibang Paint Pro in case you want to practice digital drawing.
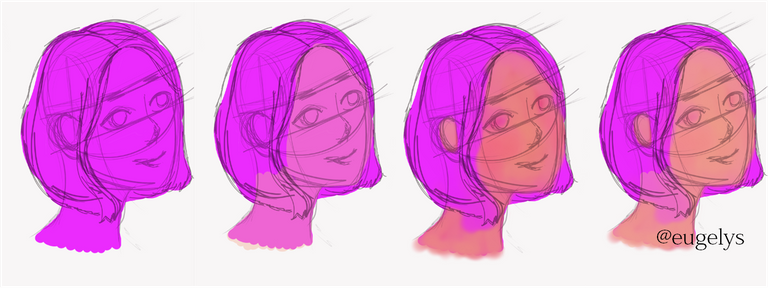
- He estado leyendo y mirando videos para definir cómo le daría color a este esbozo y en varios videos encontré que suelen dibujar todo el fondo del dibujo de un color base fuerte para que todos los colores mantengan cierta tonalidad, en mi caso elegí el color fucsia. Para rellenar estas superficies grandes uso los pinceles lápiz o pluma en tamaño +400. Aun estoy aprendiendo cómo rellenar con color de una forma más rápida, de igual forma encuentro relajante dibujar grandes superficies poco a poco.
I have been reading and watching videos to define how I would give color to this sketch and in several videos I found that they usually draw all the background of the drawing in a strong base color so that all the colors maintain a certain tonality, in my case I chose fuchsia. To fill these large surfaces I use a pencil or pen brushes in size +400. I am still learning how to fill with color in a faster way, but I find it relaxing to draw large surfaces little by little.
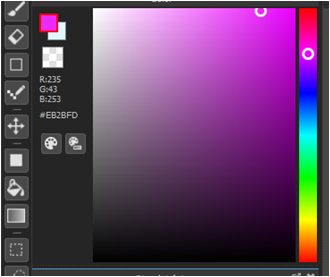
- Una vez que relleno con color fucsia el fondo de este rostro, coloque la base de color, primero usé el color carne y un pincel mezclador luego creé otra capa y añadí más color carne con el pincel lápiz, bajé la opacidad de la capa a 43%.
Once I filled with fuchsia color the background of this face, I placed the base color, first I used the flesh color and a blending brush then I created another layer and added more flesh color with the pencil brush, I lowered the opacity of the layer to 43%.
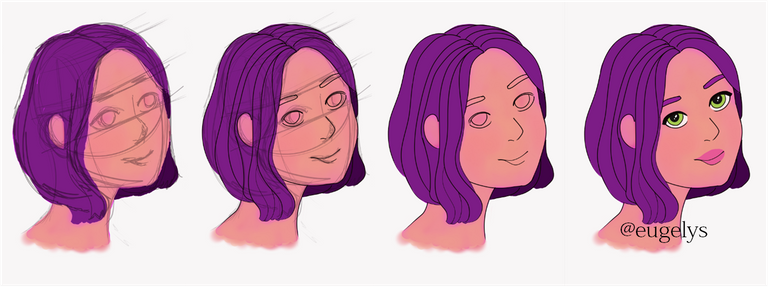
- Luego procedí a elegir el color del cabello, sigo sintiendo predilección por el morado. Posteriormente hice el lineart con color negro tanto del rostro como del cabello. Desactivé las líneas del boceto para que ya no estuvieran visibles. Rellene los ojos,coloqué color al iris y pupilas, la luz de las mismas y añadí unas pestañas estilo cat-eye, cejas y labios, para de esta forma definirlos.
Then I proceeded to choose the hair color, I still have a predilection for purple. Then I did the lineart with black color of both the face and the hair. I deactivated the lines of the sketch so that they were no longer visible. I filled in the eyes, colored the iris and pupils, the light of the pupils, and added cat-eye lashes, eyebrows, lips, to define them.
- Coloqué algunas luces y sombras, me gustó mucho el efecto de la luz en el cabello y en la sombra sobre el ojo. Añadí un fondo color crema, con líneas horizontales más claras que hice usando el pincel lápiz.
I placed some highlights and shadows, I really liked the effects of the light on the hair and the shadow on the eye. I added a cream background, with lighter horizontal lines that I made using the pencil brush.
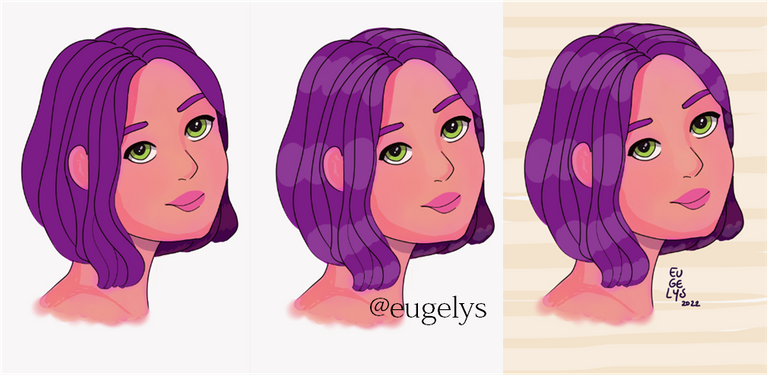
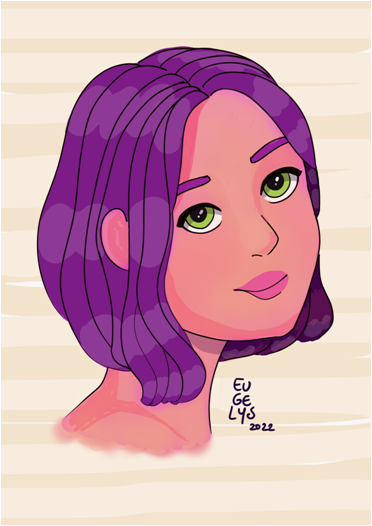
Aún queda mucho camino por recorrer en cuanto a luz y sombras pero me siento complacida con el resultado final.
There is still a long way to go in terms of light and shadow but I am pleased with the end result.
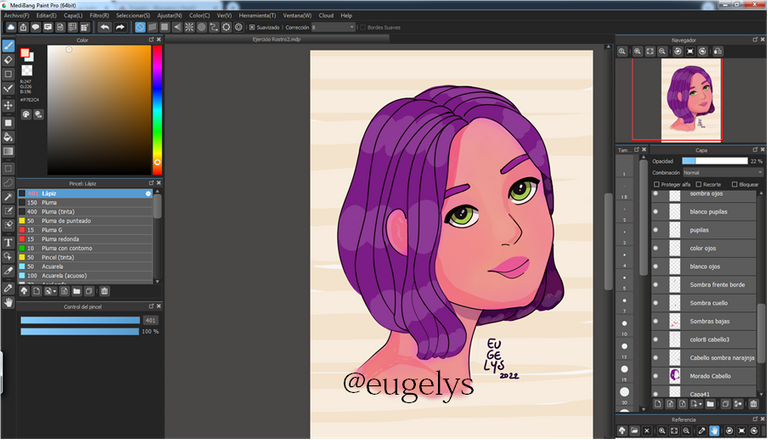
¡Cada día podemos aprender algo nuevo, no te limites, impulsa tu creatividad y tus ganas de aprender!
Every day we can learn something new, don't limit yourself, push your creativity and your desire to learn!


 You've been curated by


