
¡Hola Chicos!
Hive para mí, es más que una plataforma cualquiera, representa mi espacio, el lugar donde muestro mis gustos, mis pensamientos, lo que hago.
Forma parte importante en mi vida y no hay un día que no piense: "Esto puede ser un buen post". Con el pasar del tiempo he estado dando vueltas por toda la casa buscando un espacio adecuado para hacer mis creaciones y documentar mi trabajo.
Hasta hace pocas semanas que logré armar un pequeño espacio dentro de mi habitación y hasta los momentos me ha ido de maravilla.
Poco a poco he ido personalizándolo y colocando algunos dibujos y decoraciones en la pared, pero nada que diga: ¡Hey, esto es para Hive!
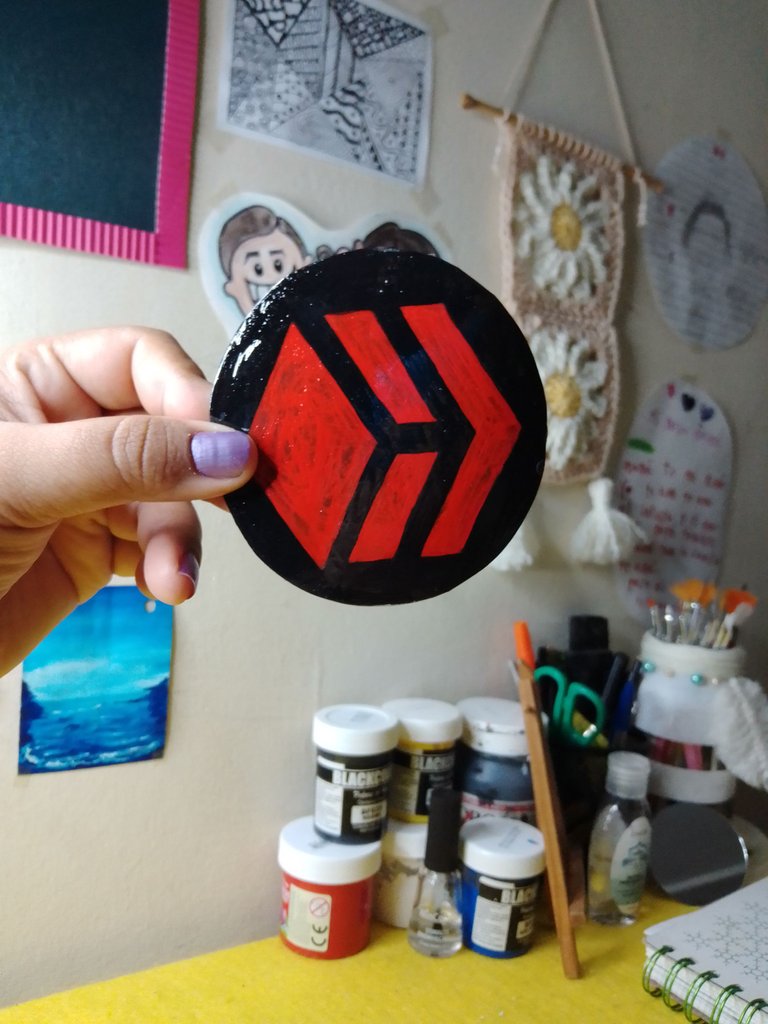
Se me ocurrió entonces la idea de crear una pequeña pero llamativa insignia para colgar en la pared y así el logo de Hive puede estar un poco más presente a la hora de tomar las fotografías de mis proyectos.
Está hecha con material reciclado y es súper fácil de hacer.
Te explico a continuación como he creado mi insignia de #Hive. ♥
Hey guys!
Hive for me, is more than just any platform, it represents my space, the place where I show my tastes, my thoughts, what I do.
It's an important part of my life and there isn't a day that I don't think: 'This could be a good post'. Over time I have been going around the house looking for a suitable space to make my creations and document my work.
Until a few weeks ago I managed to set up a small space inside my room and so far it has been going great.
Little by little I have been customizing it and putting some drawings and decorations on the wall, but nothing that says: Hey, this is for Hive!
Then I came up with the idea of creating a small but striking badge to hang on the wall so that the Hive logo can be a little more present when taking photos of my projects.
It is made with recycled material and is super easy to make.
I'll explain below how I created my #Hive badge. ♥

- Tapa de envase plástico
- Tijeras
- Marcador a base de agua
- Pintura al frío
- Esmalte de uñas transparente
- Cinta adhesiva
- Plastic container lid
- Pair of scissors
- Water-based marker
- Cold paint
- Clear nail polish
- Scotch tape

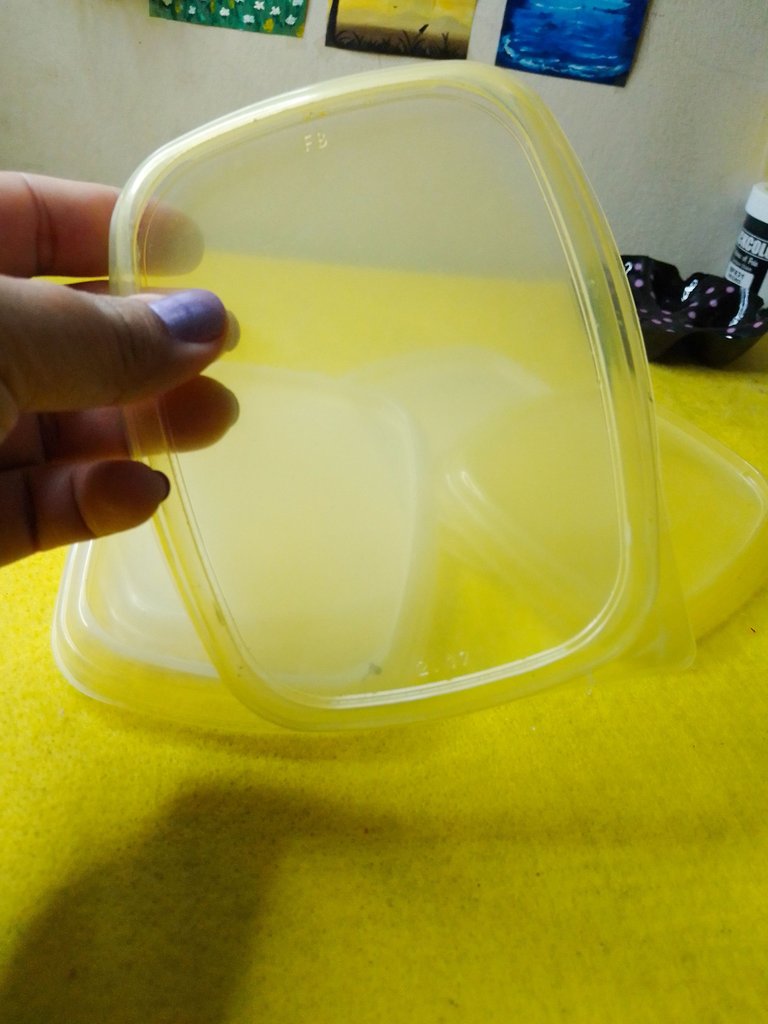
Vamos a utilizar las tapas de envases de mantequilla. Como les comenté en un post anterior, estas tapas son fáciles de cortar y se pueden hacer un sin fin de cosas con ellas.
Yo tengo varias guardadas de envases que convertí en materos o con otros fines y ahora es momento de darles uso.
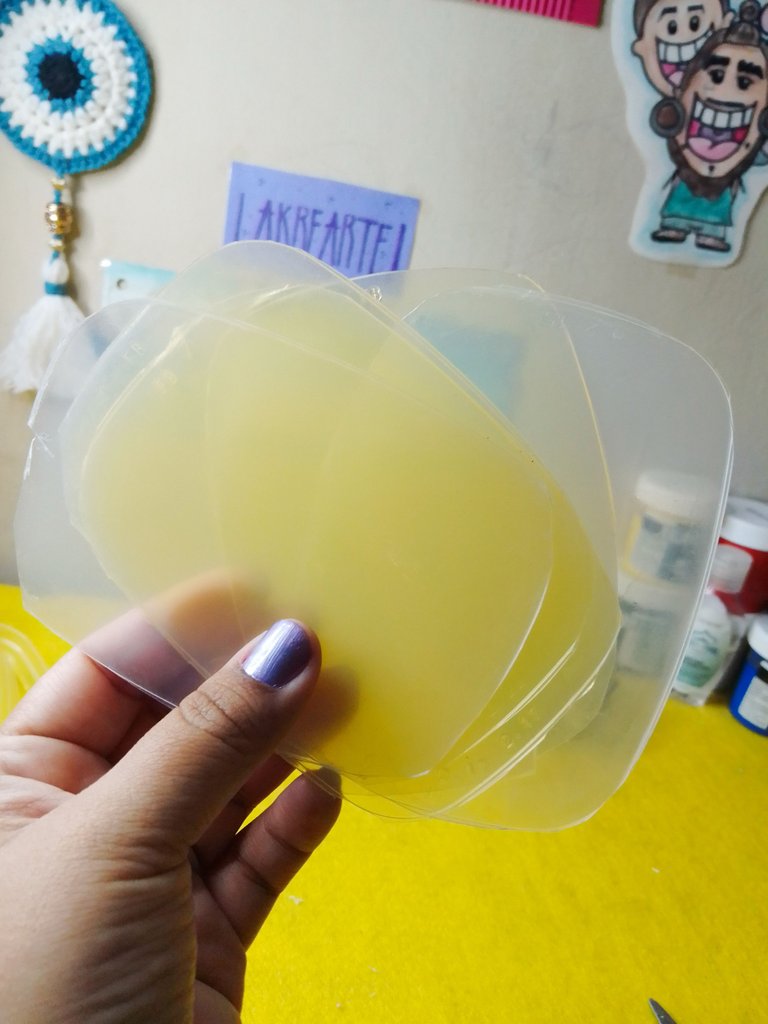
Con una tijera retiramos todo el borde y nos quedamos con la superficie lisa.
We are going to use the lids from butter containers. As I mentioned in a previous post, these tapas are easy to cut and you can do endless things with them.
I have several containers saved that I converted into pots or for other purposes and now it is time to use them.
With scissors we remove the entire edge and we are left with the smooth surface.

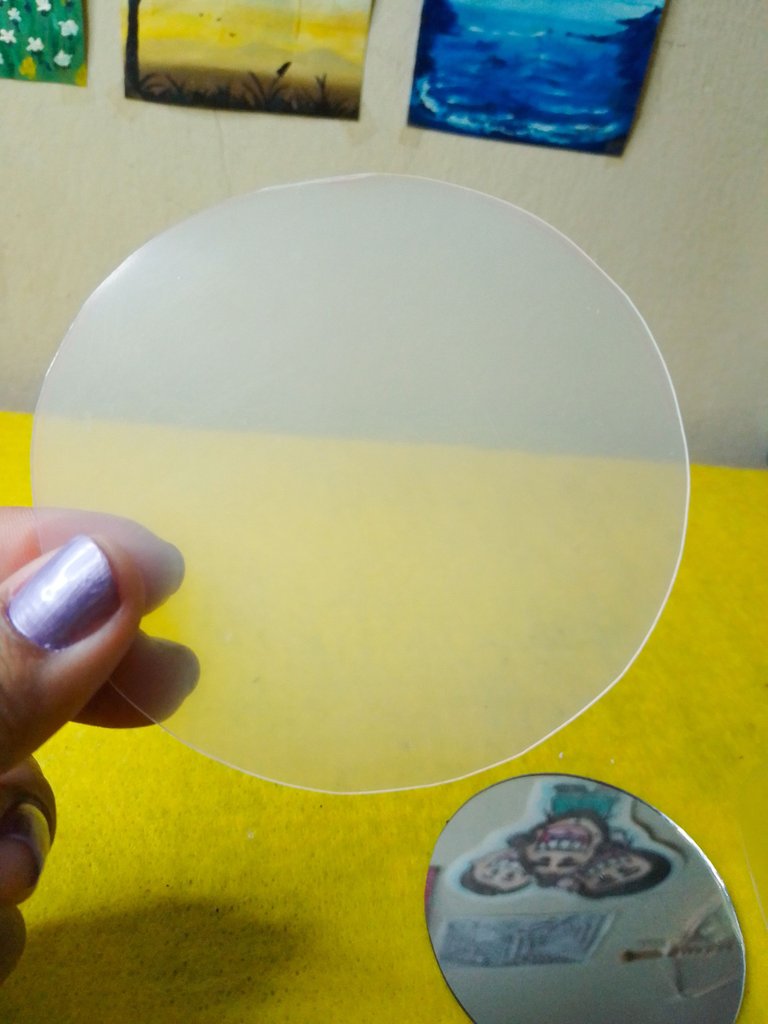
Tomamos un objeto circular, marcamos con un marcador a base de agua la forma y luego recortamos para obtener un círculo.
We take a circular object, mark the shape with a water-based marker and then cut it out to obtain a circle.

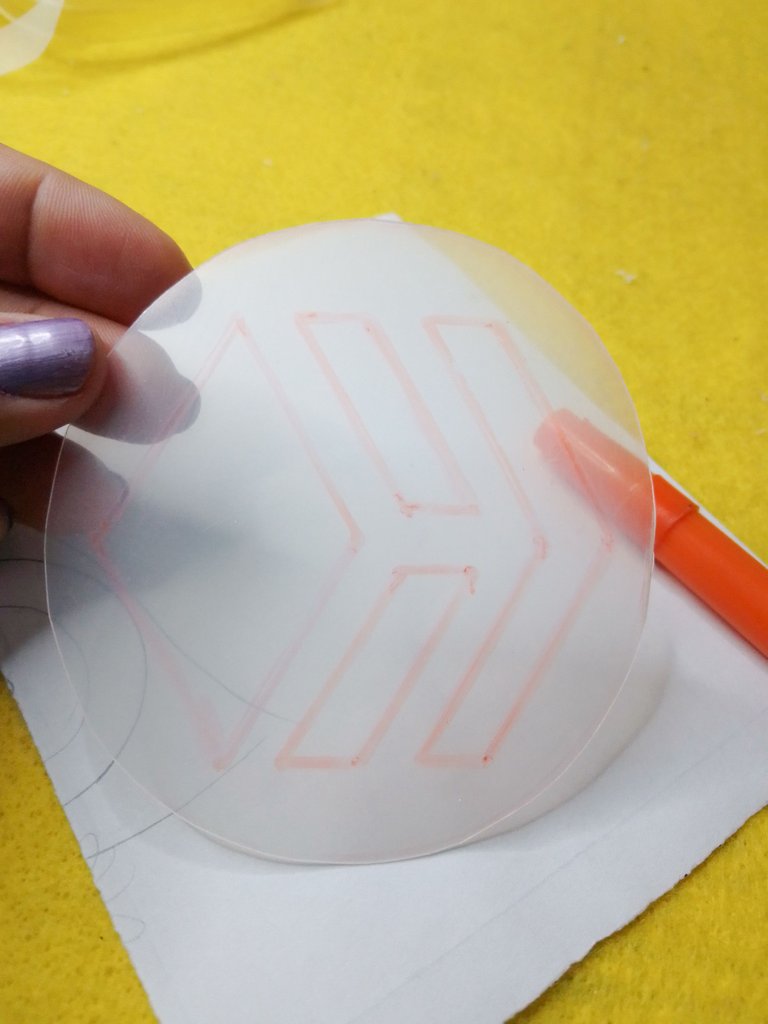
Ahora calcamos el logo de Hive o el diseño de tu elección. Yo abrí una imagen del logo en mi teléfono, coloqué el plástico en la superficie y con el marcador comencé a dibujar la silueta.
Luego con una regla perfeccioné las líneas.
Now we trace the Hive logo or the design of your choice. I opened an image of the logo on my phone, placed the plastic on the surface and with the marker I began to draw the silhouette.
Then with a ruler I perfected the lines.

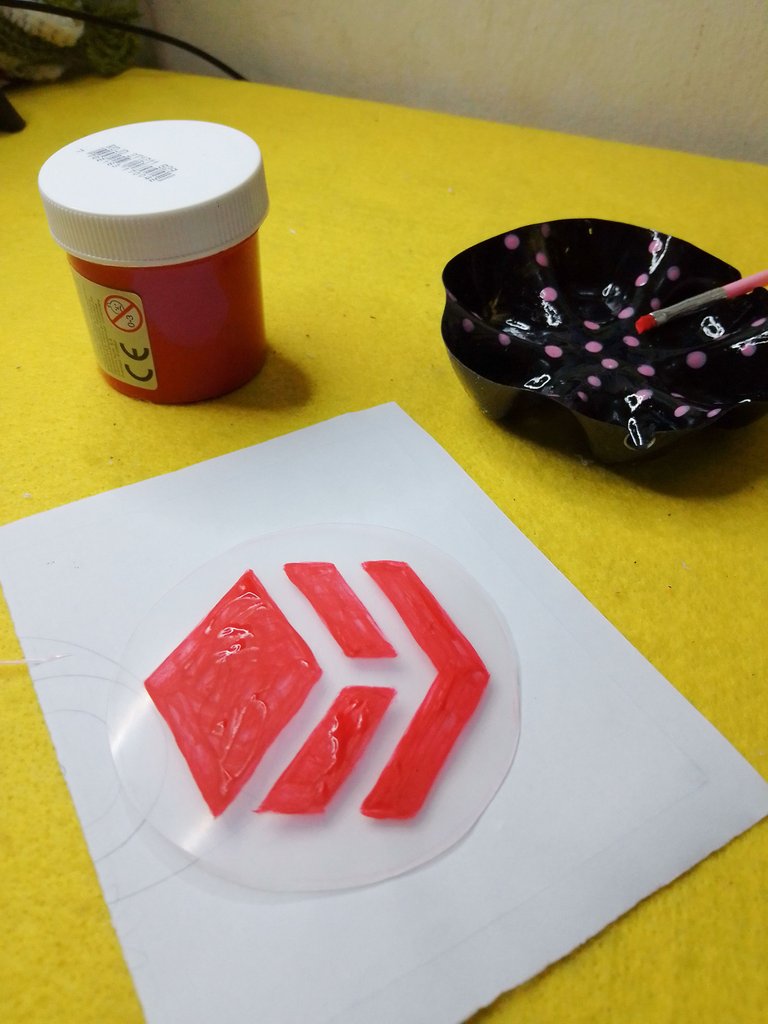
Con pintura al frío rojo pinté varias capas dentro del logo de hive hasta obtener un color sólido.
With red cold paint I painted several layers inside the hive logo until I got a solid color.

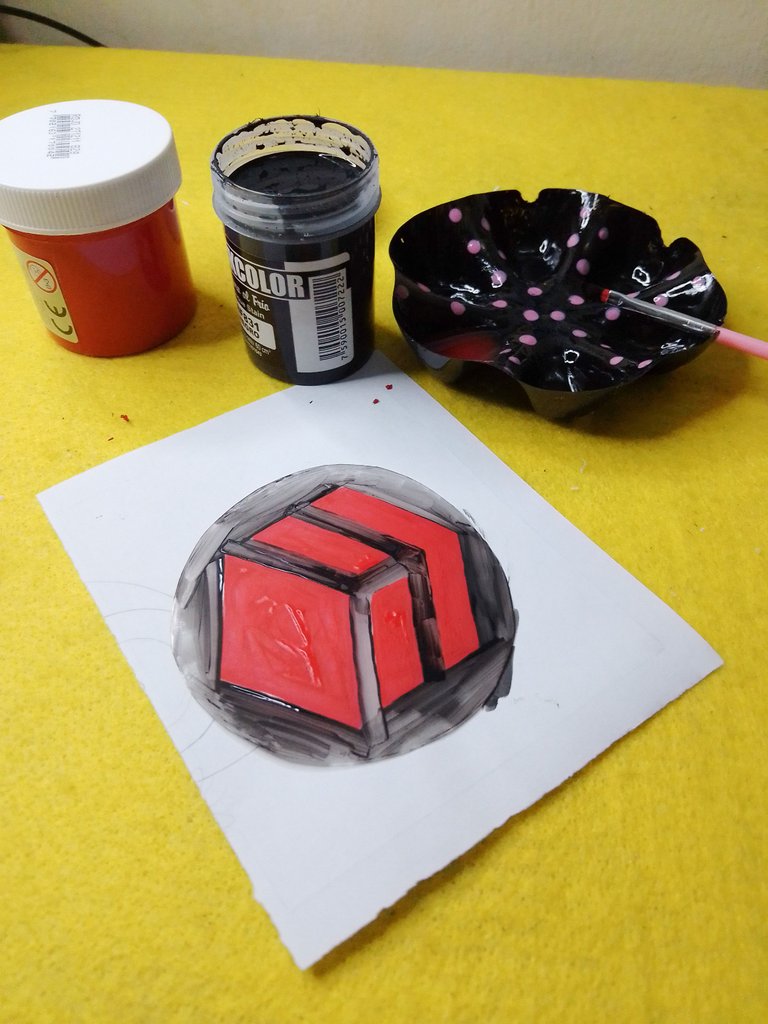
Ahora hacemos lo mismo con el color negro para el fondo, así perfeccionamos los bordes del logo y damos realce al color rojo.
Now we do the same with the black color for the background, thus perfecting the edges of the logo and enhancing the red color.
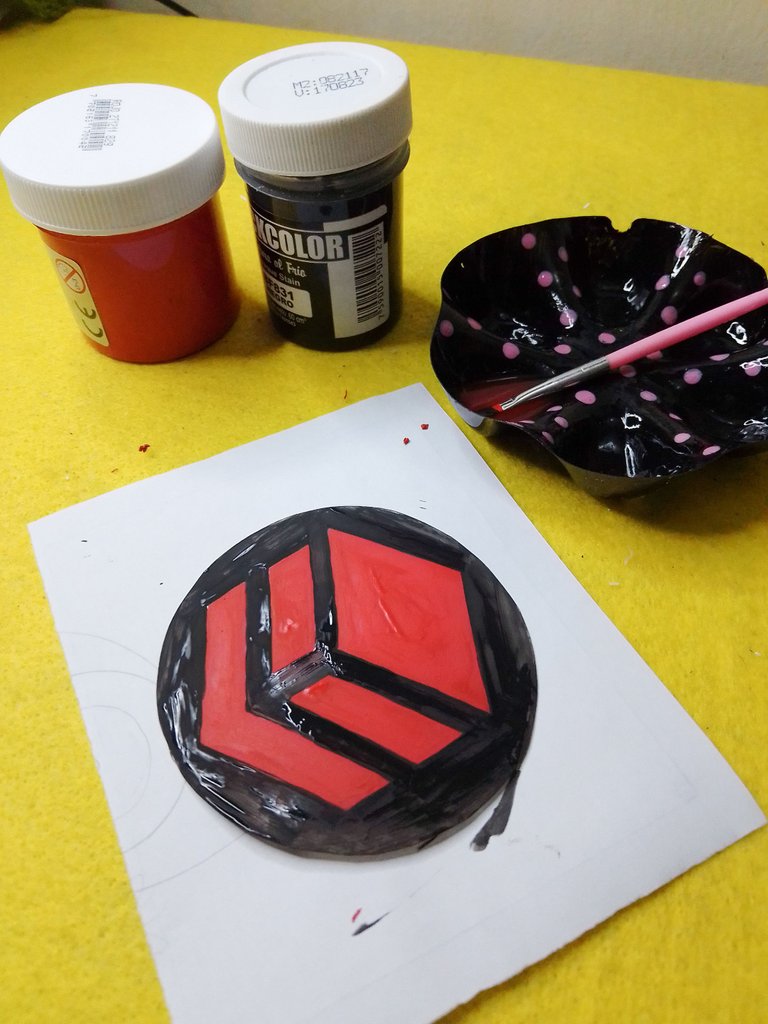

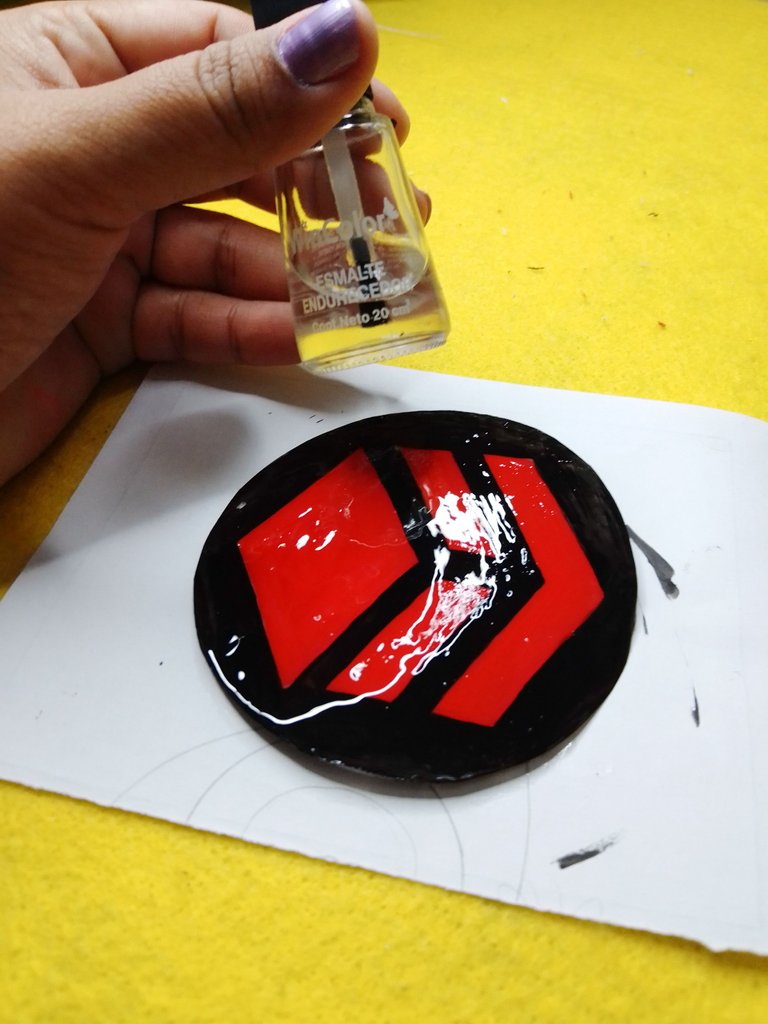
Una vez seca la pintura aplicamos una capa de esmalte transparente o el barniz de tu elección. Así protegemos el color.
Dejamos secar por al menos 30 minutos.
Once the paint is dry, apply a layer of transparent enamel or the varnish of your choice. This is how we protect the color.
Let dry for at least 30 minutes.

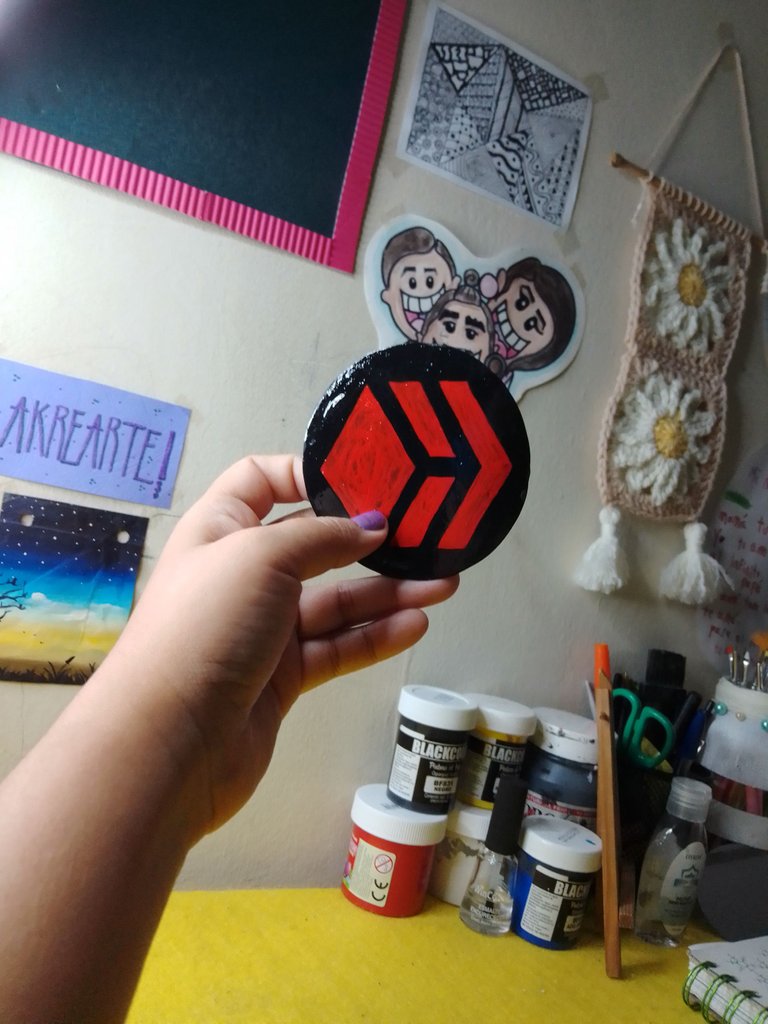
Ahora sí, estamos listos para colgar la insignia de Hive en la pared.
Yo lo he hecho con un poco de cinta adhesiva para poder moverla cuando guste.
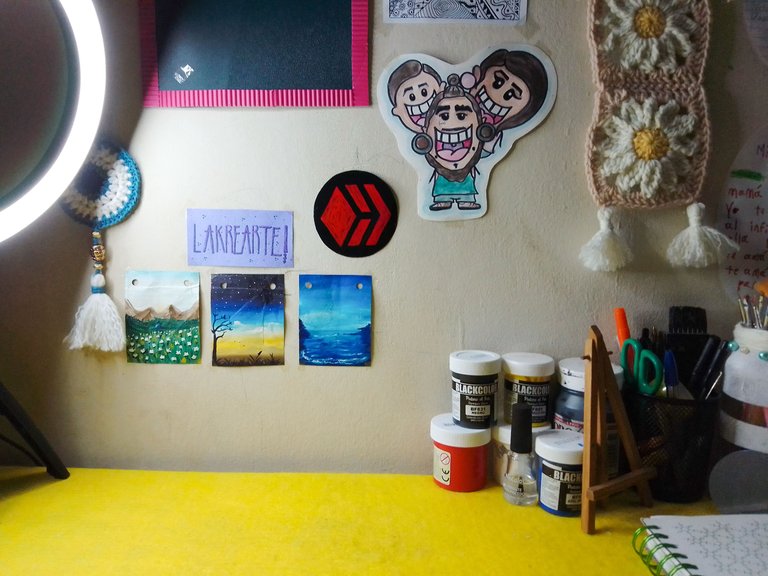
Y así luce ahora colgada. Dime, ¿qué te ha parecido la propuesta?
¿Que otro diseño podriamos plasmar en estas insignias? Te leo. ♥
Now yes, we are ready to hang the Hive badge on the wall.
I have done it with a bit of adhesive tape to be able to move it whenever you like.
And so she looks now hanging. Tell me, what did you think of the proposal?
What other design could we capture in these badges? I read you ♥


Espero haya sido de tu agrado y provecho.
Un gran abrazo a todos, y nos leemos en un próximo post
• Lakrearte en Hive •
Att: Estefania Garcia ♥

Imágenes y separadores de mi autoría