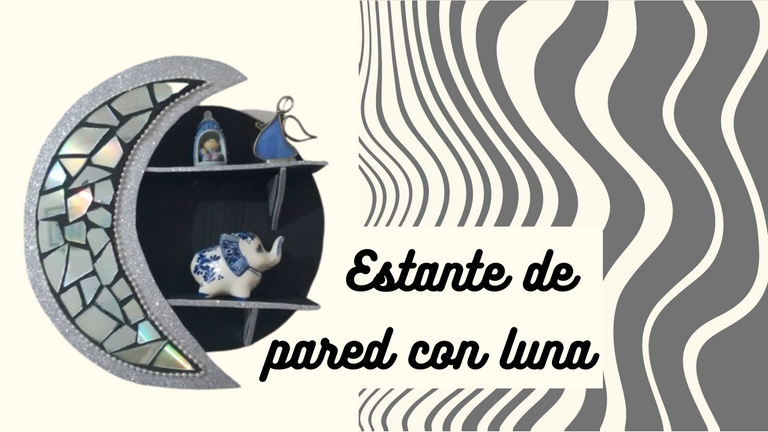


Dear crafting community, I am pleased to present you my latest craft. I made a shelf in my style, I love the result, if you are short of ornaments and want to decorate your wall, this is a nice option.
On this shelf I intend to place my miniatures, it is sturdy and can withstand the weight. It has a touch of elegance, it can adapt to environments of this style and country style as well. I invite you to follow the step by step, I hope you like it.
Querida comunidad artesana, me complace presentarles mi más reciente manualidad. Hice un estante a mi estilo, me ha encantado el resultado, si estás escasos de adornos y quieres decorar tu pared, esta es una linda opción.
En este estante pretendo colocar mis miniaturas, es resistente y aguanta el peso. Tiene un toque de elegancia, puede adaptarse a ambientes de este estilo y estilo country también. Te invito a seguir el paso a paso, espero les guste.
Wall shelf with moon (DIY) Handicraft
Everything that is handmade will always be beautiful, it not only carries our emotions, tastes but also carries that stamp, that mark of us that anyone can identify, our spirit.
Being in bed resting from what happened, I have been seeing many crafts that I would like to recreate in my style, adapt them to my way and see if I can achieve them, this is one of them. I will leave the link at the end of the publication.
I thought it was a great project that will decorate my empty spaces on those graceless walls, making them a unique and beautiful space. Join me in the step by step, it is easy to do, I will tell you everything you need to recreate it in your style.

Estante de pared con luna - Hecho a mano.
Todo lo que sea hecho a mano siempre será hermoso, no solo lleva impresa nuestras emociones, gustos sino que también lleva ese sello, esa marca de nosotros que cualquiera puede identificar, nuestro espíritu.
Estando en cama descansando de lo acontecido, he estado viendo muchas manualidades, que quisiera recrear a mi estilo, adaptarlas a mi forma y ver si puedo lograrlas, esta es una. Dejaré el enlace el final de la publicación.
Me pareció un estupendo proyecto que decorará mis espacios vacíos en esas paredes sin gracia, haciendo de ellas un espacio único y hermoso. Acompáñame en el paso a paso, es sencilla de realizar, te diré todo lo que necesitas para recrearla a tu estilo.
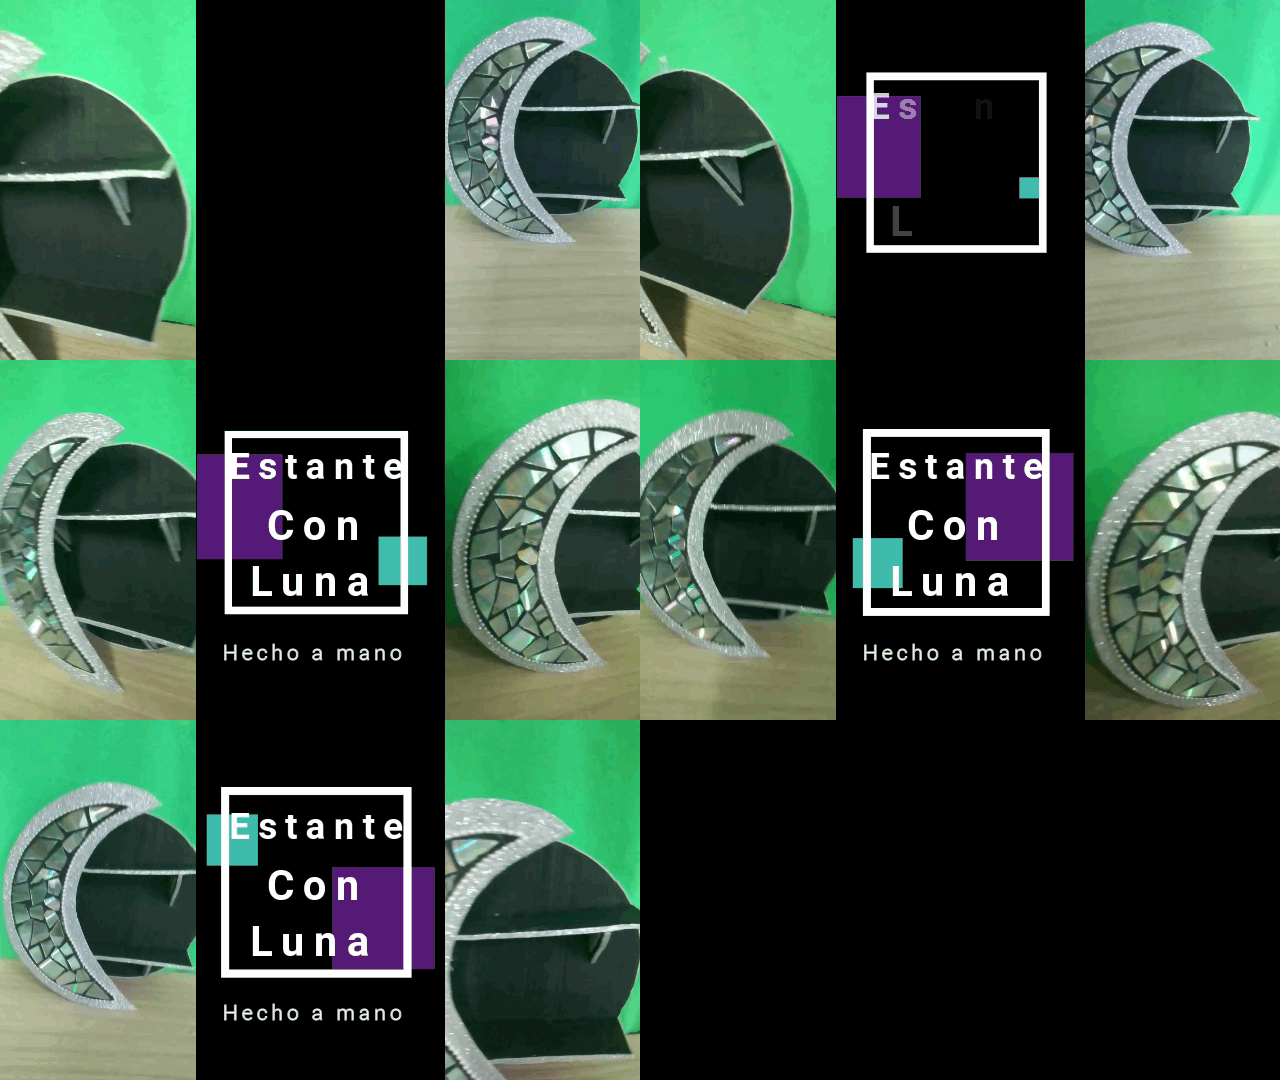

Step by step / Paso a paso

Materials / Materiales
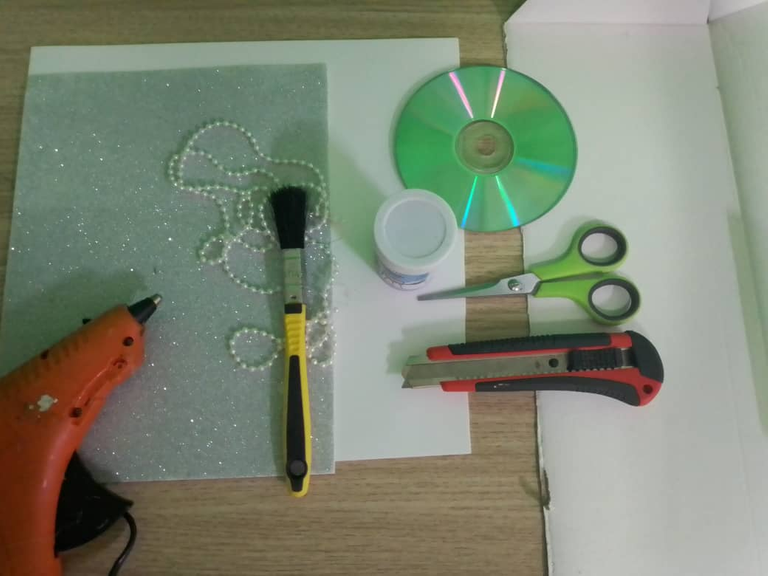
| ENG | ESP |
|---|---|
| - Frosted Fomi. | - Fomi escarchado |
| - Cardboard. | - Cartón. |
| - Pearl run. | - Perla corrida. |
| - CD or DVD. | - CD o DVD. |
| - Cold paint black color. | - , Pintura al frío color negro. |
| - Hot silicone, scissors, ruler | - Silicón caliente, tigeras, regla |
| - Cuter | - Cuter |

Step 1️⃣ / Paso 1️⃣
 |  |
|---|---|
 |  |
This craft is very easy to make, it takes only a few steps to recreate it.
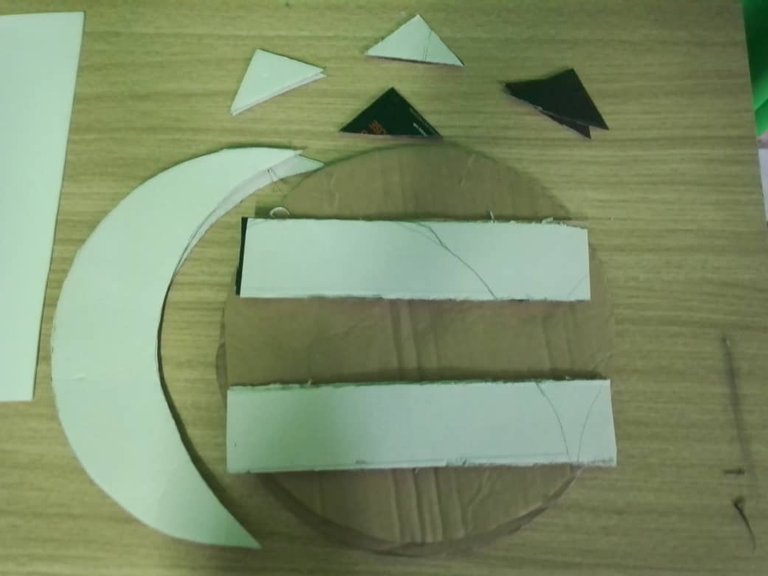
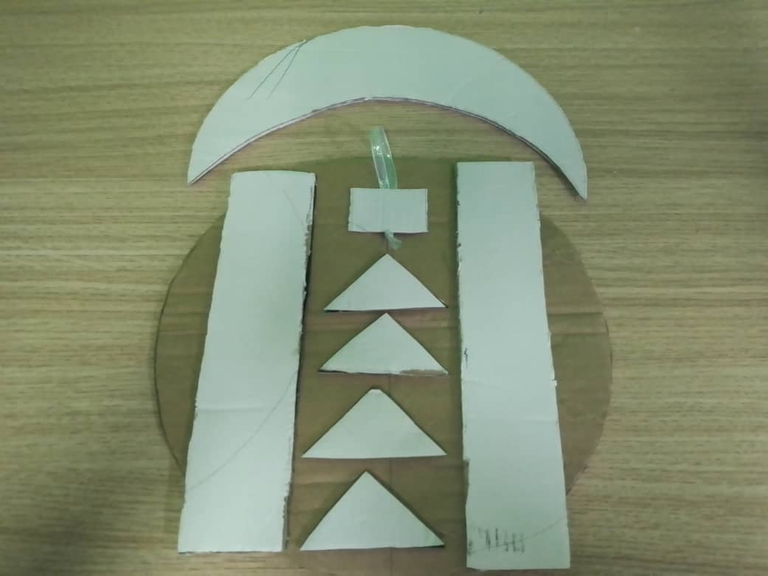
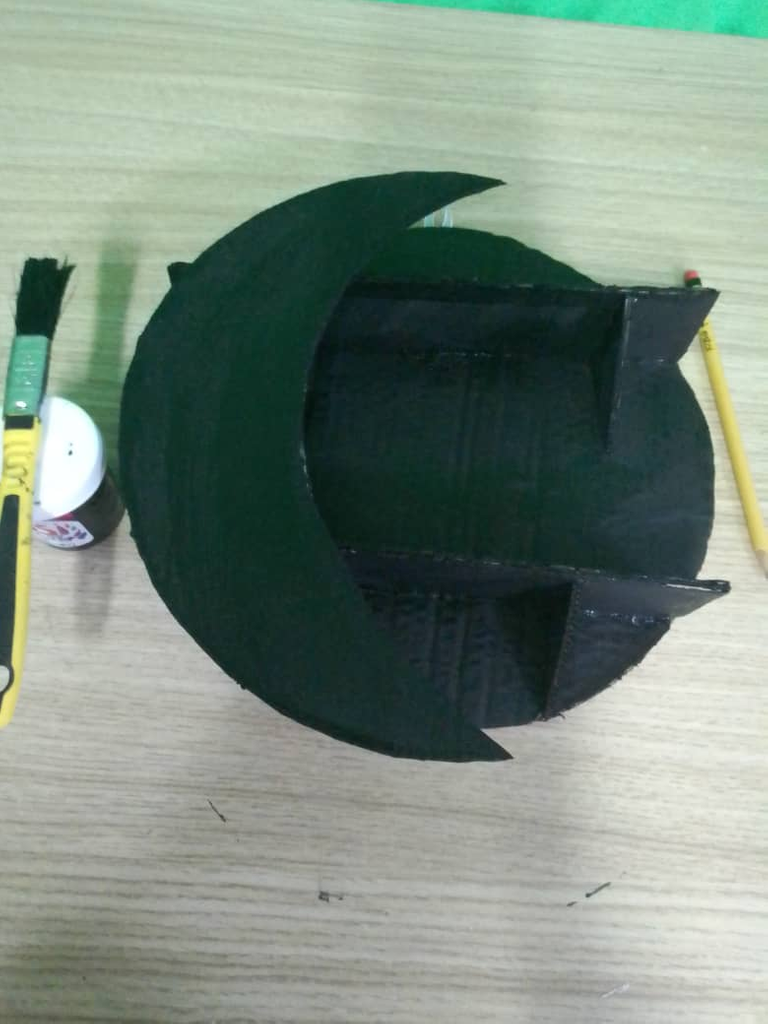
You will need to cut out two pieces of each to make it more resistant. For this you need two circular pieces, two moons of the same size as the circular piece of 30 centimeters in diameter, so you can use it as a mold, four rectangular pieces for the shelves, these are 5 centimeters wide and 25 centimeters long, then take the measure to cut the triangular pieces needed to reinforce the base.
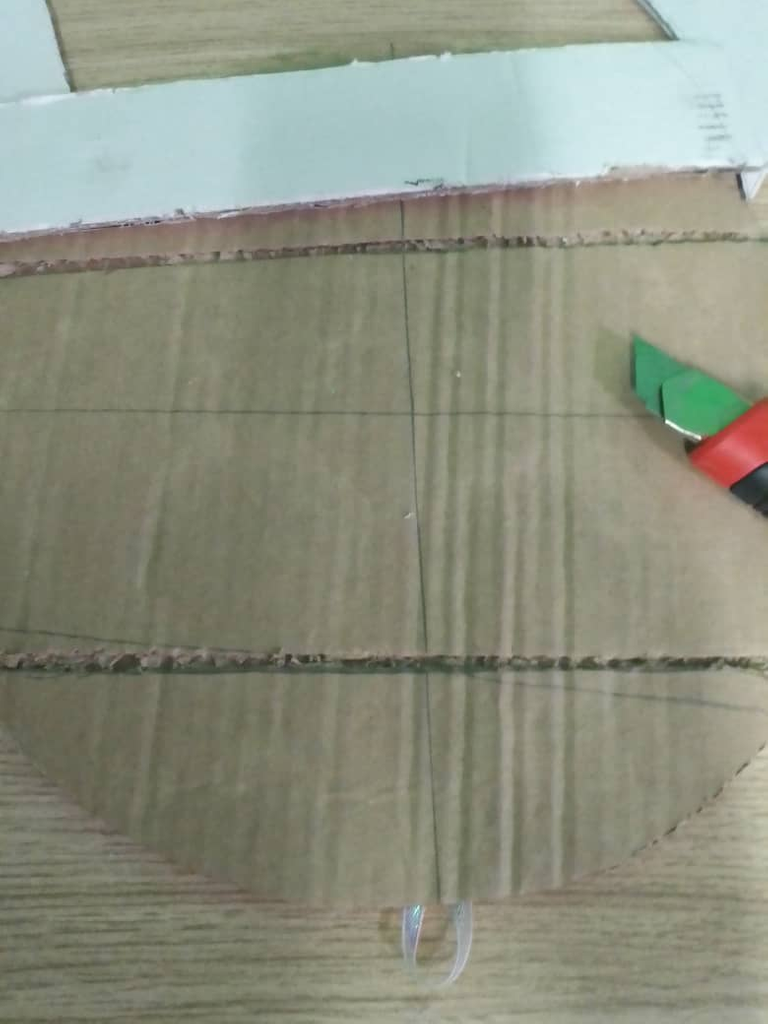
After you have cut out all the pieces, you will glue them together two by two. As shown in the second picture, you can glue a hook on the back that will serve as a pendant.
With the exacto or cutter and with the help of a ruler, cut some lines without reaching the other side of the cardboard, which will help you to hold the shelves better.
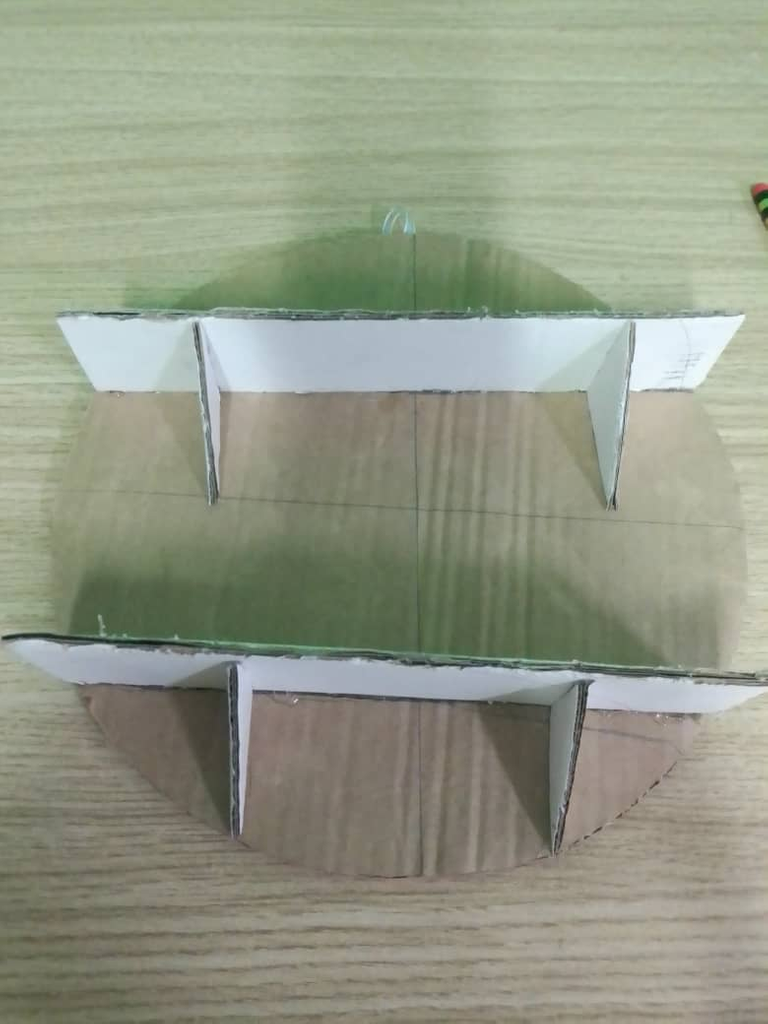
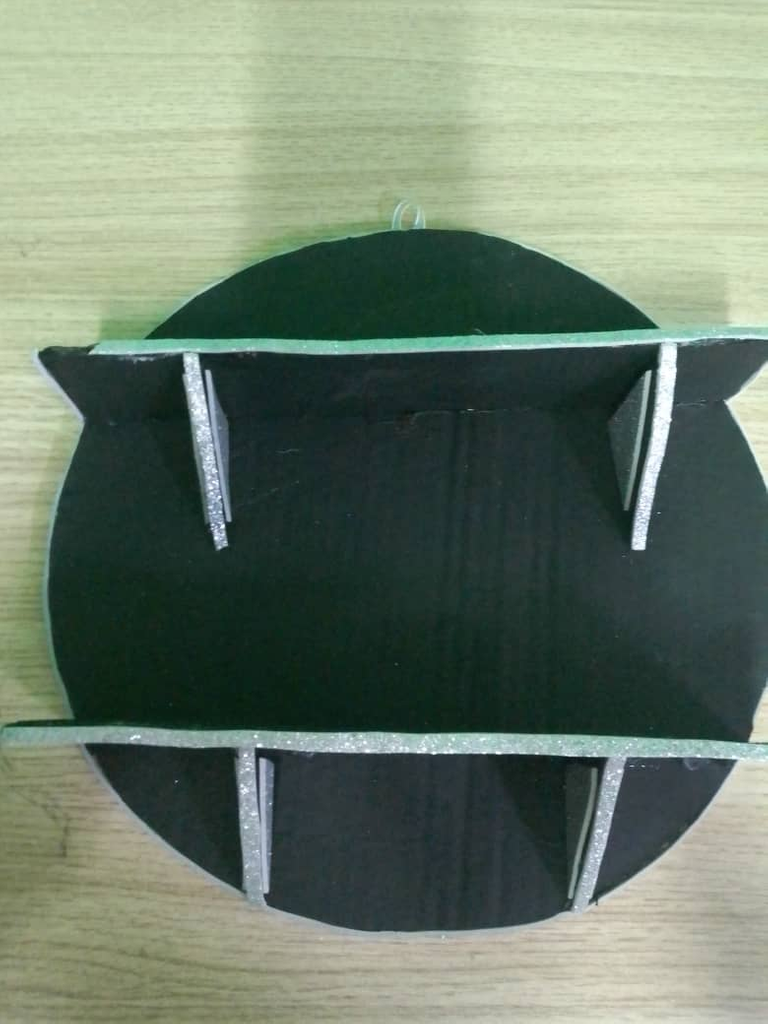
In the next step, glue the shelves of the circle and under them the reinforcements, as shown in the image.
Esta manualidad es muy sencilla de hacer, se llevan pocos pasos para recrearla.
Deberás recortar dos piezas de cada una para que sea más resistente. Para ello necesitas dos piezas circulares, dos lunas del mismo tamaño que la pieza circular de 30 centímetros de diámetro, por la que puedes usarla como molde, cuatro piezas rectangulares para las repisas, estas tienen 5 centímetros de ancho y 25 de largo, luego toma la medida para recortar las piezas triangulares necesarias para reforzar la base.
Luego de haber recortado todas las piezas, irás pegando de dos en dos. como indica la segunda imagen, puedes pegar un gancho por la parte de atrás que servirá de colgante.
Con el exacto o cutter y con ayuda de una regla, recorta sin llegar al otro lado del cartón, unas líneas, que te ayudarán a que las repisas estén mejor sujetas.
En el siguiente paso, pega las repisas del círculo y debajo de ellas sus refuerzos, como indica la imagen.

Step 2️⃣ / Paso 2️⃣
 |  |
|---|---|
 |  |
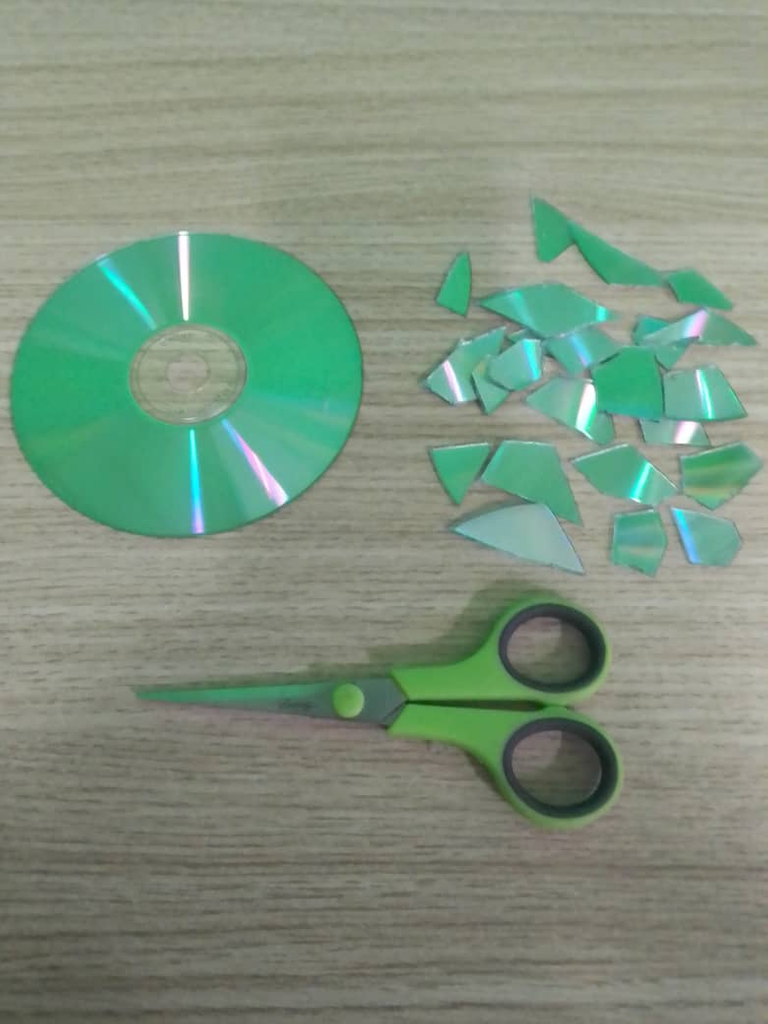
With a sturdy scissors or other tool, cut out pieces of CD or DVD, these perfectly simulate the mirror.
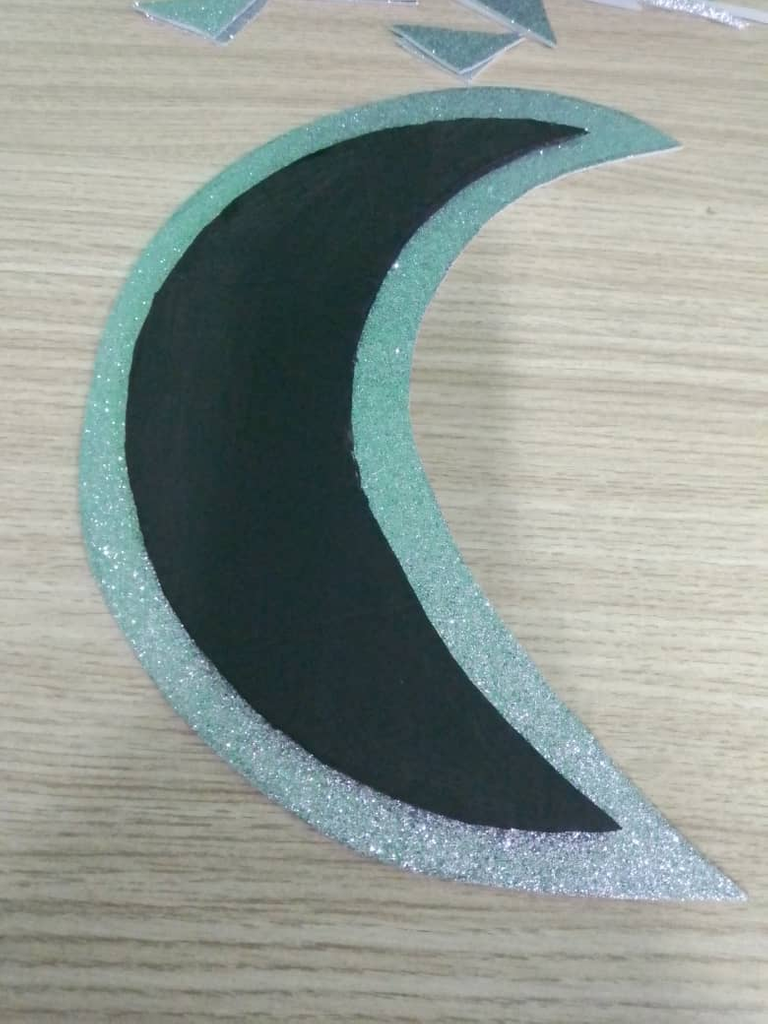
With the black paint, now paint all the pieces. Let dry.
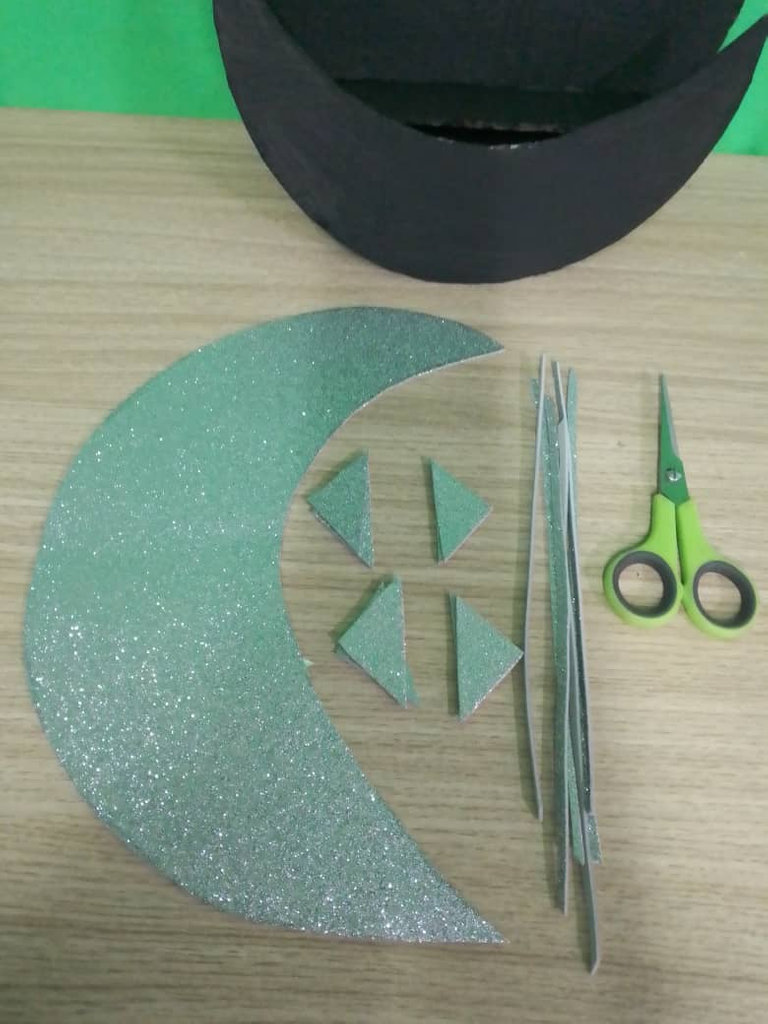
Cut out the pieces of fomi, the shape of the moon leaving 1 centimeter wide on the outside of it. You also need to cut out the triangles for the shelf supports and several 0.5 centimeter wide strips.
Glue the moon to the frosted fomi.
Con una tijera resistente u otra herramienta, recorta trozos de CD o DVD, estos simulan perfectamente el espejo.
Con la pintura negra, ahora pinta todas las piezas. Deja secar.
Recorta las piezas de fomi, la forma de la luna dejando 1 centímetro de ancho por fuera de ella. También necesitas recortar los triángulos de los soportes de la repisa y varias tiras de 0.5 centímetros de ancho.
Pega la luna al fomi escarchado.

Step 3️⃣ / Paso 3️⃣
 |  |
|---|---|
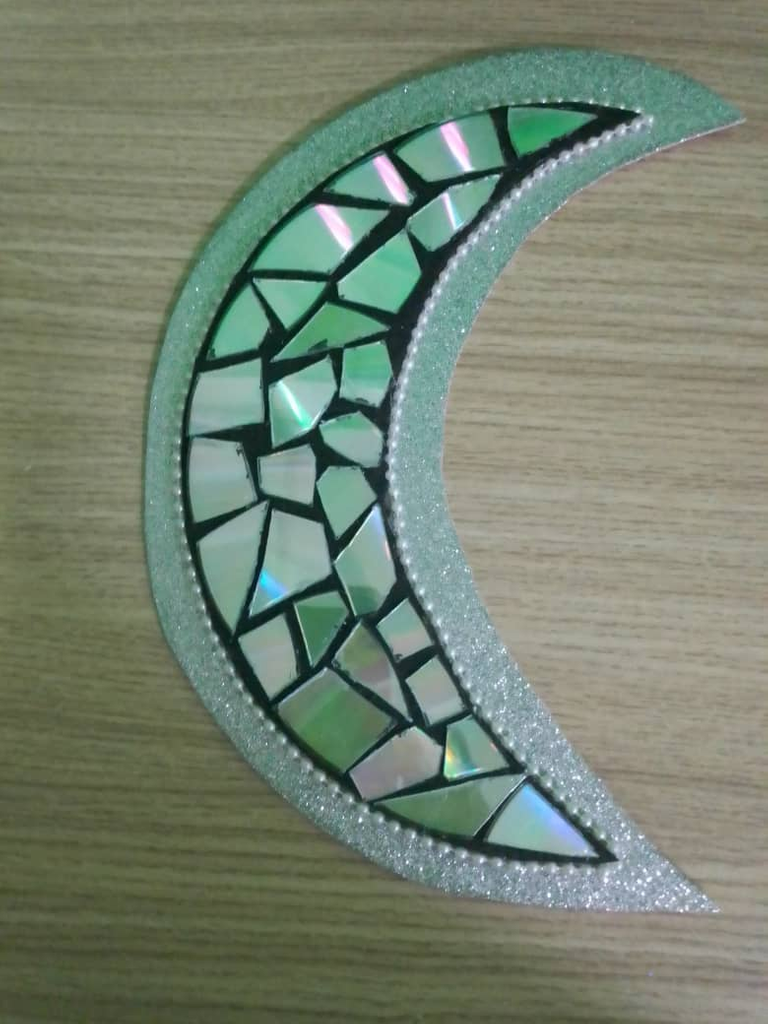 |  |
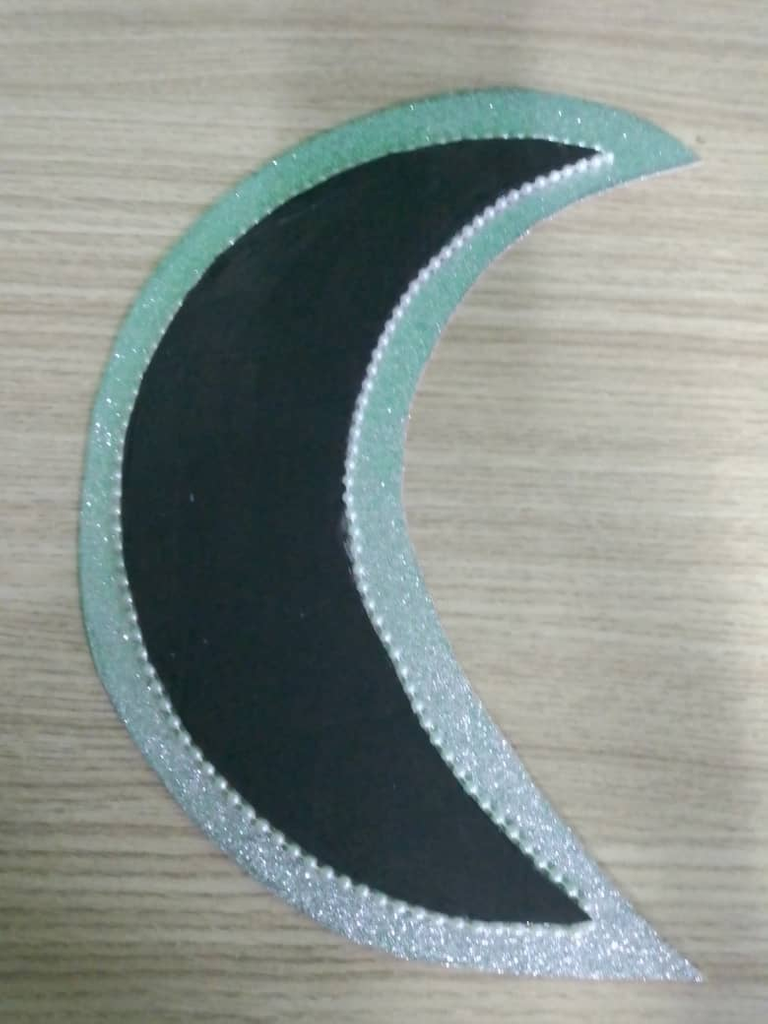
Glue the bead along the entire edge of the moon on the inside.
Use the thin strips of fomi to glue along the edges of the shelf, this will give it a better finish.
Glue the CD or DVD scraps to the moon.
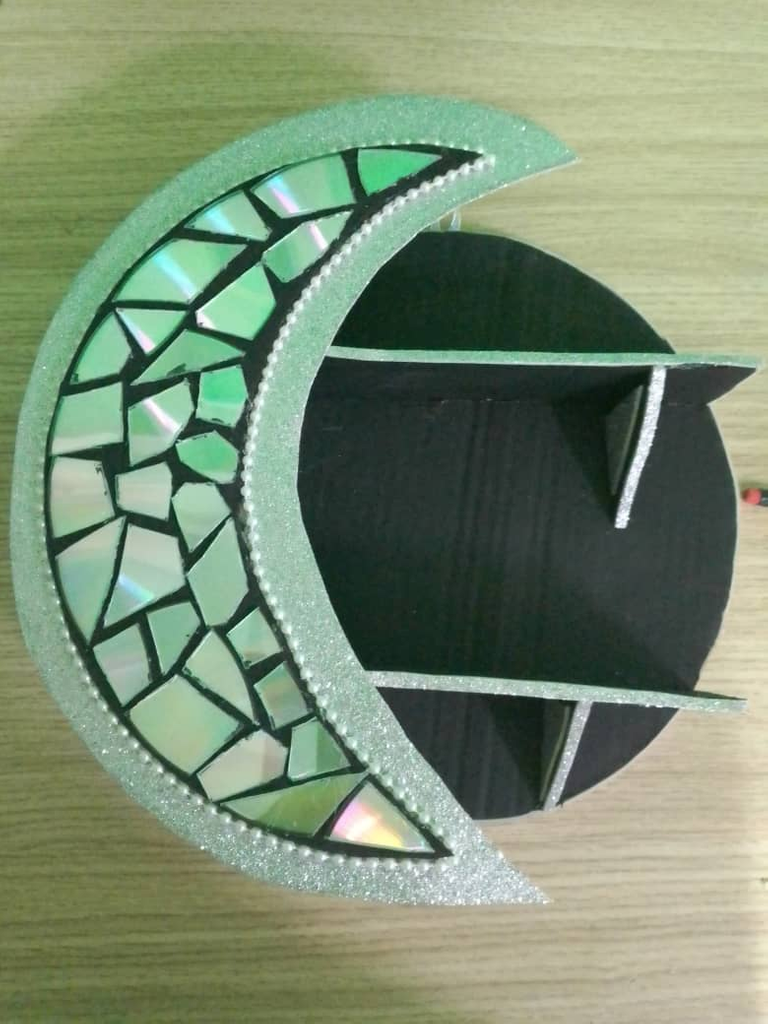
Now, glue the moon of the shelf and we have finished our project.
Pega la perla corrida por todo el borde la luna en su parte interior.
Usa las tiras delgadas de fomi para pegarlas por los bordes de la repisa, esto le dará mejor acabado.
Pega los retazos de CD o DVD de la luna.
Ahora, pega la luna de la repisa y con ello hemos terminado nuestro proyecto.


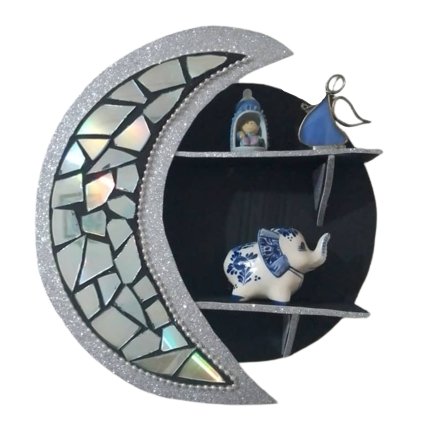
I hope you like it, it was a pleasure to share my crafts with you.
Espero les guste, fue placer compartir mis manualidades con ustedes.


Credits / Créditos.


Vote la-colmena for witness
By @ylich


Hacks, DIY, Crafts, handmade arts Community


