

 |  |

💜💜💜💜💜❤️💜💜💜💜💜
💜💜❤️💜💜
💜❤️💜
❤️
[Esp]
¡Comunidad querida! Desde aquí de mi taller te envío mis mejores vibras, feliz inicio de semana, espero que sea super productiva para todos.
Por acá ando, dándolo todo, creando, aprovechando los brotes de creatividad y las energías que mi cuerpo permita.
Como les dije en mi manualidad anterior, he estado poco a poco comprando cositas para mi pequeño taller de costura y manualidades, por ejemplo estuve comprando telas, hilos, cierres, muchas cintas de todos los anchos y colores variados, cosas de bisutería, todo para ponerme manos a la obra con muchas cosas bonitas, entregando como siempre contenido útil y de calidad en lo posible.
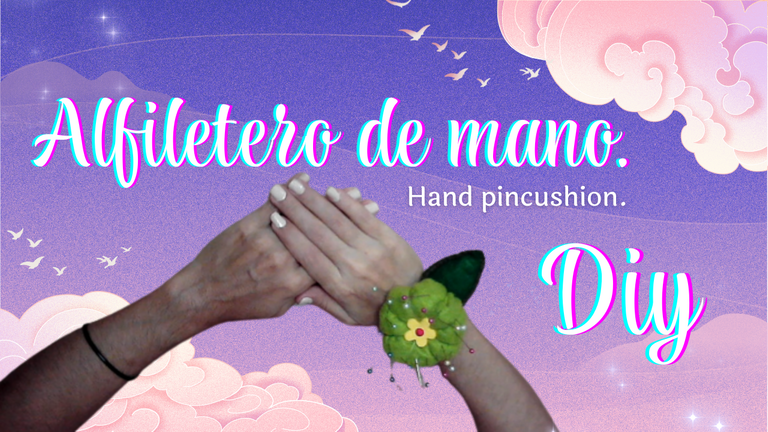
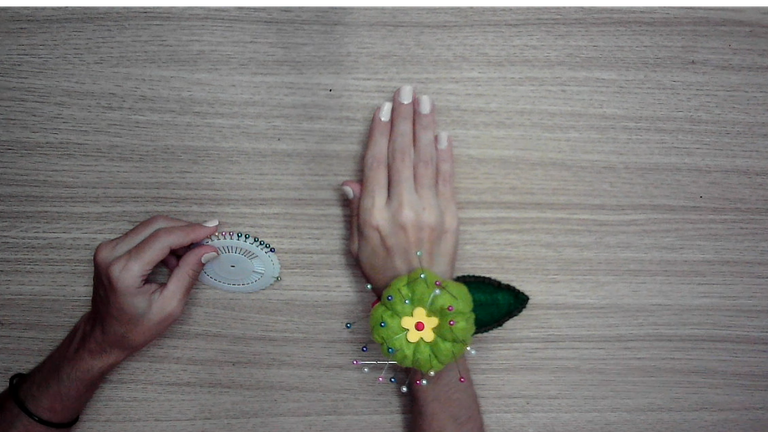
Hoy atiendo mi necesidad y la comparto contigo como idea muy útil para costureras, compré paquetes de agujas y alfileres y no tenía dónde ponerlos, al principio los había puesto en una cajita pero cada vez que iba a sacar uno me pinchaba feo los dedos (¡Qué doloroso!) así que decidí crearme un alfiletero de mano, para ponermelo modo pulcera y de esta manera tenerlo conmigo a donde me mueva de la mesa a la máquina de coser, de acuerdo a lo que esté haciendo.
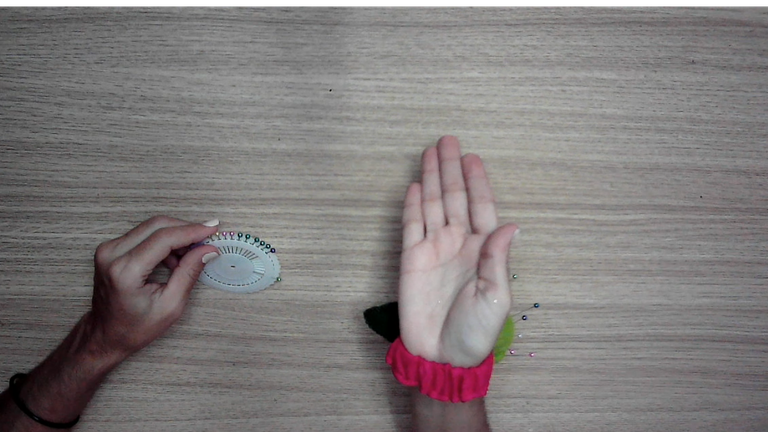
Usé los materiales disponibles y ha quedado coqueto, reciclando lo más que se pueda, dando una nueva oportunidad a algo que iba a desechar, como por ejemplo la goma o liga, que la había reciclado de una prenda de vestir de mi hijo que ya no le quedaba y la estaba remodelando, pude ver que el elástico aun estaba bueno y podía usarlo para algo más.
Te invito a recrearlo con los materiales que tengas disponibles. Ahora luce todo coqueto en mí. Me hace sentir toda una costurera ¡Jajaja! Me divierto mucho, es verdad.
! [Scroll down to read the English version]
[Eng]
Dear community! from here from my workshop I send you my best vibes, happy beginning of the week, I hope it will be super productive for all of you.
Here I am, giving my all, creating, taking advantage of the creativity and energy that my body allows.
As I told you in my previous craft, I have been buying little by little things for my little sewing and crafts workshop, for example I have been buying fabrics, threads, zippers, many ribbons of all widths and colors, costume jewelry things, everything to get to work with many beautiful things, delivering as always useful and quality content as much as possible.
Today I'm sharing with you a very useful idea for seamstresses, I bought packages of needles and pins and I had nowhere to put them, at first I had put them in a little box but every time I was going to take one out it pricked my fingers (how painful!) so I decided to create a pincushion hand pincushion, to wear it as a belt and in this way have it with me wherever I move from the table to the sewing machine, according to what I'm doing.
I used the materials available and it has been cute, recycling as much as possible, giving a new opportunity to something I was going to discard, such as the rubber band, which I had recycled from a garment of my son that no longer fit him and I was remodeling it, I could see that the elastic was still good and could be used for something else.
I invite you to recreate it with whatever materials you have available. Now it looks all flirty on me. It makes me feel like a seamstress haha! I have so much fun, it's true.

💜💜💜💜💜❤️💜💜💜💜💜
Materials / Materiales
💜💜💜💜💜❤️💜💜💜💜💜

[Esp]
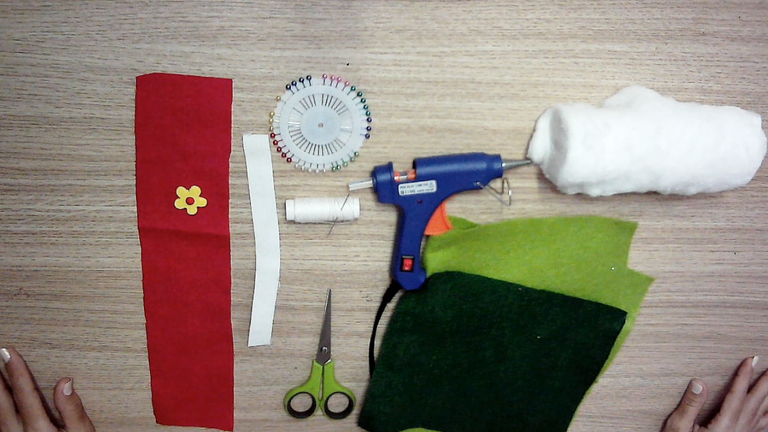
💜 Pistola de silicón caliente, tijeras.
💜 Tela color rojo, fieltro verde claro y verde oscuro.
💜 hilos de coser, maquinaa de coser, no necesariamente)
💜 flor para decorar.
💜 Goma, liga o elástico.
💜 Algodón o polietileno molido para relleno.
! [Scroll down to read the English version]
[Eng]
💜 Hot silicone gun, scissors.
💜 Red fabric, light green and dark green felt.
💜 sewing threads, sewing machine, not necessarily).
💜 flower to decorate.
💜 Rubber band, garter or elastic.
💜 Cotton or ground poly for stuffing.

💜💜💜💜💜❤️💜💜💜💜💜
Step by Step / Paso a Paso
💜💜💜💜💜❤️💜💜💜💜💜

Step 1️⃣/ Paso 1️⃣
 |  |  |
 |  |
[Esp]
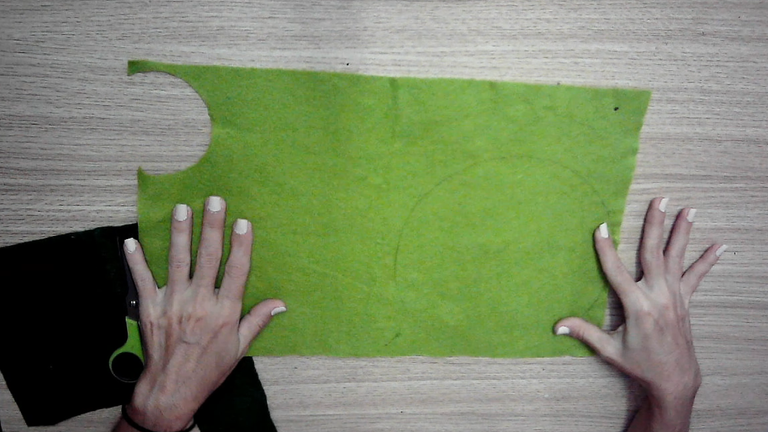
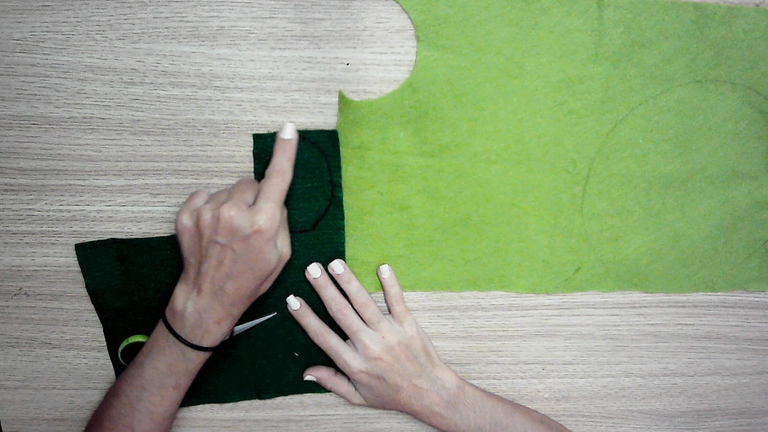
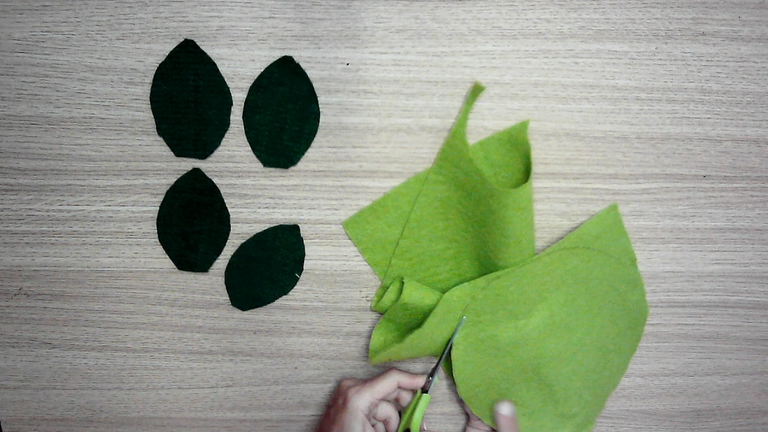
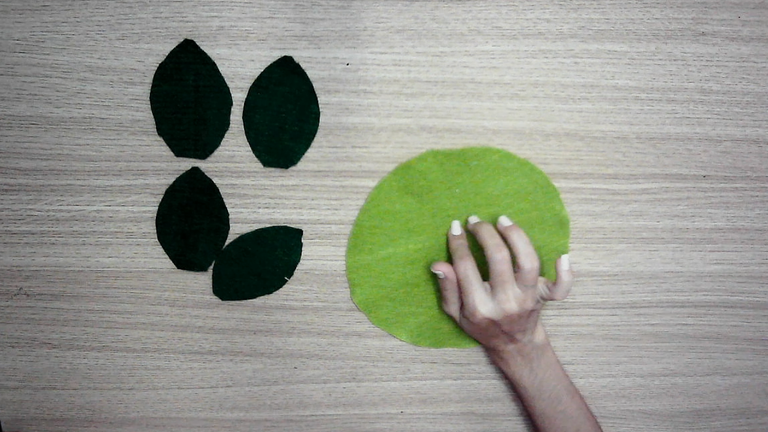
Marcamos las piezas con algún lápiz...
Un círculo para la parte de arriba de aproximadamente 25 centímetros de diámetro.
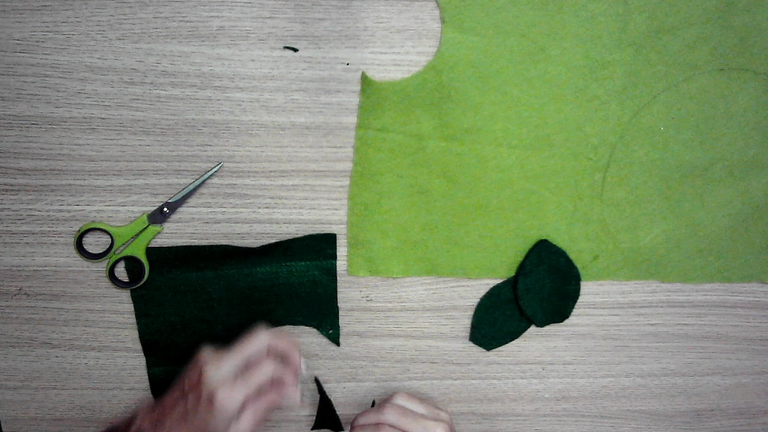
Una pieza que será la hoja.
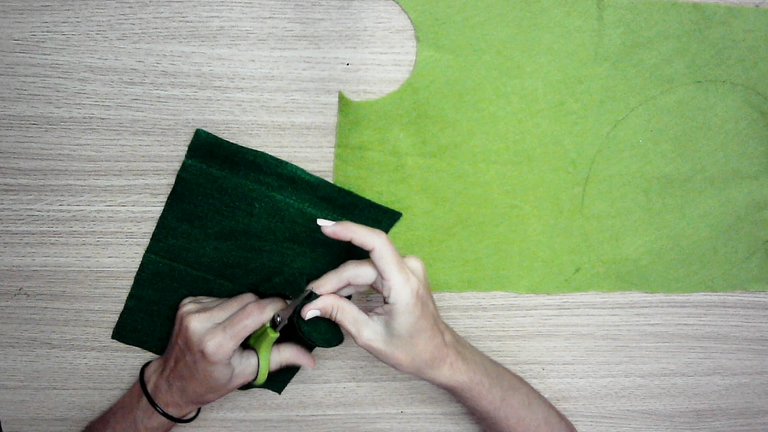
Recortamos las piezas por el borde marcado, para la hoja necesitaremos dos piezas iguales.
! [Scroll down to read the English version]
[Eng]
Mark the pieces with a pencil...
A circle for the top of approximately 25 centimeters in diameter.
A piece that will be the leaf.
We cut the pieces along the marked edge, for the leaf we will need two equal pieces.

💜💜💜💜💜❤️💜💜💜💜💜
Step 2️⃣/ paso 2️⃣
 |  |  |
 |  |
[Esp]
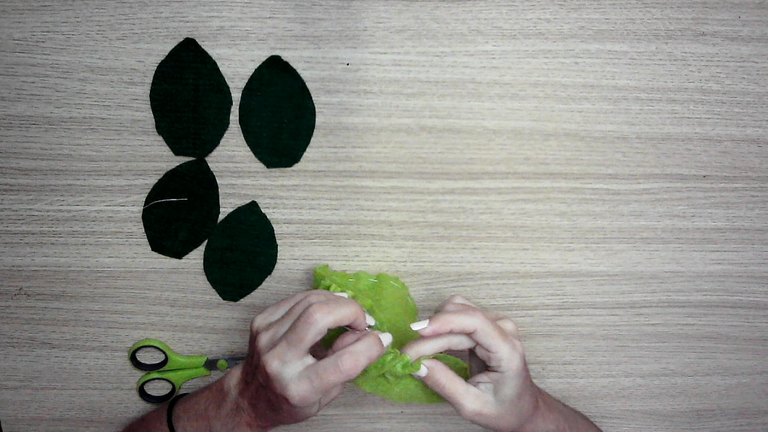
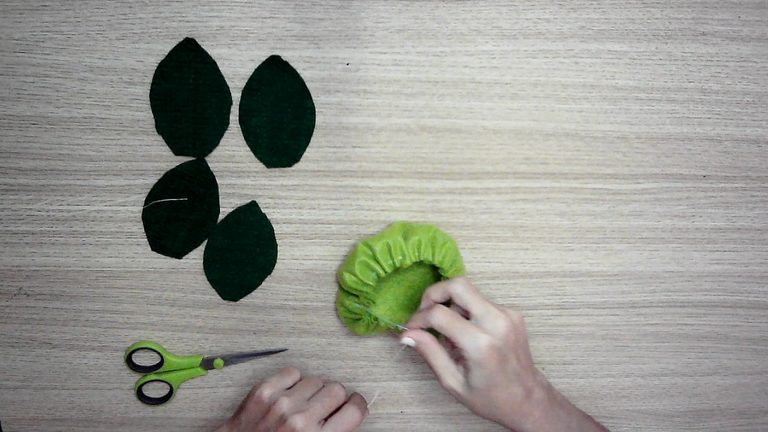
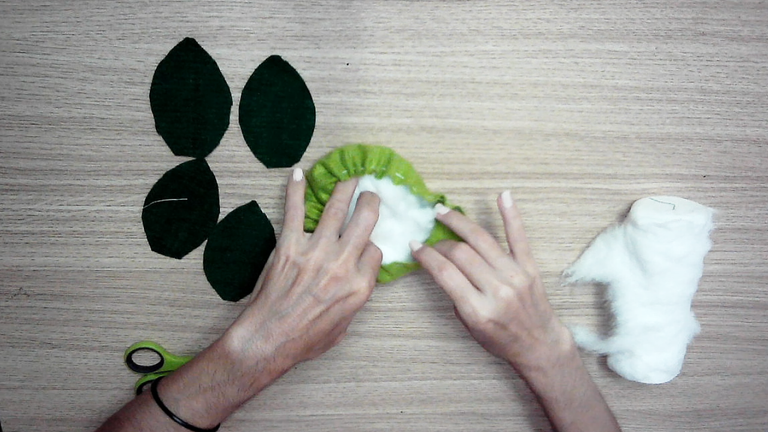
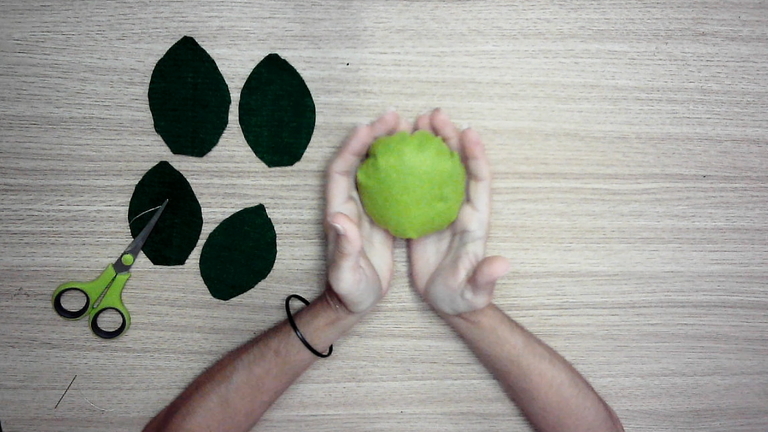
Ahora haremos la bolita, la parte que será la fruta verde, con forma de mandarina ¡Quizá!
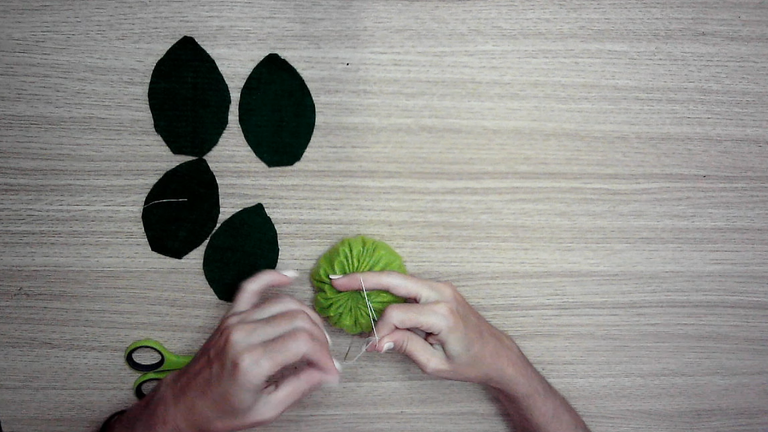
Basteamos por la orilla del círculo que hemos cortado, con un punto bastante flojo, ya que lo vamos a fruncir.
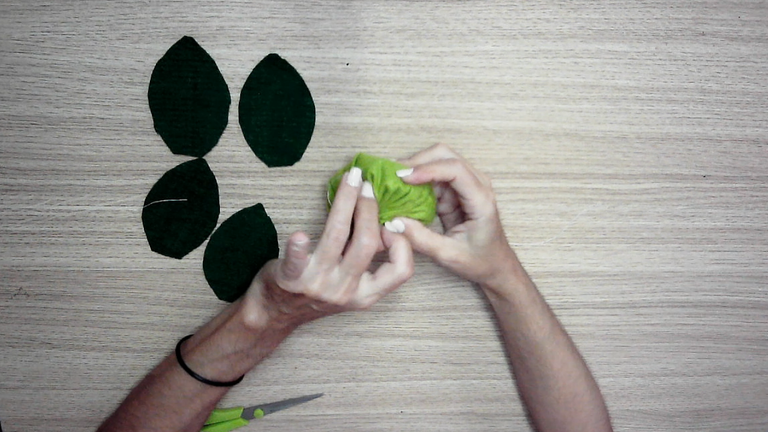
Luego de terminar de coser, halamos un poco el hilo y vemos que está cerrando y tomando forma, aprovechamos poner el relleno, terminamos de apretar el hilo y cosemos, dando puntadas finales para que no se vaya a descoser.
! [Scroll down to read the English version]
[Eng]
Now we will make the little ball, the part that will be the green fruit, shaped like a tangerine, maybe!
We baste around the edge of the circle that we have cut, with a fairly loose stitch, since we are going to gather it.
After finishing sewing, we pull the thread a little and we see that it is closing and taking shape, we put the stuffing, we finish tightening the thread and sew, giving final stitches so that it will not unpick.

💜💜💜💜💜❤️💜💜💜💜💜
Step 3️⃣/ paso 3️⃣
 |  |  |
 |  |
[Esp]
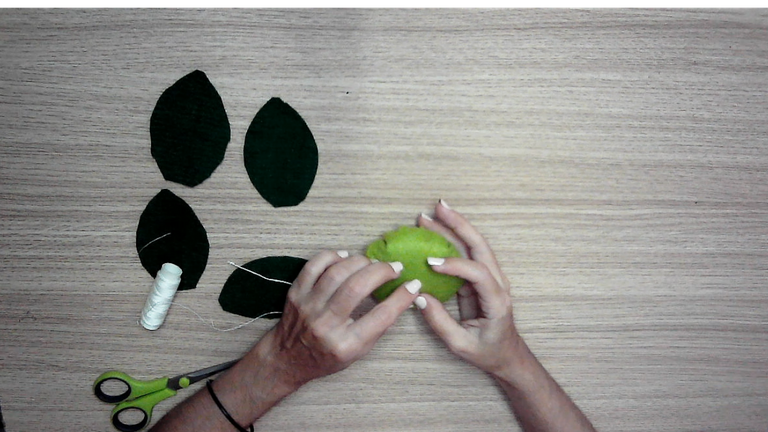
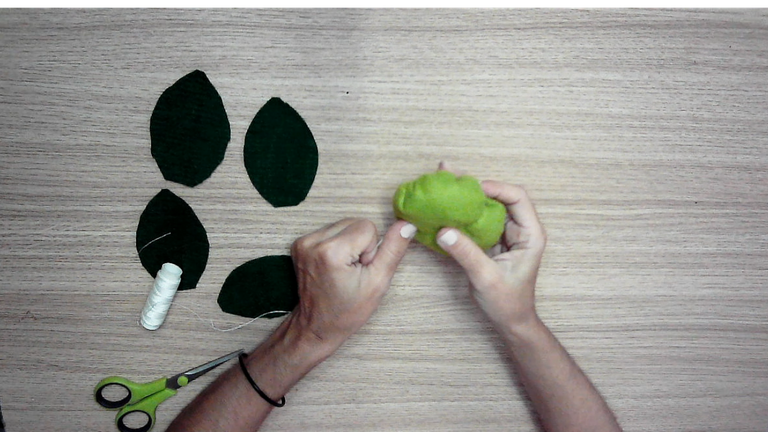
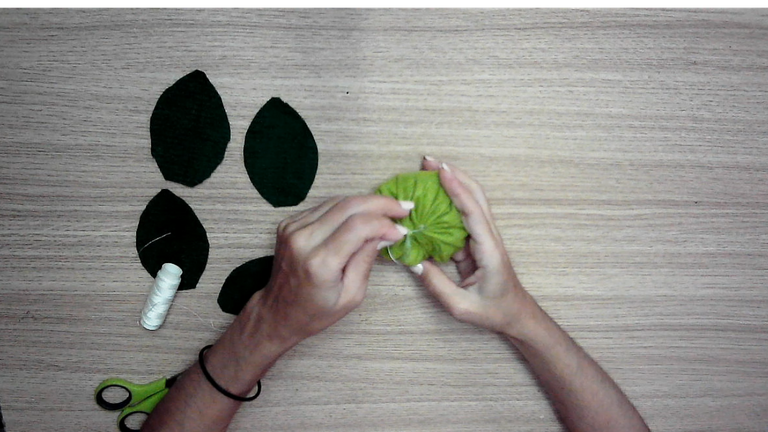
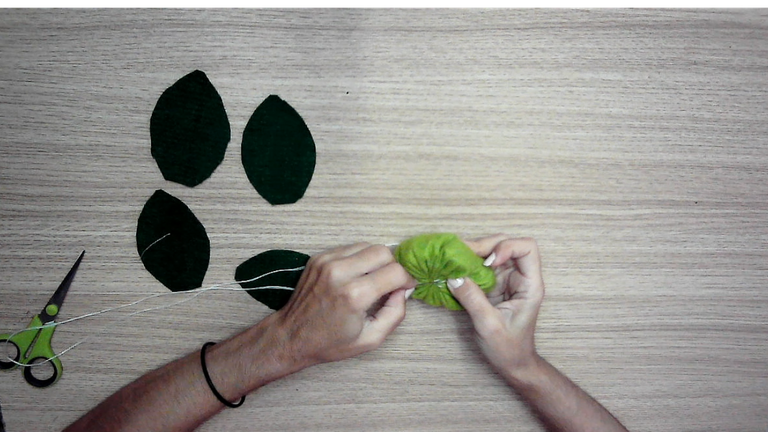
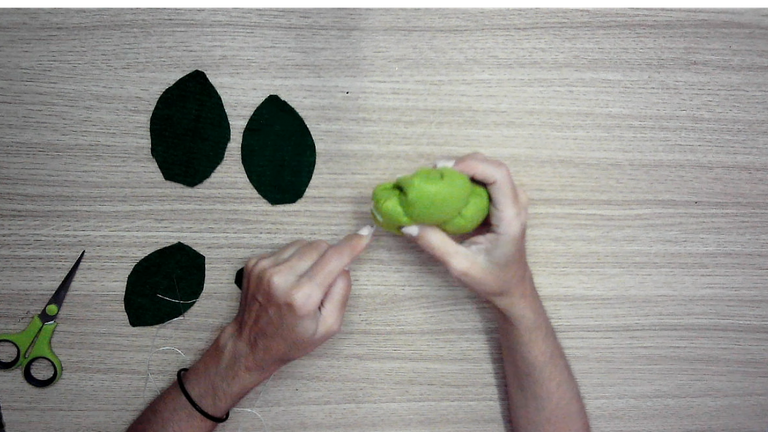
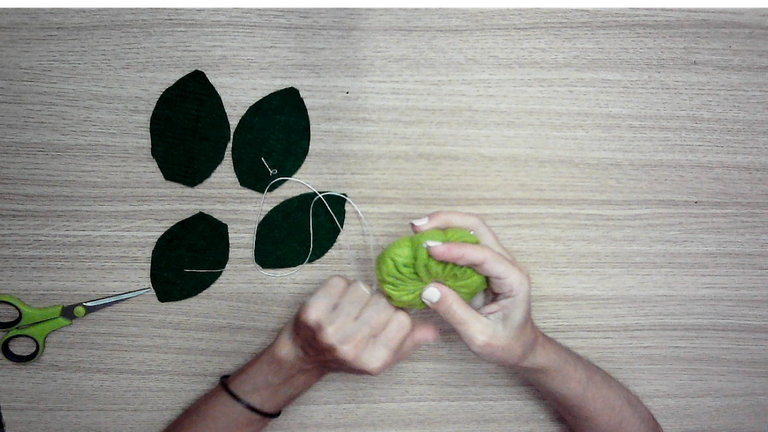
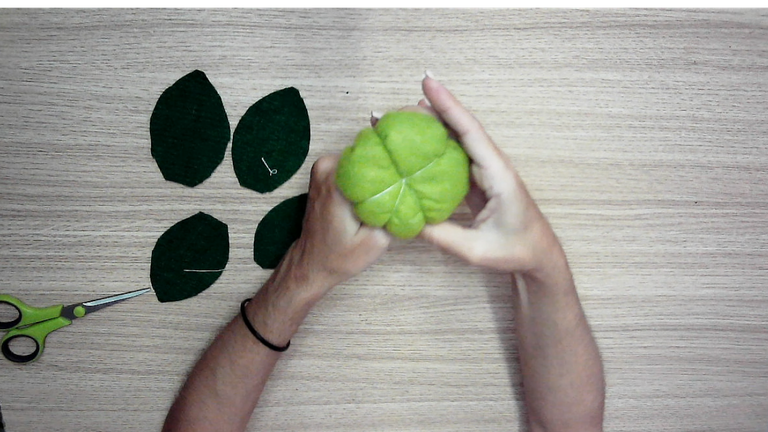
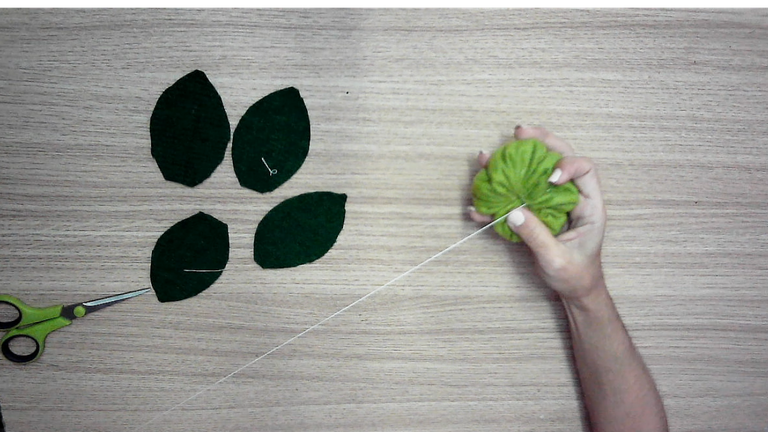
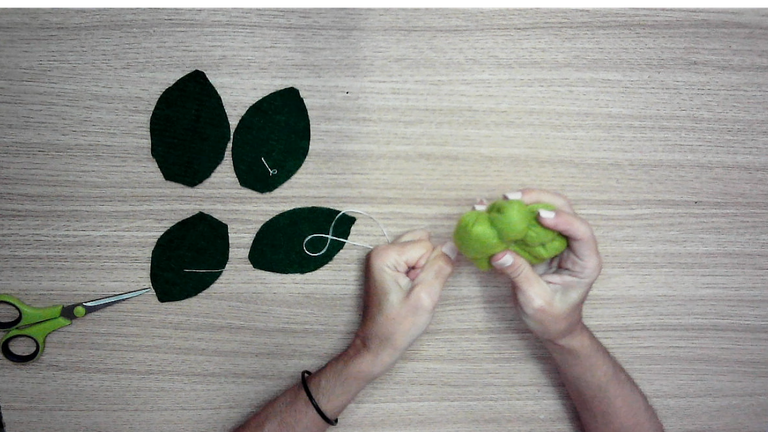
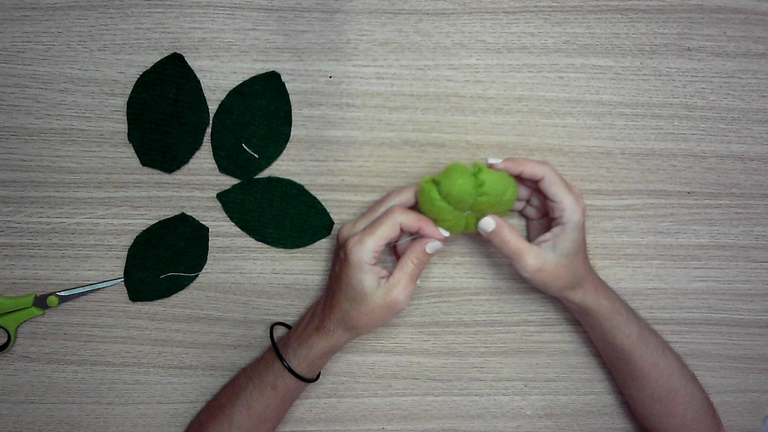
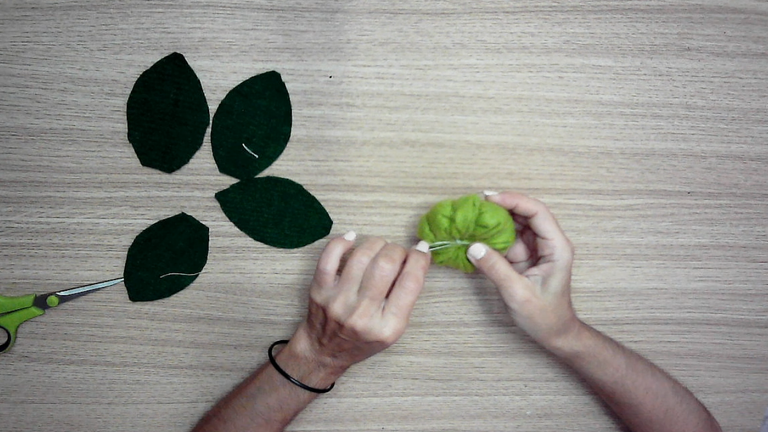
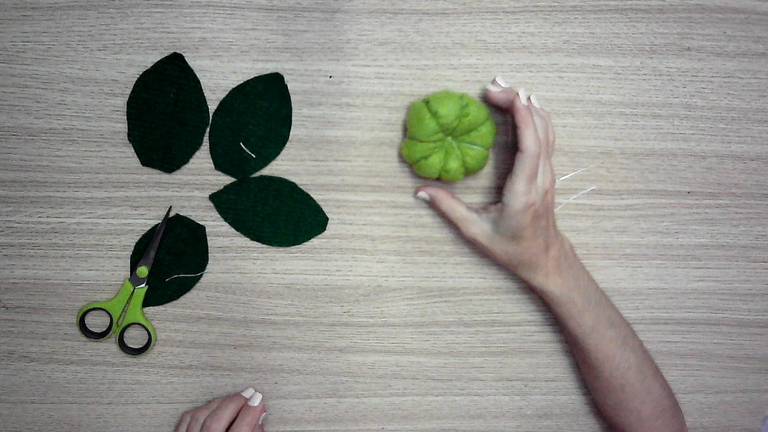
Daremos forma a los gajos...
Estos se elaboran de la siguiente manera:
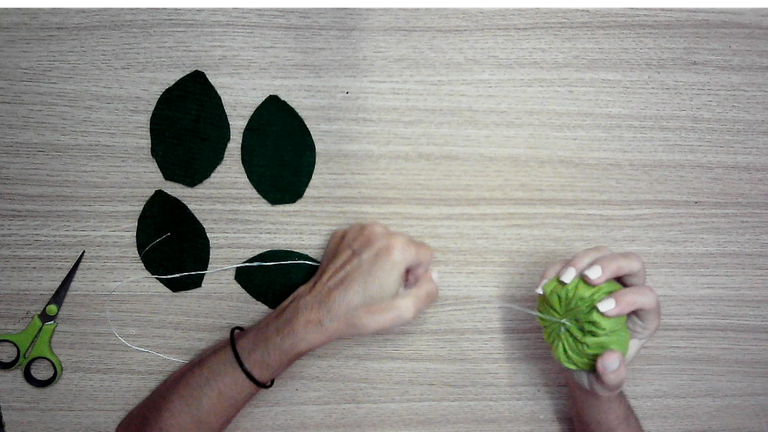
Pasa la aguja con hilo por el medio de la pieza. Ahora pasa el hilo por detrás y en la parte trasera aprieta fuerte y realiza un nudo para que no se suelte.
Repetimos el paso anterior pero al otro extremo.
Estos pasos lo vamos a repetir las veces necesarias de la cantidad de gajos que queramos, yo trabajé modo estrella para que todos los gajos quedaran alineados.
! [Scroll down to read the English version]
[Eng]
Shape the segments...
These are made in the following way:
Pass the needle with thread through the middle of the piece. Now pass the thread through the back and at the back tighten it tightly and tie a knot so that it does not come loose.
Repeat the previous step but at the other end.
We are going to repeat these steps as many times as necessary for the number of segments we want, I worked in star mode so that all segments were aligned.

💜💜💜💜💜❤️💜💜💜💜💜
Step 4️⃣/ paso 4️⃣
 |  | |
 |  |
 |  | |
 |  |
[Esp]
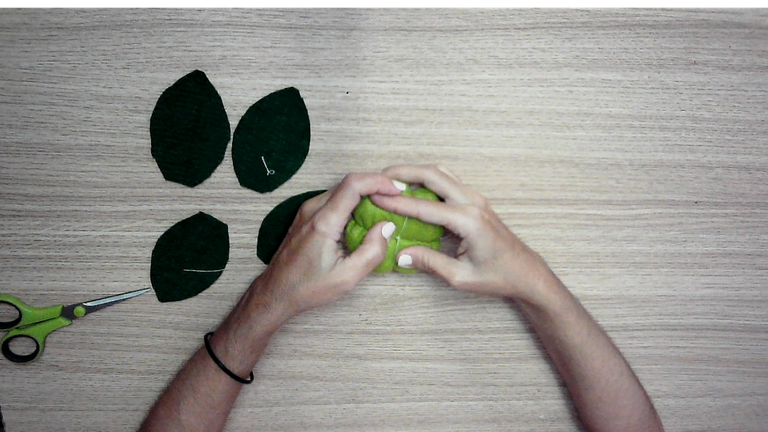
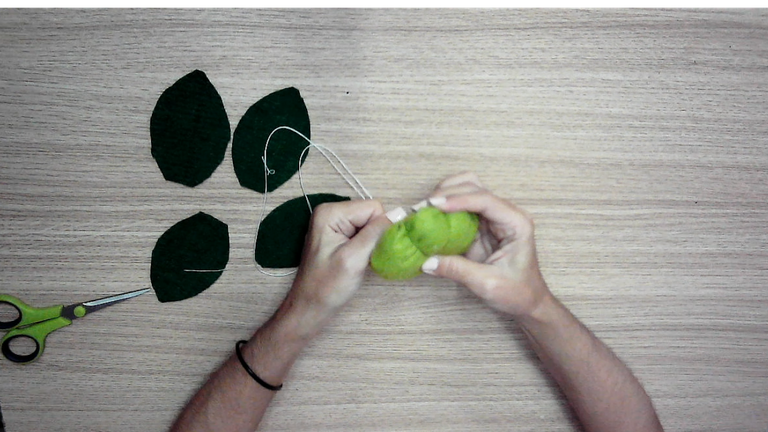
Recrear los gajos es una parte muy divertida, me trae muchos recuerdos, recuerdos de mi abuelita. mi madre no acostumbraba a usar alfiletero de mano, ella lo tenía a un costado de su máquina, seguro me haré otros modelos más adelante.
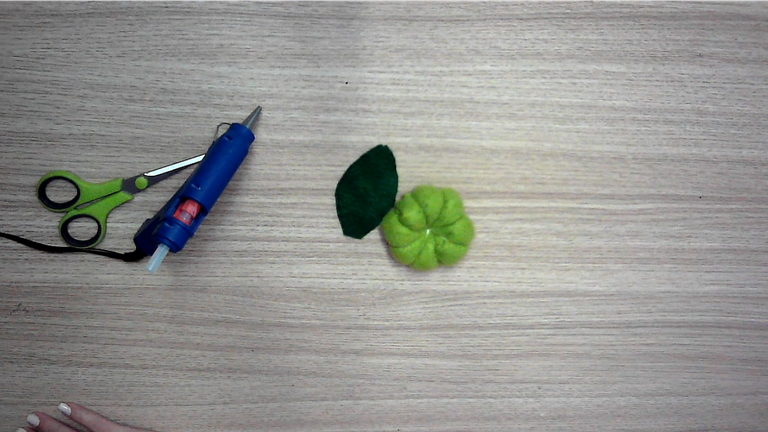
Una vez culminados todos los gajos procedemos a calentar la pistola de silicón.
! [Scroll down to read the English version]
[Eng]
Recreating the segments is a very fun part, it brings back a lot of memories, memories of my grandmother. My mother didn't use to use a hand pincushion, she had it on the side of her machine, I'm sure I will make other models later on.
Once all the segments are finished we proceed to heat the silicone gun.

💜💜💜💜💜❤️💜💜💜💜💜
Step 5️⃣/ paso 5️⃣
 |  |
[Esp]
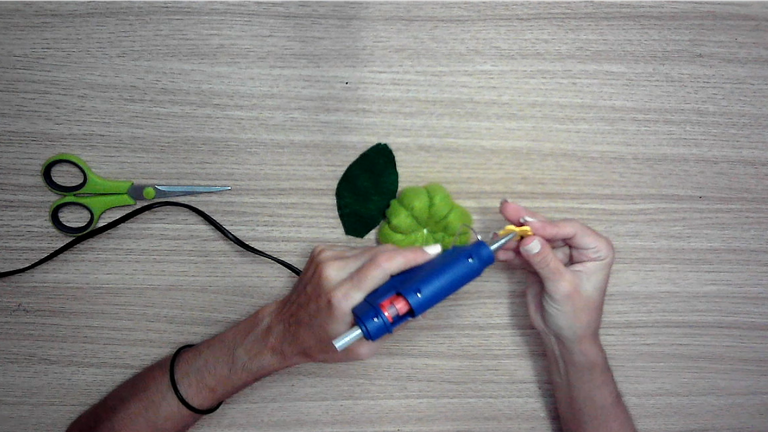
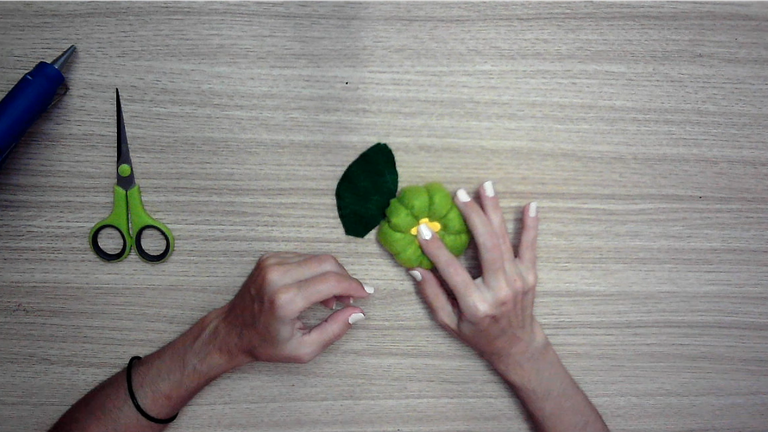
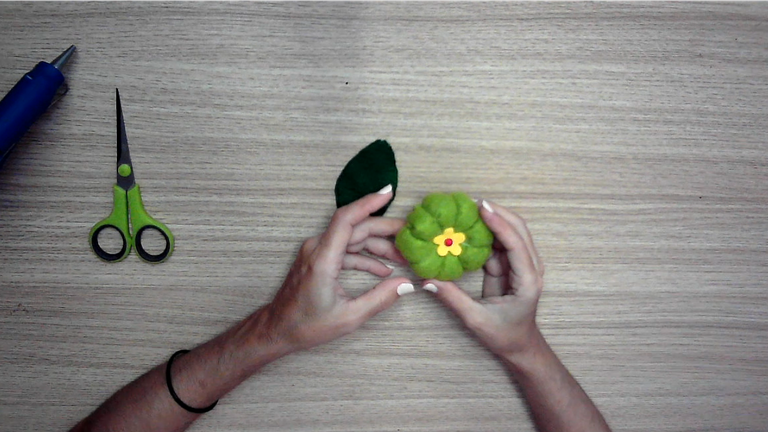
Pega el adorno, decoración en el centro de la fruta, si no tienes puedes usar hasta un botón, lo que tengas al alcance, la idea es reciclar también. Esto hará que quede muy bonita y cubrirá el centro.
! [Scroll down to read the English version]
[Eng]
Glue the ornament, decoration in the center of the fruit, if you don't have one you can even use a button, whatever you have at hand, the idea is to recycle as well. This will make it look very pretty and will cover the center.

💜💜💜💜💜❤️💜💜💜💜💜
Step 6️⃣/ paso 6️⃣
 |  |  |
 |  |
 |  |  |
[Esp]
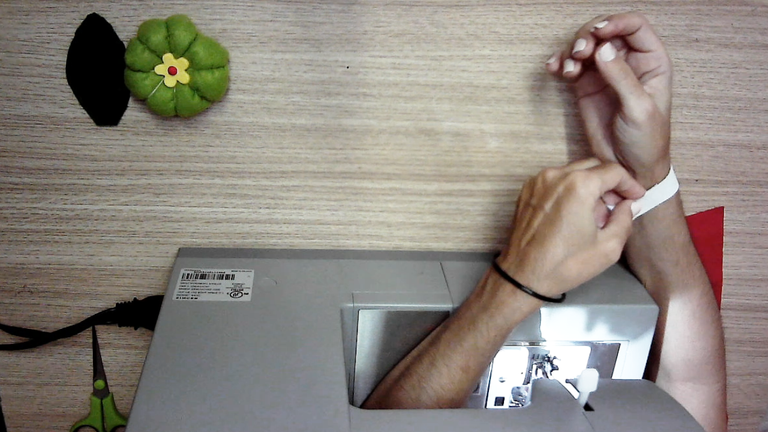
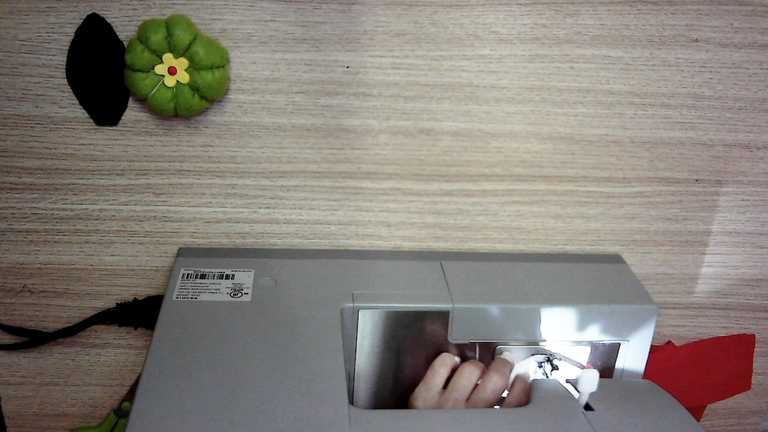
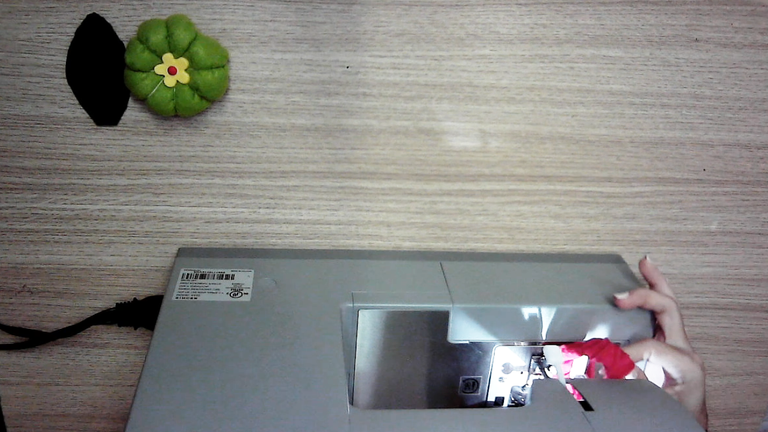
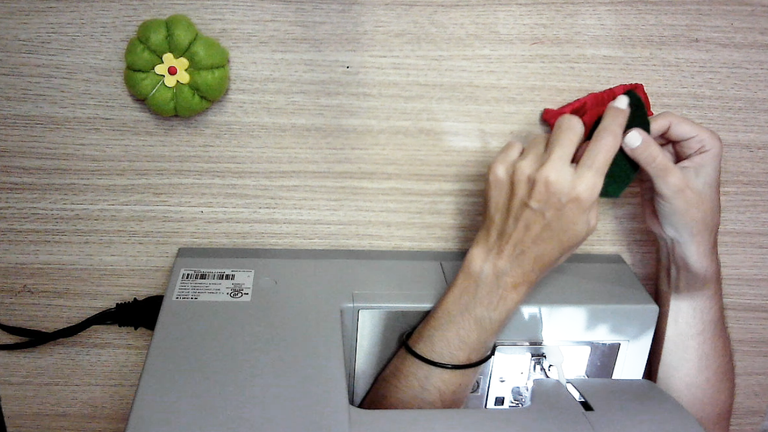
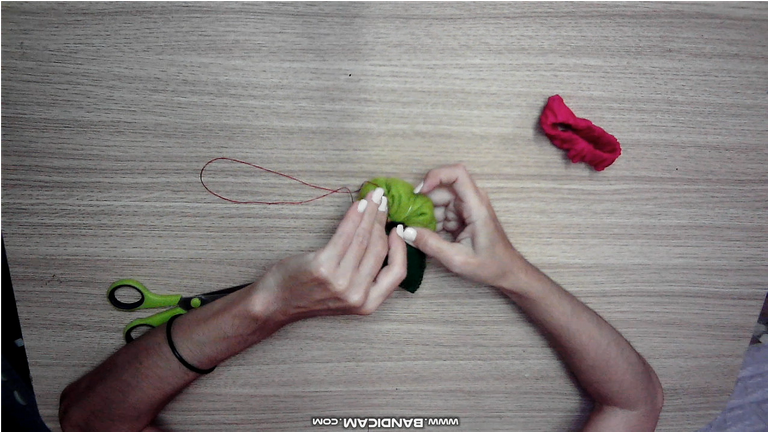
Esta parte muy bien puedes coserla a mano, en mi caso usé la máquina de coser.
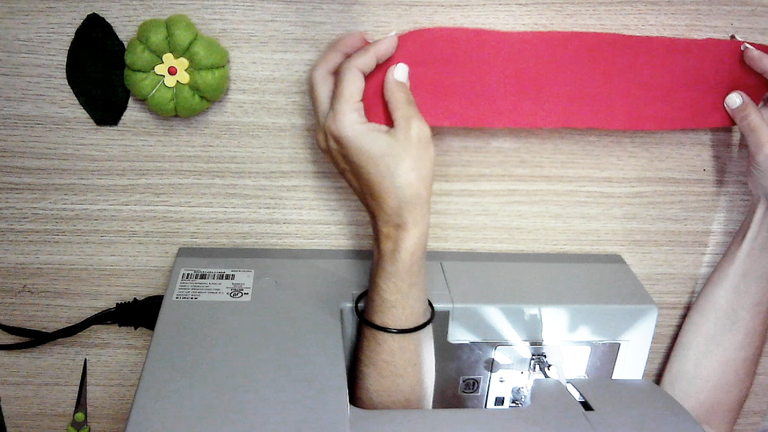
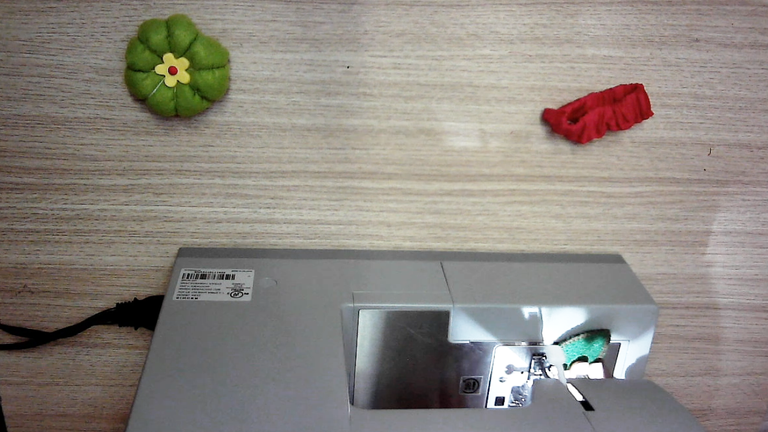
Toma la medida del grosor de tu muñeca con la goma o elástico, corta el excedente y luego cose la coma como un brazalete.
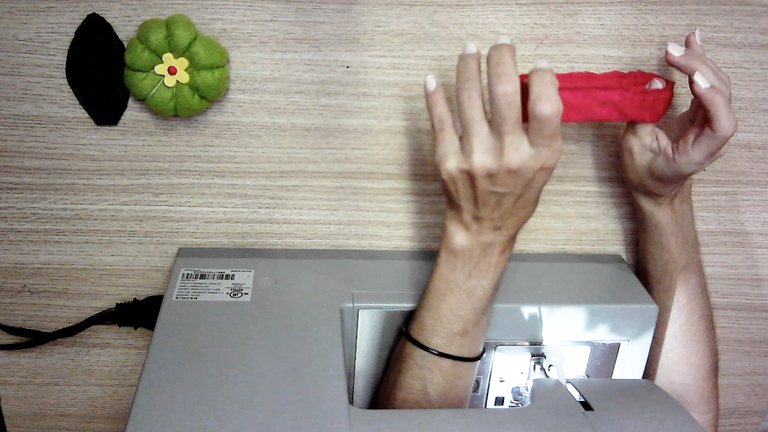
Toma la tira de tela de color rojo y realiza un dobladillo mientras vas cosiendo con la goma incluida, quedará muy similar a una cola de cabello.
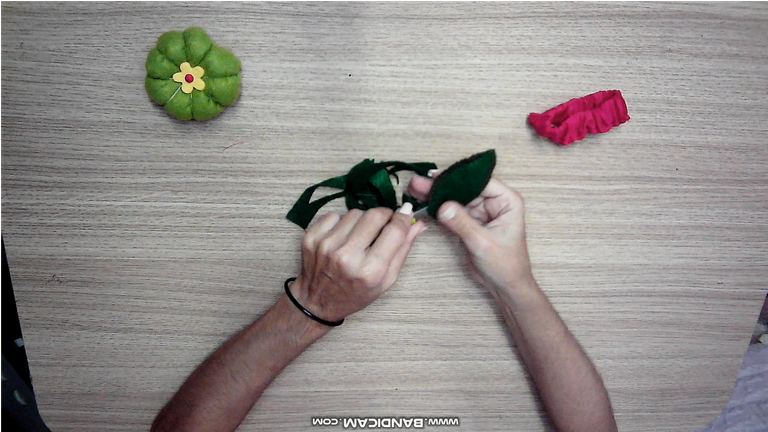
Pasa zig zag en la hoja para cerrar, deja una abertura.
Rellena la hoja puede ser con algodón o el mismo polietileno, en mi caso usé recortes de fieltro.
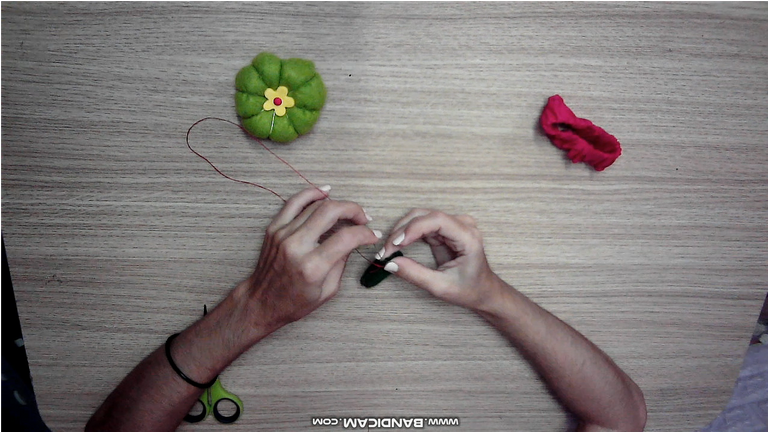
Cose la hoja por la parte trasera de la fruta.
! [Scroll down to read the English version]
[Eng]
This part can very well be sewn by hand, in my case I used the sewing machine.
Measure the thickness of your wrist with the elastic, cut the excess and then sew the comma as a bracelet.
Take the strip of red fabric and make a hem while sewing with the elastic included, it will be very similar to a hair tail.
Zig zag the leaf to close it, leaving an opening.
Stuff the leaf with cotton or the same polyethylene, in my case I used felt trimmings.
Sew the leaf to the back of the fruit.

💜💜💜💜💜❤️💜💜💜💜💜
Step 7️⃣/ paso 7️⃣
 |  | |
 |  |
 |  |
[Esp]
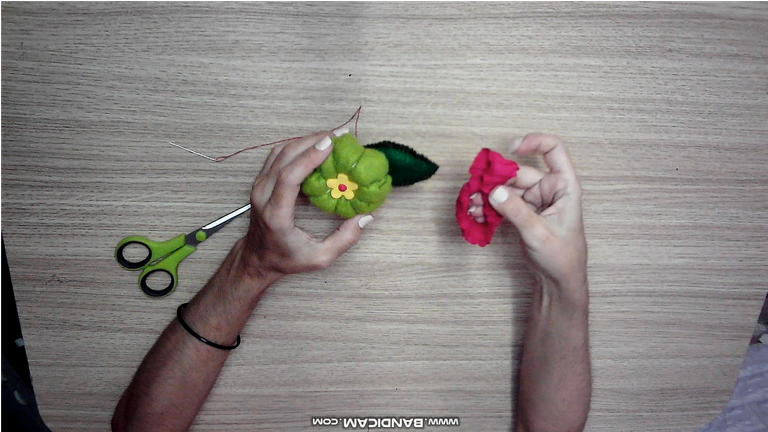
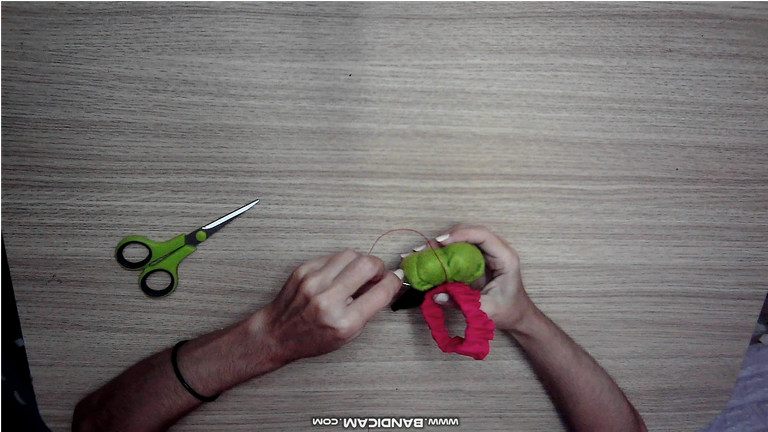
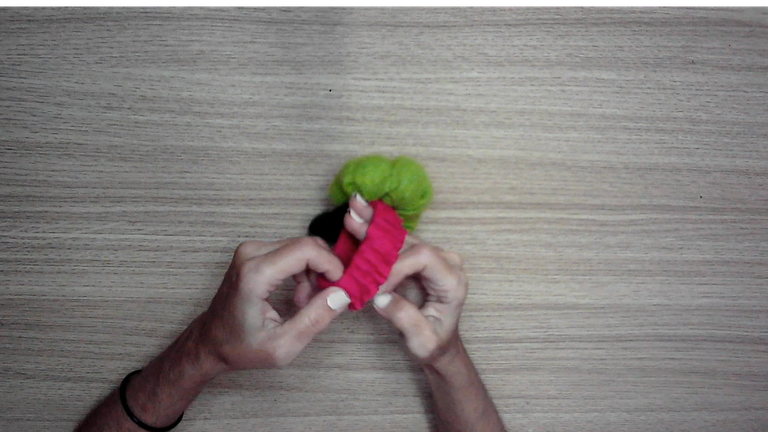
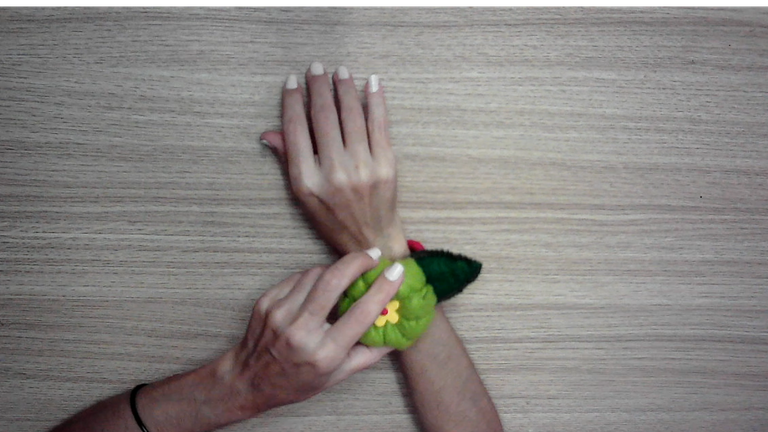
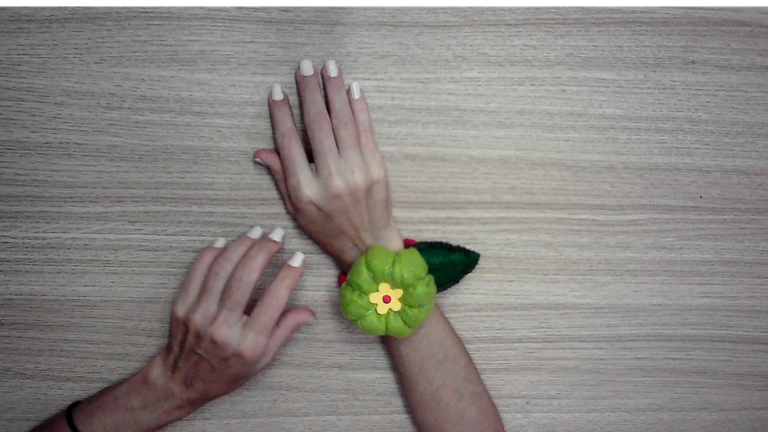
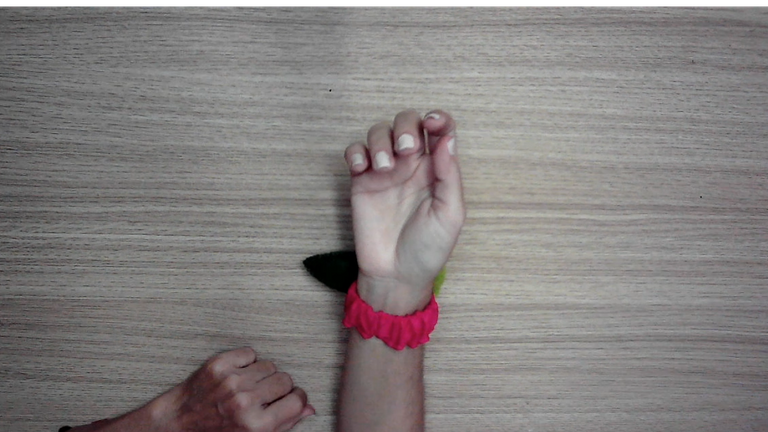
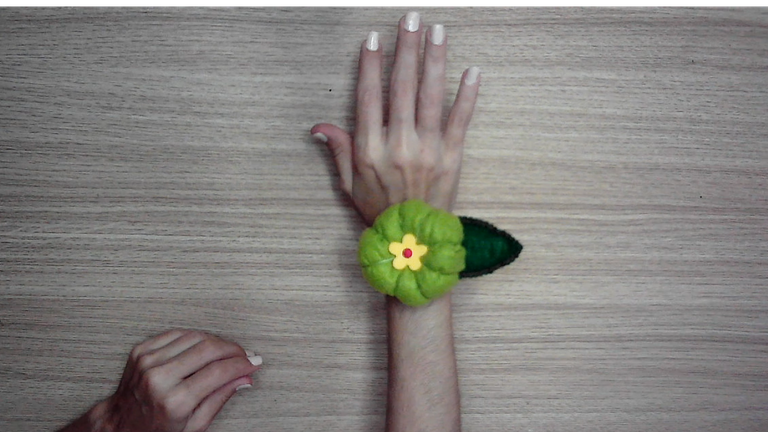
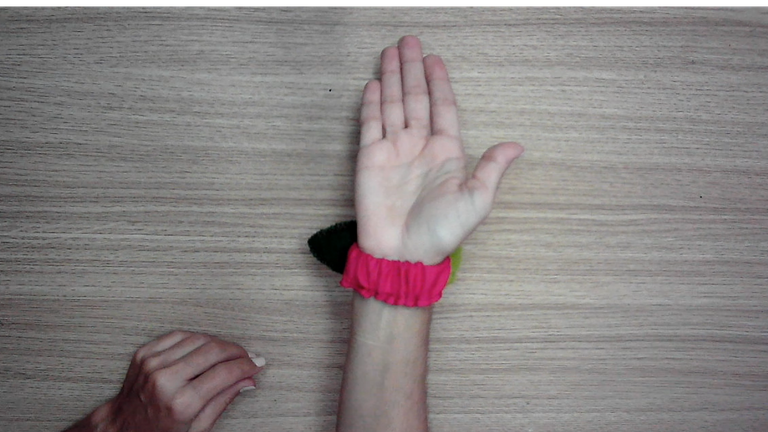
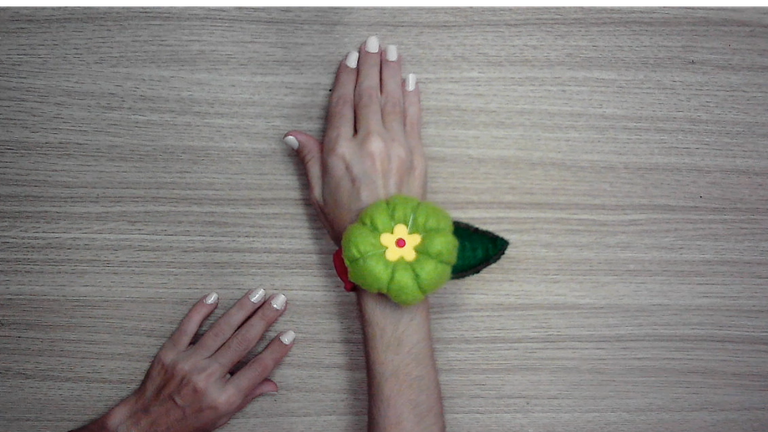
Estos últimos captures corresponden al paso final. Consiste en coser a mano la parte que hicimos de la liga, goma o elástico por la parte de atrás de la fruta.
Con ello hemos culminado.
! [Scroll down to read the English version]
[Eng]
These last captures correspond to the final step. It consists of sewing by hand the part we made of the garter, rubber or elastic on the back of the fruit.
With this we have finished.

💜💜💜💜💜❤️💜💜💜💜💜
Presentation of the finished project
/ Presentación del proyecto terminado
 |  |

[Esp]
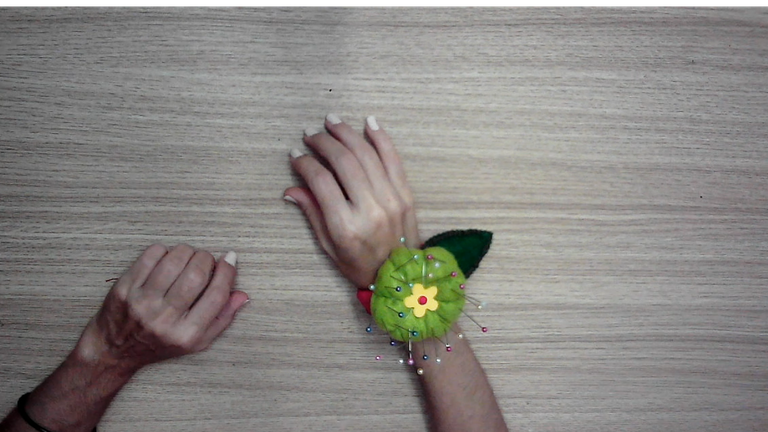
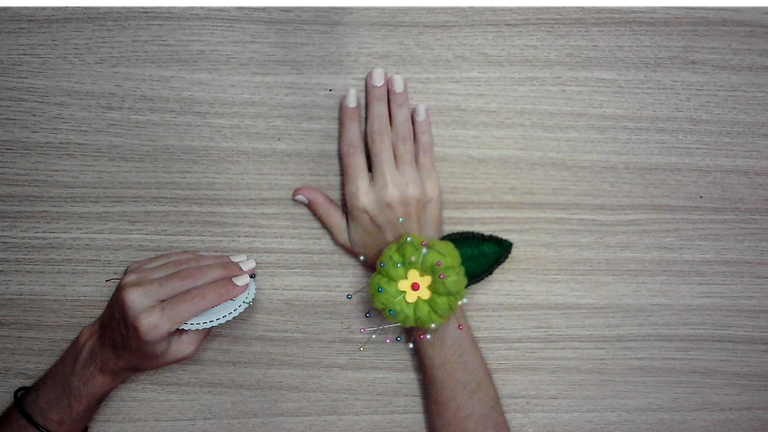
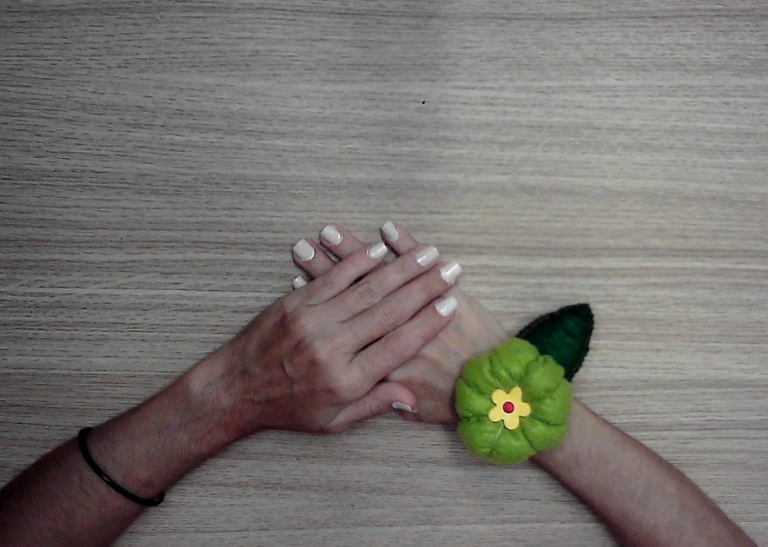
Ahora puedes colocarle todas las agujas y alfileres que quieras y necesites, llevarlas en tu brazo con mucha comodidad.
! [Scroll down to read the English version]
[Eng]
Now you can put all the needles and pins you want and need, carrying them on your arm with great comfort.
💜💜💜💜💜❤️💜💜💜💜💜

Credits / Créditos.

💜💜💜💜💜❤️💜💜💜💜💜
💜💜💜

All copyrights reserved / Reservados todos mis derechos

💜💜💜

Vote la-colmena for witness
By @ylich


Hacks, DIY, Crafts, handmade arts Community


