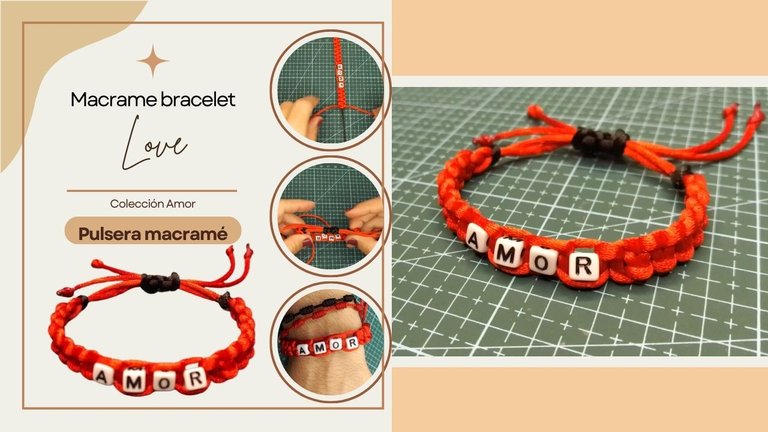

[Esp]
¡Hola amigos! Se acabó el recreo, es hora de trabajar.
Hay preguntas que algunas personas me han hecho y pienso que es algo común en todos los artesanos o alguien con cualidades artísticas:
¿Para qué practicamos tanto?
Se supone para mejorar
¿Para qué quieres mejorar?
Se supone que queremos perfeccionarnos para hacer de nuestros proyectos un emprendimiento.
Pero ya tus proyectos son buenos ¿Qué más quieres?
Mostrar productos de calidad, que cada día se vean más prolijos.
Esa es la respuesta a todo, queremos superarnos, para ello nos preparamos cada día con entusiasmo con una meta fijada, ofrecer un servicio o producto de calidad y lucrarnos con él.
A medida que practico con los distintos materiales, puedo aprender sobre ellos. En mi post de pulseras anterior mencioné que se me hacía más bonito trabajar con hilos delgados porque me quedaban mejor. Sin embargo noté que tenía muchas fallas el cordón es muy resbaloso y afloja el punto, el punto hay que apretarlo bien. Hoy practiqué muchas veces con esta pulsera hasta dominar ese material y siento que lo logré. Ahora me siento un poco más cerca y en confianza con este tipo de hilos.
Es pulsera es mía definitivamente por mucho que me la pidieron, me recordará que soy perseverante y si quiero puedo. Ahora vengo aquí compartiendo mi experiencia adquirida para decirte que por muy difícil que veas una manualidad, siempre que quieras de verdad, con mucha paciencia y práctica lo lograrás.
Vamos al paso a paso que iré minimizando pues en publicaciones anteriores ya he dado muchos tips, hablaré de las diferencias para no contar más de lo mismo. Si te pierdes en algún paso, te invito con mucho cariño a visitar mis antiguas publicaciones sobre este tema.
Por cierto... Ya mis seguidores de dibujo digital se están quejando, que solo publico manualidades y nada de dibujos... Yo también los extraño, esperen un momentico que aprovecho las musas, mientras relajo mis manos pues tiemblan mucho.
! [English version]
[Eng]
**Hello friends! Recess is over, it's time to get to work!
There are questions that some people have asked me and I think it is something common in all artisans or someone with artistic qualities:
What do we practice so much for?
It's supposed to improve.
What do you want to improve for?
We are supposed to want to improve ourselves to make our projects a venture.
But your projects are already good, what more do you want?
To show quality products, to make them look neater every day.
That is the answer to everything, we want to improve ourselves, for that we prepare ourselves every day with enthusiasm with a fixed goal, to offer a service or product of quality and to profit with it.
As I practice with different materials, I can learn about them. In my previous bracelet post I mentioned that it was nicer to work with thin threads because they fit better. However I noticed that I had many flaws the cord is very slippery and loosens the stitch, the stitch has to be tightened well. Today I practiced many times with this bracelet until I mastered this material and I feel that I succeeded. Now I feel a little closer and more confident with this type of yarn.
This bracelet is definitely mine for as much as I was asked for it, it will remind me that I am perseverant and if I want to I can. Now I come here sharing my acquired experience to tell you that no matter how difficult you see a craft, as long as you really want to, with a lot of patience and practice you will succeed.
Let's go to the step by step that I will minimize because in previous publications I have already given many tips, I will talk about the differences so as not to tell you more of the same. If you get lost in any step, I invite you with much affection to visit my old publications on this subject.
By the way... My digital drawing followers are complaining that I only publish crafts and no drawings.... I miss them too, wait a moment and I'll take advantage of the muses, while I relax my hands because they are shaking a lot.
! [English version]
[Eng]
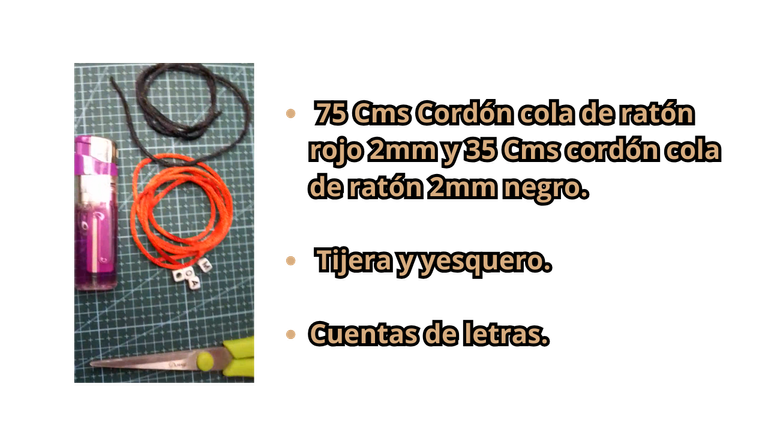
💜 75 Cms red mouse tail cord 2mm and 35 Cms black mouse tail cord 2mm.
💜 Scissors and tinder.
💜 Letter beads.
Step 1️⃣/ paso 1️⃣
 |  |  |
 |  |  |
[Esp]
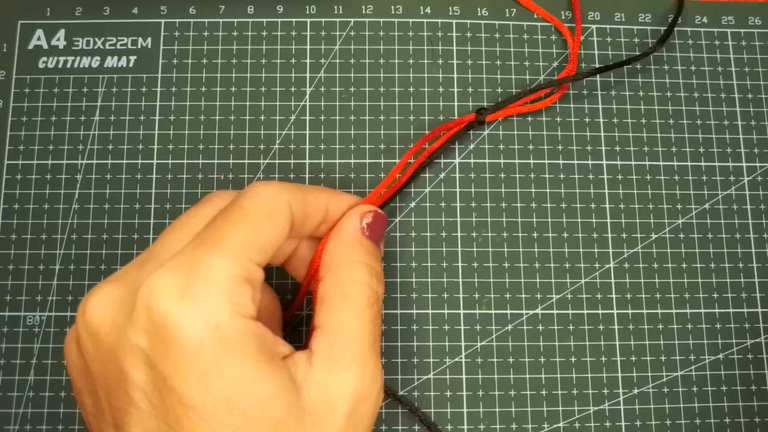
Cortamos tres hebras de cordón de aproximadamente 75 centímetros, dos de color rojo y una de color negro.
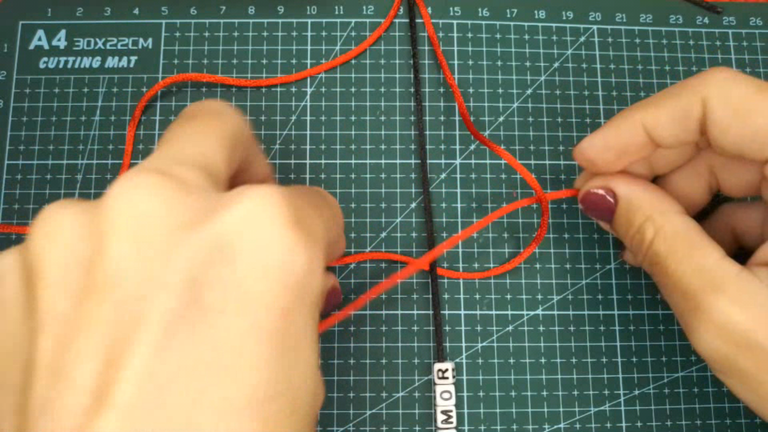
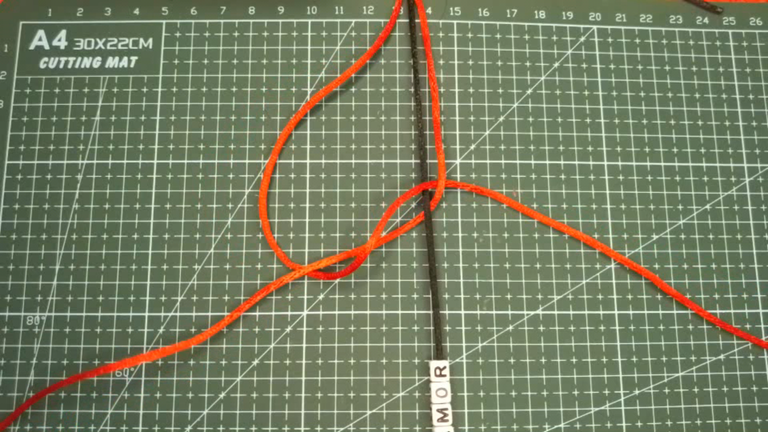
Realiza un nudo sencillo, anudando los dos cordones rojos con el cordón negro.
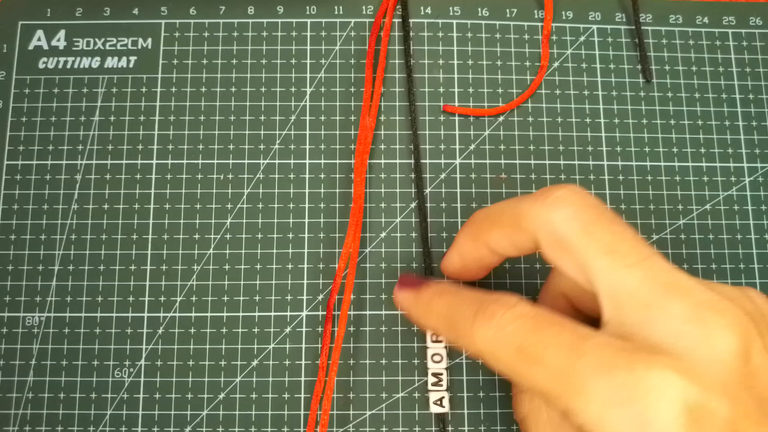
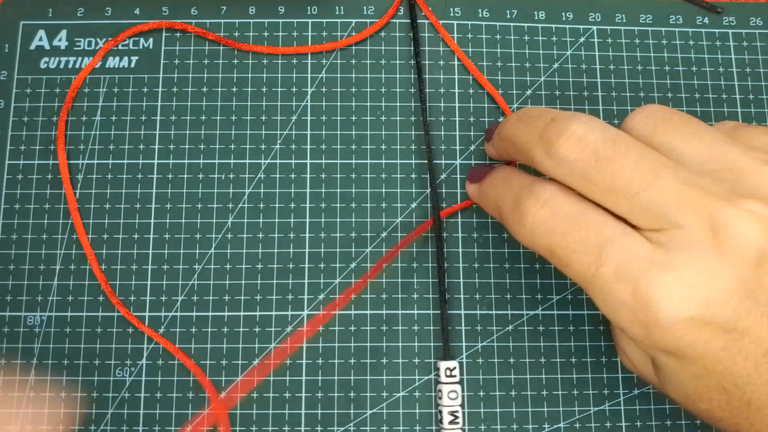
Este paso lo repetirás todo el proceso de elaboración de la pulsera, incluyendo las cuentas y el nudo ajustable:
- Deja tensado el cordón negro.
- Pasa una hebra de cordón rojo por la parte debajo del cordón negro en el lado derecho.
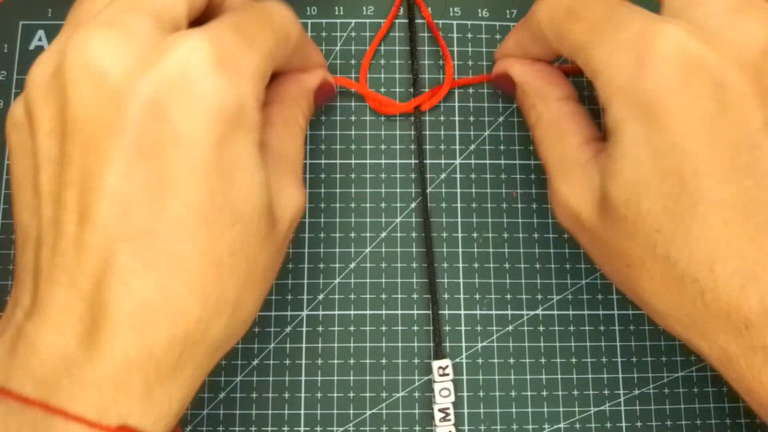
- Del lado izquierdo, toma el otro cordón rojo e introdúcelo por dentro del cordón derecho, es un nudo simple como de atar trenzas de zapatos, solo que debes asegurarte que anudes el cordón central.
- Toma las puntas y hala apretando el nudo.
Repite el procedimiento pero esta vez a la inversa para el siguiente nudo.
! [English version]
[Eng]
Cut three strands of cord approximately 75 centimeters long, two red and one black.
Tie a simple knot, knotting the two red cords with the black cord.
This step will be repeated throughout the process of making the bracelet, including the beads and the adjustable knot:
- Leave the black cord taut.
- Pass a strand of red cord under the black cord on the right side.
- On the left side, take the other red cord and thread it through the inside of the right cord, it is a simple knot like tying shoe braids, just make sure you knot the center cord.
- Take the ends and pull the knot tight.
Repeat the procedure but this time in reverse for the next knot.
Step 2️⃣/ paso 2️⃣
 |  |  |
 |  |  |
[Esp]
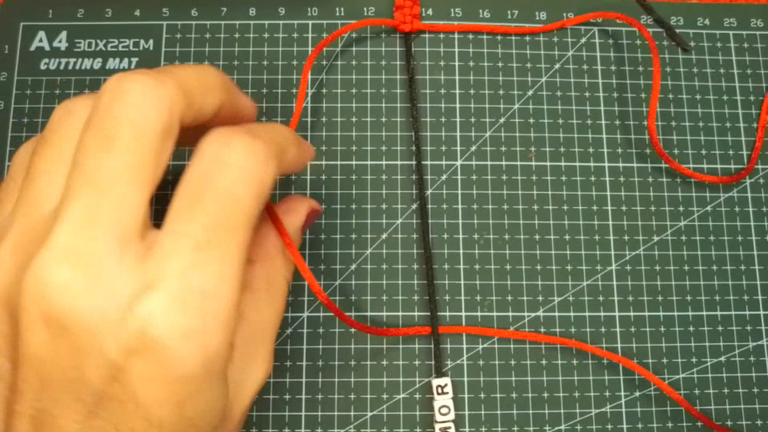
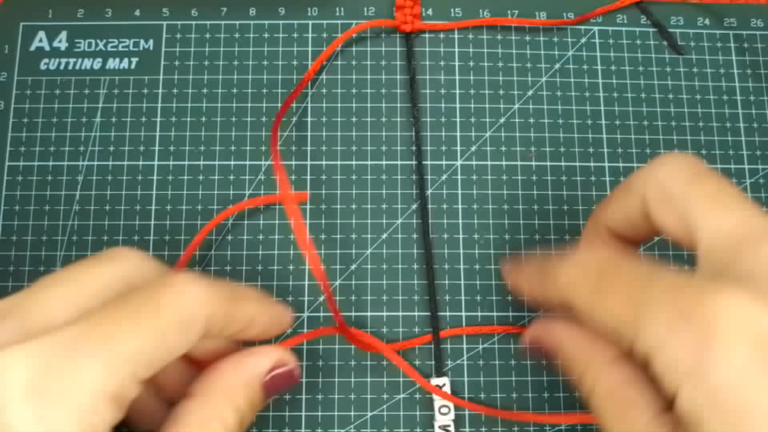
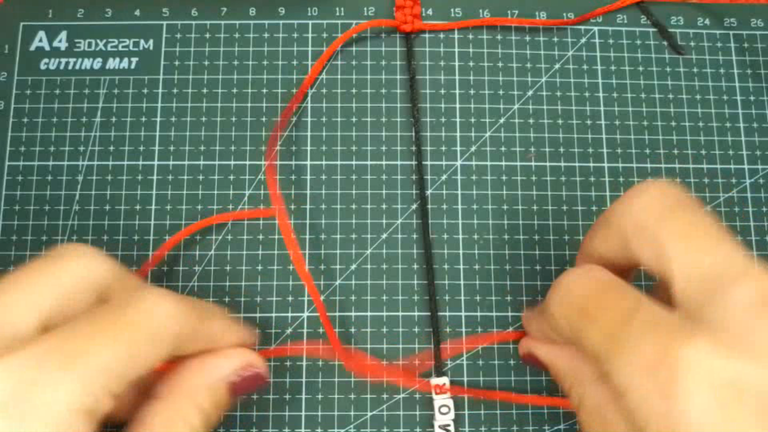
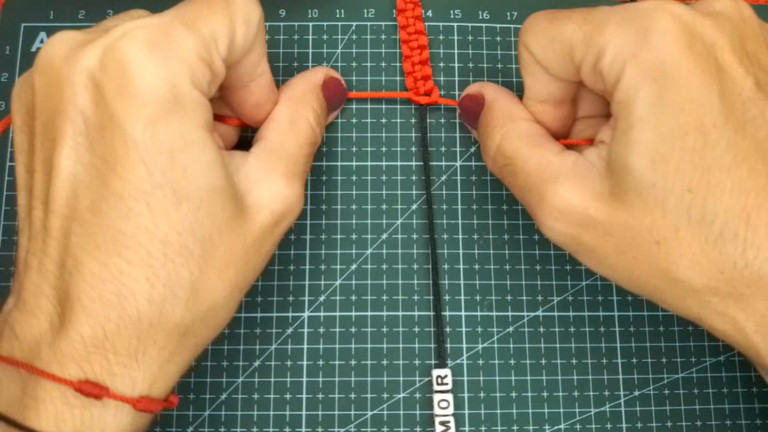
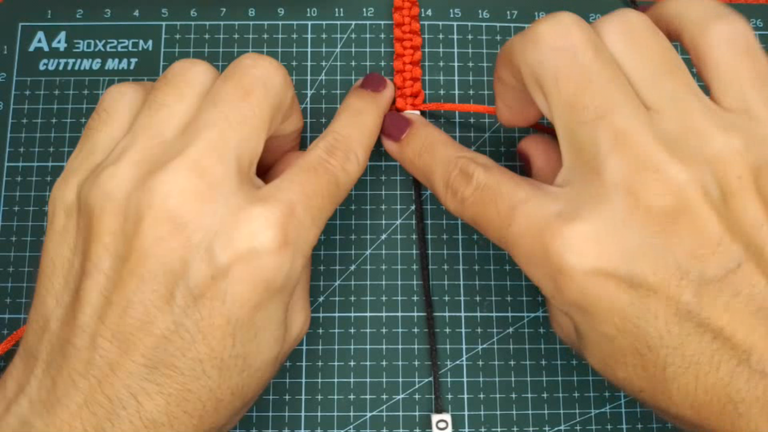
Antes de colocar las primeras cuentas debes hacer una cadena de nudos repitiendo el paso 1 al menos 8 veces más dependiendo qué tan ancho necesites hacer el brazalete.
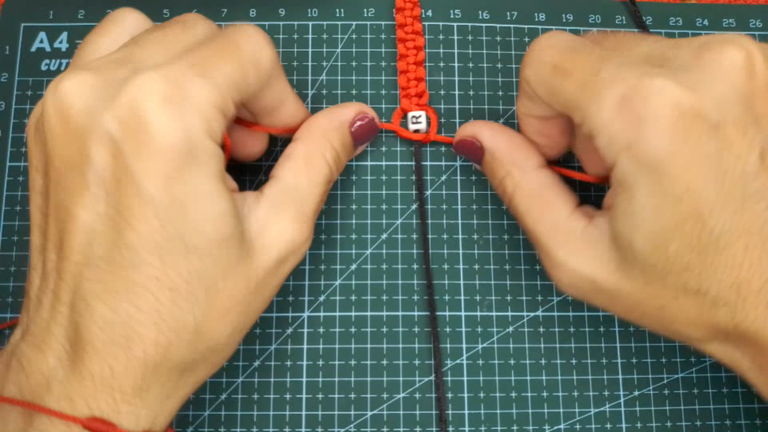
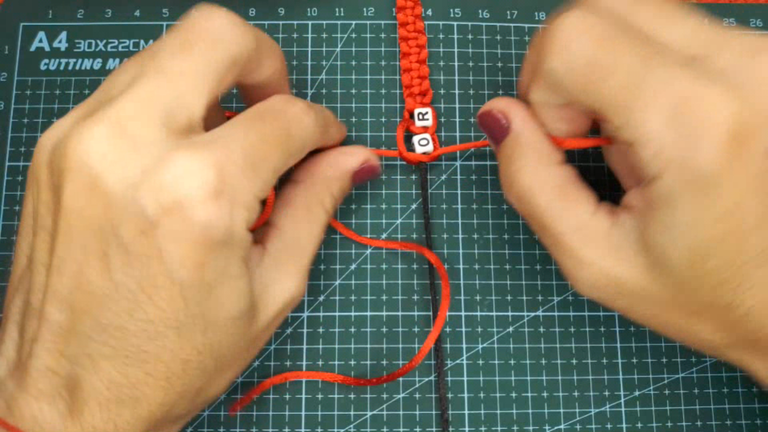
Pasa la primera cuenta por el centro, en este caso mi primera cuenta es la letra R.
Realiza un nudo repitiendo el paso 1.
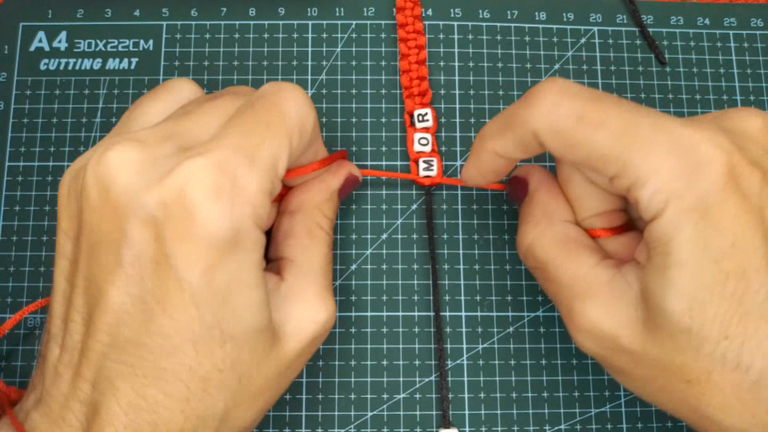
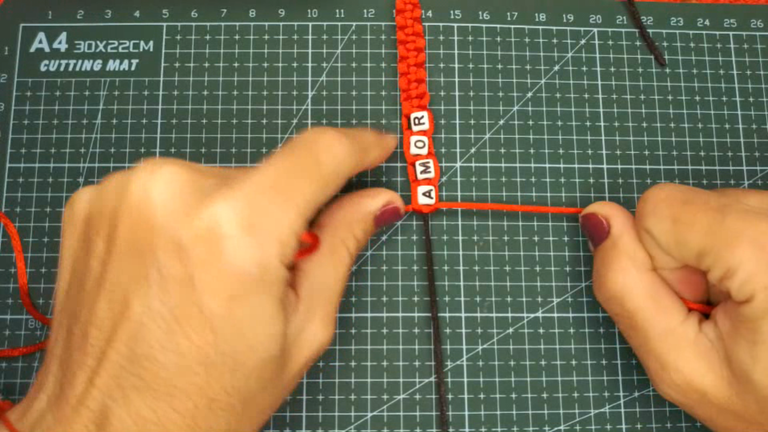
Repite este proceso con las letras restantes.
! [English version]
[Eng]
Before placing the first beads you must make a chain of knots repeating step 1 at least 8 more times depending on how wide you need to make the bracelet.
Pass the first bead through the center, in this case my first bead is the letter R.
Tie a knot repeating step 1.
Repeat this process with the remaining letters.
Step 3️⃣/ paso 3️⃣
 |  |  |
 |  |  |
[Esp]
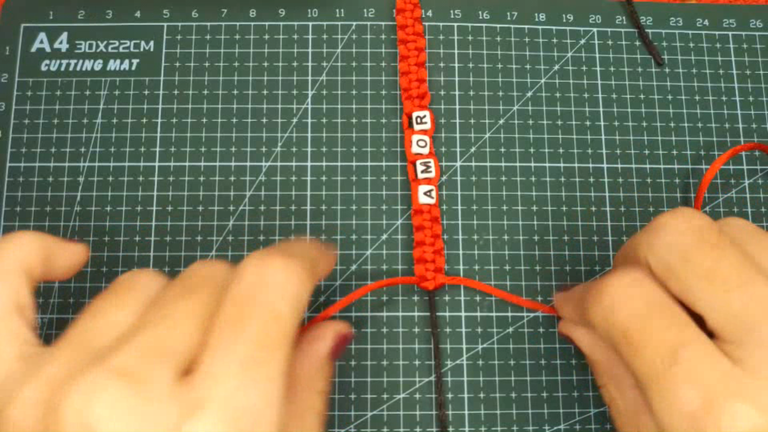
Luego de poner todas las cuentas de letras, repetimos el paso 1 para hacer la cadena de nudos 8 veces
Ahora procedemos hacer el nudo ajustable:
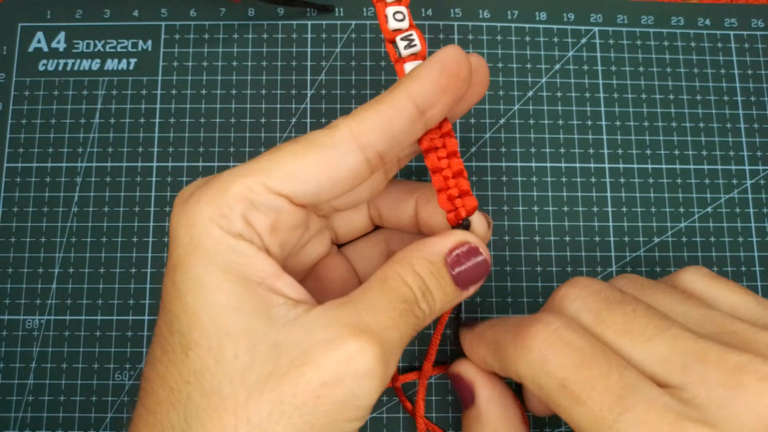
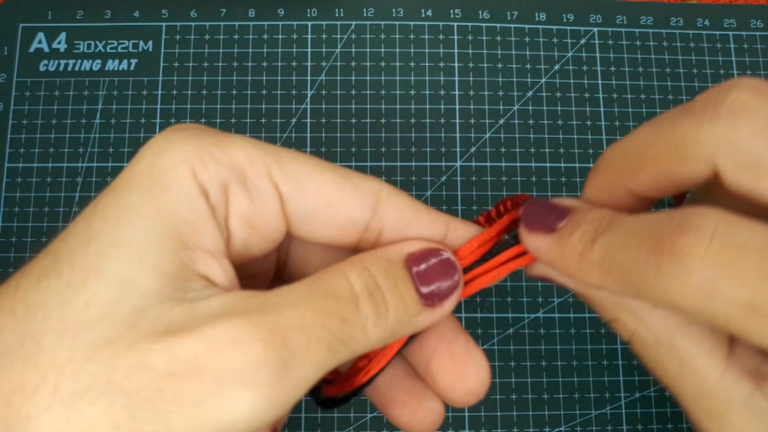
Colocamos la pulsera de una forma como si estuviera puesta en nuestro brazo.
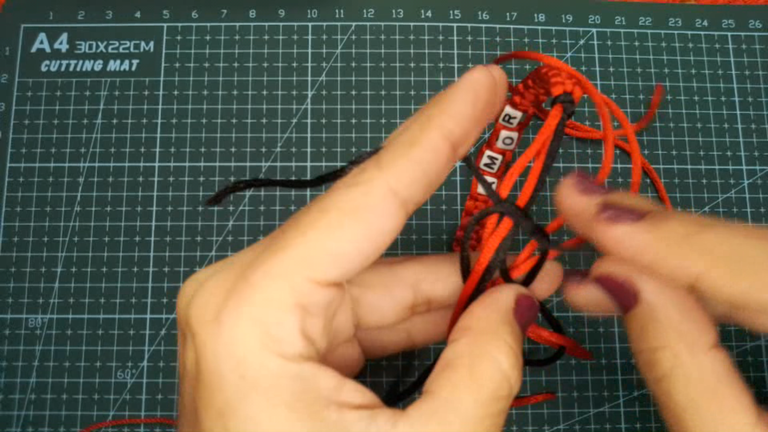
Toma un trozo de cordón de aproximadamente 35 centímetros.
Realiza el primer nudo sencillo, anudando todos los cordones que quedaron sueltos.
! [English version]
[Eng]
After placing all the letter beads, repeat step 1 to make the knot chain 8 times.
Now we proceed to make the adjustable knot:
We place the bracelet in a way as if it were placed on our arm.
Take a piece of cord of approximately 35 centimeters.
Make the first simple knot, knotting all the cords that were left loose.
Step 4️⃣/ paso 4️⃣
 |  |  |
 |  |  |
[Esp]
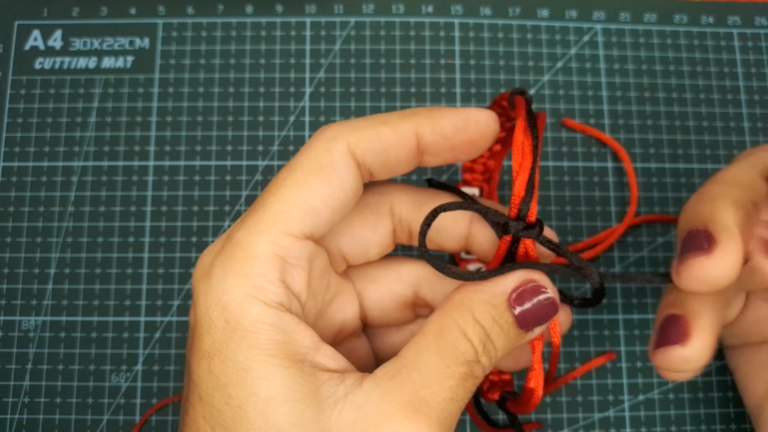
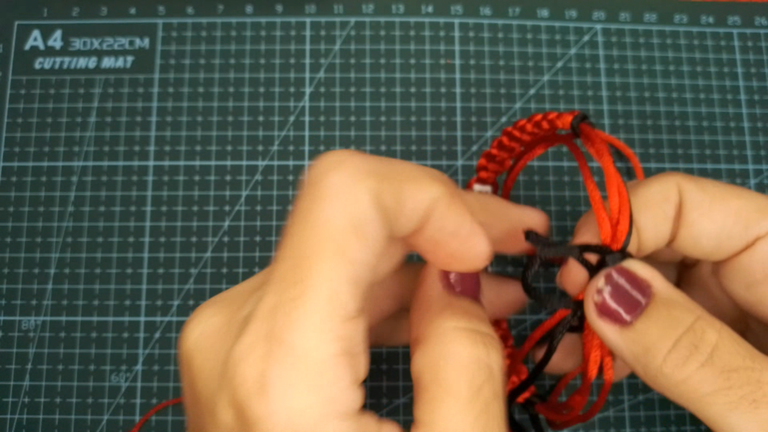
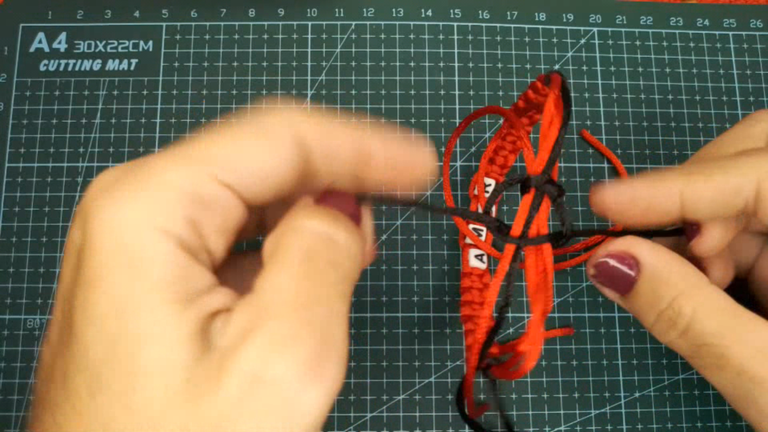
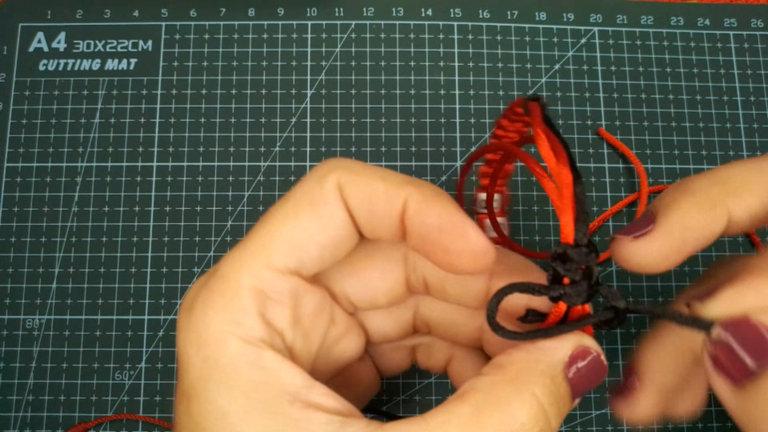
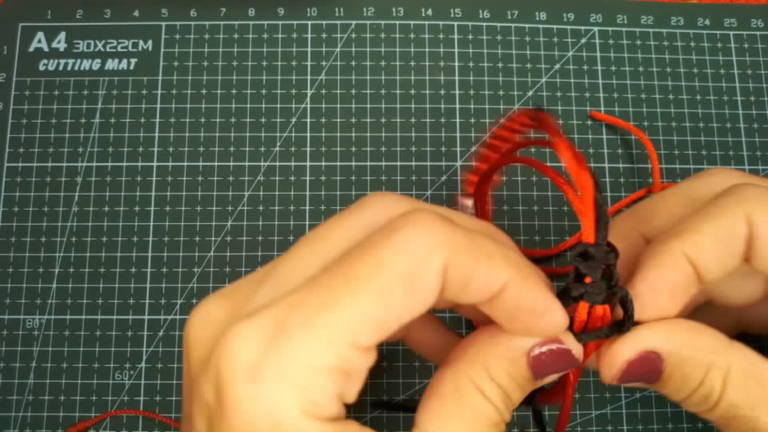
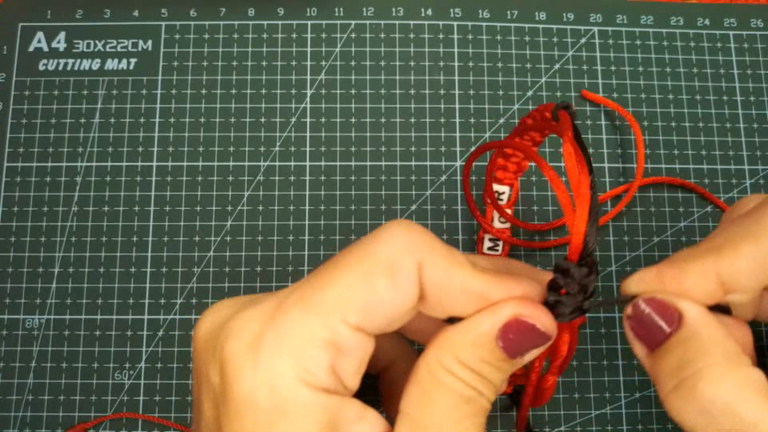
Para continuar, es el mismo tejido que realizamos en toda la pulsera por lo tanto, repite el paso 1 al menos 4 veces más.
Para que cierres el nudo, tan solo quema la punta del cordón y con ayuda del yesquero empujas el cordón para que se quede pegado del nudo, como este es sintético queda bien.
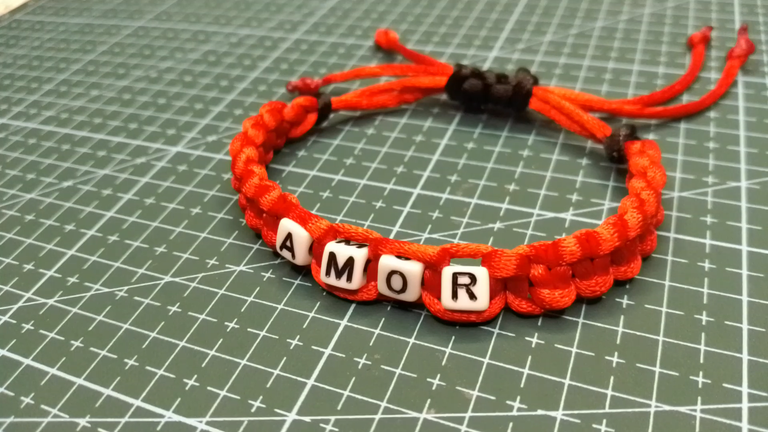
Bueno mis queridos, espero que les guste esta pulsera, la expliqué de una forma más relajada y sencilla, creo que más comprensible.
Amé esta pulsera ahora la luzco en mis manitas con mucho orgullo porque la hice yo misma y voy mejorando.
! [English version]
[Eng]
To continue, it is the same weaving that we do throughout the bracelet so repeat step 1 at least 4 more times.
To close the knot, just burn the tip of the cord and with the help of the tinder you push the cord so that it sticks to the knot, as this is synthetic it is fine.
Well my dears, I hope you like this bracelet, I explained it in a more relaxed and simple way, I think more understandable.
I loved this bracelet now I wear it in my little hands with pride because I made it myself and I am getting better and better.

Hecho con amor/ Made with love.

Credits / Créditos.

Program: MediBang Paint Pro.
Tablet Huion model 420
Las fotos fueron tomadas con mi teléfono ZTE Blade A5 2020
The photos were taken with my ZTE Blade A5 2020 phone.
💜💜💜


💜💜💜
![]() 👉
👉  👉
👉  👉
👉 
Here / Bríndame un café

