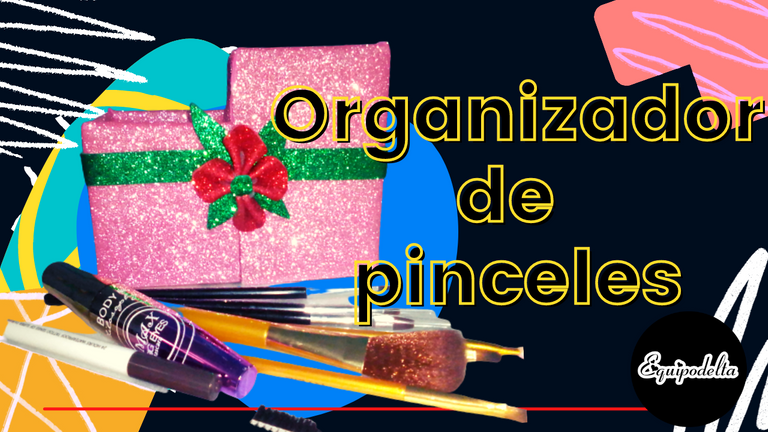


No more makeup brushes strewn all over the place.
Greetings manual arts community. I hope you are feeling well, I was resting for a few days, I have recovered a little energy.
I had the need to make an organizer for my makeup brushes, this way I place them all in one place, there is no mess and I prolong their useful life, therefore, I thought it was a good idea to share with you this tutorial to encourage you to do it and so you have a little more order in your little things.
Of course the use you are going to give it is up to you, it can also work as an organizer for pencils, markers, among other things, I just used frosted foami to match my bright makeup.

Ya no más tus pinceles de maquillaje regados por todas partes.
Saludos comunidad de artes manuales. Espero se encuentren muy bien, estuve de reposo unos días, ya recuperé un poco las energías.
Tuve la necesidad de realizar un organizador para mis pinceles de maquillaje, de esta manera los ubico todos en un solo lugar, no hay desorden y prolongo más su vida útil, por lo tanto, me pareció una buena idea compartir contigo este tutorial para animarte a que lo hagas y así tengas un poco más de orden en tus cositas.
Por supuesto que el uso que le vayas a dar depende de ti, también puede funcionar como un organizador de lápices, marcadores, entre otras cosas, solo que utilicé foami escarchado para que combinara con mi maquillaje brillante.

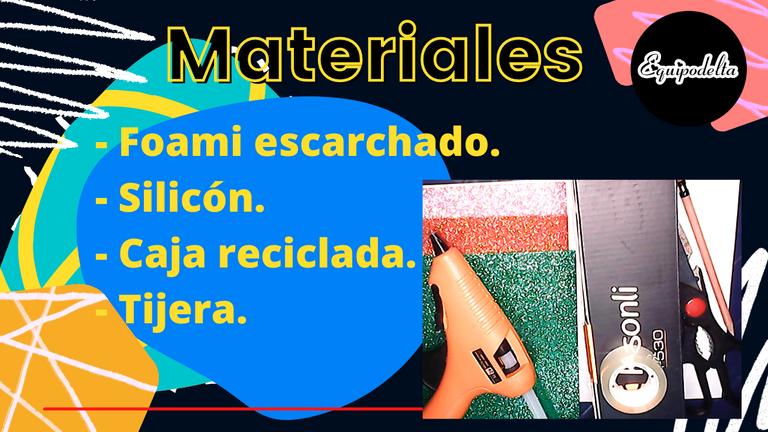
Materials

🛠️ Frosted Foami.
🛠️ Silicone.
🛠️ Recycled box.
🛠️ Scissors.

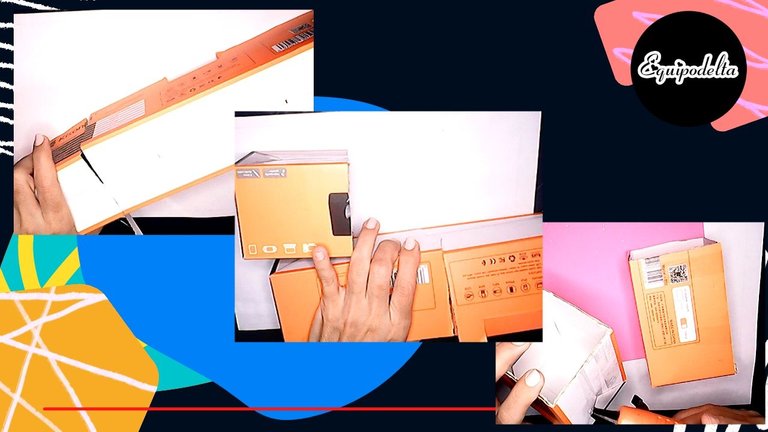

🛠️ Step 1
Try to find a small box that has a long shape to work comfortably, you will cut it into as many sections as you want, in my case I only worked with two spaces. Cut one longer than the other and then glue them with the silicone.

🛠️ Paso 1
Procura encontrar una cajita que tenga una forma larga para trabajar con comodidad, la misma la cortarás en cuantas secciones quieras, en mi caso solo trabajé con dos espacios. Recorta una más larga que la otra y luego pégalas con el silicón.

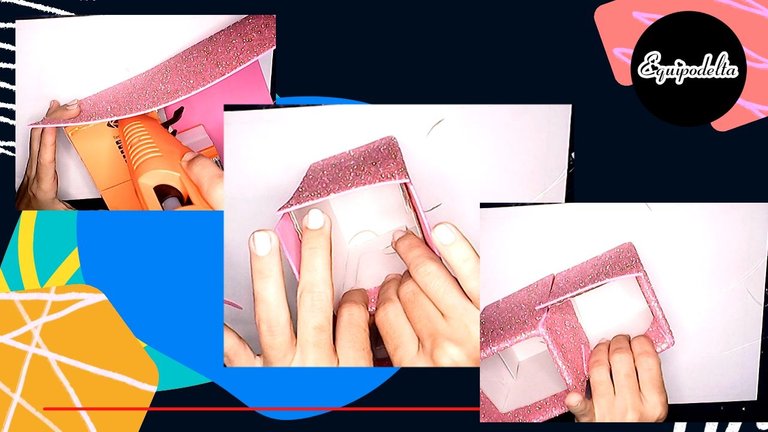

🛠️ Step 2
Start covering the box with the foami, trim the excess, try to leave at least 2 centimeters of it so you can fold it inside the box. Continue gluing the edges.

🛠️ Paso 2
Comienza a forrar la cajita con el foami, recorta los excedentes, procura dejar al menos 2 centímetros del mismo para que puedas doblarlo hacia a dentro de la caja. Continúa pegando los bordes.

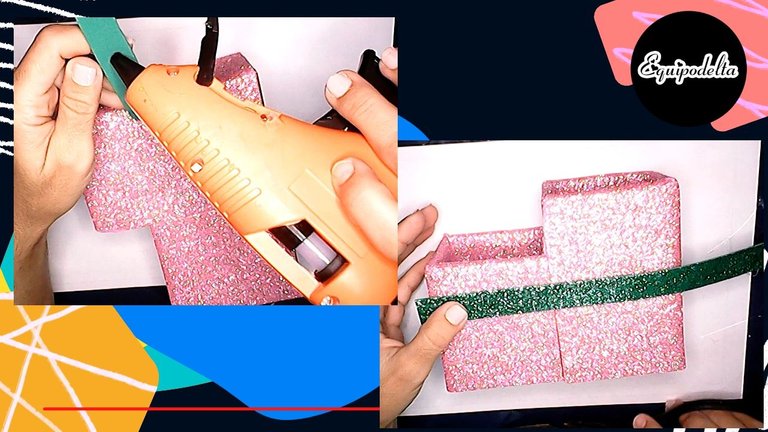

🛠️ Step 3
Cut enough strips to decorate your organizer, this will also serve the function of holding your boxes in place, preventing them from coming unstuck. Make sure the strips are 2 centimeters wide. Then glue with silicone.

🛠️ Paso 3
Recorta las tiras suficientes para adornar tu organizador, este también va a cumplir con la función de mantener sujetadas tus cajas, evitando que se despeguen. Procura que las mismas tiras tengan una medida de 2 centímetros de ancho. Luego pega con silicón.

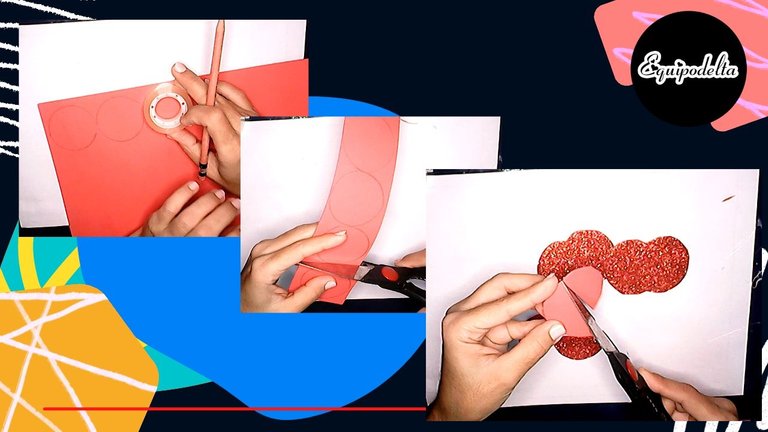

🛠️ Step 4
With any mold you have available in the size of your choice, draw several circles on the back of the foami and cut them out.
Then divide the circle in half and cut out again so that you have two pieces.

🛠️ Paso 4
Con cualquier molde que tengas disponible del tamaño de tu preferencia, dibuja por detrás del foami varios círculos y recorta.
Seguidamente divides ese círculo por la mitad y vuelves a recortar para que te queden dos piezas.

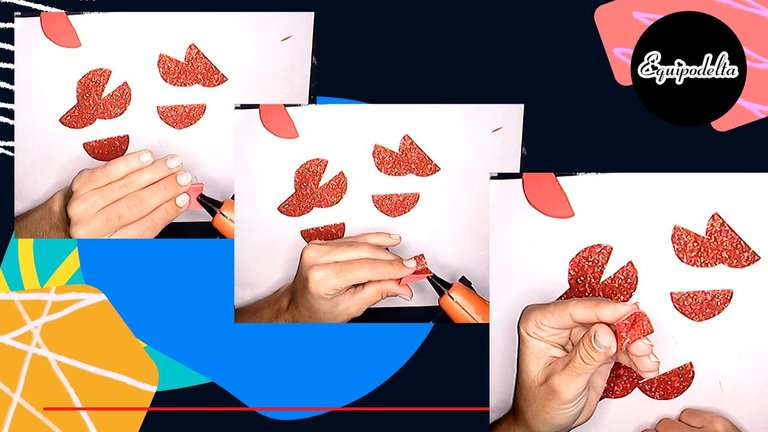

🛠️ Step 5
It's time to make the little flower decoration, you will see how pretty it is and how easy it is to make. You can decorate as you like.
Place a dot of silicone in the center of the half circle and then close it, let it dry a little. You will notice that there are two tabs, put a dot of hot silicone on each one and fold them again, you will have formed the first petal, repeat this step several times. In my case, I only needed 4.
If this step is a little difficult to understand remember that you have my video as a guide, I will leave it almost at the end of the post.

🛠️ Paso 5
Es hora de hacer la florecita de decoración, verás qué bonita es y muy sencilla de hacer. Puedes decorar a tu gusto.
Coloca un punto de silicón en el centro del medio círculo y luego cierras, deja secar un poco. notarás que quedaron dos pestañas, las mismas pondrás un punto de silicón caliente en cada una y volverás a doblas, habrás conformado el primer pétalo, repite este paso varias veces. En mi caso, solo necesité 4.
Si se te hace un poco difícil de entender este paso recuerda que tienes mi vídeo como guía, lo dejaré casi al final del post.

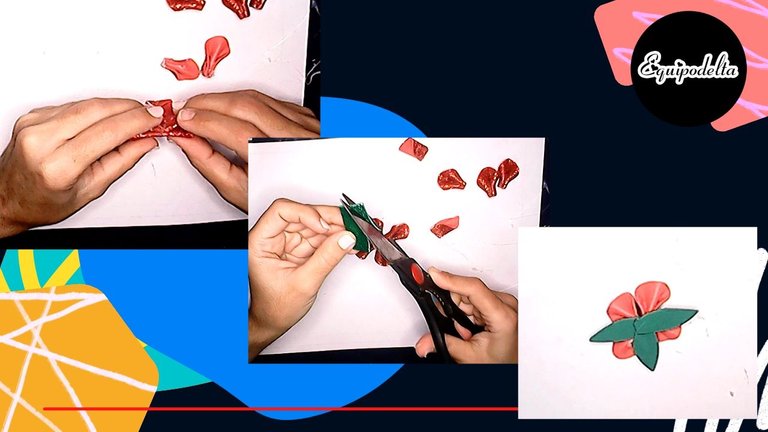

🛠️ Step 6
Glue the petals in a cross shape, then to close the open spaces cut out four leaves and glue them behind the flower.

🛠️ Paso 6
Pega los pétalos en forma de cruz, luego para cerrar los espacios abiertos recorta cuatro hojas y pegas por detrás de la flor.

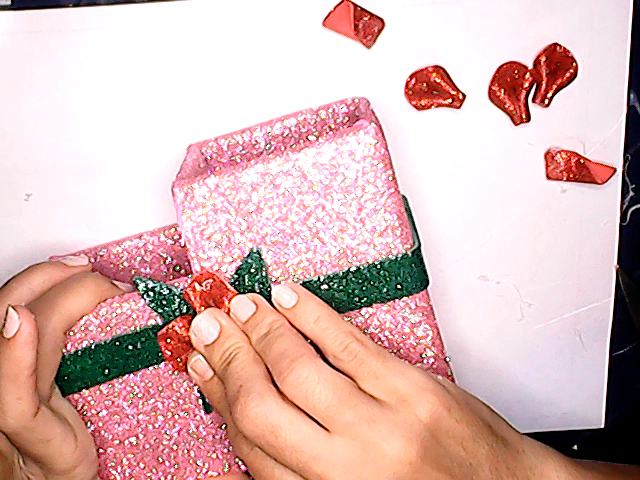

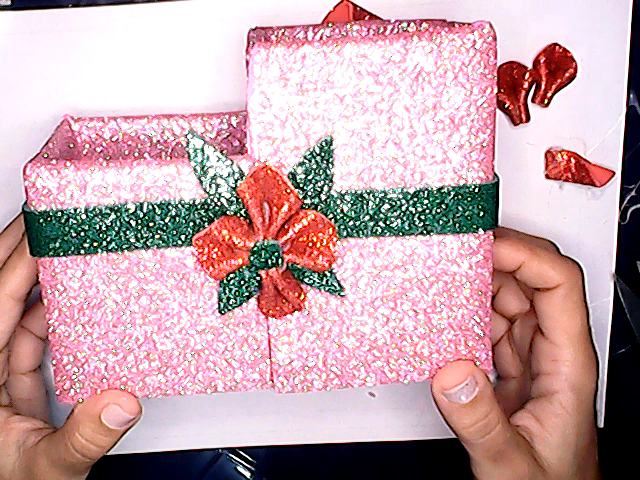
Now stick your flower in the box and you're done!
What a cute little box to store your makeup brushes!
Did you like it?
I encourage you to make it.

Ahora pega tu flor en la cajita. ¡Listo!
¡Qué linda cajita para guardar tus pinceles de maquillaje!
¿Te gustó?
Te animo hacerla.

Detalles Técnicos / Technical Details

Tutorial Video
Edition:
Program: MediBang Paint Pro.
Graphics tablet: Huion (Usb Pen Tablet). Model 420.
Music Video:
––––––––––––––––––––––––––––––
Track: Retro Future
Another Kid [Audio Library Release]
Music provided by Audio Library Plus
––––––––––––––––––––––––––––––

Mi canal Youtube, tiene un montón de tutoriales muy útiles para ti.
My Youtube channel, has a lot of very useful tutorials for you.

Hacks, DIY, Crafts, handmade arts Community
Discord


