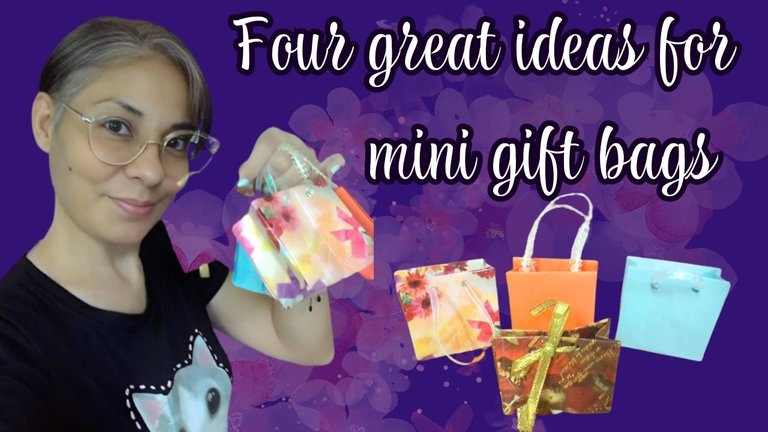
Cuatro ideas geniales para mini bolsitas de regalo, para él, para ella, para mamá y para papá

💜💜💜
💜💜💜
[Esp]
¡Hola! Amados míos, estuve de fiesta celebrando la vida, estuve de cumpleaños y esta fue mi inspiración.
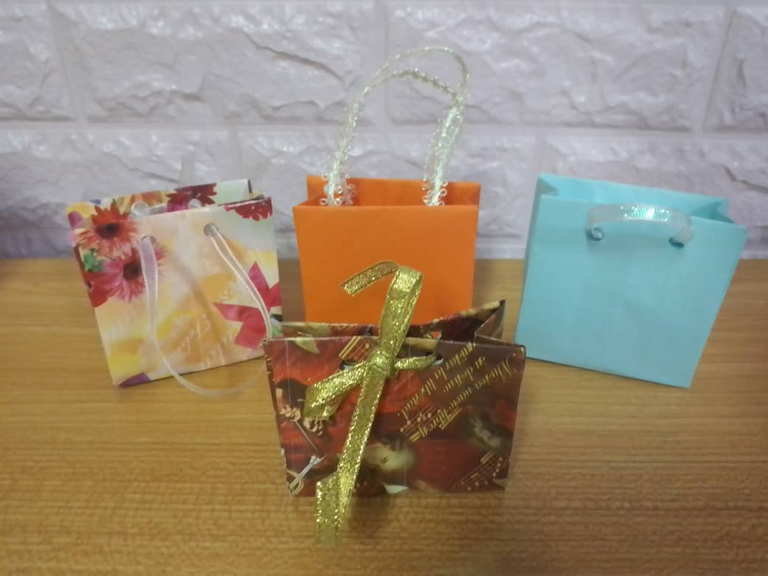
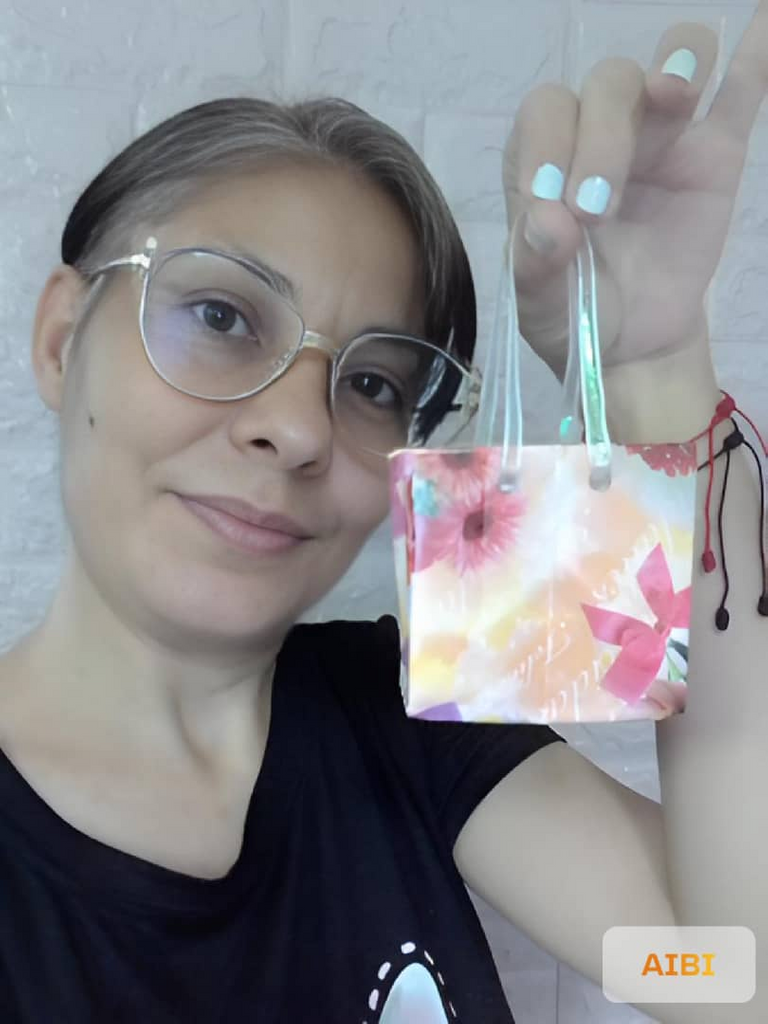
Me inspiré en mi cumpleaños para crear unas mini bolsitas de regalo que son un amor. Pensé hacerlas para cada ocasión, por ejemplo, el día de la madre (para mamá), el día del padre (para papá), para él y una muy elegante para ella.
Espero que les guste, me fue muy placentero hacerlas y disfrutar de todo el proceso.
Aun siento unas bolsitas, en cuanto terminé, me las pidieron de regalo, así que las obsequié, quedaron muy hermosas, ahora comparto con ustedes mi paso a paso para que puedas hacerlo tú mismo.
Ideas para crear, ideas para regalar, ideas para emprender.
! [English version]
[Eng]
Hello! My beloved ones, I was on a party celebrating life, I had a birthday and this was my inspiration.
I was inspired by my birthday to create some mini gift bags that are a real sweetheart. I thought of making them for every occasion, for example, mother's day (for mom), father's day (for dad), for him and a very elegant one for her.
I hope you like them, it was very pleasant to make them and enjoy the whole process.
I still feel some bags, as soon as I finished, they asked me for them as a gift, so I gave them as a present, they were very beautiful, now I share with you my step by step so you can do it yourself.
Ideas to create, gift ideas, ideas for entrepreneurship.
💜💜💜

Materiales / Materials
[Esp]
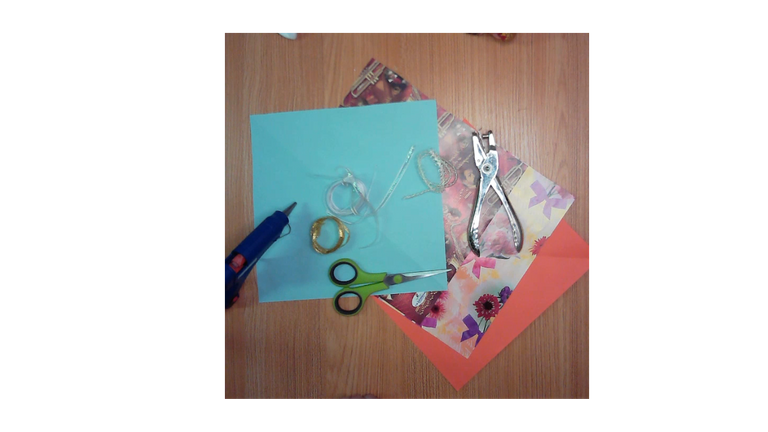
💜 Pega (no indispensable).
💜 Tijera, abre huecos.
💜 Papel de colores, papel de forrar regalos
💜 Cintas para decorar.
! [English version]
[Eng]
💜 Glue (not essential).
💜 Scissors, hole openers.
💜 Colored paper, gift wrapping paper.
💜 Ribbons for decorating.

Step by Step / Paso a Paso

Step 1️⃣/ Paso 1️⃣
Para él / For him
 |  |  |
 |  |  |
[Esp]
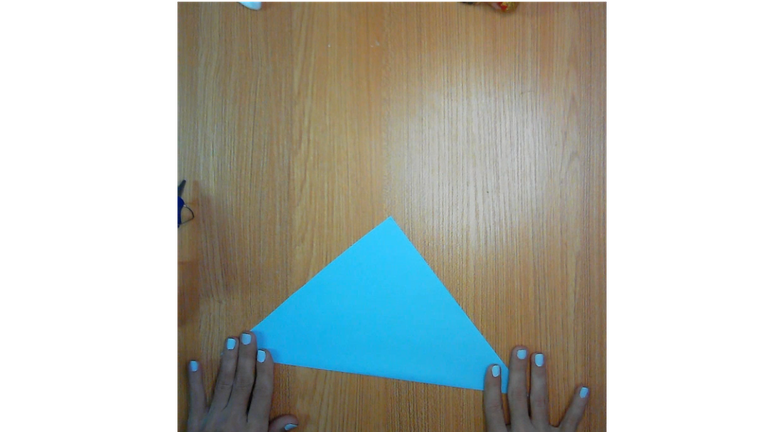
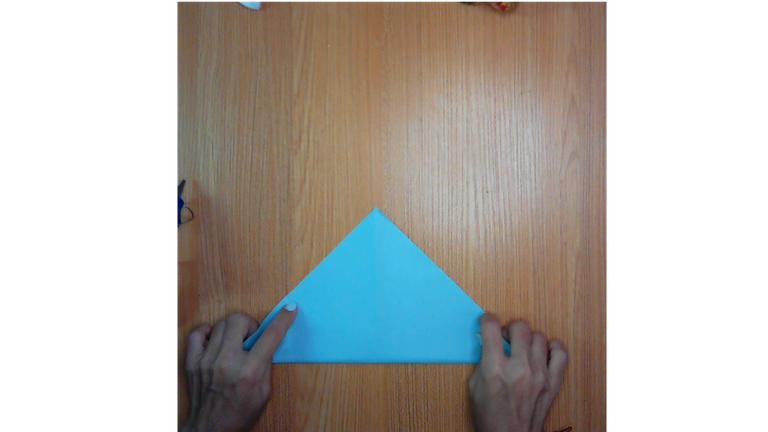
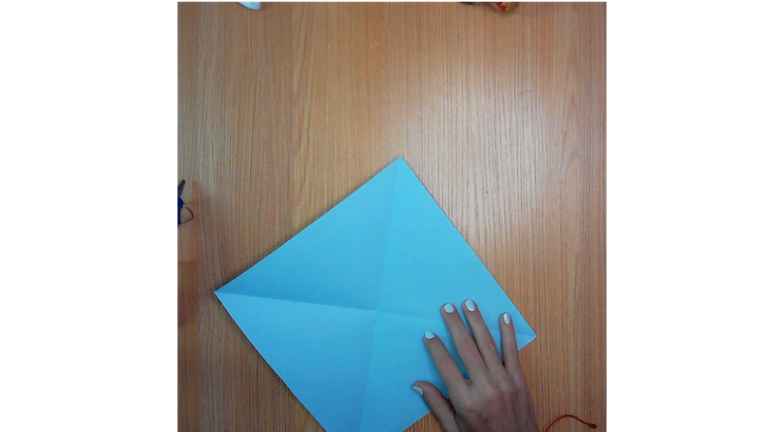
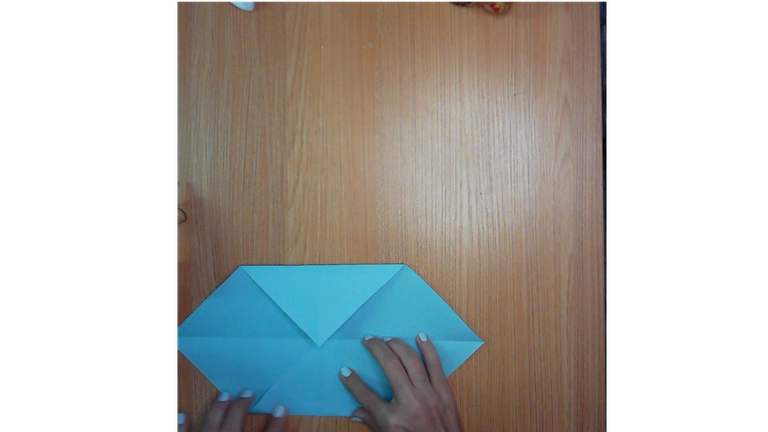
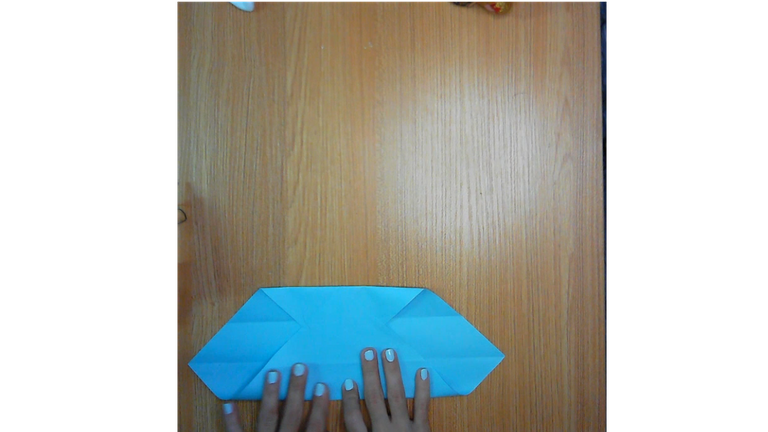
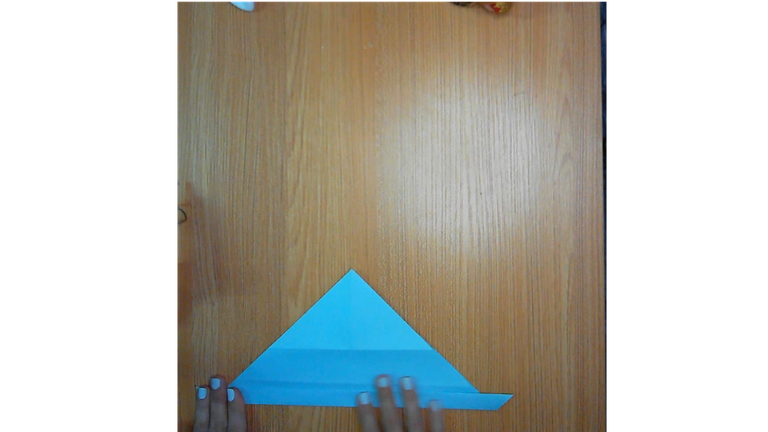
Las medidas son las siguientes, toma una hoja de color tamaño carta y la doblas formando un cuadrado perfecto, recorta el excedente. procede a doblar la primera punta en forma diagonal y repite este paso con la otra esquina. (imagen 1, imagen2 e imagen 3).
Dobla una esquina hasta la mitad del cuadrado.
Dobla la otra esquina hasta la mitad del cuadrado.
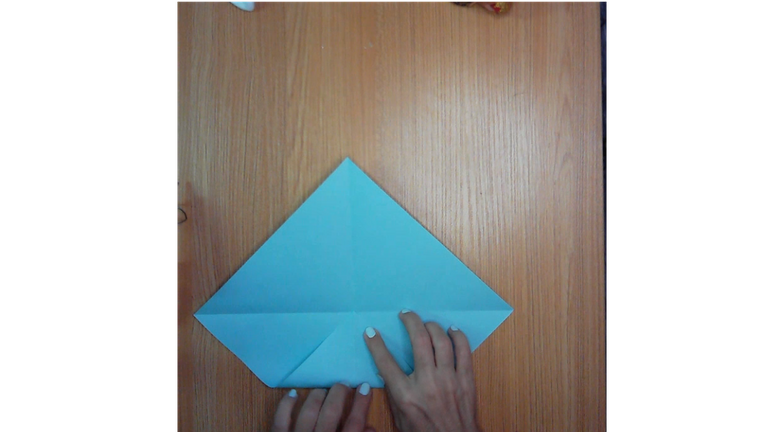
Vuelve a hacer otro doblez pero que la punta de un extremo llegue hasta el dobles que hiciste anteriormente (¡Qué buena soy explicando!) repite este paso con el otro extremo.
Si te pierdes observa las imágenes.
Dobla la hoja por la mitad y vuelve a doblar hacia afuera aproximadamente 1,5 centímetros.
! [English version]
[Eng]
The measurements are as follows, take a letter size colored sheet of paper and fold it into a perfect square, trim the excess, proceed to fold the first corner diagonally and repeat this step with the other corner (image 1, image 2 and image 3).
Fold one corner to the middle of the square.
Fold the other corner to the middle of the square.
Make another fold again, but make sure that the tip of one end reaches the fold you made before (I'm so good at explaining!) repeat this step with the other end.
If you get lost, look at the pictures.
Fold the sheet in half and fold out again about 1.5 centimeters.
Step 2️⃣/ paso 2️⃣
 |  |  |
 |  |  |
 |  |  |
[Esp]
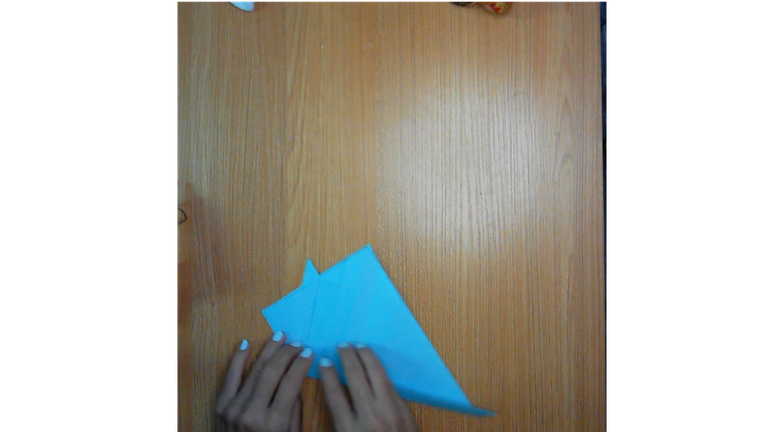
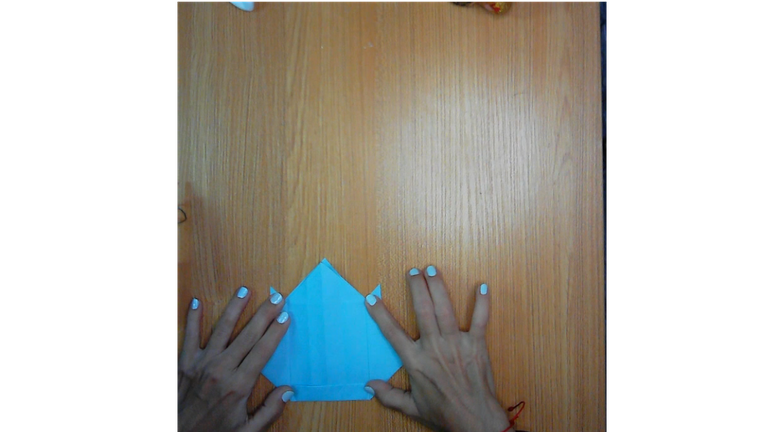
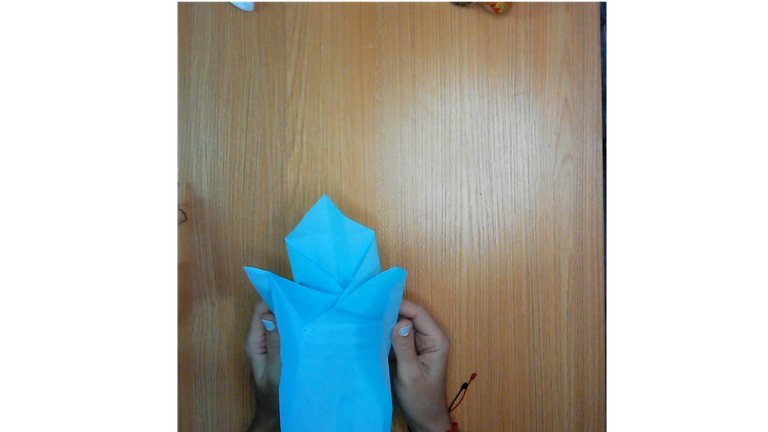
Haremos una especie de cuernitos. Dobla la primera pestaña de la esquina.
Repitiendo el paso anterior, dobla la otra pestaña.
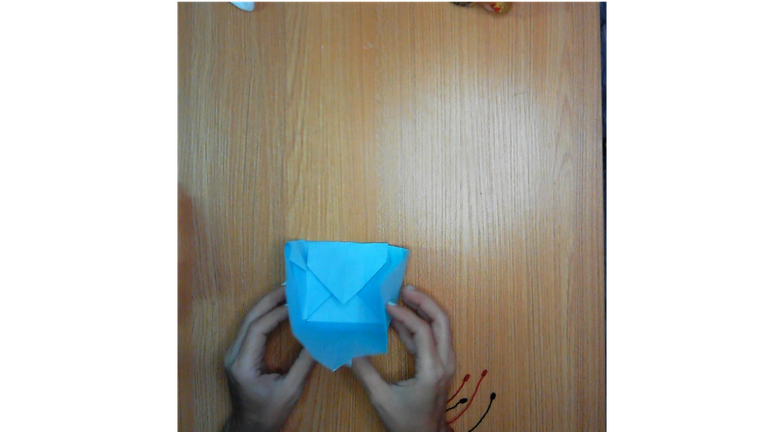
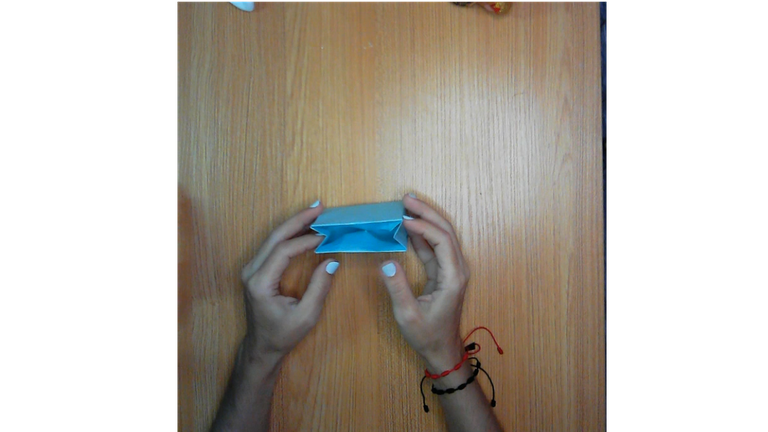
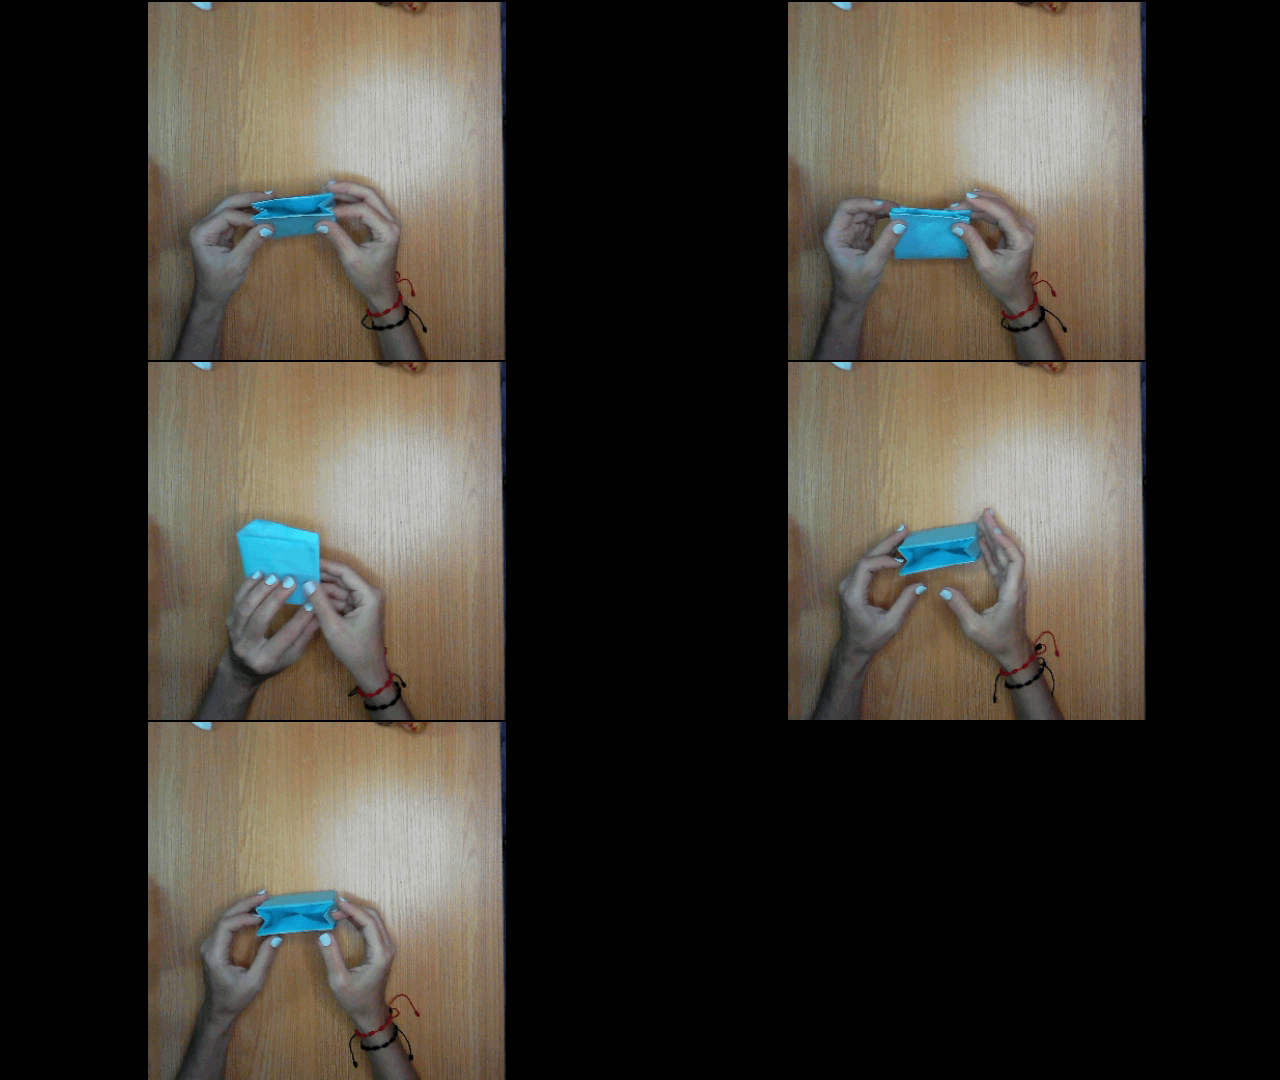
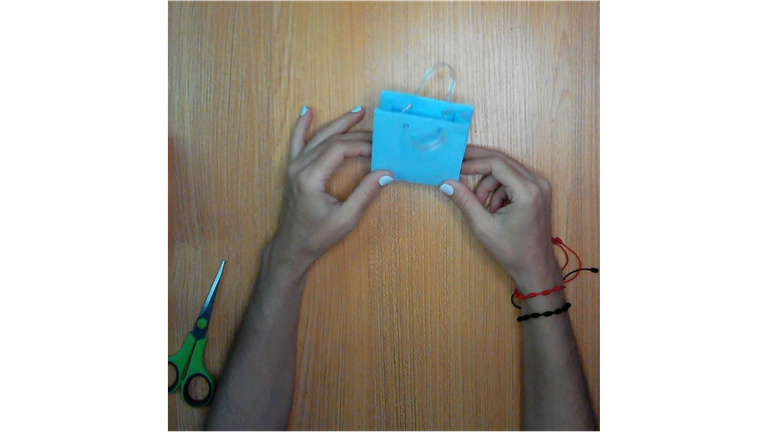
Todos los doblez que hicimos nos permitirán que la caja se cierre sola prácticamente como ves en las imágenes, solo trata de llevarla siguiendo las líneas para cerrar y doblas la pestaña hacia adentro. Con esto no es tan necesario usar pegamento.
Repite el paso anterior con la siguiente pestaña, puedes ayudarte viendo el gif.
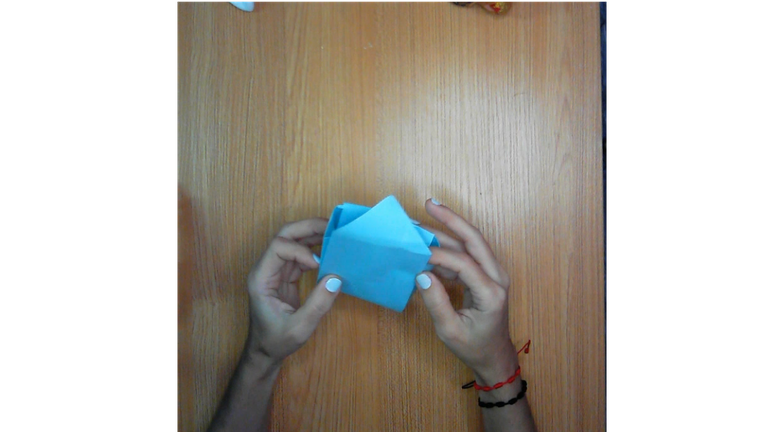
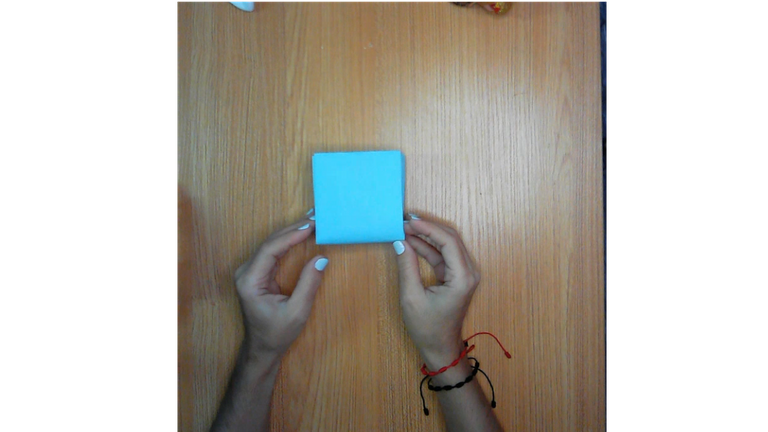
Al doblar la última pestaña hacia adentro terminamos de darle forma a la caja.
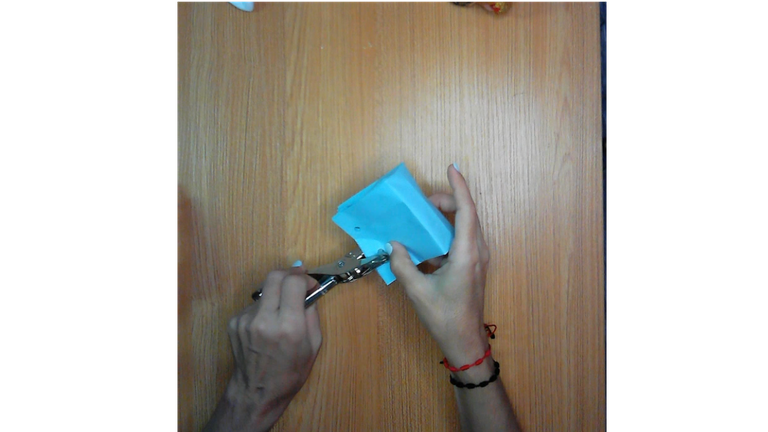
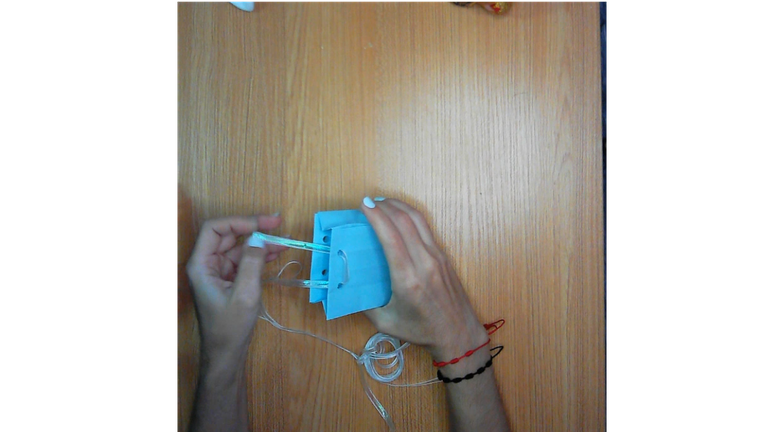
Después de la imagen del gif, siguiendo los pasos, con la caja ya hecha, procedemos abrir los dos huecos de cada lado, procurando que tengamos las dos pestañas de la bolsa unidas.
Ahora pasa la cinta por cada agujero y anuda, con ellos hacemos el asa de cada lado.
! [English version]
[Eng]
We will make a kind of little horns. Fold the first corner tab.
Repeating the previous step, fold the other tab.
All the folds we made will allow the box to close by itself practically as you see in the pictures, just try to bring it following the lines to close and fold the tab inwards. With this it is not so necessary to use glue.
Repeat the previous step with the next tab, you can help yourself by watching the gif.
By folding the last tab inwards we finish shaping the box.
After the gif image, following the steps, with the box already made, we proceed to open the two holes on each side, making sure that we have the two tabs of the bag together.
Now pass the ribbon through each hole and knot, with them we make the handle on each side.
💜💜💜

💜💜💜
Idea N° 2
Step 1️⃣/ paso 1️⃣
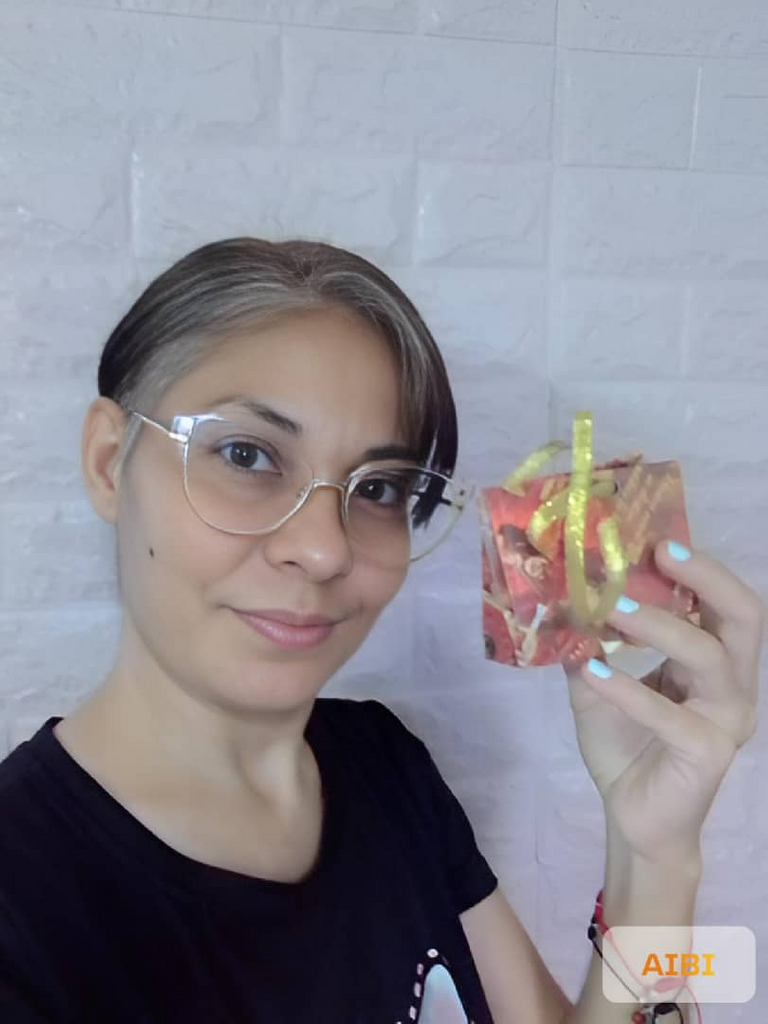
Para papá (For Dad)
 |  |  |
 |  |  |
[Esp]
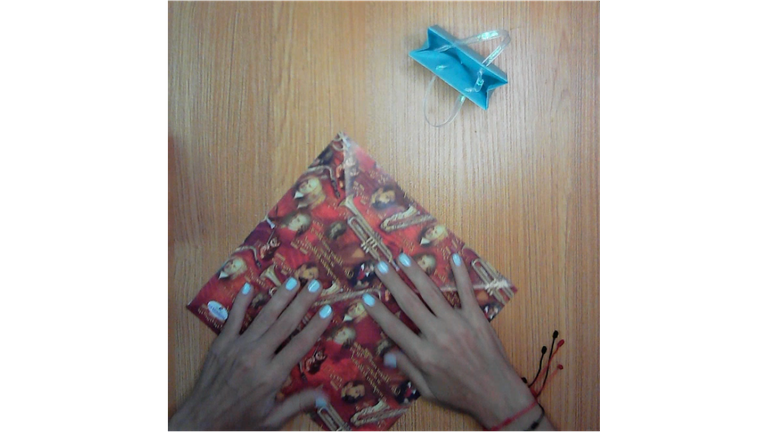
Repite los pasos de la bolsita anterior, de todas maneras, te indico de nuevo. Toma la medida del cuadro anterior y recorta el área de un cuadrado perfecto.
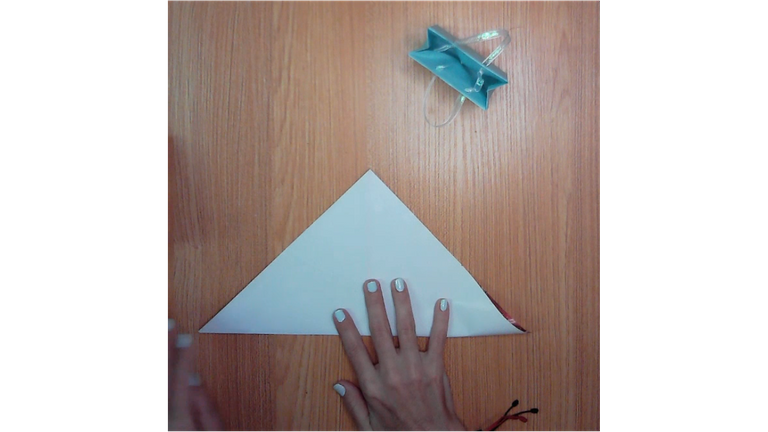
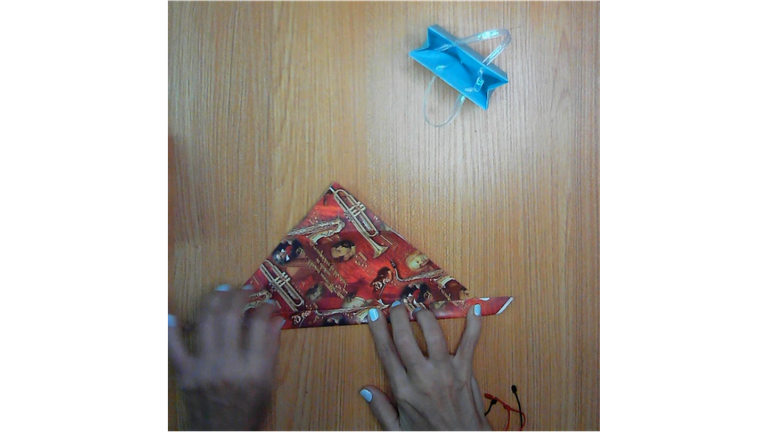
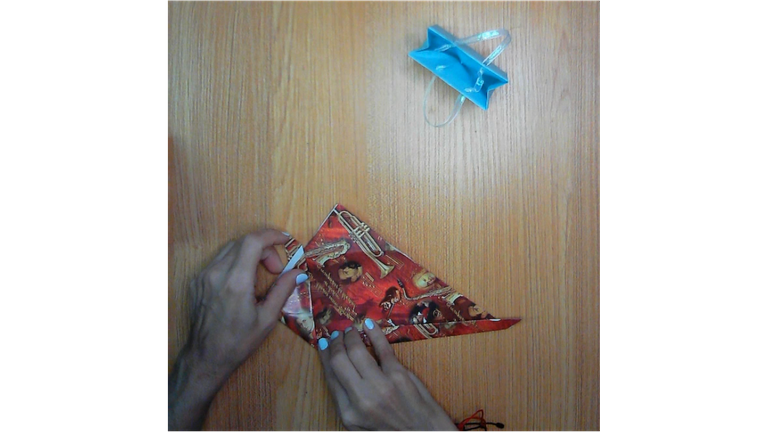
Dobla el papel por la mitad en forma diagonal.
Repite el paso del lado contrario doblando en forma diagonal.
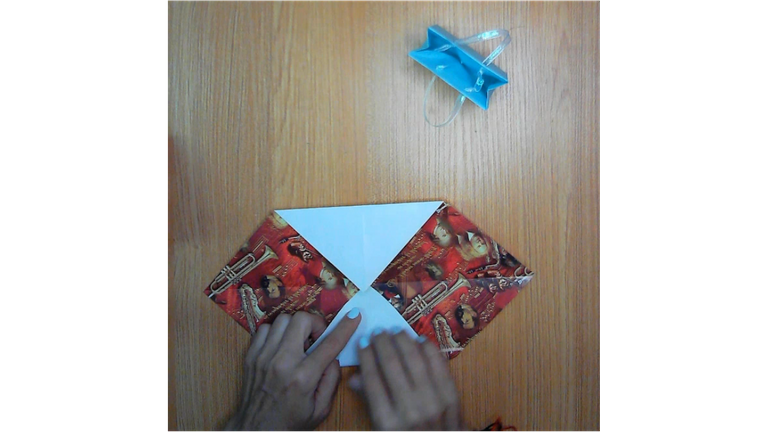
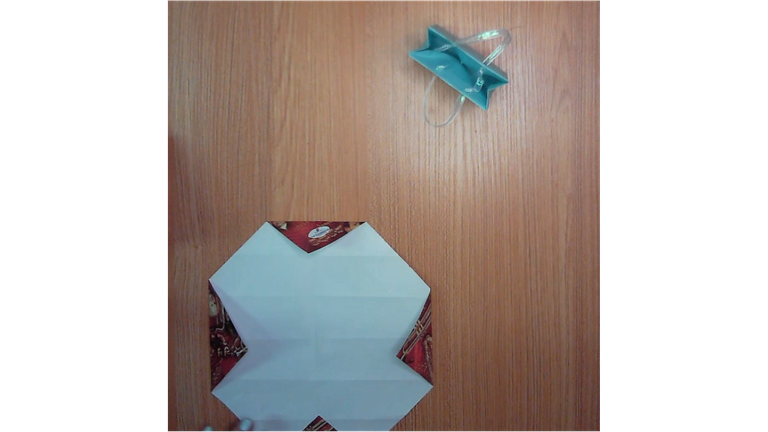
Dobla la primera pestaña hasta tocar el centro y repite el mismo paso con la pestaña del otro extremo.
Dobla la primer punta de un extremo.
Repite el paso anterior con los tres extremos restantes.
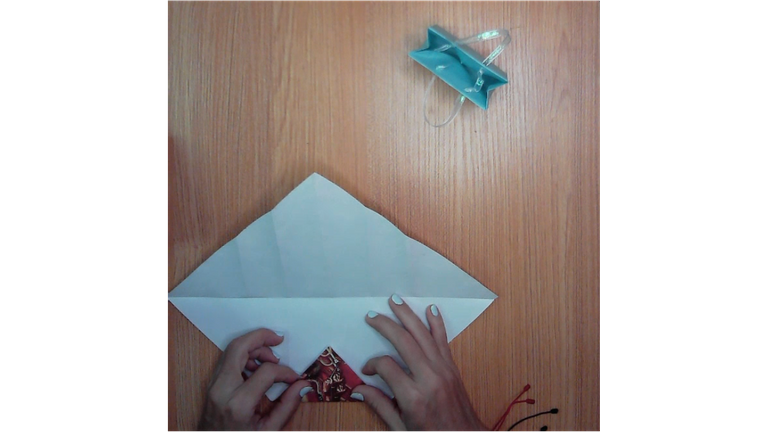
Dobla nuevamente el papel por la mitad.
Haremos unos cuernitos, dobla la primera pestaña, hasta la marca del un doblez y repite el mismo procedimiento del otro extremo.
! [English version]
[Eng]
Repeat the steps of the previous sachet, however, I indicate again. Take the measurement of the previous square and cut out the area of a perfect square.
Fold the paper in half diagonally.
Repeat the step on the opposite side folding diagonally.
Fold the first tab until it touches the center and repeat the same step with the tab at the other end.
Fold the first end of one end.
Repeat the previous step with the remaining three ends.
Fold the paper in half again.
We will make some little horns, fold the first tab, up to the mark of the fold and repeat the same procedure with the other side.
Step 2️⃣/ paso 2️⃣
 |  |  |
 |  |  |
 |  |  |
[Esp]
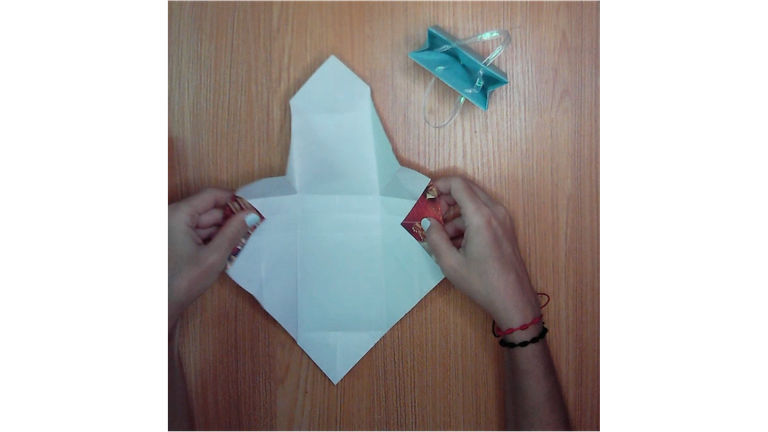
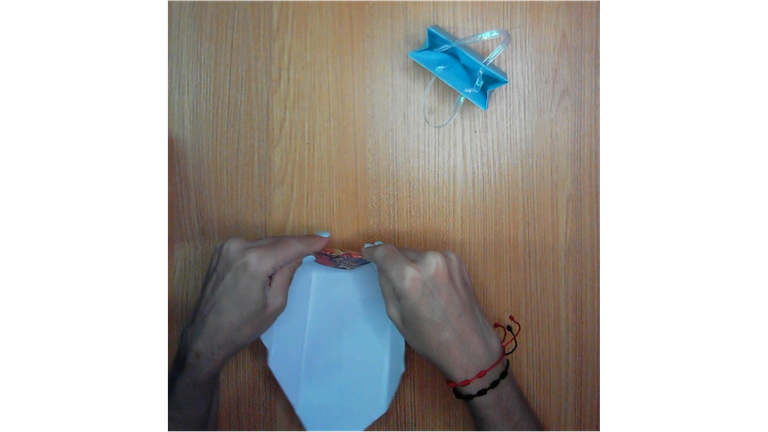
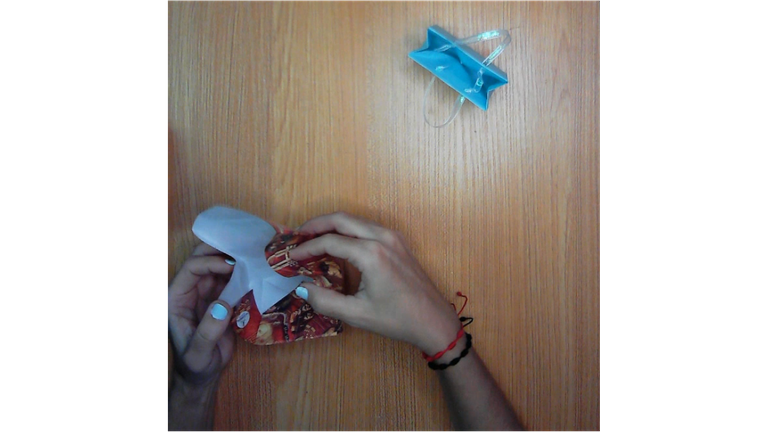
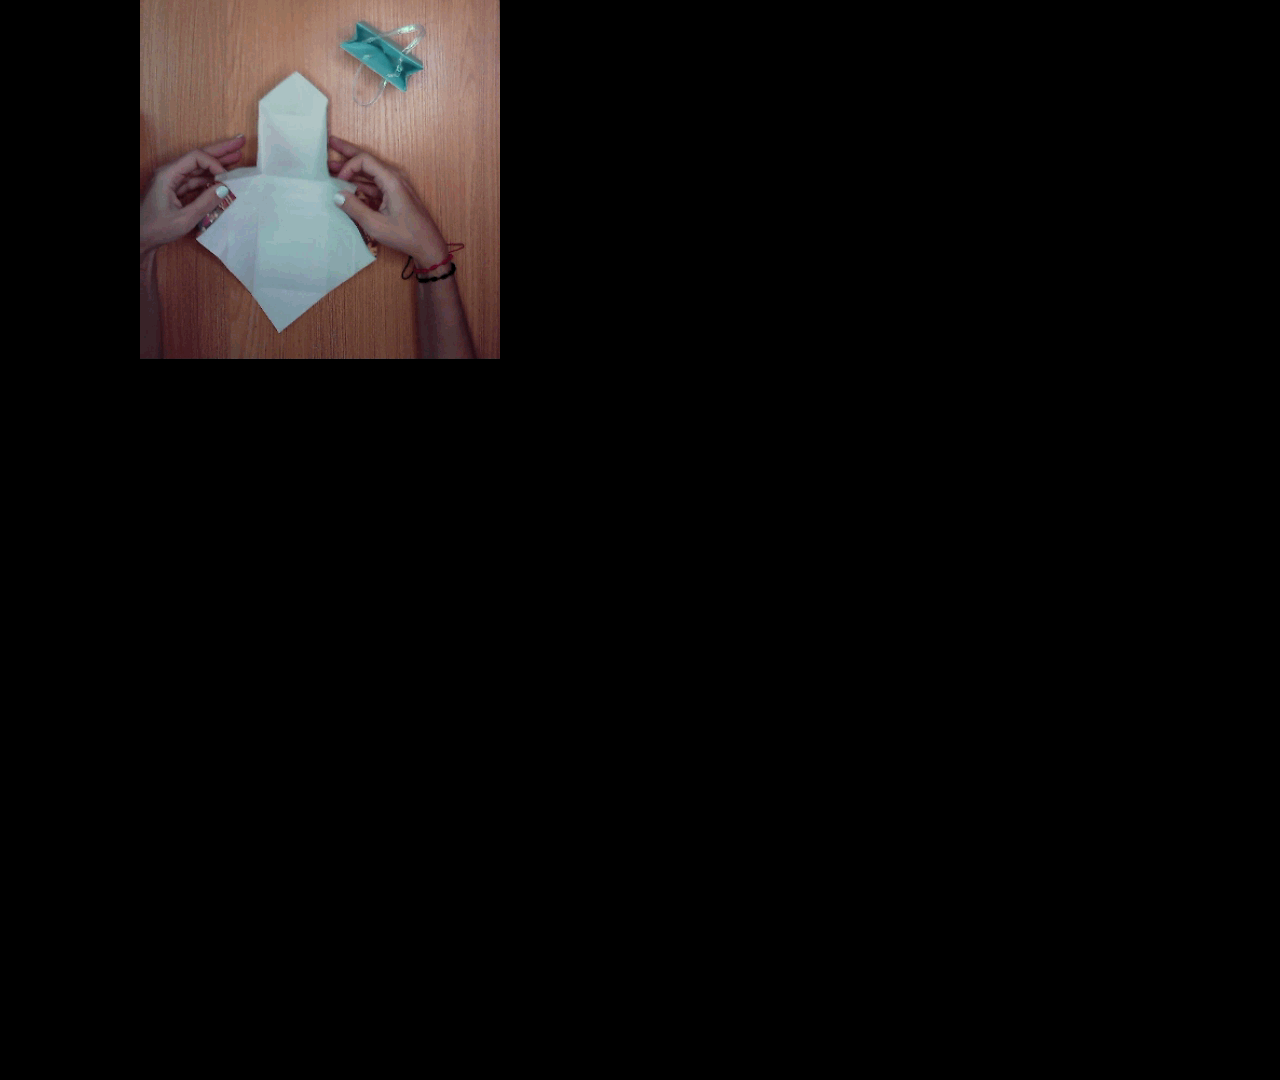
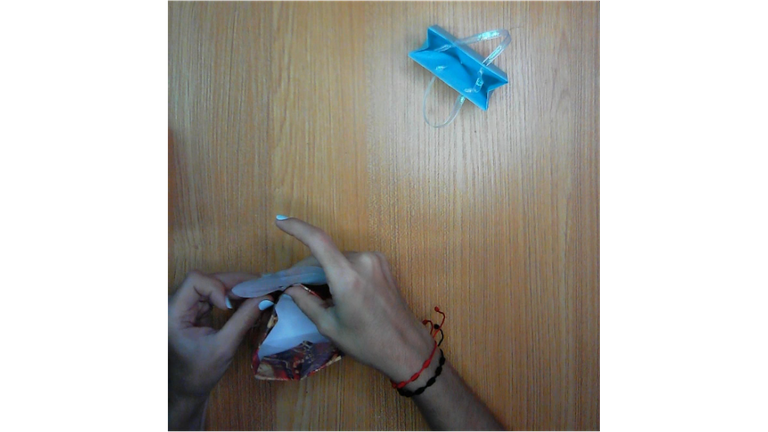
Dobla todas las esquinas hacia adentro.
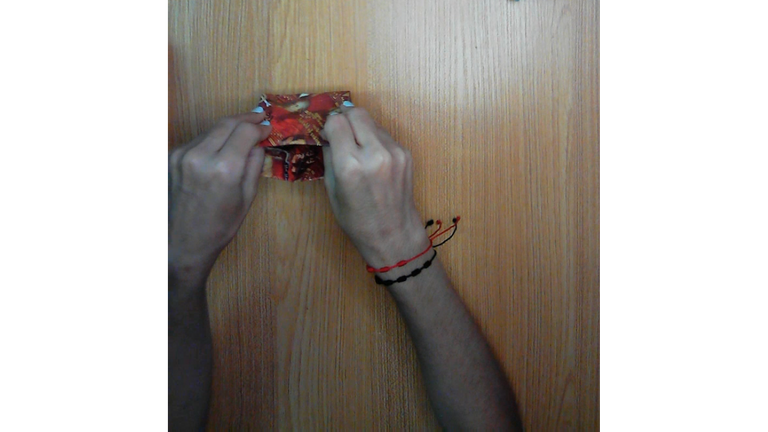
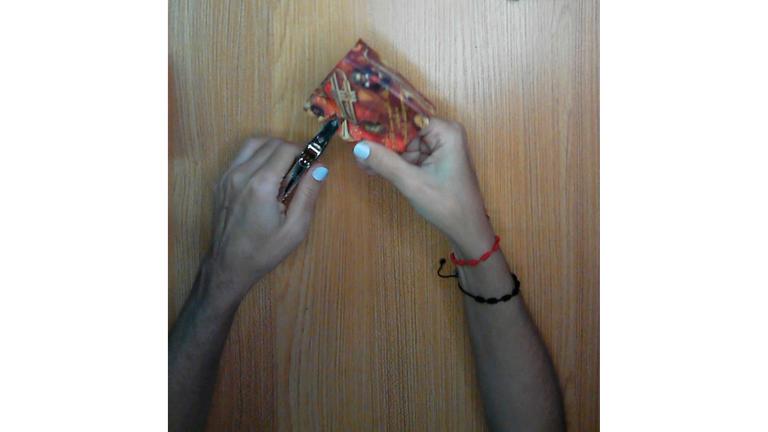
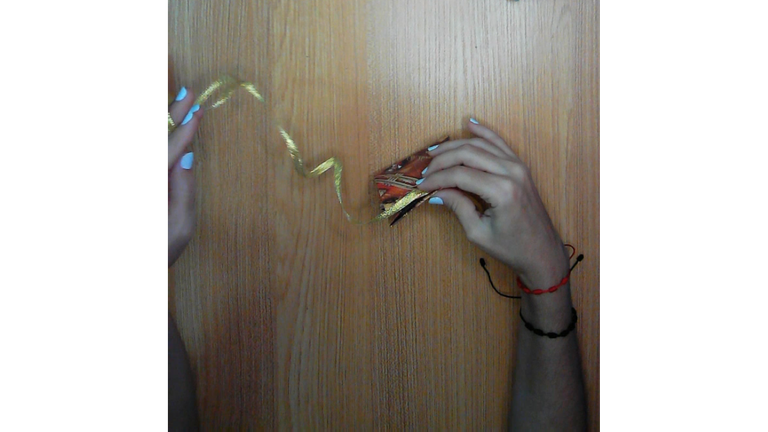
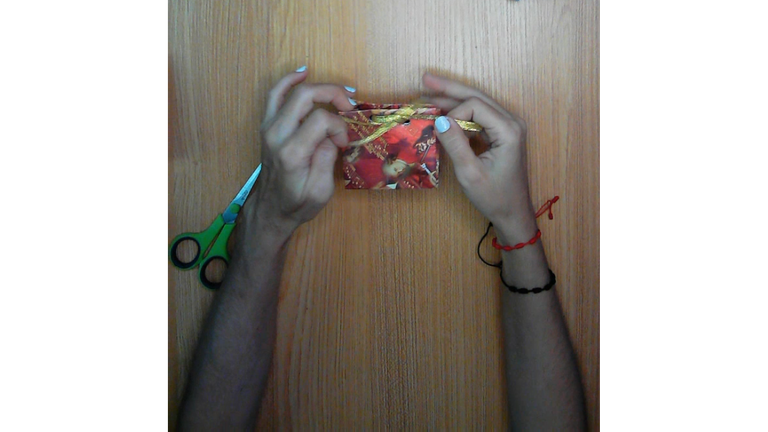
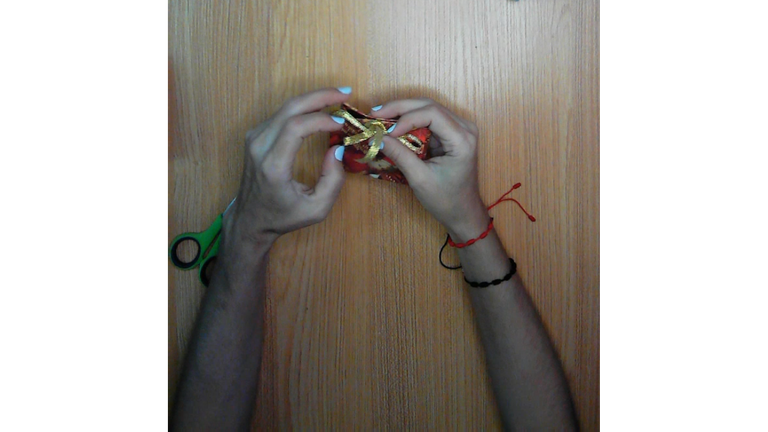
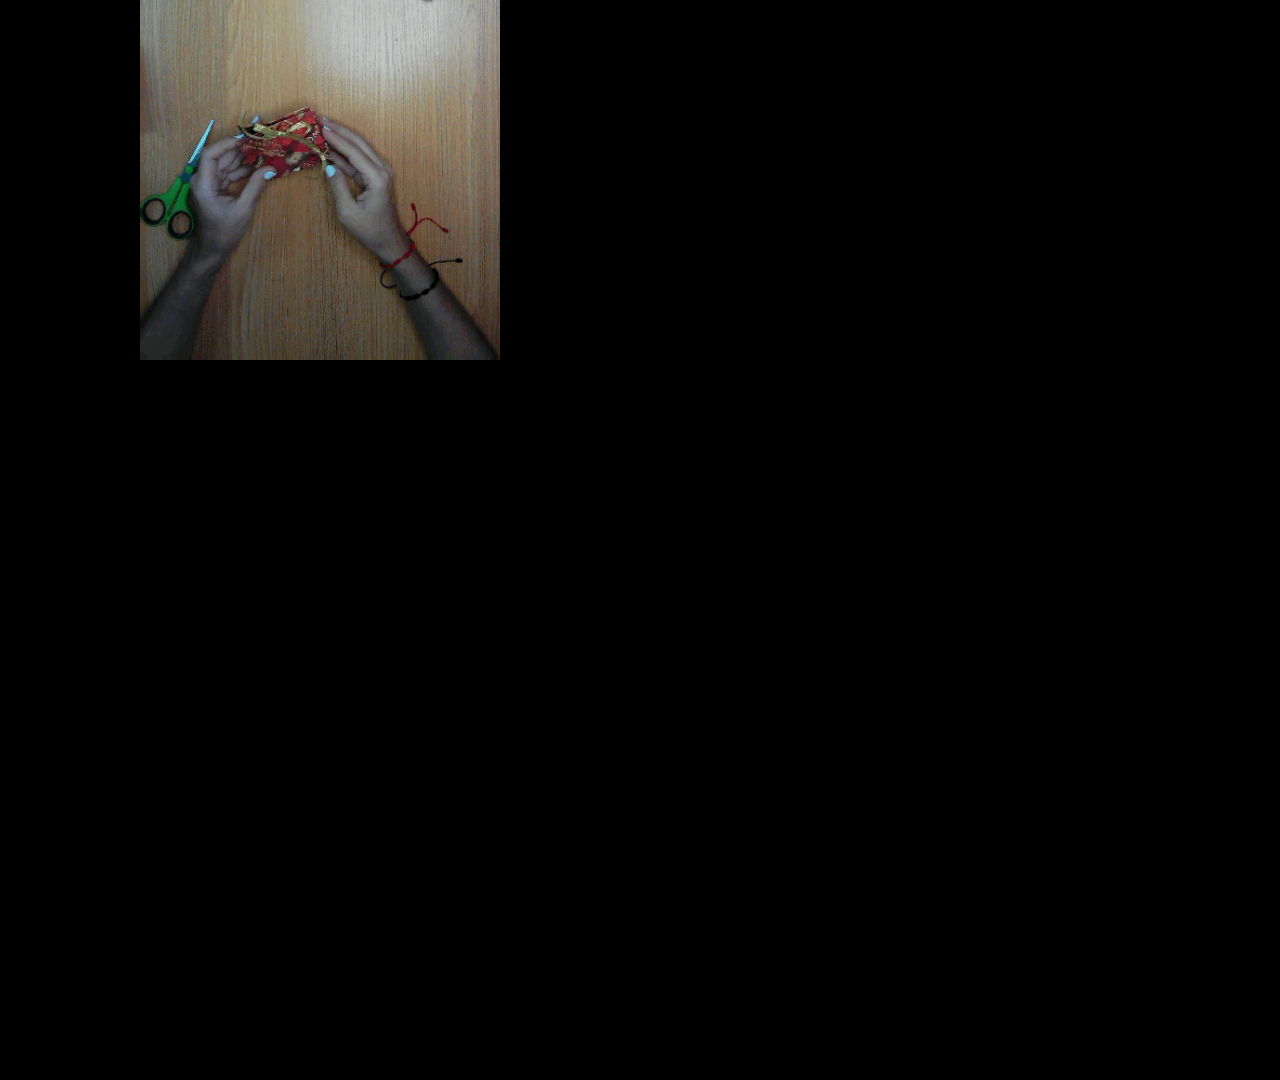
Gracias a cada doblez que hemos hecho, nos permitirá con facilidad doblar la cajita, ella tomará la forma mientras la doblas hacia adentro y después de allí doblas la primera pestaña (imagen 1, 2, 3 Gif e imagen 4).
Ahora repite los pasos anteriores con el otro lado y con ello cierras la bolsa.
Con un abre huecos, realiza los orificios por donde pasará la cinta, recorta la misma del tamaño que necesites.
Esta bolsita es diferente, no lleva asa, por lo cual solo vas a realizarle un nudo y con ella terminas.
! [English version]
[Eng]
Thanks to each fold that we have made, it will allow us to easily fold the box, it will take the shape as you fold it inwards and then from there you fold the first flap (image 1, 2, 3 Gif and image 4).
Now repeat the previous steps with the other side and close the bag.
With a hole opener, make the holes where the ribbon will go through, cut the ribbon to the size you need.
This bag is different, it doesn't have a handle, so you just tie a knot and you're done.
💜💜💜

💜💜💜
Idea N° 3
Step 1️⃣/ paso 1️⃣
Para mamá (For mom)
 |  |  |
 |  |  |
[Esp]
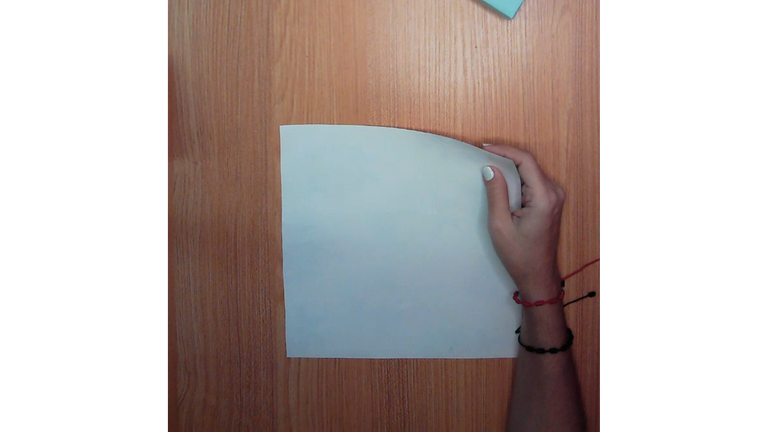
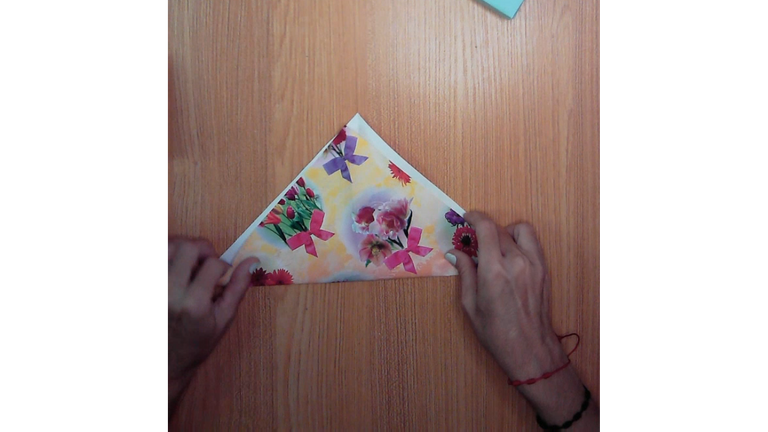
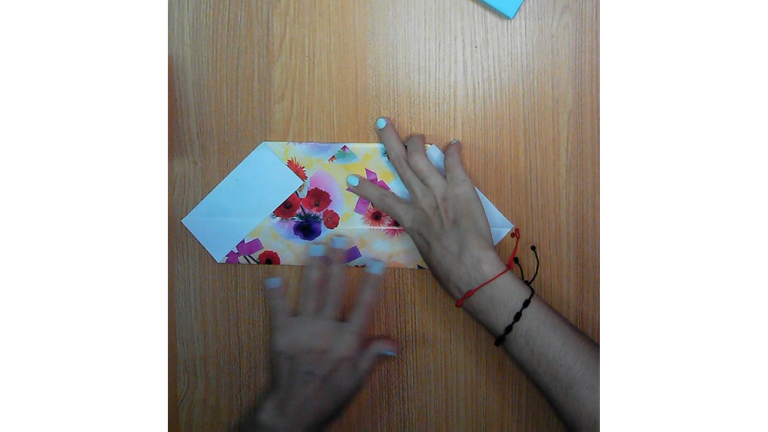
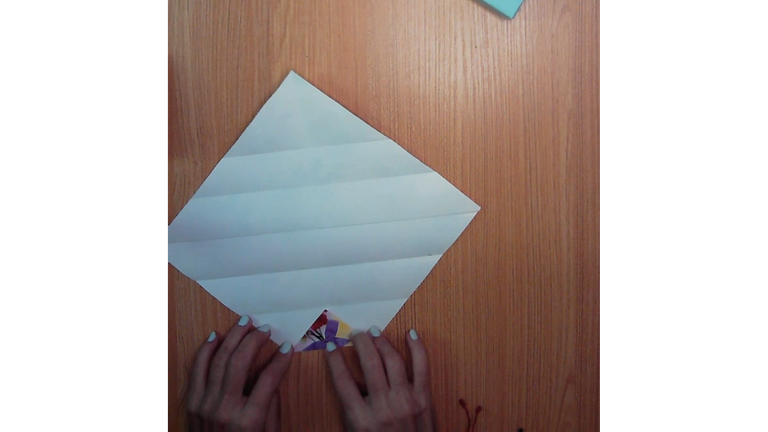
Continuando los pasos anteriores, recorta el tamaño de la hoja midiendo el anterior, usándolo como molde.
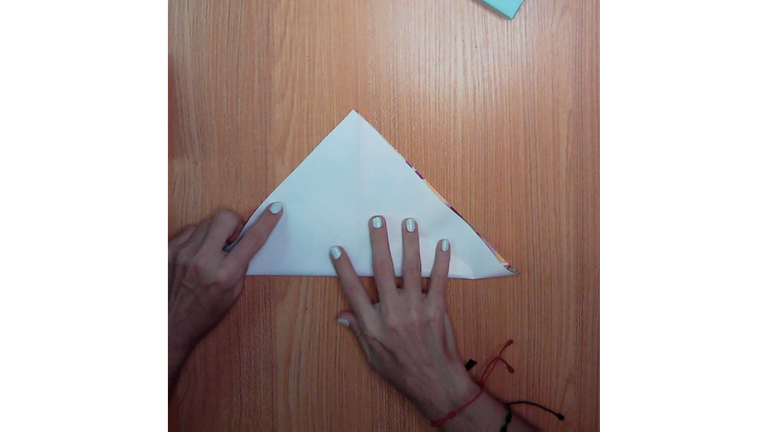
Dobla la hoja por la mitad en forma diagonal.
Repite el paso anterior del otro lado.
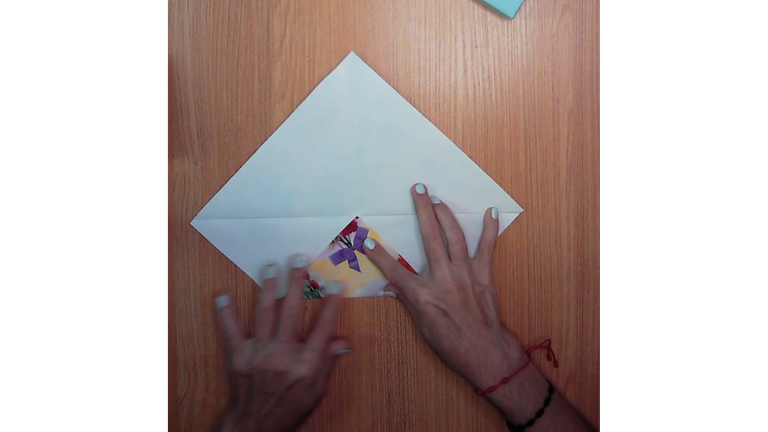
Dobla la primera punta hasta la mitad.
Repite el paso anterior con el otro extremo.
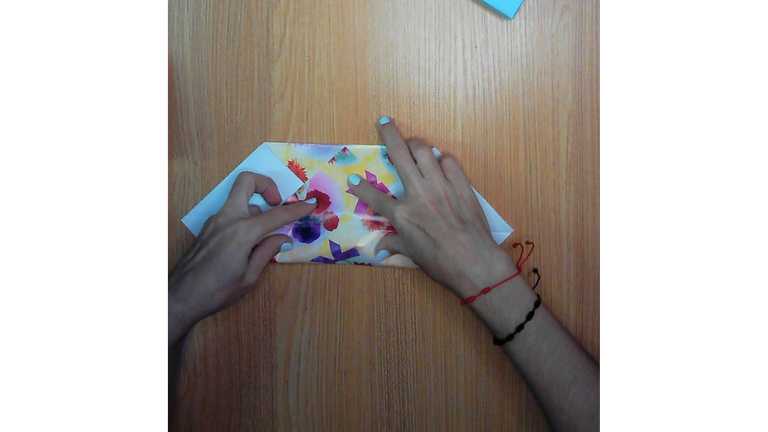
Ahora dobla el siguiente hasta la otra marca y repite este paso en el otro extremo.
Te quedaran las marcas como la última imagen. Aprovecha y doblas la primera punta hacia adentro.
! [English version]
[Eng]
Continuing with the previous steps, cut out the size of the sheet by measuring the previous one, using it as a mold.
Fold the sheet in half diagonally.
Repeat the previous step on the other side.
Fold the first end in half.
Repeat the previous step with the other end.
Now fold the next one to the other mark and repeat this step on the other end.
You will have the marks like the last image. Take advantage and fold the first end to the inside.
Step 2️⃣/ paso 2️⃣
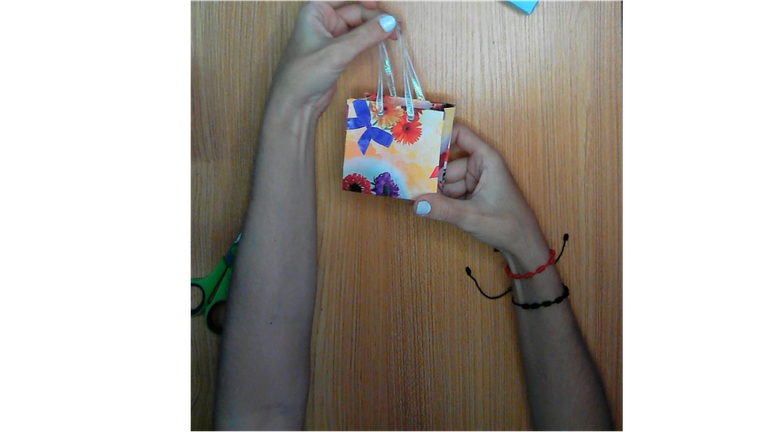
 |  |  |
 |  |  |
 |  |
 |  |
[Esp]
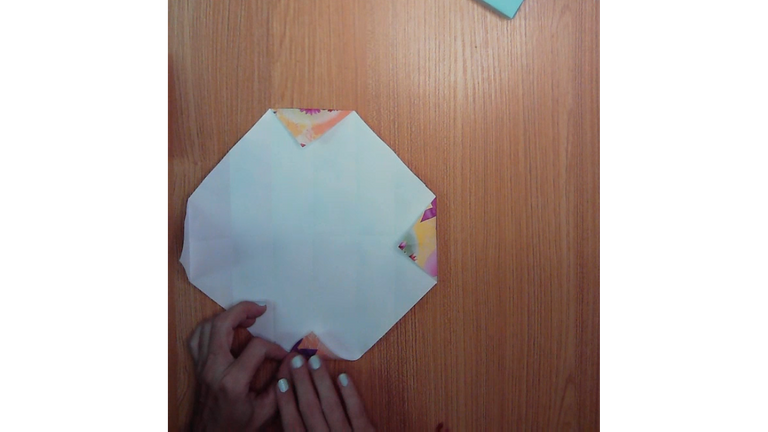
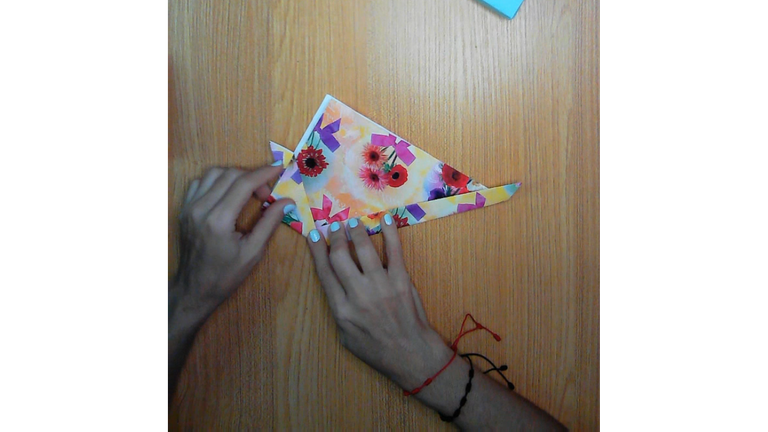
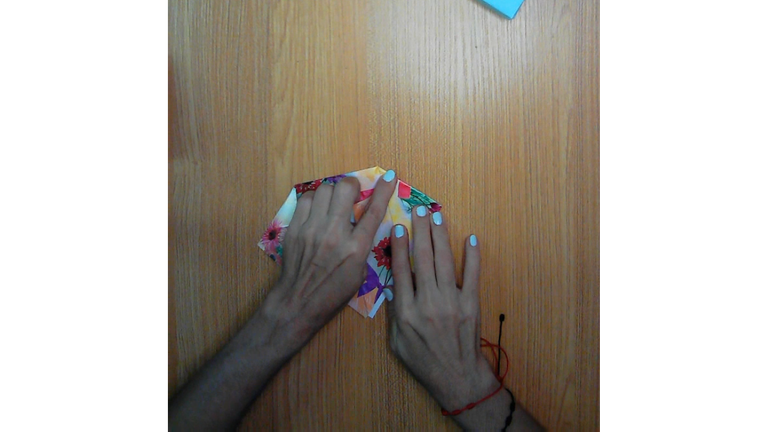
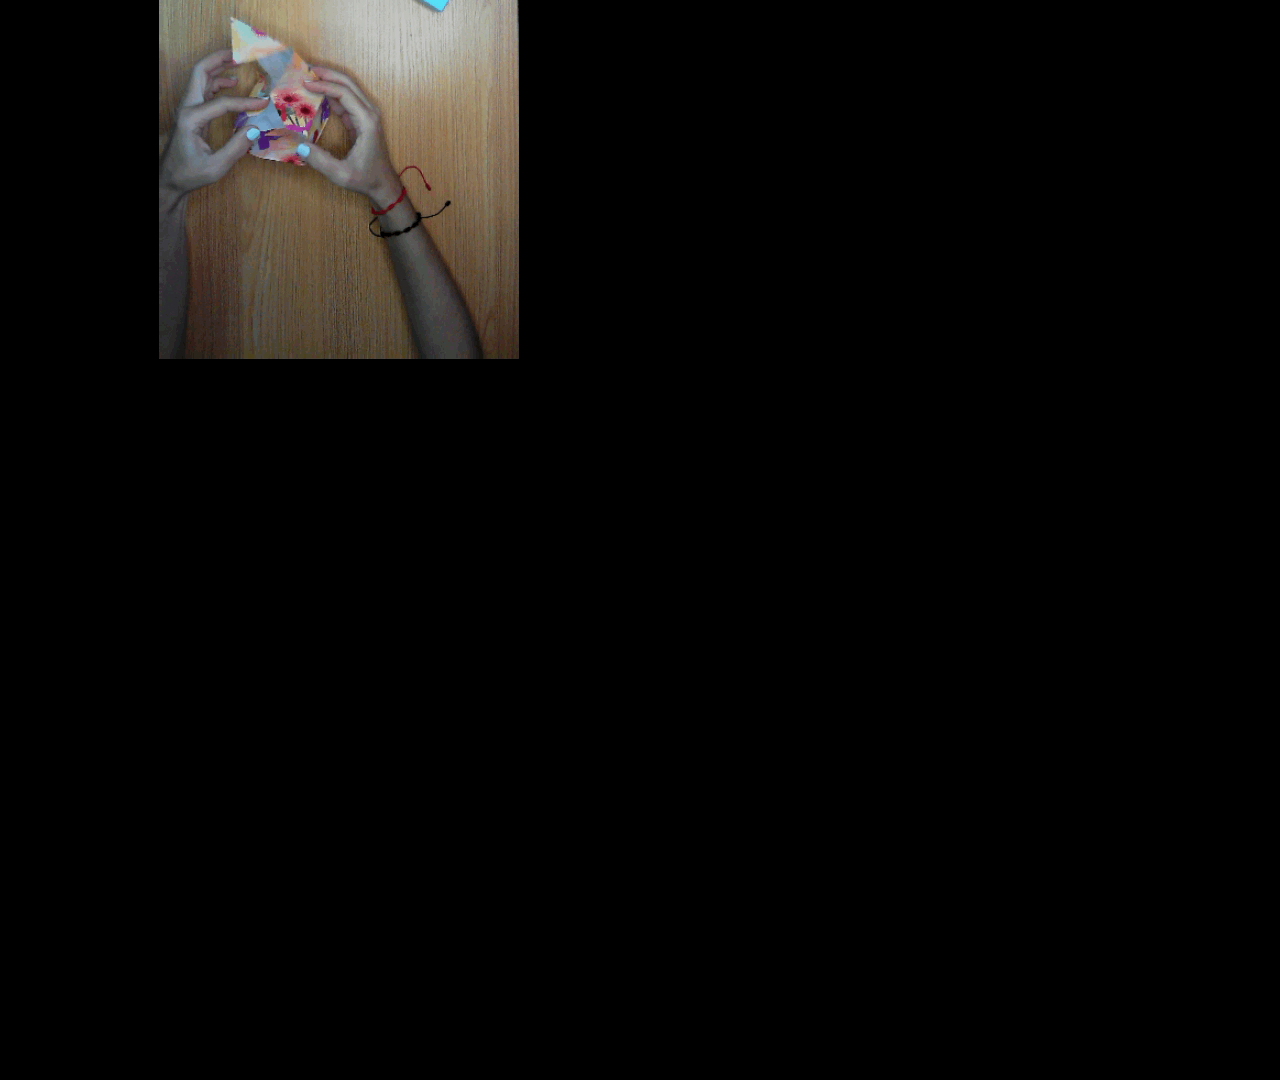
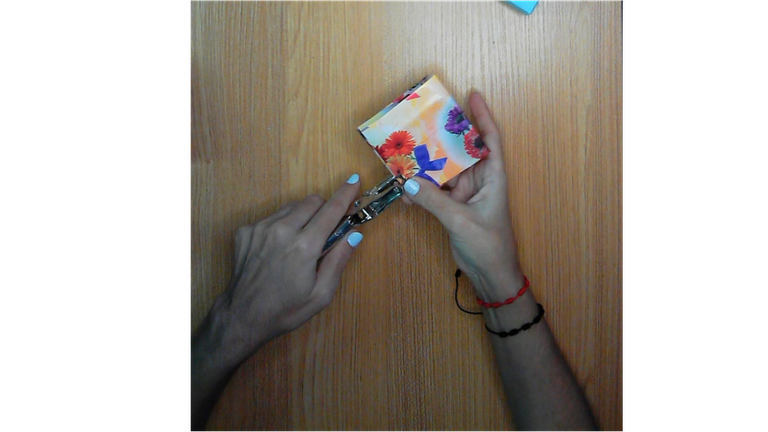
Dobla todas las esquinas hacia adentro.
Ahora dobla por la mitad nuevamente y haremos los cuernitos o una forma de sombrerito, dobla la primera esquina y repite este paso con el otro extremo.
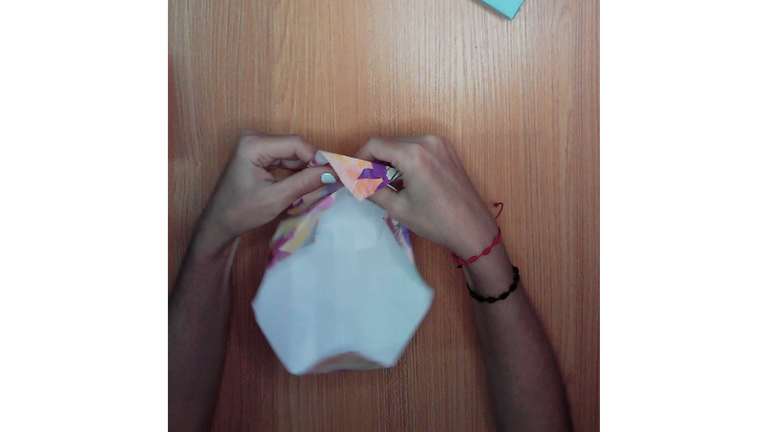
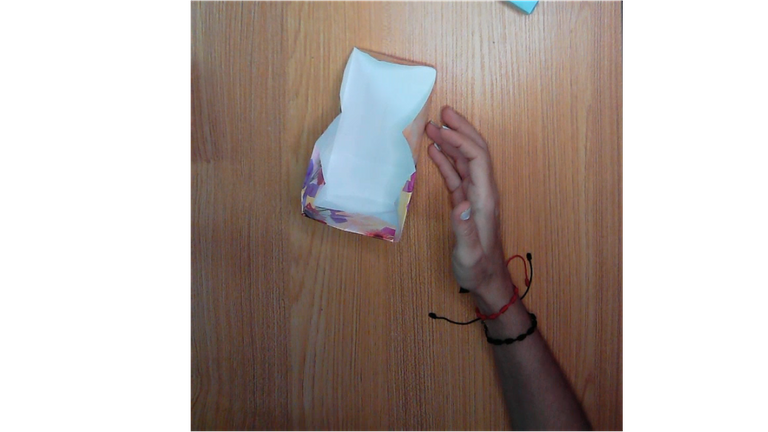
La bolsa se podrá cerrar sola gracias a los doblez que hiciste cierra la pestaña hacia adentro y con ello no necesitarás pegamento.
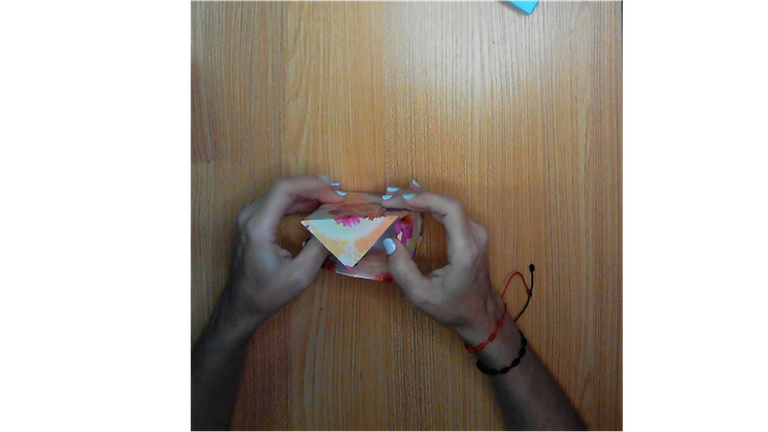
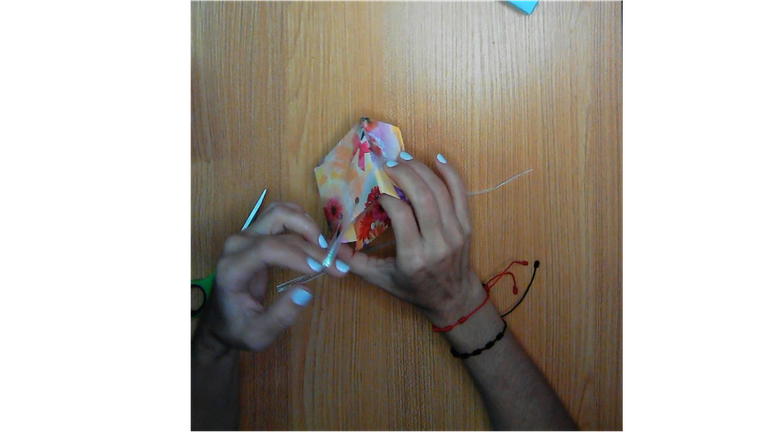
Repite los pasos anteriores con el otro lado de la bolsita, al cerrar la última pestaña habrás concluido este modelito de bolsa. Toma como guía las imágenes y gif que te proporciono.
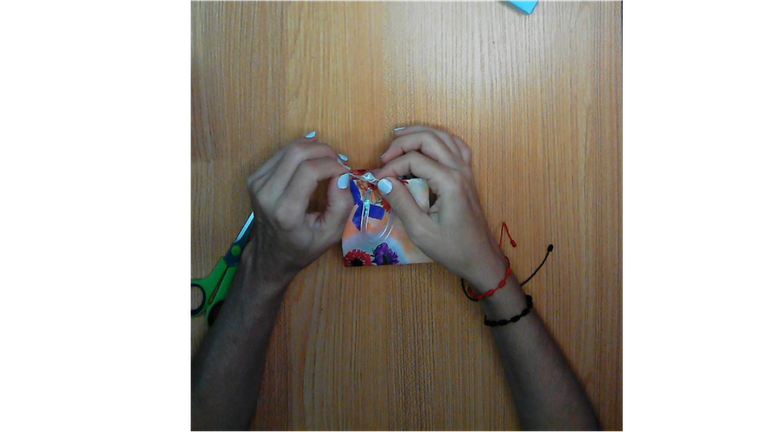
Después de la imagen del gif, una vez cerrada la bolsa, procede a abrir dos huecos en cada lado de la bolsa con el abre huecos.
Pasa la cinta a través de los huecos y realiza un nudo, con ello habrás hecho las asas.
! [English version]
[Eng]
Fold all the corners inwards.
Now fold in half again and we will make the little horns or a hat shape, fold the first corner and repeat this step with the other end.
The bag will be able to close by itself thanks to the folds you made, close the flap inwards and you won't need glue.
Repeat the previous steps with the other side of the bag, when you close the last flap you will have finished this little bag model. Take as a guide the images and gif that I provide.
After the gif image, once the bag is closed, proceed to open two holes on each side of the bag with the hole opener.
Pass the ribbon through the holes and tie a knot, with this you will have made the handles.
💜💜💜

💜💜💜
Idea N° 4
Step 1️⃣/ paso 1️⃣
Para ella (For her)
 |  |  |
 |  |  |
[Esp]
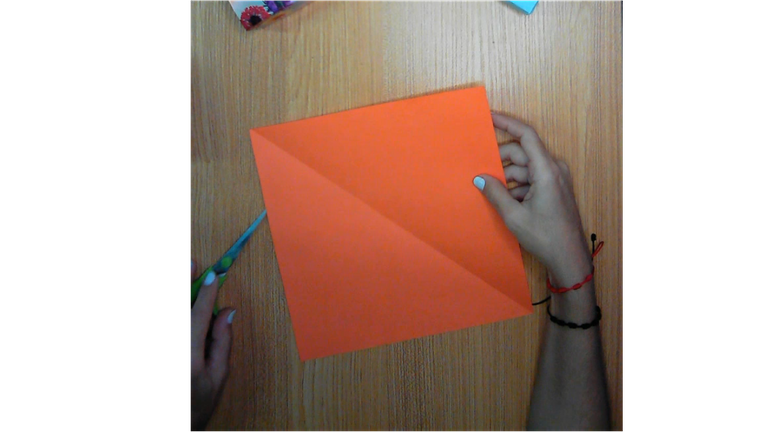
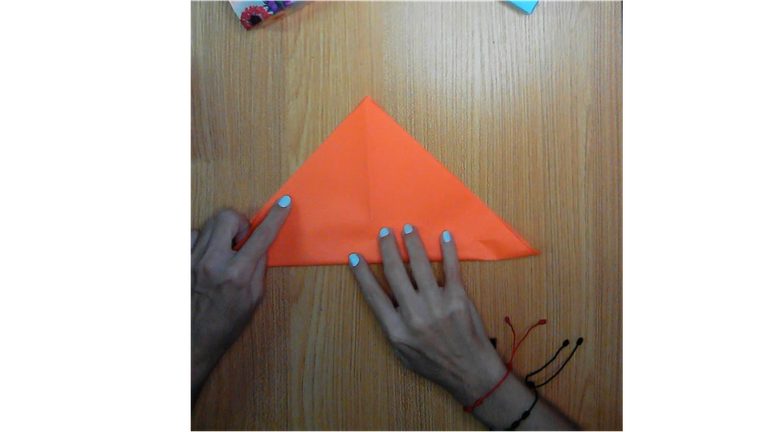
Continuando los pasos anteriores, recorta el tamaño de la hoja midiendo el anterior, es una hoja tamaño carta, la doblas hasta hacer un cuadrado perfecto, corta el excedente.
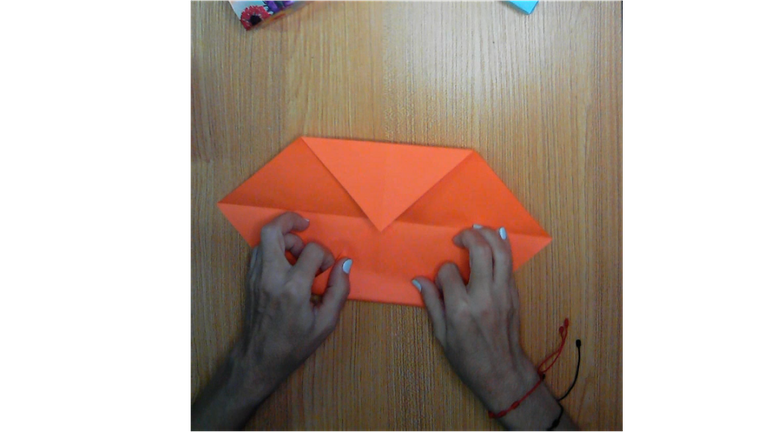
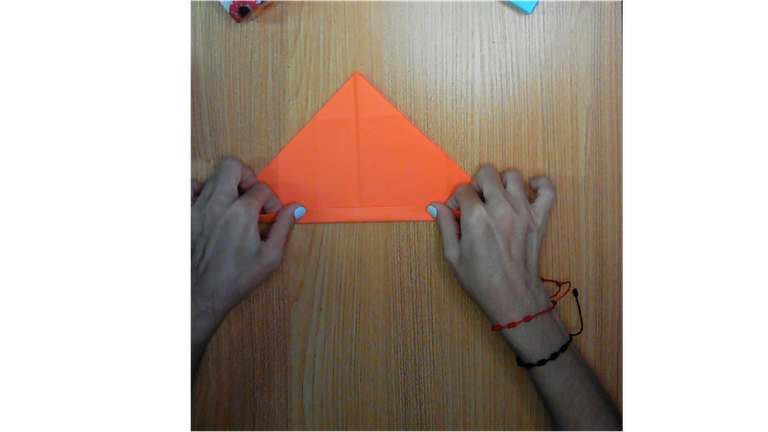
Dobla la hoja por la mitad en forma diagonal y repite el paso anterior del otro lado (imagen 1 y 2).
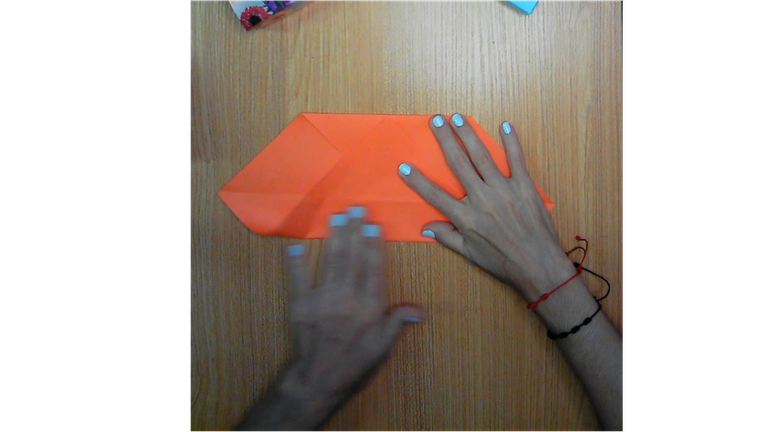
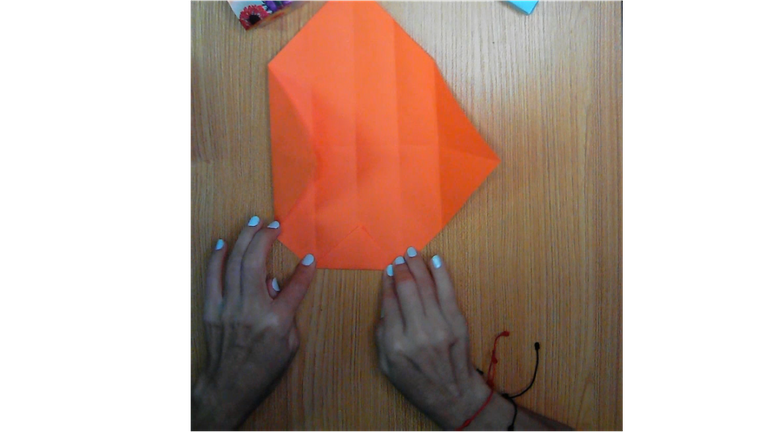
Dobla la primera punta hasta la mitad y repite el paso anterior con el otro extremo (imagen 3 y 4).
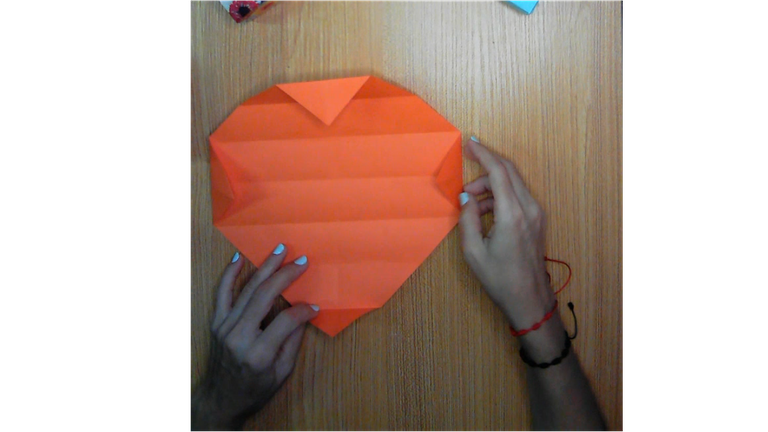
Ahora dobla el siguiente hasta la otra marca y repite este paso en el otro extremo, ahora dobla las 4 esquinas (imagen 4, 5 y 6).
Dobla nuevamente por el centro y vuelve a doblar hacia adentro una pestaña de 1.5 centímetros aproximadamente.
! [English version]
[Eng]
Continuing with the previous steps, cut the size of the sheet measuring the previous one, it is a letter size sheet, fold it to make a perfect square, cut the excess.
Fold the sheet in half diagonally and repeat the previous step on the other side (image 1 and 2).
Fold the first end in half and repeat the previous step with the other end (image 3 and 4).
Now fold the next one to the other mark and repeat this step on the other end, now fold the 4 corners (image 4, 5 and 6).
Fold again in the center and fold back inwards a tab of about 1.5 centimeters.
Step 2️⃣/ paso 2️⃣
 |  |  |

 |  |  |
 |  |
 |  |
[Esp]
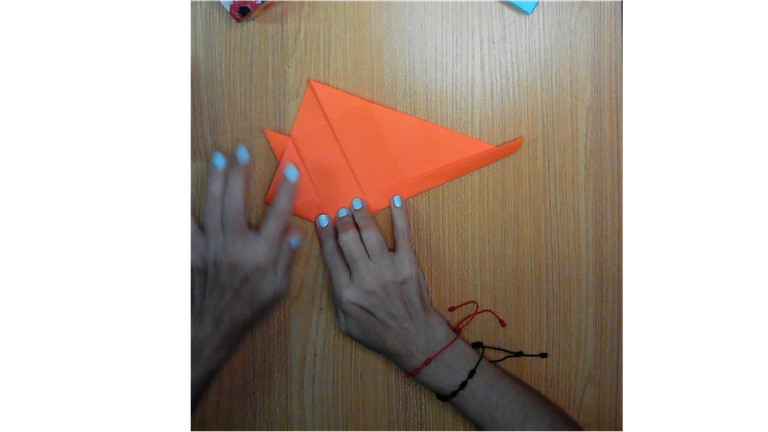
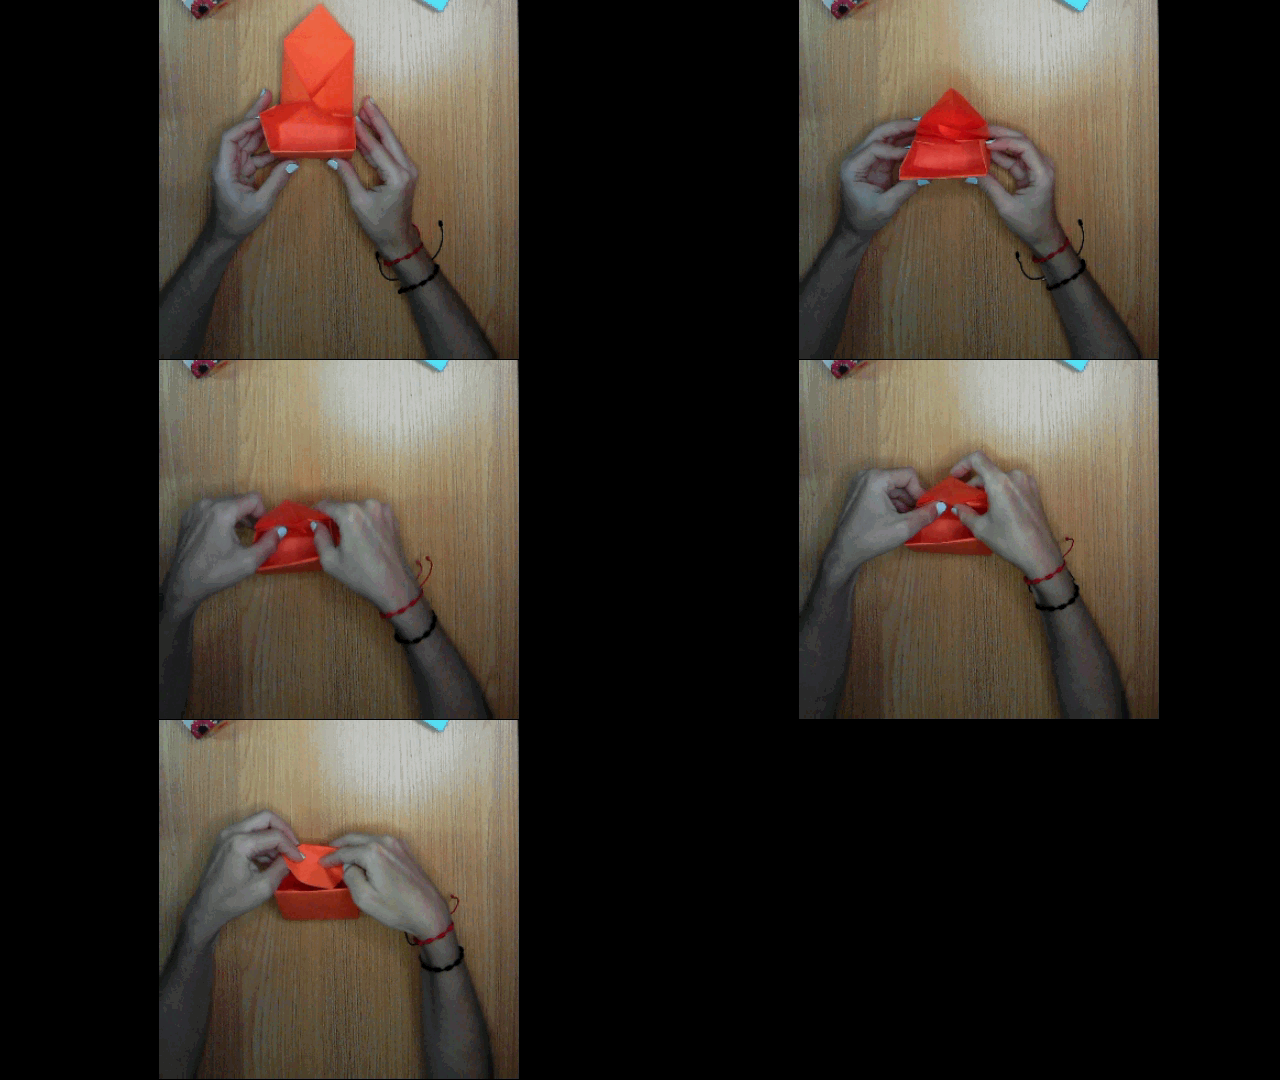
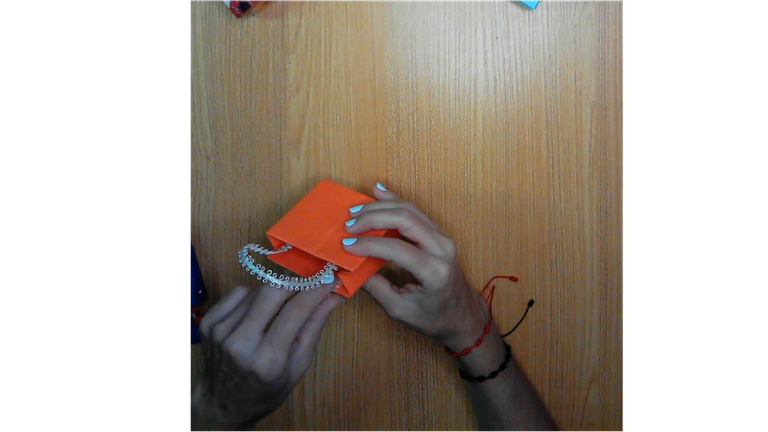
Haremos la forma de sombrerito o cuernos... Dobla la esquina izquierda hasta la marca del doblez.
Repite el paso anterior en el otro extremo.
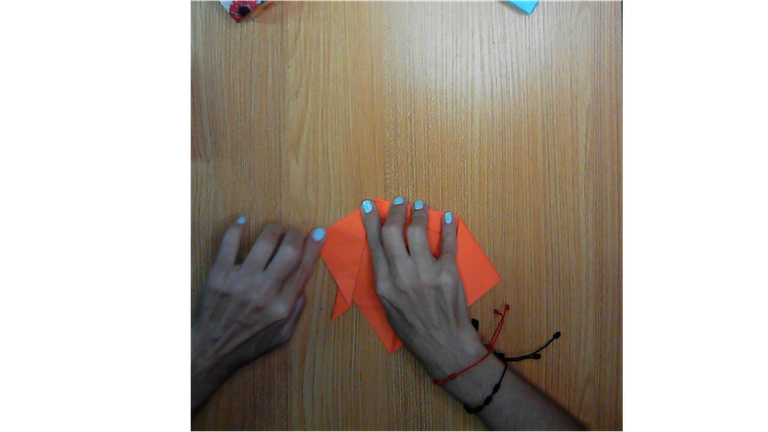
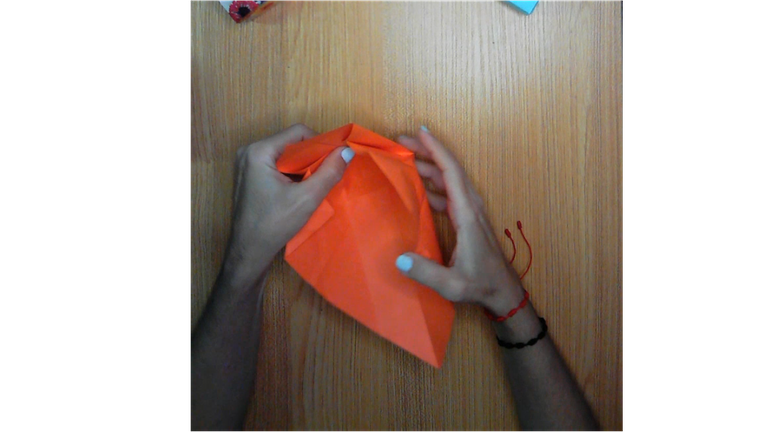
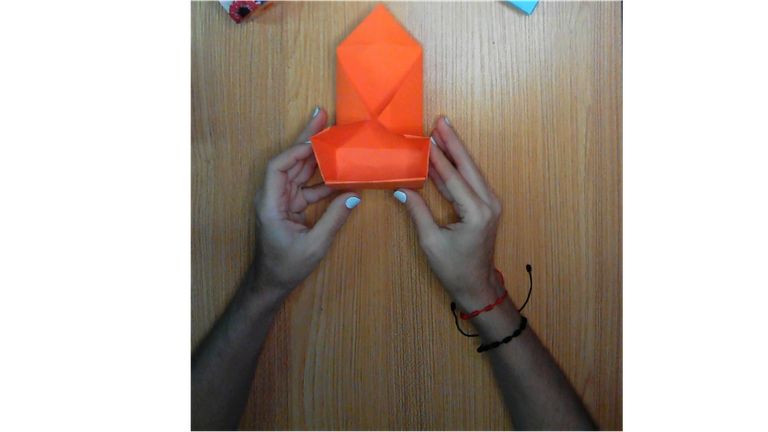
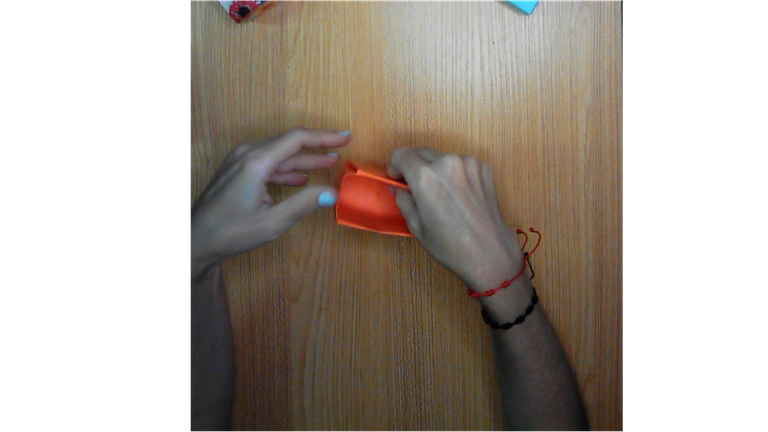
Siguiendo los doblez que has hecho en el mismo papel, hará que la bolsita se cierre sola, mira la imagen 3 y el gif para guiarte, dobla la punta hacia adentro con ello queda fija y no necesitas pegamento
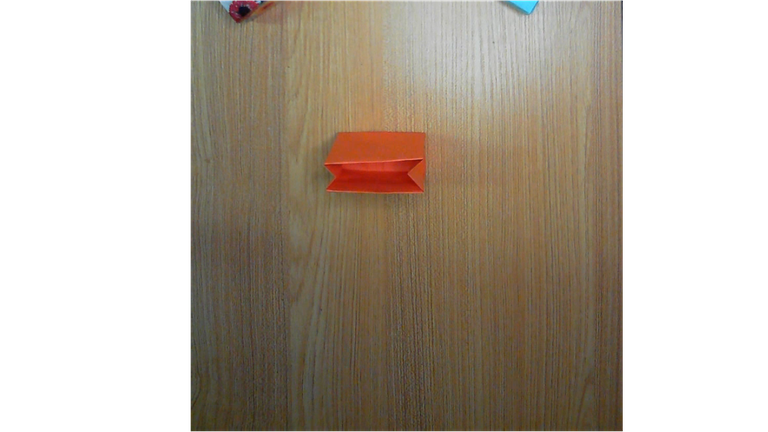
Repite el paso anterior con el otro extremo de la bolsa y con ello terminas de cerrar la pestaña hacia a dentro, observa el gif siguiente.
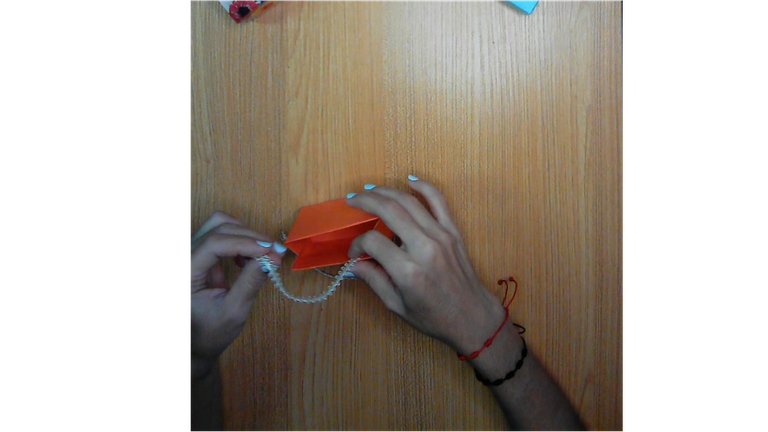
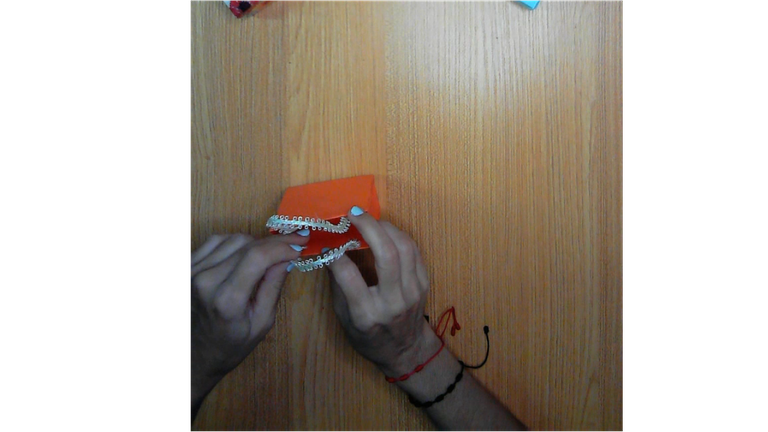
Para colocar las asas si necesitas silicón caliente. recorta el tamaño de la cinta necesaria.
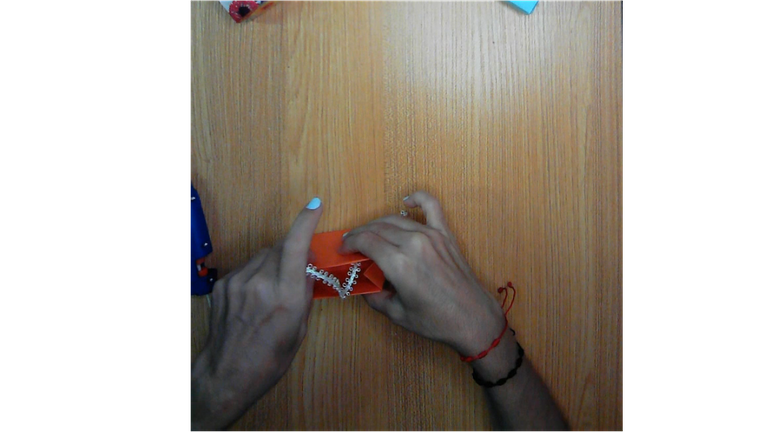
Pegas una punta y luego la otra del mismo lado dejando una separación, con ello elaboraste la primera asa.
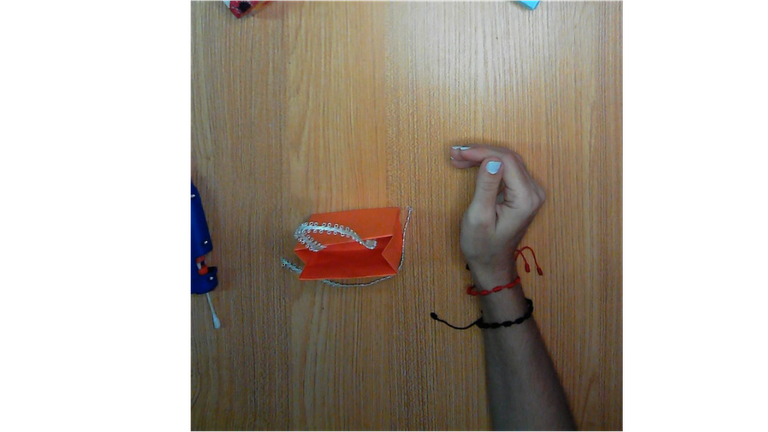
Repite el paso anterior para la otra asa.
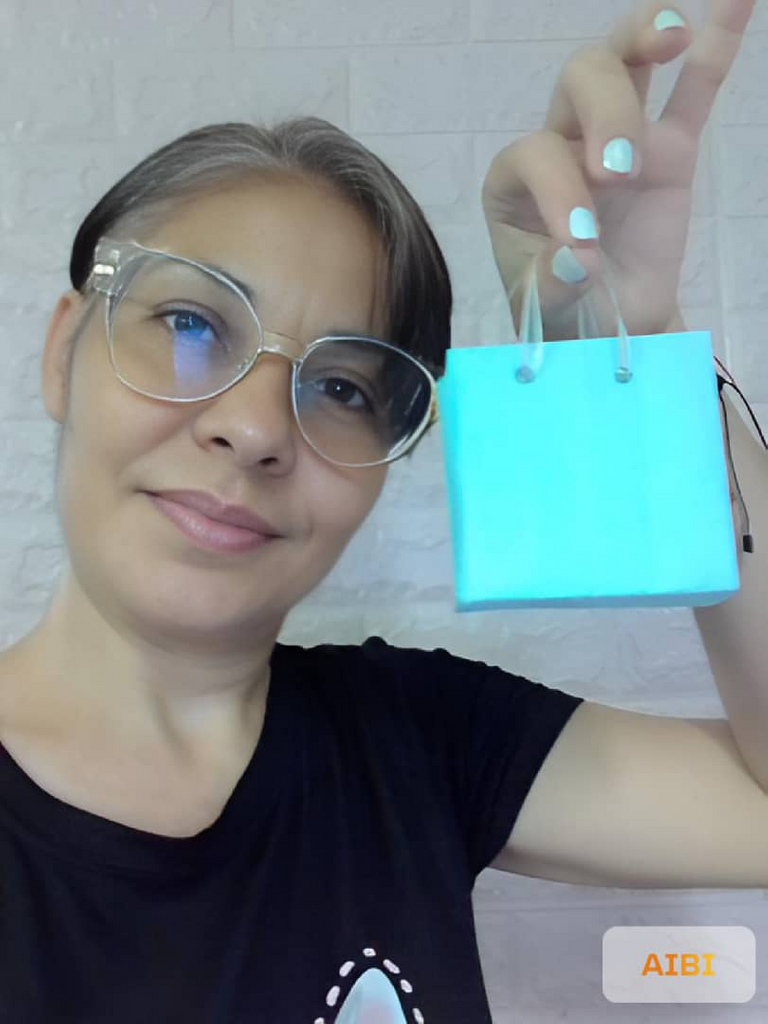
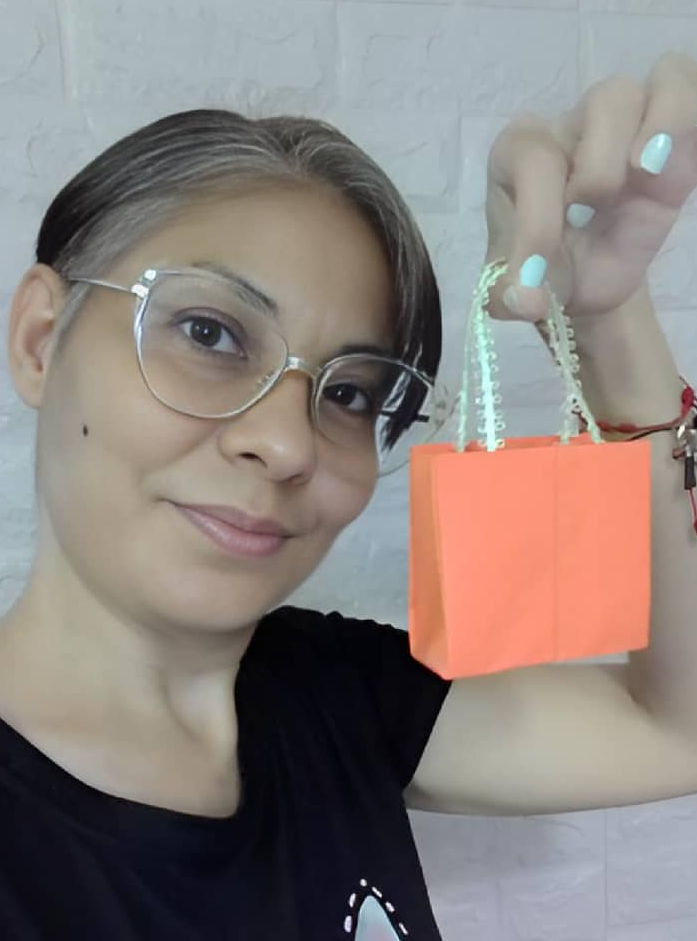
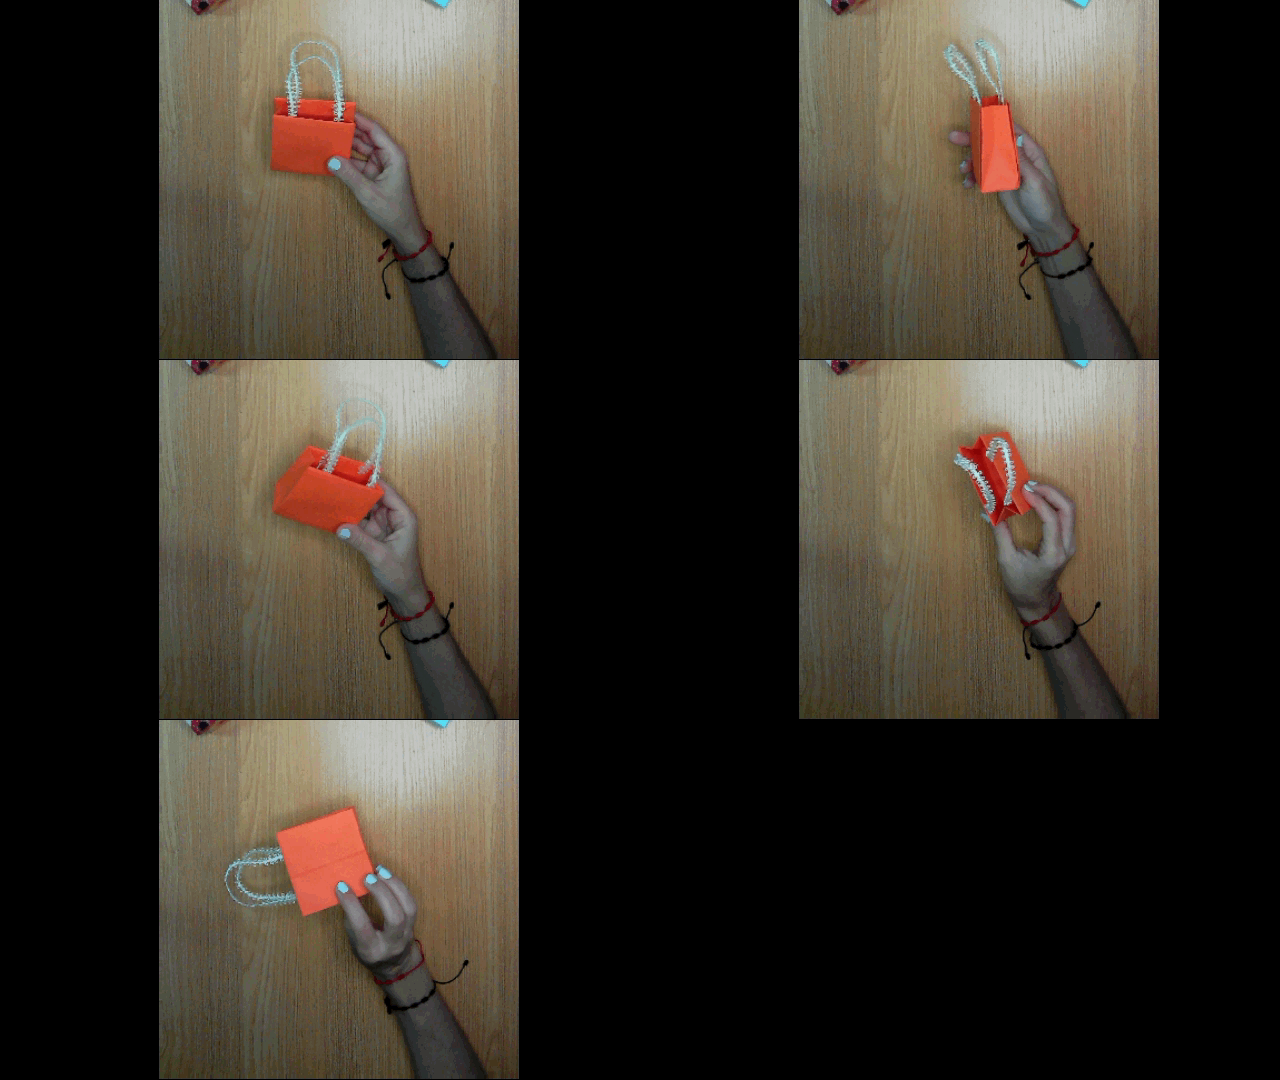
Esta bolsita es mi favorita de todas las que presenté porque se ve elegante y me encanta el color.
Espero les guste, un poco largo el post pero bien vale la pena.
Nos vemos en mi siguiente publicación, muchas bendiciones para todos vos.
! [English version]
[Eng]
We will make the shape of a hat or horns... Fold the left corner to the fold mark.
Repeat the previous step at the other end.
Following the folds you have made in the same paper, it will make the bag close by itself, look at the image 3 and the gif to guide you, fold the tip inwards with this it is fixed and you don't need glue.
Repeat the previous step with the other end of the bag and with this you finish closing the flap inwards, see the following gif.
To place the handles you need hot silicone. Cut the size of the tape needed.
Glue one end and then the other on the same side leaving a separation, with this you made the first handle.
Repeat the previous step for the other handle.
This bag is my favorite of all the ones I presented because it looks elegant and I love the color.
I hope you like it, a little long post but well worth it.
See you in my next post, many blessings to all of you.


Credits / Créditos.

💜💜💜


💜💜💜
![]() 👉
👉  👉
👉  👉
👉 
Here / Bríndame un café


