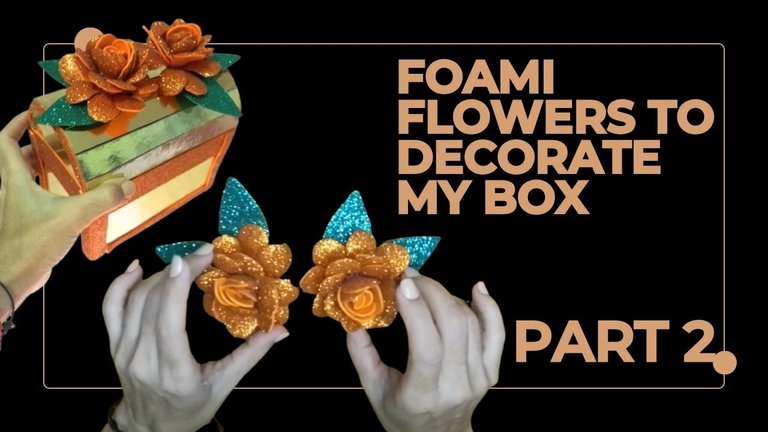
Flores de foami fáciles para decorar mi cofre dorado

💜💜💜
💜💜💜

[Esp]
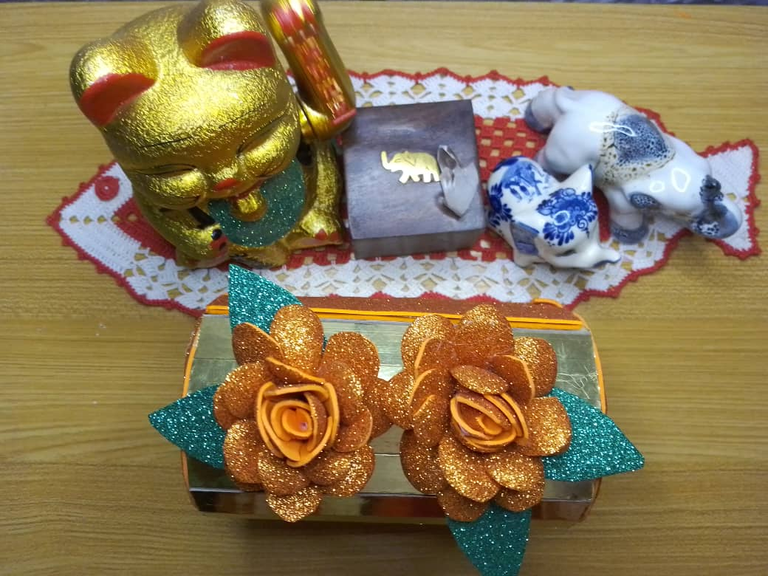
¡Hola amigos! Al fin volvemos a vernos para terminar con la segunda parte de mi cofre dorado.
Aproveché que tenía que realizar una diligencia para comprar el foami que me faltaba para hacer las lindas flores que decoran mi caja, son muy sencillas y fáciles de hacer.
Combinan perfectamente con el cofre y son más económicas que comprar flores artificiales, mejor aún, puedes hacerlo tú mismo y te muestro cómo para que la apliques en lo que quieras decorar.
💜💜💜

💜💜💜
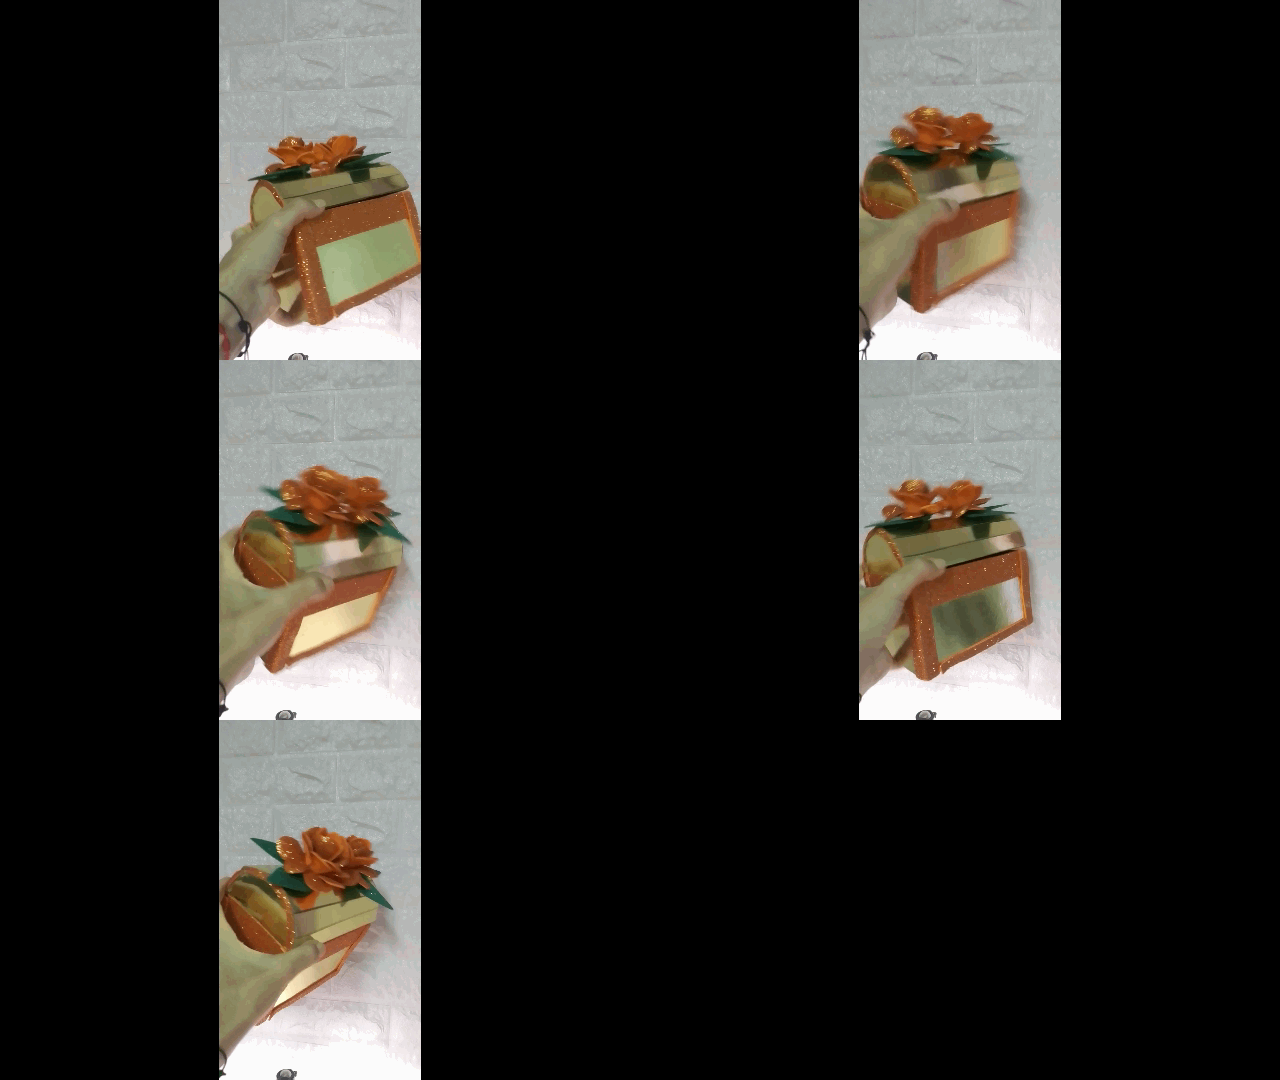
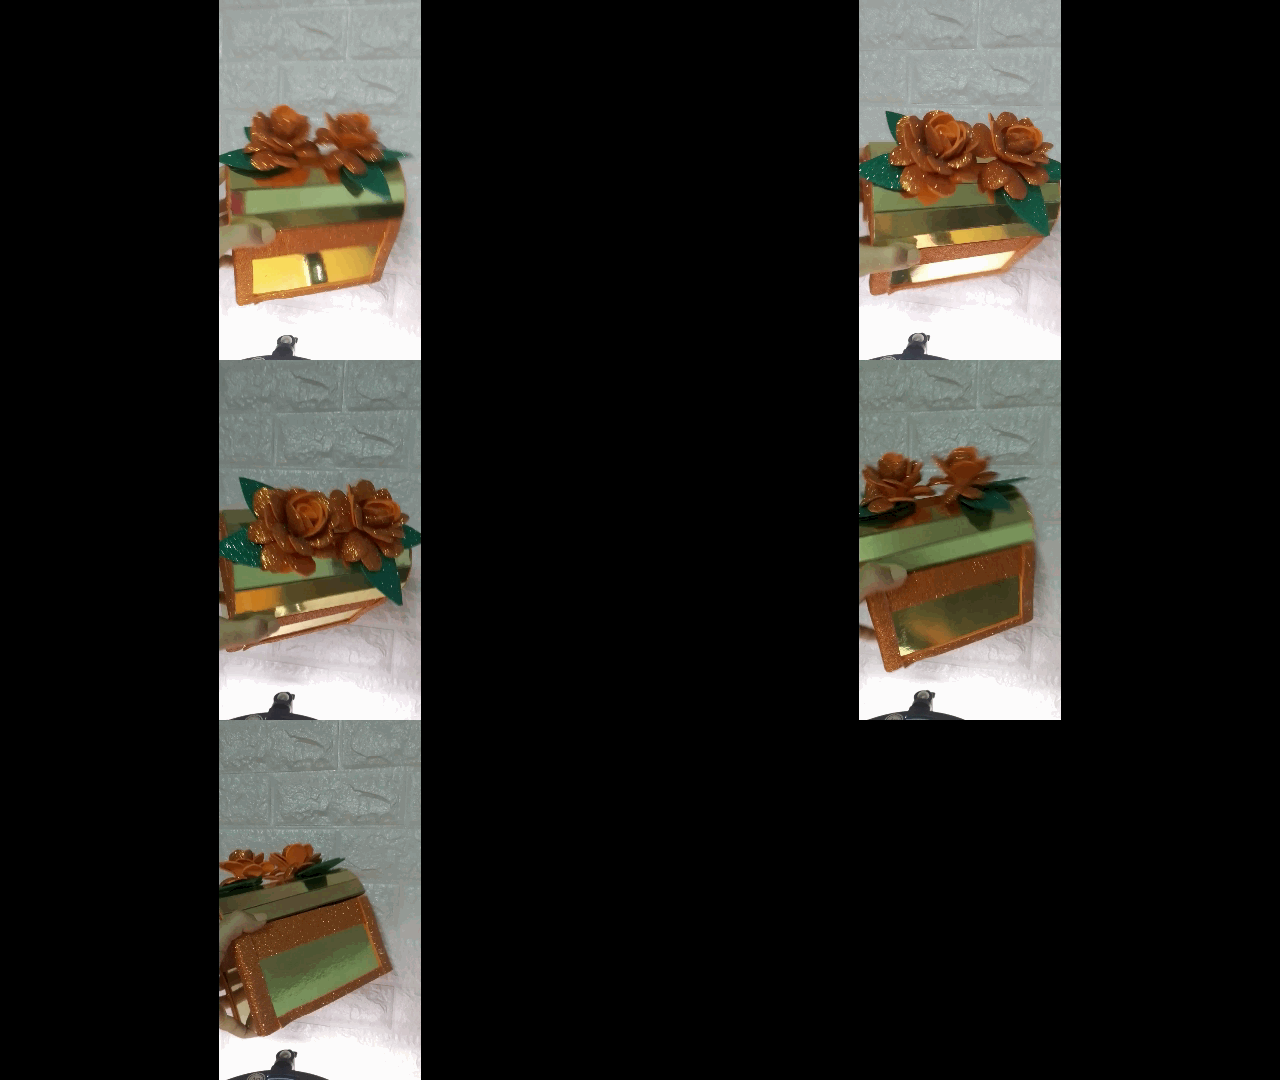
Mi lindo cofre ahora servirá para guardar materiales que uso para scrapbook y sea parte de la decoración en fotografías y vídeos, aunque tendría que considerar que el material del que fue elaborado el cofre parece espejo y refleja todo lo cercano.
Si quieres saber cómo hice este cofre, puedes visitar mi publicación: Multipurpose box made of cardboard base for cakes. (Esp/Eng)
Les recuerdo que tuve que hacer este cofre en dos partes porque el procedimiento para armarlo fue muy complicado, el paso a paso era muy largo y me faltaba material para la decoración.
! [English version]
[Eng]
Hello friends! At last we meet again to finish with the second part of my golden box.
I took advantage of the fact that I had to run an errand to buy the foami I was missing to make the pretty flowers that decorate my box, they are very simple and easy to make.
The flowers combine perfectly with the chest and are cheaper than buying artificial flowers, better yet, you can do it yourself and I show you how to apply it to whatever you want to decorate.
💜💜💜
💜💜💜
My cute box will now serve to store materials that I use for scrapbooking and be part of the decoration in photographs and videos, although I would have to consider that the material from which the box was made looks like a mirror and reflects everything nearby.
If you want to know how I made this box, you can visit my post: Multipurpose box made of cardboard base for cakes. (Esp/Eng)
I remind you that I had to make this box in two parts because the procedure to put it together was very complicated, the step by step was very long and I was missing material for the decoration.
💜💜💜

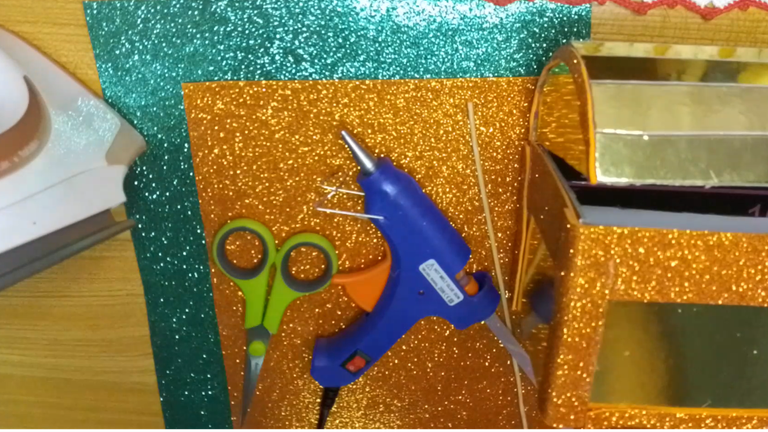
Materiales / Materials
[Esp]
💜 Cofre
💜 Tijera pistola de silicón.
💜 Foami
! [English version]
[Eng]
💜 Box
💜 Scissors silicone gun.
💜 Foami

Step by Step / Paso a Paso

Step 1️⃣/ Paso 1️⃣
 |  |  |
 |  |
[Esp]
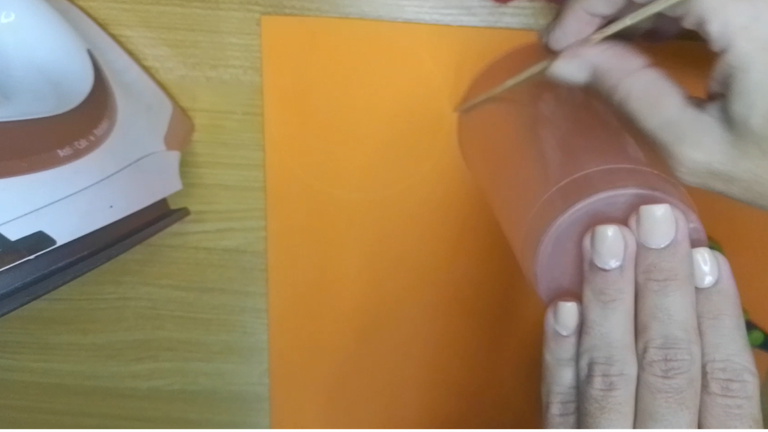
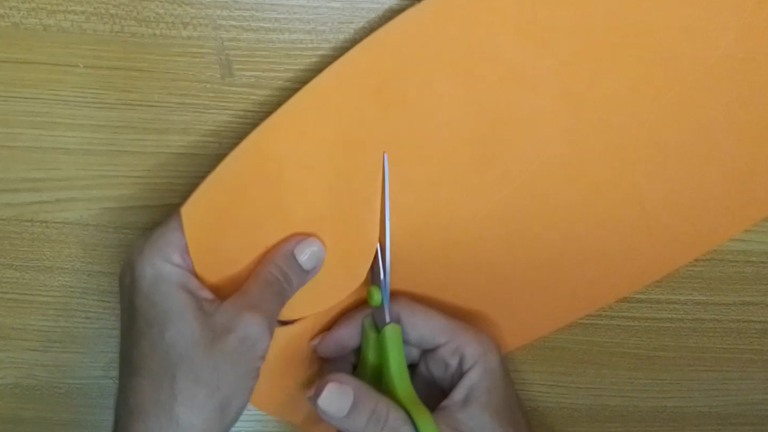
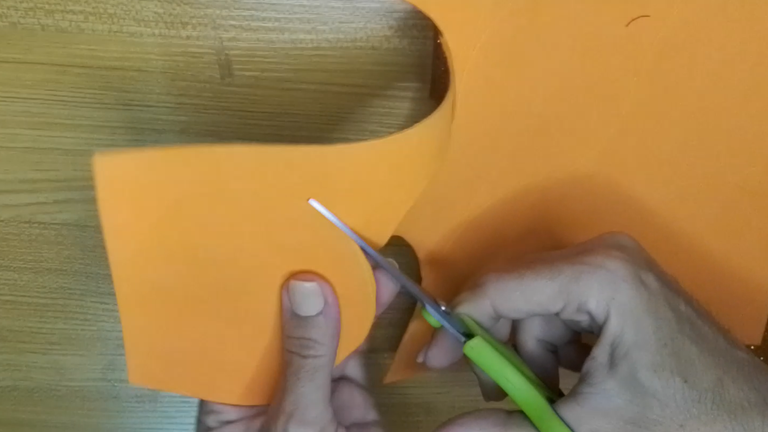
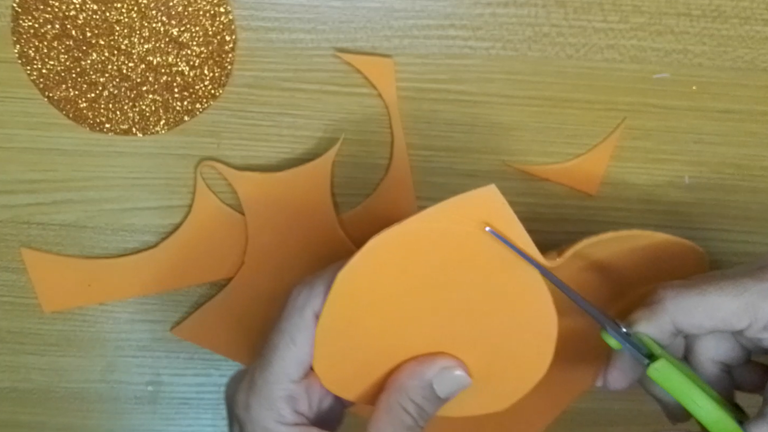
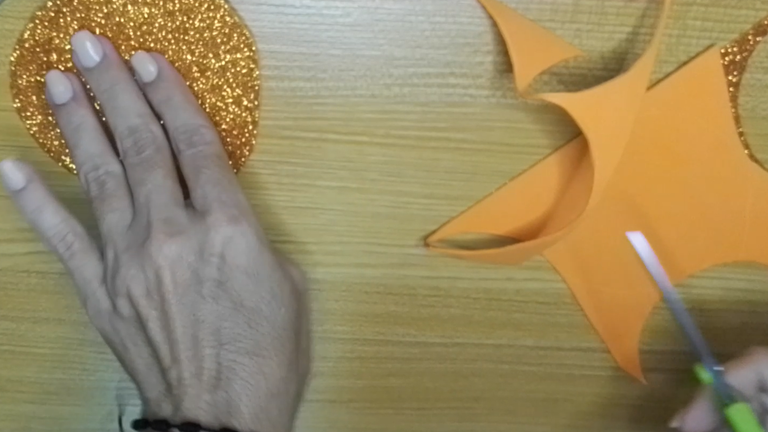
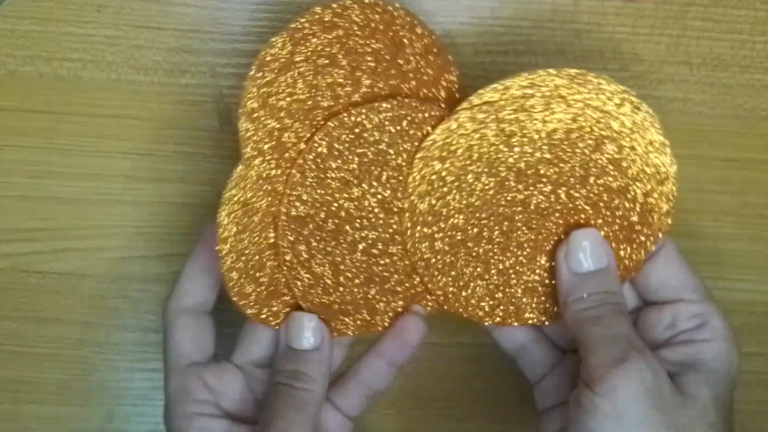
Para realizar las flores necesitamos cortar 6 círculos de cualquier tamaño, yo usé un vaso para marcar y tracé la marca con un palito de altura, ya que si usamos lápiz o marcador, podría manchar el foami y se vería.
Seguidamente cortamos el foami, siguiendo las marcas. Habremos cortado las 6 piezas necesarias para realizar dos flores.
! [English version]
[Eng]
To make the flowers we need to cut 6 circles of any size, I used a glass to mark and traced the mark with a height stick, because if we use pencil or marker, it could stain the foami and it would show.
Then we cut the foami, following the marks. We will have cut the 6 pieces needed to make two flowers.
Step 2️⃣/ paso 2️⃣
 |  |  |
 |  |  |
 |  |
[Esp]
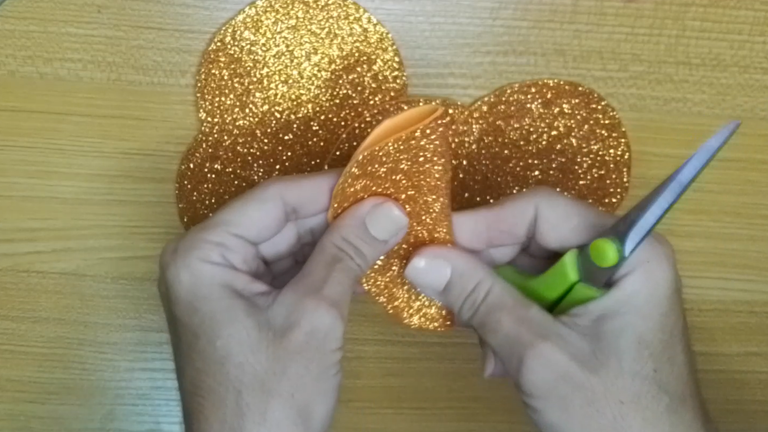
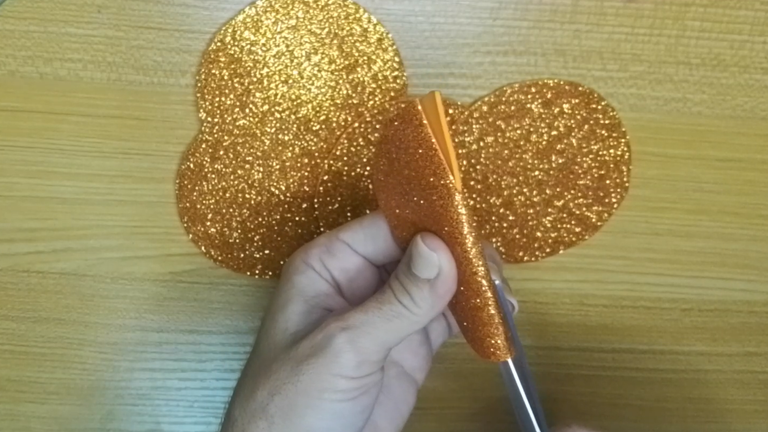
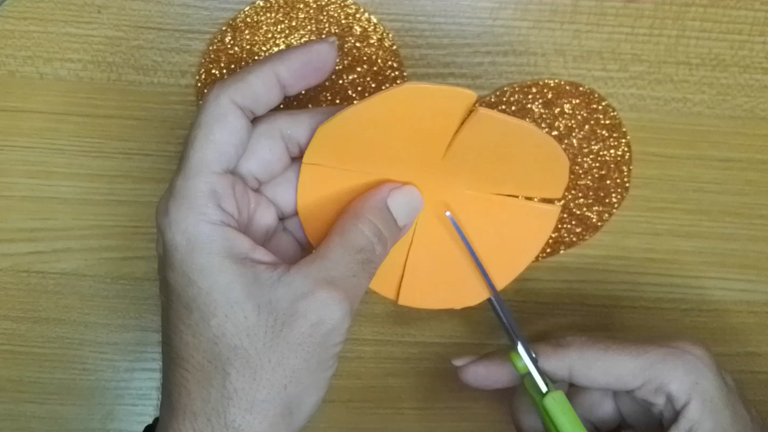
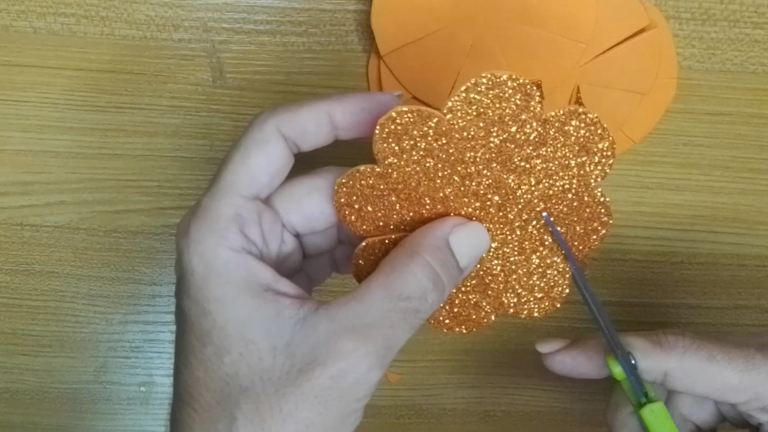
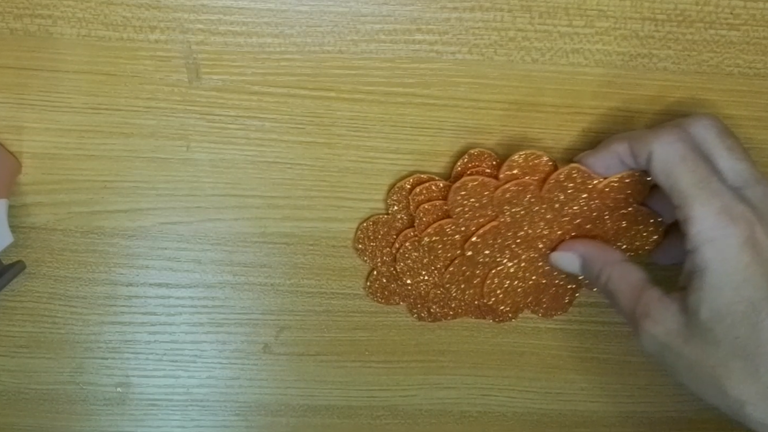
Dobla la pieza circular por la mitad y haz un corte en el centro de cada extremo sin llegar al centro.
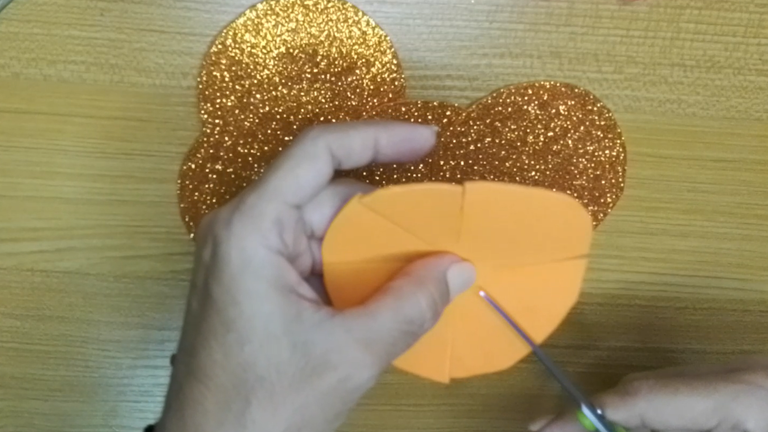
Vuelve a doblar la pieza circular por el centro del otro extremo y repite el procedimiento anterior.
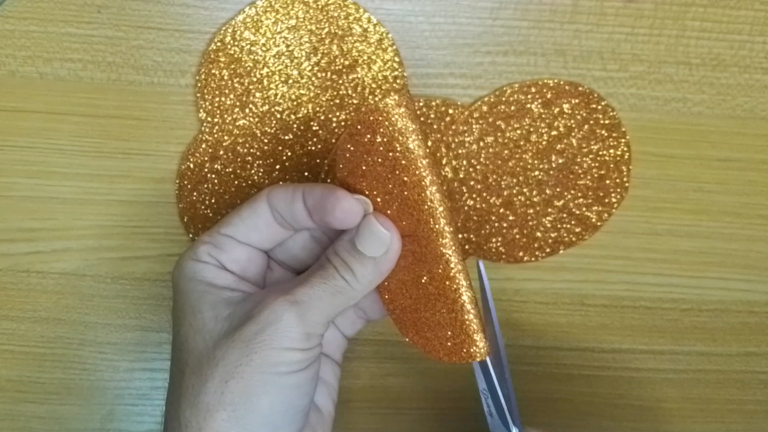
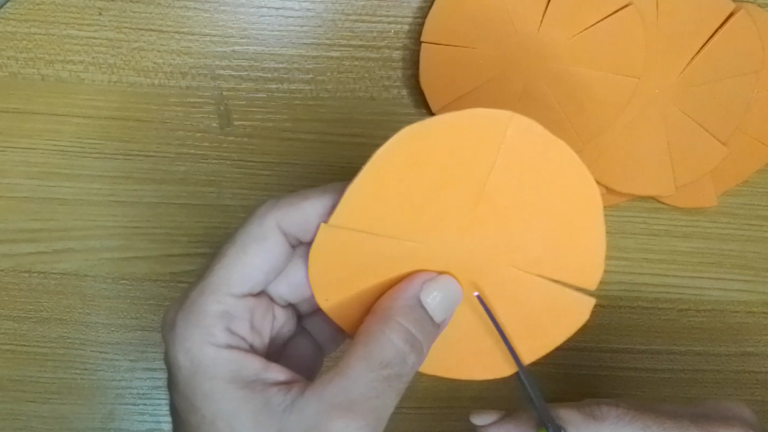
Después de hacer los 4 primeros cortes, procede a hacer un corte en el centro de cada uno de ellos para que hagas los pétalos.
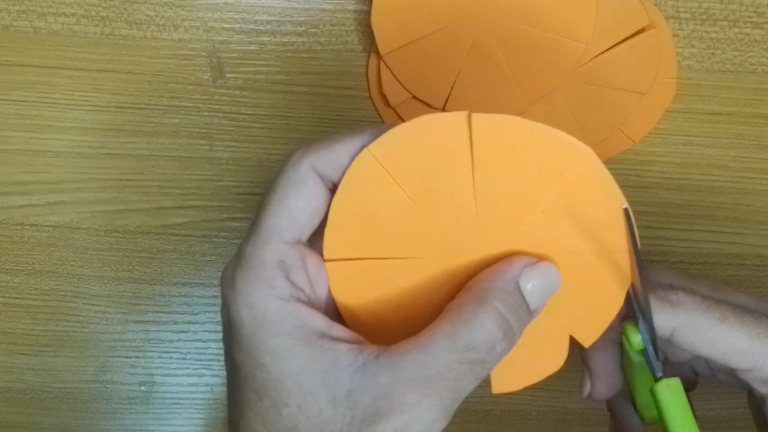
Para hacer los pétalos, haz un corte en cada esquina y luego repite el procedimiento en el lado opuesto.
! [English version]
[Eng]
Fold the circular piece in half and make a cut in the center of each end without reaching the center.
Fold the circular piece again in the center of the other end and repeat the above procedure.
After making the first 4 cuts, proceed to make a cut in the center of each of them so that you make the petals.
To make the petals, make a cut in each corner and then repeat the procedure on the opposite side.
Step 3️⃣/ paso 3️⃣
 |  | |
 |  |
[Esp]
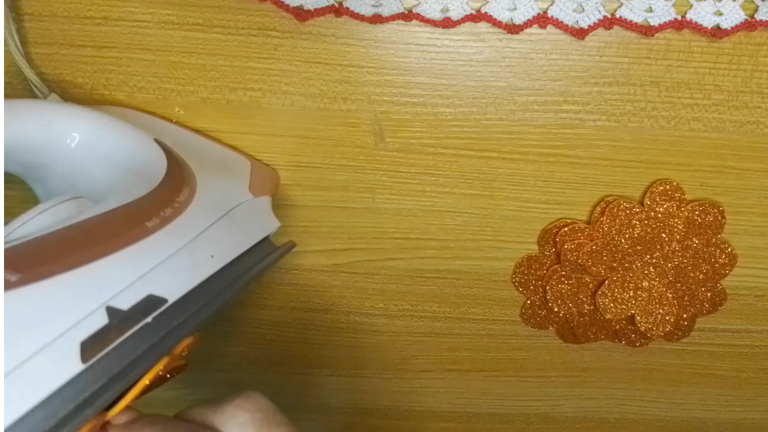
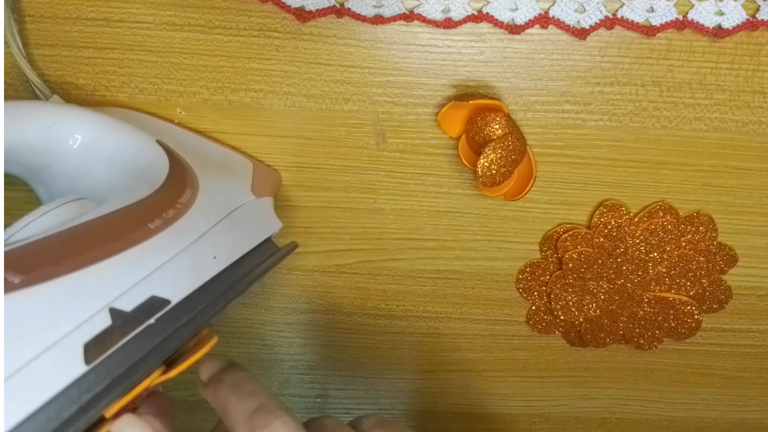
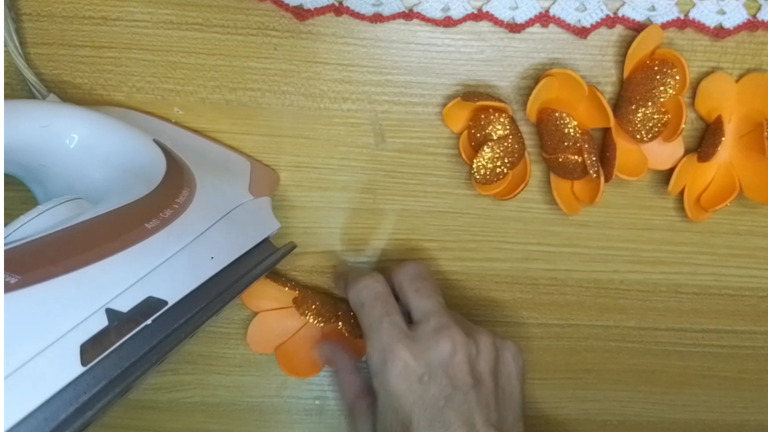
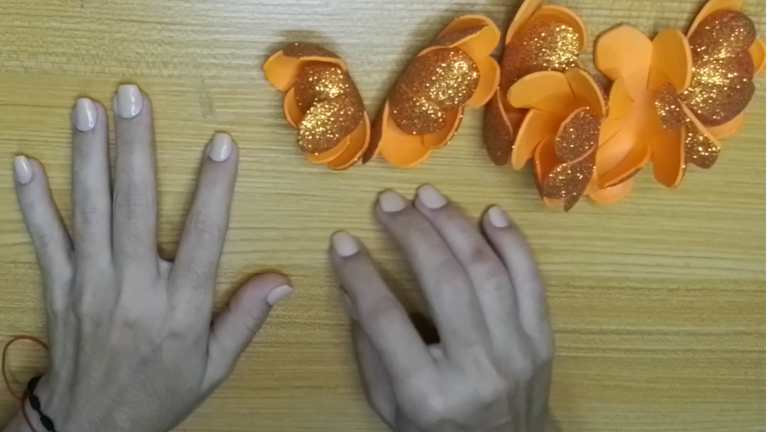
Es necesario termoformar las flores, para ellos puedes usar una plancha de cabello o una plancha de ropa. Revisa que no esté muy caliente.
Si usas foami escarchado, no coloques el lado de la escarcha en el calor.
Tan solo unos segundos, cada pieza tomará forma, por lo cual deberás repetir el proceso otras 5 veces más.
! [English version]
[Eng]
It is necessary to thermoform the flowers, for them you can use a hair iron or a clothes iron. Check that it is not too hot.
If you use frosted foami, do not place the frosted side in the heat.
In just a few seconds, each piece will take shape, so you will have to repeat the process 5 more times.
Step 4️⃣/ paso 4️⃣
 |  |  |
 |  |  |
[Esp]
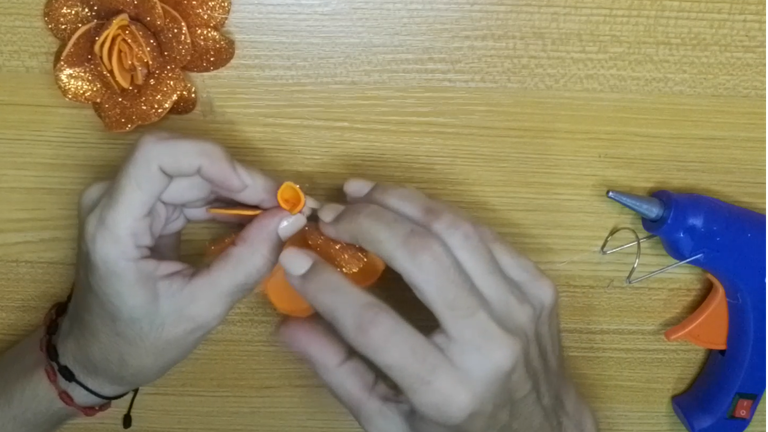
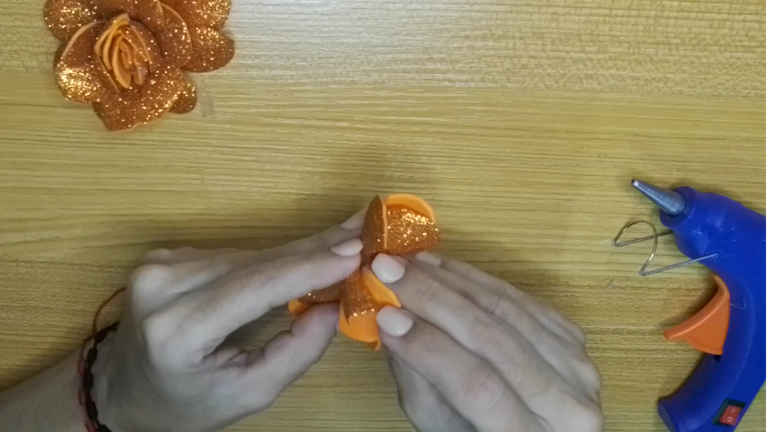
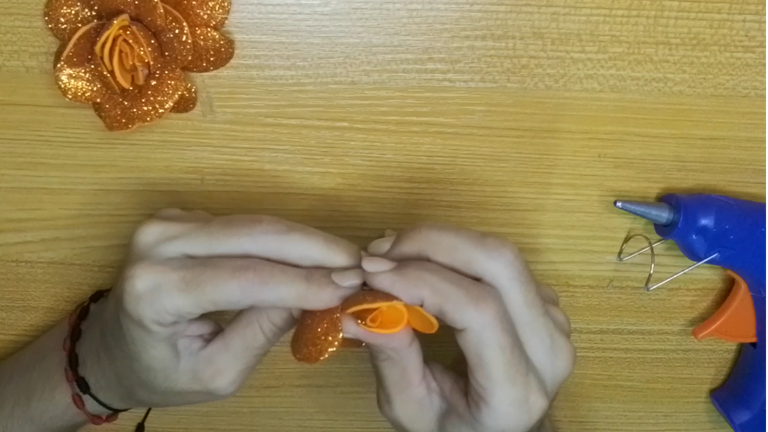
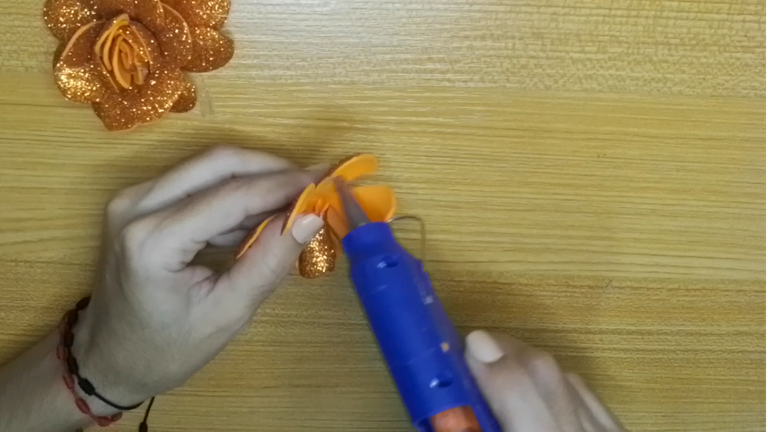
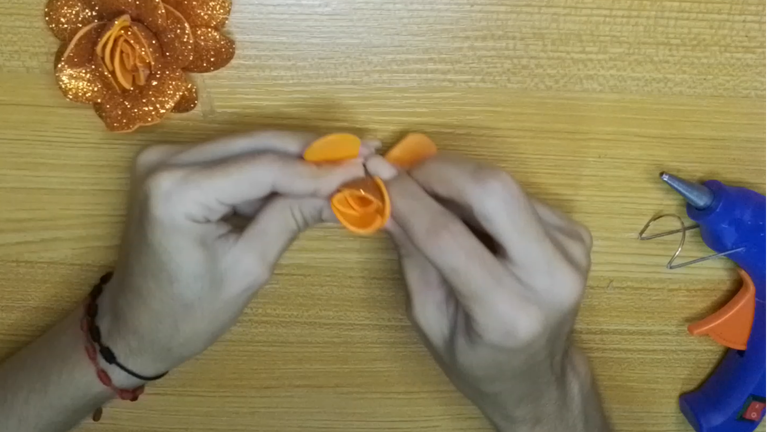
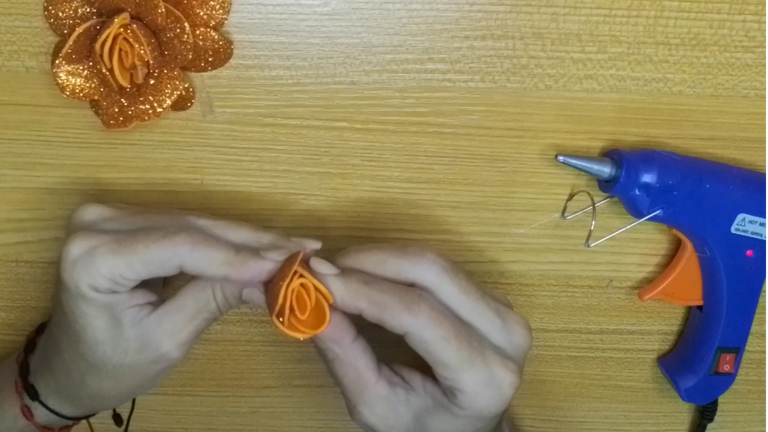
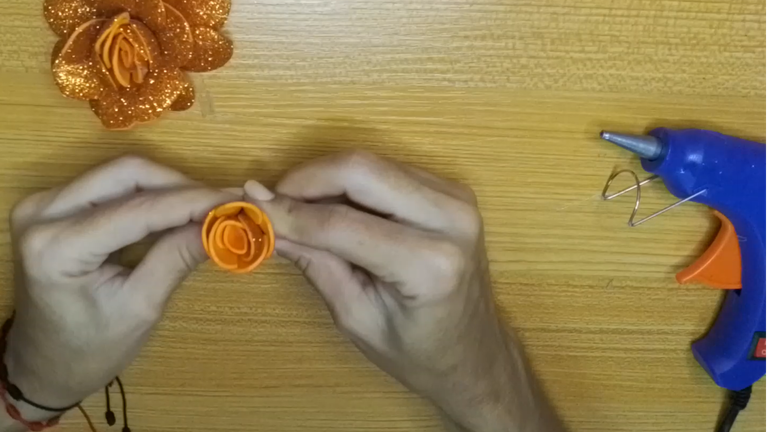
Hacer que la flor tome forma puede ser complicado al principio, pero si sigues los pasos verás lo fácil que es, pues sigues la forma de pegar los pétalos en cruz.
Primero tomas un pétalo y lo enrollas sobre si aplicando silicón caliente. Luego tomas el pétalo de enfrente y lo pegas a él.
Toma el pétalo del otro centro o deja un pétalo por medio, pégalo en junto a los otros y repite el paso anterior, busca el pétalo que tiene en frente y lo pegas al conjunto. Una vez terminado, notarás que se formó la parte interna de la flor.
! [English version]
[Eng]
Making the flower take shape can be complicated at first, but if you follow the steps you will see how easy it is, because you follow the way of gluing the petals in a cross.
First you take one petal and roll it on itself applying hot silicone. Then take the petal in front of it and glue it to it.
Take the petal from the other center or leave a petal in between, glue it next to the others and repeat the previous step, find the petal in front of it and glue it to the whole. Once finished, you will notice that the inner part of the flower is formed.
Step 5️⃣/ paso 5️⃣
 |  |  |
 |  |  |
[Esp]
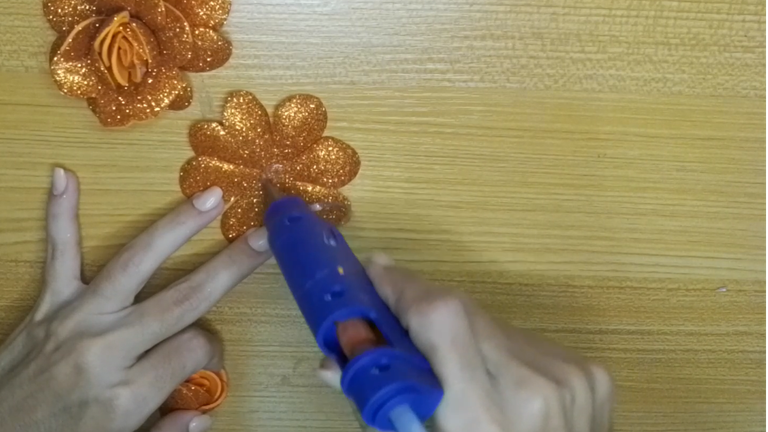
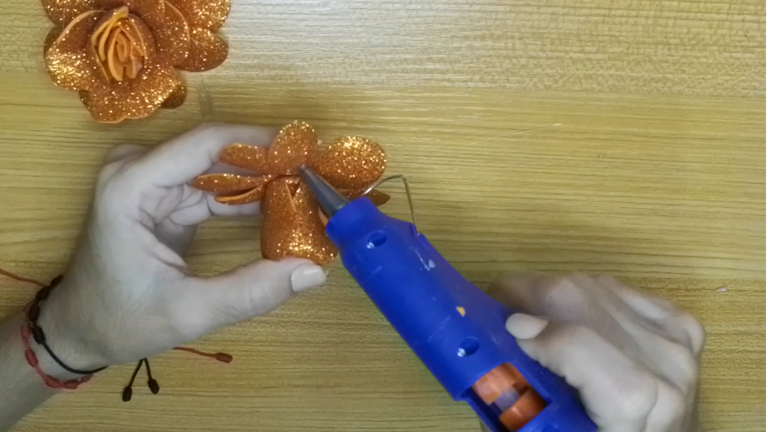
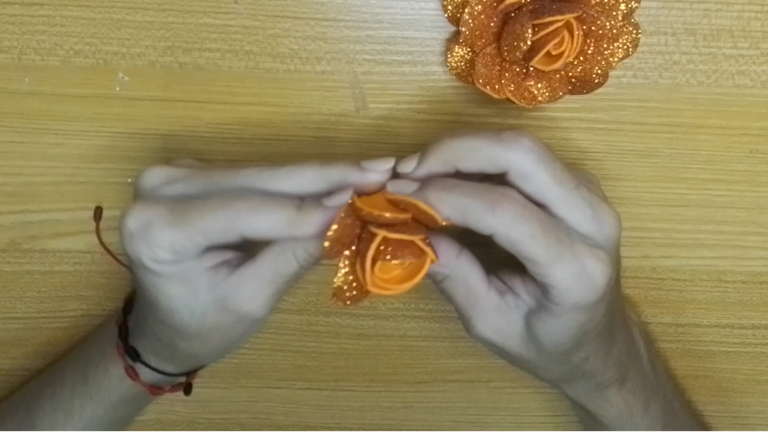
Continuamos armando la flor.
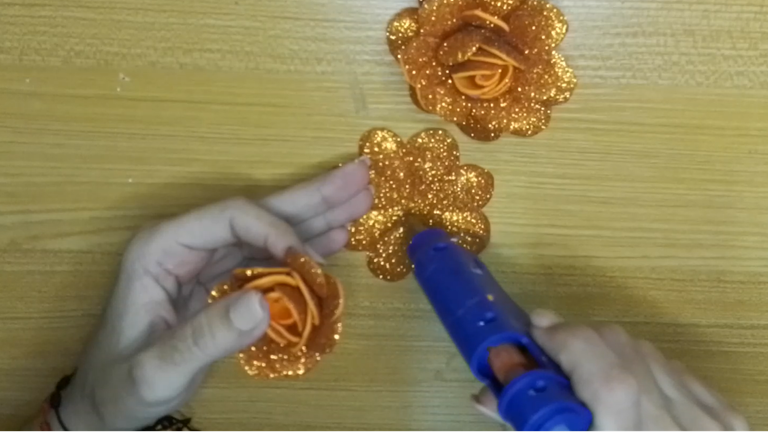
Toma otro círculo que recortaste con los pétalos, coloca un punto de silicón caliente y pega la parte interna de la flor, lo que sería el botón.
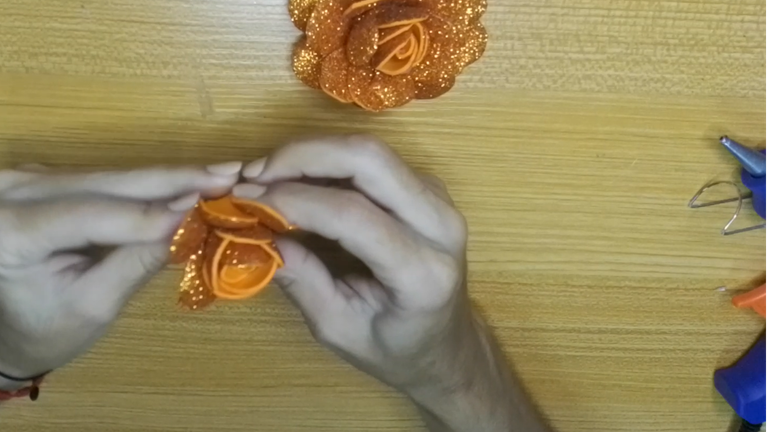
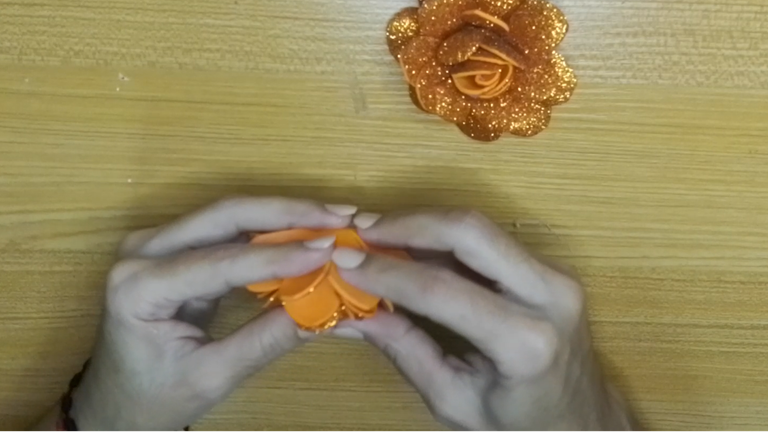
Ahora procede a pegar los pétalos en él solo por la parte de abajo.
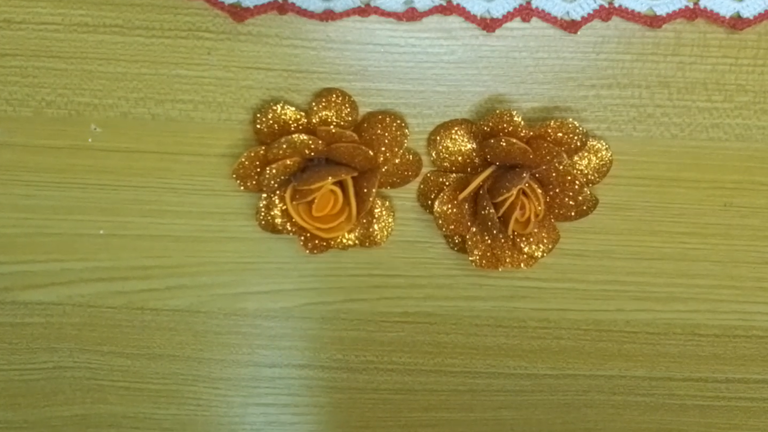
Una vez que termines solo necesitarás colocar otro punto de silicón caliente en una nueva pieza y listo.
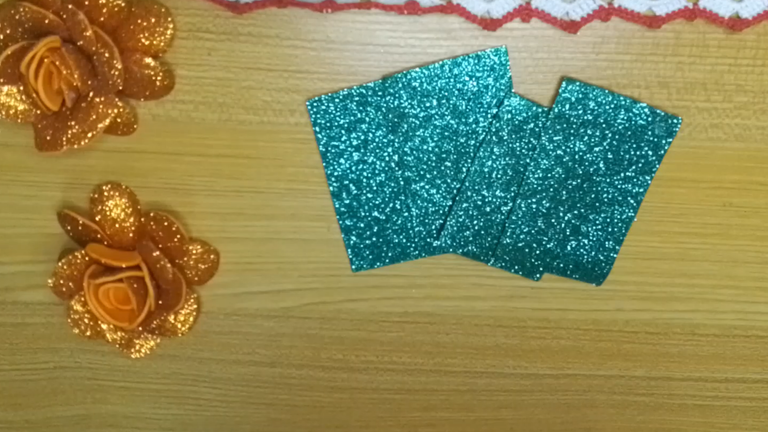
Para armar las hojas, recorta 4 rectángulos de foami color verde.
! [English version]
[Eng]
We continue assembling the flower.
Take another circle that you cut out with the petals, place a dot of hot silicone and glue the inner part of the flower, which would be the button.
Now proceed to glue the petals on it only on the bottom.
Once you are done, you only need to place another dot of hot silicone on a new piece and that's it.
To assemble the leaves, cut out 4 rectangles of green foami.
Step 6️⃣/ paso 6️⃣
 |  |  |
 |  |  |
[Esp]
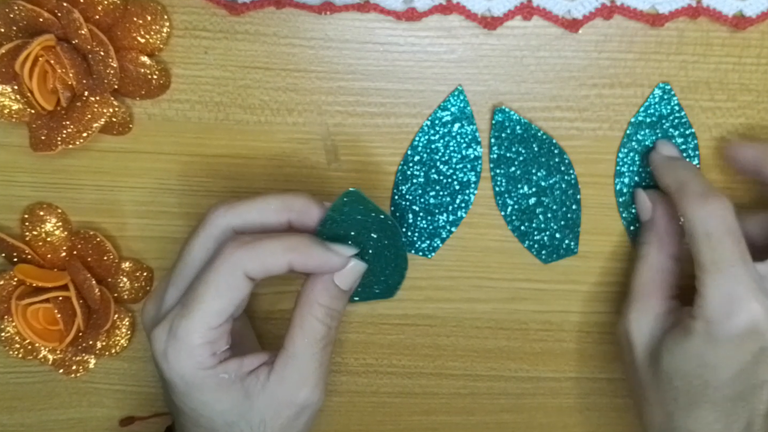
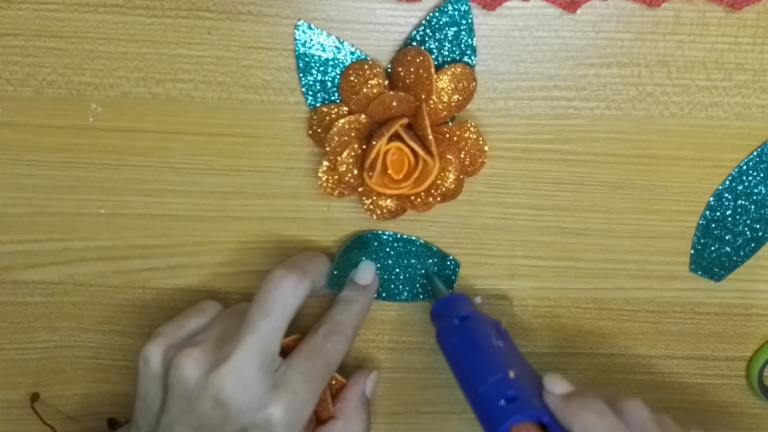
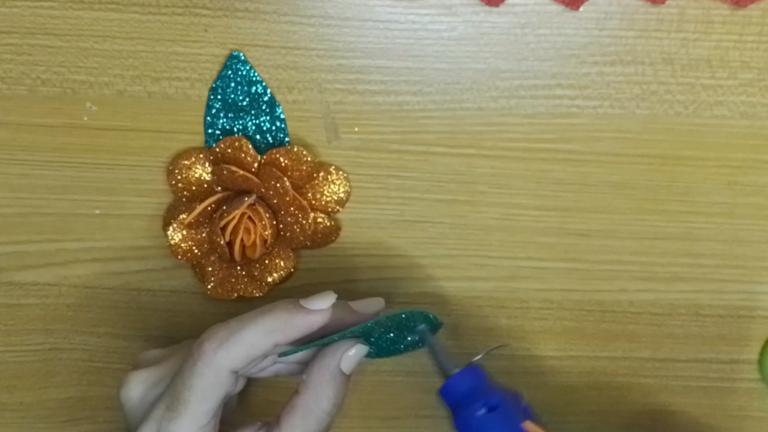
Recorta la forma de una hoja en cada pieza de foami verde, puedes hacer uno y luego usarlo como molde con el resto.
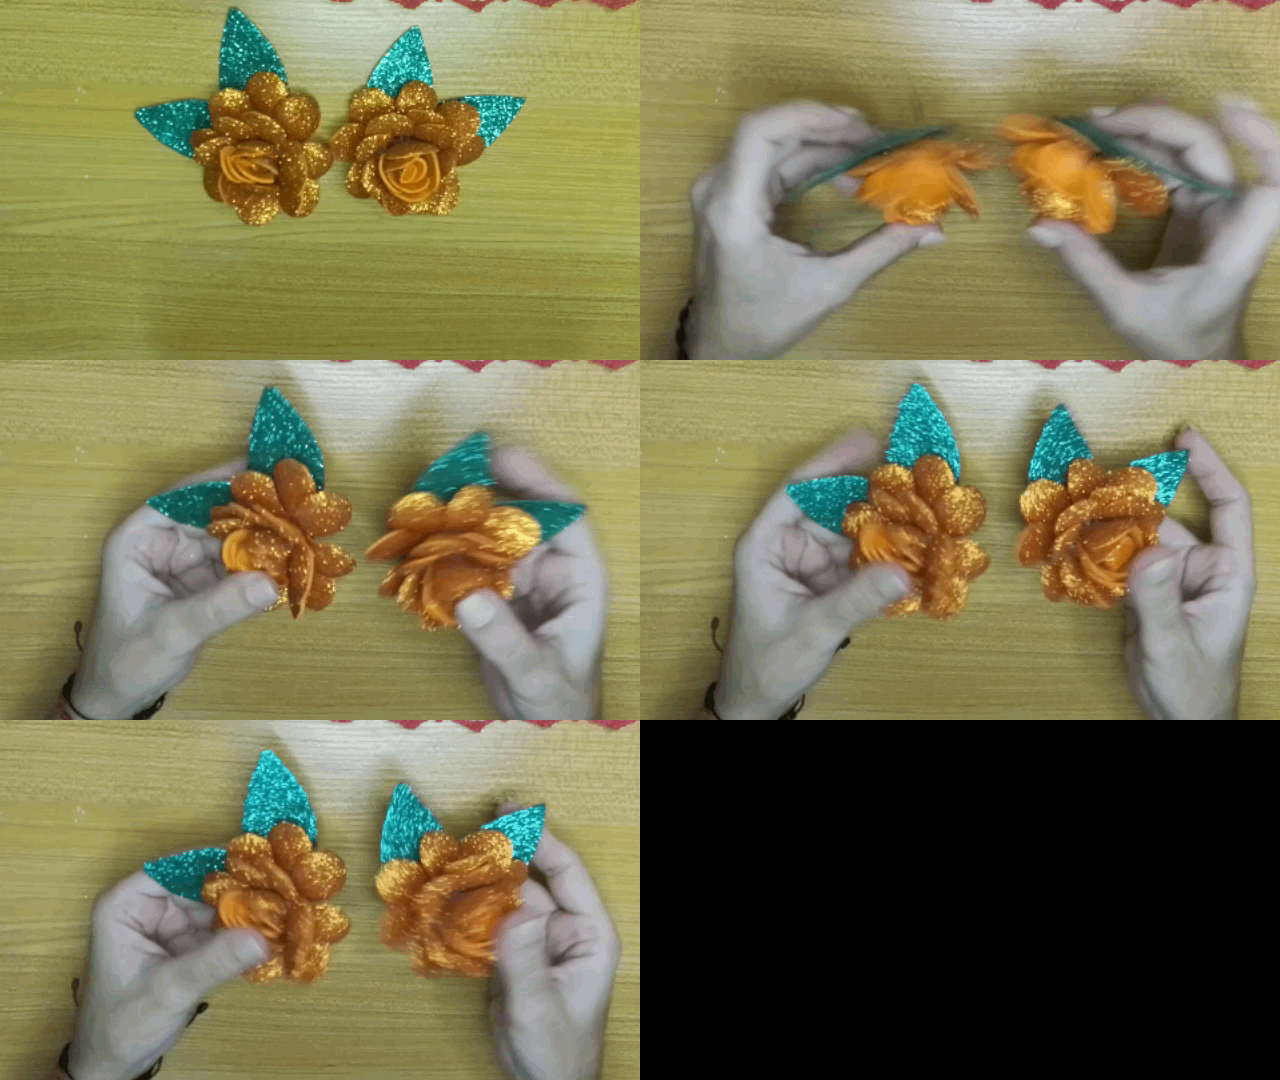
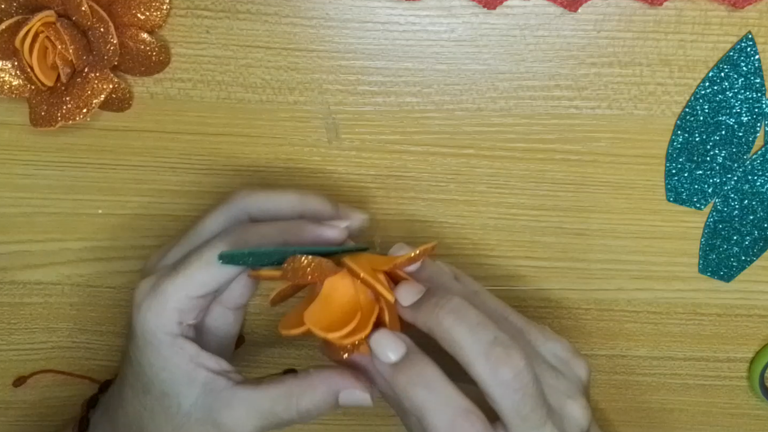
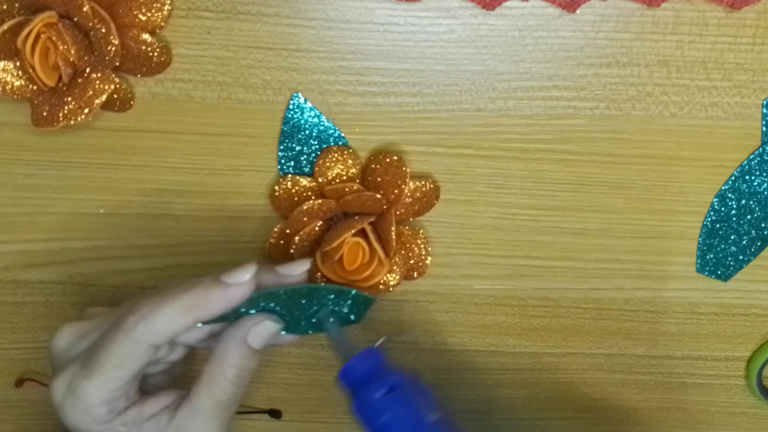
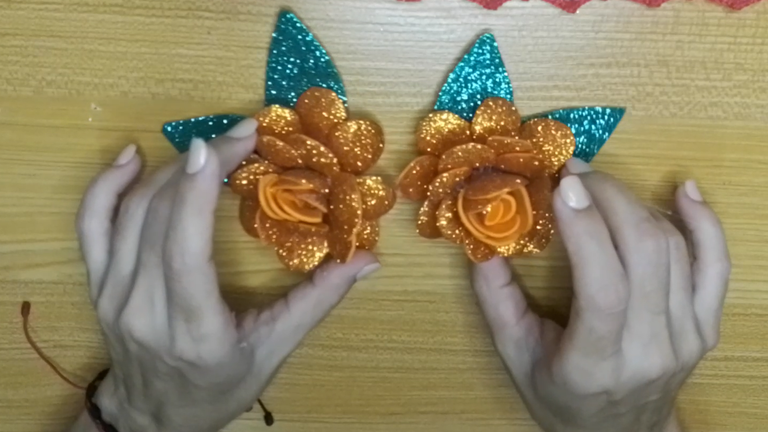
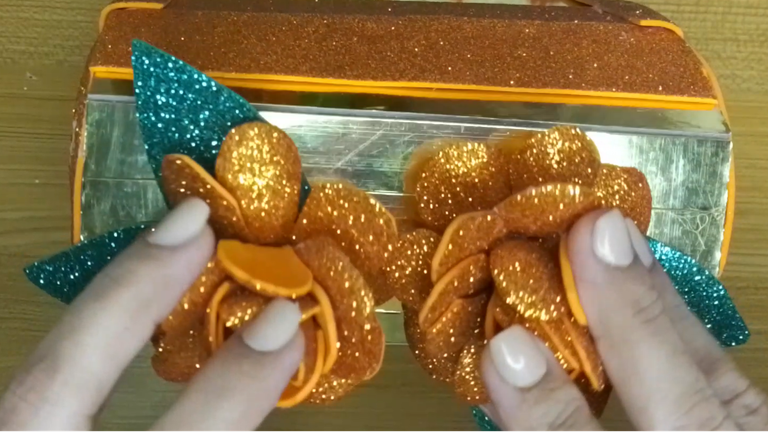
Pega las hojas en la base de la flor, pega dos piezas de hojas con la escarcha hacia arriba.
Repite el mismo procedimiento con la siguiente flor.
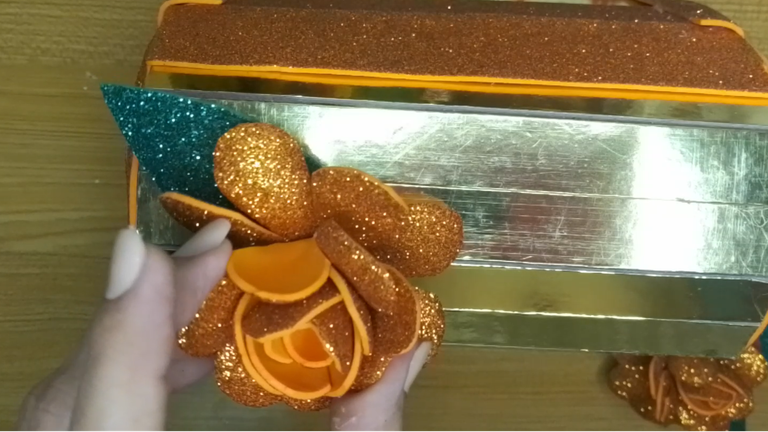
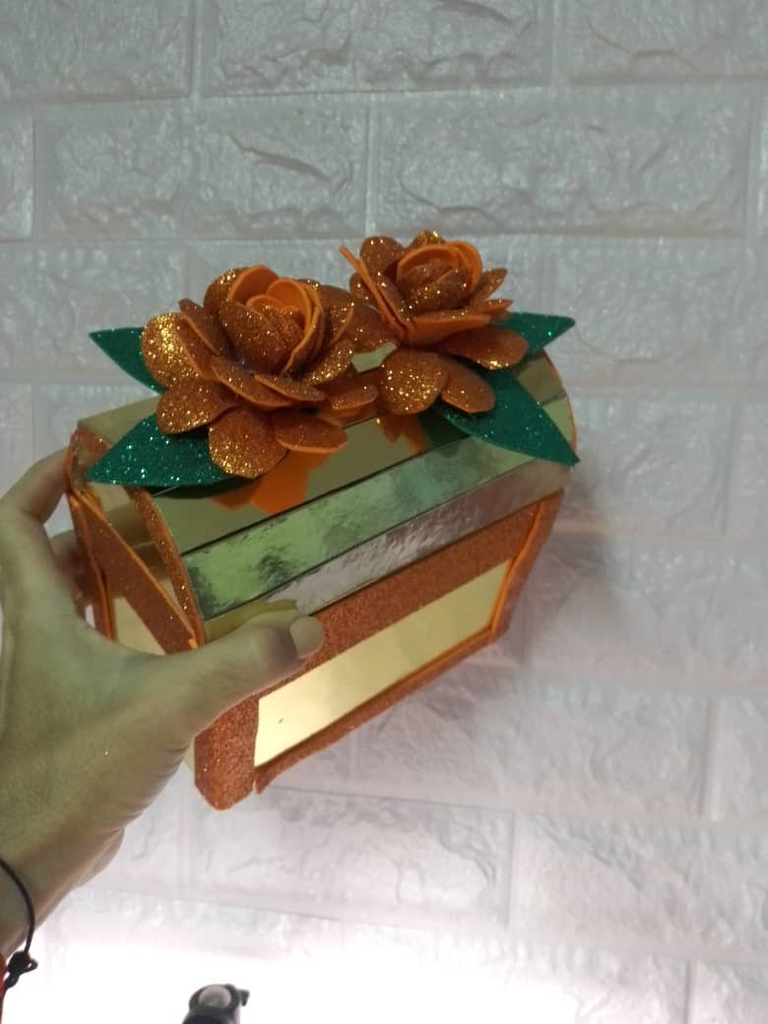
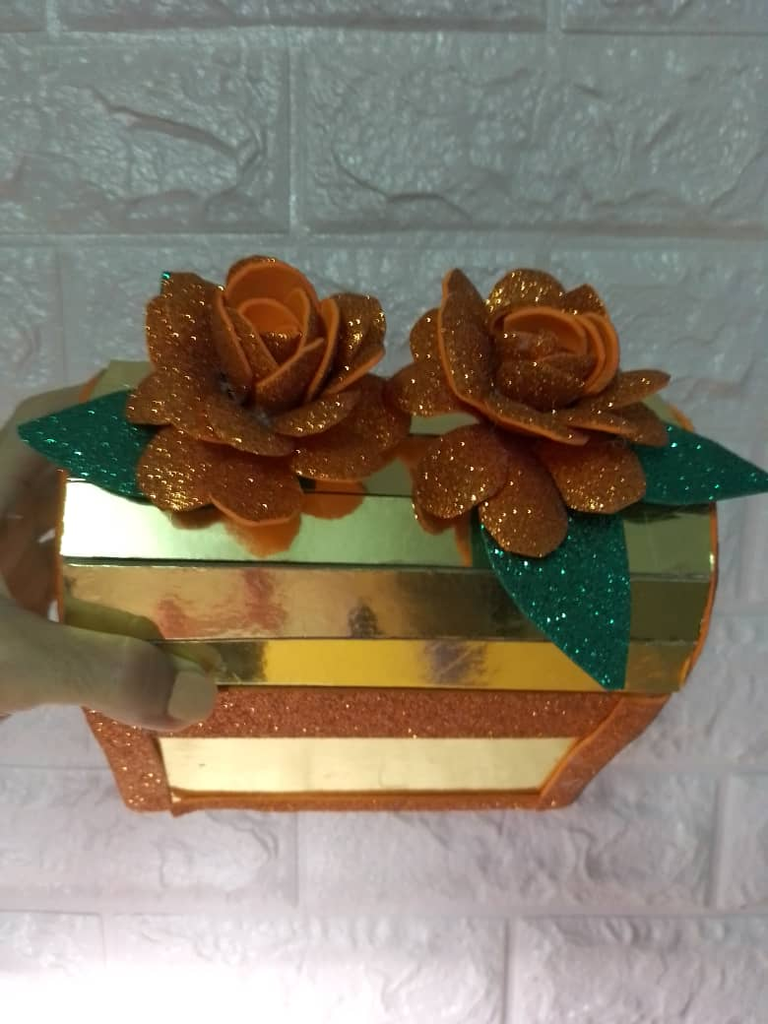
Ahora, con el silicón caliente, pega una de las flores a la tapa del cofre y luego pegas la otra flor al contrario. Con ello hemos terminado.
! [English version]
[Eng]
Cut out a leaf shape from each piece of green foami, you can make one and then use it as a mold with the rest.
Glue the leaves on the base of the flower, glue two pieces of leaves with the frosting facing up.
Repeat the same procedure with the next flower.
Now, with the hot silicone, glue one of the flowers to the lid of the box and then glue the other flower the other way around. That's it.
 |  |

Credits / Créditos.

💜💜💜


💜💜💜
![]() 👉
👉  👉
👉  👉
👉 
Here / Bríndame un café

