
[Esp]
¡Saludos comunidad DIY!.
Ahora que se acercan las festividades donde se acostumbra a dar obsequios, te muestro una forma económica y hermosa de presentar o envolver los regalos, es una bolsita muy linda, pocos materiales necesitarás para recrearla.
Acostumbro a guardar todos los pedacitos de foami que quedan, siempre me digo que para algo pequeño servirán y no me equivoqué. Me quedan muchos retacitos de los que salen cosas lindas como estas.
Anímate a recrearlo y sorprende a tus seres queridos con envoltorios hechos por ti.
Es fácil, te muestro desde cero, cómo hacer la bolsita y luego el decorado.
La navidad nos pone muy creativos.
Esta es mi primera bolsita he hecho varias, las iré presentando poco a poco, espero que les guste.
! [English version]
[Eng]
**Greetings beautiful community!
Now that the holidays are approaching where it is customary to give gifts, I show you an economical and beautiful way to present or wrap gifts, it is a very nice bag, few materials needed to recreate it.
I use to save all the little pieces of foami that are left, I always tell myself that they will be useful for something small and I wasn't wrong. I have a lot of scraps left over to make cute things like these.
Dare to recreate it and surprise your loved ones with wrappings made by you.
It's easy, I show you from scratch, how to make the bag and then the decoration.
Christmas makes us very creative.
This is my first bag, I have made several, I will be presenting them little by little, I hope you like it.

[Esp]
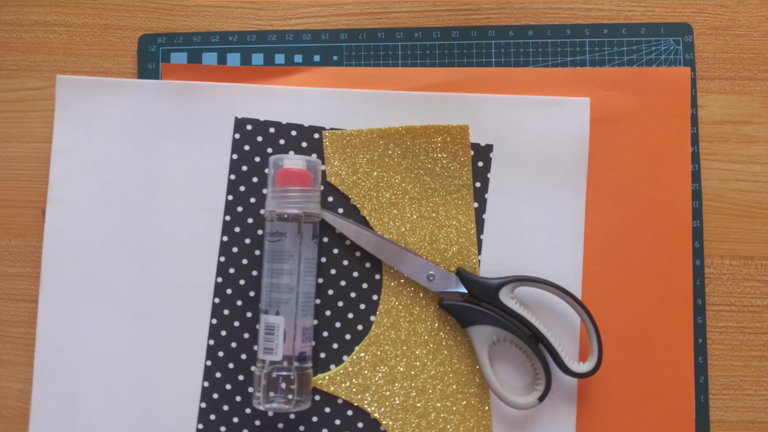
Los materiales que recomiendo usar, son los que tengas a tu alcance yo usé los siguientes:
Cartulina negra con estampado.
Pega, silicón caliente, tijera.
Foami escarchado dorado y foami blanco.
Papel de colores (a gusto).
! [English version]
[Eng]
- The materials I recommend using, are the ones you have at your fingertips, I used the following:
- Black cardboard with stamping.
- Glue, hot silicone, scissors.
- Gold frosted foami and white foami.
- Colored paper (to taste).

Step 1️⃣/ Paso 1️⃣
 |  |  |
[Esp]
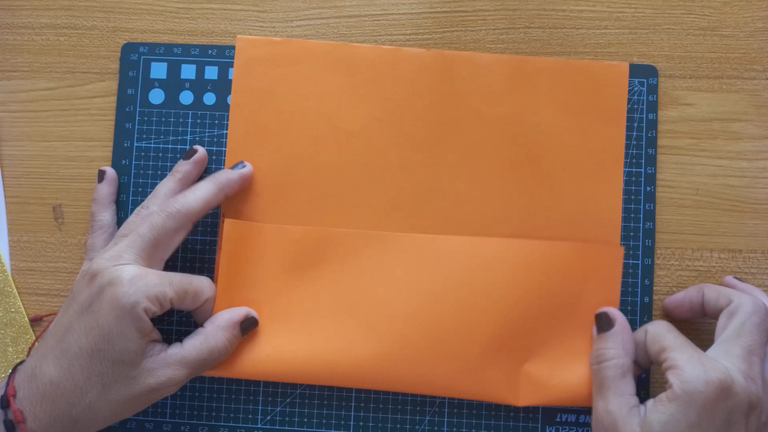
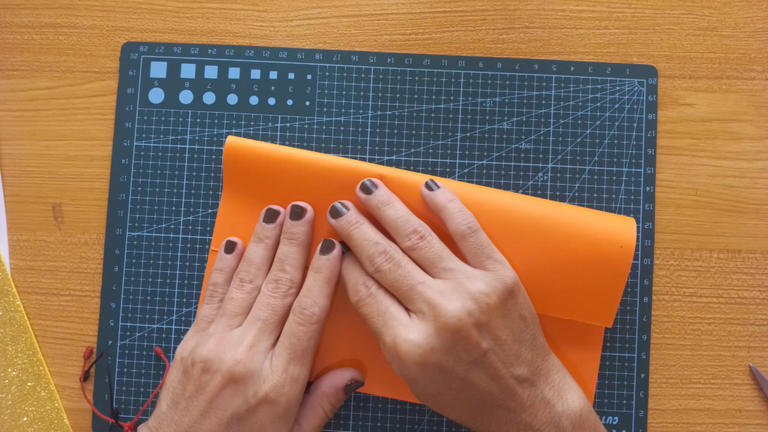
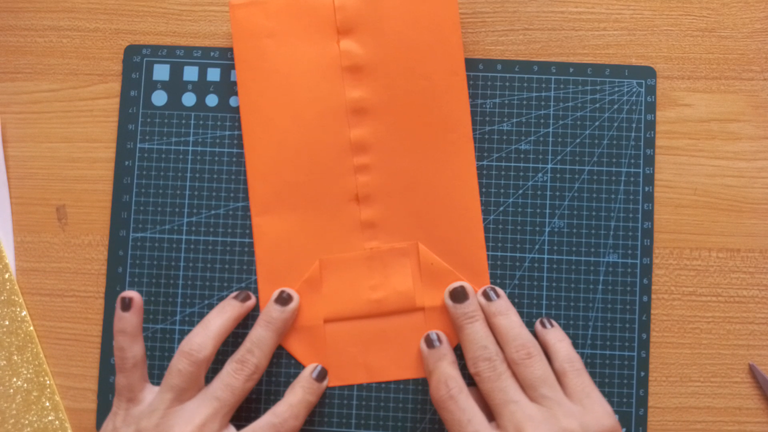
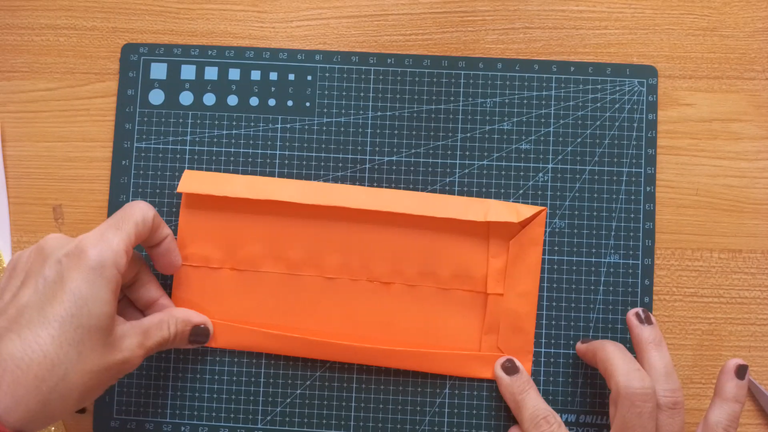
Para hacer la bolsita, es algo estilo origami, pero no te preocupes no es nada complicado.
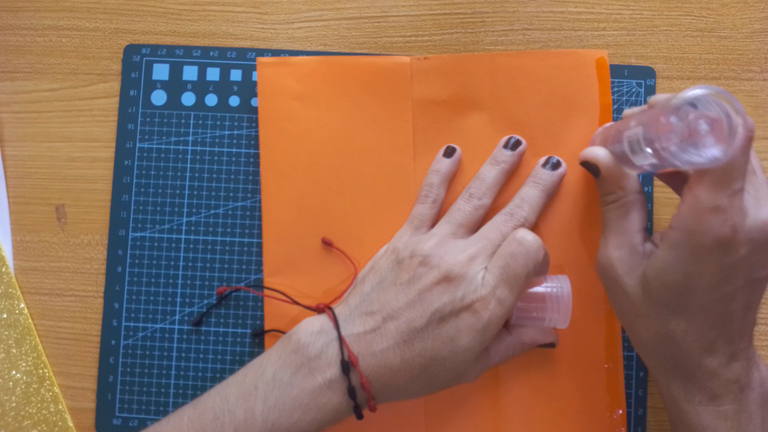
Dobla la primera hoja por la mitad del lado más largo, luego dobla la otra mitad hasta que se junte un poco, aplica pegamento y pega.
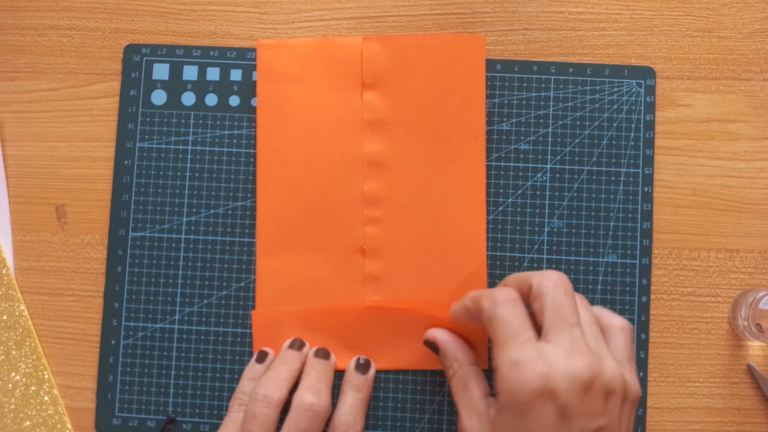
Dobla la pestaña de abajo al menos unos 2.5 centímetros.
! [English version]
[Eng]
To make the bag, it's a little origami style, but don't worry, it's not complicated at all.
Fold the first sheet in half on the longer side, then fold the other half until it meets a little, apply glue and glue.
Fold the bottom flap at least 2.5 centimeters.
Step 2️⃣/ paso 2️⃣
 |  |  |
[Esp]
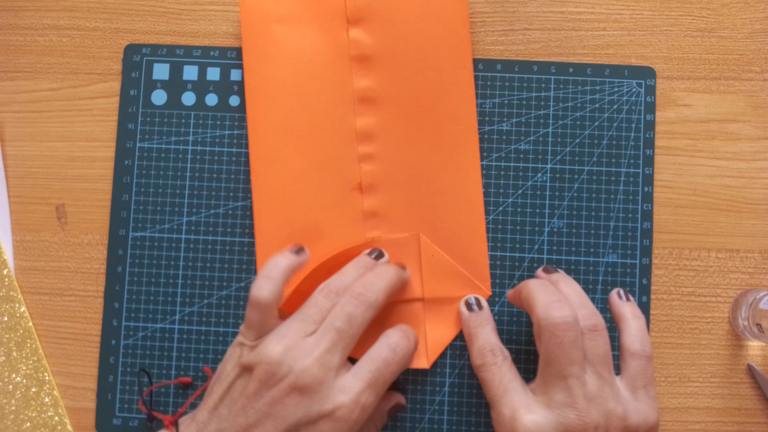
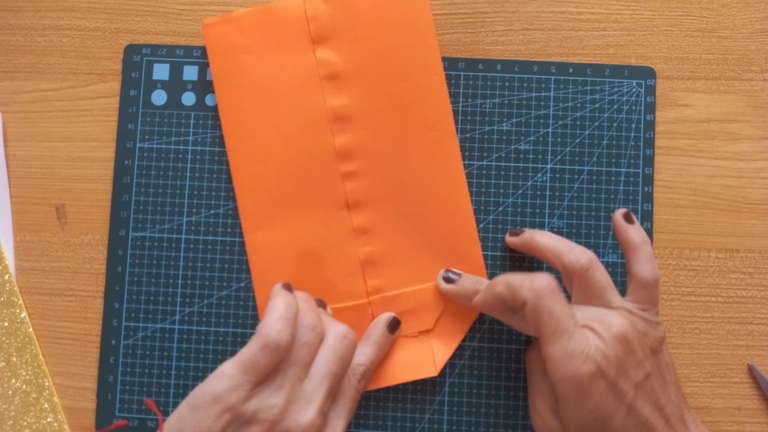
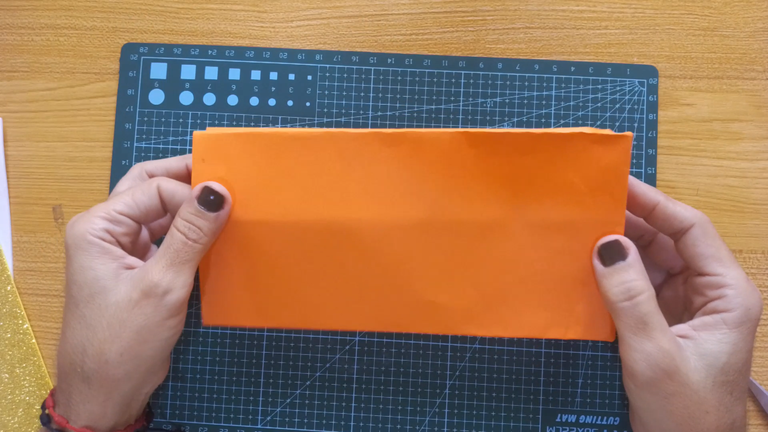
Dobla la esquina hasta formar un triángulo, repite ese procedimiento del otro lado.
Dobla por la mitad una de las pestañas, repite el procedimiento en la pestaña de abajo, aplica pegamento y pega.
! [English version]
[Eng]
Fold the corner to form a triangle, repeat this procedure on the other side.
Fold one of the tabs in half, repeat the procedure on the bottom tab, apply glue and glue.
Step 3️⃣/ paso 3️⃣
 |  |  |
[Esp]
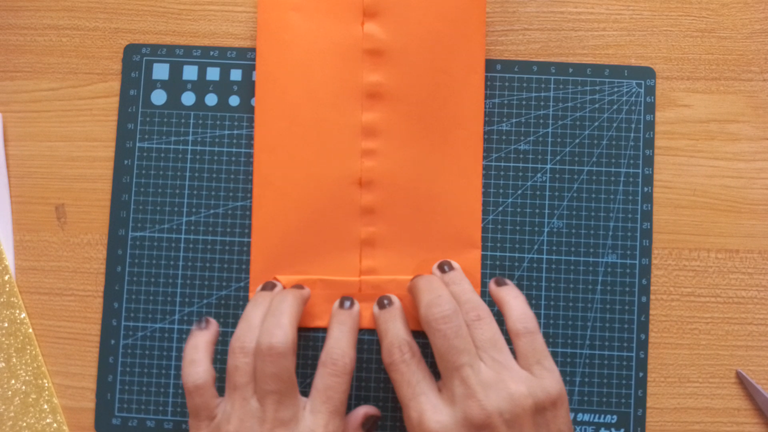
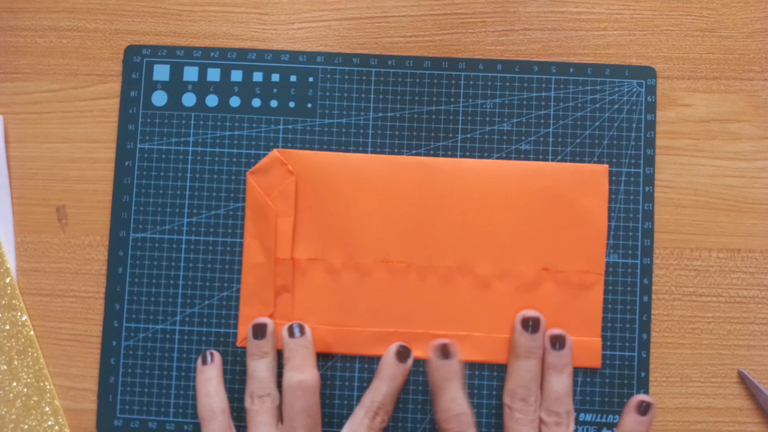
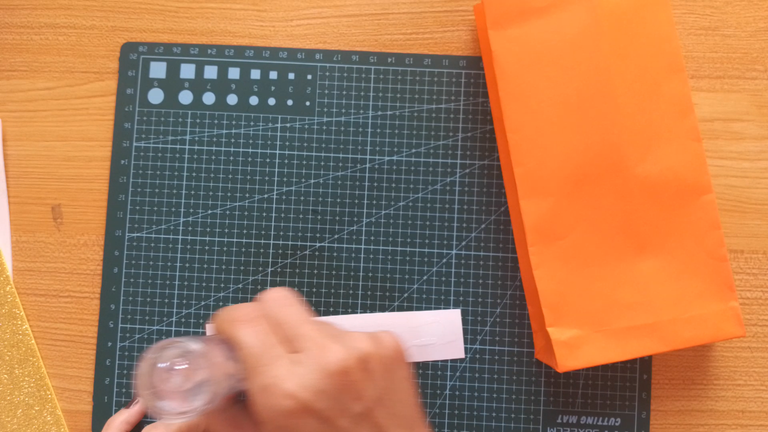
En el mismo lado donde está empatado y doblada la bolsa, dobla uno de los laterales (1.5 Cms) hacia adentro, repite el procedimiento del otro lado.
Ahora voltea la bolsita y las mismas pestañas las doblas del lado contrario.
Abre la bolsa con cuidado y dale forma.
! [English version]
[Eng]
On the same side where the bag is tied and folded, fold one of the sides (1.5 cm) inwards, repeat the procedure on the other side.
Now turn the bag over and fold the same tabs on the other side.
Open the bag carefully and shape it.
Step 4️⃣/ paso 4️⃣
 |  | |
 |  |
[Esp]
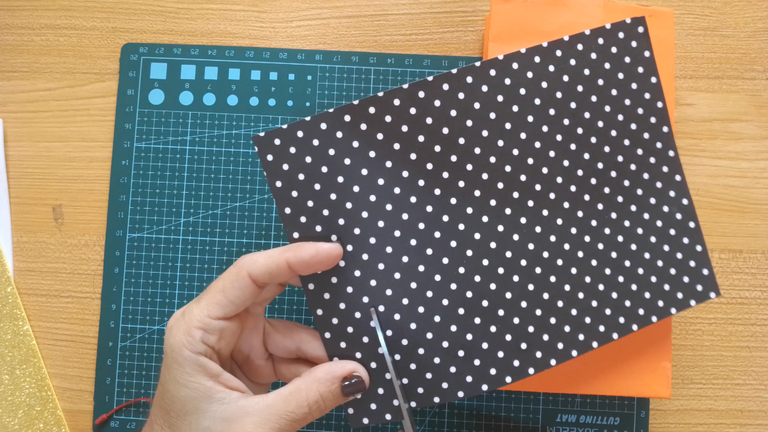
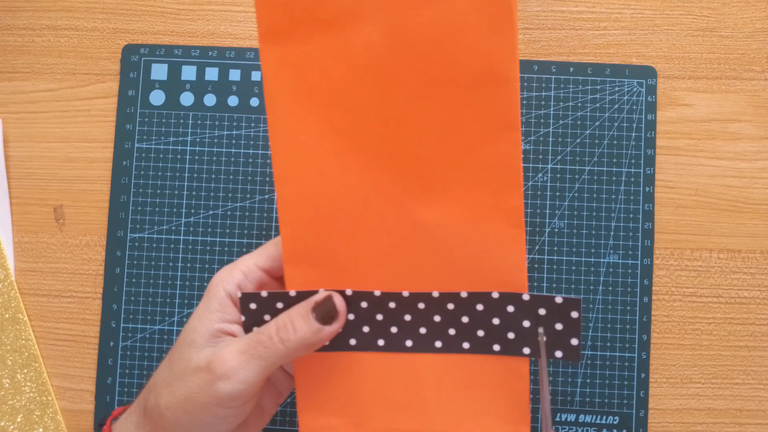
Recorta un trozo de cartulina negra, yo usé esta con lunares porque me encantó su rareza.
Coloca pegamento y pega en la bolsita, recorta los excedentes con cuidado no cortar la bolsa.
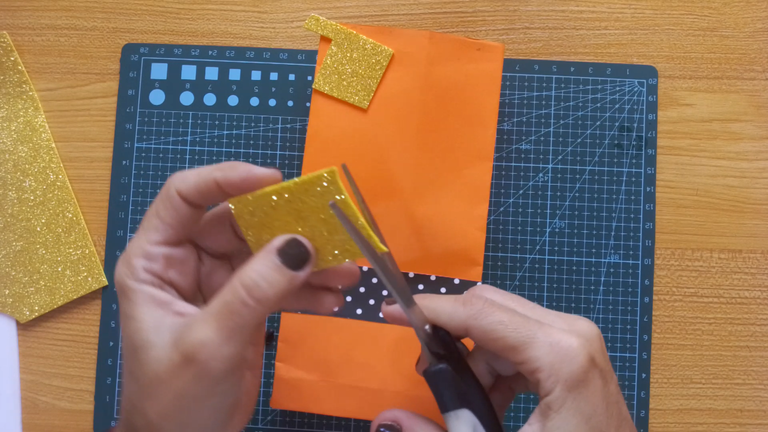
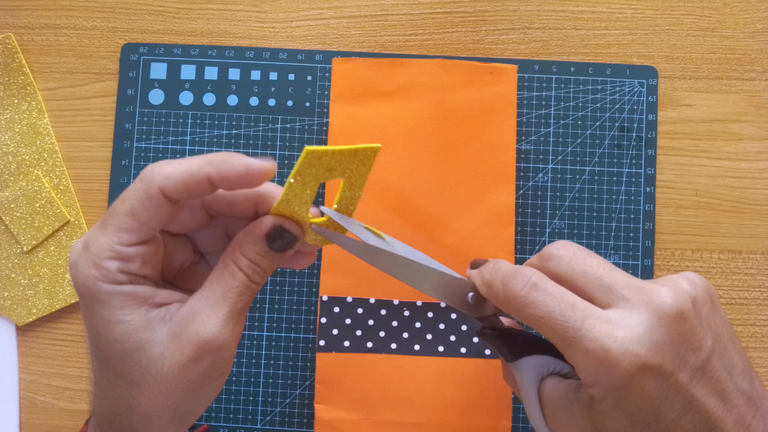
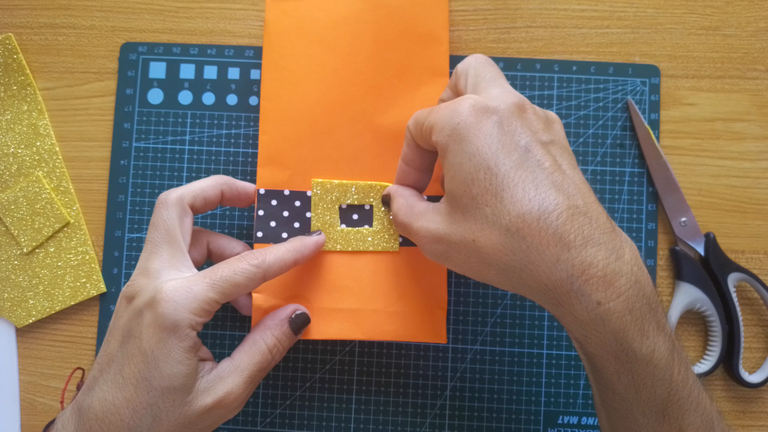
Recorta un trozo de foami escarchado dorado, un rectángulo un poco más ancho que la cartulina que cortaste previamente. Recorta un rectángulo en el centro, esto le dará forma a la hebilla del cinturón de Santa Claus.
Aplica pegamento y pega en el centro de la bolsa frente a la cartulina.
! [English version]
[Eng]
Cut out a piece of black cardboard, I used this one with polka dots because I loved its rarity.
Put glue and glue on the bag, trim the excess being careful not to cut the bag.
Cut out a piece of gold frosted foami, a rectangle a little wider than the cardboard you previously cut. Cut out a rectangle in the center, this will give shape to Santa's belt buckle.
Apply glue and glue in the center of the bag in front of the cardboard.
Step 5️⃣/ paso 5️⃣
 |  |
 |  |  |
[Esp]
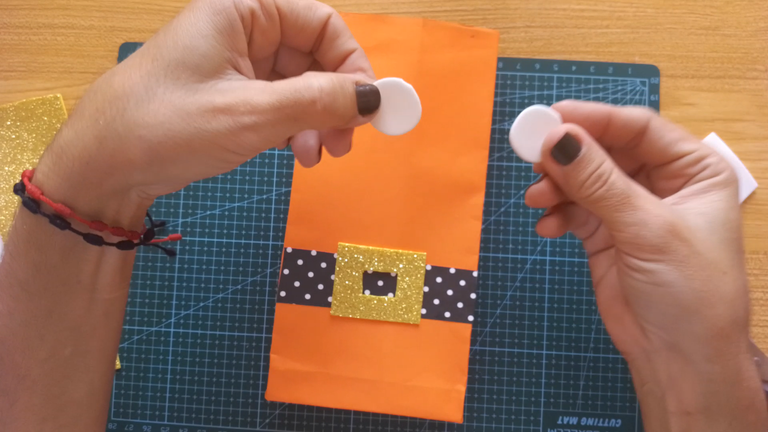
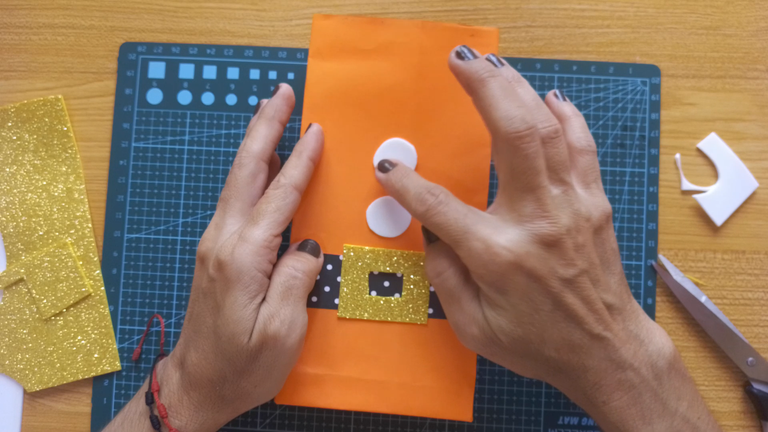
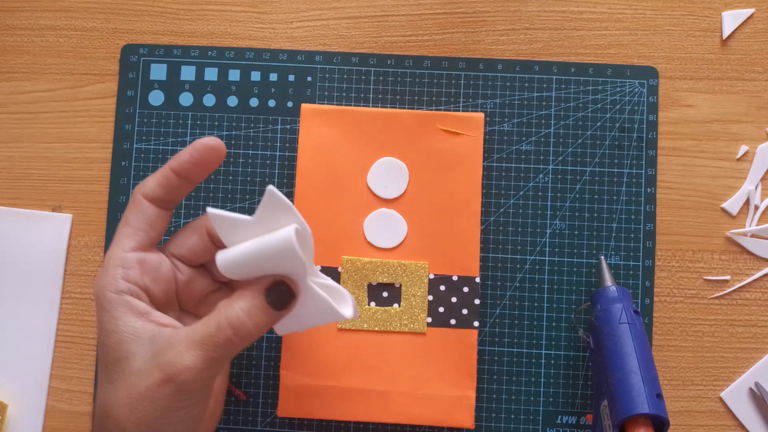
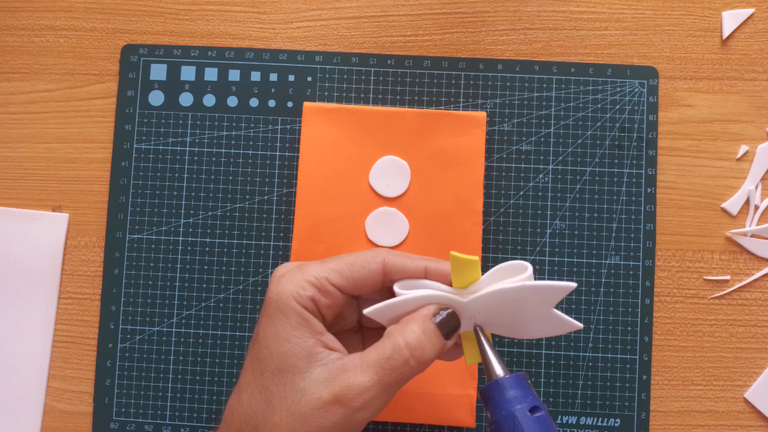
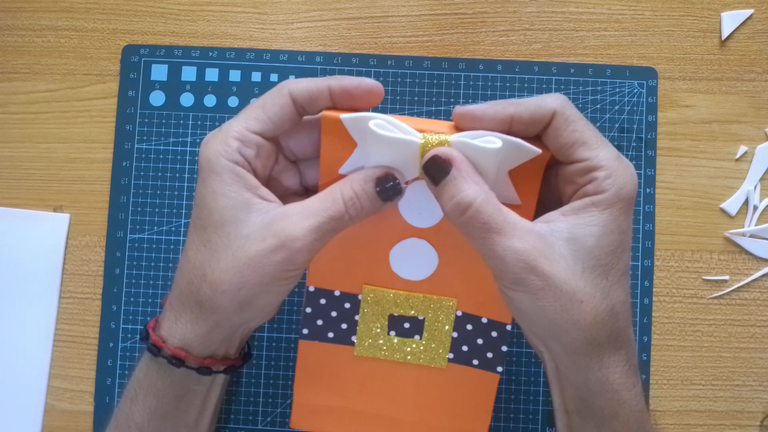
Recorta dos círculos de foami blanco, pégalo como dos botones de camisa a la bolsa.
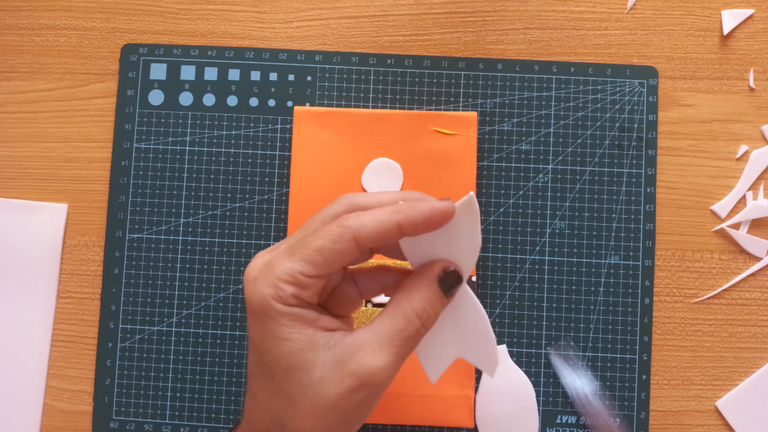
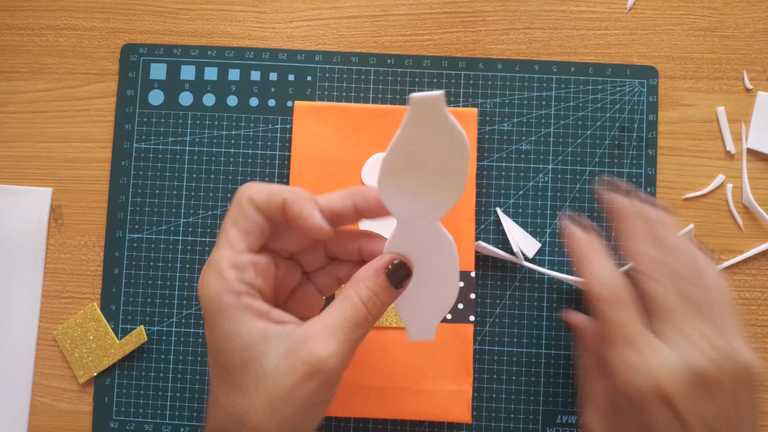
Recorta la forma de un lazo y luego una que parecen unos lentes observa la imagen.
Une ambos extremos al centro (de la forma con lentes), pega en la parte trasera la forma del lazo, recorta una tira delgada de foami escarchado blanco para decorar con una cinta en el medio el lazo.
Pega el lazo en la bolsa y con ello terminamos nuestro envoltorio precioso para obsequios.
Espero les guste.
! [English version]
[Eng]
Cut out two circles of white foami, glue it like two shirt buttons to the bag.
Cut out the shape of a bow and then one that looks like a pair of glasses, see the picture.
Attach both ends to the center (of the glasses shape), glue the bow shape to the back, cut out a thin strip of white frosted foami to decorate with a ribbon in the middle of the bow.
Glue the bow on the bag and that's the end of our beautiful gift wrapping.
I hope you like it.

Program: MediBang Paint Pro.
Tablet Huion model 420
Las fotos fueron tomadas con mi teléfono ZTE Blade A5 2020
The photos were taken with my ZTE Blade A5 2020 phone.

Hecho con amor/ Made with love.
💜💜💜

💜💜💜
![]() 👉
👉 ![]() 👉
👉 ![]() 👉
👉 
Here / Bríndame un café