

[Esp]
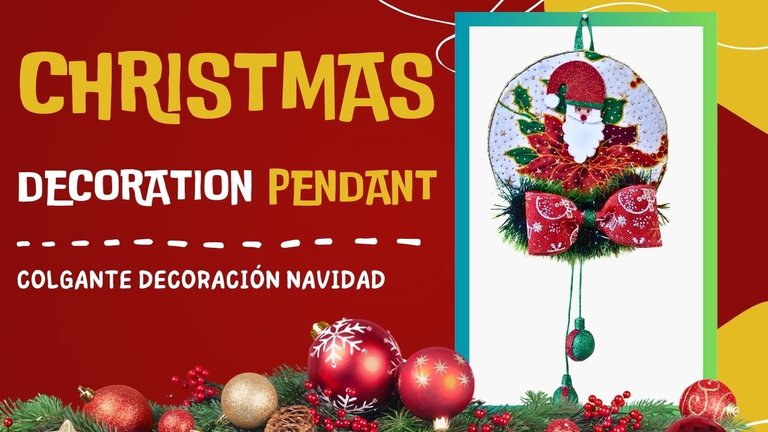
¡Hola querida familia Hive DIY, feliz navidad!.
Me quedaron muchas ideas y material para hacer cosas de navidad, pienso que un mes no es suficiente, deberíamos alargarlo, ahora entiendo por qué hay personas que comienzas hacer manualidades decembrinas desde octubre - noviembre, es mejor prepararse, ahora me quedarán para lucirlos mejor el año entrante si Dios lo permite.
Resulta que la musa se me ha activado mucho estos días, tenía pendiente hacer algo circular pero más grande que los anteriores, aprendí varias cosas como hacer un papá Noel, bolas de anime forradas con foami termoformado y me quedó mucha tela con motivos de navidad de los cuales pienso mas a futuro hacer más caminos de mesa, entre otras manualidades.
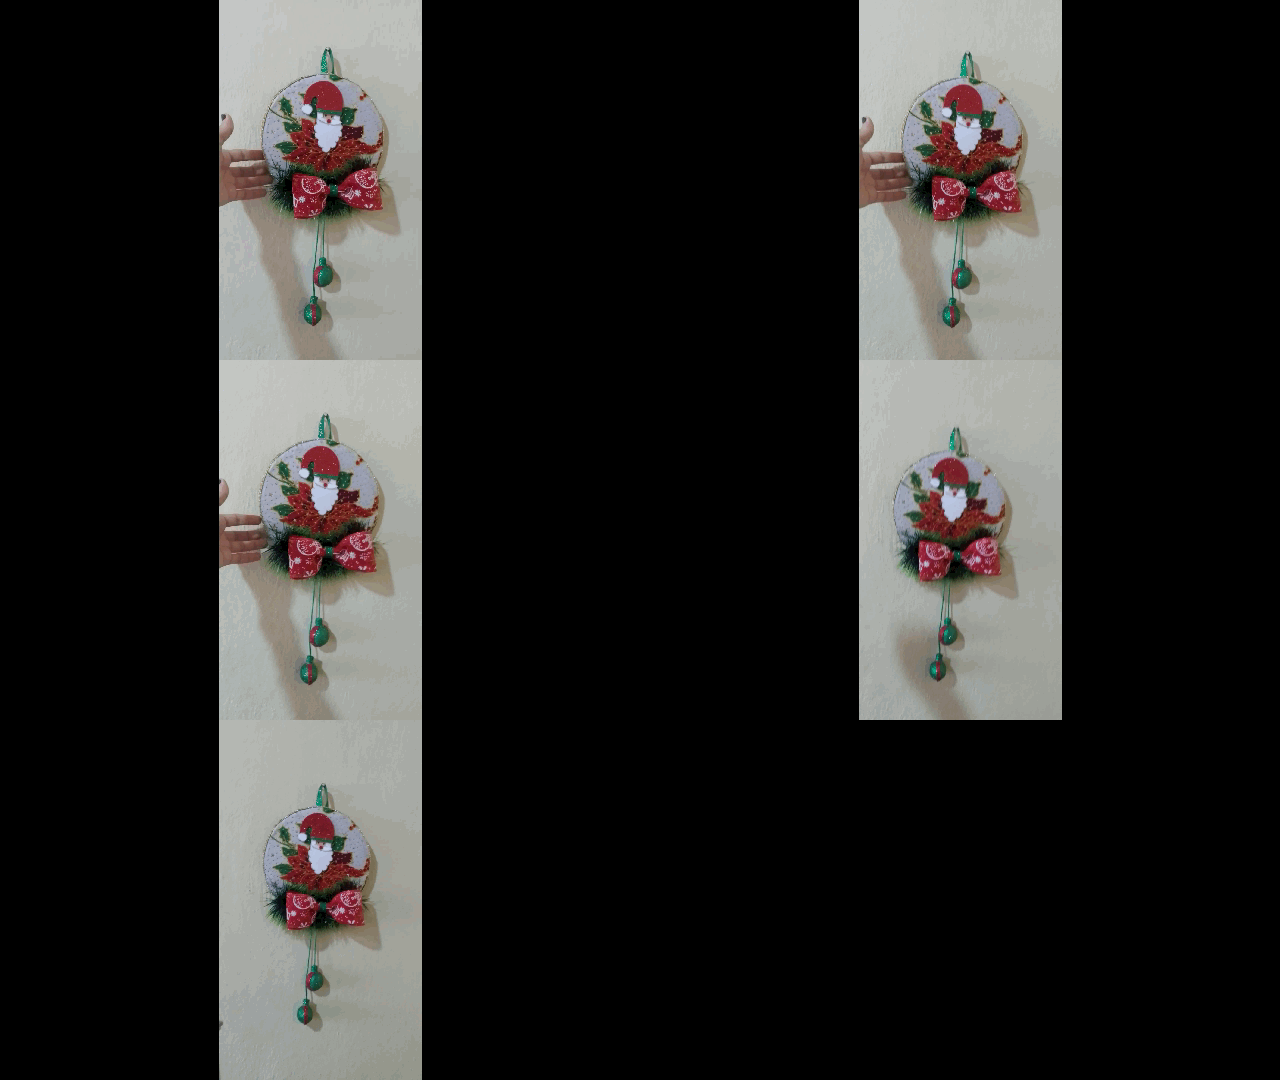
Lo que quiero enseñarte aquí es lo aprendido de lo anterior, cómo hacer tus propias bambalinas con foami al cual aplicamos un poco de calor y cómo usar telas en nuestras manualidades de una forma no tan convencional.
Espero les guste.
! [English version]
[Eng]
**Hello dear Hive DIY family, merry christmas!
I have a lot of ideas and material left to make Christmas things, I think that one month is not enough, we should extend it, now I understand why some people start making Christmas crafts since October - November, it is better to prepare, now I will have them to show them off better next year if God allows it.
It turns out that the muse has activated me a lot these days, I had pending to do something circular but bigger than the previous ones, I learned several things like making a Santa Claus, anime balls lined with thermoformed foami and I had a lot of fabric with Christmas motifs of which I plan to make more table runners in the future, among other crafts.
What I want to show you here is what I learned from the above, how to make your own bambalinas with foami to which we apply a little heat and how to use fabrics in our crafts in a not so conventional way.
I hope you like it.


[Esp]
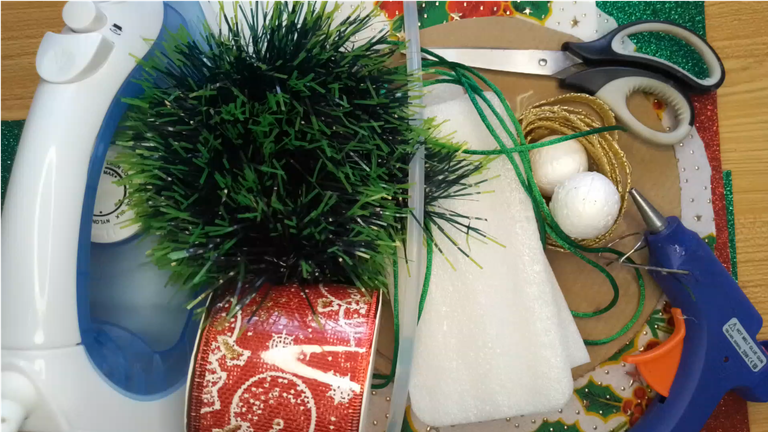
Son muchos materiales y herramientas, parece un desorden pero aquí te explico lo que necesitas. Mi recomendación es, trabaja con lo que tengas disponible.
Foami escarchado verde, rojo, amarillo (dorado), foami blanco.
Silicón caliente, tijera, placha.
Cinta de navidad, cinta dorada.
Guirnalda para decorar.
Dos bolas de anime pequeñas.
Un círculo de cartón, marcador negro.
Tela con motivos de navidad.
Cordón color verde.
Foami escarchado rojo, verde, foami color blanco, color carne.
! [English version]
[Eng]
It's a lot of materials and tools, it looks like a mess but here I explain what you need. My recommendation is, work with what you have available.
- Green, red, yellow (gold) frosted foami, white foami.
- Hot glue, scissors, iron.
- Christmas ribbon, gold ribbon.
- Garland to decorate.
- Two small anime balls.
- Cardboard circle, black marker.
- Fabric with Christmas motifs.
- Green string.
- Red and green frosted foami, white and flesh colored foami.


Step 1️⃣/ Paso 1️⃣
 |  |  |
 |  |  |
[Esp]
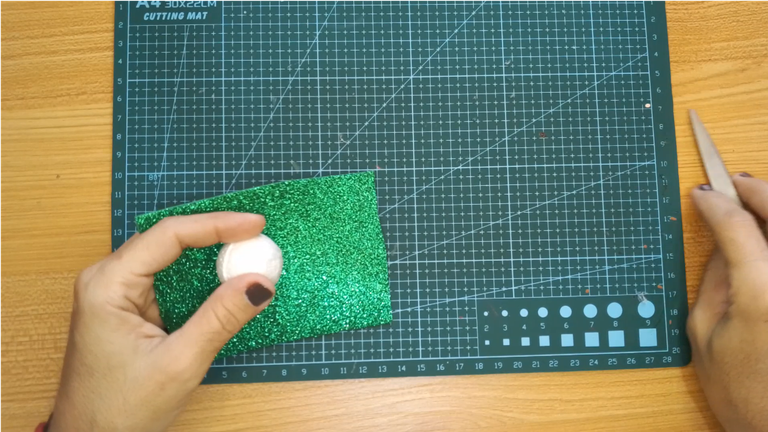
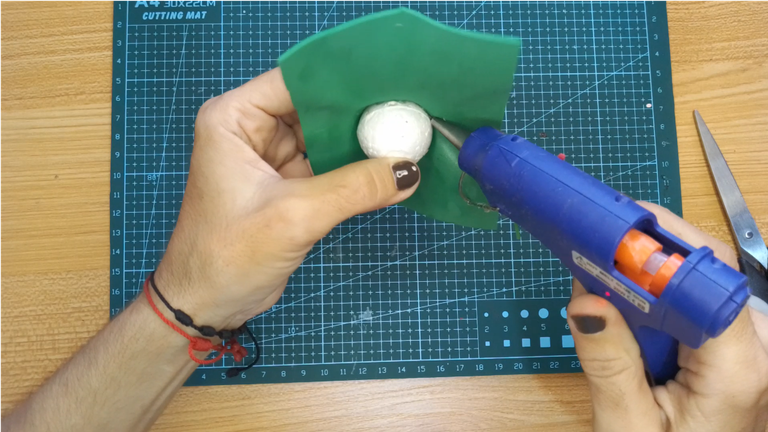
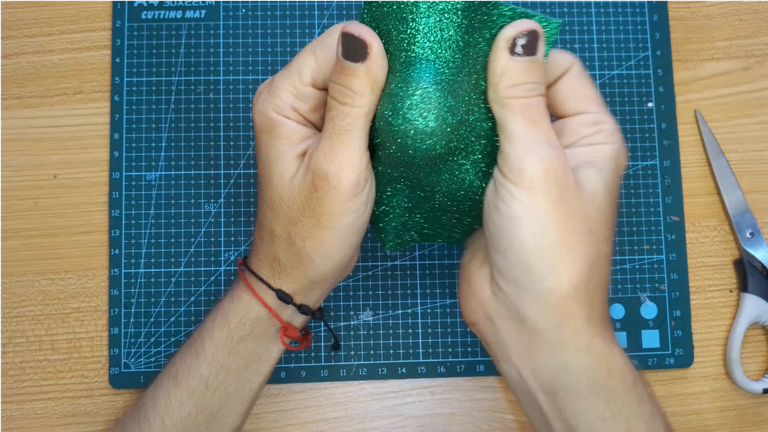
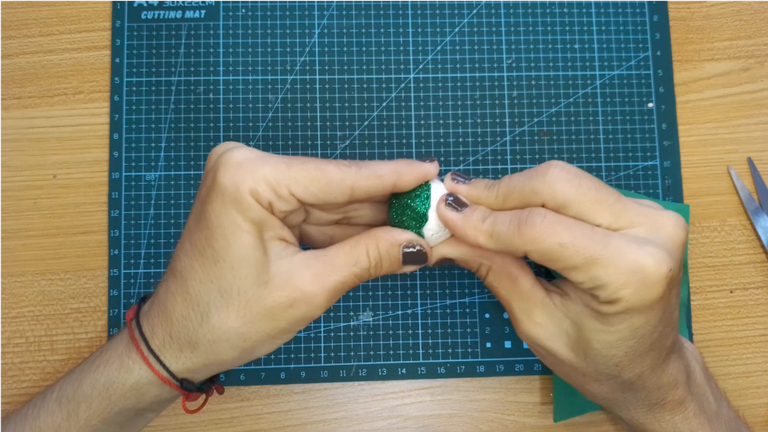
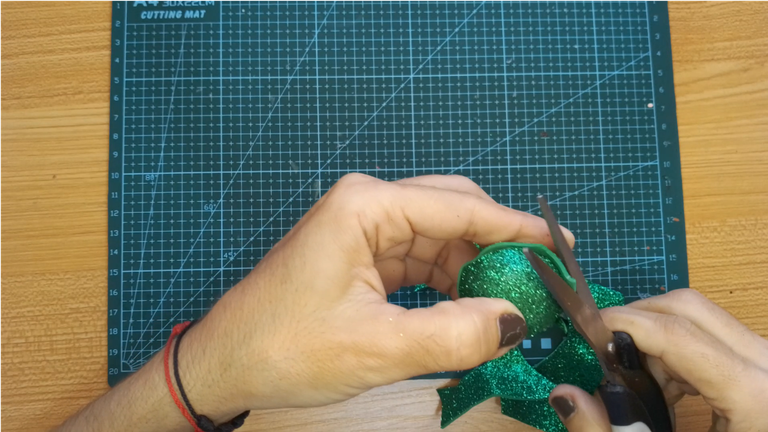
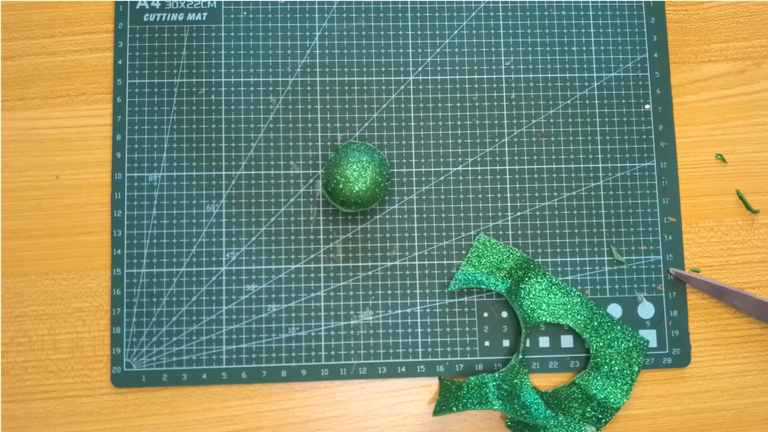
Comienzo por el termoformado del foami para forrar las bolas de anime.
Recorta un trozo suficiente de foami como para cubrir la bola. Calienta un poco la plancha no es necesariamente que esté a punto de quemarte, con que se ponga tibia basta, a una temperatura soportable.
Con mucho cuidado colocas el foami en la plancha, deja que caliente un poco y luego lo colocas sobre la bola de anime y estira, una vez enfríe un poco retira de la bola, aplica pegamento y vuelve a pegar. Recorta los excedentes.
! [English version]
[Eng]
Start by thermoforming the foami to line the anime balls.
Cut a piece of foami enough to cover the ball. Heat the iron a little, it is not necessarily that it is about to burn you, if it gets warm enough, at a bearable temperature.
Carefully place the foami on the iron, let it warm up a little and then place it on the anime ball and stretch, once it cools a little remove it from the ball, apply glue and glue again. Trim the excess.
Step 2️⃣/ paso 2️⃣
 |  |  |
 |  |  |
[Esp]
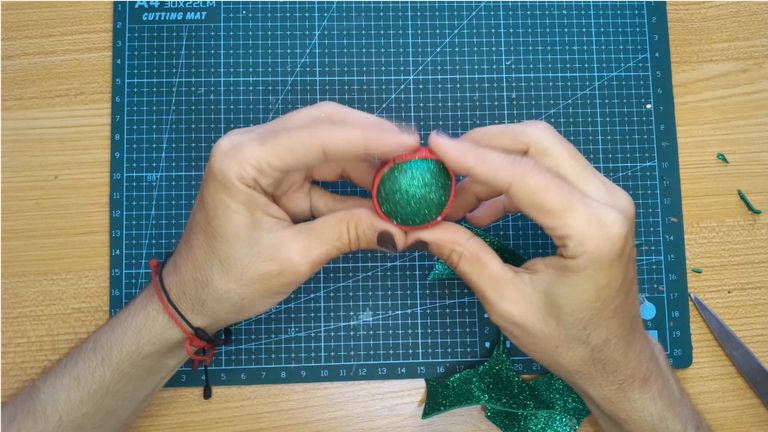
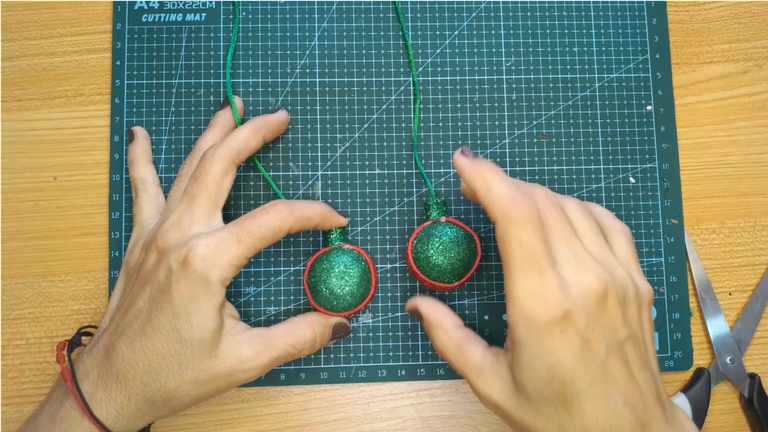
Repite el paso anterior con el otro lado de la bola. Ahora recorta una tira de foami color rojo y cubre la unión.
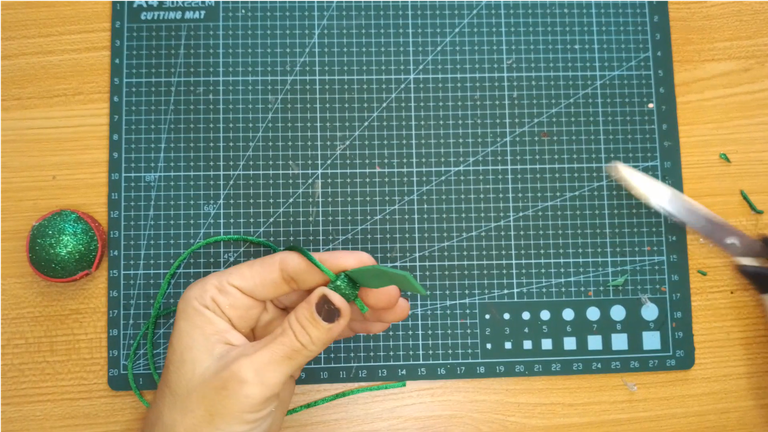
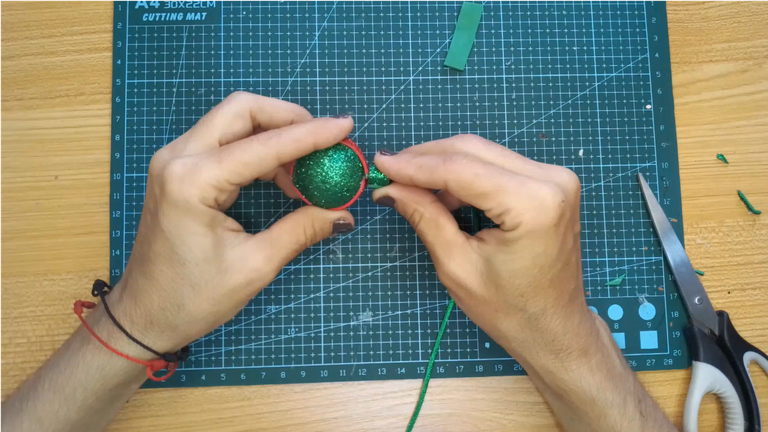
Recorta una tira de foami in enrolla un poco, introduce el cordón y pega enrollando un poco. Pega esta pieza a la bambalina ya hecha.
Repite todo el procedimiento anterior para crear la otra bambalina.
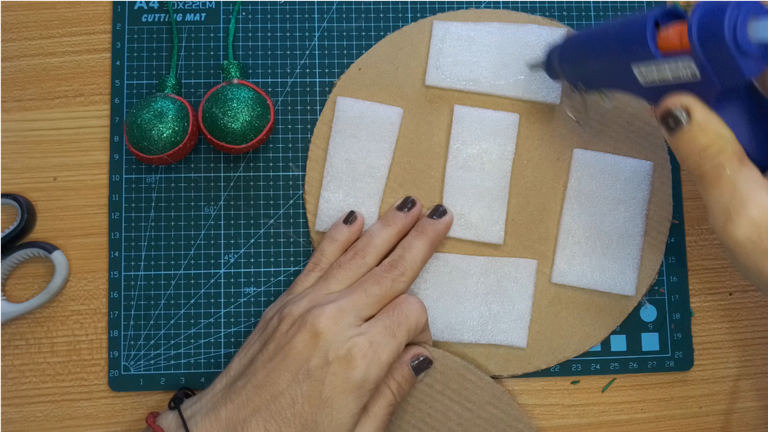
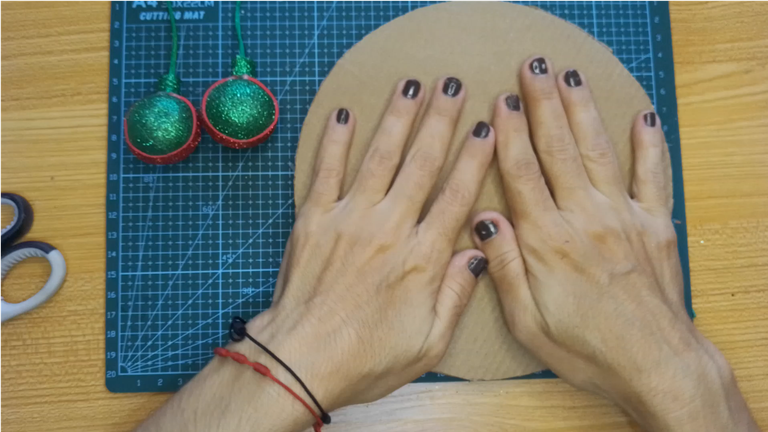
Mi cartón era demasiado delgado, corté dos trozos de la misma medida y aun así era muy delgado, por lo que le coloqué trozos de relleno y luego los pegué.
! [English version]
[Eng]
Repeat the previous step with the other side of the ball. Now cut a strip of red foami and cover the joint.
Cut out a strip of foami, roll it up a little, insert the string and glue by rolling it up a little. Glue this piece to the already made bamboo.
Repeat all the above procedure to create the other bamboo.
My cardboard was too thin, I cut two pieces of the same size and it was still too thin, so I put pieces of stuffing on it and then glued them together.
Step 3️⃣/ paso 3️⃣
 |  |  |
 |  |  |
[Esp]
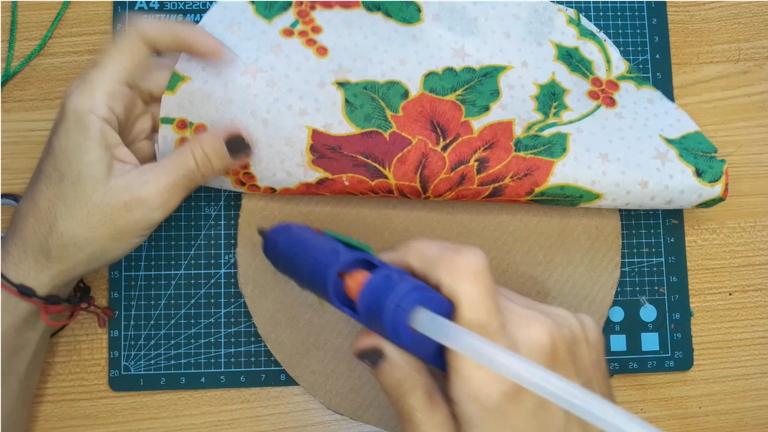
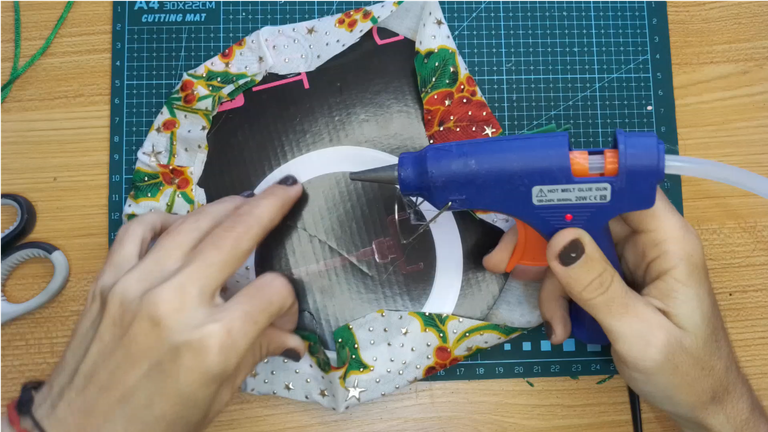
Recorta un trozo de tela un poco más grande que el círculo de cartón recortado.
Comienza a forrar el círculo aplicando pegamento por la parte de atrás.
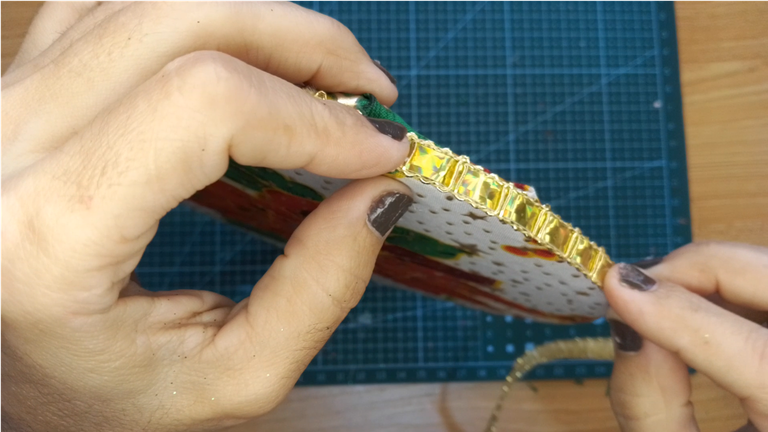
Utiliza la cinta dorada para dar un mejor acabado a la pieza pegándolo por los bordes.
Haciendo el papá Noel.
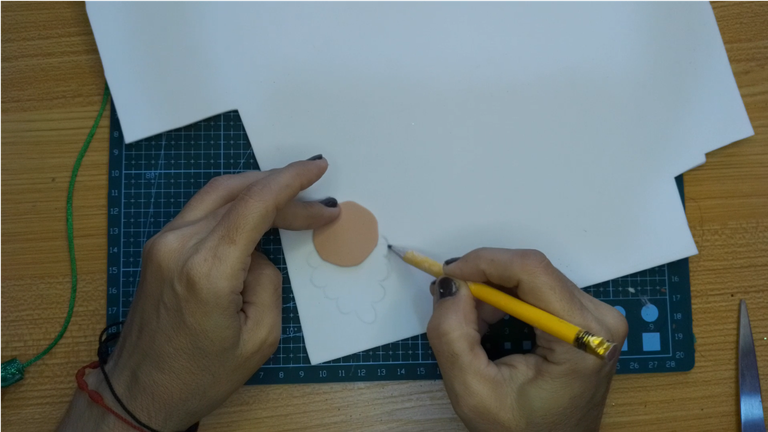
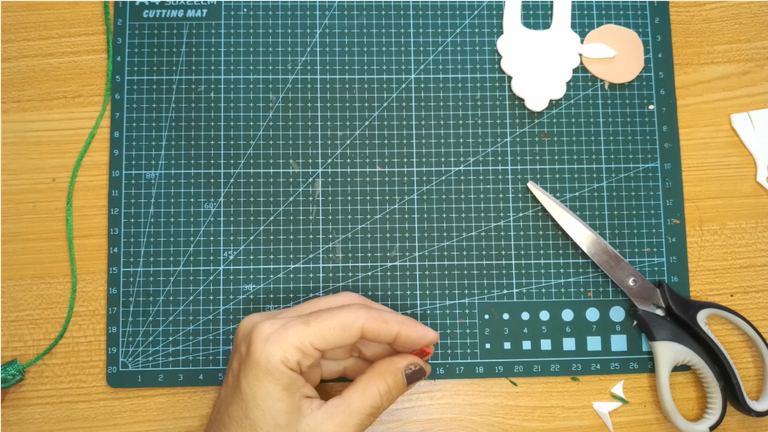
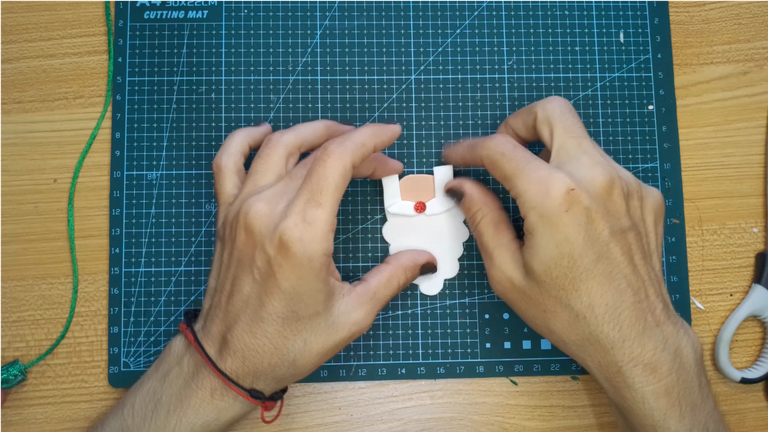
Recorta un círculo de foami color carne, en el foami blanco dibuja la barba de acuerdo al tamaño del círculo recortado, luego recorta la pieza y recorta la forma de unos bigotes. También necesitarás un pequeño círculo para la nariz.
Pega todas las piezas.
! [English version]
[Eng]
Cut out a piece of fabric slightly larger than the cardboard circle cut out.
Start lining the circle by applying glue to the back.
Use the gold ribbon to give a better finish to the piece by gluing it around the edges.
Making the Santa Claus.
Cut out a circle of flesh-colored foami, on the white foami draw the beard according to the size of the cut out circle, then cut out the piece and cut out the shape of some whiskers. You will also need a small circle for the nose.
Glue all the pieces together.
Step 4️⃣/ paso 4️⃣
 |  |  |
 |  |  |
[Esp]
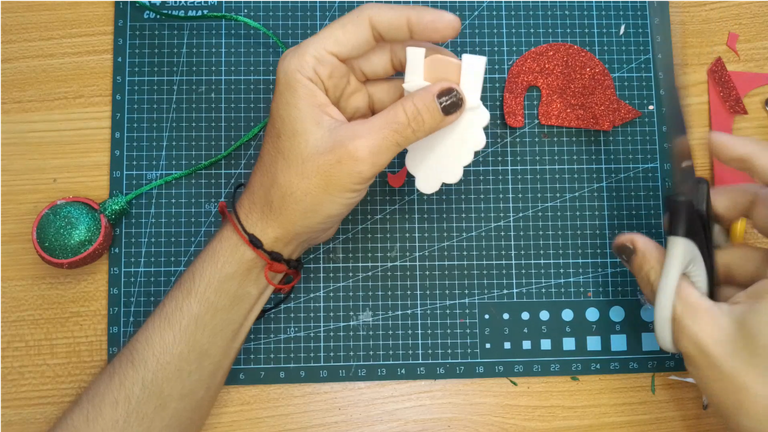
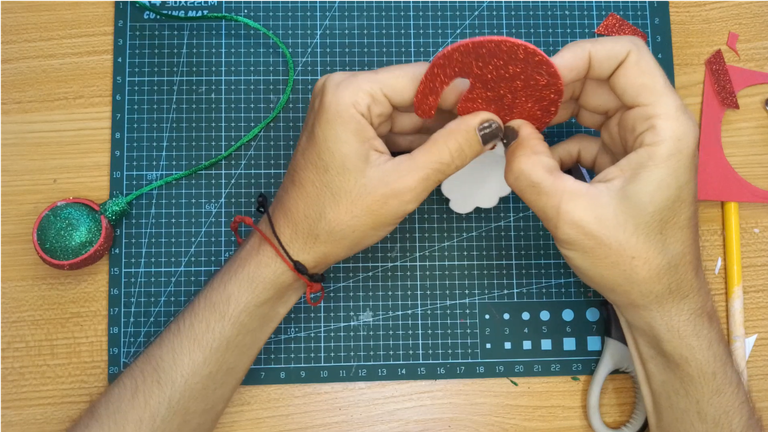
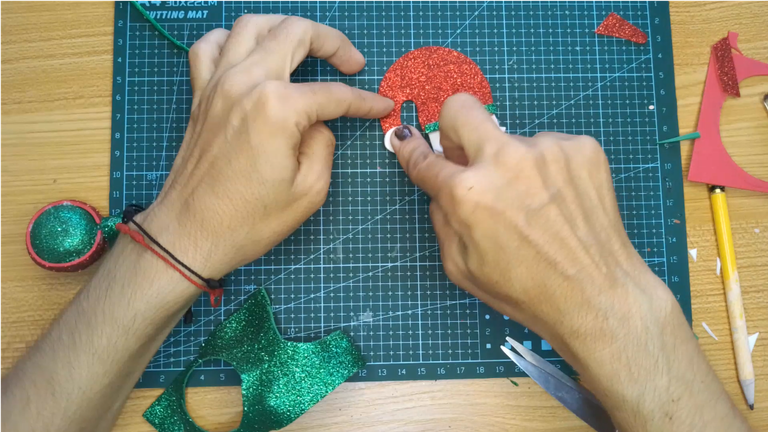
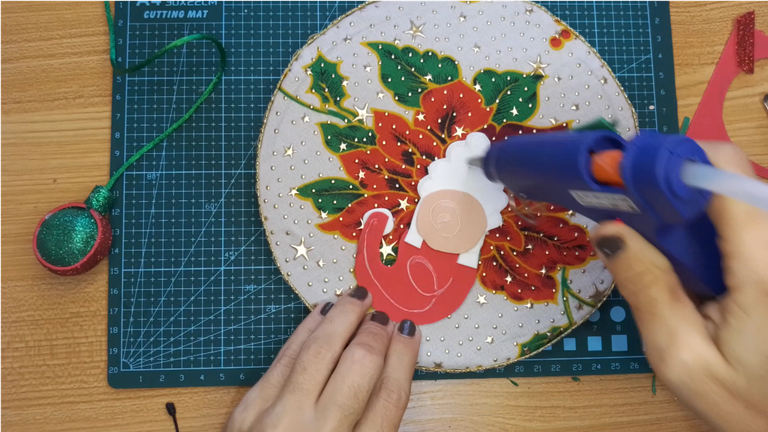
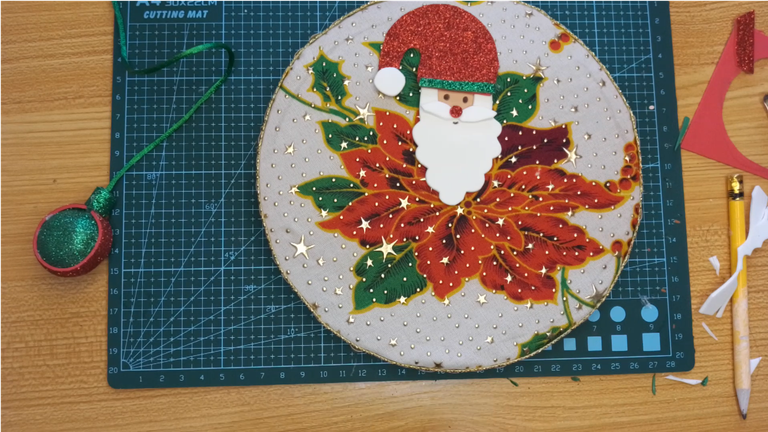
Recorta la figura del gorro y pégalo a la pieza.
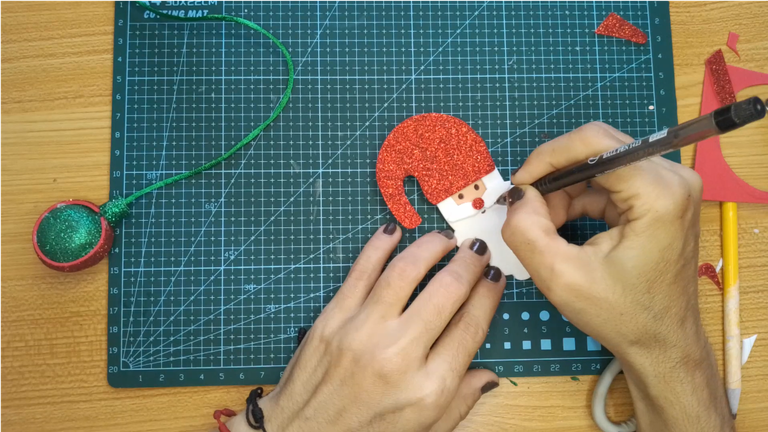
Con el marcador negro dibuja los ojos.
Pega una tira delgada de foami de color verde en el gorro, luego recorta un círculo pequeño de foami color blanco, pega esta pieza en la terminación del gorro.
Pega la figura del papá Noel en el círculo ya forrado.
! [English version]
[Eng]
Cut out the shape of the hat and glue it to the piece.
With the black marker draw the eyes.
Glue a thin strip of green foami on the hat, then cut out a small circle of white foami, glue this piece at the end of the hat.
Glue the figure of Santa Claus in the circle already lined.
Step 5️⃣/ paso 5️⃣
 |  |  |
 |  |  |
[Esp]
(Opcional)
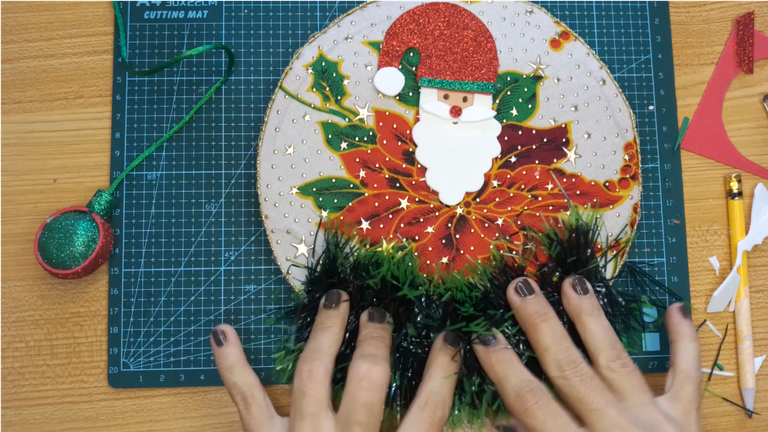
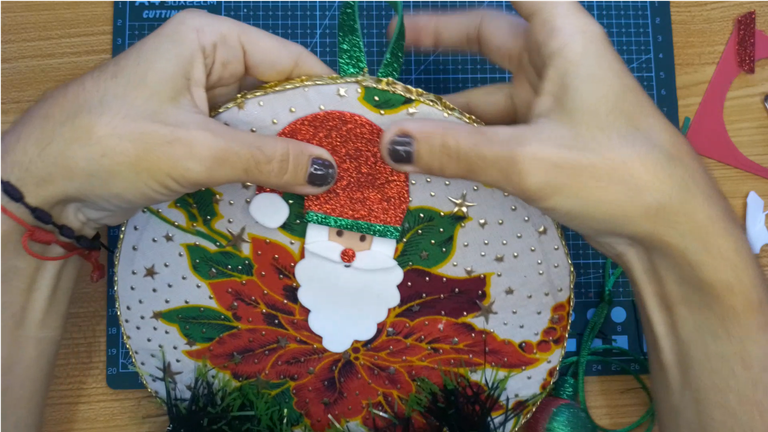
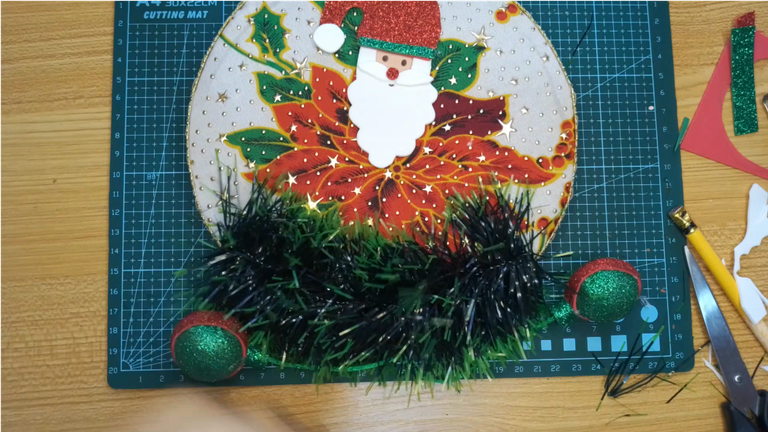
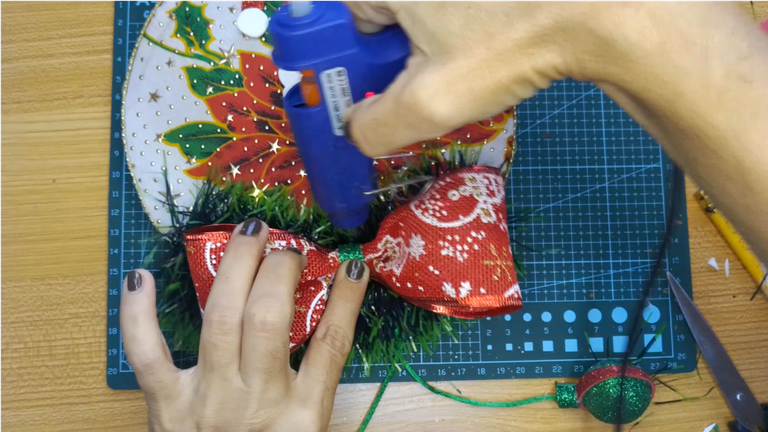
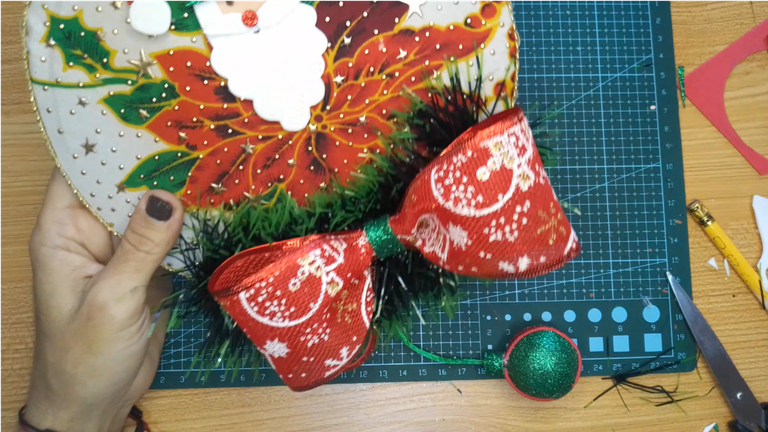
Recorta un trozo de guirnalda y pégalo en la parte inferior del círculo.
Recorta una tira de foami realiza un pequeño dobles, aplica un poco de pegamento y pégalo por la parte de atrás, esta será la pieza que funcionará para colgar.
De acuerdo a la misma posición de la pieza anterior, aplica pegamento en una tira de foami y pega los cordones de las bambalinas por la parte de atrás.
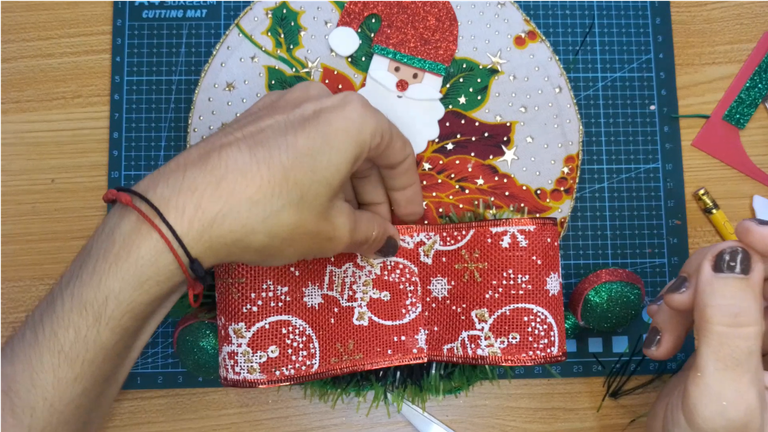
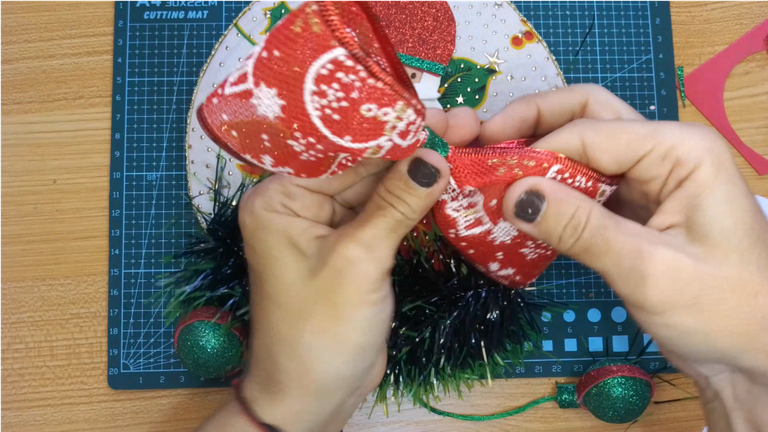
Recorta una tira de cinta decorada de navidad y dobla formando un lazo. Une con un trozo de foami verde aplicando pegamento. Luego pega el lazo sobre la guirnalda.
! [English version]
[Eng]
Cut out a piece of garland and glue it to the bottom of the circle.
Cut out a strip of foami, make a small double, apply some glue and glue it on the back, this will be the piece that will work as a hanging piece.
According to the same position of the previous piece, apply glue on a strip of foami and glue the strings of the backdrops on the back.
Cut a strip of decorated Christmas ribbon and fold it into a bow. Join it with a piece of green foami by applying glue. Then glue the bow on the garland.
Step 6️⃣/ paso 6️⃣
 |  |
[Esp]
(Opcional)
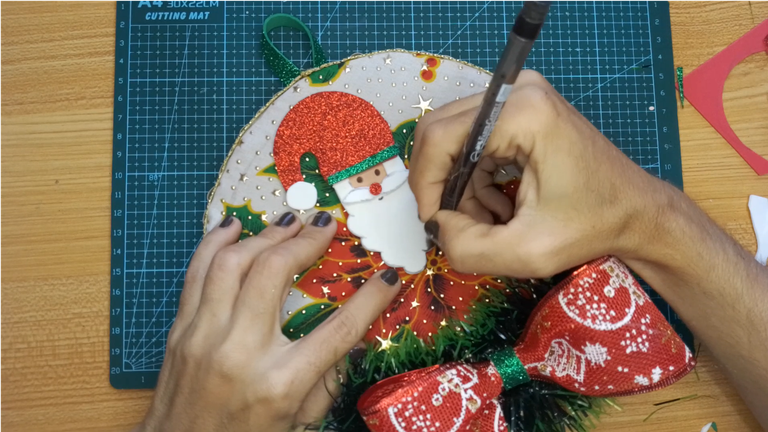
Por último bordea la pieza con el marcador negro.
Me ha gustado mucho realizar este proyecto, fue algo diferente y divertido.
Espero que también les guste, ahora es parte de la decoración navideña de mi hogar.
Felices fiestas.
! [English version]
[Eng]
Finally border the piece with the black marker.
I really enjoyed making this project, it was something different and fun.
I hope you like it too, it is now part of the Christmas decorations in my home.
Happy Holidays.


Program: MediBang Paint Pro.
Tablet Huion model 420
Las fotos fueron tomadas con mi teléfono ZTE Blade A5 2020
The photos were taken with my ZTE Blade A5 2020 phone.

Hecho con amor/ Made with love.
💜💜💜


💜💜💜
![]() 👉
👉  👉
👉  👉
👉 
Here / Bríndame un café


