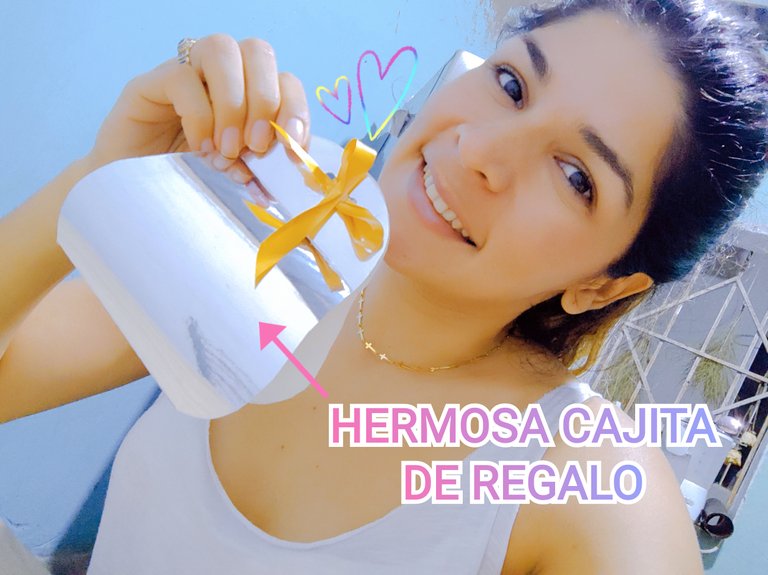
Hello Friends Hivers 🐝🐝❣️❣️ I hope you are very but very well, today I come by here to share with you a beautiful little box ideal to give a present to a loved one. I am one of those people who saves everything hehehehehe because my grandmother says: "*He who saves always has*" and today was one of those days where we give reason to my guela (so I always say to her) I have made this box before and I had saved the pattern to make it, I remember I made them for Mother's Day, I made several to give to the moms I know, and today my younger sister asked me to make her a box that I had made for Mother's Day, she is going to give some chocolates and thought of this super cute box. Obviously I said yes, and I'm here to show you how you can do it too. Remember that Valentine's Day is coming up hehehe.
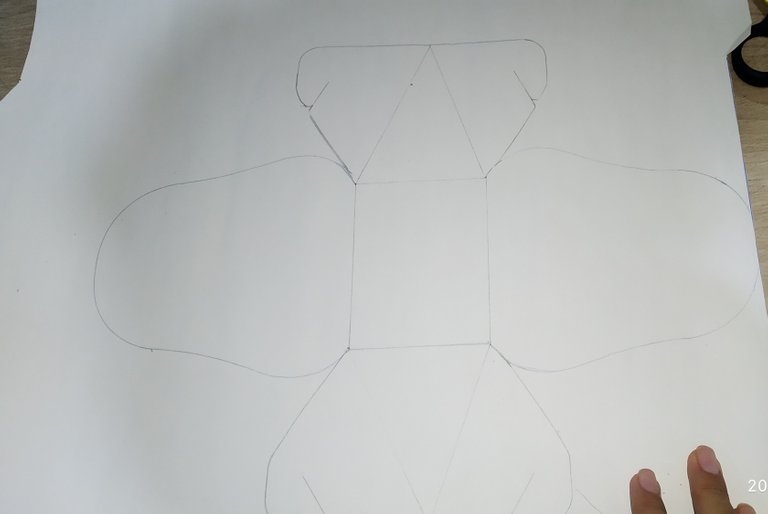
Well for starters, we will need the pattern, I don't know how to make it in real scale, but I'll leave an image where you can see how it looks like, and if you have good detail you can freehand it.
NECESITAREMOS:
🎁 Cartulina de nuestra preferencia.
🎁 Lápiz.
🎁 Regla.
🎁 Tijeras.
🎁 Abre huecos.
🎁 Cinta decorativa.
WE WILL NEED:
🎁 Cardboard of our preference.
🎁 Pencil.
🎁 Ruler.
🎁 Scissors.
🎁 Hole opener.
🎁 Decorative tape.
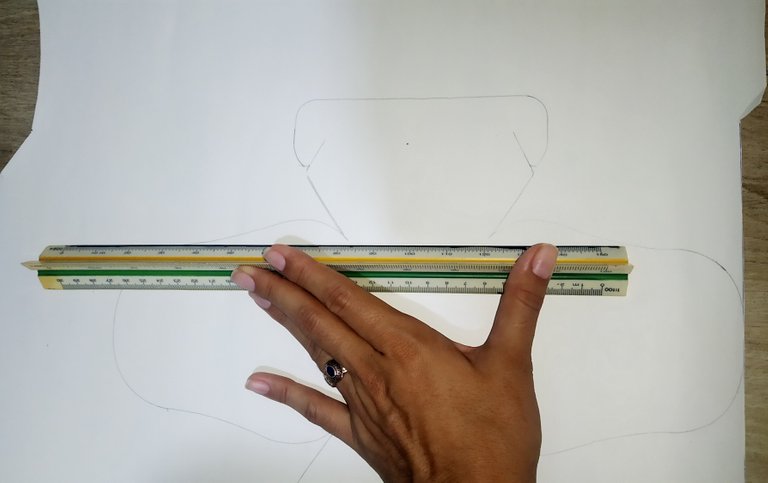
We will start by placing on the back of the cardboard, the pattern or template of the box that we are going to make, then we hold it with our hand so that it does not move while with the pencil we are marking all around the edge on the cardboard.
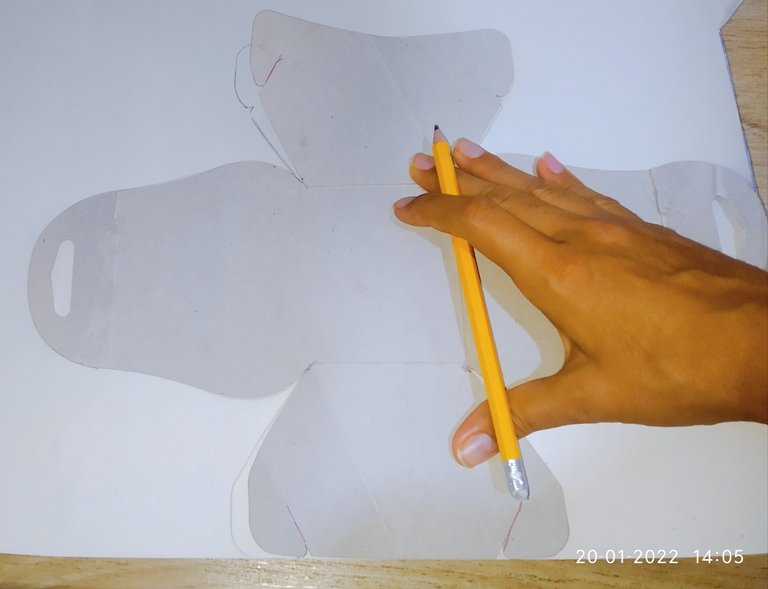
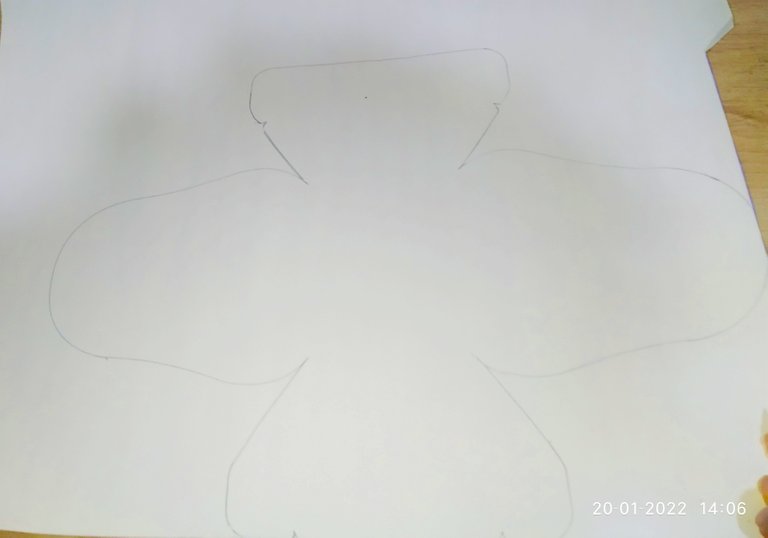
Once we have marked it on the cardboard, with the ruler we will make a square in the middle of the marked cardboard, this square must coincide with the corners of the box, as we can see in the image.
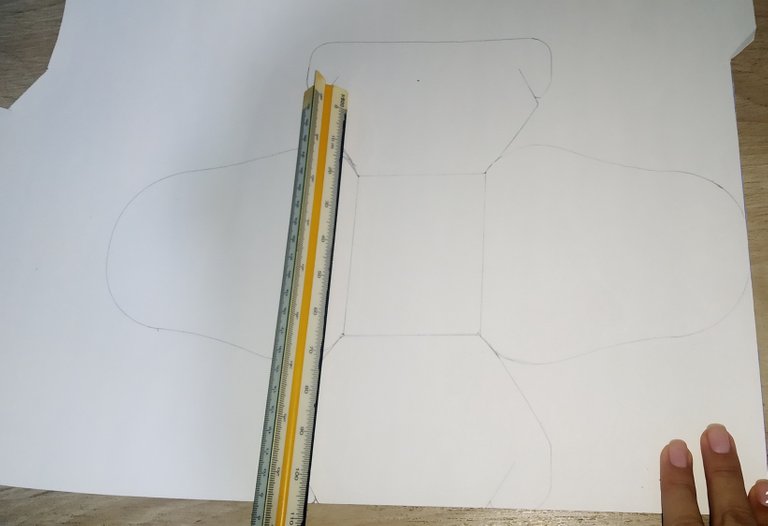
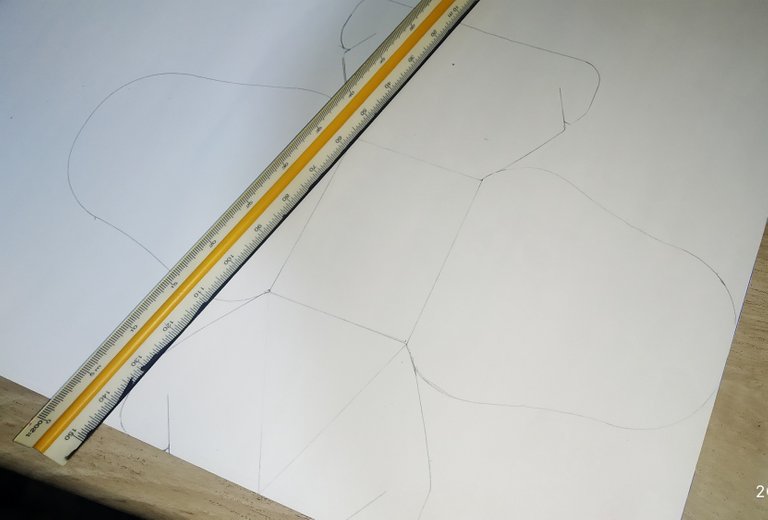
Then on the smaller flaps, we will make a triangle that goes from the corners of the square to the middle of the flap as shown in the image, I will always be in the comments in case you have any questions.

Recortaremos por todo el borde que marcamos.
We will cut all around the edge that we marked.
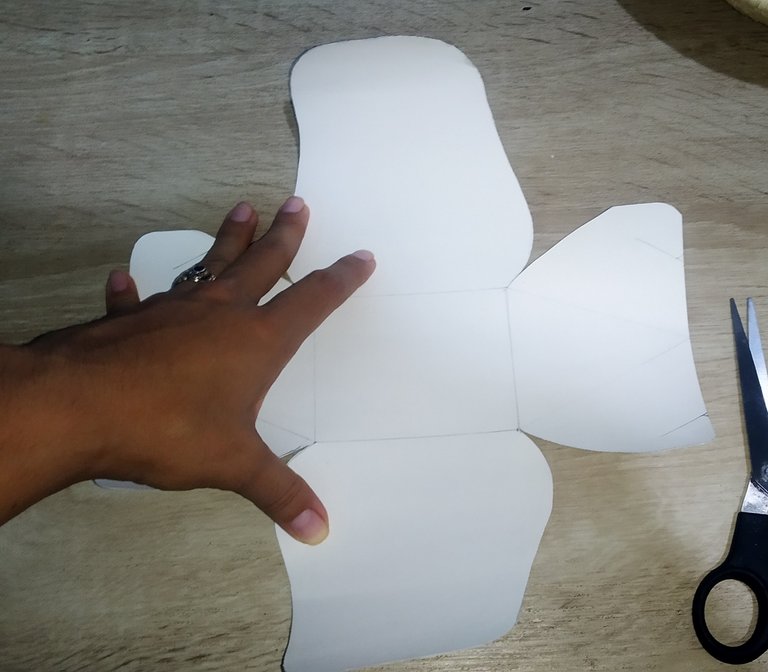
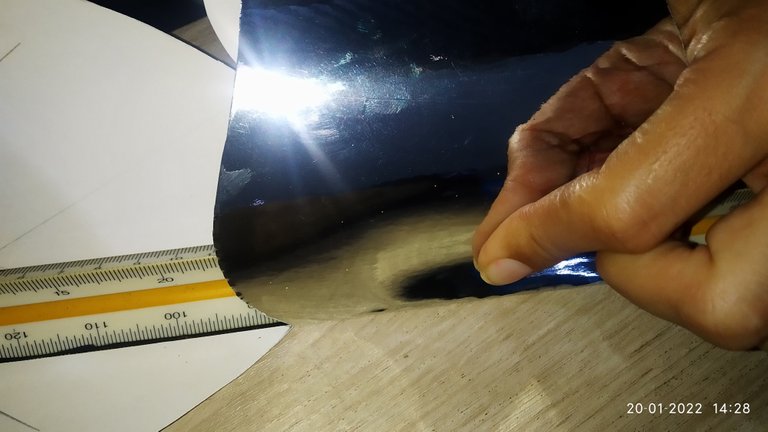
Now we mark the doubles, which will give the shape to the box, placing the ruler on one of the stripes of the square, hold the ruler tight so that it does not move and lift the cardboard to bend just the mark, so we will do with all the lines of the square and the rectangle.
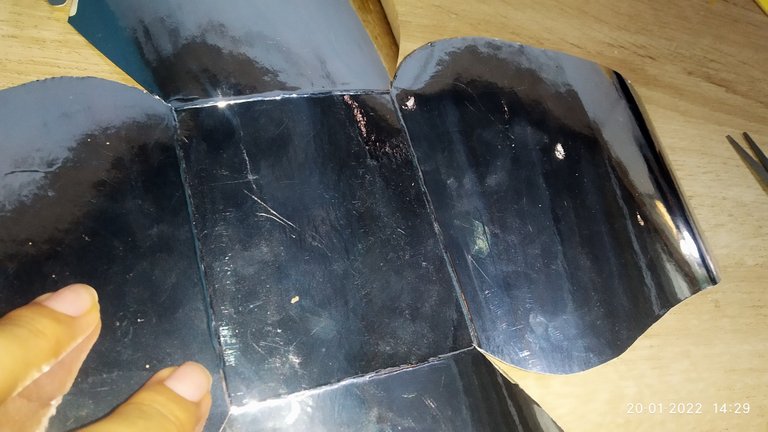
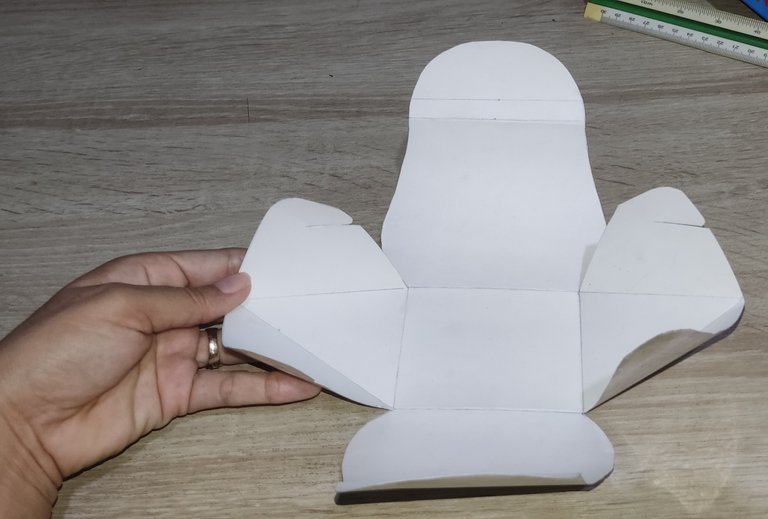
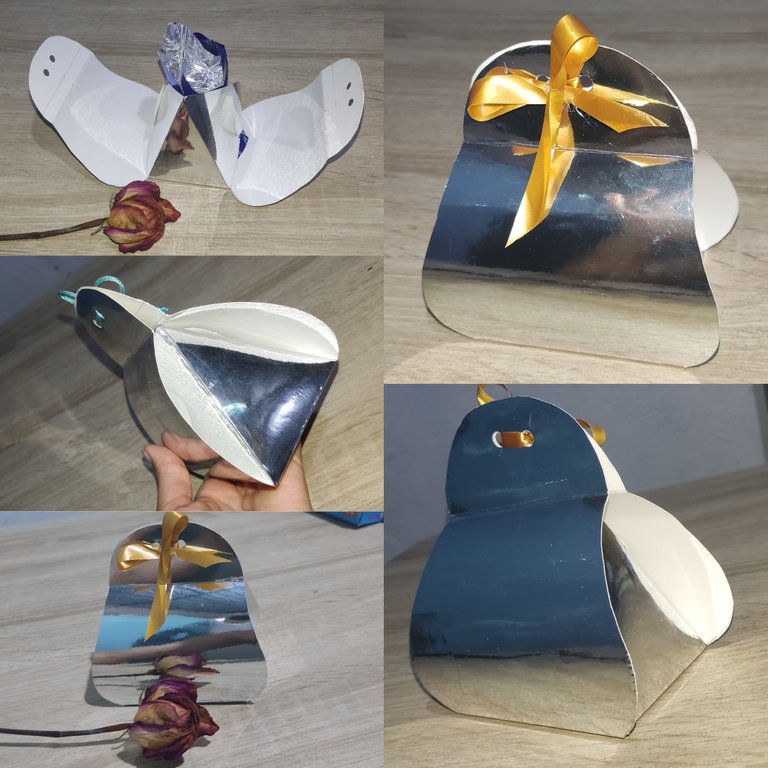
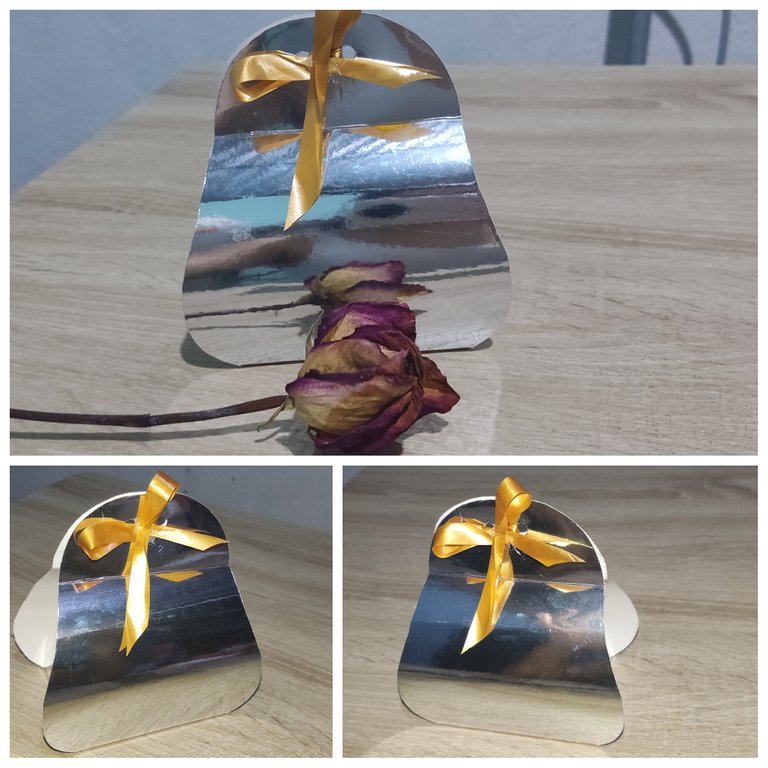
Having the box at this point we can say that it is almost ready ☺️ we just need to make the holes with the hole punch, to close the box. I used an orange ribbon because the chocolates are for a boy. But we can put the decoration that we like depending on who it is for or what is being celebrated.

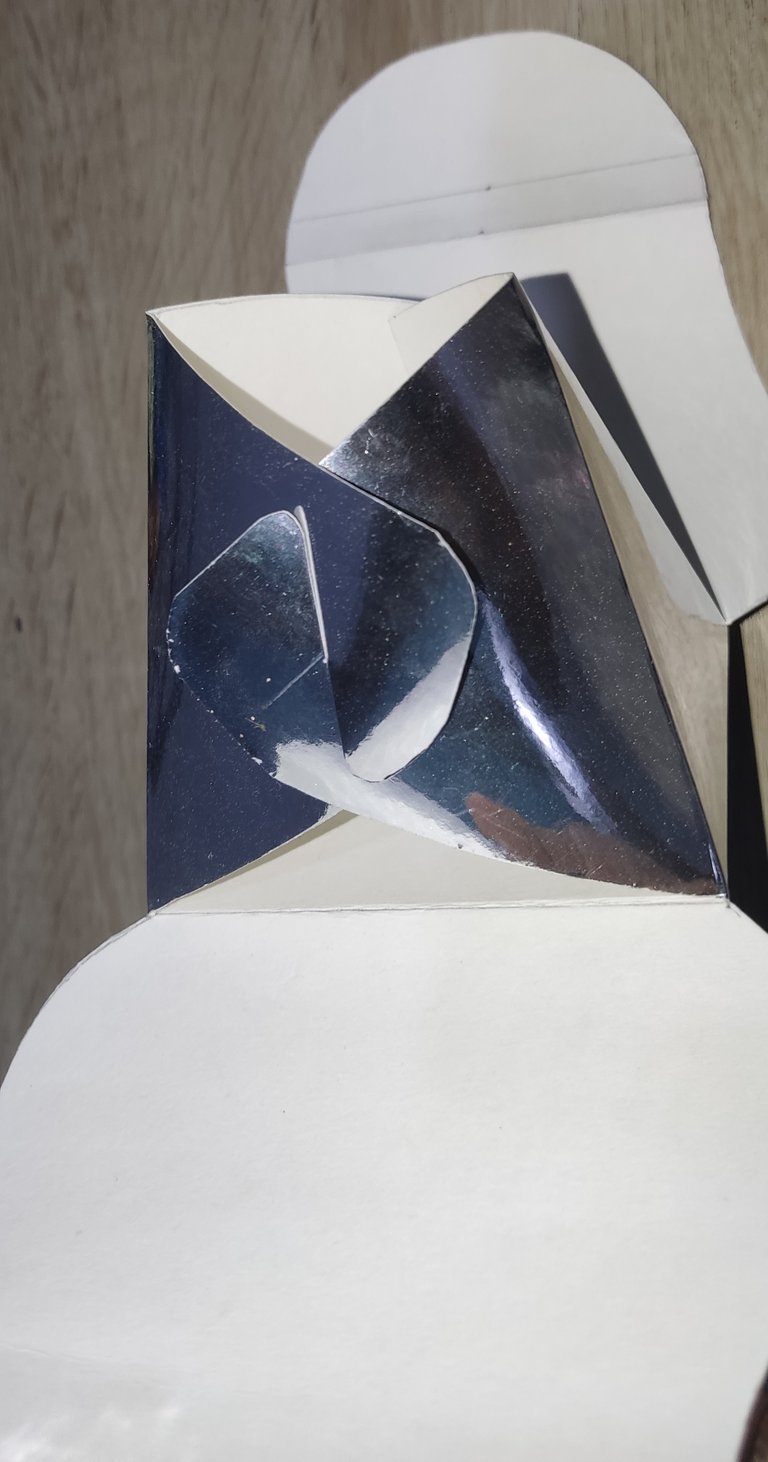
I hope you liked this option of how to make a gift box, simple but cute at the same time that we can customize to our liking.
THANK YOU FOR READING AND SUPPORTING ME ☺️🤗 I SEND YOU THOUSANDS OF BLESSINGS ✨✨
