
Hola amigos de esta comunidad🌷
Hoy quiero mostrarles este DIY súper fácil que he hecho para ustedes. Cómo todos saben los set de fotografías son muy costosos van desde los 100$ o más, pero no es motivo para desmotivarse, hoy te traigo este set de fotografía hecho con materiales que tienes en tu casa y que funciona relativamente igual para sacar buenas fotografías de tus productos.
Los materiales que vamos a necesitar son:
- Una caja de cartón en buen estado
- Una cuchilla
- Regla
- Cinta adhesiva
- Pintura blanca y negra
- Silicón líquido
- Papel blanco o tela, que deje pasar luz
- Cartulina del color que prefieran para el fondo
Hello friends of this community🌷
Today I want to show you this super easy DIY that I made for you. As you all know photography sets are very expensive ranging from $100 or more, but that's no reason to get discouraged, today I bring you this photography set made with materials that you have at home and that works relatively the same to take good pictures of your products
The materials we will need are:
- A cardboard box in good condition
- A blade
- Ruler
- Adhesive tape
- Black and white paint
- Liquid silicone
- White paper or cloth that lets light through
- Cardboard in the color of your choice for the background
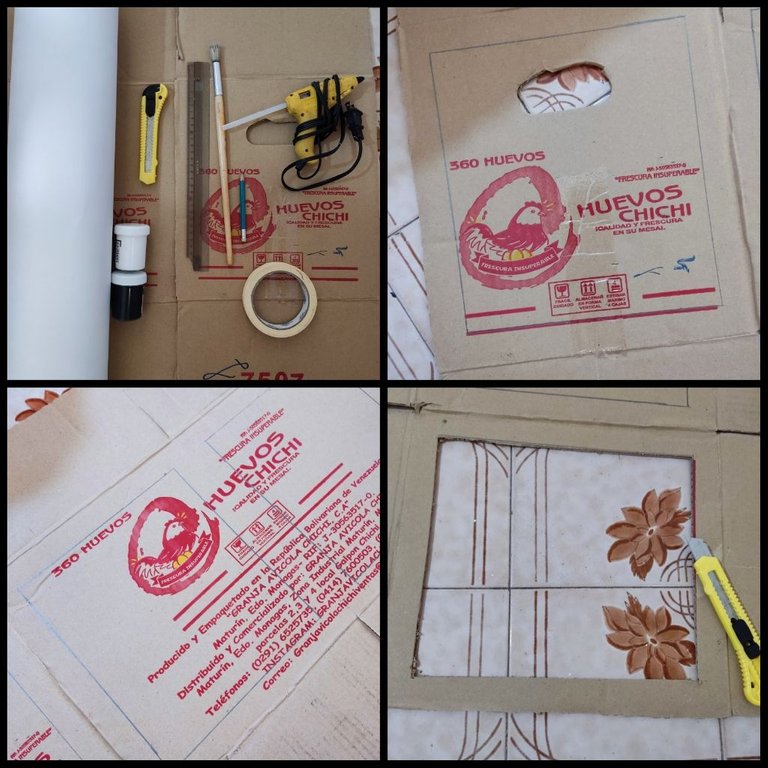
Lo primero que haremos es trazar un margen de 4cm de cada lado, en 3 capas de la caja (la superior, la derecha y la izquierda)
The first thing to do is to draw a margin of 4cm on each side, in 3 layers of the box (the top, the right and the left).
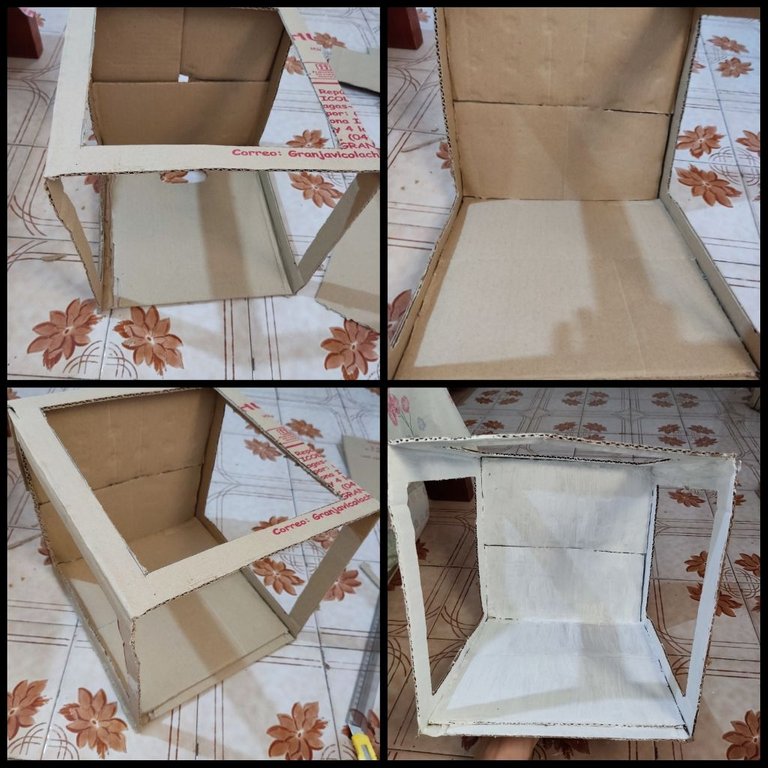
Luego, vamos a recortar con ayuda de la cuchilla los cuadrados que hicimos en las 3 caras de la caja y vamos a reforzar las paredes restantes como silicón y las solapas de cartón restantes.
Vamos a pintar la parte de adentro de color blanco para que refleje la luz.
Then, we are going to cut out the squares we made on the 3 sides of the box with the help of the knife and we are going to reinforce the remaining walls with silicone and the remaining cardboard flaps.
We will paint the inside white to reflect the light.
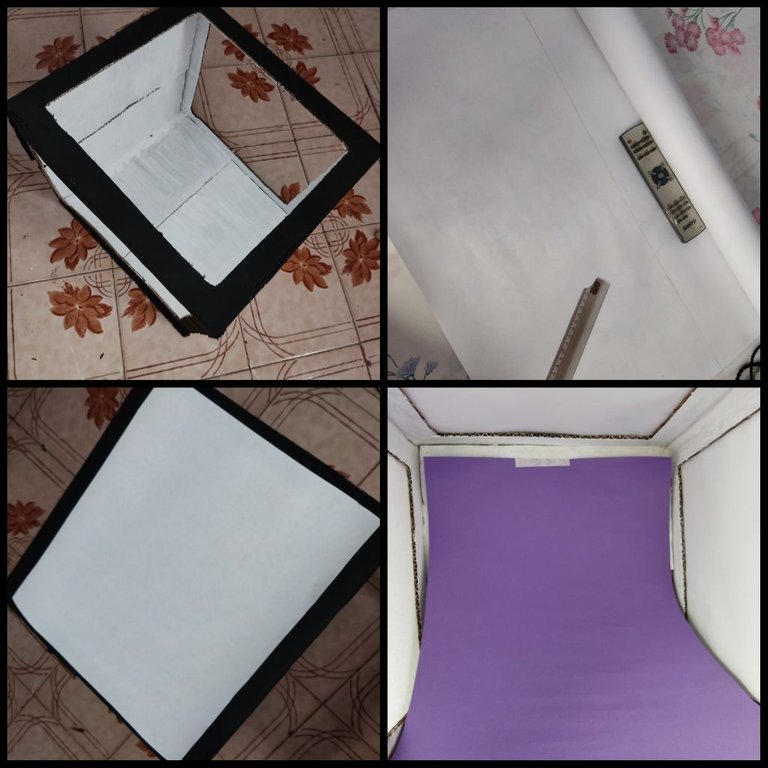
Finalmente, pintaremos de color negro la parte de afuera de la caja, y recortaremos 3 cuadrados de papel blanco del tamaño de los orificios y los pegaremos con silicón.
Con la cartulina, haremos el fondo, recortando el ancho y pegando al final de la caja con cinta adhesiva para cambiar el color del fondo si queremos, y dejamos una pequeña curvatura al final.
Finally, we will paint the outside of the box black, and cut out 3 squares of white paper the size of the holes and glue them with silicone.
With the cardboard, we will make the bottom, cutting the width and gluing at the end of the box with adhesive tape to change the color of the bottom if we want, and leave a small curvature at the end.

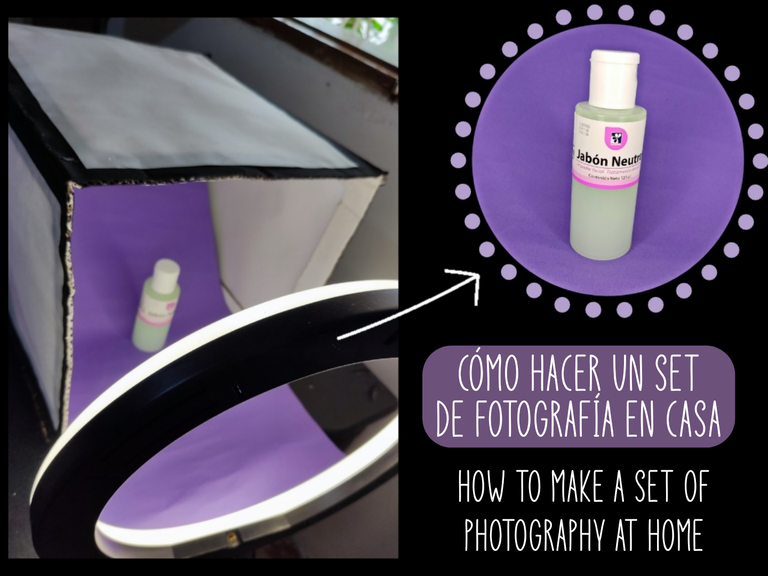
Este fue el resultado final, sólo deben usar una lámpara y estar en un lugar iluminado, o en su defecto un aro de luz, y colocar el producto a fotografiar.
This was the final result, they should only use a lamp and be in a lighted place, or failing that a ring of light, and place the product to be photographed.
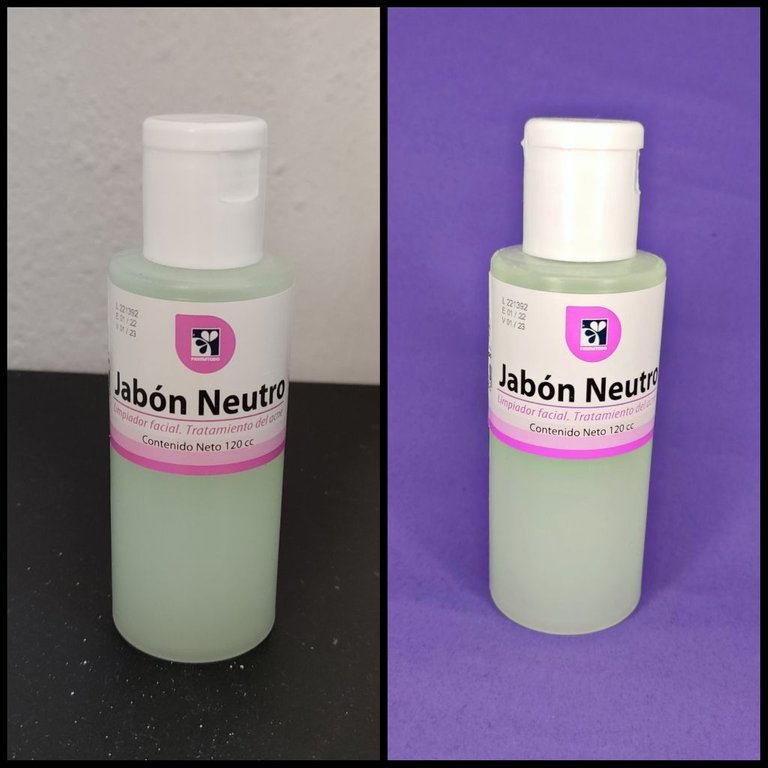
Este es el antes y después, sin caja de luz y con la caja de luz.
This is the before and after, without the light box and with the light box.

Todas las fotografías son de mi autoría
Ediciones elaboradas con PicsArt
Traducido por DeepL
All photographs are my own
Editions elaborated with PicsArt
Translated by DeepL