I have always wanted to be creative, and be good at it. I remember when I made things in elementary school I felt I didn't do as great as the other kids. I always compared myself. But it may be because I didn't had found my thing, my passion.
I'm not that patient. But when I upgrade my heels with rhinestones, I enjoy it so much and the results are so clear that I got all the patient in the world.
Let's start with the bling
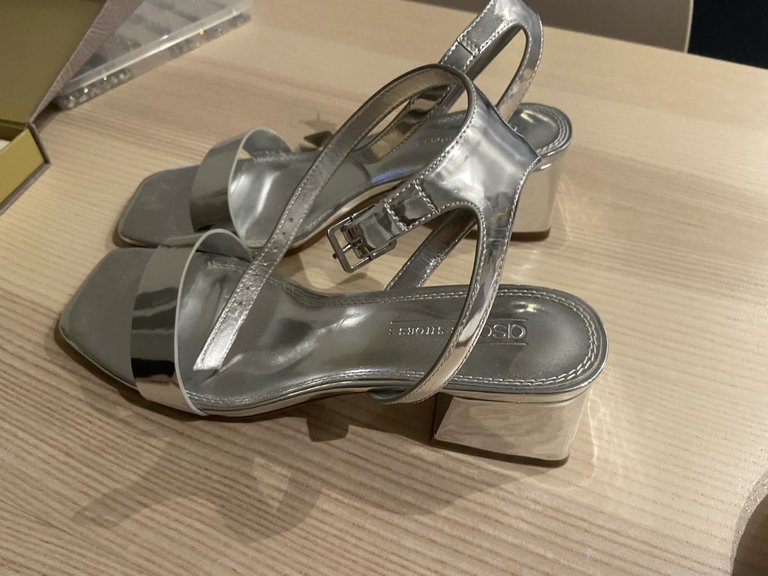
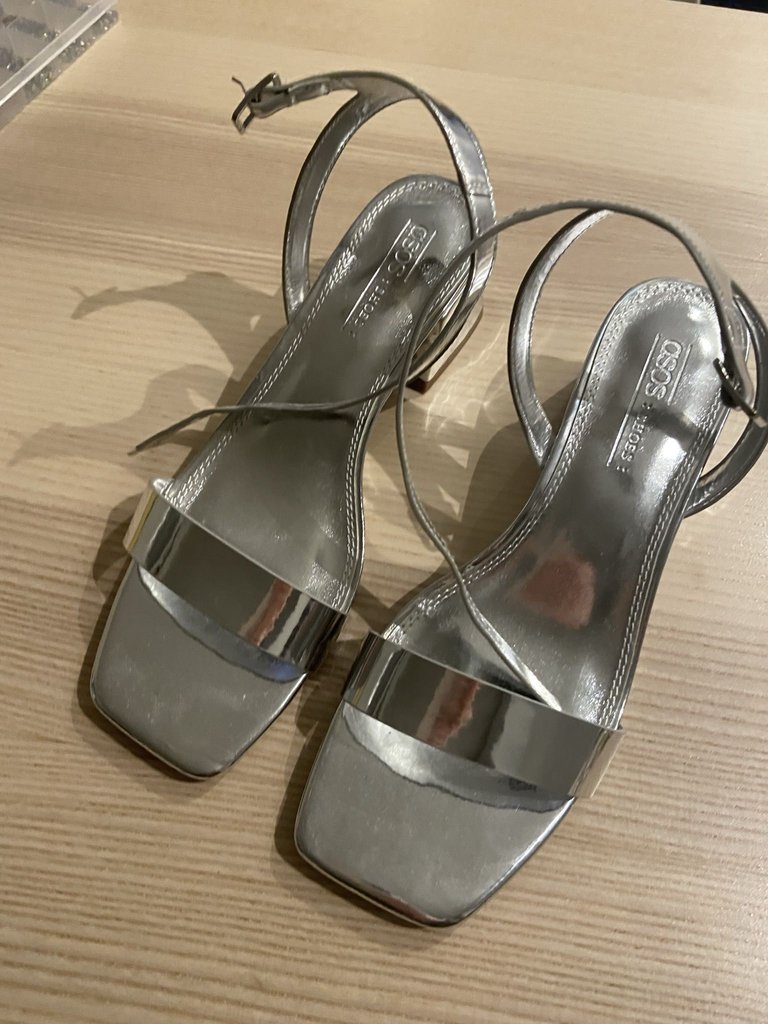
I bought these heels on asos.com, maybe 6 years ago, and haven't used them at all. I tried to sell them too without any good results. But I always wanted a really blingy heels, so why not make them myself?
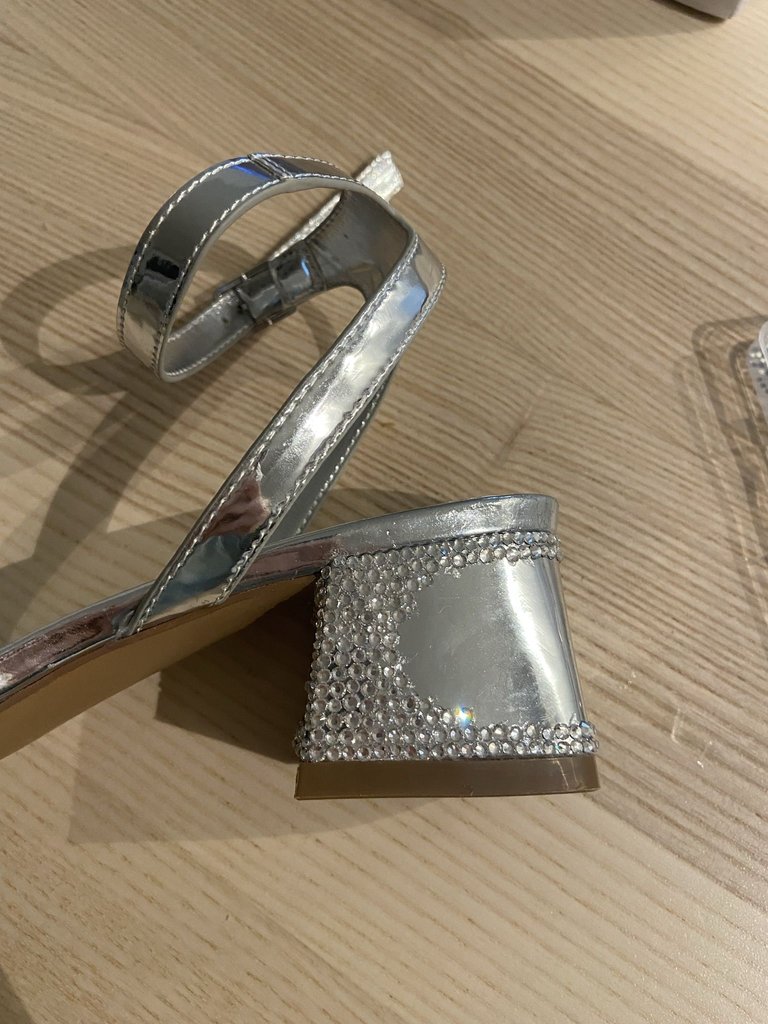
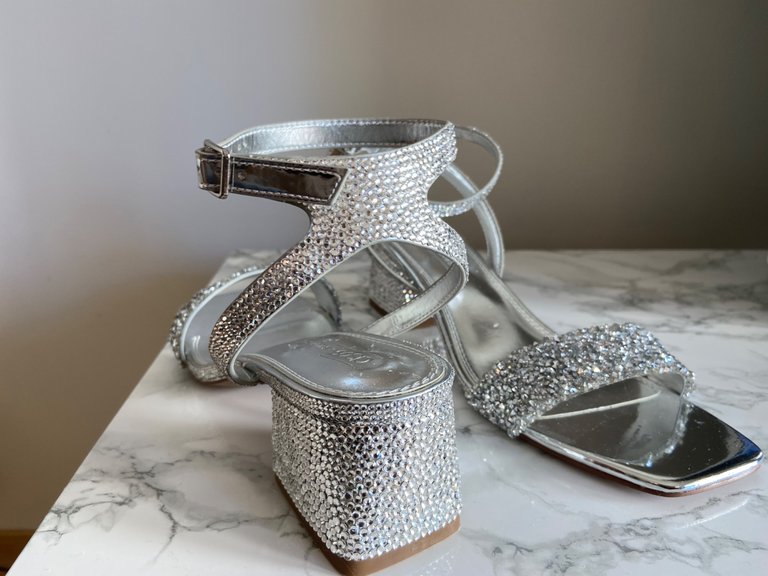
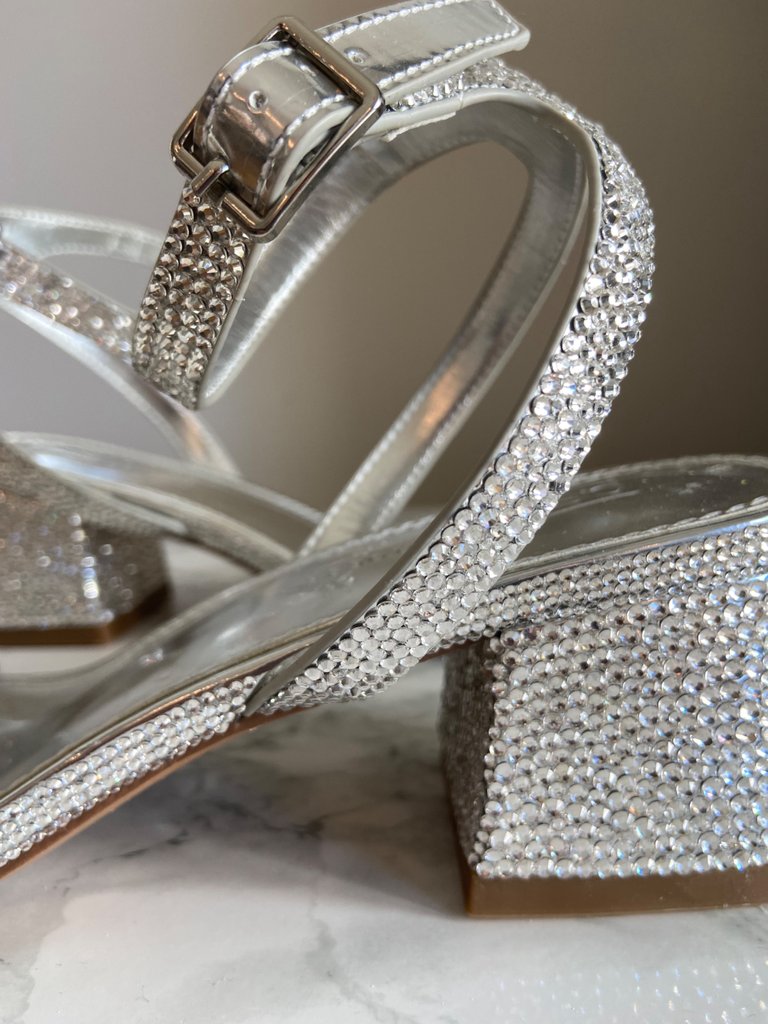
I always start with rhinestones around the block heel before I start to fill inn the heel. I used 2,8mm rhinestones and mostly 3mm all over the block heel.
I order my rhinestones from a really nice seller on ebay.com. Drop a holla in the comments if you want to know who. I'll give you a link to the rhinestones too. They come in a 6 pack with rhinestones in sizes 1,6 mm, 1,8 mm, 2 mm, 2,4 mm, 28 mm and 3 mm. I use them all, because I need to fill in all the spots.
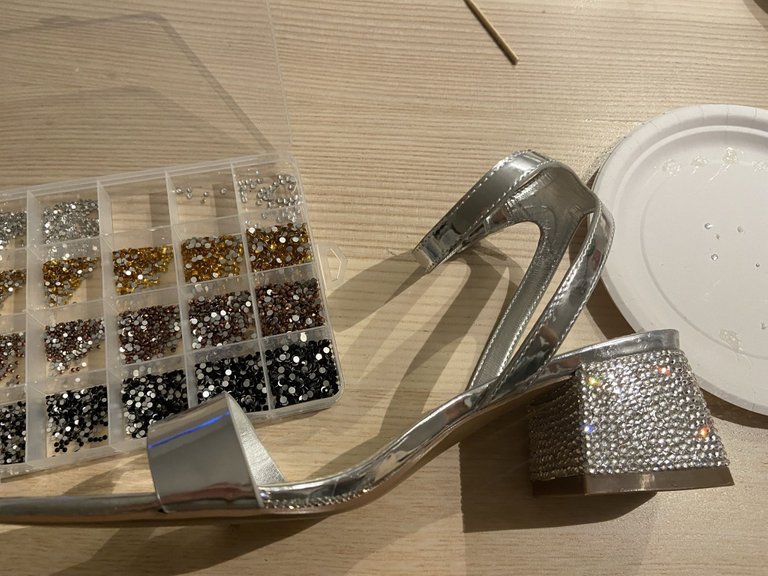
The next picture is right after I start with the rhinestones around the sides.
I used 1,8 mm and 2 mm on the sides of the shoes and a mix between 2,4 and 2,8 on the straps. You need to see for yourself what fits the best, if you want to try it out yourself.
I glue the rhinestones with a fabric glue. I see a lot of people in the US use E600. I used a glue from my local hobby shop. Just remember to use a glue that is ment for these kinds of projects and it have to handle water.
There is different ways to glue on the rhinestones.
I put a little bit of glue on a cardboard plate and dip a stick in the glue, and place the rhinestone on top of the glue. I press it on the shoe with the glue first. You don't need much glue for it to stick, and the glue shouldn't slip out on the side of the rhinestone. The glue dries really fast, so don't use much on the cardboard plate.
I think I spent 24 hours per shoe. It is definitely a project that takes time, and it's not for everybody. But it was so much fun to see the result and see how good they turned out.
But here are the result
What do you think?
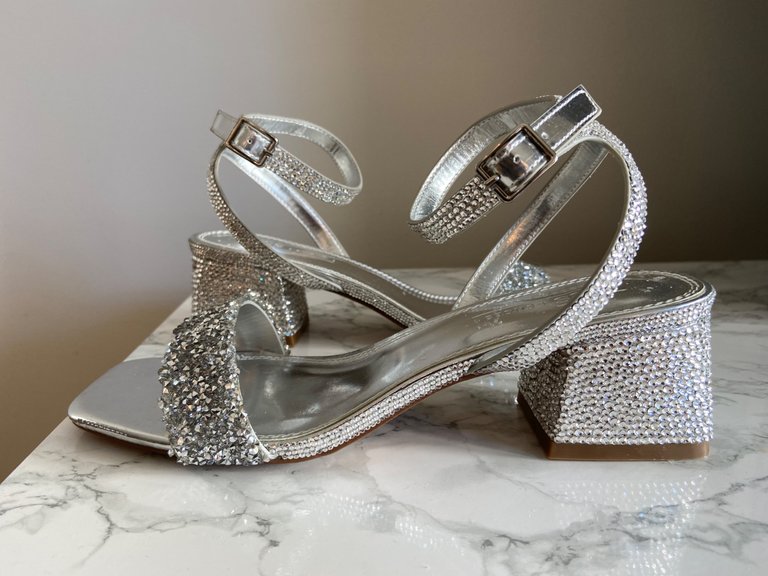
I really love these, and I can't wait to wear them. I'm so happy that the shoes looks more pro than I expected. The rhinestones haven't fallen off even tho I have tried.
I have created an another pair of heels with a little bit of fluff, and I filmed the project. Stay tuned for an another heeled project!