Hello Hive Diy friends...
☺☺☺
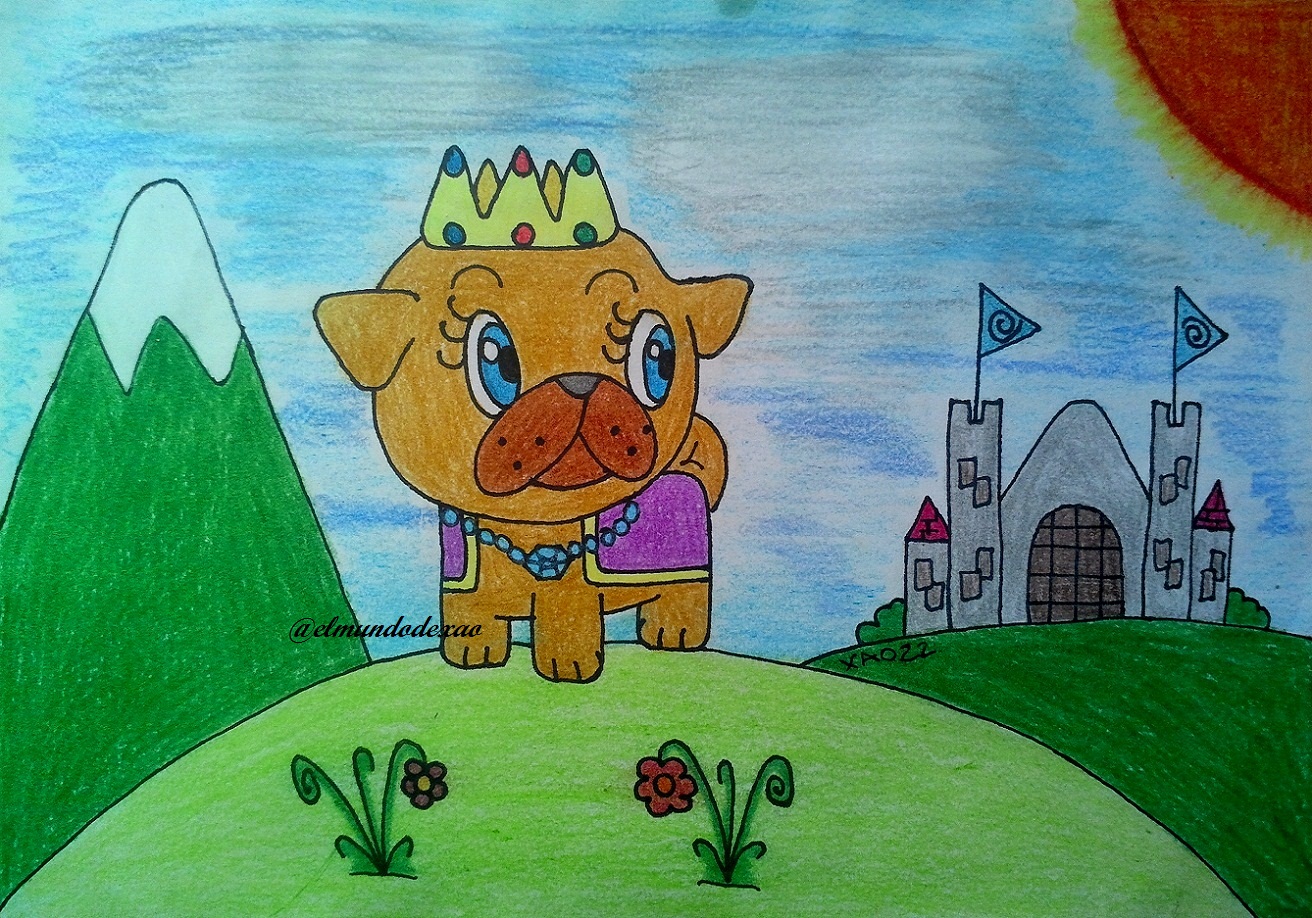
Welcome to my blog once again dear friends, I hope you have a happy start of the week. The kawaii art that I want to show you today is called The Canine Emperor.
Here are the materials used: 52 g white bond paper, 0.5 mechanical pencil, 0.5 marker, eraser and colors (Variety of brands and colors).
Before continuing I remind you that at the end I will leave you the link I used on this occasion.
Let's start with the step by step drawing:
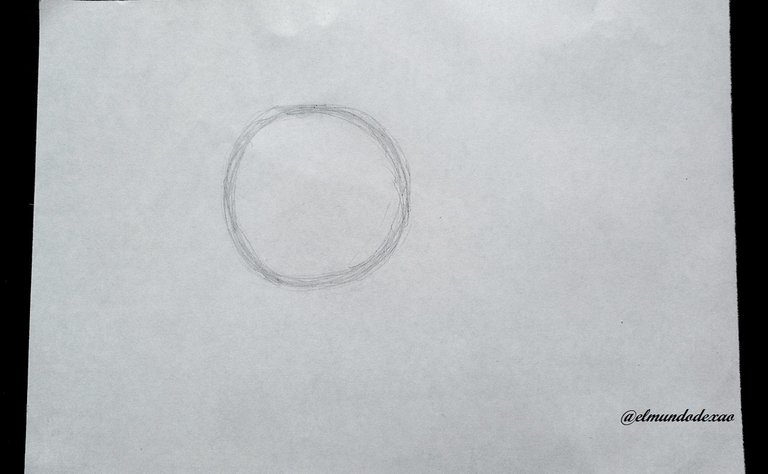
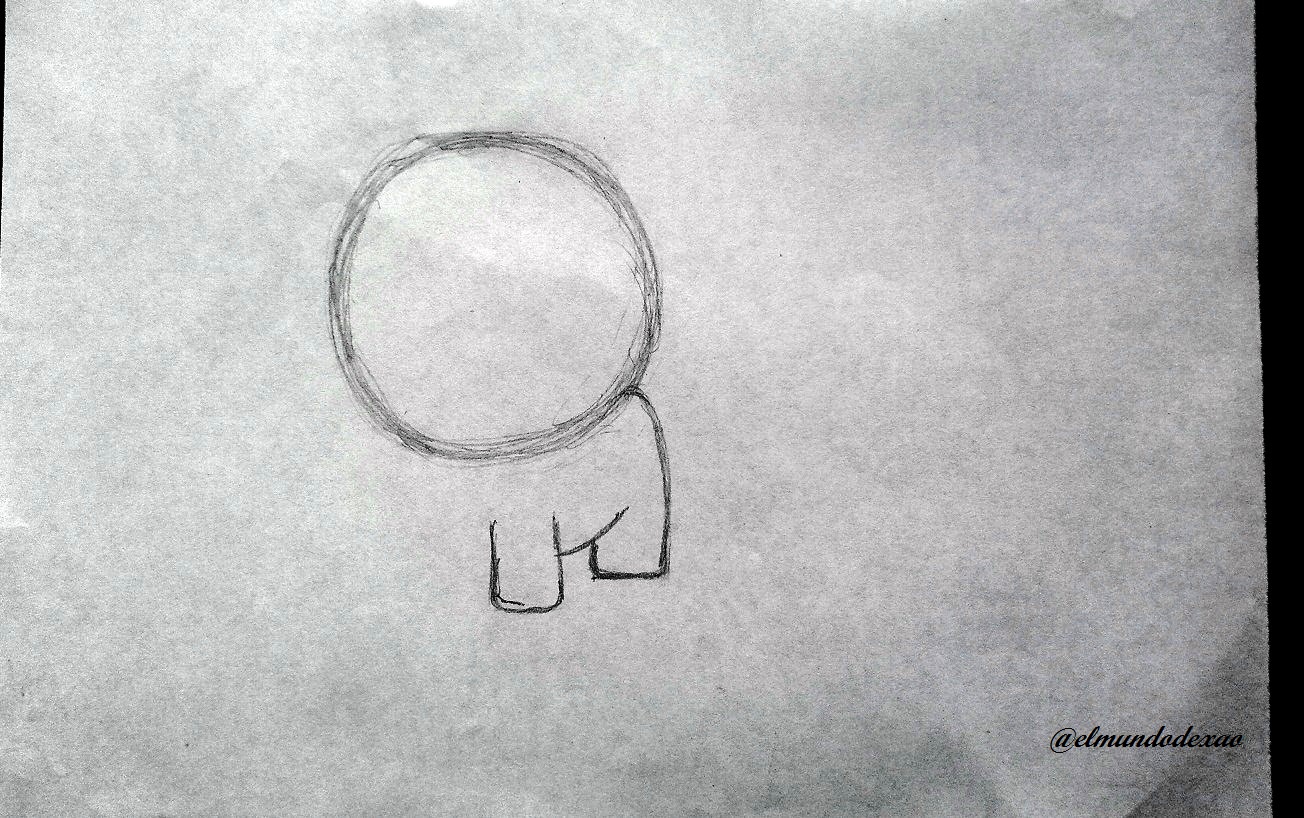
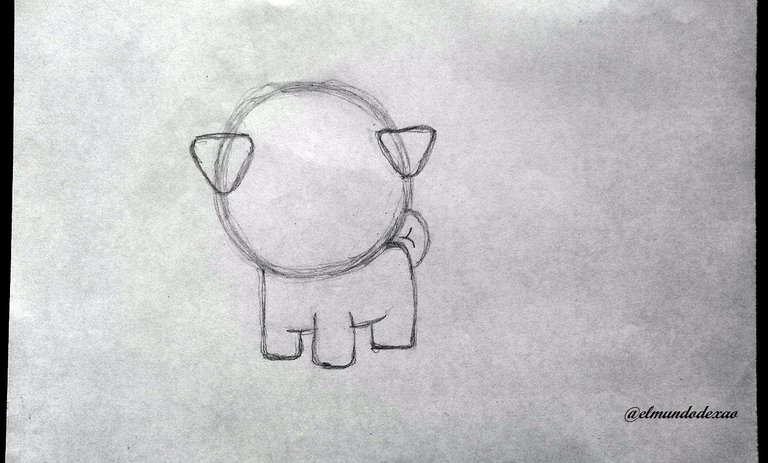
Step # 01: We start with the head, here we can make a circle or also a square with rounded tips as I have done in other occasions; then I proceed to draw the body and legs, giving it a size according to the head.
 Step # 02: I proceed with the details of the head starting with the ears which I define by making two inverted triangles and in this way it is easier to locate the eyes and the muzzle.
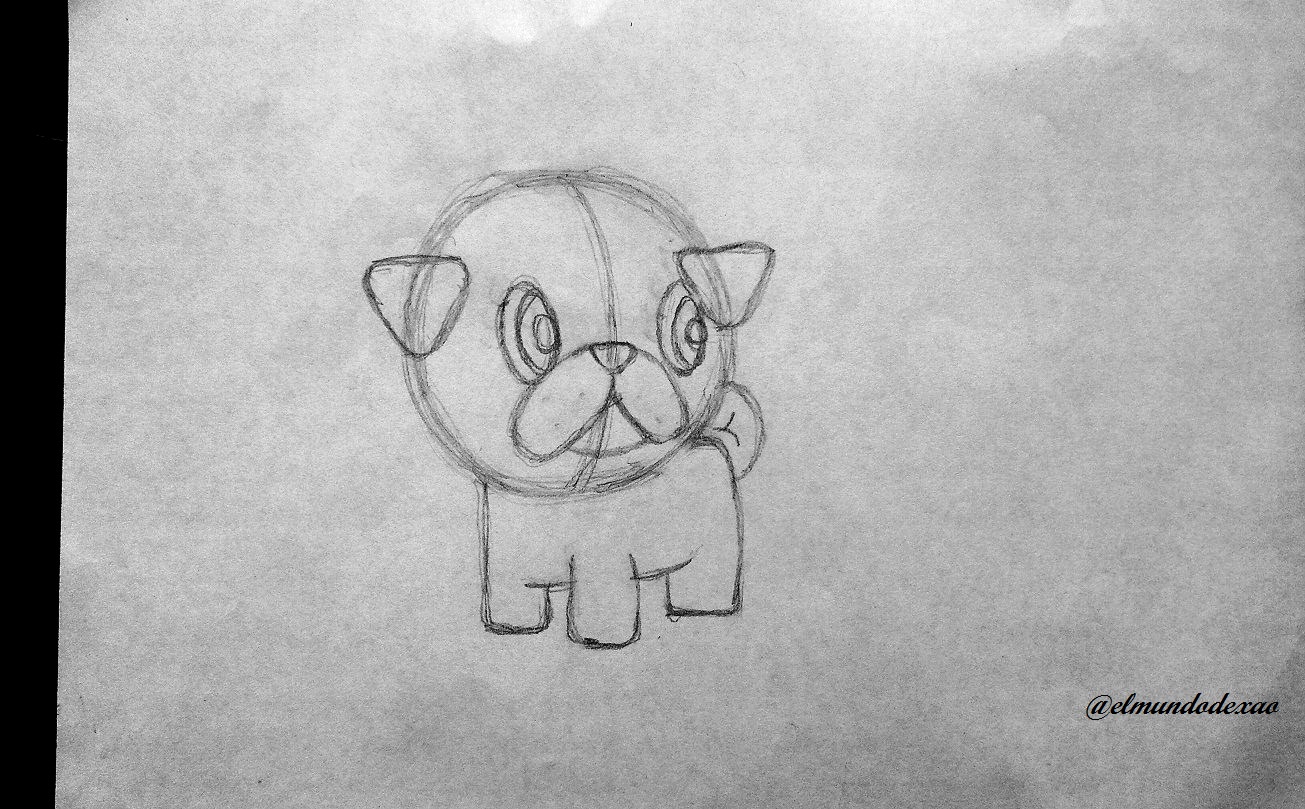 Step # 03: Now I will make the embellishing details such as the necklace, blanket and crown.
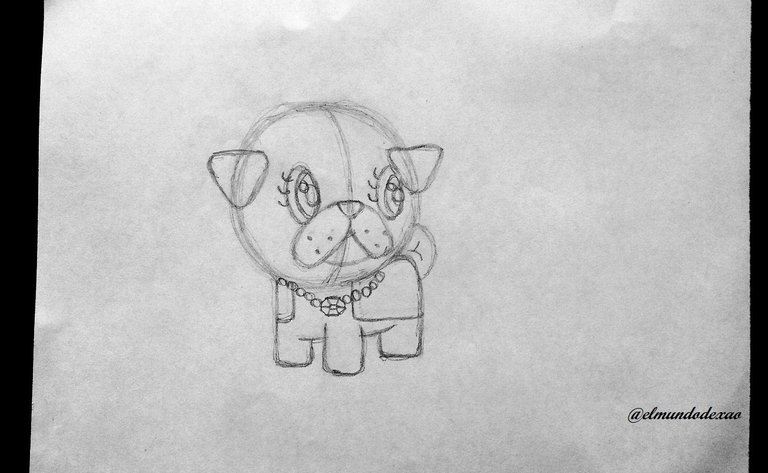
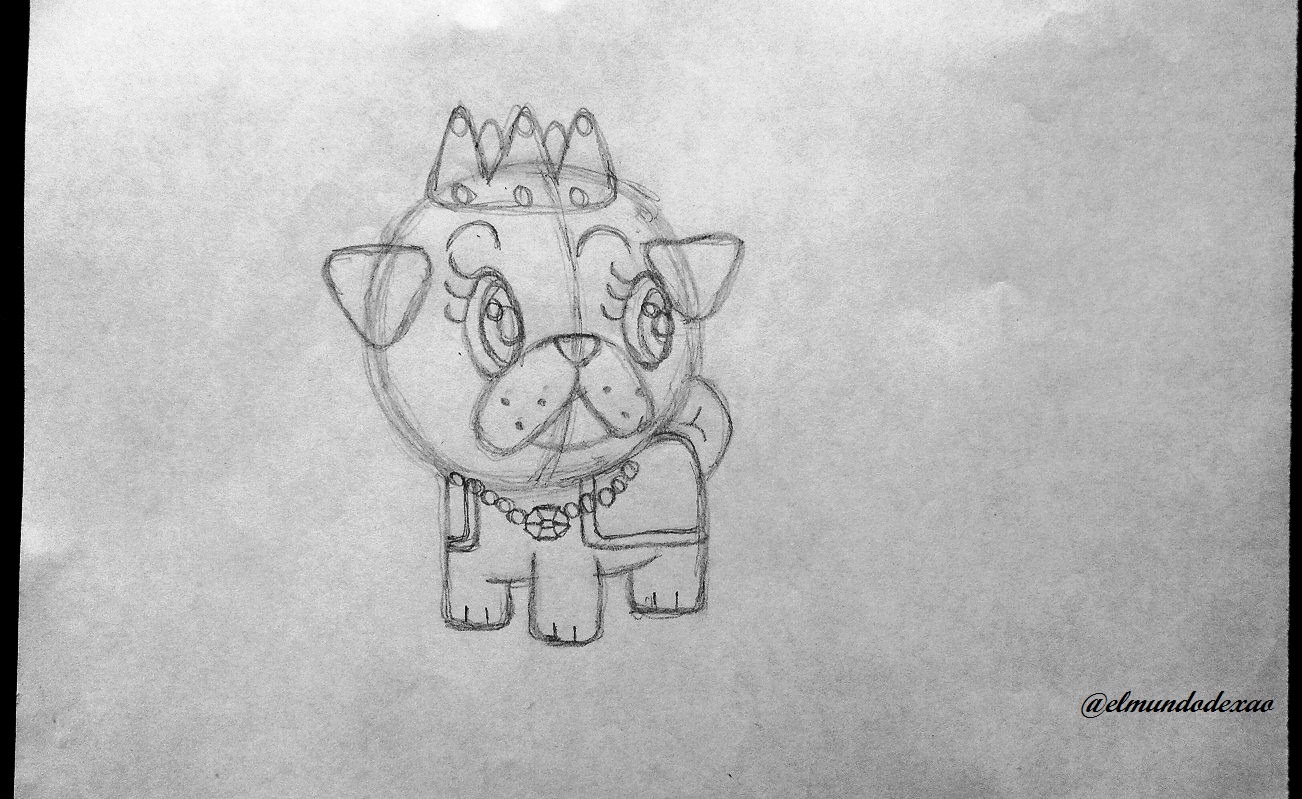 Step # 04: Once the drawing is finished I proceed to ink it and then erase the graphite, thus achieving a better finish.
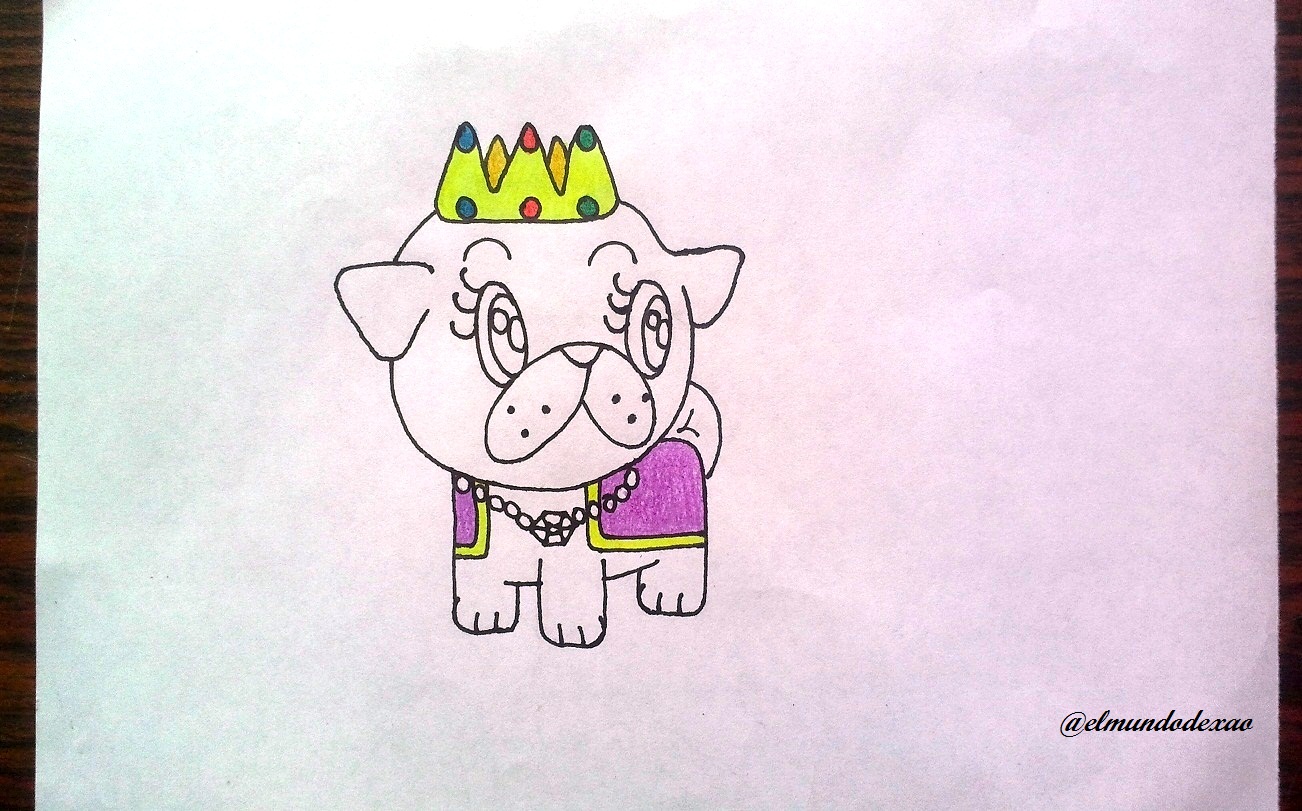
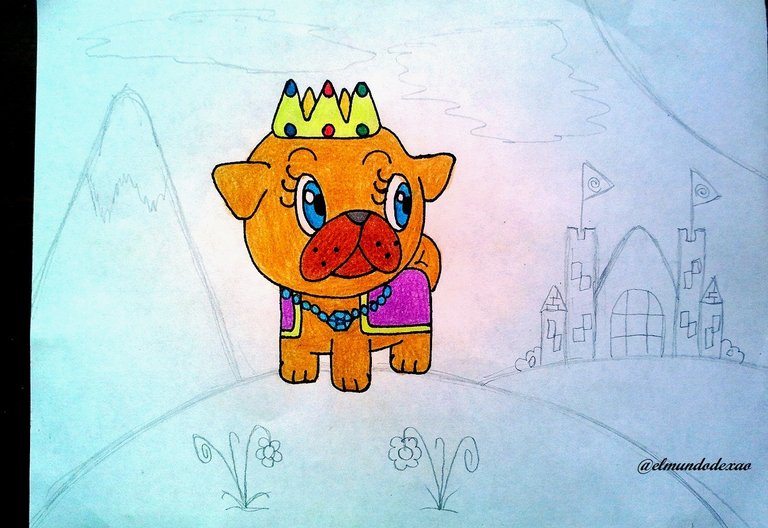
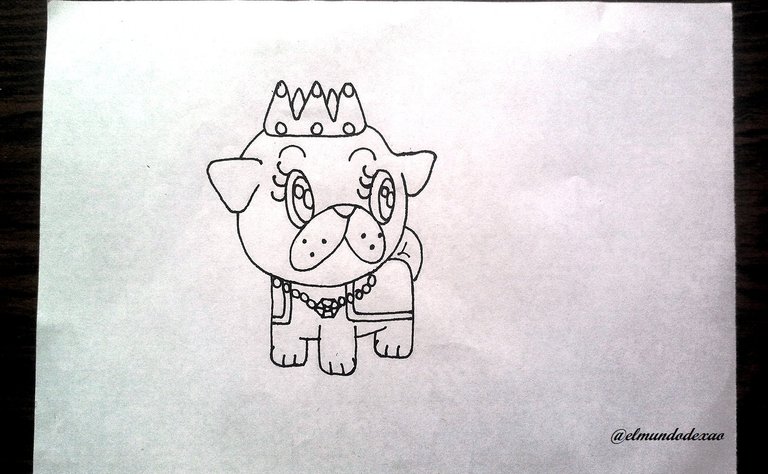 Step # 05: I start coloring the bush and the crown using a color that I consider excellent for this case, such as purple and yellow. I also wanted to use a blue color for the eyes and the necklace, adding a little white to the necklace to give it a soft glow.
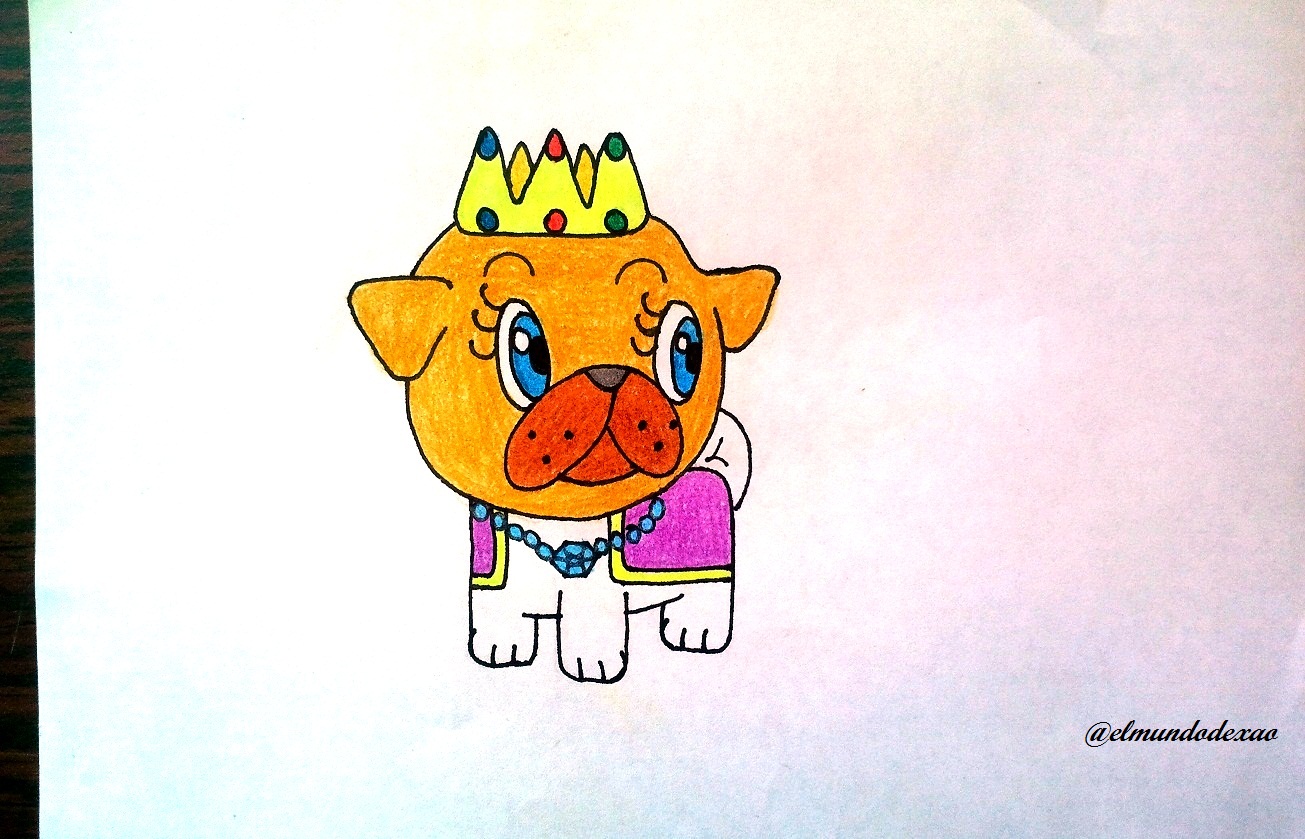
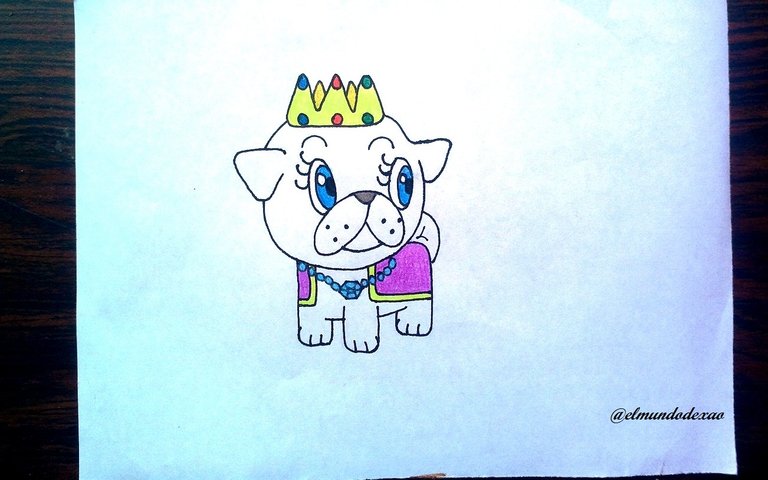 Step # 06: Now I color the head and the muzzle, then the body. I do this using a light brown; once finished I define the environment, consider that the best thing to do is to make a castle in the distance so that it is perceived that our friend is strolling around enjoying a beautiful day.
 Step # 07: I paint the environment and begin to color it by choosing a dark green for the hills and mountains and a light green for the hill where our protagonist is standing; for the castle that our friend does not lose sight of I chose a light gray for the walls and brown for the door, while some roofs that are in sight I put red. And this is the end of this installment, I say goodbye until a new opportunity wishing you all a happy afternoon.
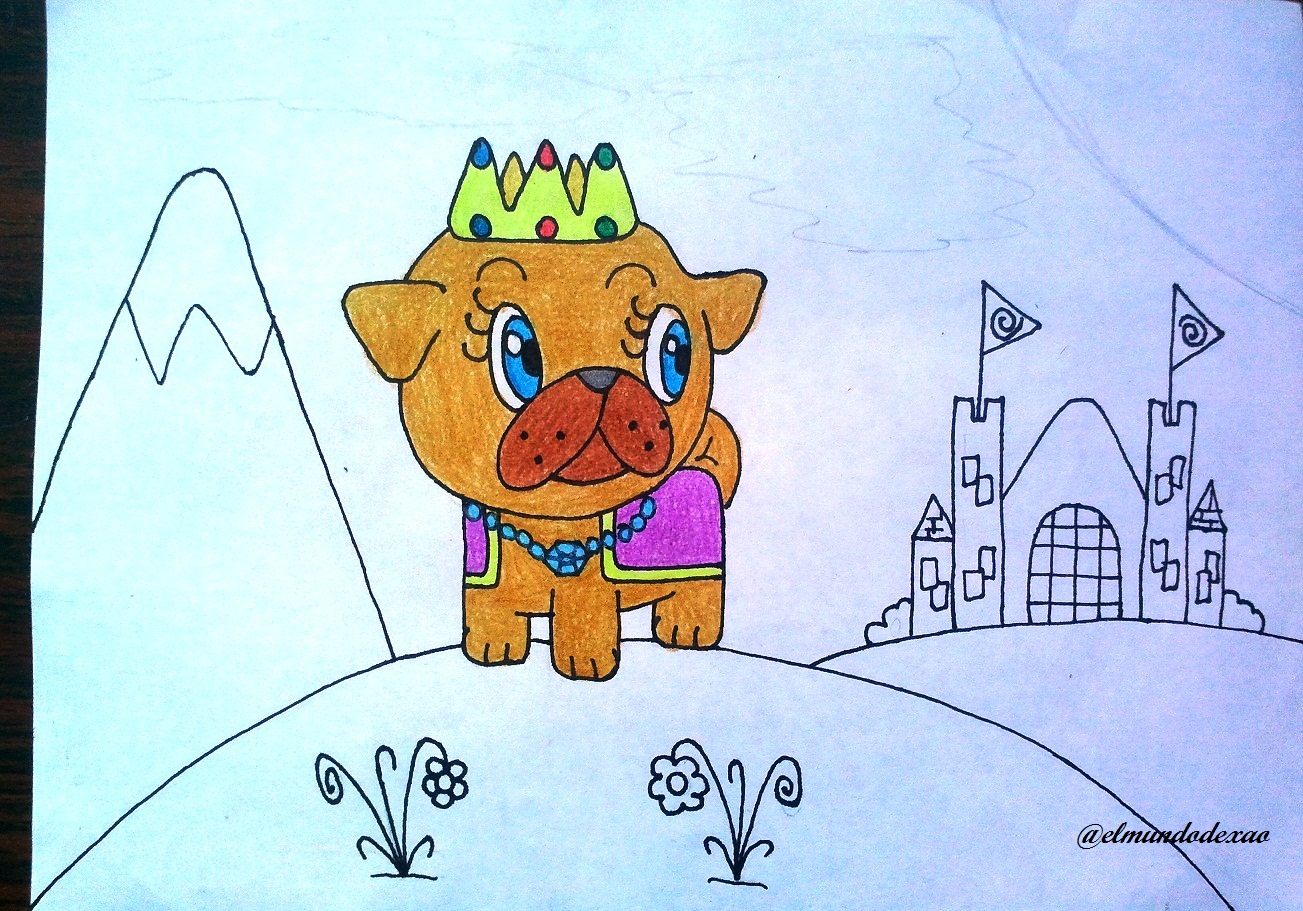
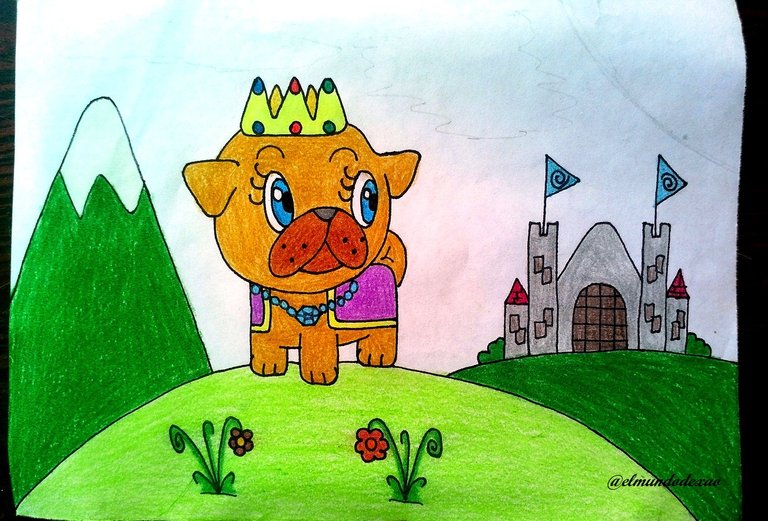

Photo Source: Own photos captured with a Síragon camera.
Modified size: With the Paint Program.
Thanks for visiting my Blog… AH! Don't forget to vote, reblogear, and comment.
Translated with:

www.DeepL.com/Translator (free version)

Hola amigos de Hive Diy…
☺☺☺
Bienvenidos a mi blog una vez más queridos amigos, Espero tengan un feliz inicio de semana. El arte kawaii que hoy les quiero mostrar lo he llamado El Emperador Canino.
A continuación menciono los materiales utilizados: Papel bond blanco de 52 g, portaminas 0.5, rotulador de 0.5, borrador y colores (Variedad de marcas y colores).
Antes de continuar les recuerdo que al final les dejare el enlace que use en esta ocasión.

Comencemos con el paso a paso del dibujo:
Paso # 01: Comenzamos por la cabeza, aquí podemos hacer un círculo o también un cuadrado con las puntas redondeadas como lo he hecho en otras ocasiones; luego procedo a dibujar el cuerpo y las patas, dándole un tamaño acorde con la cabeza.

 Paso # 02: Procedo con los detalles de la cabeza comenzando por las orejas las cuales las defino haciendo dos triángulos invertidos y de esta forma resulta más fácil ubicar los ojos y el hocico.

 Paso # 03: Ahora haré los detalles que lo adornan como el collar, manta y corona.

 Paso # 04: Una vez terminado el dibujo procedo a entintarlo y luego borro el grafito logrando así un mejor acabado.
 Paso # 05: Comienzo a colorear por la mata y la corona utilizando un color que considere excelente para este caso, como lo es el morado y el amarillo. Además quise usar un color azul para los ojos y el collar, agregando también un poco de blanco al collar para darle un brillo suave.

 Paso # 06: Ahora coloreo la cabeza y el hocico, luego el cuerpo. Esto lo hago utilizando un marrón claro; una vez terminado defino el entorno, considere que lo mejor es hacer un castillo a lo lejos para que se perciba que nuestro amigo anda dando un paseo por los alrededores disfrutando de un hermoso día.

 Paso # 07: Entinto el entorno y comienzo a darle color escogiendo un verde de una tonalidad oscura para las colinas y montañas más lejanas y un verde claro para la colina donde está parado nuestro protagonista; para el castillo que nuestro amigo no pierde de vista escogí un gris claro para las paredes y marrón para la puerta, mientras que algunos tejados que están a la vista les coloque rojo. Y de esta manera doy por terminada esta entrega, me despido hasta una nueva oportunidad deseándoles a todos una feliz tarde.


Fuente de Fotos: Propias capturadas con una cámara Síragon.
Modificado el tamaño: Con el Programa Paint.
Gracias por visitar mi Blog… ¡AH! No se olvide de votar, rebloguear y comentar.


