Hello Hive Diy friends...
☺☺☺
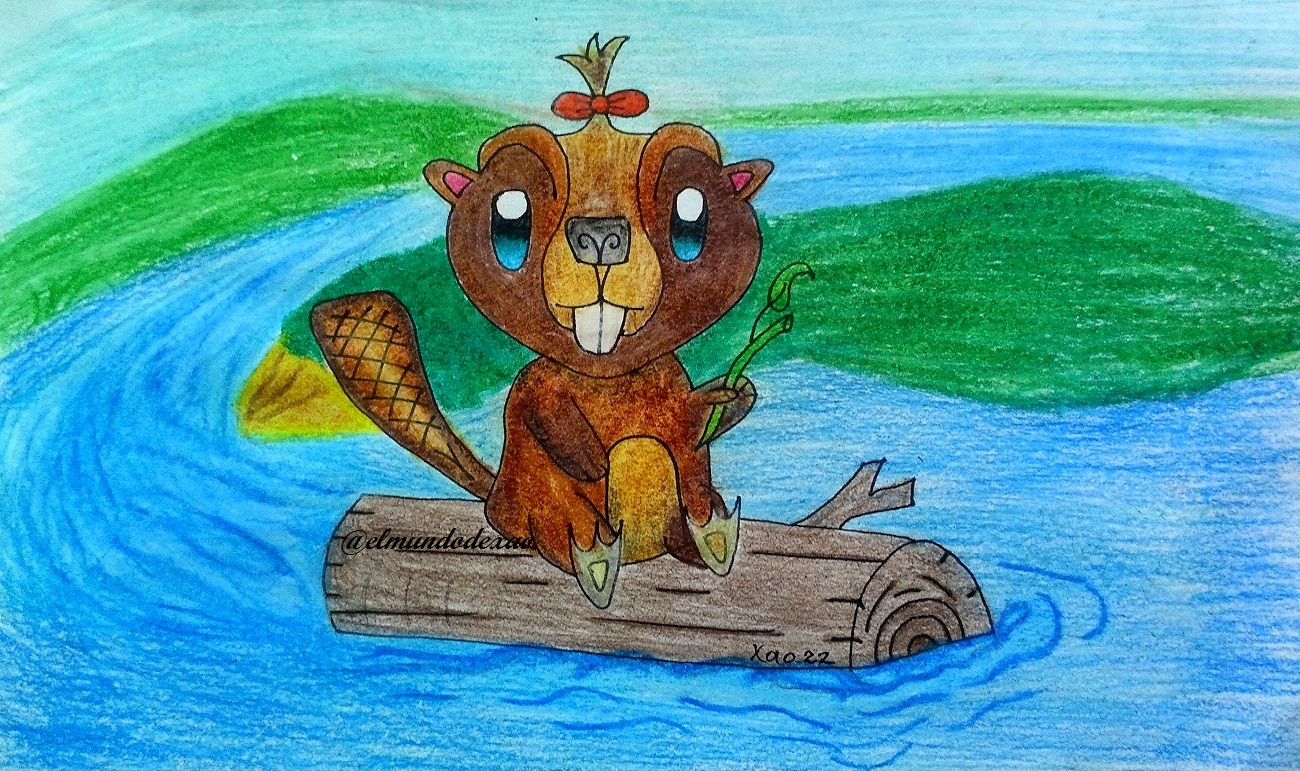
Welcome to my blog once again, I hope you are having a great weekend. Today I will show you the most recent kawaii art I have finished, The Beaver in the river.
Here are the materials I used: 52 g white bond paper, 0.5 mechanical pencil, 0.5 marker, eraser and colors (Variety of brands and colors).
Before I continue I want to tell you that many of my learning I develop through videos that we search on YouTube, so at the end I will leave you the link I used on this occasion.
Let's start with the step by step drawing:
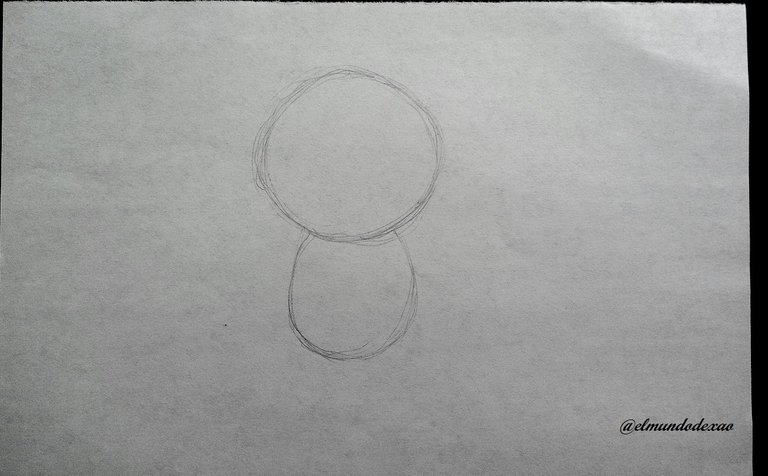
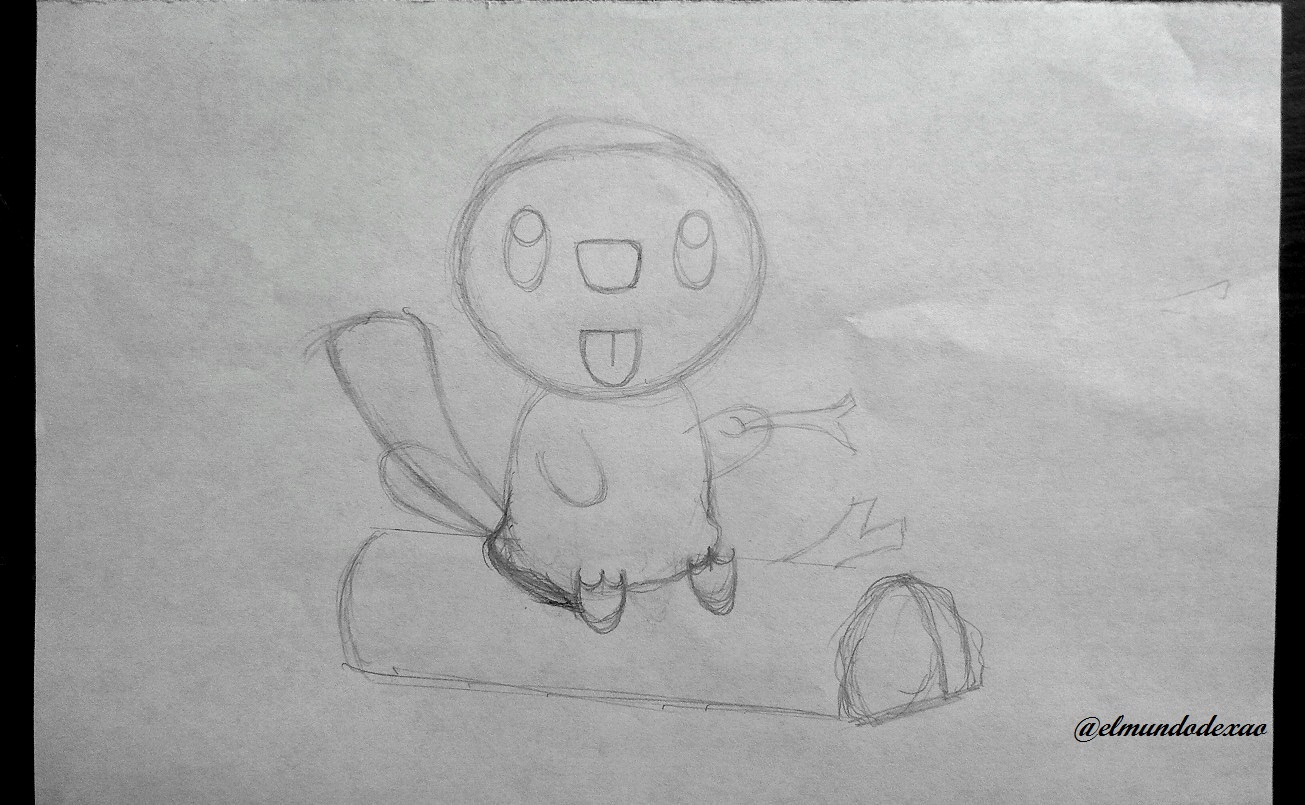
Step # 01: I start by making a circle to define the head and an oval for the body; with these two figures I must define the size I want the drawing to occupy on the page.
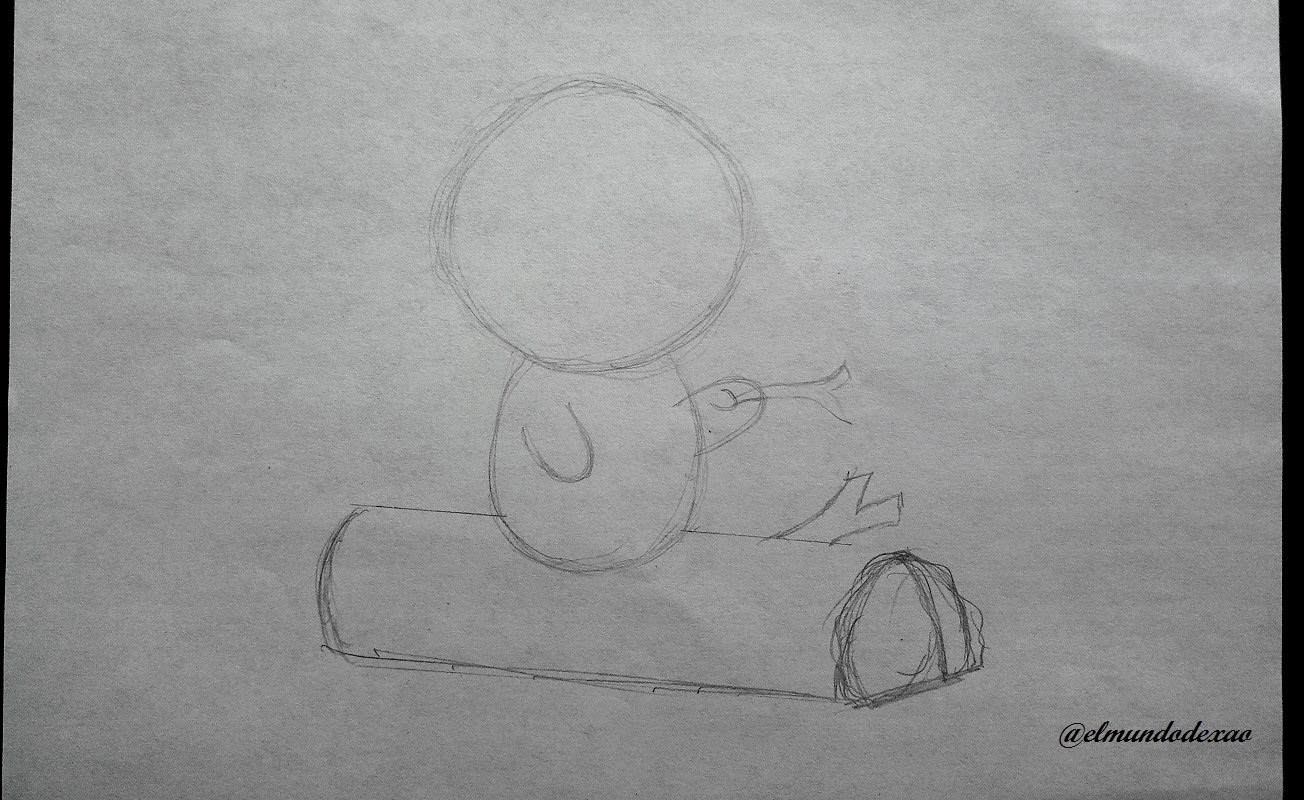
 Step # 02: I place the trunk where I want it to be seated, first I made it straight, that is to say horizontal, but it looked very simple or rather it looked 2-D, there was no depth in the drawing so I chose to place it a little more diagonal.
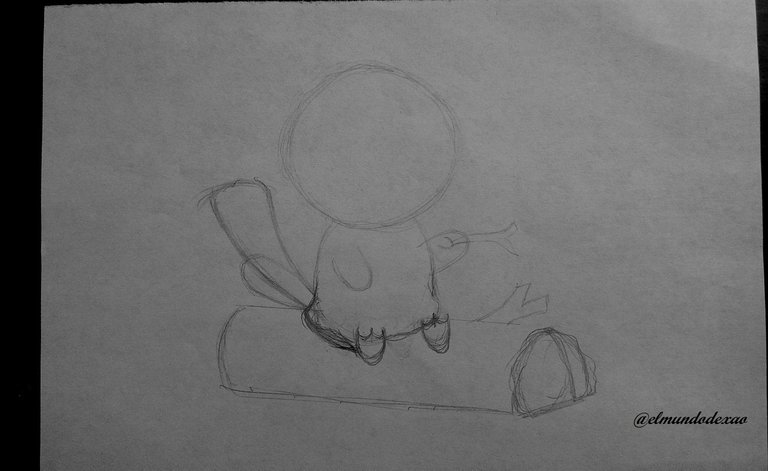
 Step # 03: Now I define the position of the legs and the tail and I take the opportunity to make the tail, as you can see after doing this I was not convinced with the way the tail was so I asked for some opinions and the result was to make the tail longer and wider at the end and this way it was better; I like the result.
 Step # 04: Define the details of the face will be the next step. Eyes, nose and teeth should have the right position in relation to the drawing, only the teeth don't convince me, it looks like I'm sticking out my tongue, I'll have to find a way to improve that.
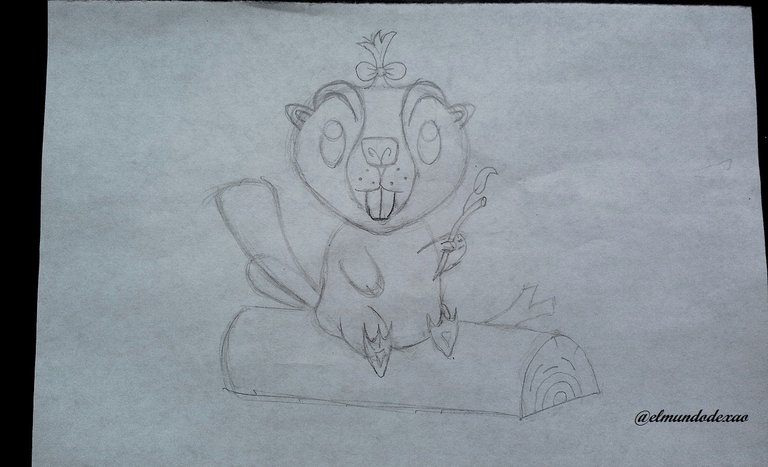
 Step # 05: Finish the details of the face; by defining the muzzle I make the teeth look better and I define the eyebrows that will have a different tone, I also place a bow so that it is understood that it is a strand and I add the ears. I think that's all, the drawing is ready, if any detail is missing I will add it at the right time.
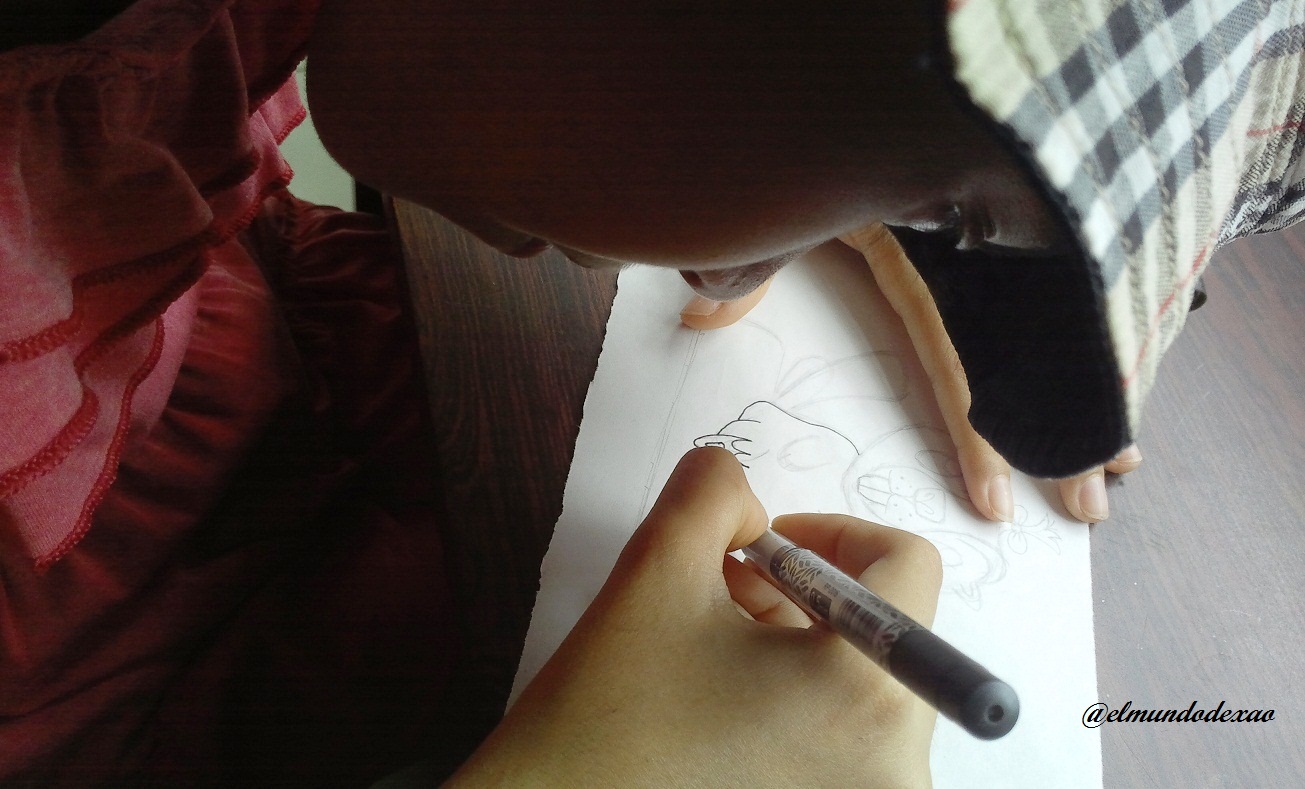
 Step # 06: Now I proceed to ink the drawing using the marker that I mentioned at the beginning, it has a 0.5 mm tip and has a very soft stroke.
 Step # 07: Once the drawing is inked I use the eraser to remove all the graphite and clean the sheet; there is a detail that we must take into account in this step and it is to clean well both the sheet and the place where we are going to place it because if there are remains of the eraser under the sheet these will be marked on the sheet when we pass the color making a darker shade just in that place.
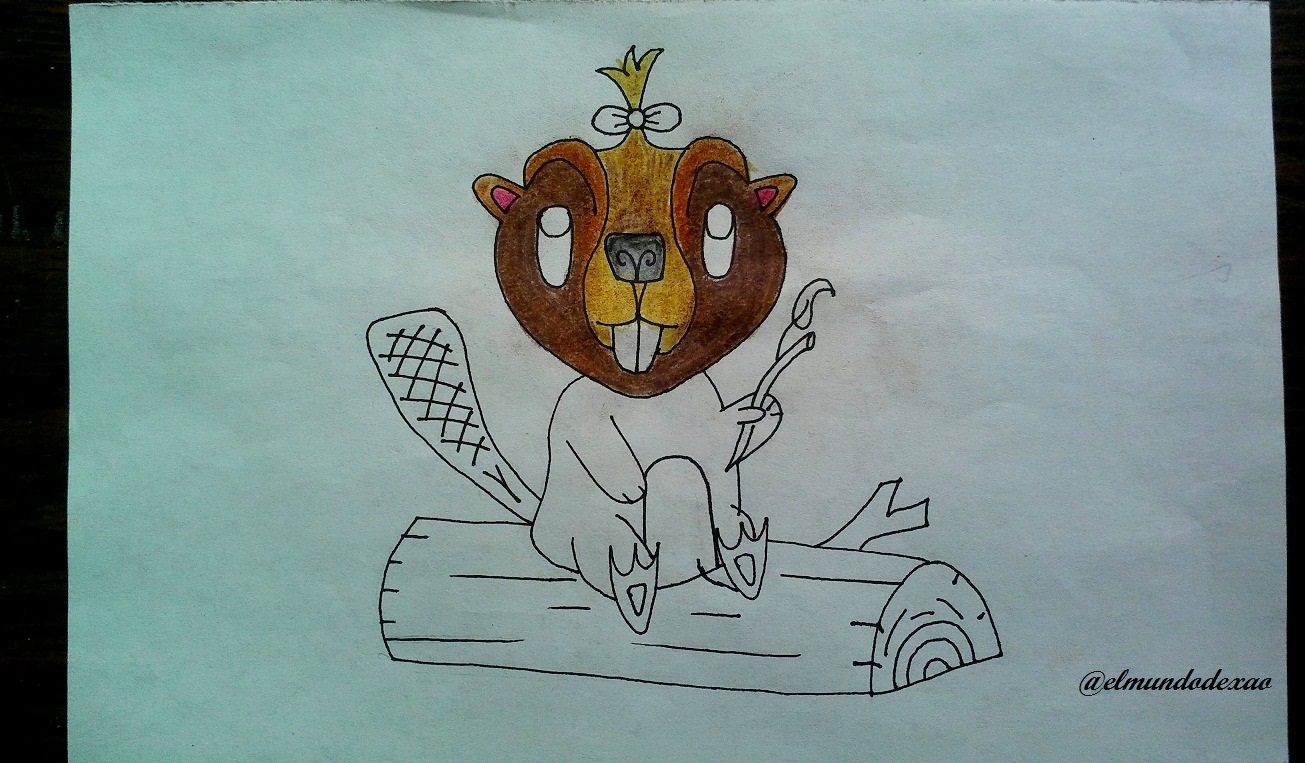
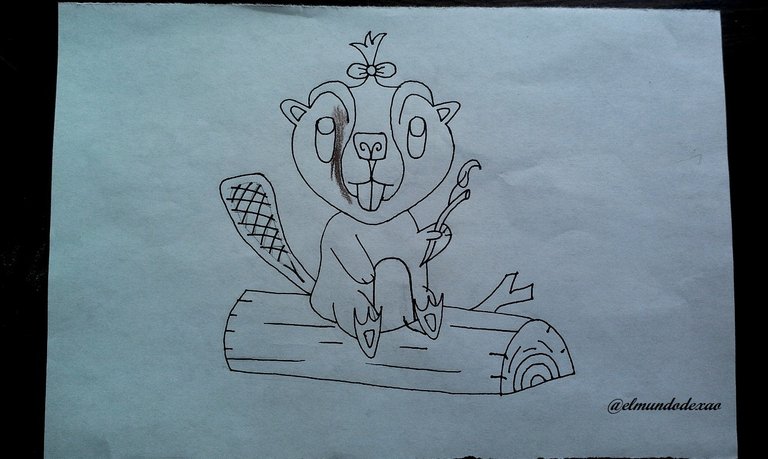 Step # 08: I begin to color the head in which I use three colors, for the sides, that is to say most of the head I use a dark brown for the eyebrows a little lighter brown and in the center a light ocher color and on this I add a little of the brown that I used in the eyebrows to blur some parts of this stripe that is in the center of the head.
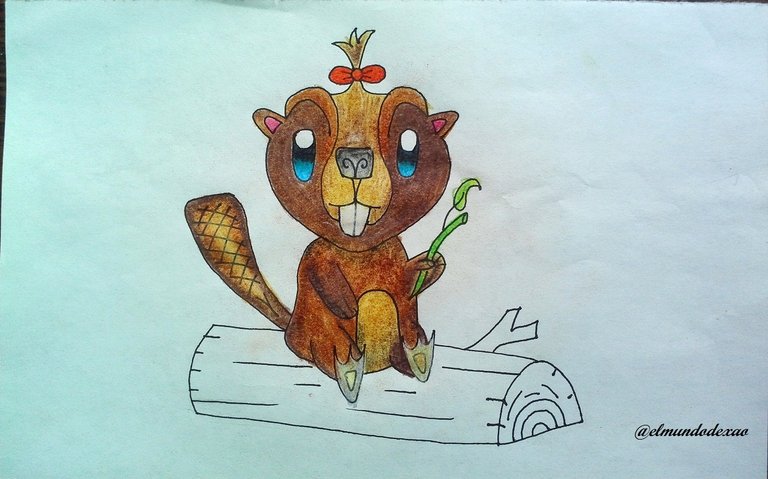
 Step # 09: I finish the head using a blue and a black color for the eyes and for the bow I use a red color. On the body I again use the light ochre color for the belly and for the rest of the body I use the browns simultaneously to define the dark and light parts. In the tail I use again the three colors organized from the inside out starting with the lightest in the center to the darkest at the edges, finally I pass very softly the black color in the parts that I need to darken.
 Step # 10: To finish I define the environment but first I color the trunk where our little beaver goes for a walk along the river and for the environment I draw the river and some green parts and this way this drawing is ready. I hope you like it and finish having a happy Saturday, I say goodbye until a new opportunity.
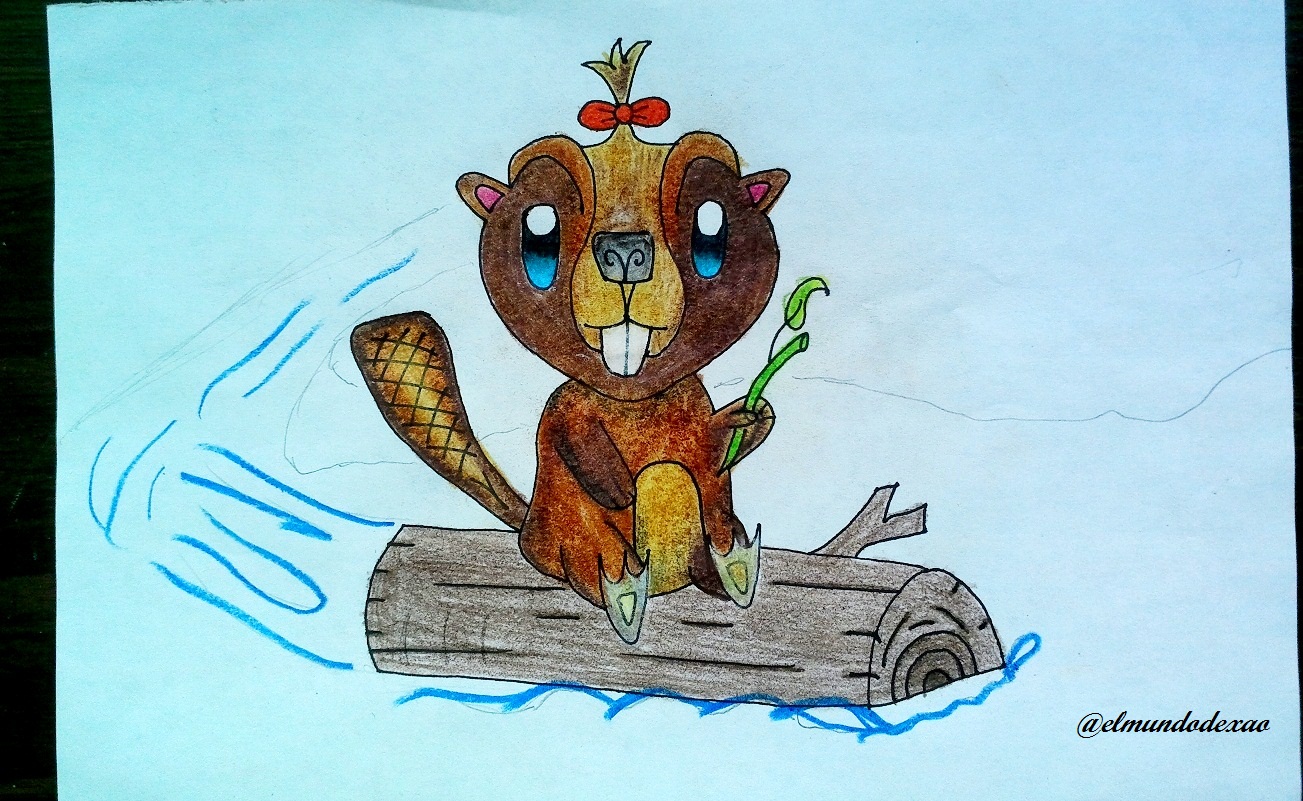
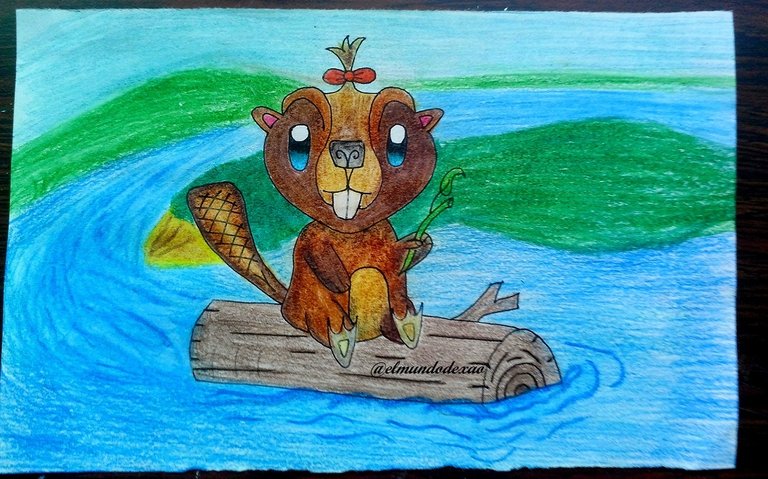

Photo Source: Own photos captured with a Síragon camera.
Modified size: With the Paint Program.
Thanks for visiting my Blog… AH! Don't forget to vote, reblogear, and comment.
Translated with:

www.DeepL.com/Translator (free version)

Arte Kawaii “El Castor en el río”.
Hola amigos de Hive Diy…
☺☺☺
Bienvenidos a mi blog una vez más, Espero la estén pasando un bello fin de semana. Hoy les mostrare el más reciente arte kawaii que he terminado, El Castor en el río.
A continuación menciono los materiales utilizados: Papel bond blanco de 52 g, portaminas 0.5, rotulador de 0.5, borrador y colores (Variedad de marcas y colores).
Antes de continuar les quiero comentar que muchos de mis aprendizajes los desarrollo mediante vídeos que buscamos en YouTube por lo que al final les dejare el enlace que use en esta ocasión.

Comencemos con el paso a paso del dibujo:
Paso # 01: Inicio haciendo un circulo para definir la cabeza y un ovalo para el cuerpo, con estas dos figura debo definir el tamaño que quiero que ocupe el dibujo en la página.
 Paso # 02: Ubico el tronco donde quiero que vaya sentado, primero lo hice derecho es decir horizontal, pero se veía muy simple o mejor dicho se veía 2-D no se notaba profundidad en el dibujo por lo que opte colocarlo un poco más diagonal.
 Paso # 03: Ahora defino la posición de las patas y la cola y aprovecho de hacer la cola, como podrán ver después de hacer esto no me convencía como había quedado la cola por lo que solicite algunas opiniones y el resultado fue hacer la cola más larga y ancha al final y así quedo mejor; me gusta el resultado.
 Paso # 04: Definir los detalles de la cara será el paso siguiente, Ojos, nariz y dientes deben tener la posición adecuada respecto al dibujo, solo que los dientes no me convencen, parece que estuviese sacando la lengua, tendré que buscar cómo mejorar eso.
 Paso # 05: Terminar los detalles de la cara; al definir el hocico logro que los dientes se vean mejor y le defino las cejas que tendrán un tono distinto, también le coloco un lazo para que se entienda que es hebra y agrego las orejas. Creo que eso es todo, ya el dibujo está listo si falta algún detalle lo agregare en el momento oportuno.
 Paso # 06: Ahora procedo a entintar el dibujo utilizando el rotulador que mencione al principio, posee una punta de 0.5 mm y tiene un trazo muy suave.
 Paso # 07: Una vez entintado el dibujo utilizo el borrador para retirar todo el grafito y limpiar la hoja; hay un detalle que debemos tomar en cuenta en este paso y es limpiar bien tanto la hoja como el sitio donde vamos a colocarla ya que si hay restos del borrador debajo de la hoja estos se marcaran en la hoja cuando pasemos el color haciendo una tonalidad más oscura justo en ese sitio.
 Paso # 08: Comienzo a colorear la cabeza en la cual utilice tres colores, para los lados es decir la mayor parte de la cabeza utilizo un marrón oscuro para las cejas un marrón un poco más claro y en el centro un color ocre claro y sobre este agregue un poco del marrón que utilice en las cejas para difuminar algunas partes de esta raya que tiene en el centro de la cabeza.
 Paso # 09: Termino la cabeza utilizando un color azul y un negro para los ojos y para el lazo uso un color rojo. En el cuerpo vuelvo a usar el color ocre claro para la barriga y para el resto del cuerpo uso los marrones simultáneamente para definir las partes oscuras y claras. En la cola utilizo nuevamente los tres colores organizados desde adentro hacia fuera comenzando con el más claro en el centro hasta el más oscuro en los bordes, por último paso muy suave el color negro en las partes que necesito oscurecer.
 Paso # 10: Para terminar defino el entorno pero antes coloreo el tronco donde va dando un paseo por el río nuestra castorcita y para el entorno dibujo el río y algunas partes verdes y de esta forma queda listo este dibujo. Espero les agrade y terminen de pasar un feliz sábado, me despido hasta una nueva oportunidad.


Fuente de Fotos: Propias capturadas con una cámara Síragon.
Modificado el tamaño: Con el Programa Paint.
Gracias por visitar mi Blog… ¡AH! No se olvide de votar, rebloguear y comentar.


